2000 Boring Blazer Build


#264
 03-06-2017, 08:40 AM
You could add some coolant dye to it. It glows under UV light so you will need a UV light as well. You can get the light and the dye at your local parts store fairly inexpensively. It may be best to start a thread in the general tech help forums. You will most likely get your best results by checking there.
#265
03-28-2017, 07:48 PM
I made a trip to the junk yard this weekend. I got a black hood, fender, and a fender liner. The hood and fender are not perfect but they were the best ones I could find in black. I wanted a jimmy hood but there were only 2 and they were trashed.
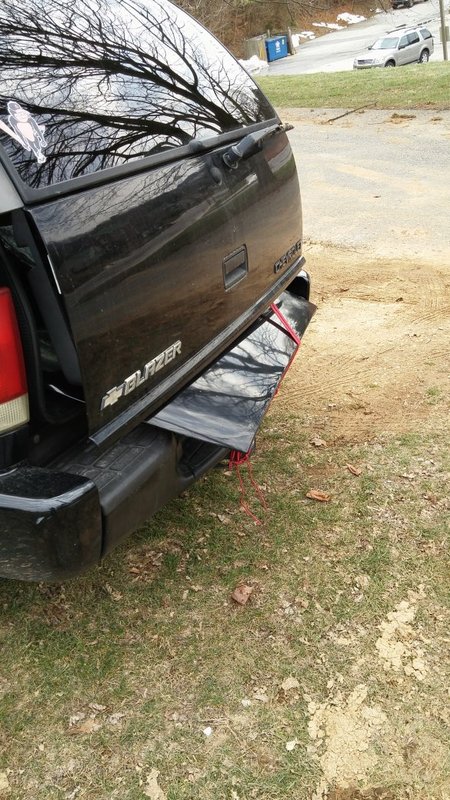
Hood tried to escape on the way home.
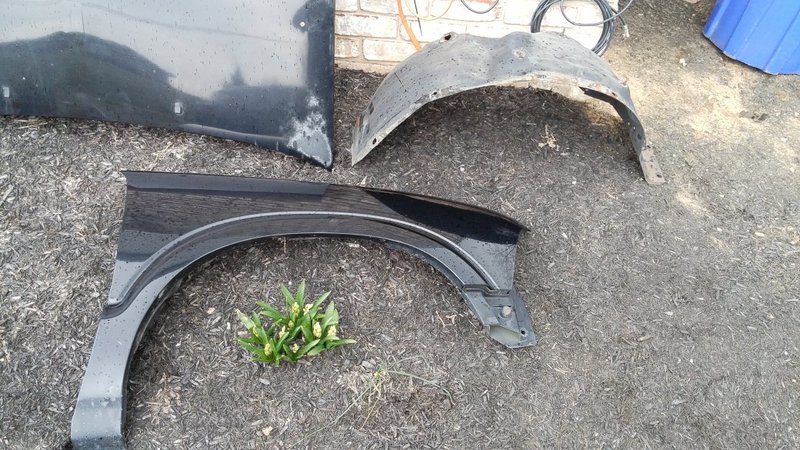
This is all my loot.
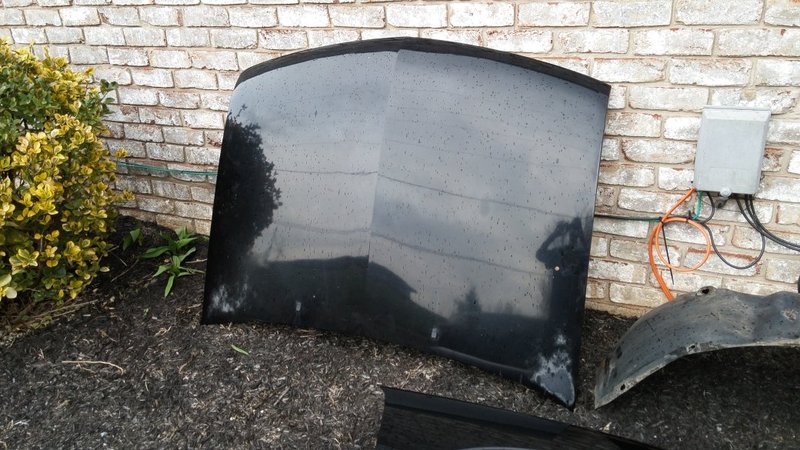
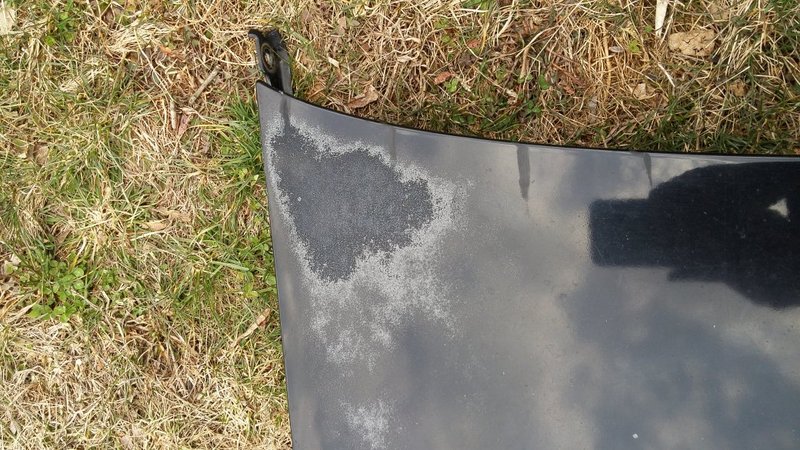
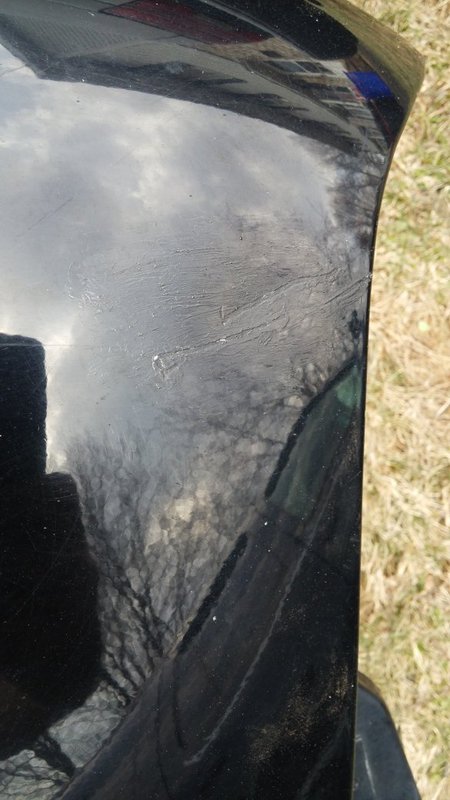
As you can see the hood has some rough spots where the clear is peeling but the paint is good underneath. It also has one small spot of surface rust, but it is really a straight hood.
The fender has a bit of a blemish on the end that I need to work on. Other than that it is in really good shape.
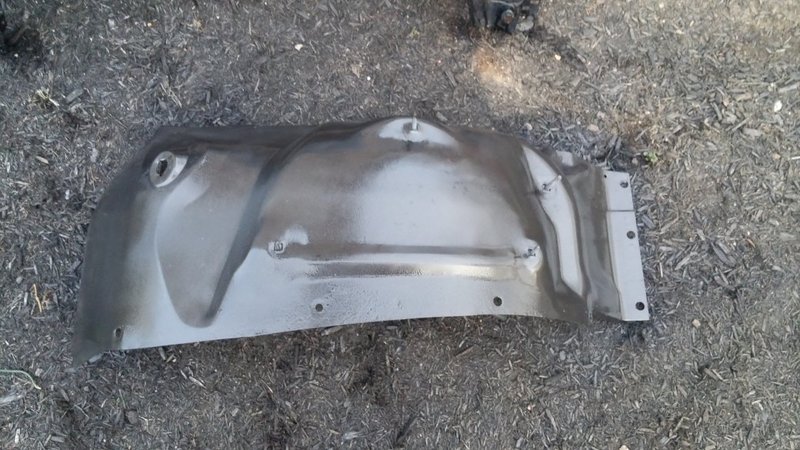
I am really pleased with the inner fender. It had some surface rust that I knocked out with a wire wheel. I primed it and shot it in hammer finish. I am debating on doing the outside with undercoating. I am also thinking of doing the inside of the fender with hammer finish as well.
Hood tried to escape on the way home.
This is all my loot.
As you can see the hood has some rough spots where the clear is peeling but the paint is good underneath. It also has one small spot of surface rust, but it is really a straight hood.
The fender has a bit of a blemish on the end that I need to work on. Other than that it is in really good shape.
I am really pleased with the inner fender. It had some surface rust that I knocked out with a wire wheel. I primed it and shot it in hammer finish. I am debating on doing the outside with undercoating. I am also thinking of doing the inside of the fender with hammer finish as well.
#266
03-28-2017, 09:11 PM
Oh man, that strap saved your hood from going for a ride. Nice score, parts look pretty clean all and all. Especially that inner fender. The hammer finish looks sweet.
#267
03-29-2017, 09:18 AM
It sure did. I couldn't get the hood and fender to fit in the back even with the seats folded down. I might have been easier if I remove the inner fender from the fender itself. I had the hood inside but I couldn't shut the hatch all the way. I guess since Pennsylvania never fixes their roads it started to work its way out on the way home. I got luck that since the hatch was bouncing up and down on the hood that it didn't damage it. If I had more rope I could have tied it to the roof rack.
#269
04-02-2017, 07:04 PM
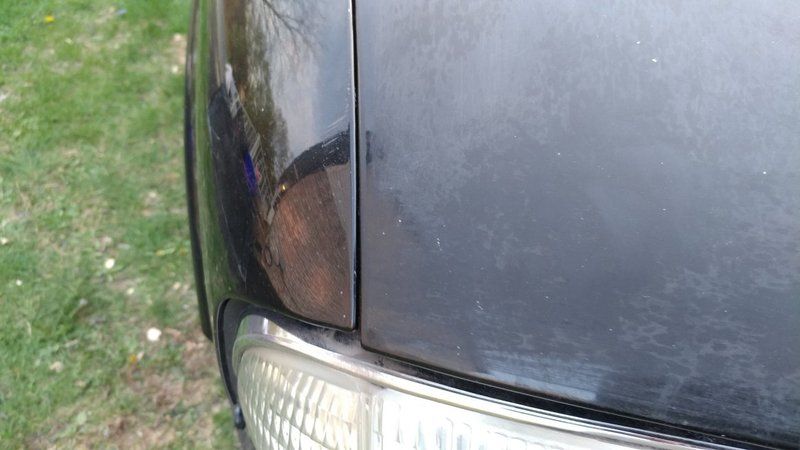
I did a little bit of work this weekend but it was pretty cold and rainy on Saturday so I only had a little bit of time today to work on it. I did get the inside of the fender shot with a couple coats of black hammer finish. I tried to fix the peeling clear coat on the hood but it turned out like poo.I am debating on either rattle canning the entire hood because it is covered in scratches anyway. Or I could talke to my dad's boss and see hoe much the body shop would charge me to paint it. I think I will go ahead and rattle can it and wait until I can find a nice Jimmy hood and have that painted. Also, since my new fender doesn't have a matching stripe I decided to get rid of the pin stripe. With a heat gun it came off pretty easy.
Peeling the Back passenger door and working forward.
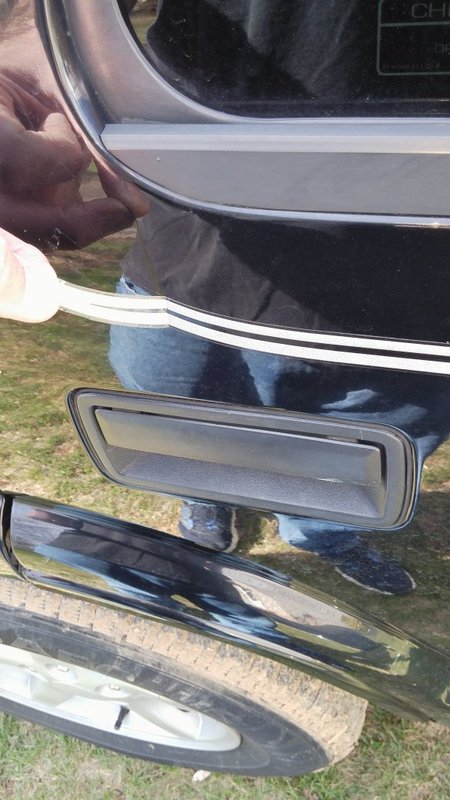
One door done

It looks much better without the stripe IMO
I am also thinking of de-badging it.
Peeling the Back passenger door and working forward.
One door done
It looks much better without the stripe IMO
I am also thinking of de-badging it.
#270
04-16-2017, 12:27 AM
I didn't get around to de-badging the blazer but I did start tearing into the front end. The Hood is a hot mess right now. I tried wet sanding that and it just didn't work out like I wanted. But as long as it is straight I am happy for now.
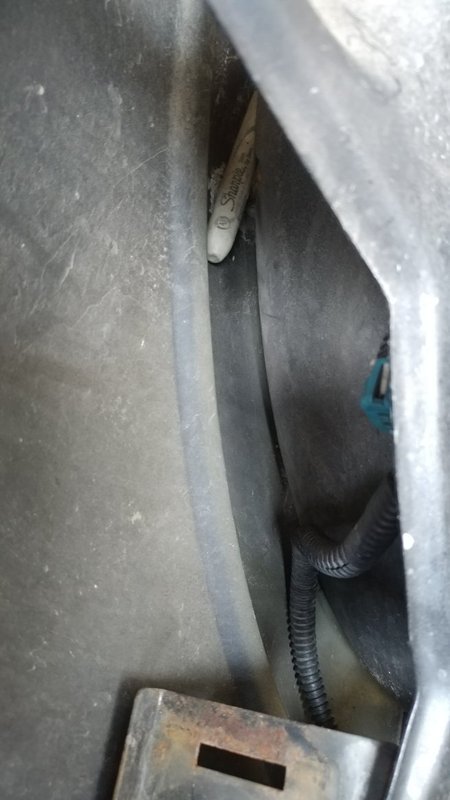
Went to start pulling the inner fender and fender liner and found a free silver Sharpie. Sadly it didn't work.
I pulled the bumper and grill. I plan on painting them black like I did before. I am going to try using rust-o-leum peel able paint to see how that works.
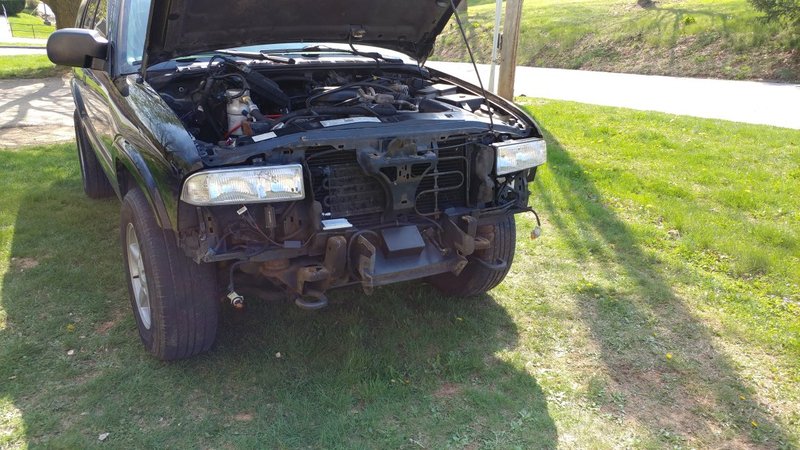
I got the inner fender and fender off pretty easily. The core support was just slightly tweaked. A big pair of channel locks and a couple of hits with a hammer and it is pretty much back to normal. The inner fender was actually rusted out pretty bad in a couple spots.
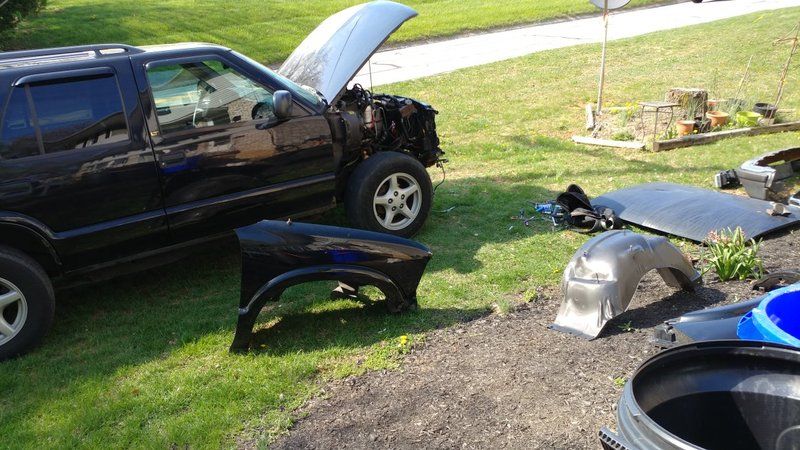
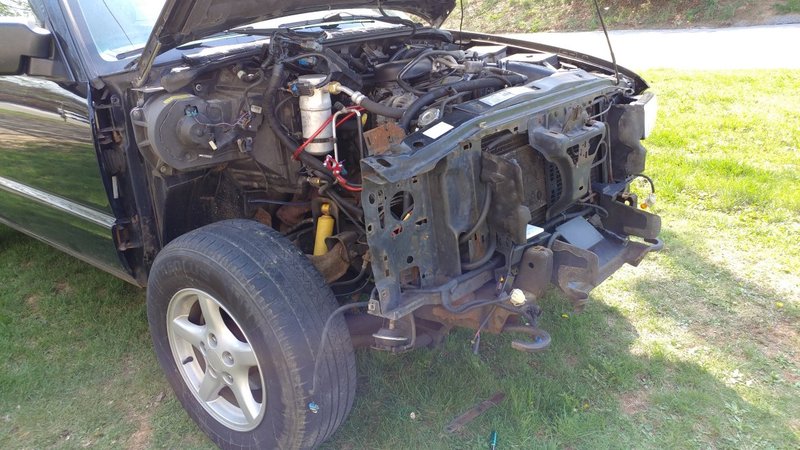
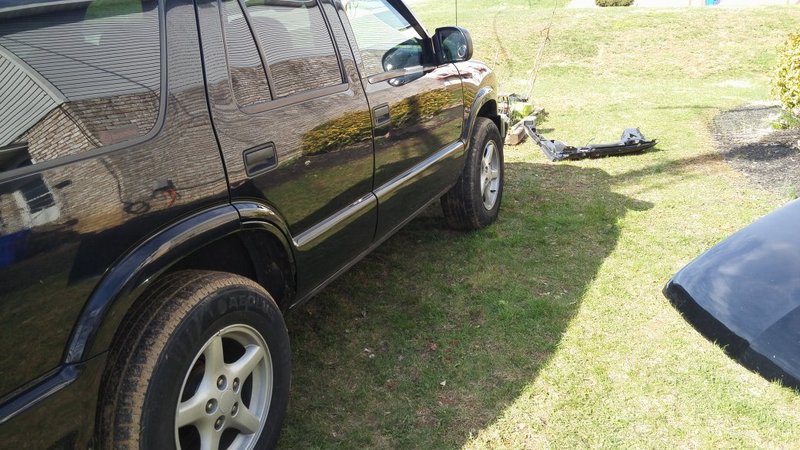
Fender fits pretty good.
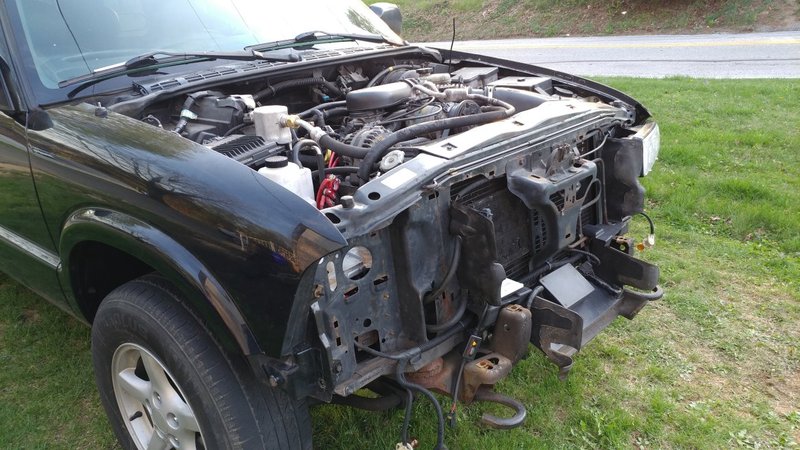
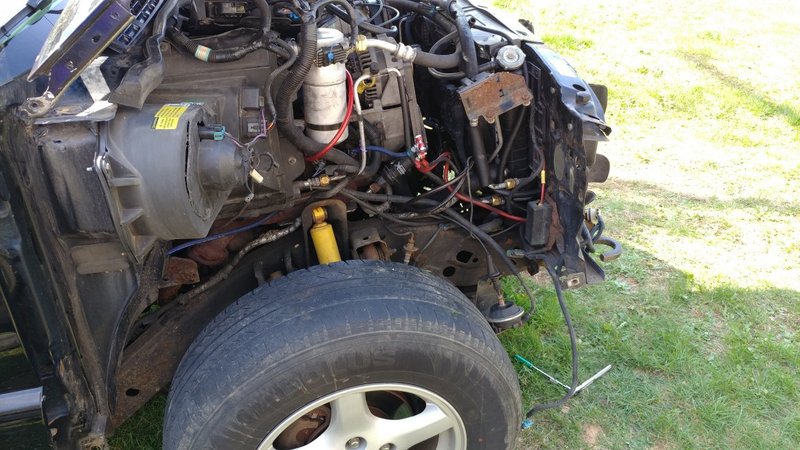
This is where I left it for the day and also encountered a big problem.
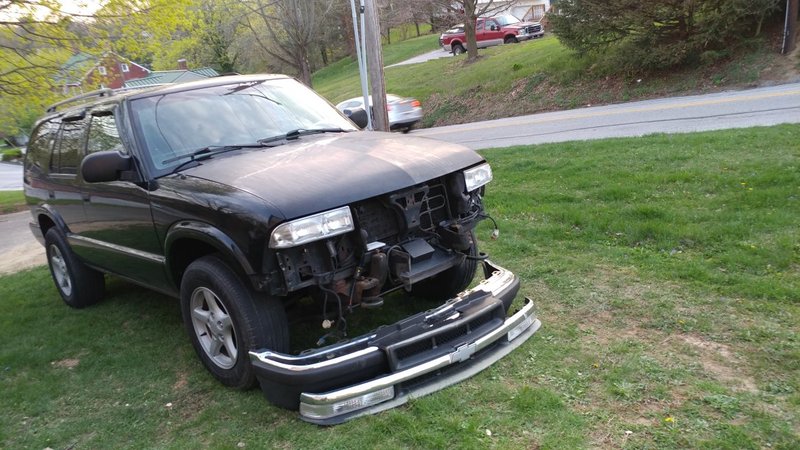
The Hood does not line up at all with the hinges assembled. This is as close as I could get the hood but I had to take the hinge bolts out just so I could close it. The end of the hood hangs over the edge of the end of the passenger side fender. However, There is a huge gap at the end of the hood and driver's side fender. The old hood still fits fine, but it is somewhat twisted after the accident. I am hoping that I can mess around with the hinges to get it to close straight. I am hoping that I don't have a bent hood even though it looks straight.
Went to start pulling the inner fender and fender liner and found a free silver Sharpie. Sadly it didn't work.
I pulled the bumper and grill. I plan on painting them black like I did before. I am going to try using rust-o-leum peel able paint to see how that works.
I got the inner fender and fender off pretty easily. The core support was just slightly tweaked. A big pair of channel locks and a couple of hits with a hammer and it is pretty much back to normal. The inner fender was actually rusted out pretty bad in a couple spots.
Fender fits pretty good.
This is where I left it for the day and also encountered a big problem.
The Hood does not line up at all with the hinges assembled. This is as close as I could get the hood but I had to take the hinge bolts out just so I could close it. The end of the hood hangs over the edge of the end of the passenger side fender. However, There is a huge gap at the end of the hood and driver's side fender. The old hood still fits fine, but it is somewhat twisted after the accident. I am hoping that I can mess around with the hinges to get it to close straight. I am hoping that I don't have a bent hood even though it looks straight.
Last edited by Tajohns34; 04-16-2017 at 12:32 AM.