2000 Boring Blazer Build
#21
 05-29-2013, 11:16 AM


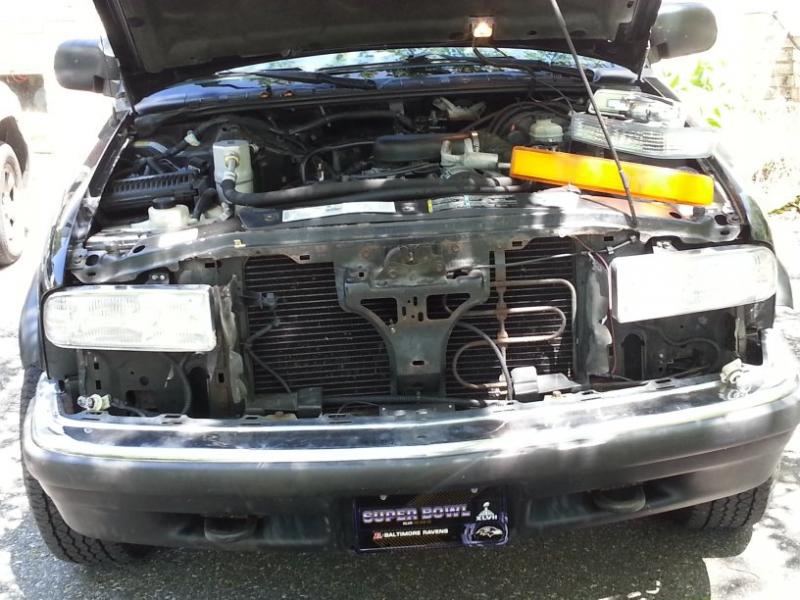
I decided not to really do a how to on this since it is very simple. Just pull the grill off and pop out the old lights and put the new ones in (make sure to install amber bulbs).
Here is is with the stock lights

I have defaced my blazer!
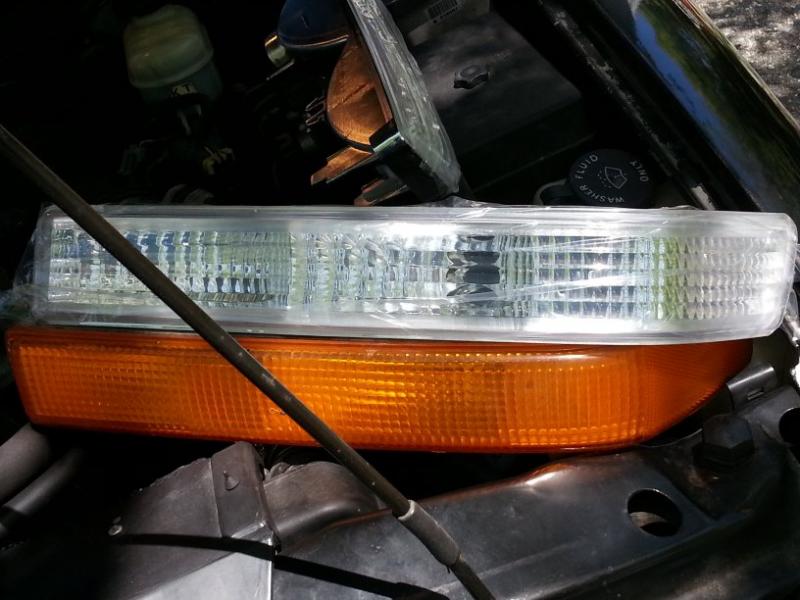
Old and new lights
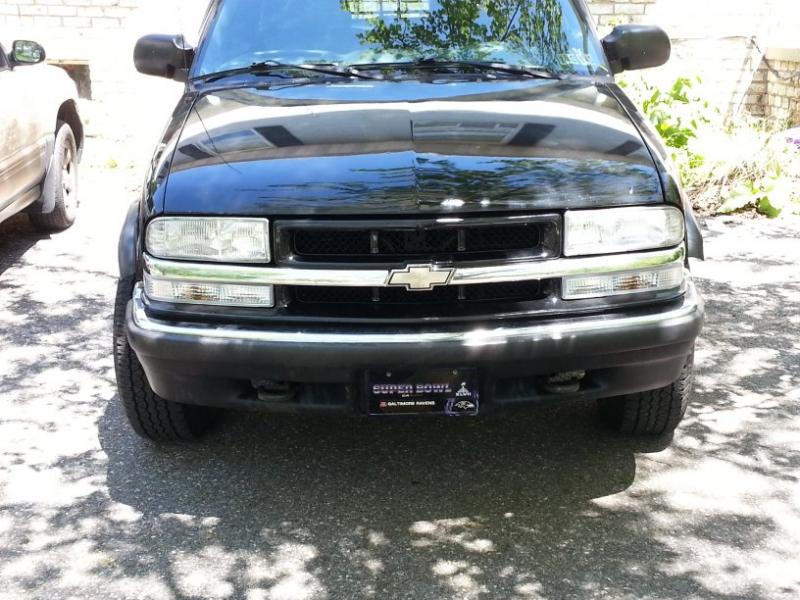
New lights in. I think it looks way better.
Here is is with the stock lights
I have defaced my blazer!
Old and new lights
New lights in. I think it looks way better.
#22
05-29-2013, 11:45 AM
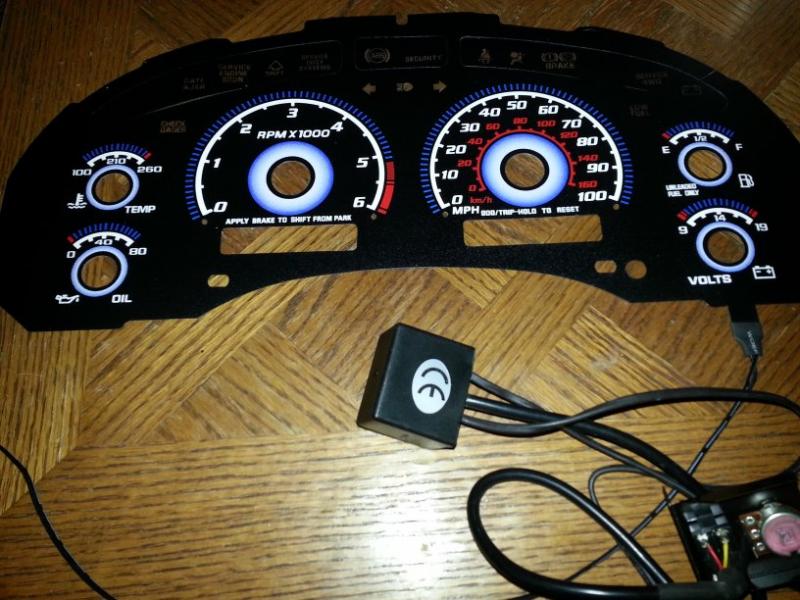
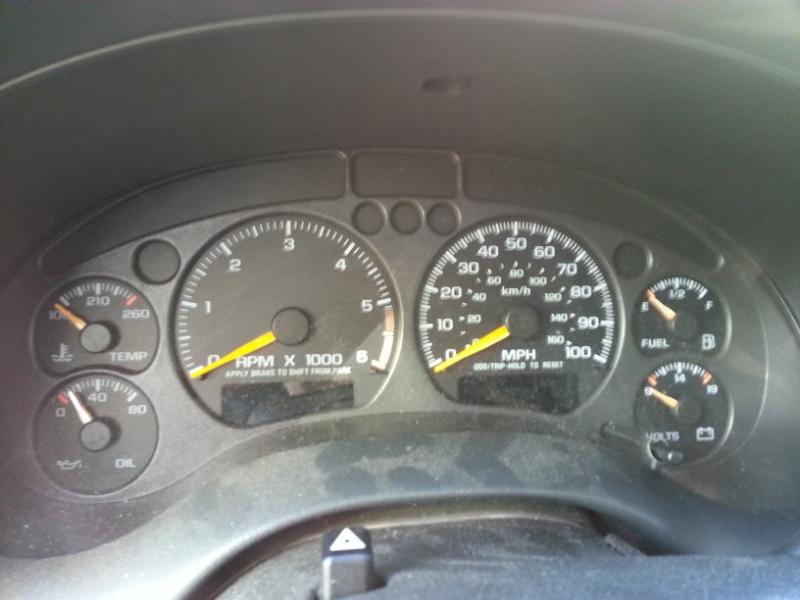
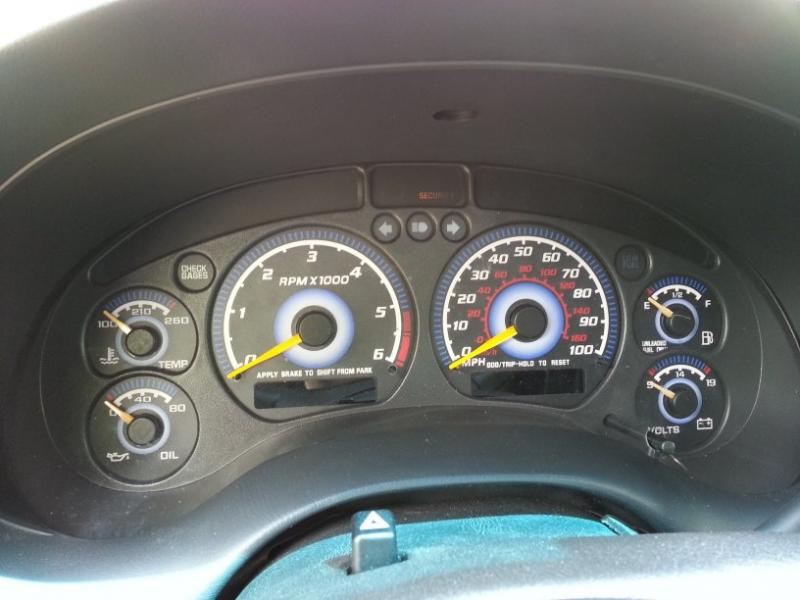
First of all, these gauges look better than stock IMO. However, they do not fit great. I liked the way they looked once I got them install, until I drove it. All the needles had to be removed, and I got them all to read correctly, sort of. They did not come with instructions, but I have done indiglo gauges before. I think you are supposed to remove the factor gauges faces and install these in their place. However, the stock ones are glued on, and these don't have the tinted plastic that covers the PRNDL2 and odometer lights. also the stock ones hold the trip odometer reset button in place. So I put these on over the factory gauges. Once installed they actually buckled the tachometer and speedometer after i put the needle rest pins back in. Now my tach and speedo get stuck in certain spots. I did open up the holes for the needle rest pins and pulled the speedo and tach needles out a little but, it works better but they still stick. I am debating weather to take them back out or mess with trying to get them lined back up. But anyway, here is some pictures.
New gauges. I wired them to the factory headlight switch.
Stock (dirty) gauge cluster
stock gauges without the plastic cover, on my coffee table

Needles off and new faces on

all back together
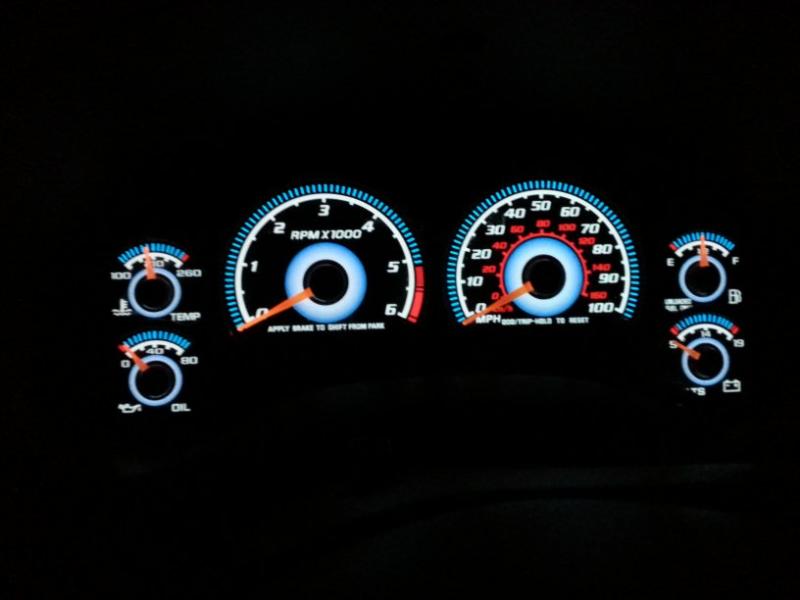
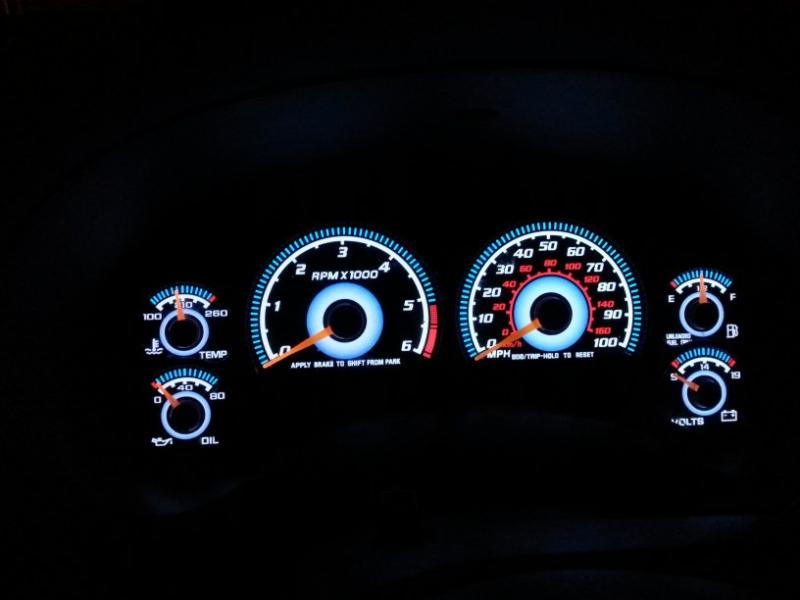
At night, the first pictures is in Green (teal, i don't like it), and the second is blue (this I like). For some reason the camera made them look the same.
New gauges. I wired them to the factory headlight switch.
Stock (dirty) gauge cluster
stock gauges without the plastic cover, on my coffee table
Needles off and new faces on
all back together
At night, the first pictures is in Green (teal, i don't like it), and the second is blue (this I like). For some reason the camera made them look the same.

#24
05-29-2013, 02:30 PM
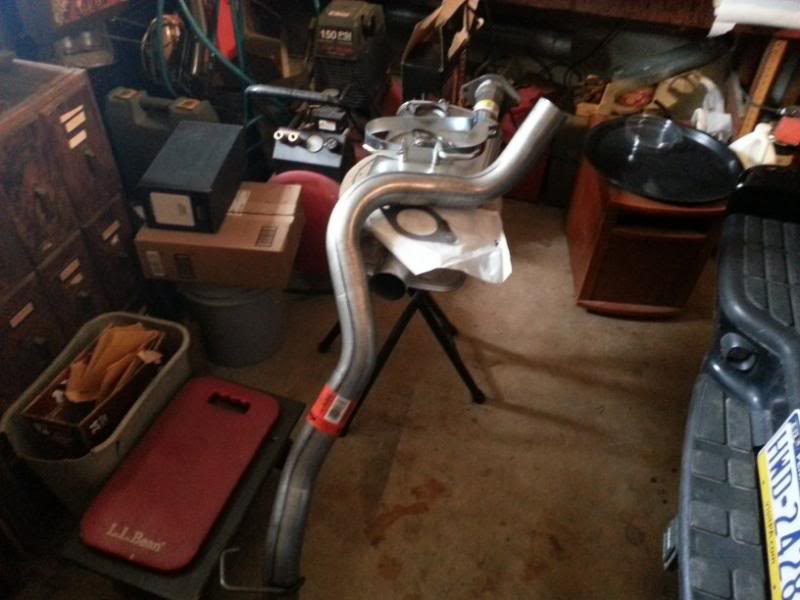
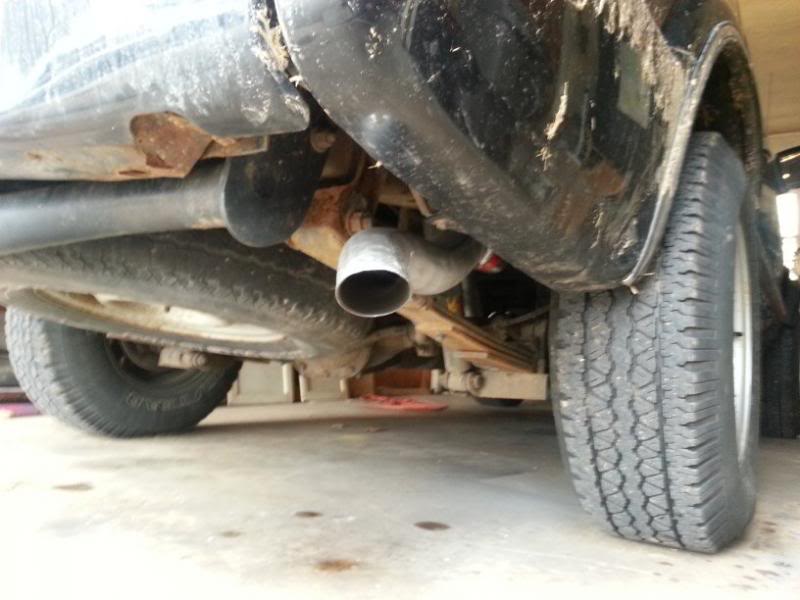
I really didn't do all these projects in one day. I just finally got around to putting them on my computer, resizing them and putting them on Photo bucket. I got the Dynomax 19331 catback system from Amazon. It fits almost perfect. the rear hanger has to be trimmed to avoid hitting the frame. I cut the curved end off with a cutoff wheel, heated it and added a new bend and it fits perfect. Other than that it is inexpensive and very easy to install. the pictures aren't great because I had to use my parents' very cramped garage. I need to buy a place with my own garage. I have had it on for a couple months. It is very quite. It has a slight rumble on start up and is quiet during driving. It is a little too quiet for me. Here is a link to the exhaust I, and some pictures.
Here is the exhaust un-boxed. It comes with everything except the tools
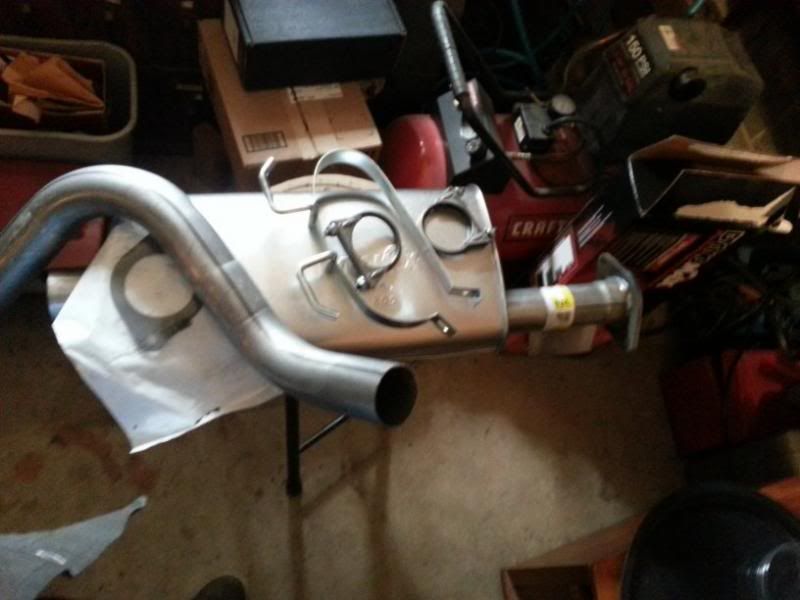
Here it is next to the giant stock muffler. It doesn't show up really well in the picture but the stock tailpipe was smashed quite badly. I put a red circle around it. sometimes I wonder what the PO did to this blazer

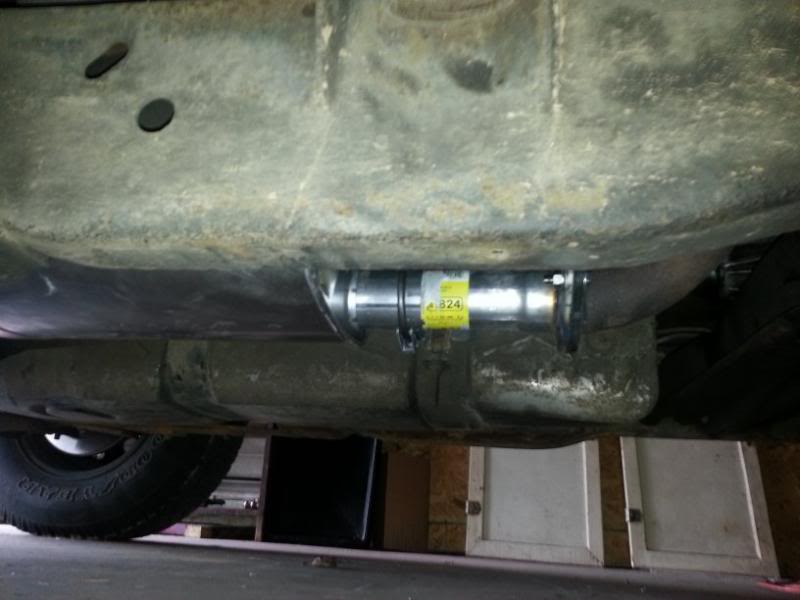
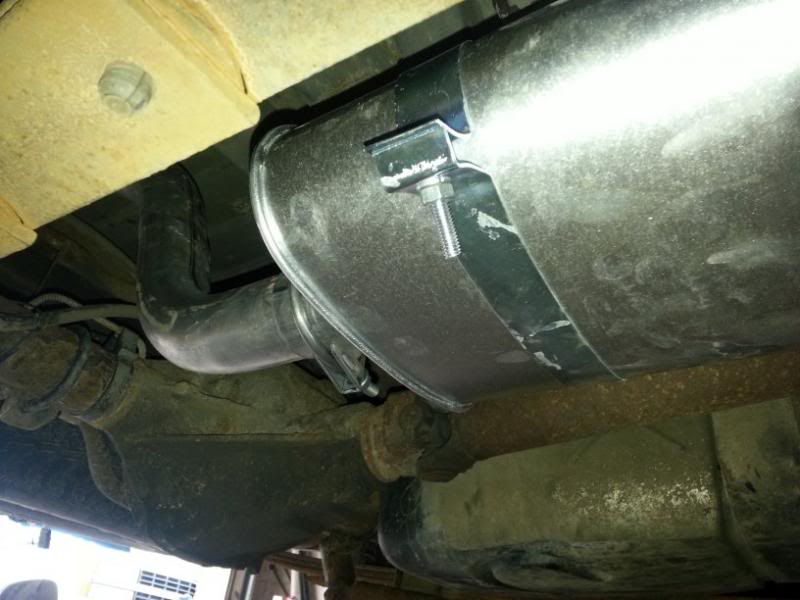
I didn't weld it yet just used the supplied clamps. I might get a flowmaster, i like my exhaust to make a little more noise.
Here is the exhaust un-boxed. It comes with everything except the tools
Here it is next to the giant stock muffler. It doesn't show up really well in the picture but the stock tailpipe was smashed quite badly. I put a red circle around it. sometimes I wonder what the PO did to this blazer
I didn't weld it yet just used the supplied clamps. I might get a flowmaster, i like my exhaust to make a little more noise.
#25
06-05-2013, 11:33 AM
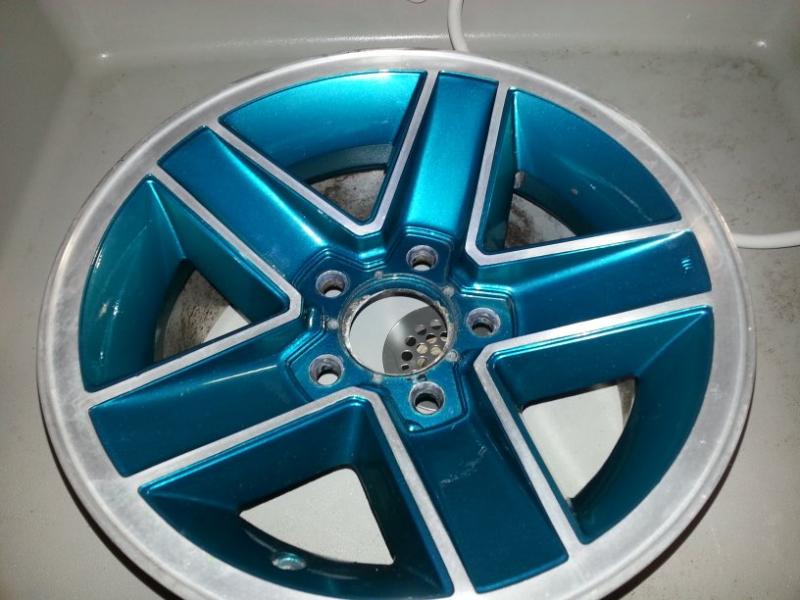
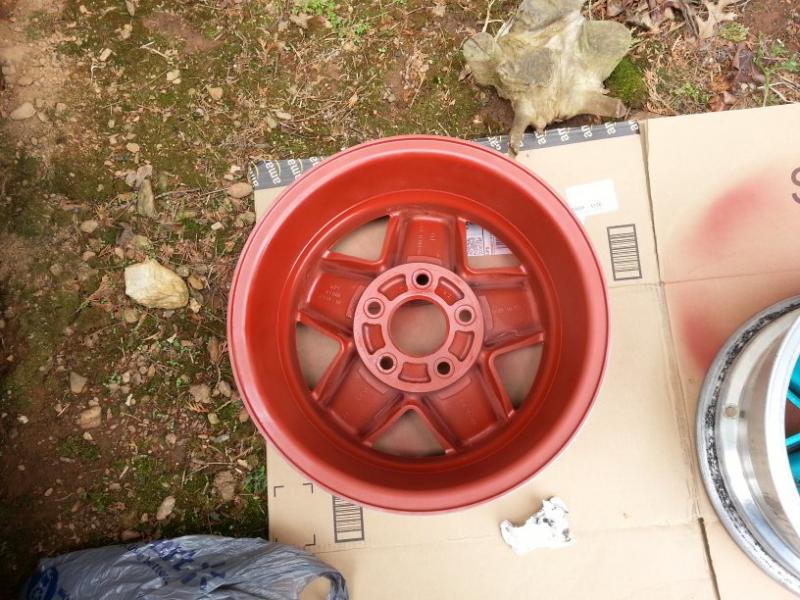
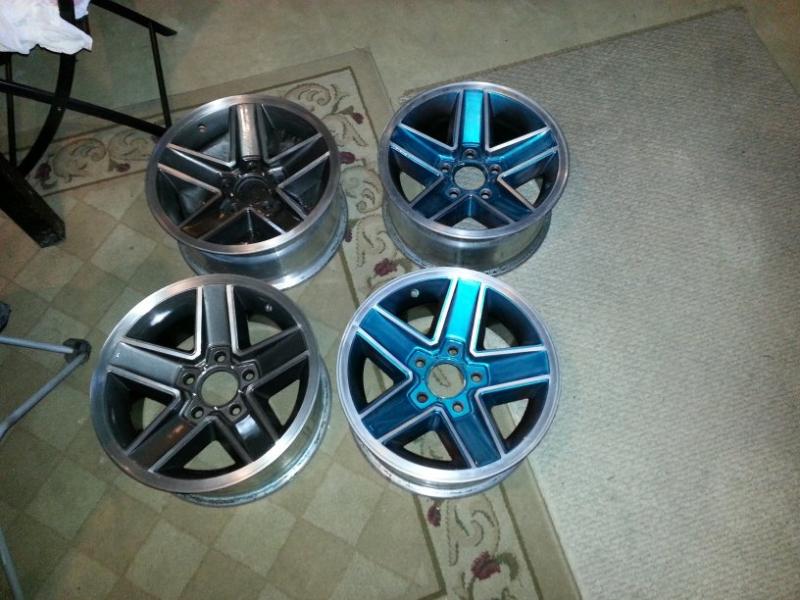
I don't think anyone is really reading this thread, but I'll update it anyway. I grabbed a set of 15" Camaro wheels of CL for $200 with tires. I sold the tires for $30 since they were car tires. The wheels were aqua, so I didn't want to keep that. I wanted to go gunmetal but keep the polished edges. So I primed them and painted the inside with black hammer finish paint. I used the red primer because I had a bunch of it. After 2 wheels I switched to dark gray because the red kept popping through. for the front of the wheels I primed them, and they sanded the edges, painted with 3 coats of duplicolor hammer finish then sanded the edges. then cleared them. There are some blemishes and dings and knicks in the wheels, but then again they are old and not really that expensive. when i was done painting i sanded the exposed eges with 150 grit, then 320 grit. That gave me the polished look I was going for. After that i put 3 coats of duplicolor clear on them. The guy I got the wheels from drilled and tapped the alignment holes for the factory center caps and used some small screws to hold on the aftermarket caps. Surprisingly the caps fit perfectly in the small recess in the center bore of the wheel. Sorry for being so wordy, I will just post a bunch of pictures now.
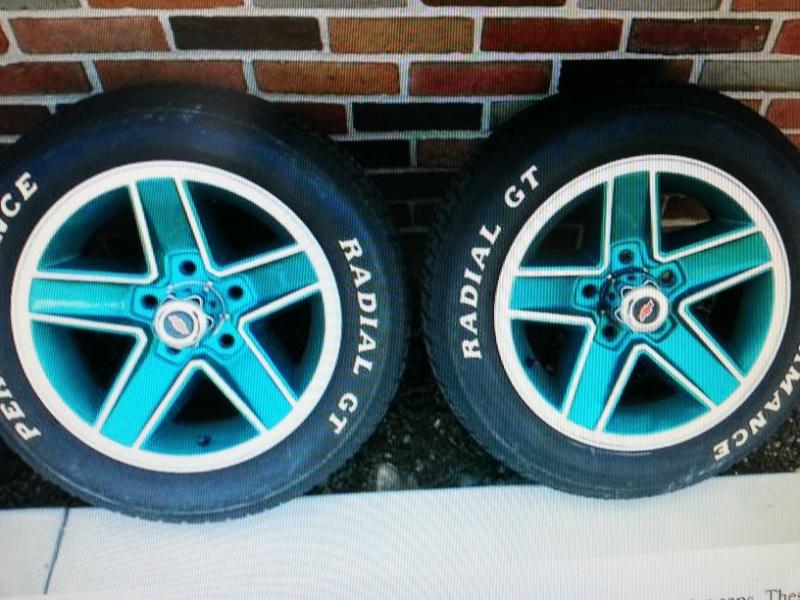
removing the center caps

washing and scuffing

scuffed (front and back) and ready for priming
priming the back
all black

On to the front
taped and ready for paint

primer

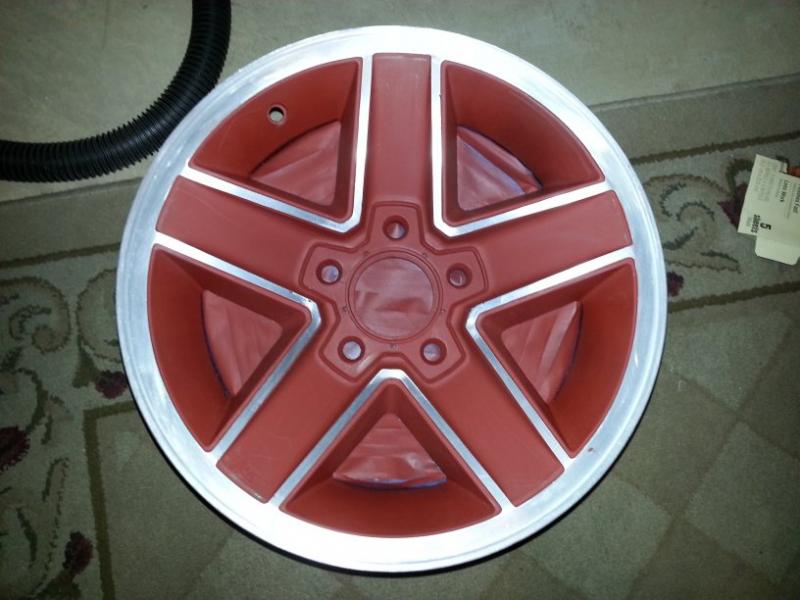
Paint!
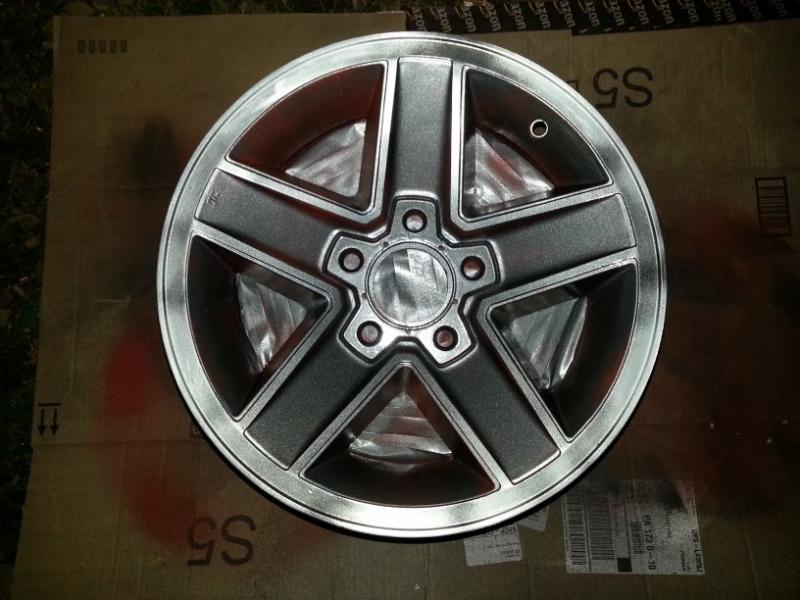

first one painted, sanded, and cleared. the sanding of the polished edges during coats took forever. Oh and the carpet, is an old carpet in my basement, not my living room or anything.

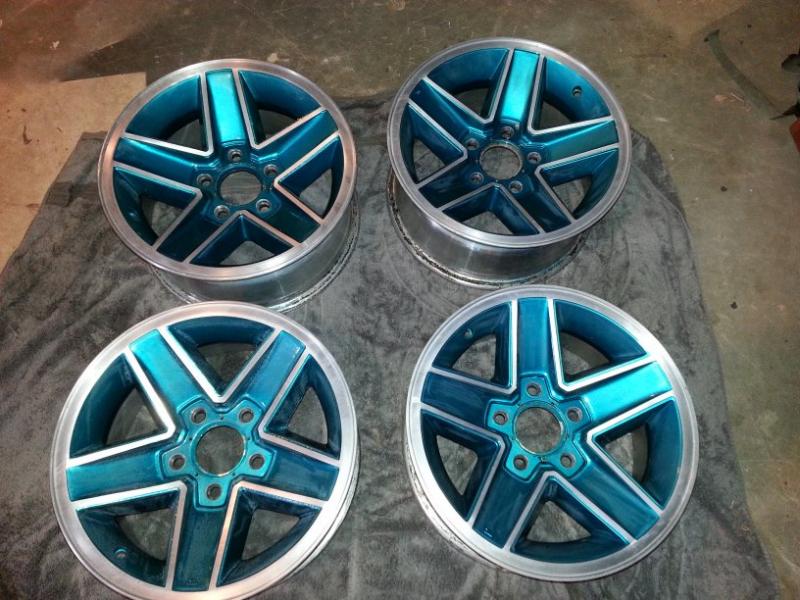
half way there
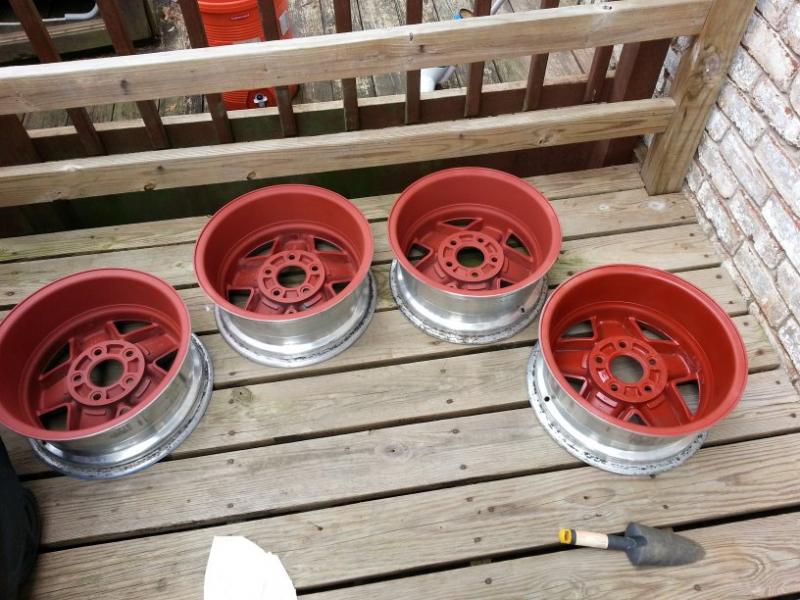
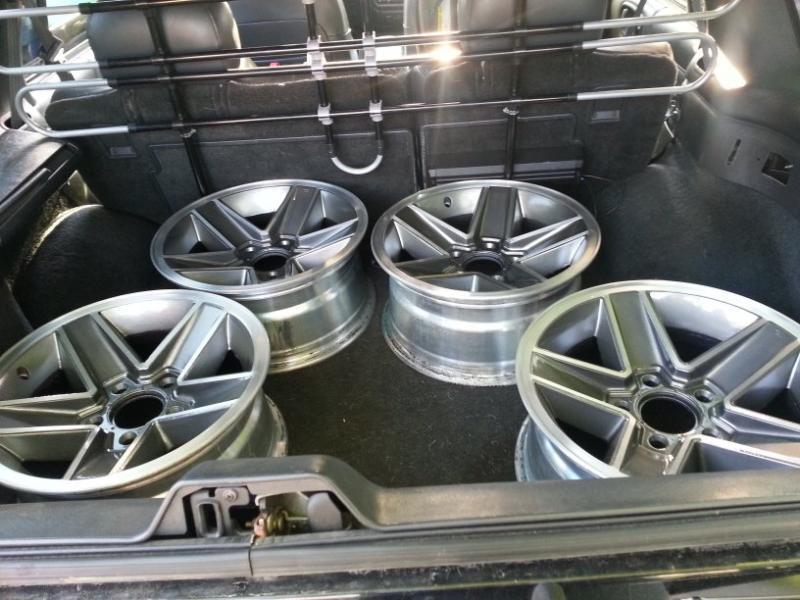
4 15s in the back of the blazer!
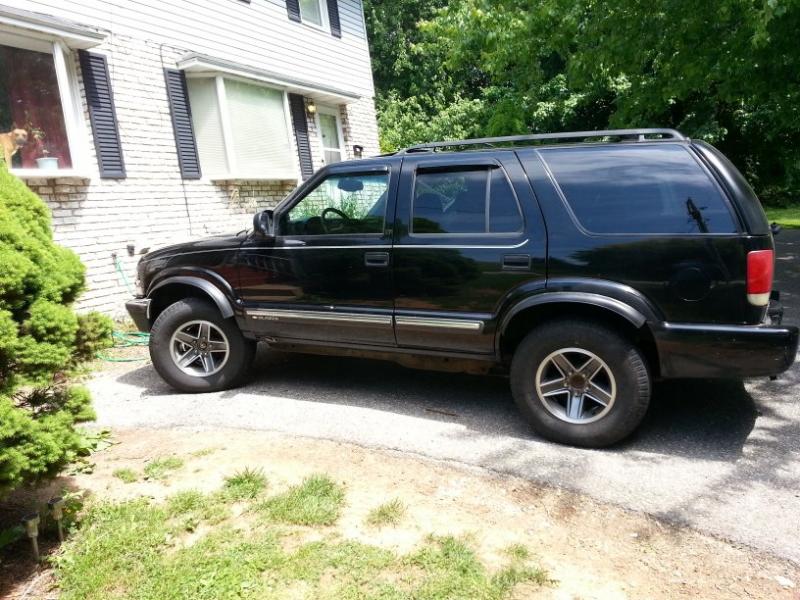
mounted and on the blazer.
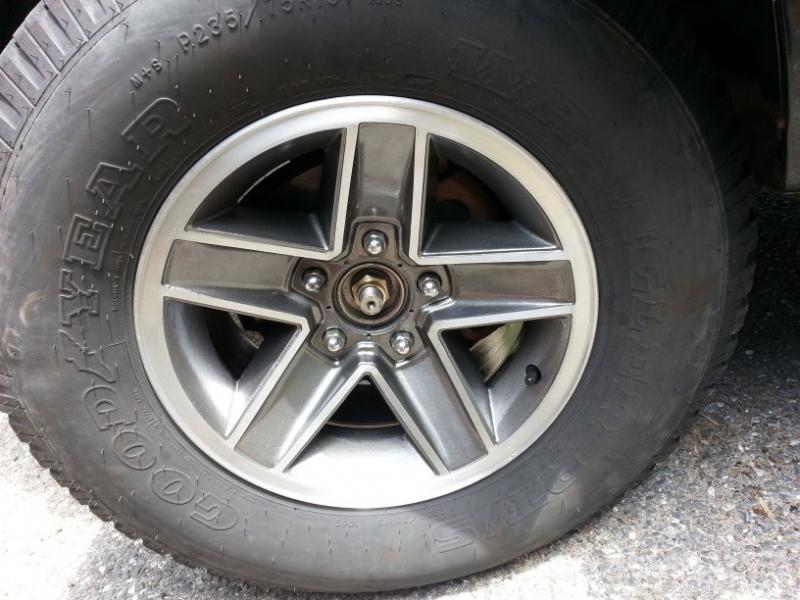
with center caps


parked next to my wife's forester with my dogs. They ride around in the back of my blazer all the time.

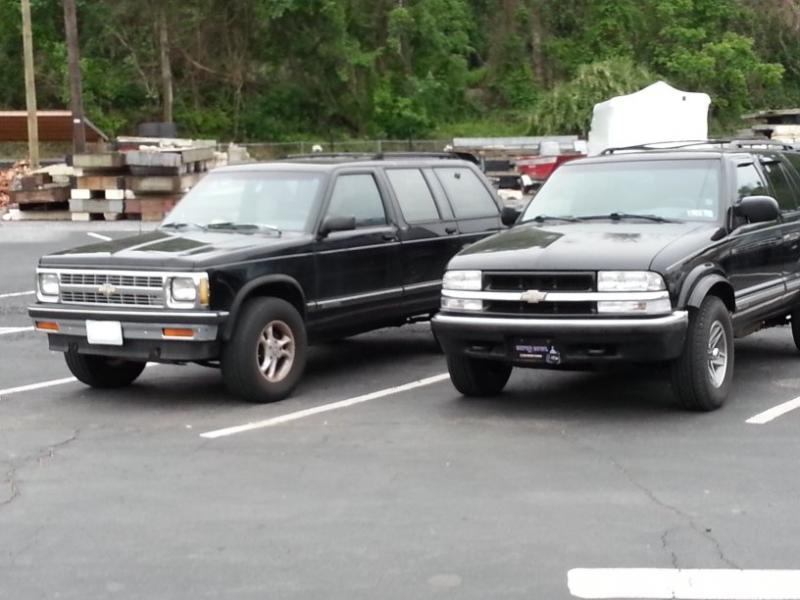
we went out for my wife's birthday and I parked next to this nice looking first gen.
removing the center caps
washing and scuffing
scuffed (front and back) and ready for priming
priming the back
all black
On to the front
taped and ready for paint
primer
Paint!
first one painted, sanded, and cleared. the sanding of the polished edges during coats took forever. Oh and the carpet, is an old carpet in my basement, not my living room or anything.
half way there
4 15s in the back of the blazer!
mounted and on the blazer.
with center caps
parked next to my wife's forester with my dogs. They ride around in the back of my blazer all the time.
we went out for my wife's birthday and I parked next to this nice looking first gen.
#27
06-05-2013, 12:35 PM
The rims look great in the gunmetal, and I like that you polished the edges. It really sets off the dark gunmetal. Excellent job.

#30
06-06-2013, 02:29 PM
I do have a few projects I want to get into in the near future. I want to black out the front and paint the bowtie silver. Upgrade my alternator to a DR-44G, which I have, but it has the 2 pin voltage regulator, I just ordered my 4 pin. Do a big 3, I have all the parts for that. Do my entire stereo, which I have most of, just need some wiring. I am going to Summit Point Motorsports Park this weekend and my wife works next weekend. So not much will be getting done in the next couple of weeks.
Last edited by Tajohns34; 06-06-2013 at 02:33 PM. Reason: typo