95Teal4X4's DD Build, Lots of Pics
#21
 12-08-2016, 04:25 PM


Nice work on the speaker install. I might consider getting a set of the kickers. I have a set of cheap JVCs in my back doors now that work okay but they are kinda meh. I had a really nice set of old lanzars that a friend gave me but they were too deep to fit, so they went in the back of my corolla. How well do they fit in the back doors?
The nice thing about kicker's coaxials is their zero protrusion tweeters. They have no clearance problems because the whole front is flat. you can look up some pics but they will fit just about anywhere, on any car. As you can see though, i used 2 speed clips that kicker included with the speakers to let screw holes line up. they were like 90 degree little screw holders. i riveted them to the side, you can see it really clear in the second pic on the side of the bracket and they sound good. If you want my model name its their CS65 300w pair. Reasonable price too. I highly recommend them!
#22
12-09-2016, 07:32 AM
I have 2 of the same Kickers in 4" that I used in a blue tooth stereo I built for my house. They sound nice and the zero protrusion tweeters are nice. There is a discount audio store near me and they sell kicker. I might stop by and see what they have in stock.
#23
12-09-2016, 10:39 PM
I put a new washer pump in today. The upper one's gasket was starting to leak and causing a small blue puddle under it when it sat for somewhere too long and i would not use my washer fluid but my level would steadily decrease. Since we are supposedly getting a rain/snow mix here in New Jersey this weekend i thought i would get it over with. I honesty would like to see some snow
#24
12-12-2016, 12:43 PM
Ok. So for anyone who is still following this thread, i think one of my next projects is going to be to replace the brake lines. it needs them all done. they are all original so you can imagine how crusty they look. I am going to buy some more of the rust/corrosion resistant nickel/copper alloy stuff. Or whatever the stuff that is rust resistant and at the same time easier to bend than normal brake line.
It will be a project but i don't know if i trust my brake lines in an emergency if i need to make a really sudden stop. I can, i have been in that situation, but i'm not going to test it lol. Although im not sure when i am going to do this but it is at the top of my list. If anyone has any tips, info or suggestions please post below, thanks a lot.
I haven't done any new mod pictures so here is one of my other ones. In the blazer it is very common to have people in the backseat. so for their convenience i thought that i would give them some extra charger ports back there. so i drew out my idea in my notebook and how i would run it so you never saw it.
On the 95-97's there is a small gap in between the lower dash panel and the upper dash panels around the center of the dash by the cigarette lighter ports. I went on ebay and picked out the best splitter with high amperages and a 12v extension chord rated for high amps with a fuse. This is a fairly cheap one, for all you guys on a budget and/or 17 lol. I took the lower dash panels off and ran the chord behind them. I let the male end hang out through the gap in the front. when i want it, i just plug it in, when i don't i unplug it and there is no fire hazard.
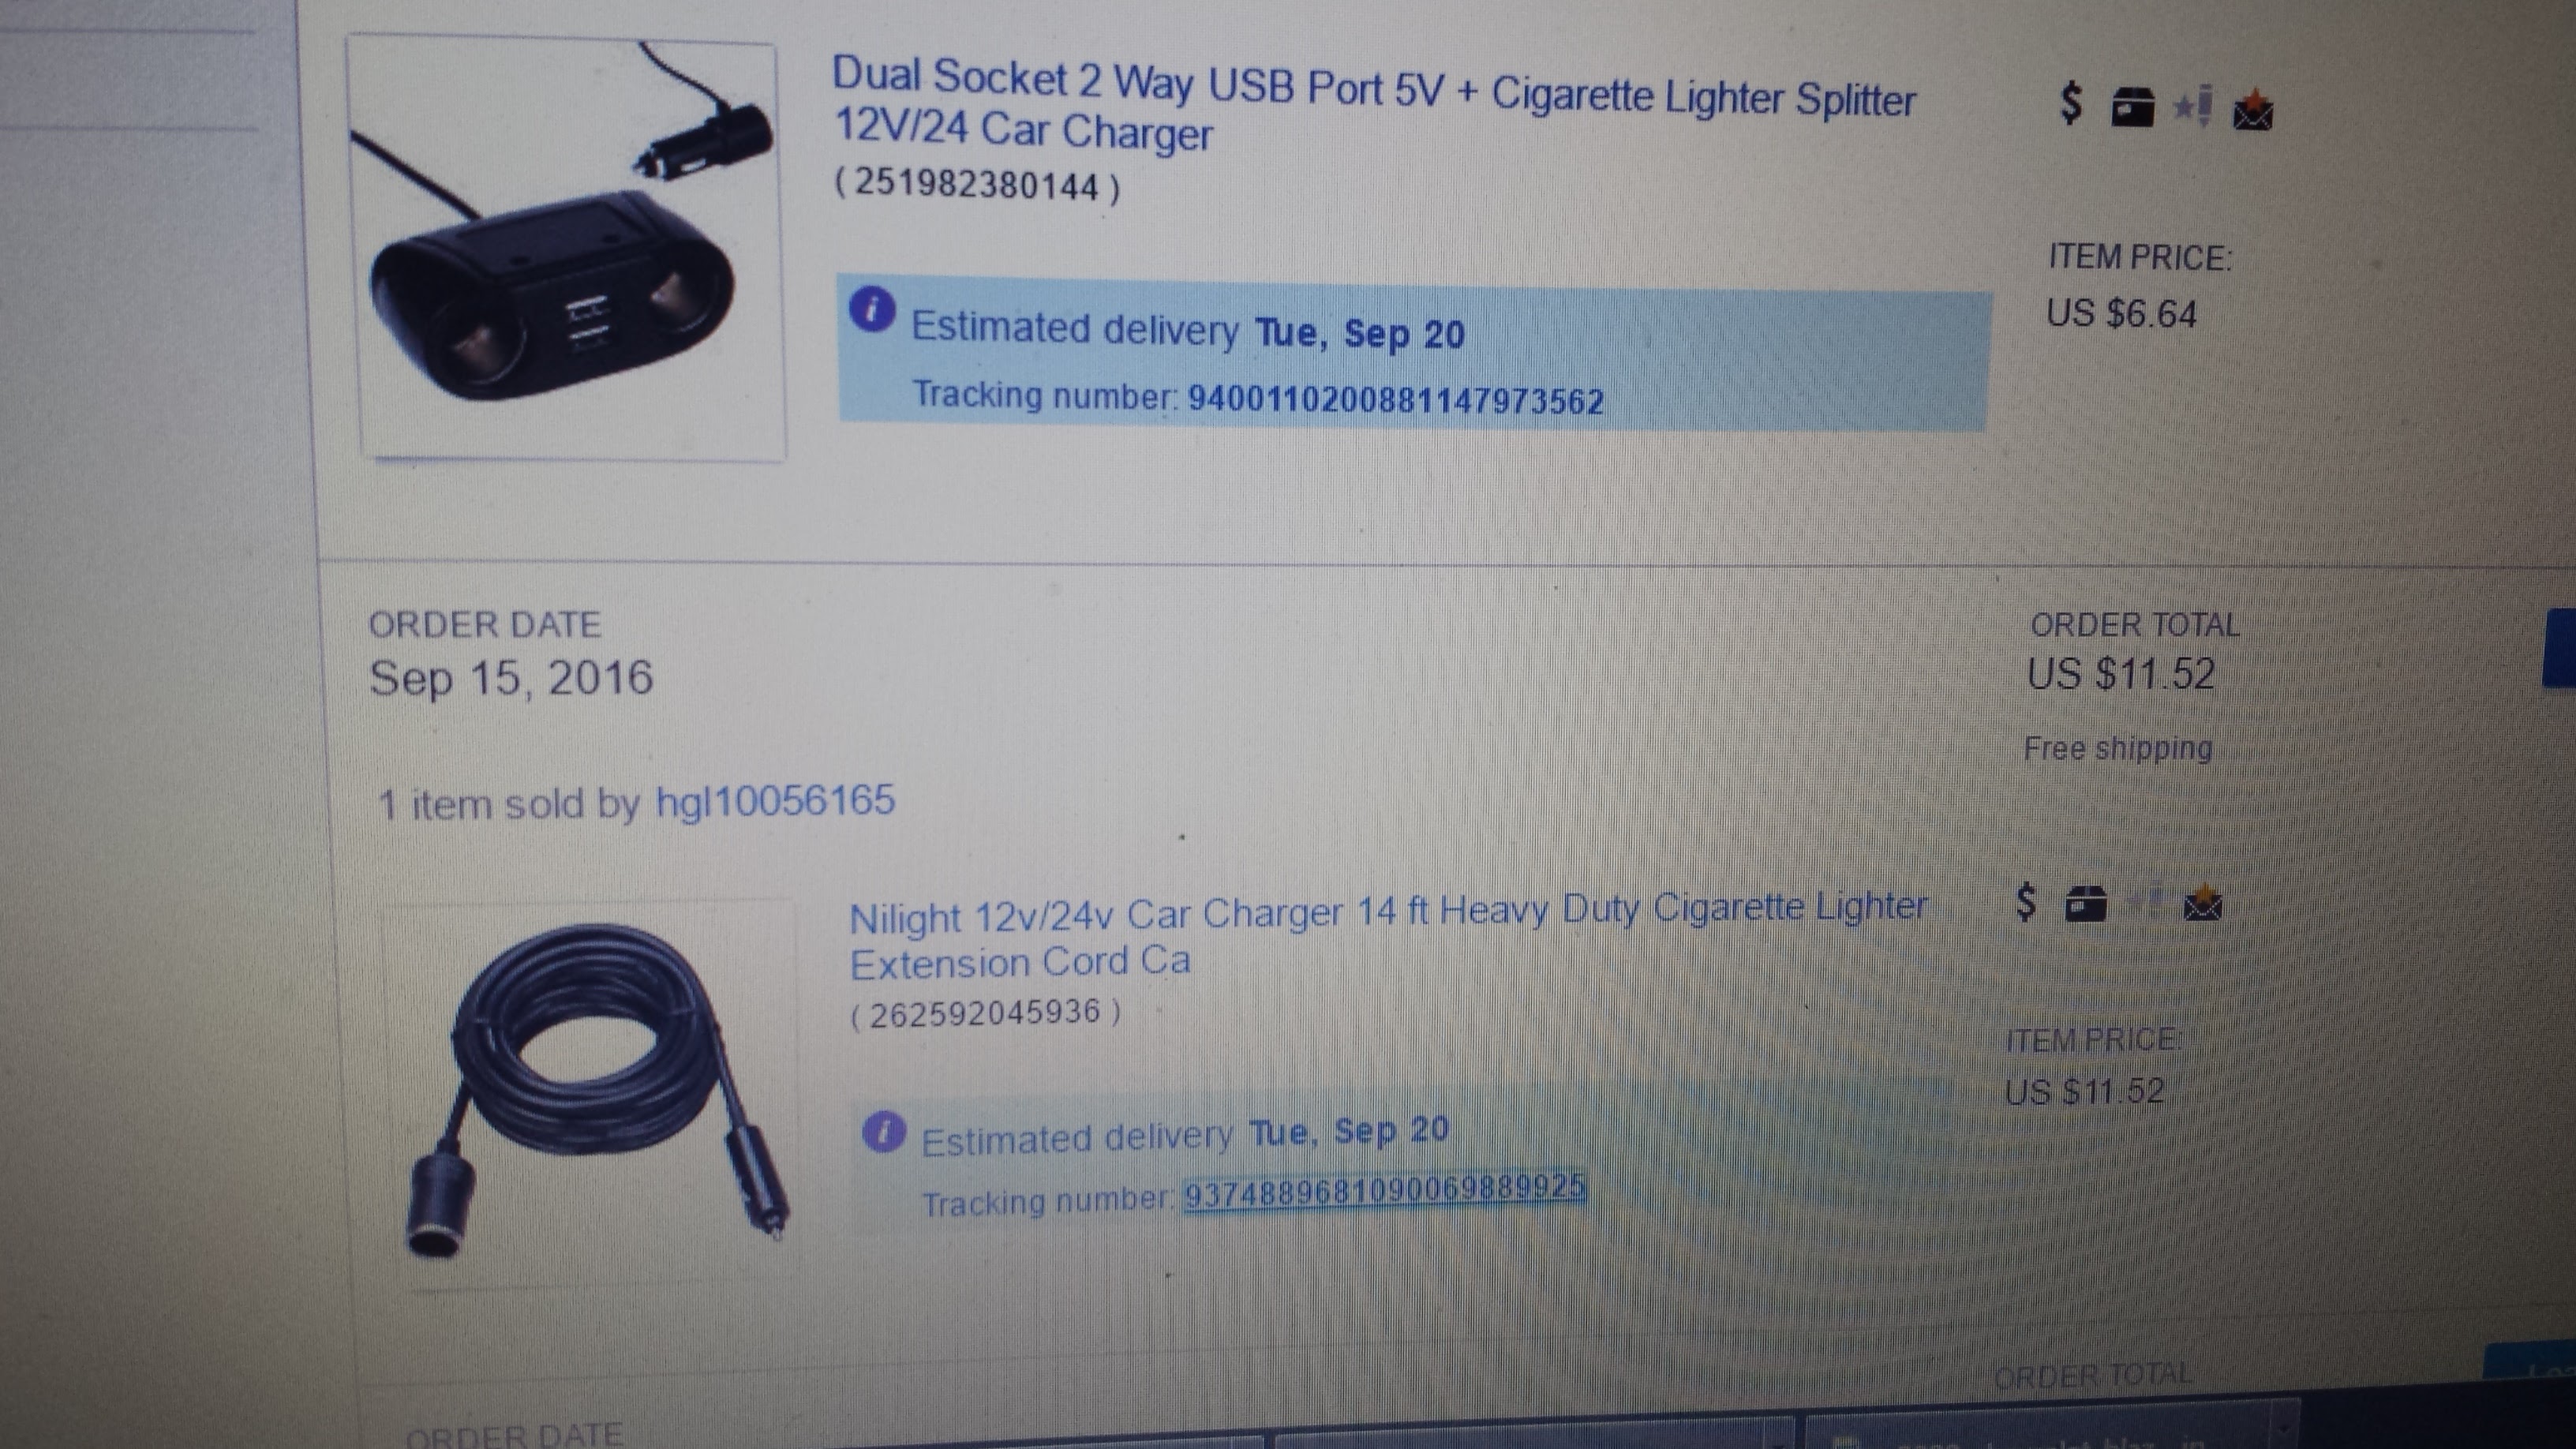
Wow i actually didn't take many pics of this. i will take some and post them later. I have these though right now, this is where i ran it under the door siils. i popped a few clips but didnt remove the b pillar and squeezed it under it. ran it under the carpet to where it came out under the rear seat. the female end comes out right behind the rear seats and the splitter plugs into it. these are what i bought:
Here is where i ran it under the door sill panels. To get it there i took the driver's side kick panel off and ran it behind there and kind of around the parking brake assembly. It has no interference with anything's operation:


A close up of the splitter that rests in between the rear seats. By the way this thing has power! we took a trip probably 45 minutes long on Saturday. i had my phone charging from it, i was using google chrome and my 4G the entire time. i started at 16% and got there and was at 32%. It's a great mod!

If anyone has any questions on this or needs info on specs let me know and i am more than happy to answer
It will be a project but i don't know if i trust my brake lines in an emergency if i need to make a really sudden stop. I can, i have been in that situation, but i'm not going to test it lol. Although im not sure when i am going to do this but it is at the top of my list. If anyone has any tips, info or suggestions please post below, thanks a lot.
I haven't done any new mod pictures so here is one of my other ones. In the blazer it is very common to have people in the backseat. so for their convenience i thought that i would give them some extra charger ports back there. so i drew out my idea in my notebook and how i would run it so you never saw it.
On the 95-97's there is a small gap in between the lower dash panel and the upper dash panels around the center of the dash by the cigarette lighter ports. I went on ebay and picked out the best splitter with high amperages and a 12v extension chord rated for high amps with a fuse. This is a fairly cheap one, for all you guys on a budget and/or 17 lol. I took the lower dash panels off and ran the chord behind them. I let the male end hang out through the gap in the front. when i want it, i just plug it in, when i don't i unplug it and there is no fire hazard.
Wow i actually didn't take many pics of this. i will take some and post them later. I have these though right now, this is where i ran it under the door siils. i popped a few clips but didnt remove the b pillar and squeezed it under it. ran it under the carpet to where it came out under the rear seat. the female end comes out right behind the rear seats and the splitter plugs into it. these are what i bought:
Here is where i ran it under the door sill panels. To get it there i took the driver's side kick panel off and ran it behind there and kind of around the parking brake assembly. It has no interference with anything's operation:
A close up of the splitter that rests in between the rear seats. By the way this thing has power! we took a trip probably 45 minutes long on Saturday. i had my phone charging from it, i was using google chrome and my 4G the entire time. i started at 16% and got there and was at 32%. It's a great mod!
If anyone has any questions on this or needs info on specs let me know and i am more than happy to answer
#25
12-13-2016, 06:23 AM
Really enjoyed this build! I would like to see where you put the power ports in the rear as well
#26
12-13-2016, 07:36 AM
Thanks CraigSnedeker. I know everyone on here loves pics so i am here to provide. I'm not going to post pics into the post to keep the post small but i will leave them attached. In the first two pics you can see where it comes out of the dash. In the last pics you can see i ran the wire. The wire easily squeezes in between the back seats and then the splitter rests in between the rear seats. It doesn't interfere with seat operation either.
#27
12-13-2016, 11:56 AM
I am thinking of doing something like this but put it in the blank spot in the back of my console where it looks like an ash tray would go. My plan would be to run an 10 - 8 gauge wire from the battery to a relay and fuse block that turns off with the ignition. That way the charging port can have its own fuse along with a fuse for each heated seat in the front along with anything else I want to add on later. I am thinking something like this, If there is room I might add 2, 1 that shuts off with ignition and 1 that is always on. I want this mainly so that My son can charge his kindle when we are on road trips.
#28
12-13-2016, 02:08 PM
I am thinking of doing something like this but put it in the blank spot in the back of my console where it looks like an ash tray would go. My plan would be to run an 10 - 8 gauge wire from the battery to a relay and fuse block that turns off with the ignition. That way the charging port can have its own fuse along with a fuse for each heated seat in the front along with anything else I want to add on later. I am thinking something like this, If there is room I might add 2, 1 that shuts off with ignition and 1 that is always on. I want this mainly so that My son can charge his kindle when we are on road trips.
But that sounds like a very good idea. i would buy the plate that can hold 2 of those and put one side with those usb's and the other with a voltmeter or a 12v plug with a voltmeter plugged into it. I was originally going to maybe hardwire mine to a open fuse on the fuse box. but i decided it was harder and also an additional risk i did not have to take. But that's just me, i am naturally kind of paranoid and cautious. but it has never been a bad thing for me
#29
12-16-2016, 12:32 PM
ok so last night i fixed my oil pan skidplate (aluminum) bolt. I don't know why, but for some reason the bolt always kept loosening up just enough for the corner to clank against the sub-frame when going over bumps. It was very annoying and kind of made me feel like i was driving a $200 piece of junk. Which when you drive a blazer, you aren't. I searched around for a nut that would fit the factory torx head bolt. I found one and put it on the top of the bolt. Held the nut with a wrench while i tightened the bolt and walaa. It is nice and tight now, no clank. Before whenever i tried to tighten it, it would get to point where it would feel tight, but turn it a bit more and it was loose again. So that was yesterday. I also picked up my new 40" snap on toolbox from the school yesterday morning. If anyone wants a pic of the box let me know
I'm not sure of the things i should do next though. I do plan on installing a newer head unit than the one i have now. I would like an aux port since my factory antennae is terrible. even when using a decent FM transmitter 2 feet away, there is still static. Also bluetooth would be nice. Still need to do brake lines first. Stopping is at the top of my priority list. Anyone have any ideas on improving radio reception guys? I already have a aftermarket pioneer headunit.
Cheers guys!
#30
01-12-2017, 05:20 PM
Alright i haven't posted on this build for a while. Even if i am not posting on this thread does not by any means i forget about it I visit this site multiple times a week lol. I have been a little busy between the holidays and it has been kind of cold over here in south nj for the past week. The Blazer got a little dirty too. 2 days ago it was around 28 degrees and yesterday was 58 degrees. So i washed it and touched up a few small very minor rust spots i don't want spreading.
So i think its official, my next project will be brake lines. just have to get the stuff and the time to do it. While looking at my original very rusty brake lines i also noticed that the lines coming off the fuel pump in the back were looking fairly crusty too. So i think i am going to replace that too while i am at it. Now i know that i read somewhere that the line sizes are different from front to back. Does anyone know the exact sizes of them (3/8", 1/4", etc.)?
Also i am going to be looking into refinishing my OEM rims. When my parents bought this, my dad insisted on getting these rims. they are like the 1st gen 12 hole rims except without the rivets. So i am not powdercoating it or anything. I would like to find a way to reclear it and bring back the factory finish underneath.I will be posting some pics. Beware they are pretty ugly. Unfortunately most used rims dont look much better than these and sellers on ebay at cheapest want $160 a rim + $20 shipping per rim for a refinished one. I cant bring myself to spend that much. I will post some pics of them tomorrow when i can get some sunlight. I have the idea of putting the car up on a lift and just spinning the tires while i sand it but i am hoping there is a better easier way. i have a large air compressor and just about any tool i would need. includes DA and buffer. I think while i am it i will paint the inside of the holes black. Opinions? Ideas? Suggestions? Advice? Knowledge on this?
Thanks Guys!
I visit this site multiple times a week lol. I have been a little busy between the holidays and it has been kind of cold over here in south nj for the past week. The Blazer got a little dirty too. 2 days ago it was around 28 degrees and yesterday was 58 degrees. So i washed it and touched up a few small very minor rust spots i don't want spreading. So i think its official, my next project will be brake lines. just have to get the stuff and the time to do it. While looking at my original very rusty brake lines i also noticed that the lines coming off the fuel pump in the back were looking fairly crusty too. So i think i am going to replace that too while i am at it. Now i know that i read somewhere that the line sizes are different from front to back. Does anyone know the exact sizes of them (3/8", 1/4", etc.)?
Also i am going to be looking into refinishing my OEM rims. When my parents bought this, my dad insisted on getting these rims. they are like the 1st gen 12 hole rims except without the rivets. So i am not powdercoating it or anything. I would like to find a way to reclear it and bring back the factory finish underneath.I will be posting some pics. Beware they are pretty ugly. Unfortunately most used rims dont look much better than these and sellers on ebay at cheapest want $160 a rim + $20 shipping per rim for a refinished one. I cant bring myself to spend that much. I will post some pics of them tomorrow when i can get some sunlight. I have the idea of putting the car up on a lift and just spinning the tires while i sand it but i am hoping there is a better easier way. i have a large air compressor and just about any tool i would need. includes DA and buffer. I think while i am it i will paint the inside of the holes black. Opinions? Ideas? Suggestions? Advice? Knowledge on this?
Thanks Guys!