Road Warrior Build (Sort of)
#11
 05-26-2015, 05:15 PM


Yeah I ran into that too. And I remember reading somewhere that the Torque app sometimes needs a cold boot after the bluetooth is hooked up before it recognizes. Its a great program especially for free minus that strange little quirk. If it doesn't work, try a full on/off cycle again.
If you're still having issues let me know and I'll tinker with a few other ideas
If you're still having issues let me know and I'll tinker with a few other ideas
#13
05-27-2015, 07:50 PM
Ultimately that is what I had to do. Clear all the bluetooths out and start with the sensor. Once I got that recognizing each other, then I was able to add in my other devices without issue
#14
05-31-2015, 05:06 PM
So I tried everything that you suggested a few times and it didn't work. Then I remember that I remembered that I set a custom 4 digit password for my head unit. So I changed it back to 1234 and then ran through adding and removing it again, and

success!
success!
#15
05-31-2015, 06:07 PM
Oh didn't even think about having you check that.
Glad to see it working for you, nice color scheme too
Glad to see it working for you, nice color scheme too
#16
05-31-2015, 08:10 PM
Thanks. I want to download some custom backgrounds and play around with the layouts. There is a Passat scheme that comes with Torque. I might use that because it is blue with red needles. It should look pretty good with the blue LEDs in my gauges and my camaro needles.
Last edited by Tajohns34; 06-01-2015 at 08:02 AM.
#17
06-01-2015, 06:19 PM
Yes, I think that would be a good pairing for sure. You'll have to post a picture on the forums of the whole interior lit up sometime once your get your theme selected
#18
06-02-2015, 09:45 PM
Finally got around to fixing the passenger door bushings
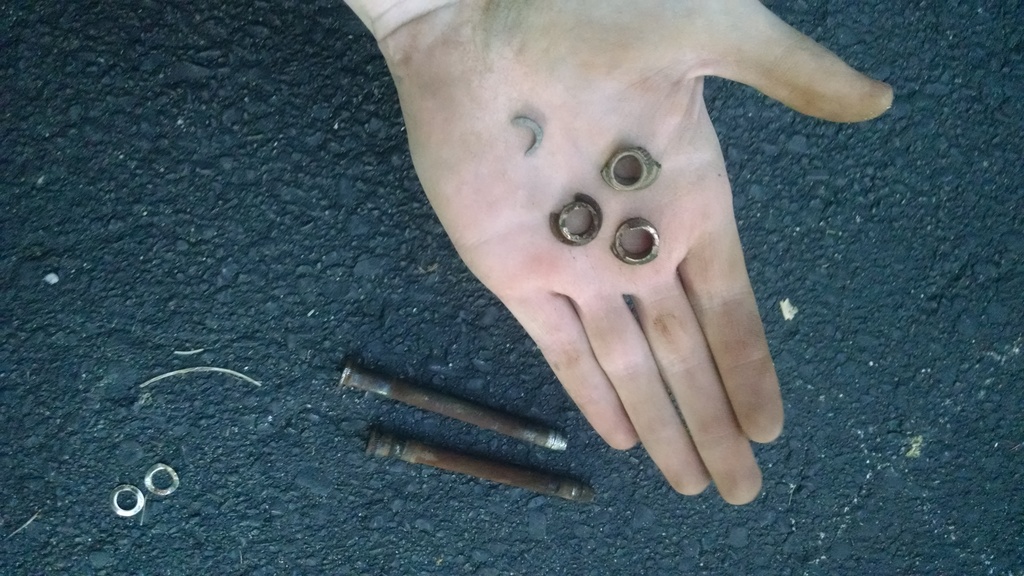
There are the old bushings.... or what is left of them
And now she's back together and works without squeaking or sagging. The downside is I was going to do both the passenger door because it needed it and the driver side door as preventative maintenance; unfortunately I broke a couple of the bushings while installing them in the door, so I had to use the bushings kit I had bought for the driver side. So thankfully I had spare parts on hand so I could finish the project, but unfortunately I didn't get the driver door done. Though after all that I don't think I will be doing that door anytime soon. Replacing the bushings on these vehicles suck.
Also haven't gotten the door spring back in as of yet. That one baffles me because i cant compress it enough to replace it in the door
Last edited by tenorsaxdude; 06-02-2015 at 09:53 PM.
#19
06-04-2015, 01:08 AM

My dad and I had fun with that one! I think we compressed it with a crowbar while it was in position on the door part along with a really beefy screwdriver to wedge it the rest of the way. It was an ordeal.
#20
06-04-2015, 04:36 PM
An ordeal it was. Many "automotive" words were used haha
By the time I get around to the next door, I now know what I'm doing and what tools I will use differently haha.
Next time:
-I'll use a GM Door Spring Tool
-Use a bolt and washer as a press surface for the bushings rather the bushing itself
-More beer
By the time I get around to the next door, I now know what I'm doing and what tools I will use differently haha.
Next time:
-I'll use a GM Door Spring Tool
-Use a bolt and washer as a press surface for the bushings rather the bushing itself
-More beer