When you click on links to various merchants on this site and make a purchase, this can result in this site earning a commission. Affiliate programs and affiliations include, but are not limited to, the eBay Partner Network.
1999 Blazer 4wd LS Brake booster / ABS Unit removal
How to remove the ABS unit and master cylinder while still connected to each other, to prevent air from entering the ABS pump (so you will not have to buy a scan tool).
Symptoms of my bad brake booster:
- A loud air sound near the brake pedal when I press the brakes.
- When pressing the brakes, the idle starts fluctuating.
- When brakes are pressed, the O2 sensor at Bank1 Sensor3 reads lean ( .2 volts) and the short term fuel trim jumps to 30%
( This causes your engine to increase fuel intake to compensate for the lean condition, when you are waiting at stop lights).
- Brakes do not work well during the first minute of driving.
Do not disconnect the master cylinder lines to the ABS pump!
You will be disconnecting the top 3 lines only and plugging them with fittings. Always keep the reservoir higher than the top 3 fittings on the ABS to prevent air from entering the ABS.
Under the driver side fender, you will have access to 2 lines which must be disconnected to allow the 2 lines (closest to the booster) to be moved out of the way.
The coils of the ABS (out) rear brake line, furthest from the booster are not in the way. (2 bottom coils in front of the booster).
ABS unit output lines on top of the ABS unit:
Top- front caliper
Middle - front caliper
Bottom - rear brakes L/R
You have to use a steak knife to cut the padding that covers the booster bolts.
DO NOT CUT PAST THE PRE-CUT LEFT SIDE OF THE SQUARE. (Because you will a cut a wire that is behind the padding!) (It is already pre-cut, there are small sections that need to be cut).
Just to be clear, the wire is 1/4 of an inch to the left of the pre-cut out square, BEHIND the padding. You can put your finger behind the padding and you will feel the wire, so be careful.
A diamond dremmel bit will cut a hole through this metal. The side of the dremmel bit is what cuts through the metal. The metal is only about 1/8 inch thick.
The metal is a honey-comb structure. If you run your finger behind it , you will feel the parts that you will not be able to cut through.
Once you get a small hole through the metal, push the dremmel bit through and use the side of the bit to cut the hole larger. It will be much faster once you get the dremmel bit through the hole.
This will allow you to remove the bolt easily . The socket is a 15mm MID socket which is about 2 inches in length. (shorter than a normal deep socket)
Dremmel bit I bought from Lowe's. It will literally eat a hole big enough in about 5 minutes.
Driver side fender well . Access to the front caliper lines. 14mm wrench needed
After removing the lines inside of the driver side fender well, the 2 front brake line coils will move out of the way of the booster.
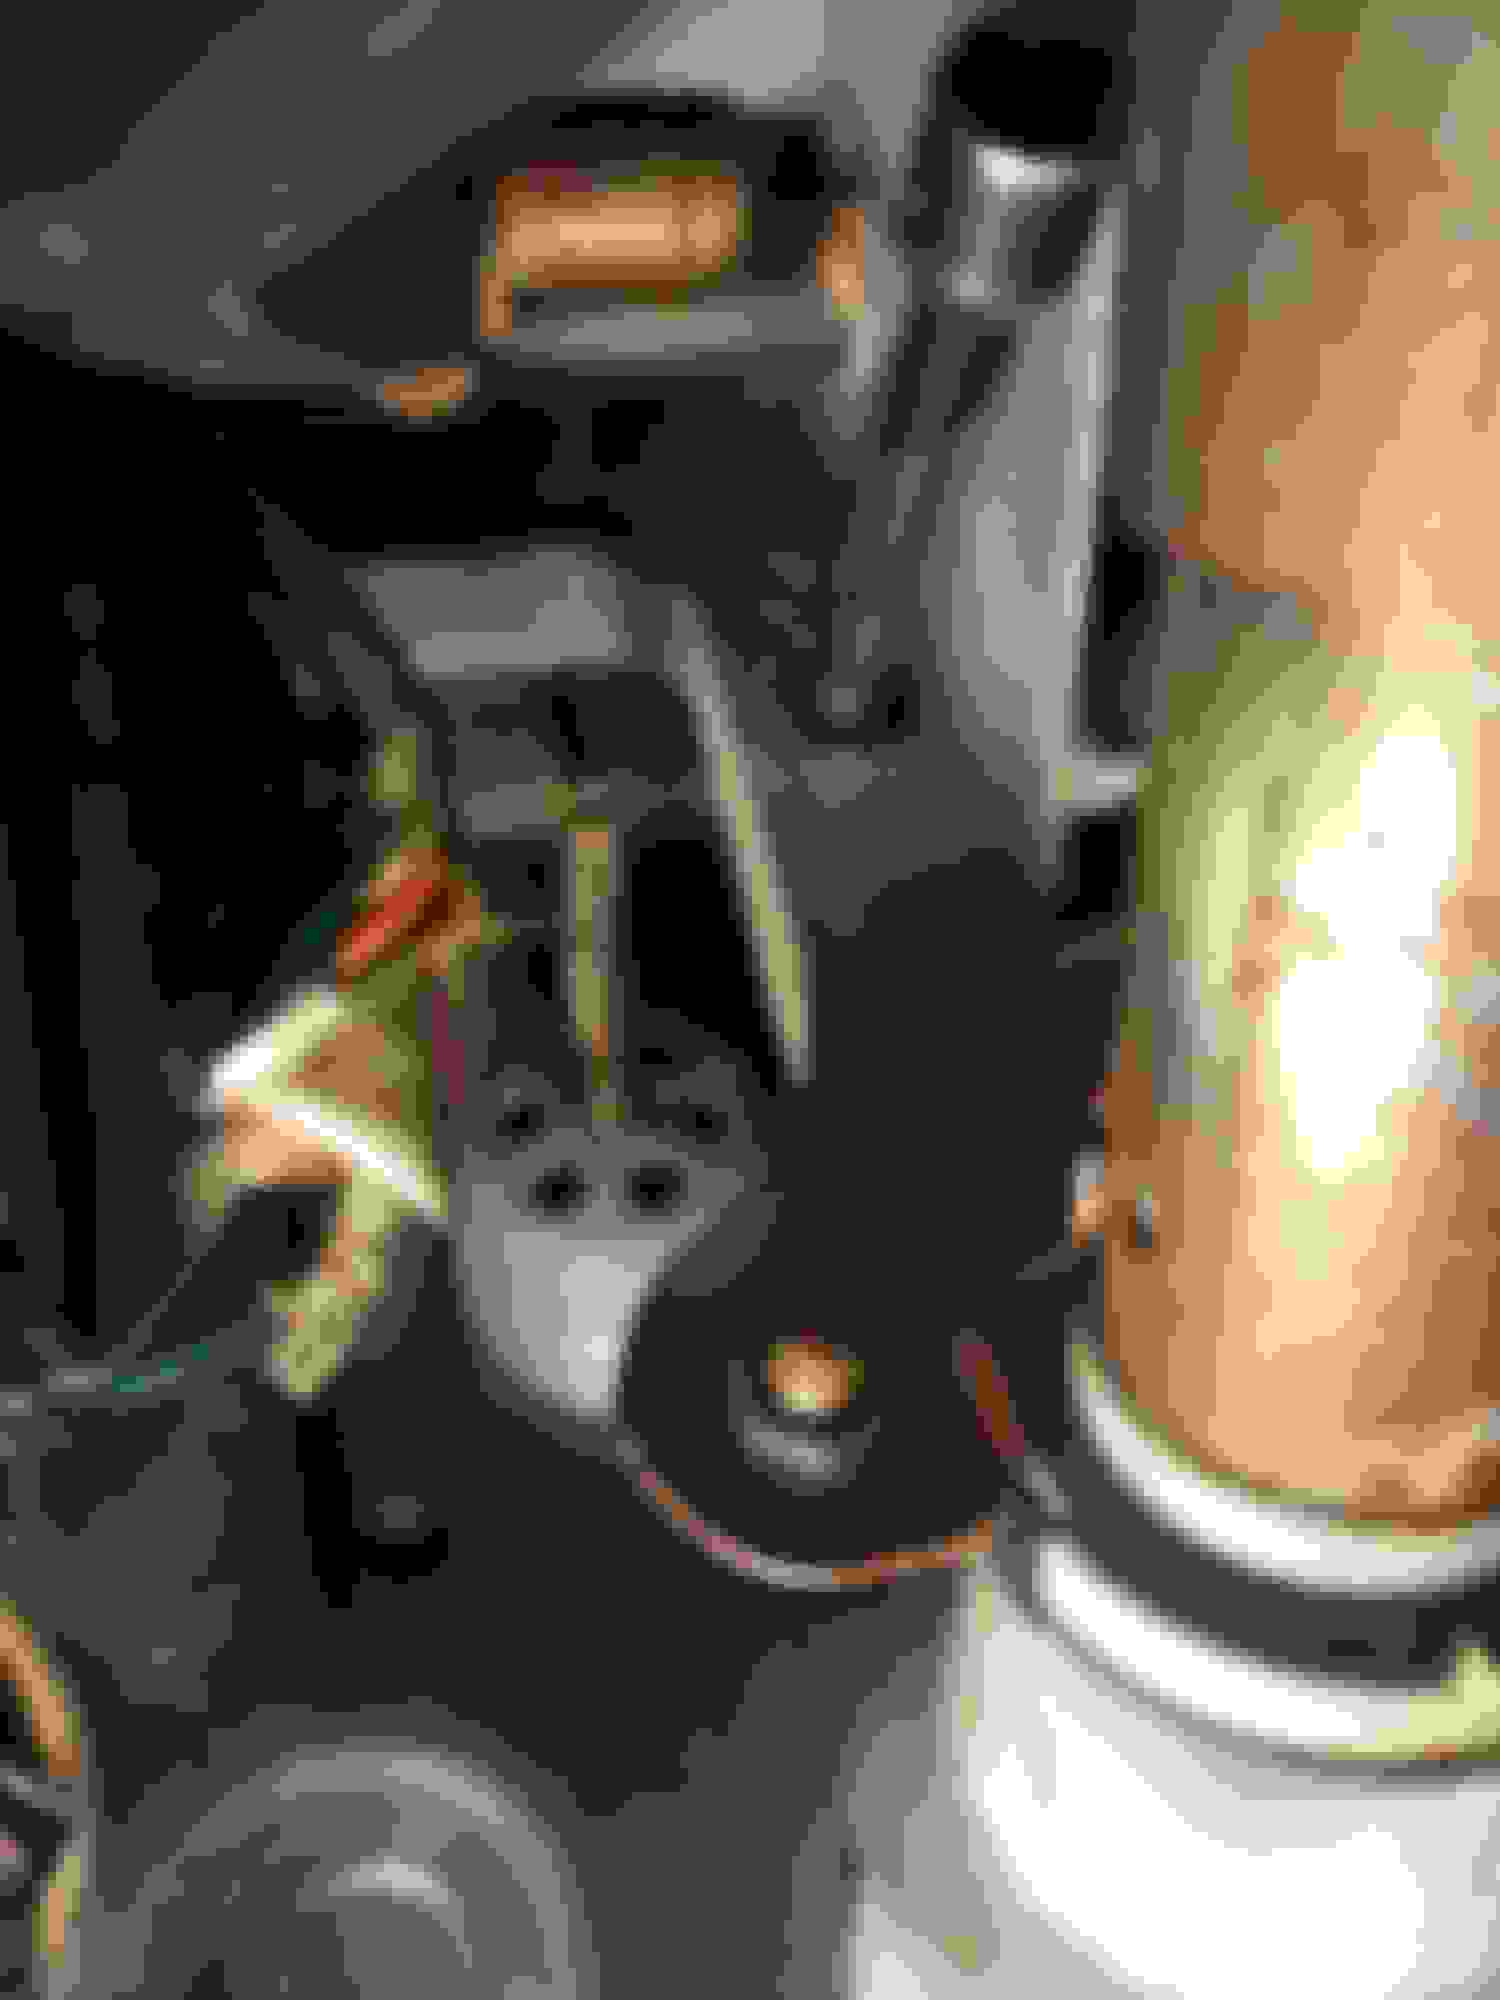
The most challenging part of the job is cutting the two BLUE locking tabs for the wiring harnesses. All 3 ABS wiring harness plugs must be removed BEFORE lifting the ABS and master cylinder out of the engine bay.
I used a small mirror and a pair of small wire cutters.
If you cannot do this , try disconnecting the small plug on the bottom of the picture (easy one). Have your friend lift the abs unit and master cylinder 4 inches up while you remove the 2 pain in the *** wiring harnesses.
When lifting the ABS out, the master cylinder reservoir must be higher than the output fittings on the ABS.
When storing your ABS module, be sure the reservoir is higher than the output ports of the ABS unit.
Remember when placing the unit back inside of the engine bay, The RED and YELLOW lines need to be placed in between the two input lines from the master cylinder before fully placing it inside the engine bay.
The sizes of the plug fittings are:
blue 9/16-18.......yellow 1/2-20......red 7/16-24
Autozone has a master cylinder bleeder kit part # 13911. which contains all fitting sizes needed, you can use hot glue to plug them up but you need to leave 1/4 inch space on the inside-end of the fitting, (the side that screws into the ABS unit).
I bought my fittings on ebay from the ebay store "Musclecitymusclecar" aka (InlineTube.com)
After connecting all lines back together, first you want to gravity bleed the 2 front calipers about 1/2 cup of fluid each. NEVER let the reservoir run too low!!!
On the Output brake line on top of the ABS unit furthest from the booster (rear brakes) , leave the line loose about 2 turns to allow fluid to gravity fill the brake line , ( you will hear air escaping , small pop sounds) for about 5 minutes. Then tighten the nut.
Remember we never disconnected the rear brake lines other than at the ABS unit. We only disconnected the lines under the driver fender.
Now bleed all output ABS lines at the ABS unit flare nut fittings . (The 3 lines at the top of the ABS unit)
-There are videos on youtube about bleeding at the master cylinder flare nuts when replacing the master cylinder without having to bleed all four wheels. This is the same method you will use at the ABS unit output flare nuts. Loosen 1/8 turn is sufficient for bleeding. Remember to tighten the flare nuts back before releasing the brake pedal or you will pull all kinds of air into the system.
Now bleed normally starting from the passenger front , then the driver front. Get all that air out.
Go ahead and bleed the rear brakes also, in case you didn't bleed the ABS correctly.
The pedal should be firm with the engine off.
Take a test drive and slam on the brakes to activate ABS a few times.
Basic Instructions: (Combine it with the instructions in between the pictures).
Removal-
1. Remove Fuses- SIR , Brake Light fuse, ABS fuse 10amp. ABS fuse 60amp (under hood). Use a wire brush and windex to clean the top 3 brake line Flare Nuts on top of the ABS unit. Remove all grease and dirt from the threads.
----Remove the black panel under the steering wheel. There is a light bulb screwed onto it.There is also a OBD2 plug screwed onto it.
----Remove the emergency brake cable end from the metal lever. Now remove the lower panel from under the steering wheel. The emergency brake cable is still connected to your panel, the cable will slide out of the hole. Be careful.
2. Remove the 2 front tires, support vehicle with jackstands. Press on the brake pedal to release any remaining vacuum.
---- Loosen the Master Cylinder mounting bolts, pull out the cyclinder a little and confirm there is no fluid leaking into your booster.
---- If there is a leak, please replace master cylinder and bleed all air out of the master cylinder at the flare nuts that connect to it. If done proplerly, you will not have to bleed at all 4 wheels.
3. Remove brake pedal retaining clip. Use a flathead screwdriver to pry the lock open while pulling the locking tab towards the floor. The locking tab will fly off so don't lose it.
---- Now remove the brake sensor wiring harness. Now push the sensor to the right until it slides off the shaft. The booster rod will slide off with it. Remove brake booster bolts.
4. Remove the 2 front brake line fittings under the driver side fender well. Remove the mounting brace for those 2 lines located under the master cylinder. 13mm bolt.
5. Remove the black plastic brake line locks located under the master cylinder.
6. Remove the master cylinder mounting bolts, pull master cylinder off the booster and move the cylinder towards the engine. Leave the master cylinder connected to the ABS unit during the whole procedure.
7. Remove the top 3 brake lines on the ABS unit, and plug the ABS with fittings. Allow it to slowly leak fluid for 3 minutes, then tighten the plugs so there are no leaks.
8. Remove all 3 wiring harness plugs from the ABS unit. Remove all 3 bolts holding down the Relay/Fuse Box . The fuse box is bolted onto the ABS unit.
---- There is also 1 wire harness holder clip attached through a hole at the bottom of the ABS Unit that you need to poke out.
---- Lift the ABS Unit and master cylinder out of the engine bay. Be sure the reservoir is always higher than the output fittings on the ABS to prevent air from entering.
9. Remove the vacuum hose. Now remove the brake booster.
Install:
1. Install new brake booster and 15mm nuts. Also add loctite on the booster threads near the firewall.
2. Install ABS unit and Master cylinder. Do not install mounting bolts yet.
3. Attach the brake line fittings under the driver side fender well. Do not tighten yet.
4. Now install all ABS wiring harness, then tighten down ABS mounting bolts.
- Now remove plugs from ABS unit. Install the top 3 lines to the ABS unit and tighten. Tighten down the fitting under the driver side fender also.
----DO NOT LET THE BRAKE FLUID RESERVOIR DROP BELOW HALFWAY!!!!
5. Gravity bleed the 2 front calipers for 15 minutes. 1/2 cup of fluid each. Then tighten caliper bleeder screws. (During this gravity bleed the fluid level is going to drop so fast. Please keep the reservoir full at all times. I'm warning you! )
6. Loosen the rear brake line flare nut to the ABS unit 2 turns. It is the flare nut furthest from the brake booster. Push on the brake line a little bit towards the engine while its still connected to the ABS . Let fluid gravity-fill the line, u will hear small clicking sounds from air escaping. Do this for 5 minutes. Now tighten the fitting.
7. Loosen all 3 top lines on the ABS 1/8 turn. Bleed fluid out by pressing the pedal in and hold the pedal. Do not let the pedal back up. Now tighten all 3 fittings immediately. Now let the pedal back up slowly. Wait 1 minute. Re-open all fittings 1/8 turn.
Press the pedal in and hold. Re-tighten fittings. Release pedal. Do this 6 times.
8. Now , again, Loosen the rear brake line on the ABS unit 1/8 turn. Bleed with the pedal again 5 times/cycles . Do not release the pedal while the fitting is loose!!!
9. Now bleed the front passenger caliper until no air bubbles come out. Then do the driver side caliper.
10. Now bleed the passenger rear. Then the driver side rear.
( Standard procedure is passenger rear first, then driver side rear, then passenger front, then driver front. BUT most of the air is in the front lines so I did those first. You can do it whatever order you wish. If you do the rear first, make sure you let that pedal back up real slow).
11. The pedal should be firm with the engine off.
12. Install brake sensor and retaining clip. Install all fuses.
13. Re-install the black panel under the steering wheel before installing the front panel. First you want to screw on the OBD2 plug and light bulb.
14. When re-installing the lower front panel under the steering wheel, first you want to slide the emergency brake cable in, (TO THE LEFT of all wiring inside the hole). Don't screw up the wires inside!!
I used a pvc pipe to connect my driver seat to the brake pedal for bleeding. the seat moves forward with a motorized switch. Cut grooves on one end of the pvc pipe so it does not slip away from the front part of the driver seat. If the pedal moves back up by itself during bleeding, you will introduce air into the system.
More detailed instructions are located above.
Dont forget to disconnect the 60amp ABS fuse in the engine bay, the 20amp brake light fuse in the engine bay, the 15amp SIR airbag fuse and the other 10amp ABS fuse in the fuse box by the steering wheel.
I've heard of people leaving the ABS Unit in and cutting the Brake booster bolts and bending/pushing the brake lines out of the way. AND removing the steering column to have easier access, but that is not necessary.
Other Blazers 2wd have a different setup which allows easier access to the brake booster bolts and the ABS unit is located towards the bumper. But the 4WD LS version is the most complicated one. I hope this helps you DIY'ers out there!
Great write up! Thanks so much for putting the effort into doing this. It is posts like this that had me become a member here.
I'd like to suggest a couple edits though to improve readability:
1) At first I thought your 2nd and 3rd pictures were upside down until I realized that they were taken form inside the passenger compartment. You might make a note of that in your captions.
2) You might consider using a program like MS Paint to add marks on the pictures to identify the parts to which your caption is making reference.
Again thanks for spending the time to properly document this procedure that would not be covered in at least the official GM manuals.
 11-21-2018, 06:32 AM