When you click on links to various merchants on this site and make a purchase, this can result in this site earning a commission. Affiliate programs and affiliations include, but are not limited to, the eBay Partner Network.
How to: Ignition Switch Replacement - DISCUSSION THREAD
Article Submissions/DiscussionsHave a Tech topic you would like to submit? See something that needs to be modified in a current Tech article, look here for the discussion thread.
How to: Ignition Switch Replacement - DISCUSSION THREAD
How to: Ignition Switch Replacement - DISCUSSION THREAD
Disclaimer: To replace this part, youll be working right up against the airbag system and wiring. Its your own risk to replace the switch, this how-to will just help.
Applies to 98+ Blazers. 95-97 blazers should be the same, but will need an extra tool to remove the switch.
Tools needed
-7mm socket
-10mm deep well socket
-T25 torx bit
-4mm socket
-various sized extensions to make life easier
**95-97 may need a tamper-proof torx bit**
-Zipties
Installation Time:
1-2 hours (dealer book time is 1.5 hours)
A pretty common issue with 2nd gen blazers is a failing or failed ignition switch, which triggers the Passlock system. Symptoms would include a randomly illuminating Security light in the gauge cluster, or a no start with a flashing security light. The latter is also accompanied by a 10 minute time out period where the injectors will not fire.
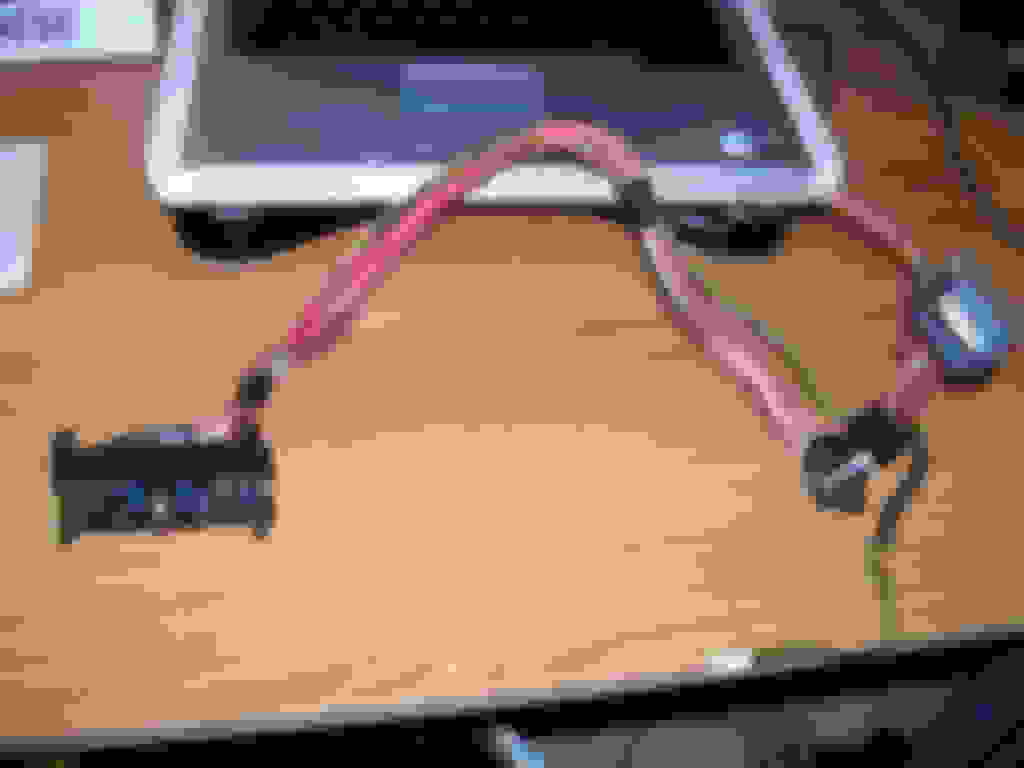
First, the part. The ignition switch is the wiring harness with the rotating cams that gets turned by the key in the cylinder. Its this wiring and cam switch that needs to be replaced. Looks like this:
Runs $60-80 online or at your parts store.
First you need to disable the airbag system just to be safe. The airbag wire runs next to the ignition switch. The book method for disabling the SIR system is HERE thanks to swartlkk, but all I did was disconnect the battery and pull the SIR fuse (number 16). Its your call which one you do.
Then remove the panels beneath the column. Panels 1 and 2 are held on by 7mm screws and a couple push clips. Panel 3 is held on by (2) T25 torx screws.
Then remove panel 1 by removing the (2) 7mm screws holding in the OBD port and sliding the connector back through the opening.
To remove the lower cover on the steering wheel beneath the multifunction switch, you have to get the tilt wheel lever out. Just use a small screw driver and push in on the tab on the wheel side, it will pop out.
Next you can remove the steering column brace. You dont have to remove it, but it makes the following steps much easier. It is held on by (4) 10mm nuts. But you need a deep well socket as the nuts go down a rather long captured bolt. Remove the bolts and the brace will pull out, giving you access to the wiring.
Remove the bolts (10mm deepwell, with a sizeable extension to get back at them):
Once the brace is out, move down to the kick panels to remove the lower end of the ignition switch.
Youll need the same 7mm socket to loosen the connector. Then unplug it.
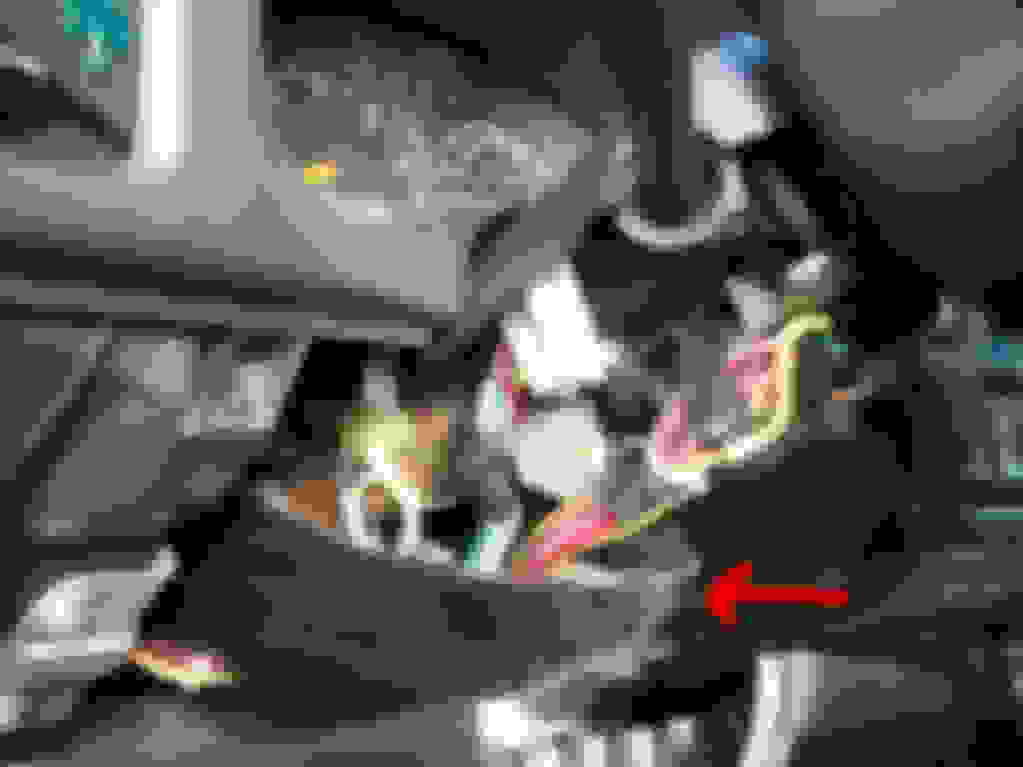
Next separate the 3 plugs. To do this, use a small screw driver and lift the flat connectors out past the plastic catch holding them in. They slide down out of the plug. Here you can see the ign harness connector without the flat plugs:
Separate the plugs:
Now thats done...move back to the ignition tumbler.
Remove the top cover of the steering column. This little sucker is held on with a MALE TORX...or something...
but unless you have a female torx set lying around, youll need a 4mm socket with an extension to get up to it. Remove that and you can finagle the cover off. It gets stuck under the backside of the wheel itself.
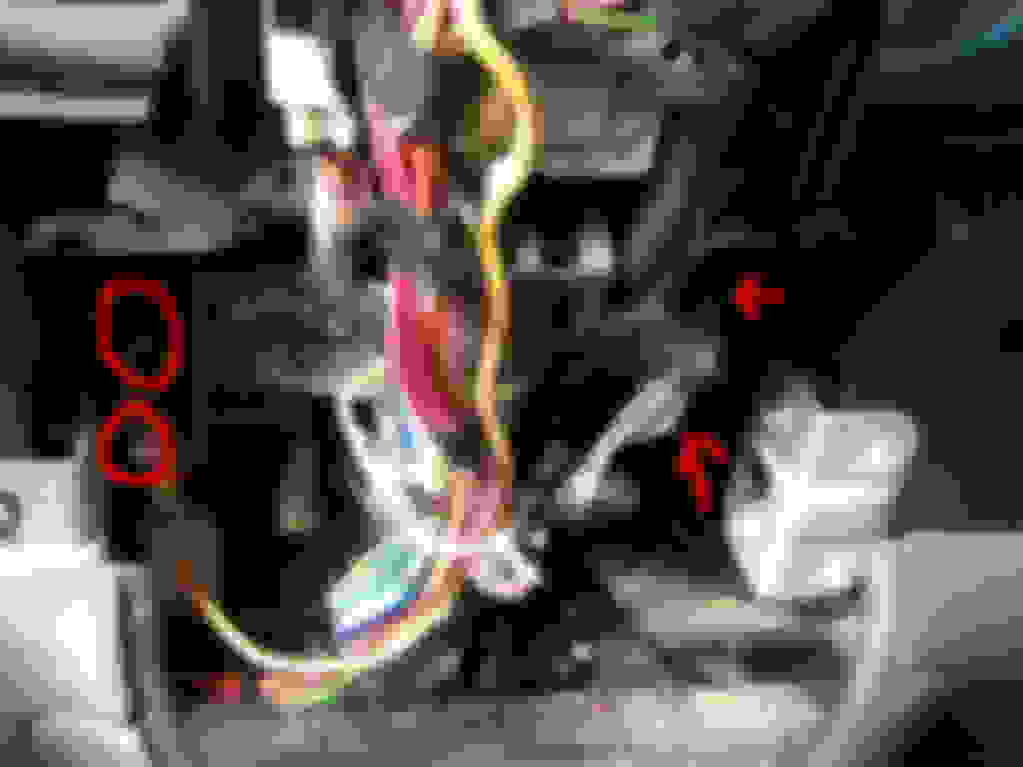
Next remove the switch itself. First remove the two wires on the top of the key tumbler. Ones a flat connector that pulls out, the other you have to rotate 90* and it will pop out. Then drop the switch box itself out. There are two spring loaded catches that hold it in (shown in red). Use a small screw driver to push them back into the column and the box will slide out of the column. This is where a 95-97 blazer will need a tamper-proof torx to remove the switch.
Now cut the wire ties and unhook the plastic connectors holding the harness to the column. BE VERY CAREFUL OF THE THICK YELLOW WIRE. THIS IS THE AIRBAG WIRE.
Now you should have the old switch out. Install the new switch at the floor first.
Reconnect the flat plugs to either side.
Plug into body harness, making sure its right side up. The top only has 2 pins, the bottom uses all 3 across. Just match em up.
Tightendown the 7mm bolt
Run switch up column, installing into notch in colum to support the pigtail. IMPORTANT STEP: You have to match up the teeth on the switch to the same position as the key tumbler. If you dont, youll be a position off, and your key wont turn to the crank position! I found the easiest is to roll the switch all the way back, and put your key into ACC position.
Plug switch box up into column.
Reattach Passlock wire (flat one) and the key alarm connector (the one you have to plug in then rotate 90* to install)
Ziptie pigtal to column, close plastic connector.
Reinstall trim panels, ensuring that the AIRBAG WIRE DOES NOT GET PINCHED or in a position to rub.
Reconnect battery, install fuse 16, and perform the passlock relearn
RE: How To: Ignition Switch Replacement DISCUSSION
Mine had tamper proof torx screws holding the switch in is that what yours had and if so list the size cause I don't remember I think T-6and itis hard to find the socket.
RE: How To: Ignition Switch Replacement DISCUSSION
Good write-up, just to clear it up, the 95-97 models use an INVERTED torx screw, not a tamper-proof torx. The size is E4, and you have to have a long (deepwell) E4 socket to clear the ignition switch's case.
RE: How To: Ignition Switch Replacement DISCUSSION
I wish mine had them I will get a picture and post both tamper proof torx head. If it were an inverted torx I could have used needle nose pliers to remove.
RE: How To: Ignition Switch Replacement DISCUSSION
Not sure how they grade the inverted torx screws, but would E4 be the same as the inverted torx I included the pic of? It needed a 4mm socket, and such E4 sounds like it could make sense.
Pics of the tamper-proof would be great mrafindley. I will include and credit you.
RE: How To: Ignition Switch Replacement DISCUSSION
I will tear my column appart and get the pics to you this weekend as i have to tear into the dash anyway so a cpl extra screws won't kill me. I am not good at posting pics but i think i can figure it out. Or maybe we will have one come into the shop this week that we will have to tear into then i can get the pics sooner.
 01-13-2009, 09:58 PM