
Aiming new headlight fixtures

Thread Starter
|
Starting Member
Joined: Aug 2010
Posts: 111
From: Twin Tier region of southern NYS

Ok, I have all these new lights installed but they are not aimed yet. My 4-day weekend ends tomorrow so I got to get them adjusted. I remember reading somewhere (in a garage years back perhaps?) about how to aim headlamps. You park in front of a wall and center them to a certain height on that. What I can't remember is how far from the wall I should be and how high my lo/hi light spots should be. Does anyone here know anything about aiming lights? Also, I need to aim the 4x4 lights as well. Are they a simple matter of pointing them straight to the wall. Should they have a slight downward angle?
Here are the lights in question (headlamps/4x4)
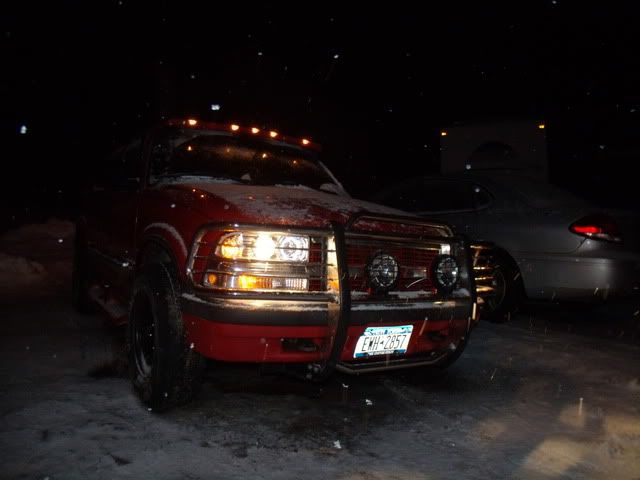
Here are the lights in question (headlamps/4x4)
Thread Starter
|
Starting Member
Joined: Aug 2010
Posts: 111
From: Twin Tier region of southern NYS
Found my own answer. Thought I'd post it for others;
http://www.carsdirect.com/car-repair...our-headlights
Step #1 Materials
For this job, you don’t won’t need many tools. All that you are going to need is a set of screwdrivers (flat head and Phillips head), a role of masking tape (the blue color is the easiest to see), a flat surface (like a wall) and a rag to clean up.
Step #2 Get the Car in Position
First, park the car just a few feet from the wall. You’ll want to be as close as possible to the wall, while still being able to move freely between the car and the wall. Turn on the headlights: the beams should shine on the wall in two distinct spots.
Step #3 Mark the Spot
Take out the masking tape and mark the position of each beam on the wall. It’s best to place the tape in a distinct X that crosses as close to the center of the beams as possible. Then, put a long string of tape connecting the center of each X. For cars with headlights that use dual filament bulbs, this is all you’re going to need. If you have a car with separate high beams, you’re probably going to need to mark the location of both the low and high beam lights. The easiest way to figure out your car’s configuration is to switch from low to high beams and see if another beam appears. In that case you’ll want to mark those spots too. Once the locations of all your lights are marked, move the car straight back about 30 feet from the wall.
Step #4 Locating the Aiming Screws
The headlights are adjusted up and down and side-by side using aiming screws located on the headlight housing. Pop the hood and take a look. Some cars have aiming screws that are easily accessible, and others’ are harder to find. Look around the headlights carefully, the aiming screws generally stick out quite a bit more than the others. If you’re having trouble locating the screws, you might want to go to a car parts store or auto shop and have the technician there help you locate them.
Step #5 Aiming the lights
Now it’s time to aim the lights. It’s actually a pretty easy job. The passenger side headlamp should fall directly on the X. If it’s off at all, simply turn the screws left or right until it’s in the right place. The driver’s side lamp should fall about a 1/4th the distance between the two X’s away from the left side (so you’re not blinding other drivers). For cars with dual beams, simply repeat the process with high beams.
Still not sure about the fog/4x4's. Generally I won't be using these on the road. If the weather is particularly precipitous I might need to.
BF Veteran
Joined: Oct 2007
Posts: 2,871
From: In the Colorado mountains
You aim your offroad lights where ever you want them, as in what is most beneficial to you at night offroad. I don't suggest ever using them onroad, most police will pull you over in a heartbeat.
Thread Starter
|
Starting Member
Joined: Aug 2010
Posts: 111
From: Twin Tier region of southern NYS
I see them (grille mounted) used a lot on Jeeps and trucks around here. Although I don't know if these people have had tickets in the past for that.
Thread Starter
|
Starting Member
Joined: Aug 2010
Posts: 111
From: Twin Tier region of southern NYS
I think that's how people here get away with that. I don't have stock fogs, just the 4x4 lights. If I aim them low with the lo beam I should be ok. thanks for the tip. Didn't know about that rule. NY seems lax on this kinda thing, but they have laws about everything else. WTF!?

Thread
Thread Starter
Forum
Replies
Last Post