3D Printing - what a time to be alive!

#12
 04-16-2017, 01:59 AM
Do you have a heated bed? What are you using to keep pieces stuck to the bed? I got a Monoprice Duplicator 3 about a month ago and absolutely love it. I have spent the entire day playing and thinking about all the possibilities. I also have done a lot of upgrades but hate the fact that I start a several hour print only to come back and find the piece has come loose from the bed��Good luck!
#13
04-19-2017, 11:47 AM
Join Date: Apr 2014
Location: Lake City, Florida
Posts: 1,968

It does have a heated bed. I'm just using painters tape. Wipe the bed down with an alcohol wipe, lay the tape down, then wipe the tape down with another alcohol wipe, for me PLA sticks great to it (PLA is all I've been using so far, haven't tried ABS yet). So long as the print comes off without taring tape, I use the same tape layer for multiple prints. I've only ever had one print break loose but it had a VERY small bottom surface and I was worried about it from the start to be honest...
#15
05-28-2017, 11:05 AM

I built my Tevo Tarantula a month or so ago. For a sub-$200 base price with about $150 in upgrades, this thing can produce amazing quality. I use a 4mm thick borosilicate glass on the bed with a layer or two of cheap hairspray and have had great success with print adhesion.
The attached pictures are of the parts I printed out yesterday. A few updates for the printer, some fidget spinners for my boys, and a functional hex adapter for our flatbed trailer axle oil caps (we already had a 2.5" socket and the caps are 2.25").
The attached pictures are of the parts I printed out yesterday. A few updates for the printer, some fidget spinners for my boys, and a functional hex adapter for our flatbed trailer axle oil caps (we already had a 2.5" socket and the caps are 2.25").
#16
05-28-2017, 01:10 PM
Join Date: Apr 2014
Location: Lake City, Florida
Posts: 1,968
Very cool swartlkk! You printing those hex adapters with ABS? Would think that PLA would be too fragile for actual tool usage.
#17
05-28-2017, 02:10 PM
It's 100% fill with the supplied PLA from Tevo. I haven't cracked open any of my ABS yet. It's a proof of concept for right now. The oil caps are plastic as well and do not have to be tightened all that tight. I'll give it a try tomorrow. Worst case scenario, I'll print it again in ABS.
#18
05-28-2017, 05:50 PM
Join Date: Apr 2014
Location: Lake City, Florida
Posts: 1,968
It's 100% fill with the supplied PLA from Tevo. I haven't cracked open any of my ABS yet. It's a proof of concept for right now. The oil caps are plastic as well and do not have to be tightened all that tight. I'll give it a try tomorrow. Worst case scenario, I'll print it again in ABS.
#19
05-28-2017, 06:50 PM
I think it was somewhere around a 40 minute print. 0.2mm layer height and 40mm/s print speed.
I just started a 5hr print that is an enclosure for the end of my power supply that will house a switch for the 120v AC power, a fan, and a voltage/amperage display with associated DC shunt. Designed it in Fusion 360 this afternoon and am printing it now. Attached is a screenshot from Fusion 360.
While I was waiting for my printer kit to be delivered, I read about people having trouble with the stock power supply so I ordered a . I also didn't like the fact that there was no power switch so I ordered and while I was at it, I ordered to keep tabs on the printer's power consumption. So this enclosure will mount to the open end of the PSU and house all of the internal wiring.
#20
05-29-2017, 12:17 AM
Join Date: Apr 2014
Location: Lake City, Florida
Posts: 1,968
I suppose that's not too bad, especially at .2 layer height. I usually just print at .4, haven't printed anything yet that requires such detail.
A switch box was the best thing I've made for the printer yet lol got so tired of unplugging and plugging it back in every time...
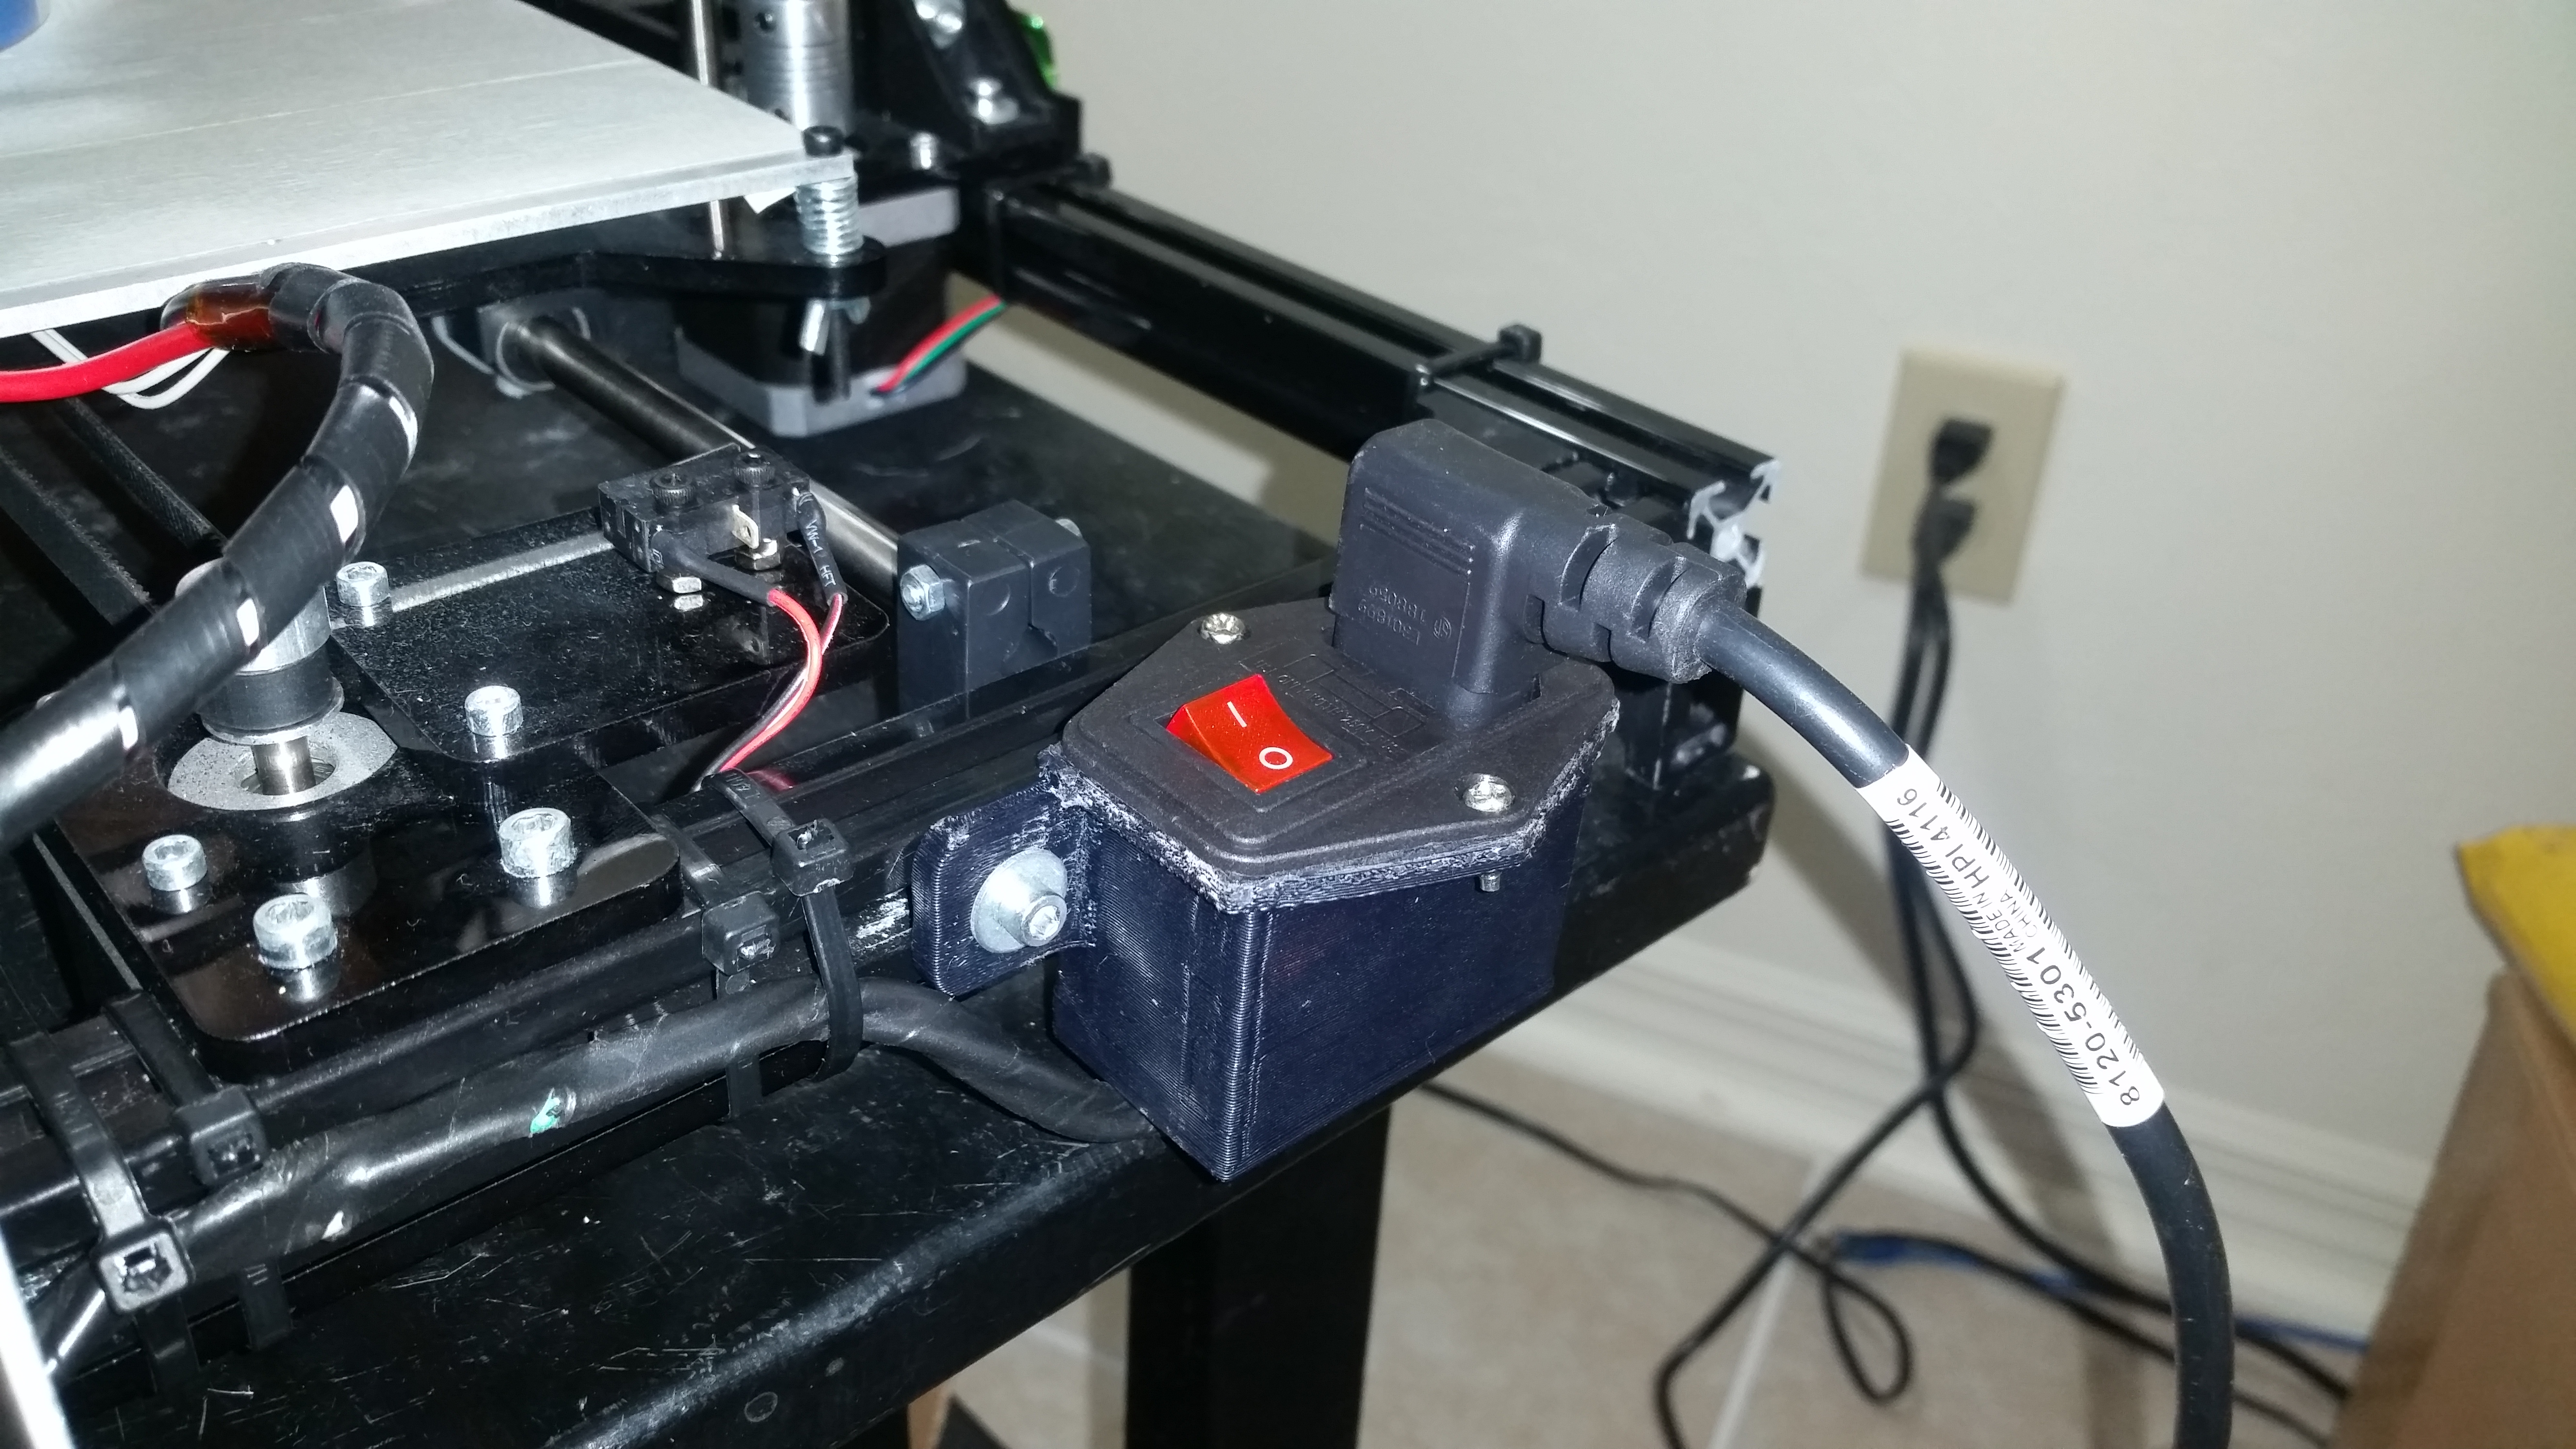
A switch box was the best thing I've made for the printer yet lol got so tired of unplugging and plugging it back in every time...