When you click on links to various merchants on this site and make a purchase, this can result in this site earning a commission. Affiliate programs and affiliations include, but are not limited to, the eBay Partner Network.
A few months back on either Blaze The Wondercar's 2nd or 3rd trip to the dunes, she developed a radiator leak. Luckily Lake Michigan was able to spare a few gallons to get her home.
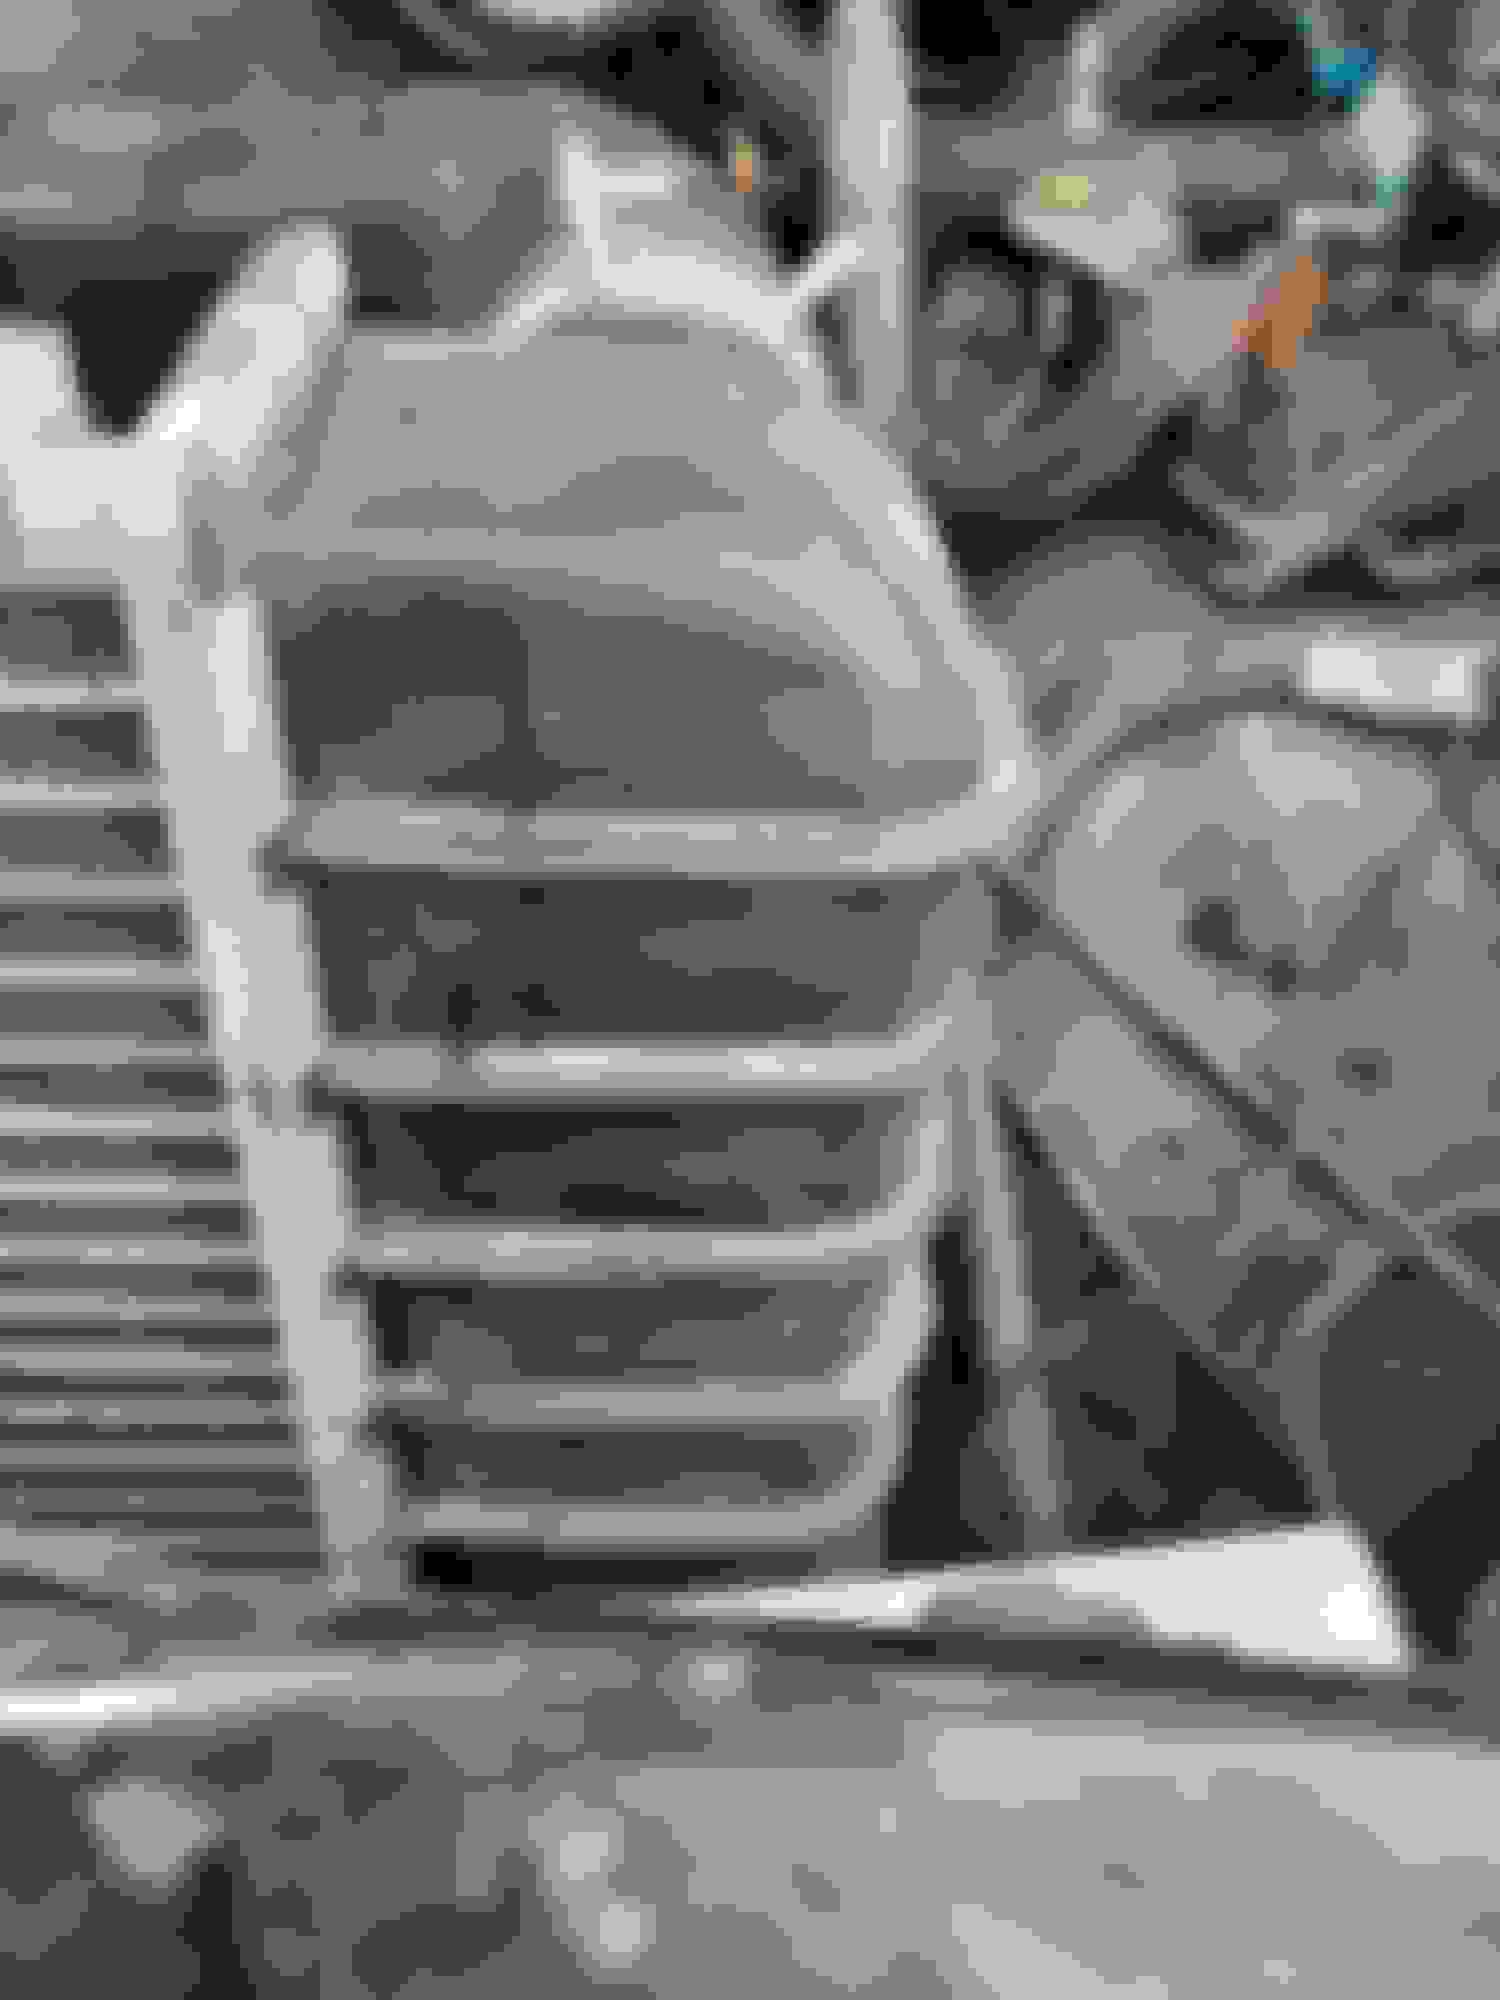
Finding the leak was easy as was the repair. The leak was easy to find. All better thanks to JB Weld radiator Weld.
The hardest part was taking my dremel to the 2 small cracks and making them bigger.
I took videos but I don't see how to upload them.
The other challenge was the speed at which this stuff hardens. You don't have much time once you mix the epoxy. Now that I know how it works, I probably would have done this repair in 2 stages using half of the epoxy at a time.
All in all this JB Weld product worked great! I think I got it at Advance.
I highly recommend.
A few months back on either Blaze The Wondercar's 2nd or 3rd trip to the dunes, she developed a radiator leak. Luckily Lake Michigan was able to spare a few gallons to get her home.
Finding the leak was easy as was the repair. The leak was easy to find. All better thanks to JB Weld radiator Weld.
The hardest part was taking my dremel to the 2 small cracks and making them bigger.
I took videos but I don't see how to upload them.
The other challenge was the speed at which this stuff hardens. You don't have much time once you mix the epoxy. Now that I know how it works, I probably would have done this repair in 2 stages using half of the epoxy at a time.
All in all this JB Weld product worked great! I think I got it at Advance.
I highly recommend.
Interesting!.....I am on my third radiator and every time the leak has been the seal between the plastic tank and the aluminum core; only way for me to fix is to replace.
Good to read that someone was able to "fix" one of these radiators instead of replacing.
You can have a radiator shop replace the seal between the tank and core. They look kind of like a valve cover gasket only smaller. I'm lucky, I have the tools to replace my own.
I was told in the past by a radiator shop that they could not fit it....although that was quite some years ago....may be the shops have the necessary tools/equipment now.
You have the tools....would like to see what tools are needed to do this.
I'll get a pic of the hand tools if takes to remove a tank hopefully I can post them. There is also a press that is required to hold the core while the tank is pressed down on the gasket that you mount between the core and tank.
Here's the basic tools for tank removal and replacement. Bare in mind it takes more than this to do the job. You have to have a fixture that holds the core and tank.
The fixture applies pressure to hold the tank in place while you crimp it back into place. Then you have to pressure test the assembly.
I have watched a video on how the plastic tanks are attached to the core. It showed the machine that held the core and plastic tank in position then did the crimping. All automated of course; was a production facility video.
Will have to continue just replacing the radiator instead of fixing it......thanks for the picture.