DIY - Custom Sub/Amp box


So I was tired of the normal size sub box taking up my back on my blazer, so I desided to make my own custom box so I could get the room back.
Stuff needed for this:
-Sheet of 3/4" MDF board
-Drill
-Drill bit
-1.5" long wood screws (your choice)
-Wood glue
-Silicone
-Fabric (your choice)
-Wood clamps (big size)
-Saw
-Speaker wire
-Staple gun and staples
Here's a step by step on what I did to make it.
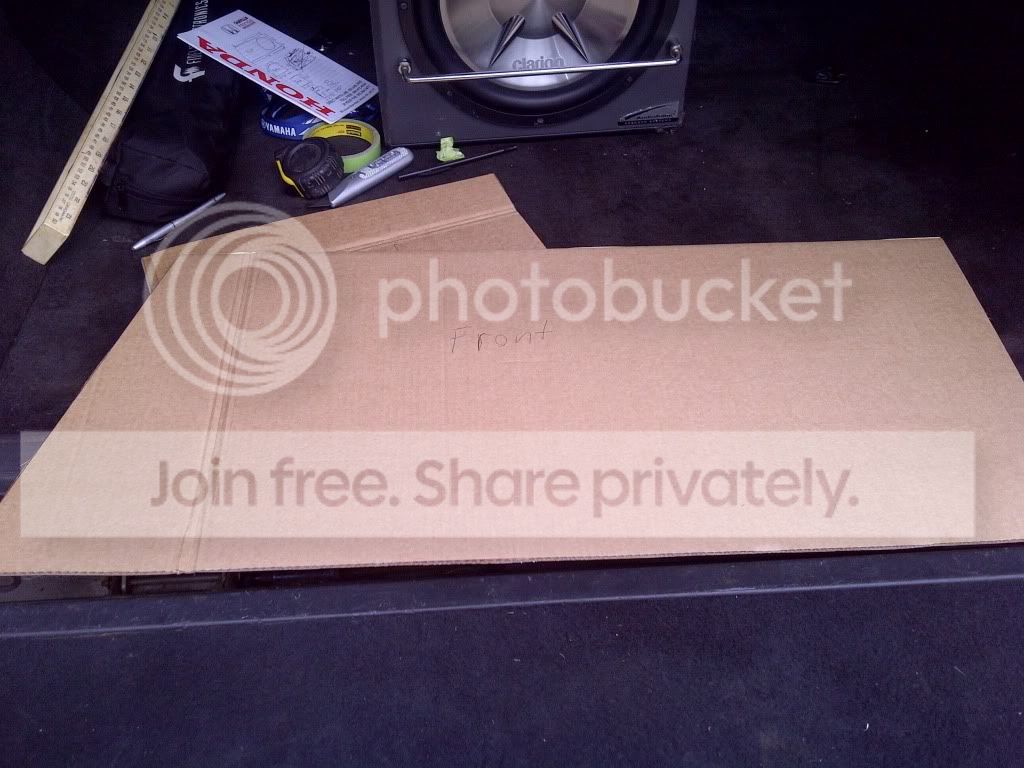
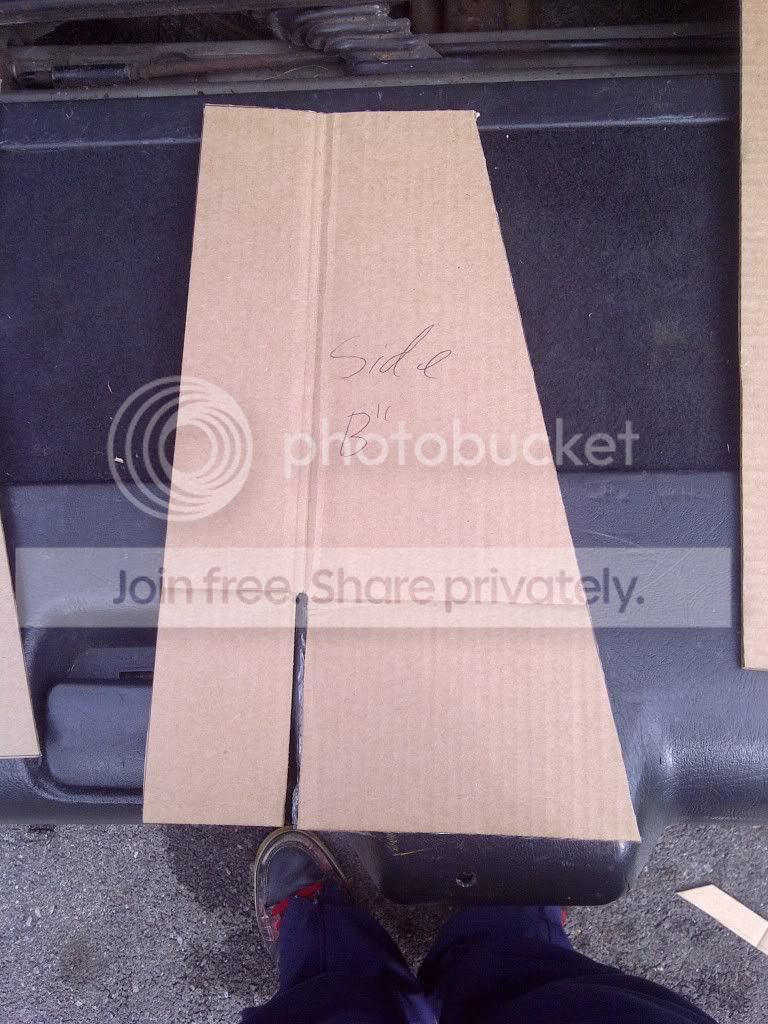
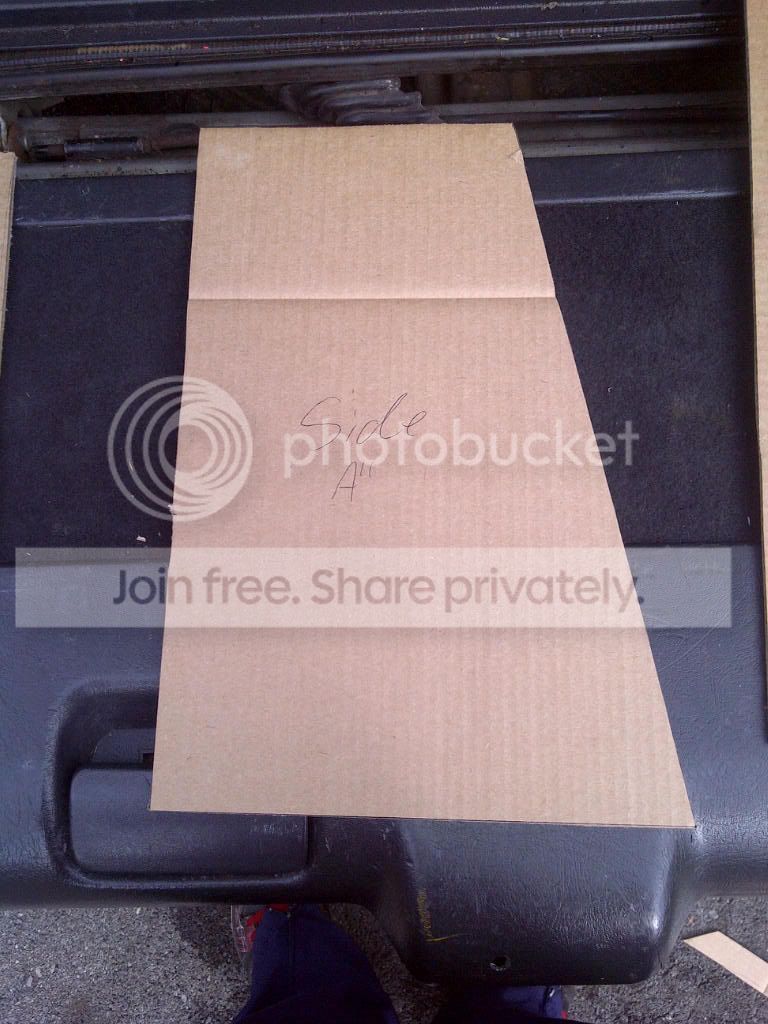
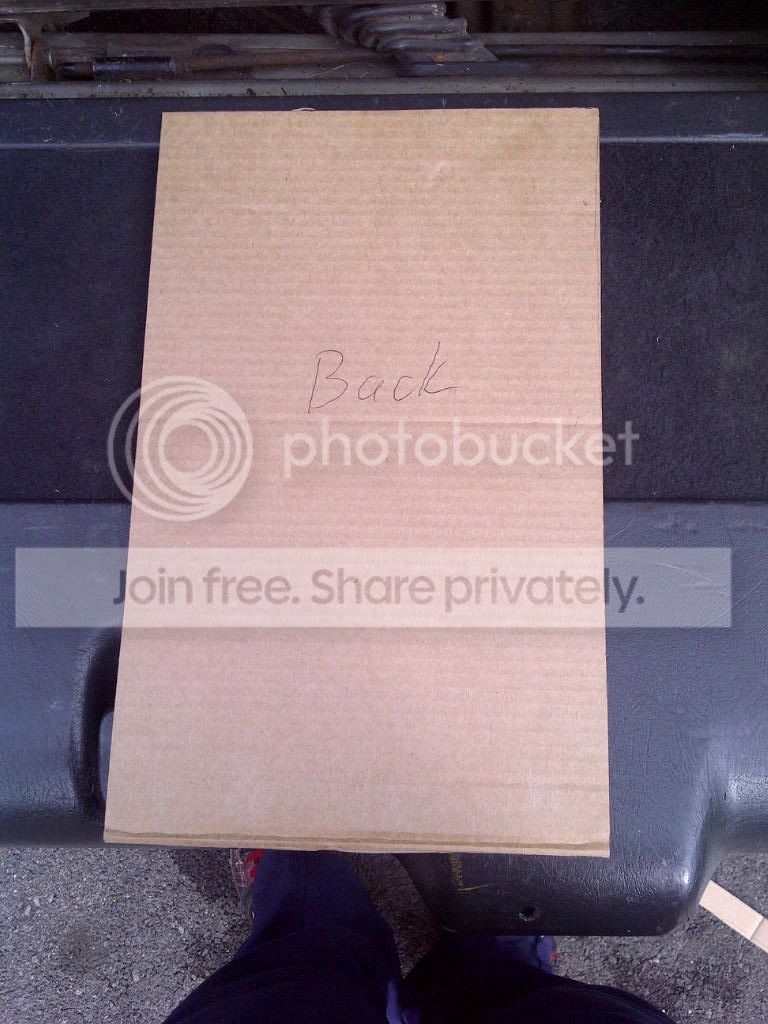
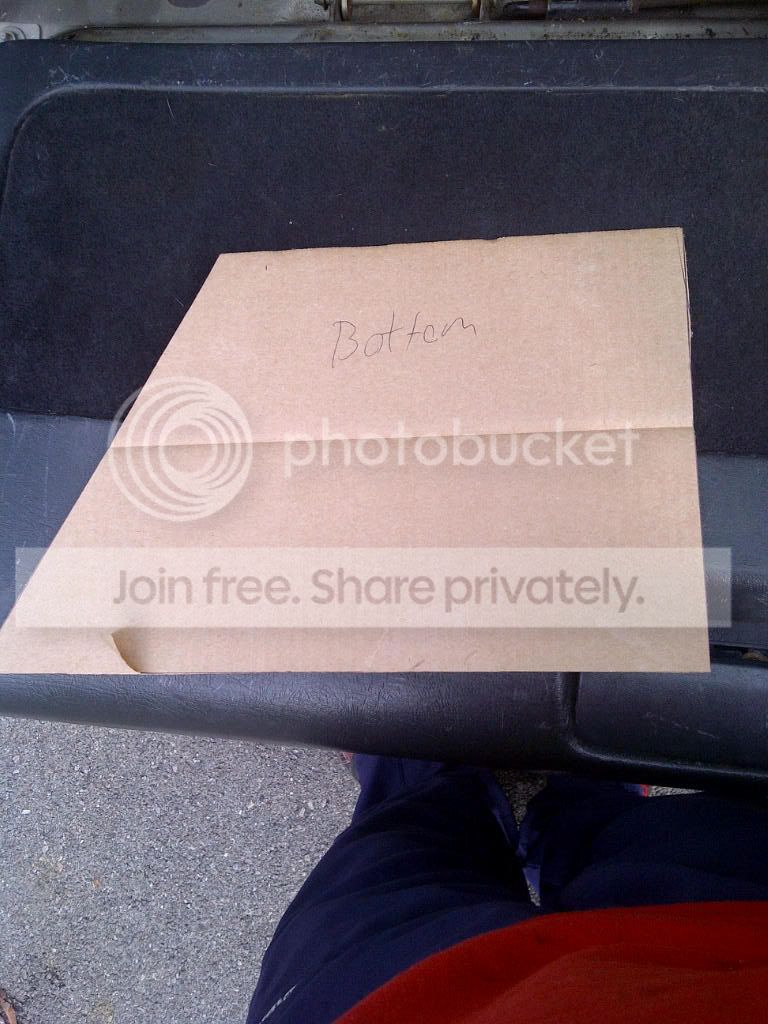
1 - Made cardboard cutouts of each piece I needed to make.
2 - Transfer cardboard cutouts to MDF and cut with saw
3 - Glue 1 piece to another 1 at a time and let the glue dry for 30 minutes, and drill pilot holes for the screws (because the MDF will split if you don't) and screw in the screw. Keep doing this untill the box is all made. It takes a bit of time.
4 - Drill hole for speaker wire, and silicon the hole up and let silicon dry
5 - Silicon the inside of the box where all the MDF is joining. This makes sure that it's air tight.
6 - Wrap box with the fabric you choose. Staple fabric under side of the box (and to the backside if yours not going to see it)
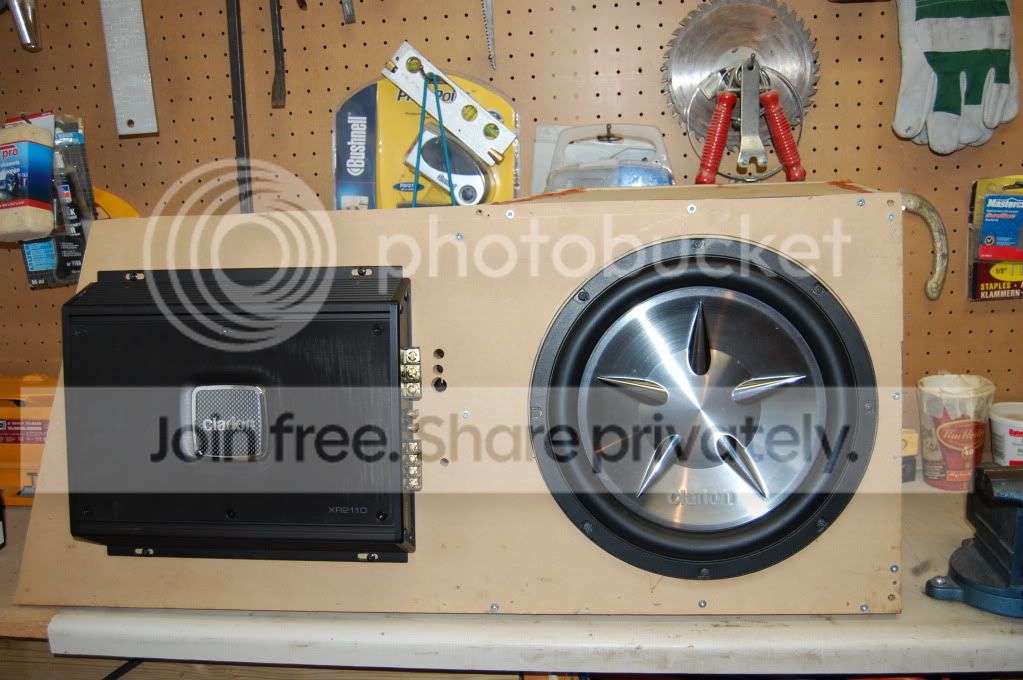
7 - Install sub or subs and amp to box.
Cardboard cutouts:
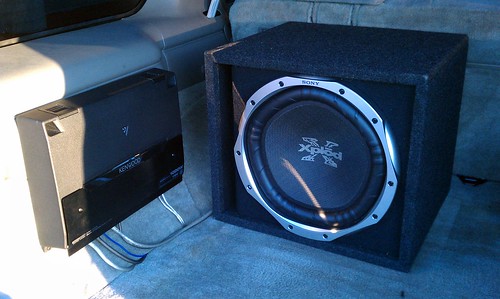
Box all put together with amp and sub installed:
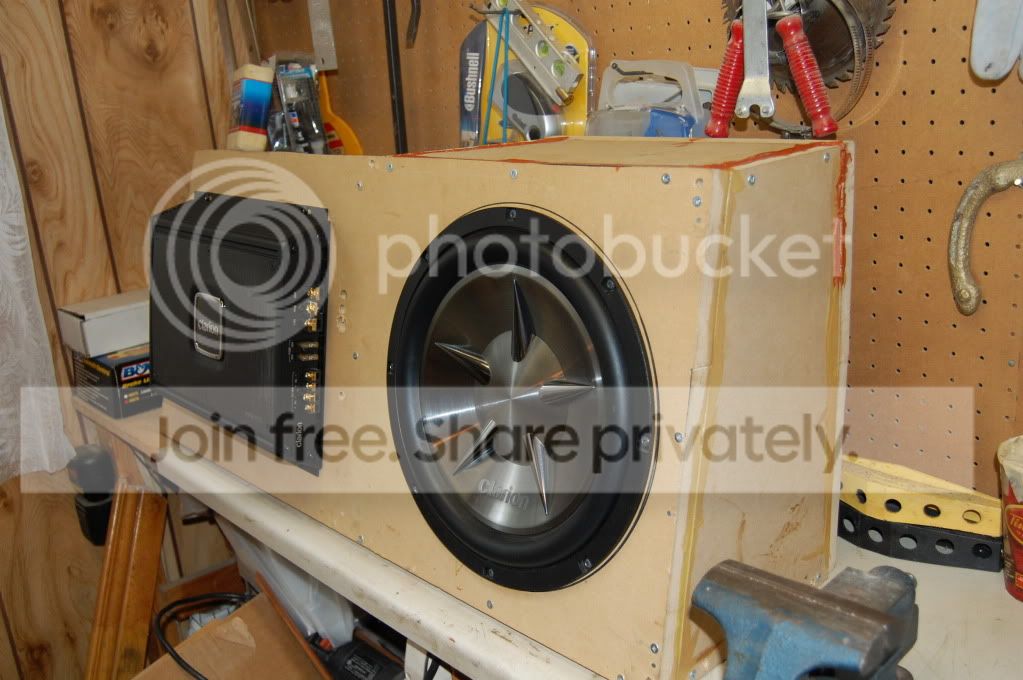
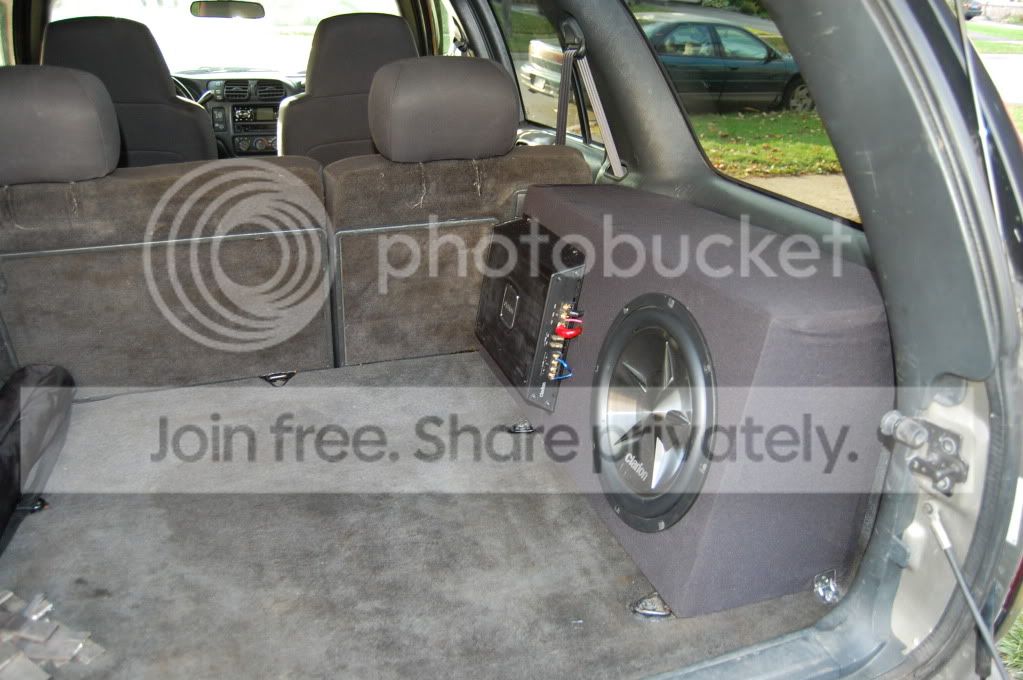
All wrapped and installed in my blazer:

Stuff needed for this:
-Sheet of 3/4" MDF board
-Drill
-Drill bit
-1.5" long wood screws (your choice)
-Wood glue
-Silicone
-Fabric (your choice)
-Wood clamps (big size)
-Saw
-Speaker wire
-Staple gun and staples
Here's a step by step on what I did to make it.
1 - Made cardboard cutouts of each piece I needed to make.
2 - Transfer cardboard cutouts to MDF and cut with saw
3 - Glue 1 piece to another 1 at a time and let the glue dry for 30 minutes, and drill pilot holes for the screws (because the MDF will split if you don't) and screw in the screw. Keep doing this untill the box is all made. It takes a bit of time.
4 - Drill hole for speaker wire, and silicon the hole up and let silicon dry
5 - Silicon the inside of the box where all the MDF is joining. This makes sure that it's air tight.
6 - Wrap box with the fabric you choose. Staple fabric under side of the box (and to the backside if yours not going to see it)
7 - Install sub or subs and amp to box.
Cardboard cutouts:
Box all put together with amp and sub installed:
All wrapped and installed in my blazer:

Super Member
Joined: Oct 2007
Posts: 1,169
From:

decent build. Did you glue the fabric down at all? looks like its sagging a little bit in some spots. I can also see the screw locations in some spots. Im guessing you didnt use wood filler and sand it flat before fabric application? Quality build of the enclosure itself though. Nice job!
Now the real question.... how is the enclosure SECURED to the vehicle?
Now the real question.... how is the enclosure SECURED to the vehicle?
Thanks
decent build. Did you glue the fabric down at all? looks like its sagging a little bit in some spots. I can also see the screw locations in some spots. Im guessing you didnt use wood filler and sand it flat before fabric application? Quality build of the enclosure itself though. Nice job!
Now the real question.... how is the enclosure SECURED to the vehicle?
Now the real question.... how is the enclosure SECURED to the vehicle?
I have brackets mounting the box to vehicle, and you can see 1 L bracket in the last picture.
Nice. I did not want 2 as I use the area where the jack is.
I will use the area for the jack too if I ever have a flat, but the panel that goes over the jack is busted on my truck, so this is a good excuse to put a sub there and cover it up, haha. Perhaps I can put a hinge or something on it so it's easy to get to if/when I need it.

Starting Member
Joined: Aug 2010
Posts: 211

I will use the area for the jack too if I ever have a flat, but the panel that goes over the jack is busted on my truck, so this is a good excuse to put a sub there and cover it up, haha. Perhaps I can put a hinge or something on it so it's easy to get to if/when I need it.