
Headunit Install


BF Veteran
Joined: Jan 2006
Posts: 2,612
From: Hampstead Maryland

eeeaaasssssyyy
first wut year we talking about?
If its a newer model like mine.
First you need to unscrew 2 screws under the steering wheel. and drop that panel. then theres a scew up on the dash by the gauge area get that out.
its a 7mm socket btw then it just pops straight out.
You need a small flathead to get the little like plugs for the wires like the control things like the lights and the rear wiper or 4wd.
Then its off!!!
Ur set. Use the 7mm to remove the HU itself. Then proceed with wut needs to be done. Simple!
If you need me to i can run out and do a little step by step with pictures for u.
first wut year we talking about?
If its a newer model like mine.
First you need to unscrew 2 screws under the steering wheel. and drop that panel. then theres a scew up on the dash by the gauge area get that out.
its a 7mm socket btw
then it just pops straight out.You need a small flathead to get the little like plugs for the wires like the control things like the lights and the rear wiper or 4wd.
Then its off!!!
Ur set. Use the 7mm to remove the HU itself. Then proceed with wut needs to be done. Simple!
If you need me to i can run out and do a little step by step with pictures for u.
BF Veteran
Joined: Jan 2006
Posts: 2,612
From: Hampstead Maryland
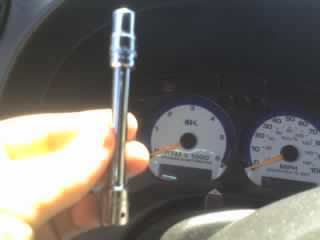
Heres our tool for Dash Removal of a 2001 Chevy Blazer. 7mm Socket! (im to lazy to find the actual tool so ill just use the socket itself!
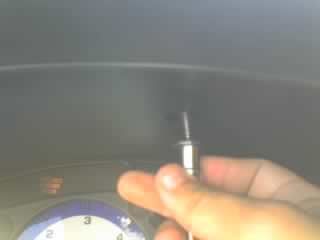
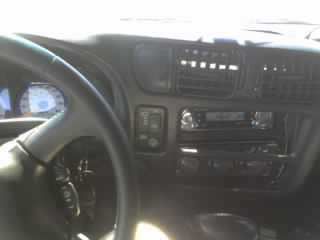
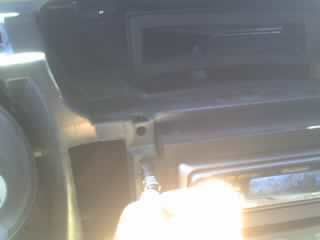
Heres where the first bolt is. Easy removal. Up in the gauge area
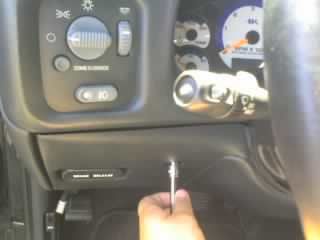
Remove the next 2 bolts via the 7mm tool again
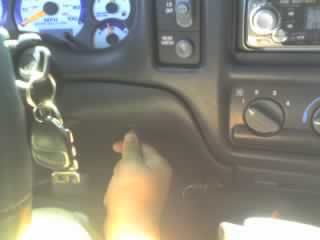
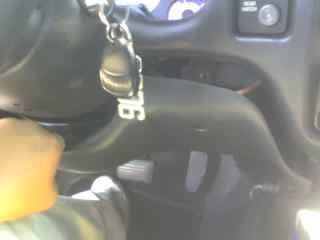
Now you have the choice of just pulling the peice under the steering wheel down or completely taking it out. I just pulled it down. Its easier!
Now just pop the dash peice off! Just pull it. It'll pop right out. It's held in by clips!
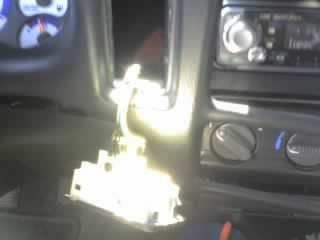
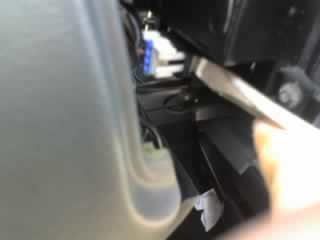
Use a small flathead screwdriver to get the little control box things out. heres the rear wipers for mine!
Heres the clip holding the wires in!
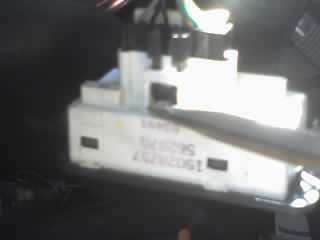
More wire things on the other side! Just use the flathead again to pop those out! YOUR INSIDE LIGHTS WILL COME ON! But they will turn off in 20 mins. Its a saftey thing for the battery!
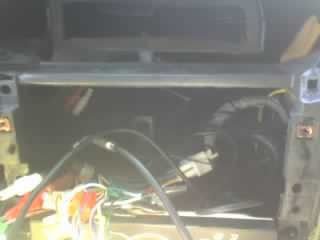
You can now put the dash aside and everything is exposed!
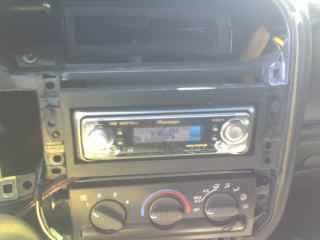
Once again we use the 7mm to remove the bolts holding the HU in place.

(THERE MAY BE MORE BOLTS ON THE STOCK HU JUST USE THE 7MM TO REMOVE THEM!)
Pull the HU out and set it somewhere if you just plan on working in this area like adding a sattelite radio peice or whatever!
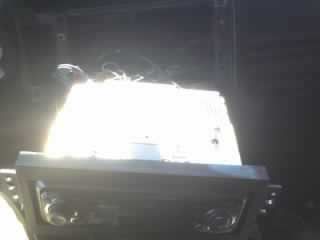
Here we go! All the room to work now!
__________________________________________________ ________
Writeup By: XBlazer01
Heres where the first bolt is. Easy removal. Up in the gauge area
Remove the next 2 bolts via the 7mm tool again
Now you have the choice of just pulling the peice under the steering wheel down or completely taking it out. I just pulled it down. Its easier!
Now just pop the dash peice off! Just pull it. It'll pop right out. It's held in by clips!
Use a small flathead screwdriver to get the little control box things out. heres the rear wipers for mine!
Heres the clip holding the wires in!
More wire things on the other side! Just use the flathead again to pop those out! YOUR INSIDE LIGHTS WILL COME ON! But they will turn off in 20 mins. Its a saftey thing for the battery!
You can now put the dash aside and everything is exposed!
Once again we use the 7mm to remove the bolts holding the HU in place.
(THERE MAY BE MORE BOLTS ON THE STOCK HU JUST USE THE 7MM TO REMOVE THEM!)
Pull the HU out and set it somewhere if you just plan on working in this area like adding a sattelite radio peice or whatever!
Here we go! All the room to work now!
__________________________________________________ ________
Writeup By: XBlazer01

 Glad I could have been some help around here!
