
1996 Blazer Build


Thread Starter
|
Beginning Member
Joined: Dec 2009
Posts: 18
From: Hesperia, CA

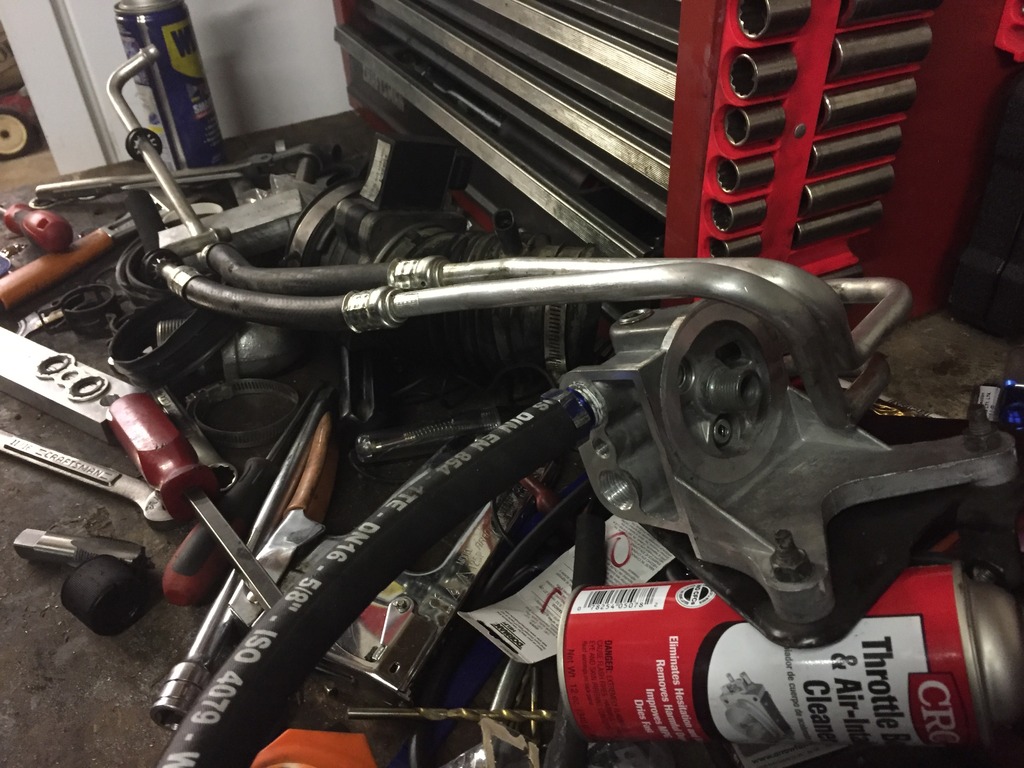
So I thought I would share my build(s) with the group. I have learned a lot of valuable intel from this site and I wanted to share my progress....
Bone stock form. 94,XXX original miles, 4WD. Base model-ish LS. Seller says he bought it from an auction house and that is used to be a county vehicle. Bought it Easter Sunday 2016:


So after about a month or so of it sitting in my driveway, 2" PA body lift went in:

Then installed a 2.5" RC lift:


I noticed the chrome grille was the only chrome piece on it, so I decided the black grille would suit me better in keeping with the utilitarian theme, complete with functioning hi/lo beam LED headlights:


And here's the finished product (suspension wise):

Thread Starter
|
Beginning Member
Joined: Dec 2009
Posts: 18
From: Hesperia, CA
i couldn't believe GM actually used 3.08 gearing in ANY 4WD vehicle. I had a '00 2wd S10 4.3 that had 3.08, and even that seemed sluggish. I was a bit disappointed to see my RPO code revealing my 3.08 ratio.
So I then was on the hunt for better gearing, especially after the 31x10.5x15 AT tires were installed.
I struck gold! I found a low mile, '03 crew cab S10 at the junk yard, complete w/rotors, 3.73 gears (GT4) and G80 locker w/cpmplete disc brakes for $220 I was pretty pleased with that trifecta purchase, as my 3.08 axles were open front/rear and drum brakes.
Once that was installed, I found a great deal on a 3.73 front diff from a '03 crew cab Sonoma ($150 shipped). I already had the Bravada shaft conversion kit ready when the front diff arrived, so I got to install that, along with the newer design slip-in style CV axles as I found my '96 CVs had much smaller shafts and wouldn't work.
No more vacuum-actuated front diff engagement!
On to the interior:
No pics of these upgrades, as I'm not as enthusiastic about documenting everything with pics.
This was my first vehicle ever that did not have a tach, just speedo & gauges, so I sought out a cluster w/tach out of a '96 and got lucky. I found one on Ebay w/only 82k miles While the dash was apart I upgraded the stereo with a fairly simple single din Pioneer w/Bluetooth & integrated phone and LED lights throughout the dash, cluster and interior.
So far I'm really happy with the progress, as this will be my replacement vehicle aftger VW buys back my gross pulluter TDI.
So I then was on the hunt for better gearing, especially after the 31x10.5x15 AT tires were installed.
I struck gold! I found a low mile, '03 crew cab S10 at the junk yard, complete w/rotors, 3.73 gears (GT4) and G80 locker w/cpmplete disc brakes for $220
I was pretty pleased with that trifecta purchase, as my 3.08 axles were open front/rear and drum brakes.Once that was installed, I found a great deal on a 3.73 front diff from a '03 crew cab Sonoma ($150 shipped). I already had the Bravada shaft conversion kit ready when the front diff arrived, so I got to install that, along with the newer design slip-in style CV axles as I found my '96 CVs had much smaller shafts and wouldn't work.
No more vacuum-actuated front diff engagement!
On to the interior:
No pics of these upgrades, as I'm not as enthusiastic about documenting everything with pics.
This was my first vehicle ever that did not have a tach, just speedo & gauges, so I sought out a cluster w/tach out of a '96 and got lucky. I found one on Ebay w/only 82k miles
While the dash was apart I upgraded the stereo with a fairly simple single din Pioneer w/Bluetooth & integrated phone and LED lights throughout the dash, cluster and interior.So far I'm really happy with the progress, as this will be my replacement vehicle aftger VW buys back my gross pulluter TDI.
Thread Starter
|
Beginning Member
Joined: Dec 2009
Posts: 18
From: Hesperia, CA
411 PCM Swap:
I HIGHLY recommend this swap if you have a black box PCM, specifically a '96 PCM that has TSBs out for bad solder joints causing trans failures, etc.
Thx to Lextruck for providing me the pinout chart to make it work. I cannot believe the difference in the smoothness of idle, shifting, etc., over the older black box PCM.
I was kind of forced into this swap as I blindly thought I could tune my '96 PCM, then realizing I could not.
411 PCM done!


Thread Starter
|
Beginning Member
Joined: Dec 2009
Posts: 18
From: Hesperia, CA
I've been away for a while and I suck at documenting with photos, so here is the latest:
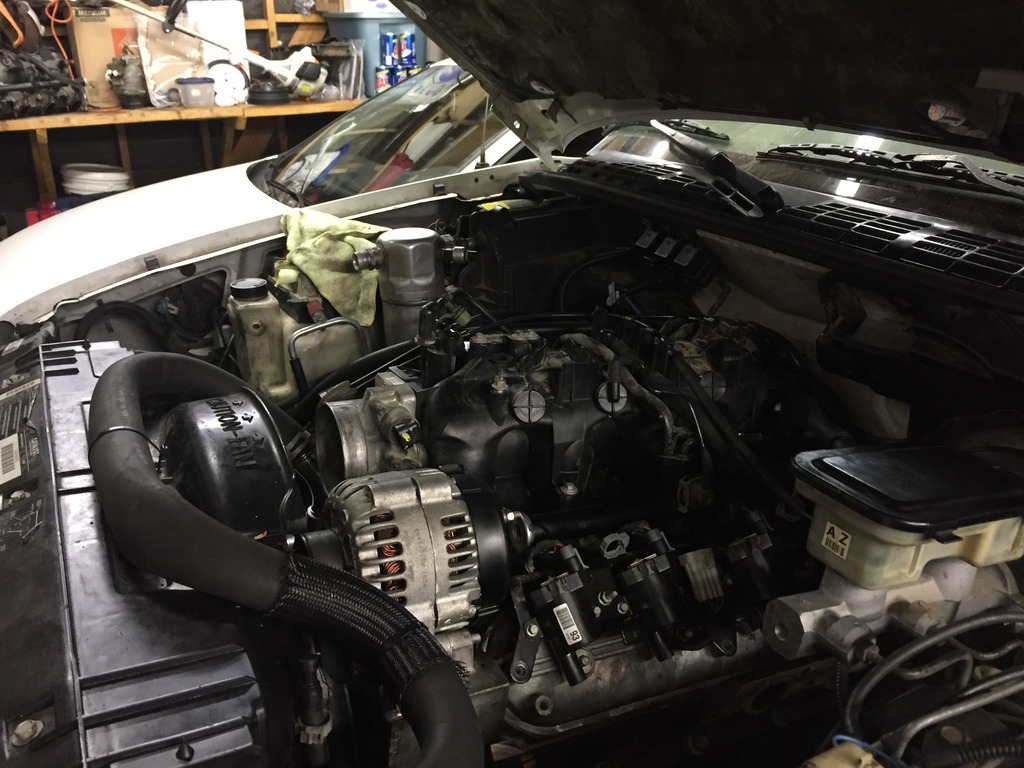
The 5.3 found it's way in! Here's a pic of the Milodon oil pan made for the 4WDs:

Just after I set the engine in place:
Almost sits too high:
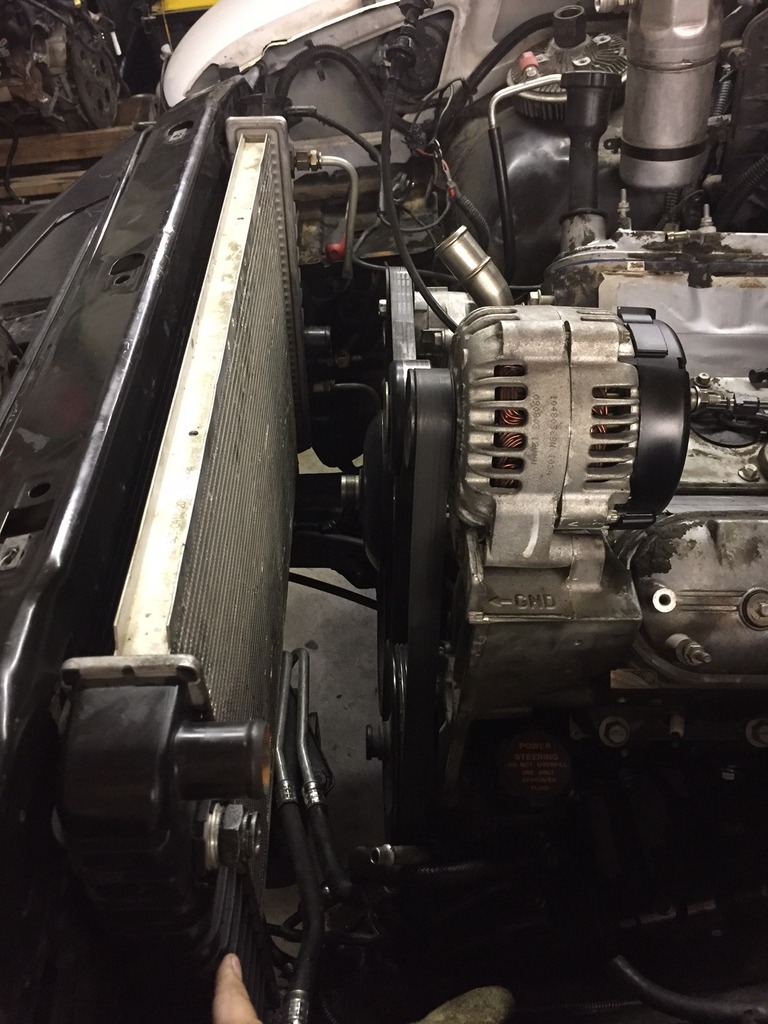
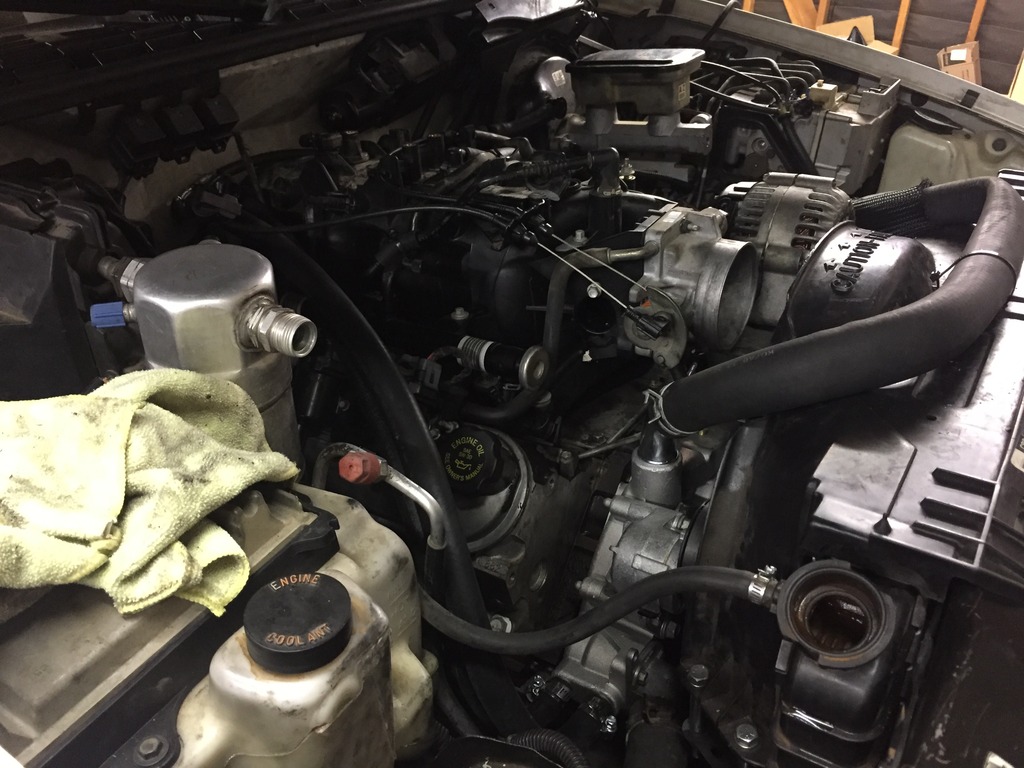
Out of curiosity, I set the factory 4.3 radiator in place to check the clearance:
Tight fit, had to cut that coil pack mount off to clear, but surprisingly, that and shimming the 2 front steering gear mounting tabs, that was ALL I had to modify!

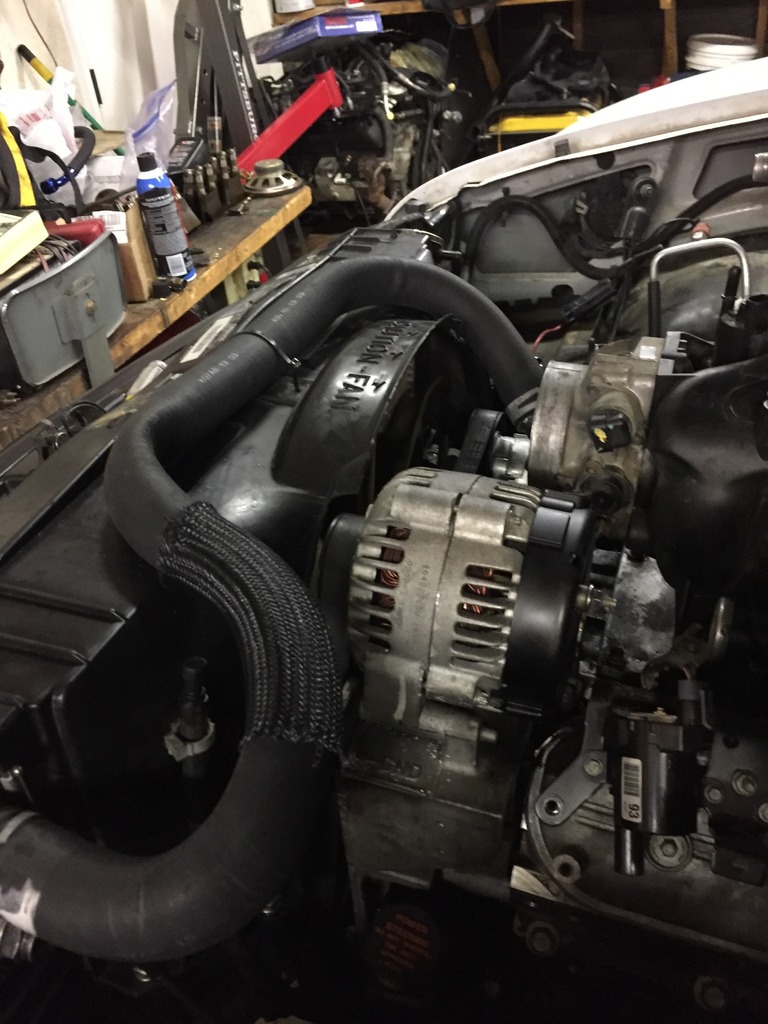
I decided to take a chance and experiment with the truck accessories and the possibility of using the mechanical clutch fan. I couldn't use the GM fan hub, but a guy on S10forum.com told me about using a fan hub from a '95-'97 Ford Explorer 4.0 hub, which is a full inch shorter than the GM unit and screws right on to the GM water pump snout. I was also able to bolt the GM fan assembly right to it:
I bought a upper radiator hose for a full size Silverado. I cut about 1'-2' off each end in order for it to fit to my liking;
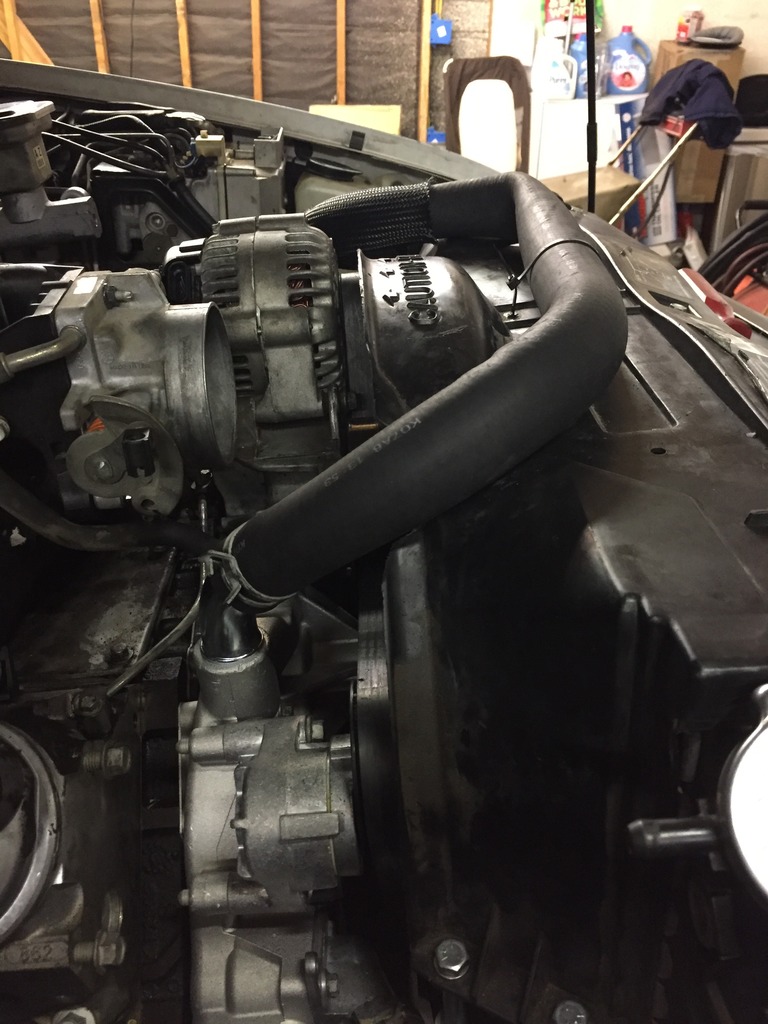
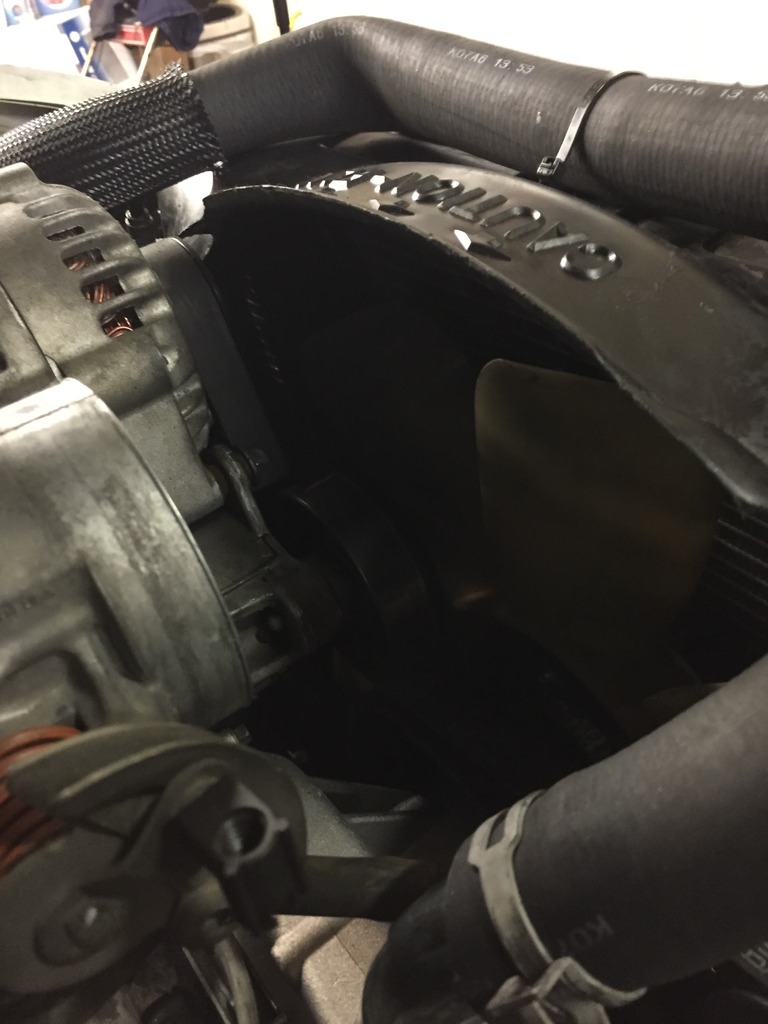
Pic of the clutch fan assembly and factory 4.3 upper/lower shroud in place:
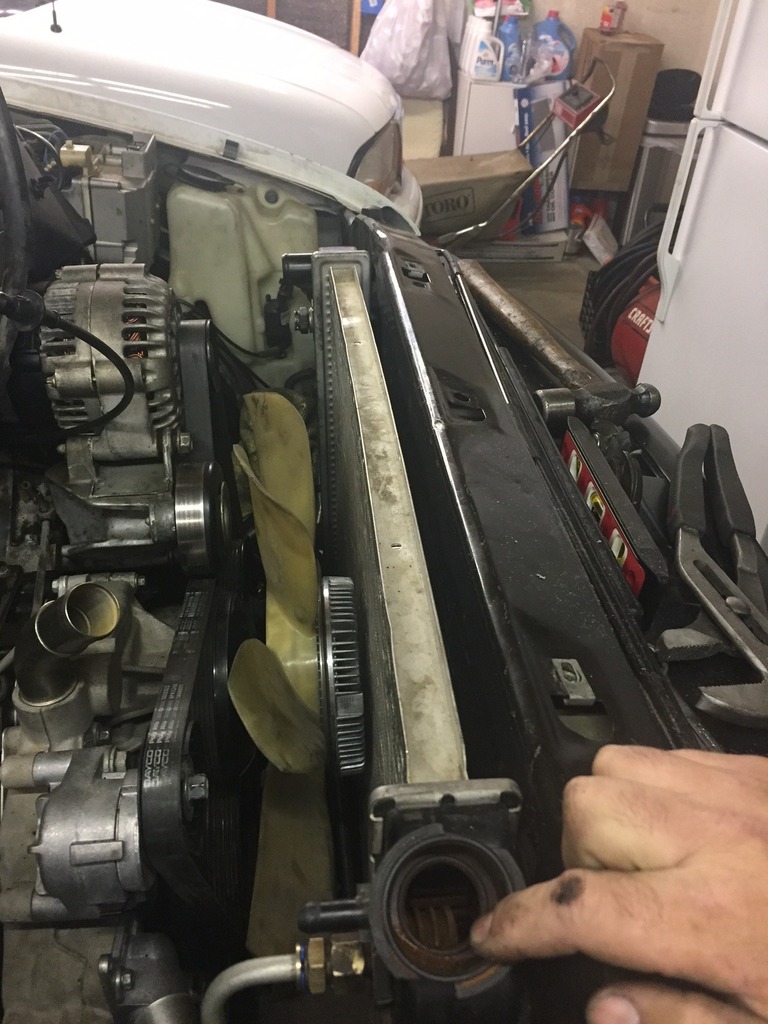
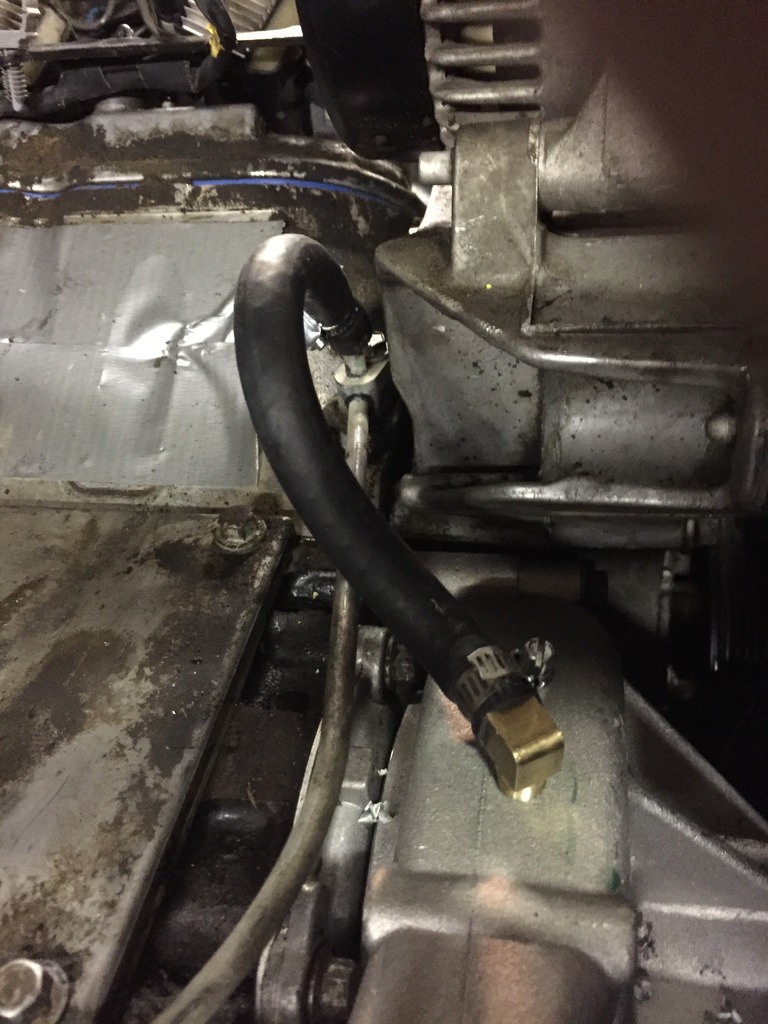
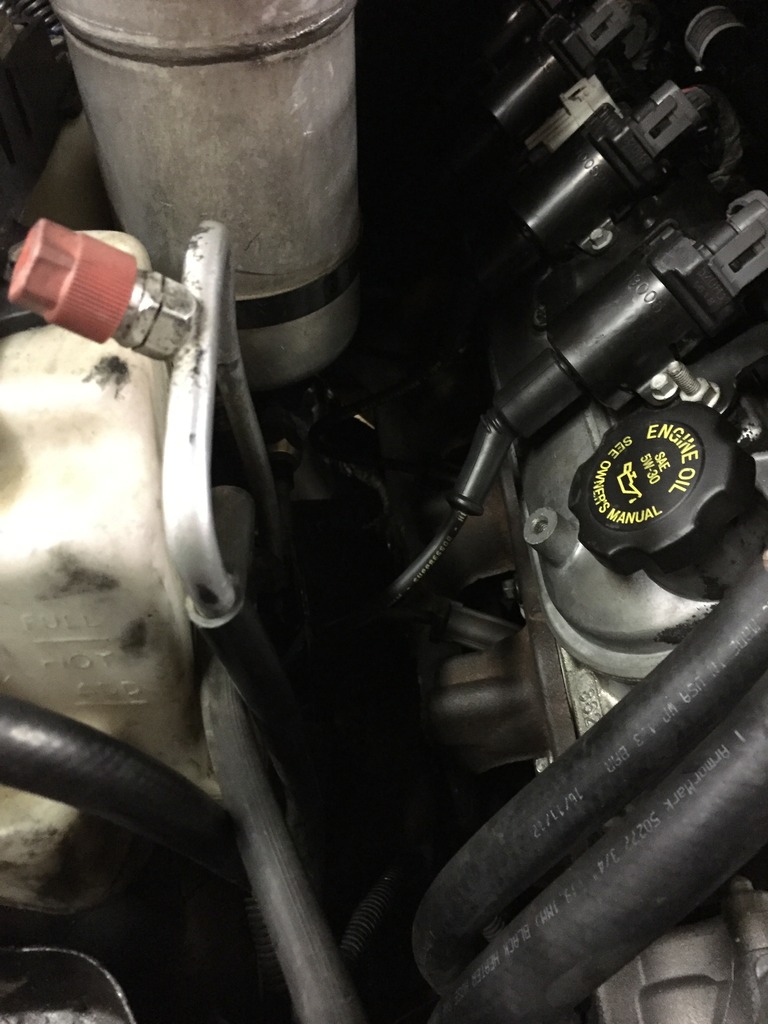
I didn't want to risk breaking the brittle tanks on the 4.3 radiator, so I drilled and tapped to 1/8" NPT the top of the water pump:
Getting close:
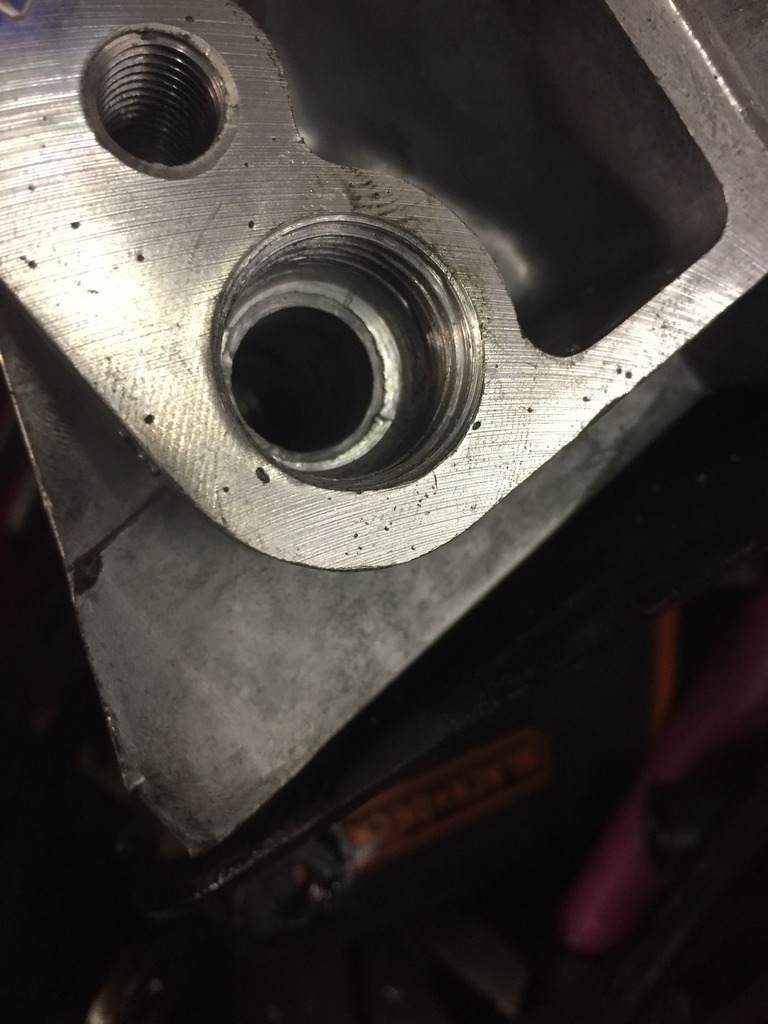
I really liked the idea of reusing the factory oil filter mount and cooler, so I drilled the in/out side of the cooler facing the engine to 1/2" NPT and used the Milodon remote oil filter hoses only. Here are the holes drilled and tapped:
The top hose looks crooked because it is. There wasn't enough meat in the aluminum to drill straight down so I had to improvise:

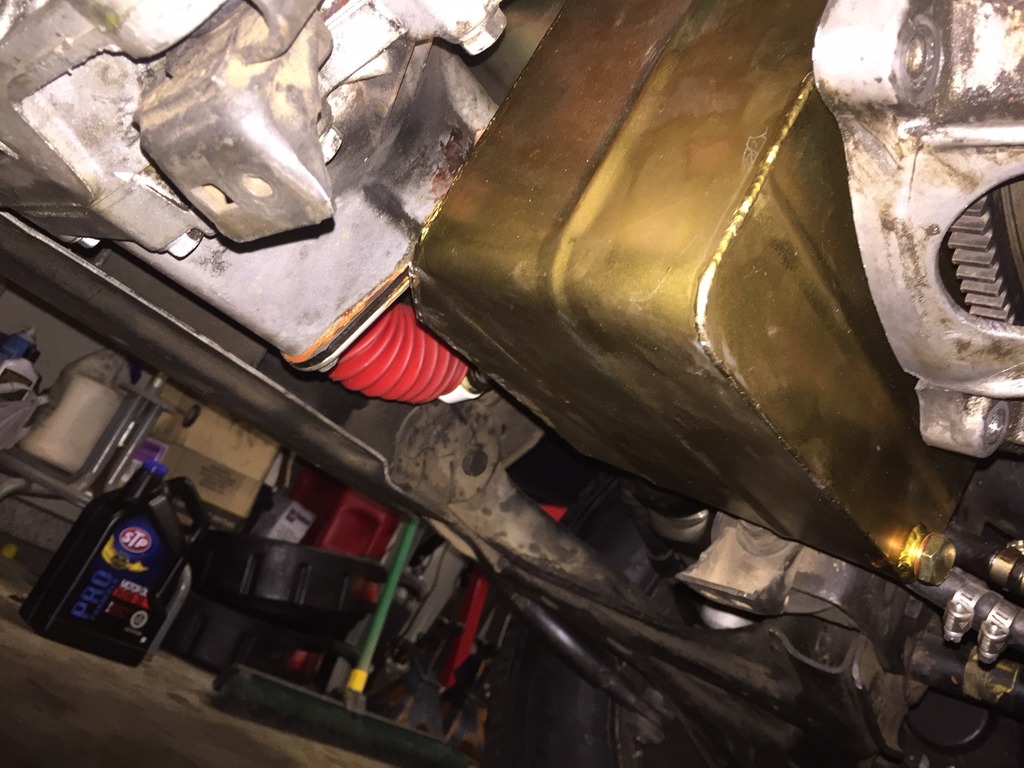
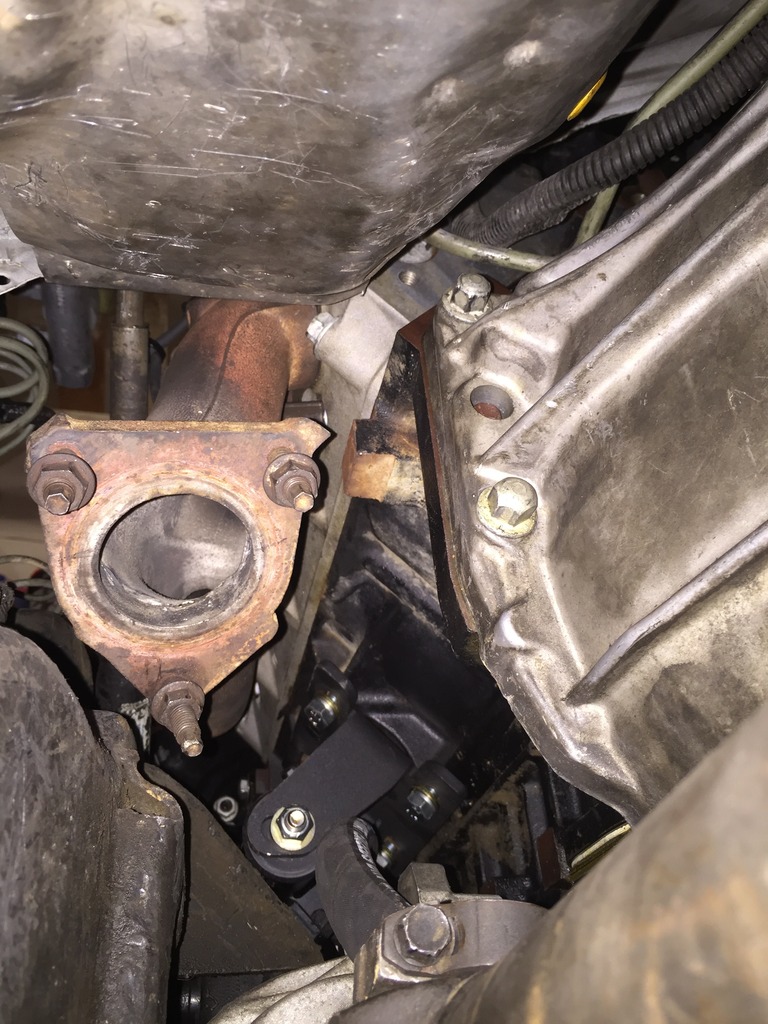
Here's a bad pic of the clearance between the factory truck manifold and the stock steering shaft, along with the newly installed Flaming River u-joint:
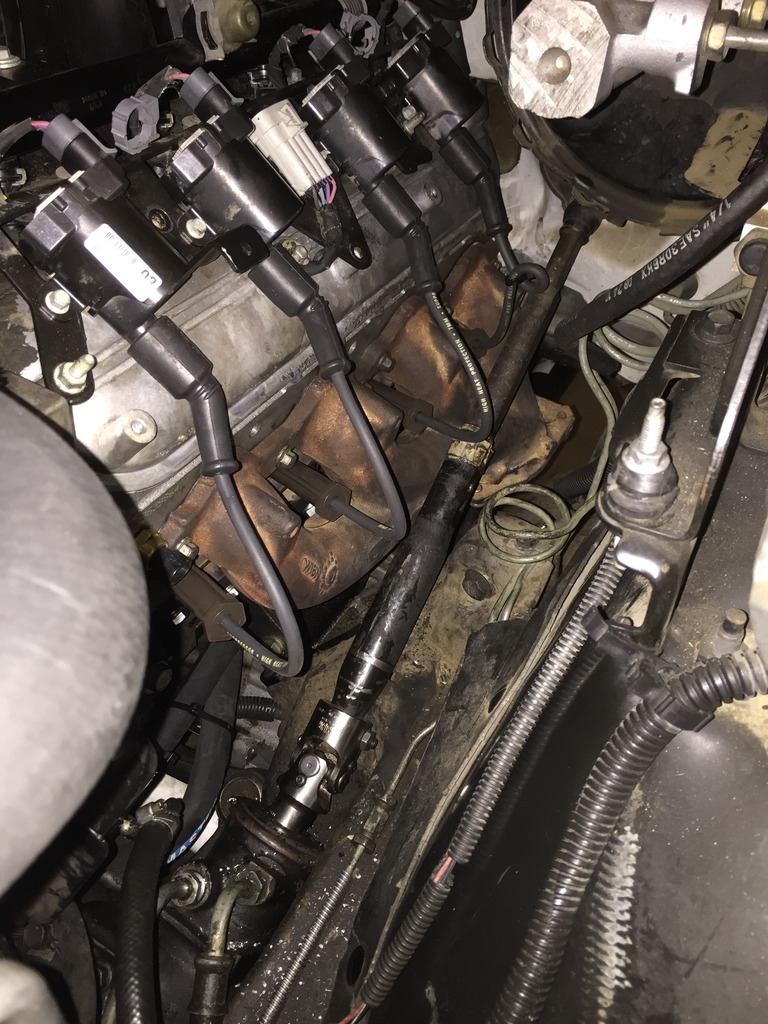
Tight fit:
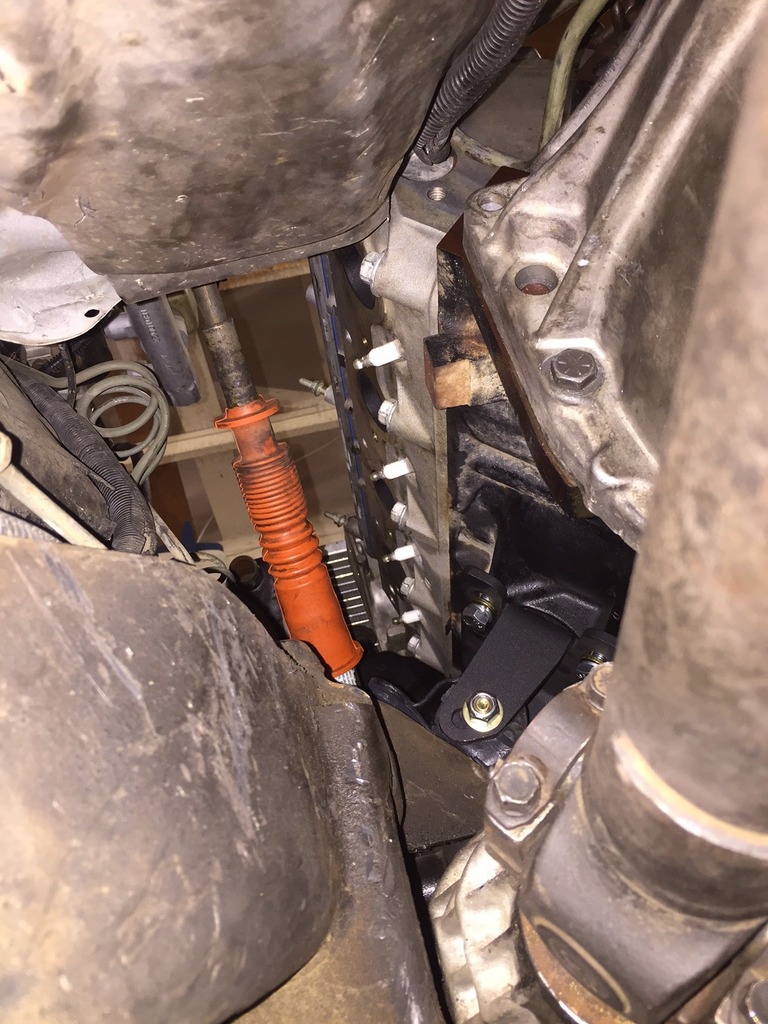
Even after cutting the EGR provision off the pass side manifold and welding a plate on, it STILL touches the shock tower a tad. I'll deal with that after I hear it run
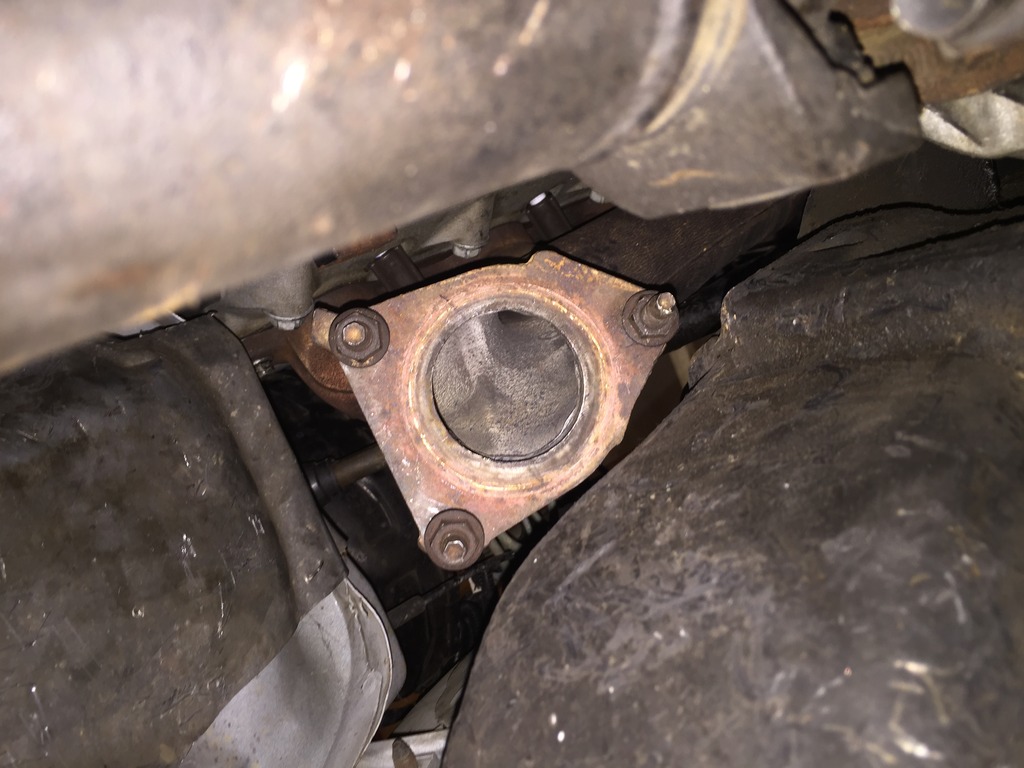
This is a pic of the driver's side manifold. The collector was pointing straight at the frame, so I cut the collector off, and made another 45 degree angle cut to favor the engine side of the manifold and rewelded the collector, now it points between the front driveshaft and the frame:
Another angle of the modified driver's side manifold:
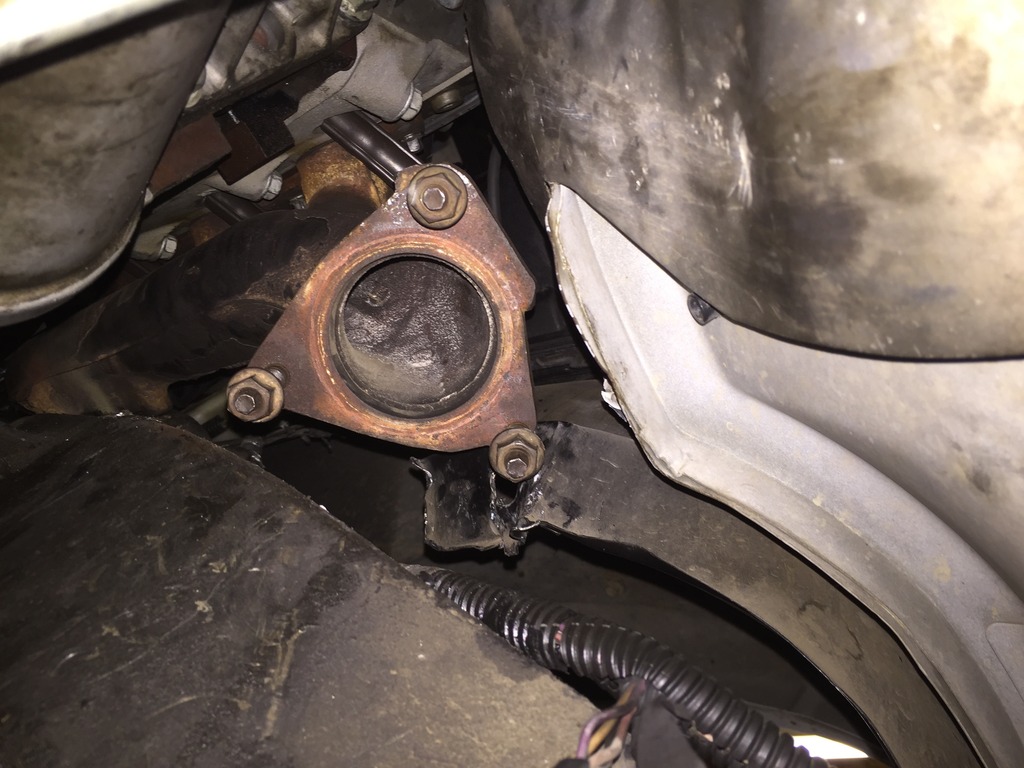
The pass side collector didnt need to be cut. It was aimed in a good spot. However, the outside of the collector flange was hitting the pass side fender wheel well bracket, so I cut it off. Now it fits!
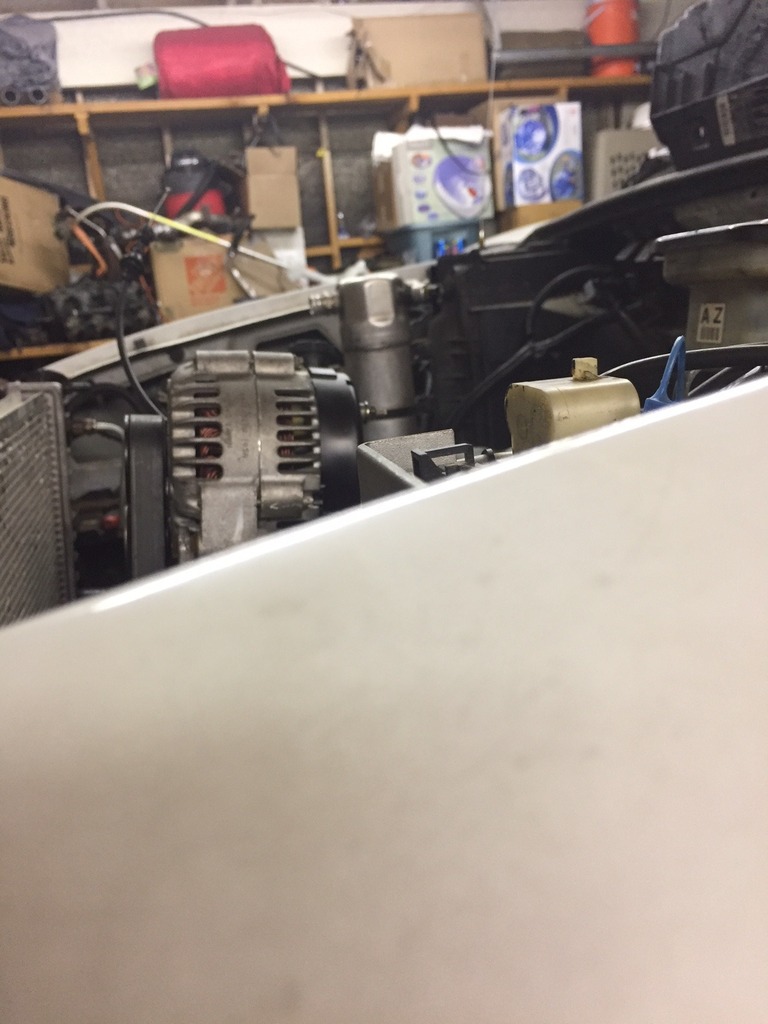
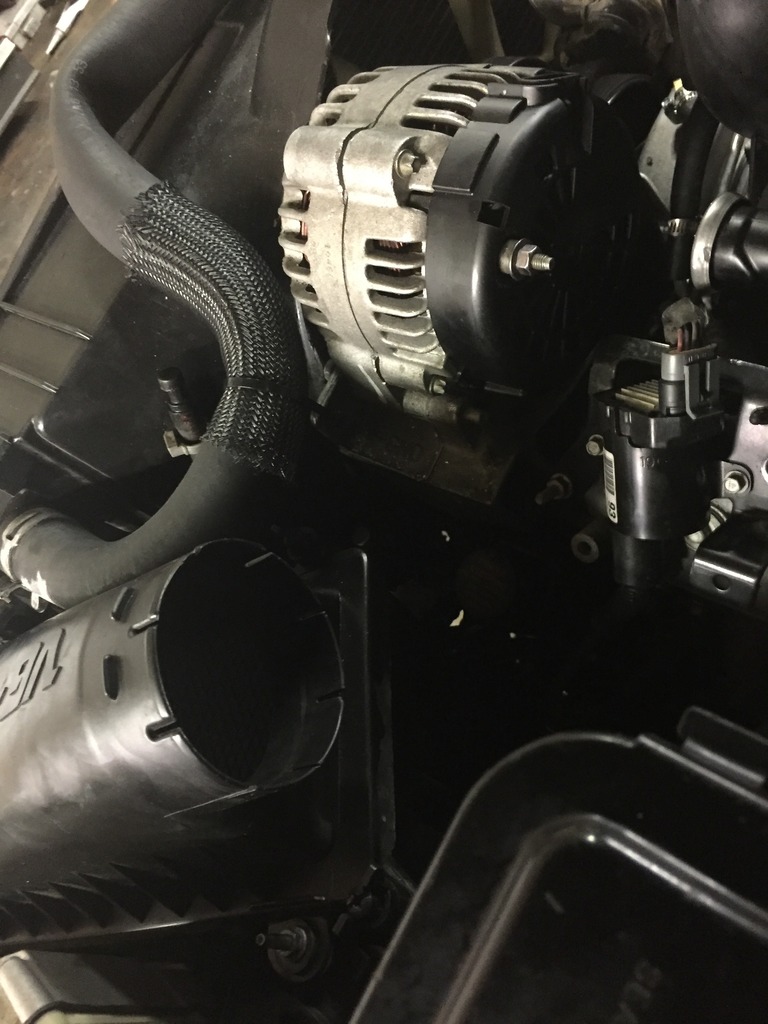
So it looks like I can reuse the factory 4.3 airbox

As of yesterday, shes alive!!

The 5.3 found it's way in! Here's a pic of the Milodon oil pan made for the 4WDs:


Just after I set the engine in place:

Almost sits too high:

Out of curiosity, I set the factory 4.3 radiator in place to check the clearance:

Tight fit, had to cut that coil pack mount off to clear, but surprisingly, that and shimming the 2 front steering gear mounting tabs, that was ALL I had to modify!

I decided to take a chance and experiment with the truck accessories and the possibility of using the mechanical clutch fan. I couldn't use the GM fan hub, but a guy on S10forum.com told me about using a fan hub from a '95-'97 Ford Explorer 4.0 hub, which is a full inch shorter than the GM unit and screws right on to the GM water pump snout. I was also able to bolt the GM fan assembly right to it:

I bought a upper radiator hose for a full size Silverado. I cut about 1'-2' off each end in order for it to fit to my liking;


Pic of the clutch fan assembly and factory 4.3 upper/lower shroud in place:

I didn't want to risk breaking the brittle tanks on the 4.3 radiator, so I drilled and tapped to 1/8" NPT the top of the water pump:

Getting close:


I really liked the idea of reusing the factory oil filter mount and cooler, so I drilled the in/out side of the cooler facing the engine to 1/2" NPT and used the Milodon remote oil filter hoses only. Here are the holes drilled and tapped:

The top hose looks crooked because it is. There wasn't enough meat in the aluminum to drill straight down so I had to improvise:


Here's a bad pic of the clearance between the factory truck manifold and the stock steering shaft, along with the newly installed Flaming River u-joint:

Tight fit:

Even after cutting the EGR provision off the pass side manifold and welding a plate on, it STILL touches the shock tower a tad. I'll deal with that after I hear it run

This is a pic of the driver's side manifold. The collector was pointing straight at the frame, so I cut the collector off, and made another 45 degree angle cut to favor the engine side of the manifold and rewelded the collector, now it points between the front driveshaft and the frame:

Another angle of the modified driver's side manifold:

The pass side collector didnt need to be cut. It was aimed in a good spot. However, the outside of the collector flange was hitting the pass side fender wheel well bracket, so I cut it off. Now it fits!

So it looks like I can reuse the factory 4.3 airbox


As of yesterday, shes alive!!