
4.3 W rebuild


Thread Starter
|
Beginning Member
Joined: Dec 2007
Posts: 42
From:

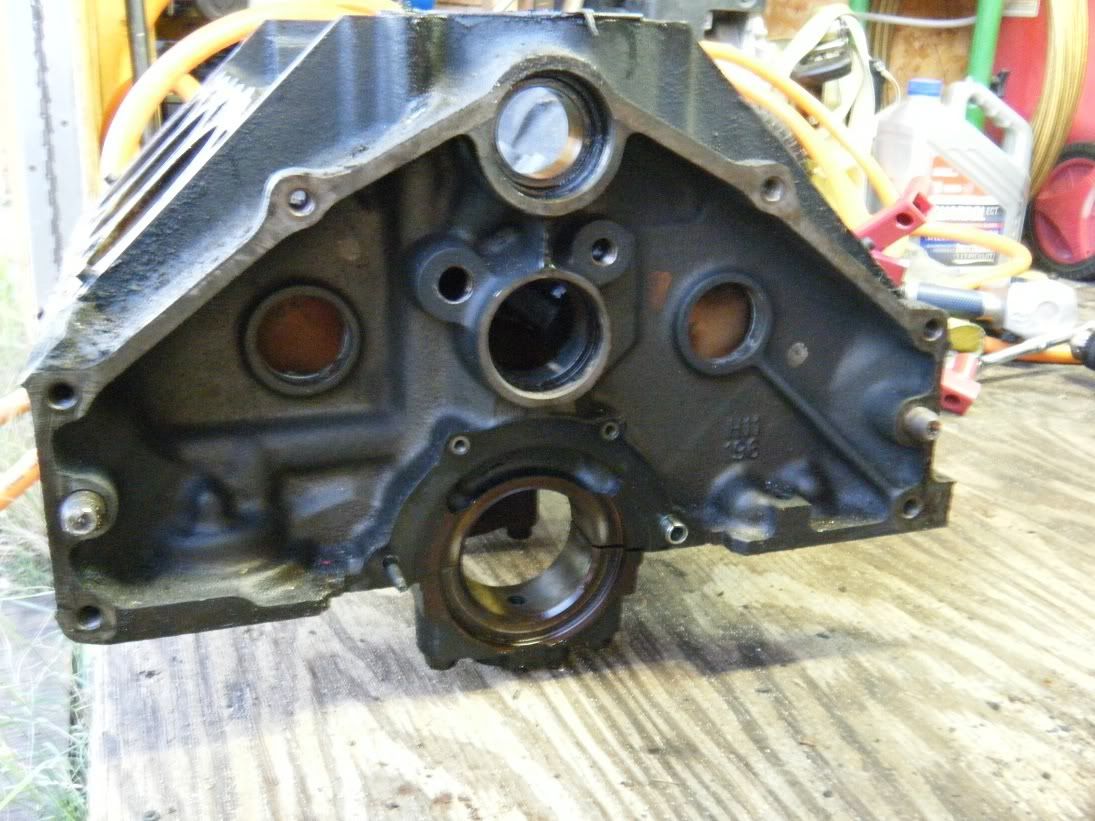
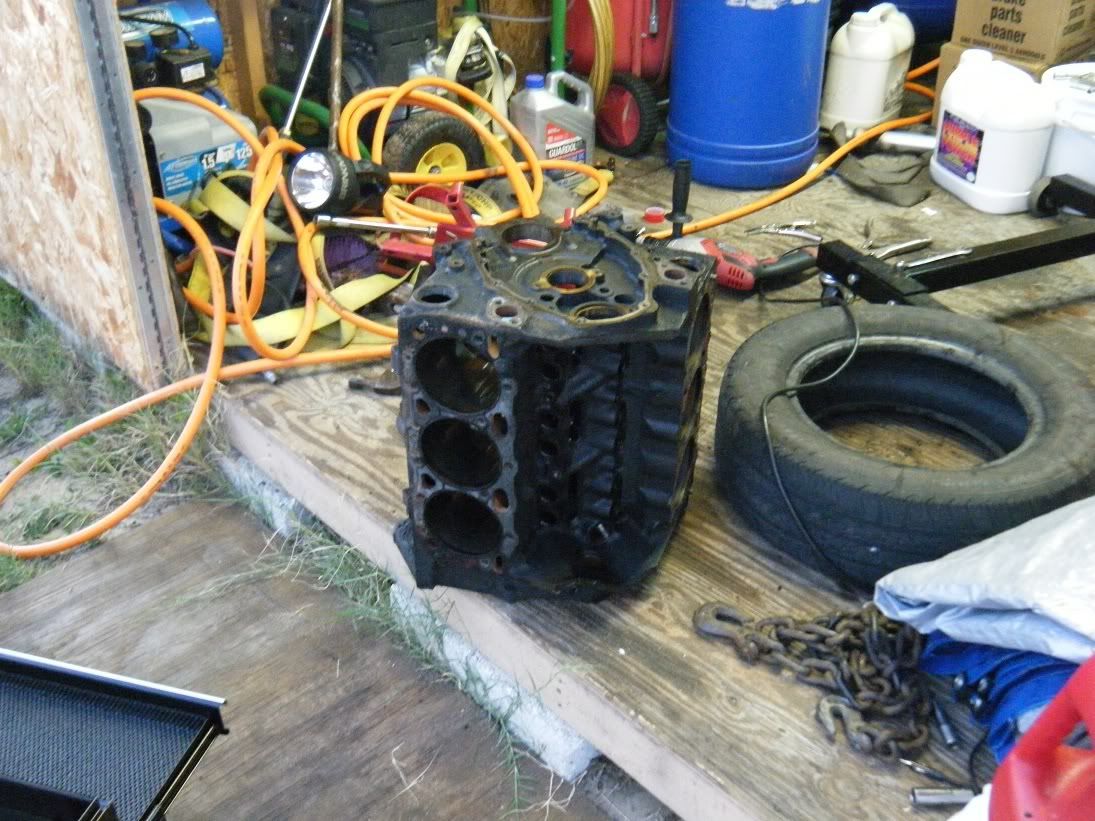
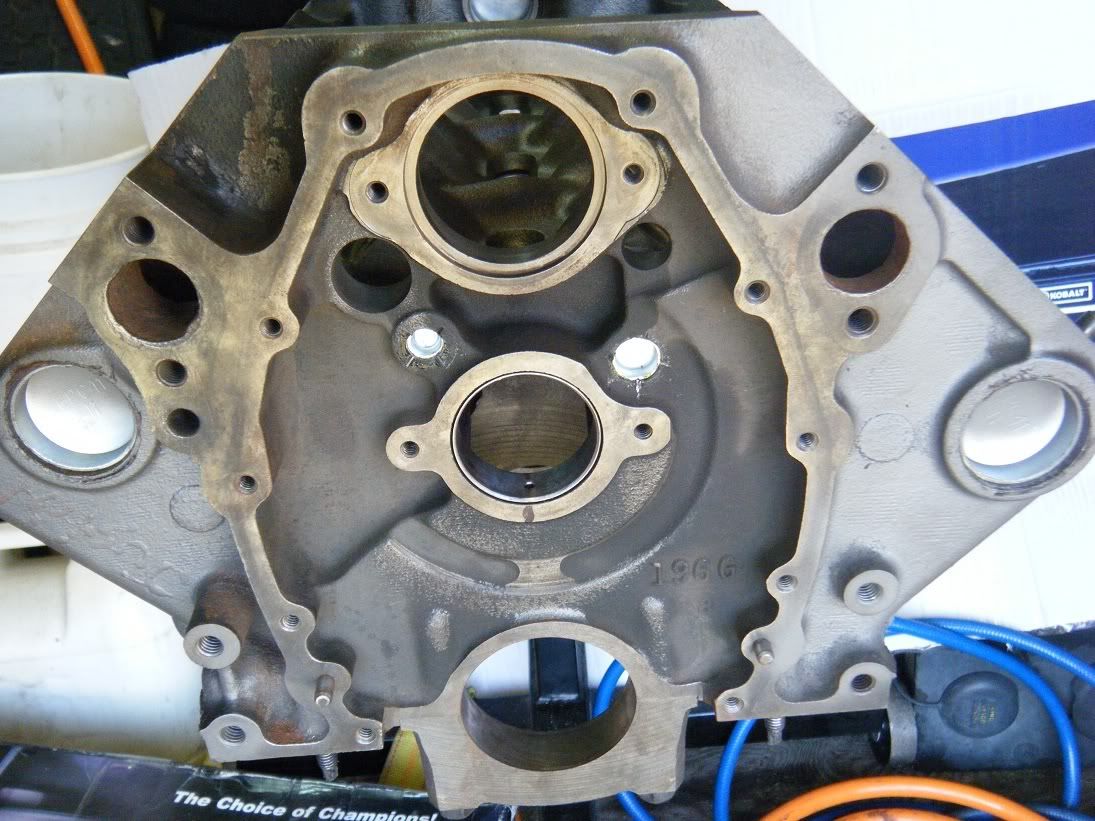
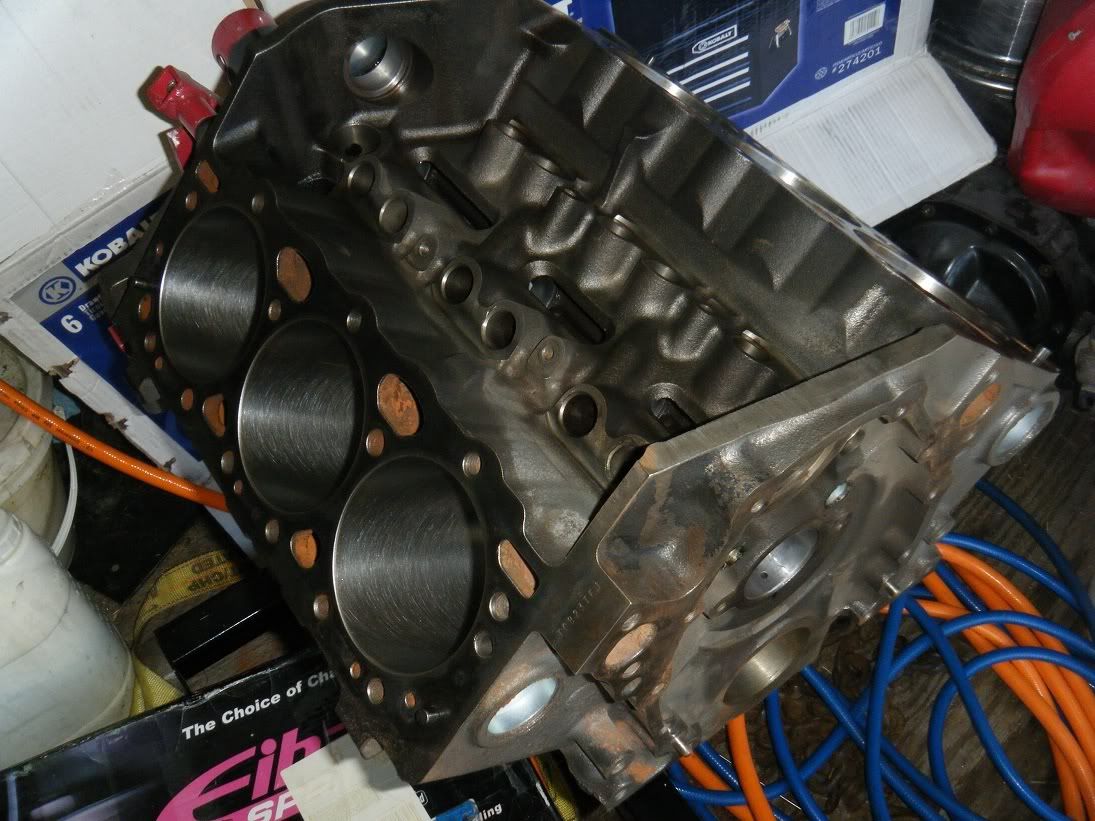
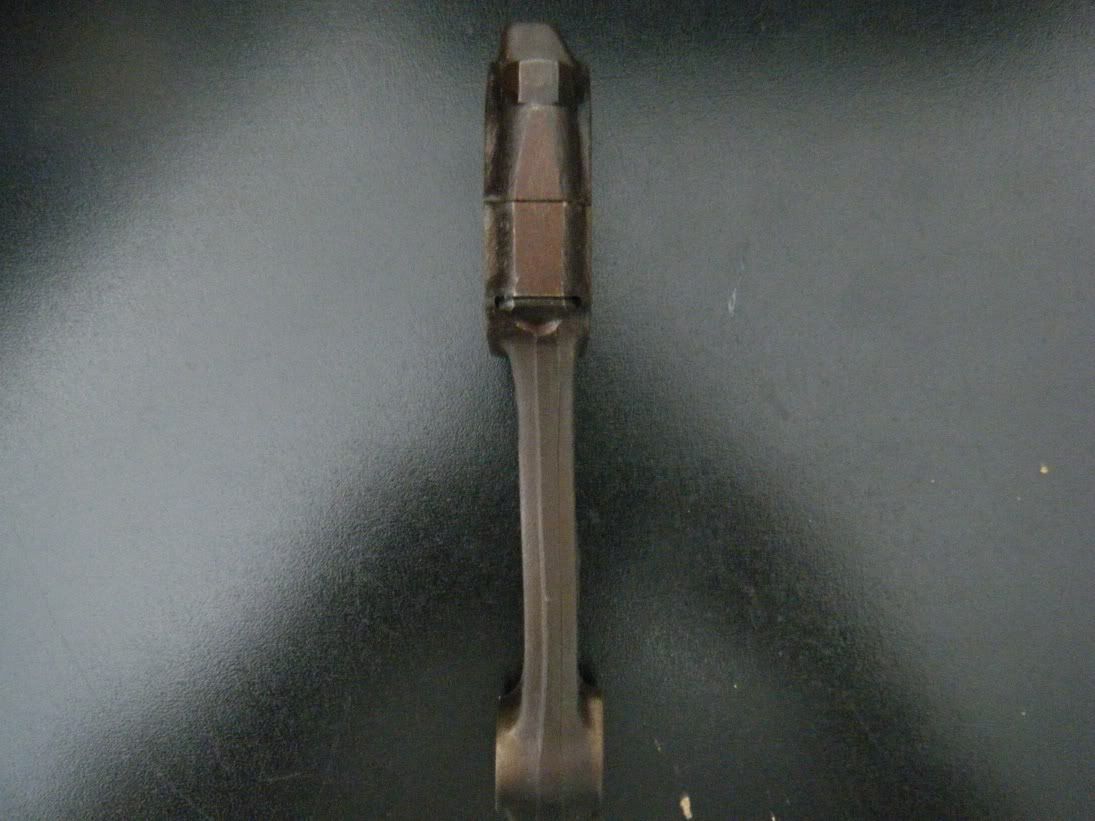
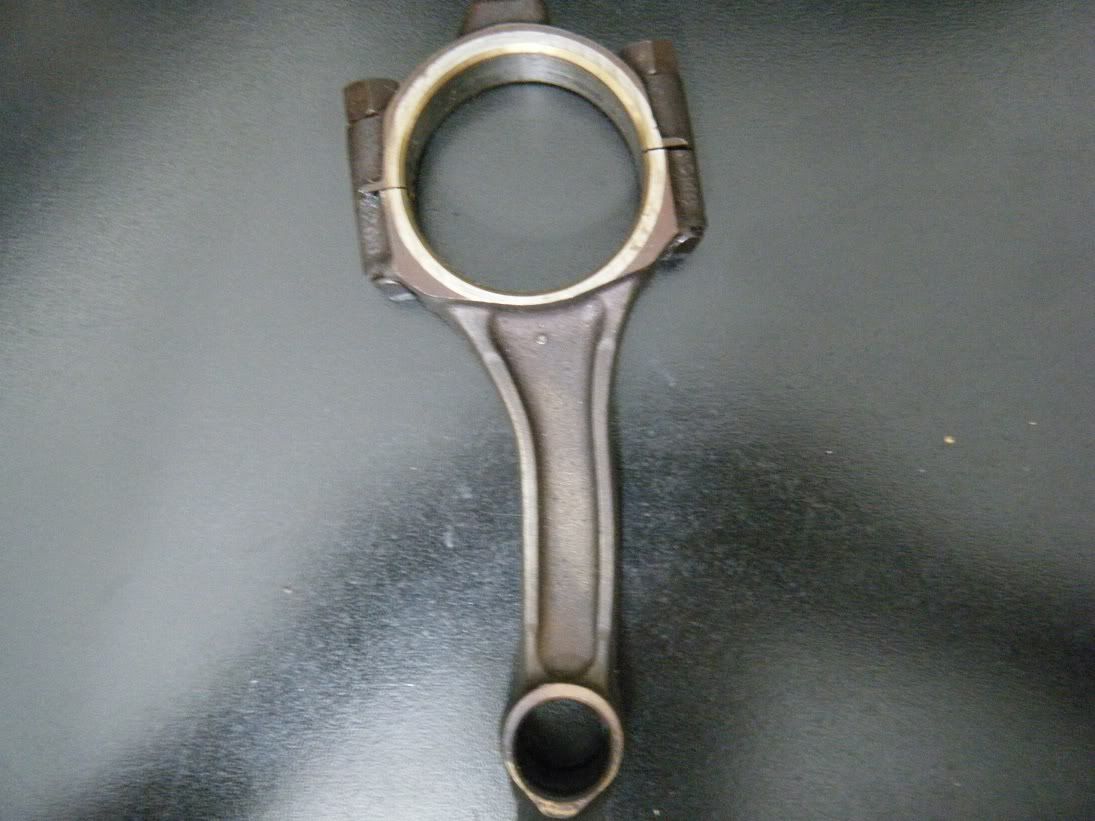
I've started rebuilding my 4.3 in my 94 s10 blazer, I've been taking pictures of it and I've decided to start a build thread. Here's the story of why I'm rebuilding it. Since the begging of owning the vehicle years ago it's always had a random starting problem, would have to use starting fluid to get it to start, usually after it's been sitting over night. Sometimes you could get it to start by taping the key over. Could never figure out what the problem was until one day last year it just wouldn't start at all, now at the time my wife was late for work and I was frustrated with it. Open the throttle and sprayed a large amount of starting fluid in it "bad idea". It back fired and still didn't run, later that afternoon i traced the problem and the fuel pump had died, after replacing it the blazer started faster than it ever has but had a random miss at idle. Only thing i could figure is that the fuel pump didn't have enough voltage while trying to start the vehicle, soon as you let go of the key the starter would disengage and you would have the full voltage of the battery to the fuel pump. Now trying to find this random miss i replaced the plugs, wire, whole distributor, and coil but still had the random miss. I gave up, it still ran good going down the road and got 19 mpg on the highway. Now come to the begging of this year, the blazer starts idleing really high, barking the tires when you put it in drive, seemed like a massive vacuum leak but couldn't find any leaks on the outside so i thought that the intake manifold gasket went bad, took the upper manifold off and found one of the injectors popped out of the hole "remember the backfire from the starting fluid, yeah" Then proceeded to take the lower portion off and tons of rotten gasket fell in the heads "nice". Now this blazer has 245k miles on it and it probably wouldn't be a bad idea the freshen the heads up, took them to the local machine shop for a valve job, 2 weeks later I got them back "slow shop but cheap". started cleaning the block and noticed one of the pistons wasn't coming up as high as the others, had a larger carbon build up at the top of the cylinder "WTF". A bent rod, by product of spraying to much starting fluid "there's my random miss". btw the cylinder walls were in perfect condition, still had the honing marks. Now starts the rebuilding process.
Thread Starter
|
Beginning Member
Joined: Dec 2007
Posts: 42
From:
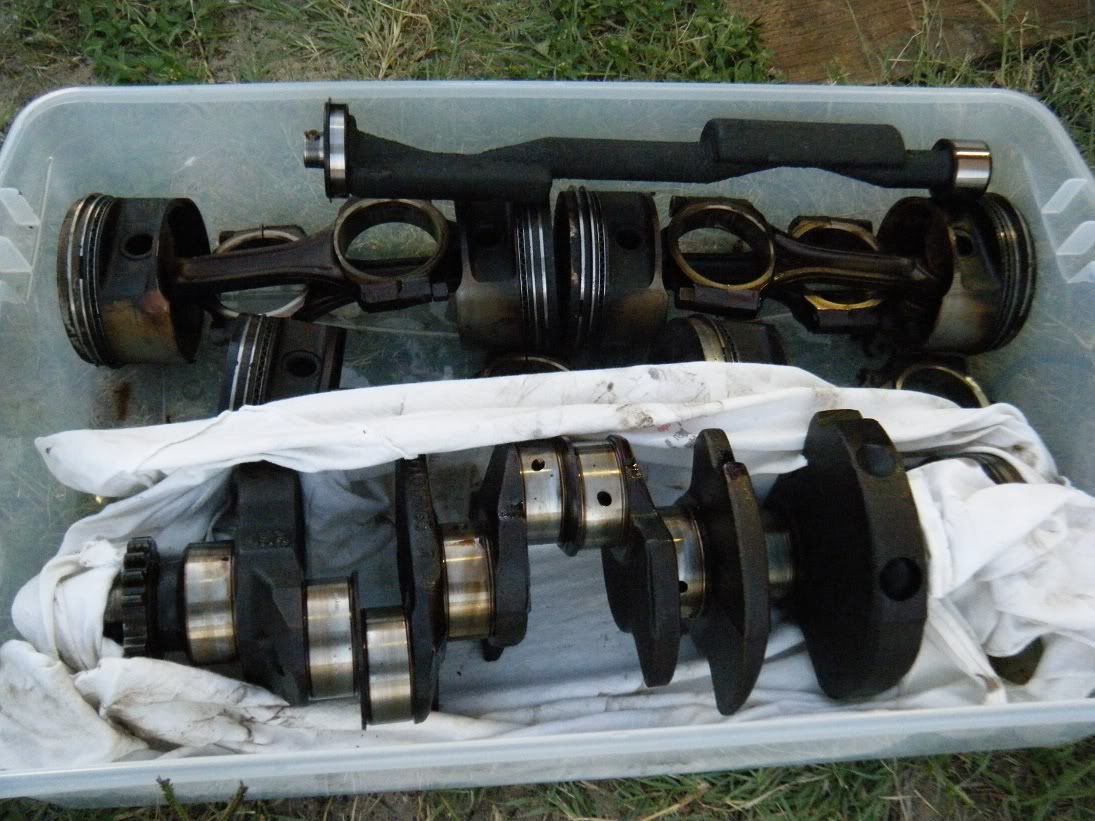
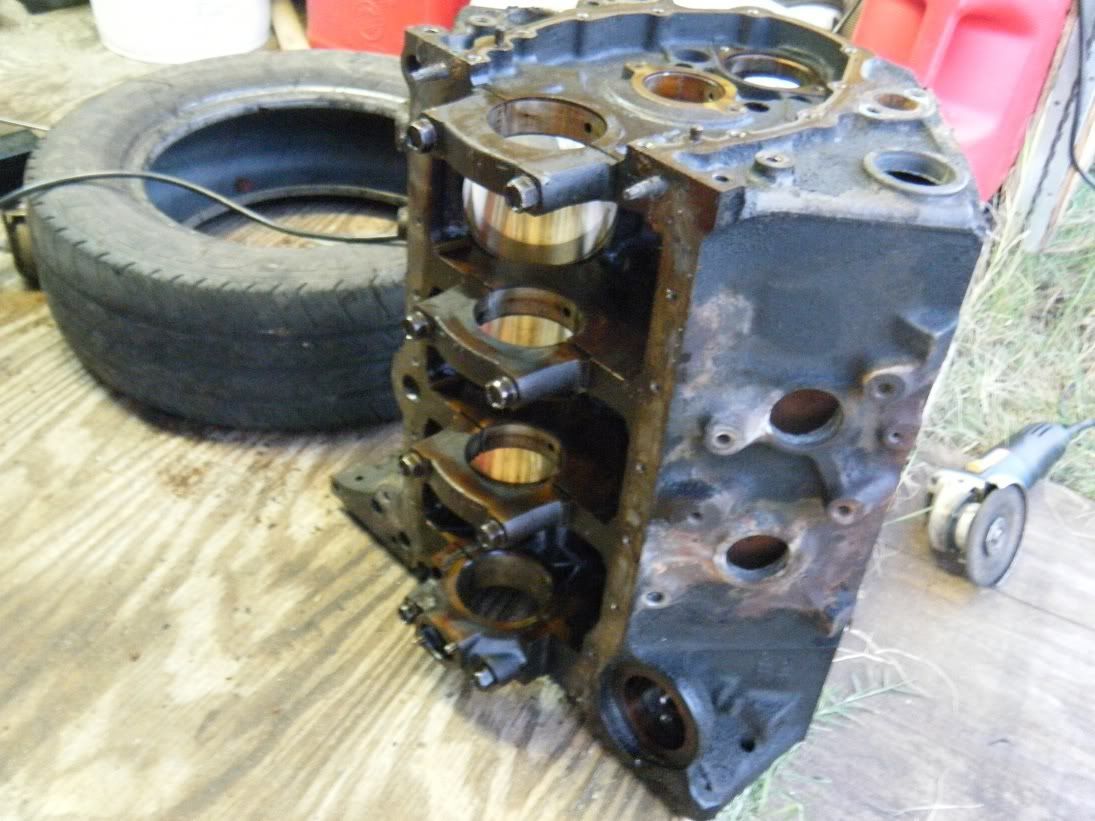
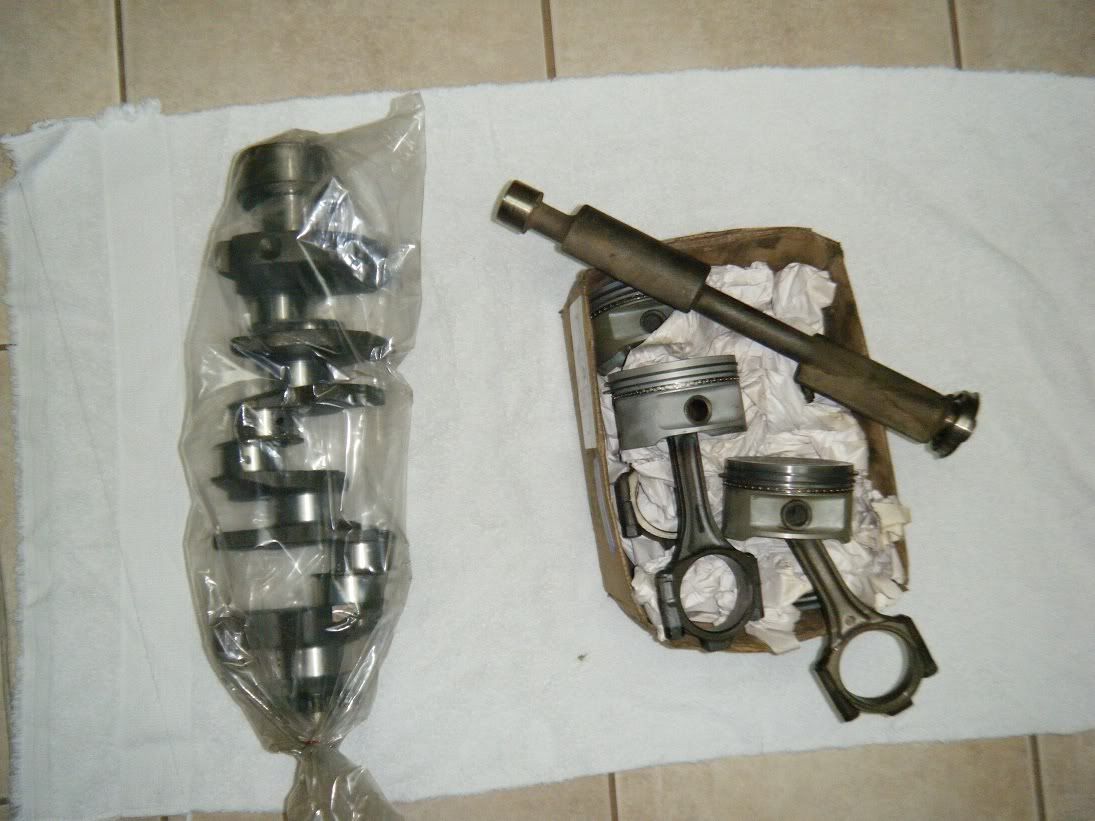
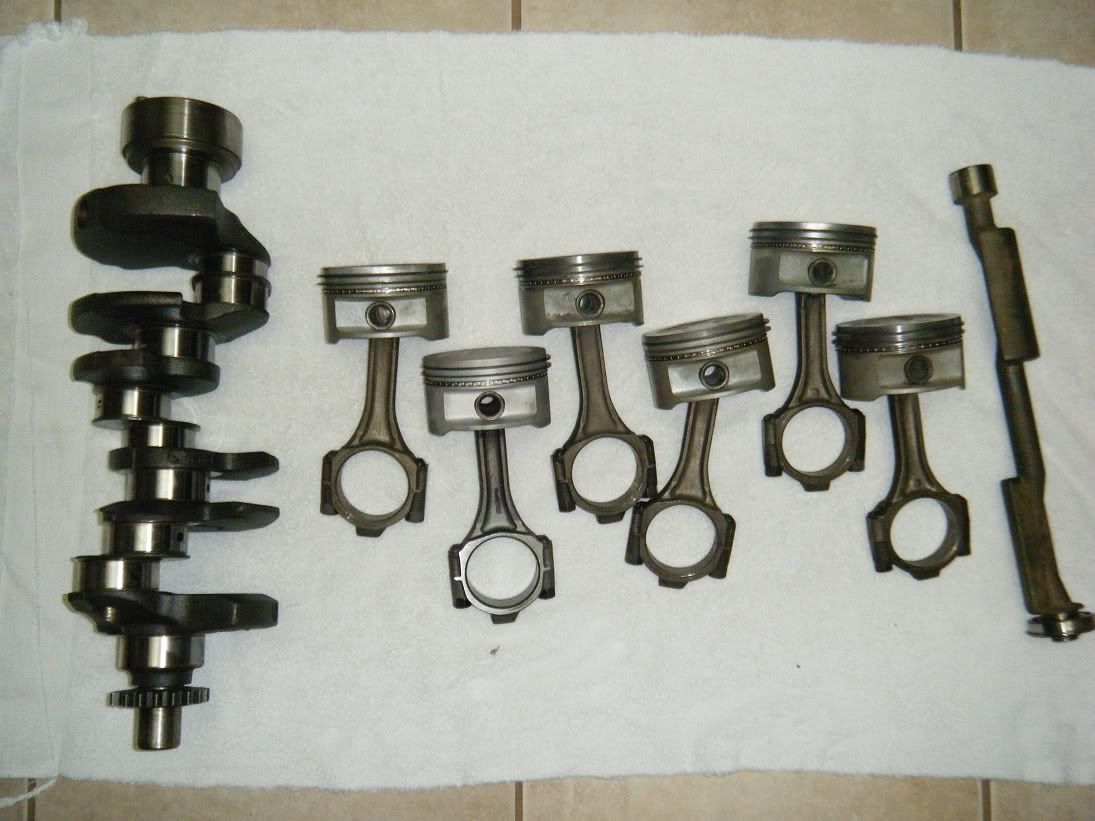
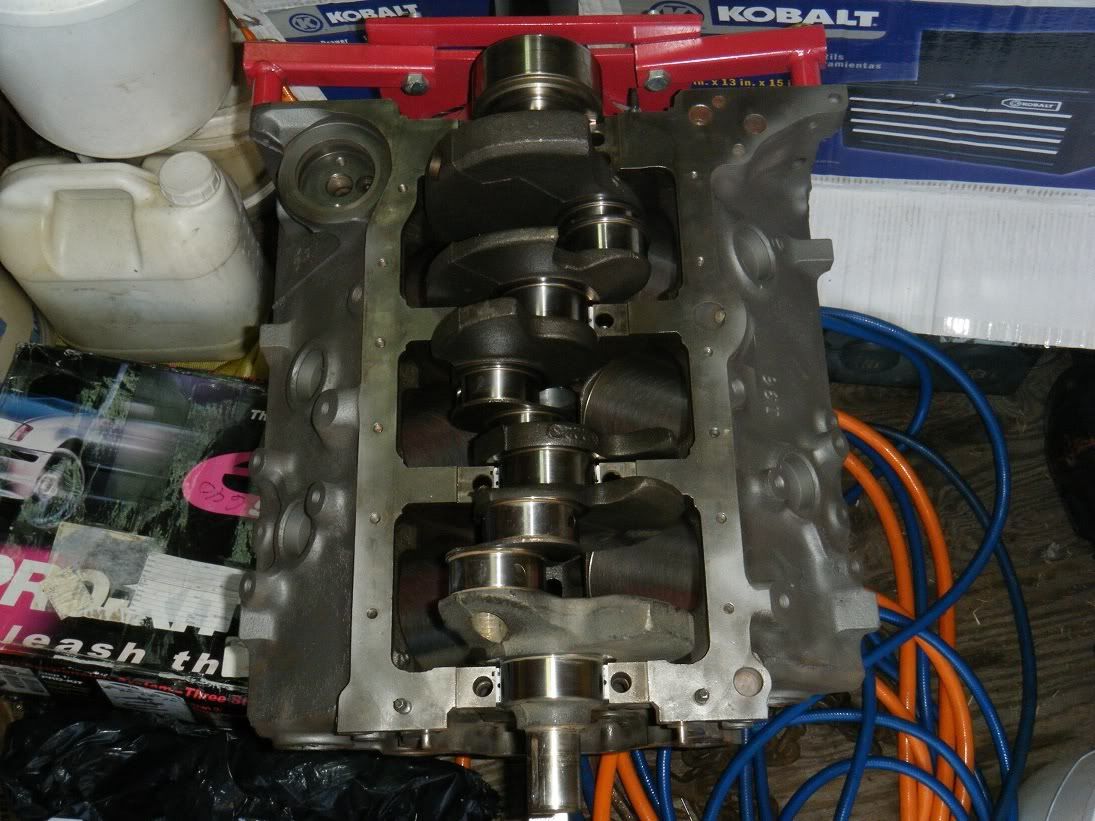
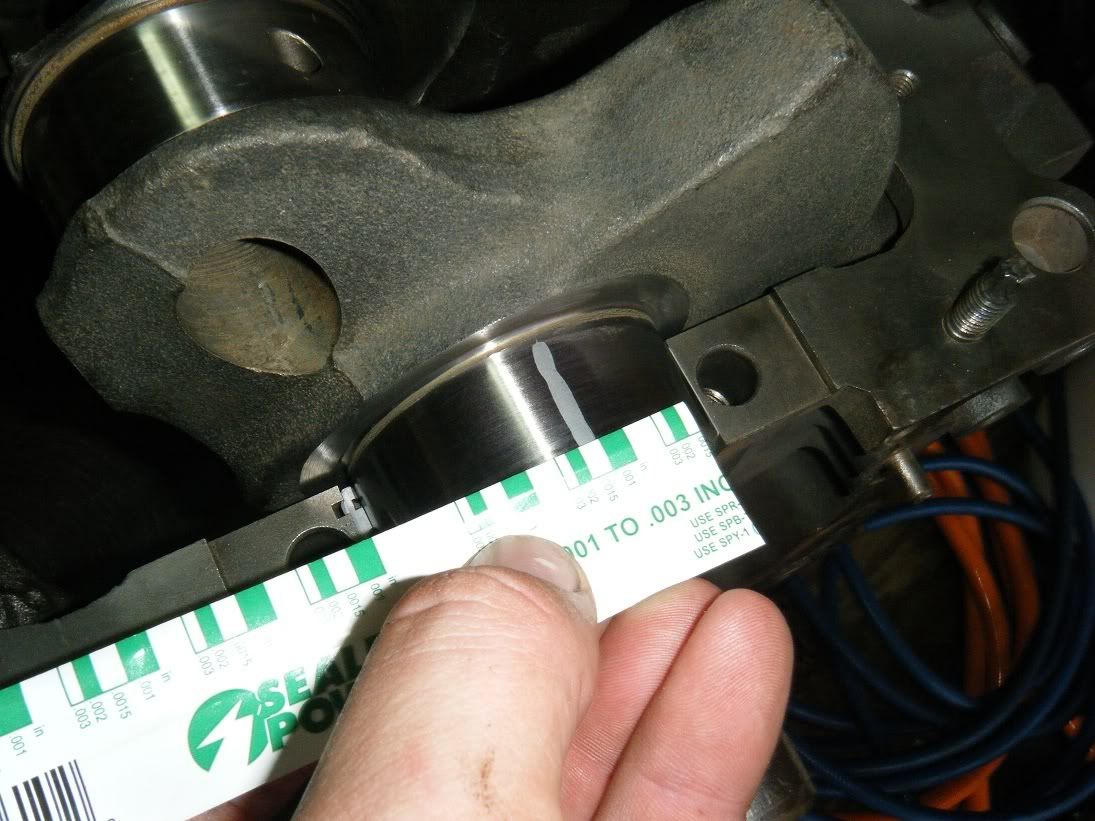
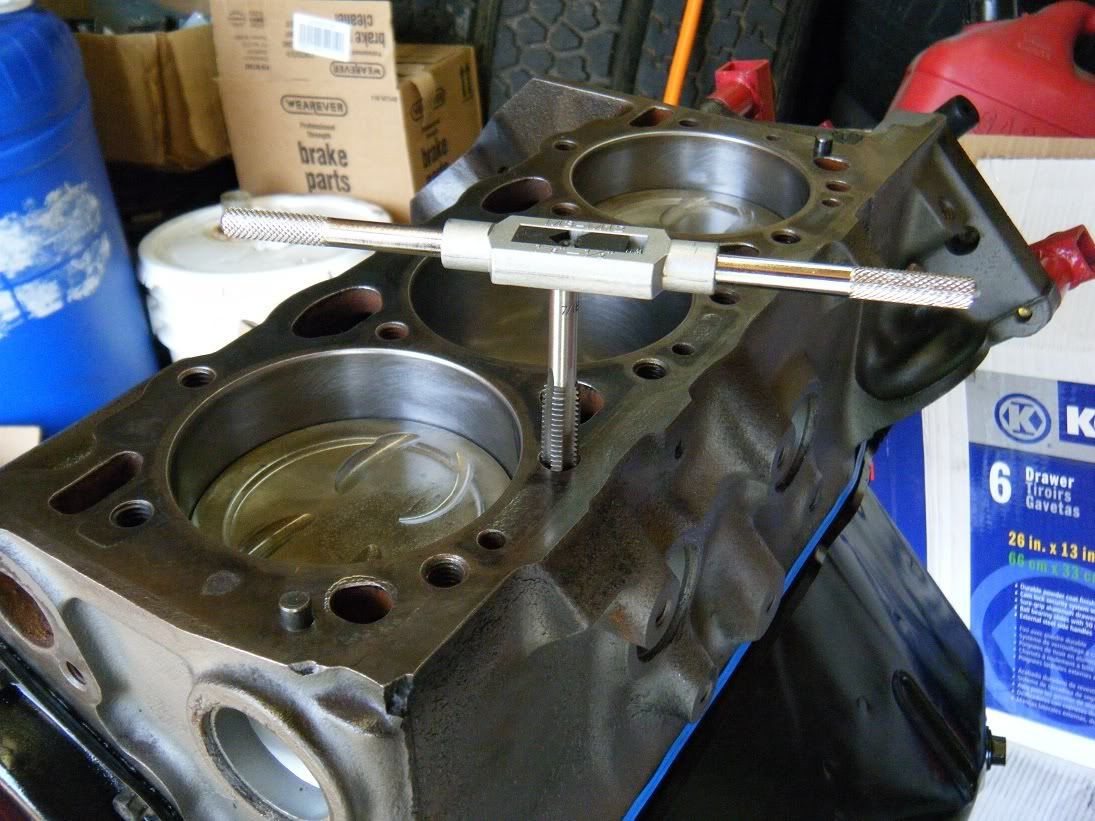
Installing crank and checking clearances, ended up having to wetsand the thrust bearing to get within spec, mains and rods were tight but within spec. the crank has been turned, these are .010 oversized bearings
This is the assembly lube i've been putting on all bearings
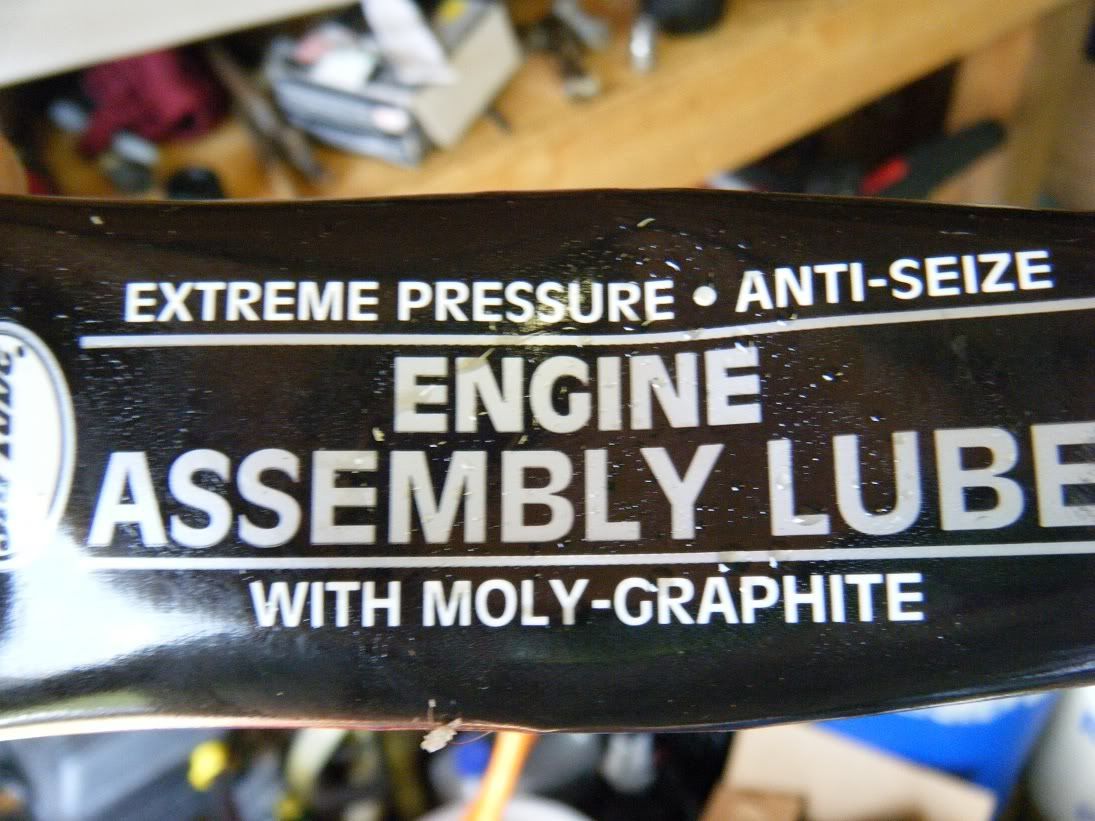
This is the assembly lube i've been putting on all bearings

Thread Starter
|
Beginning Member
Joined: Dec 2007
Posts: 42
From:
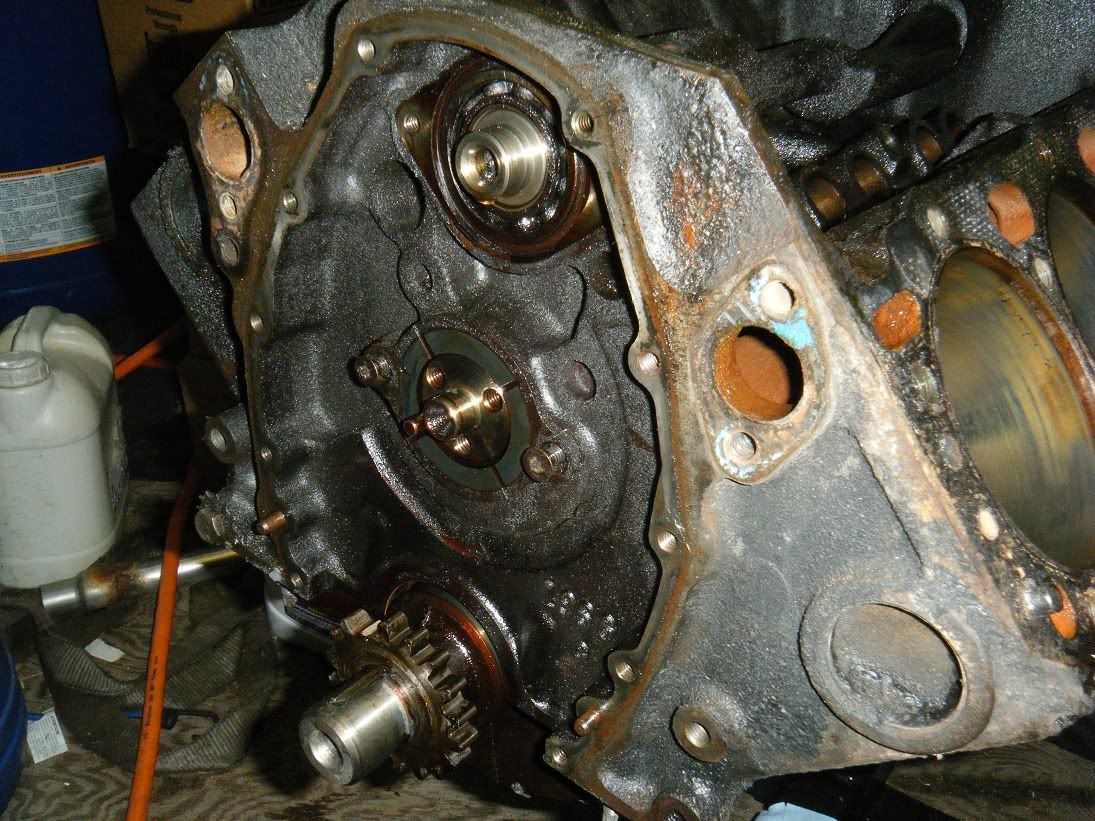
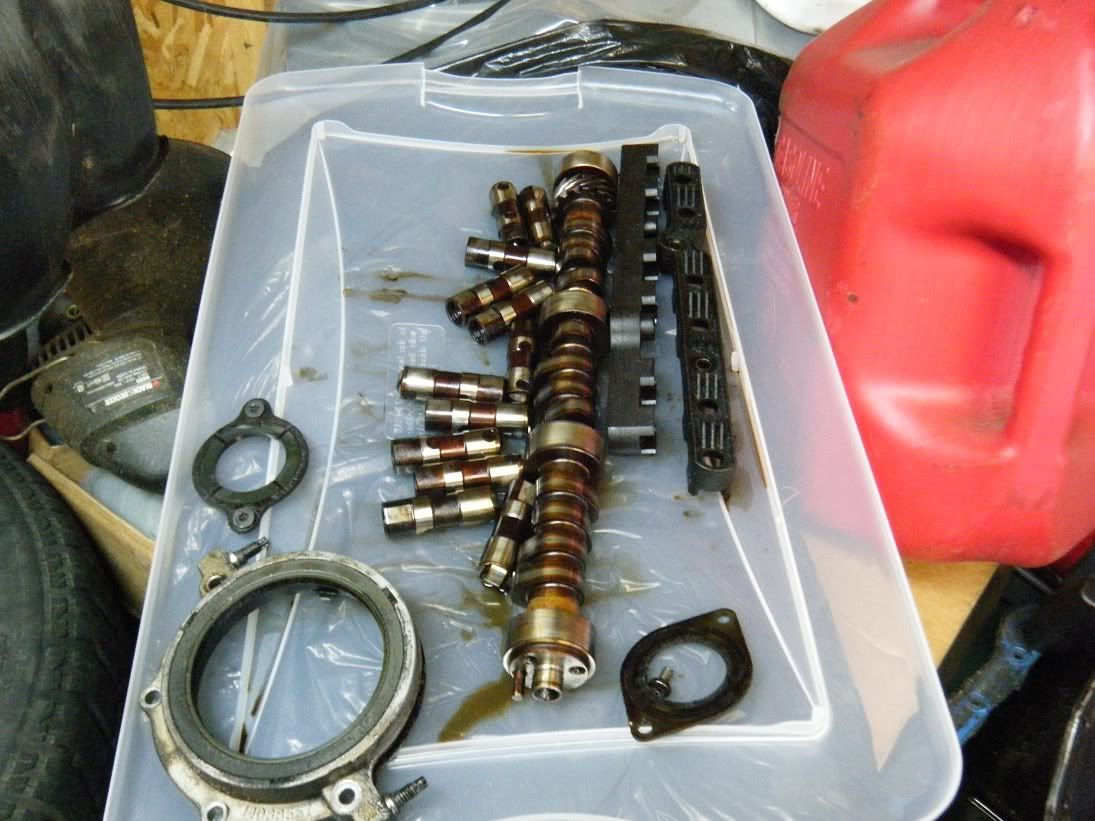
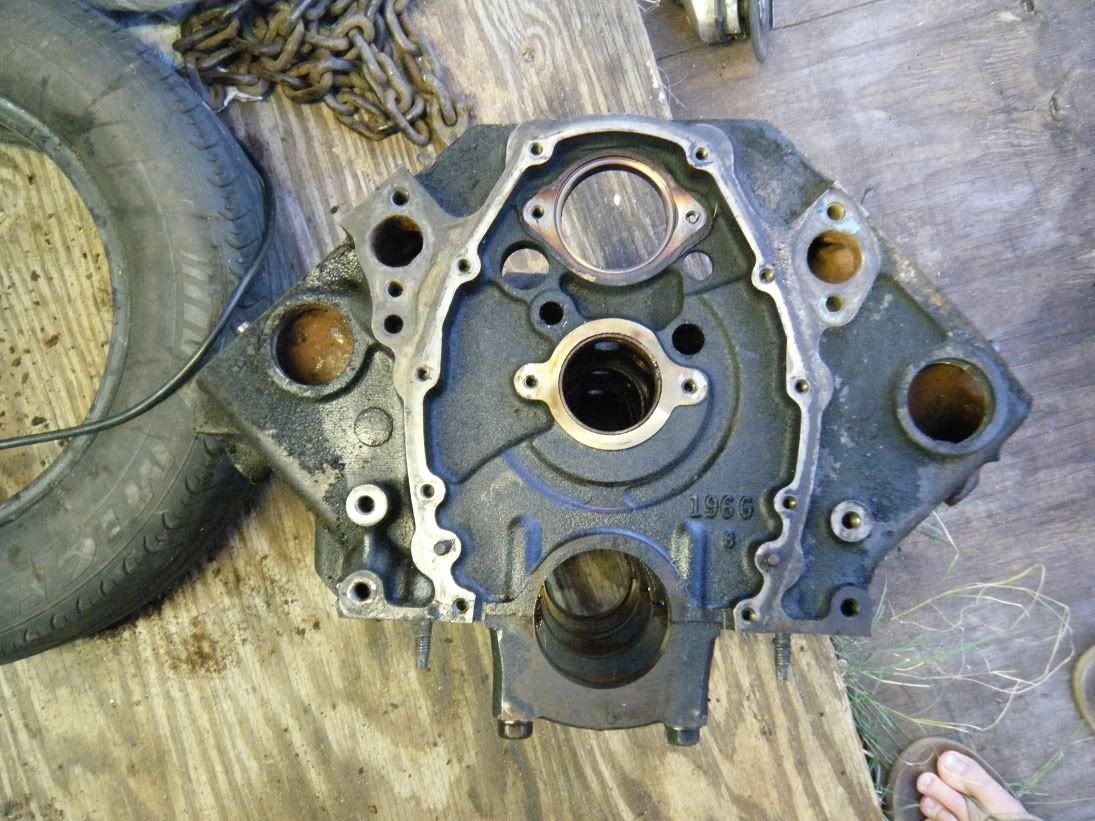
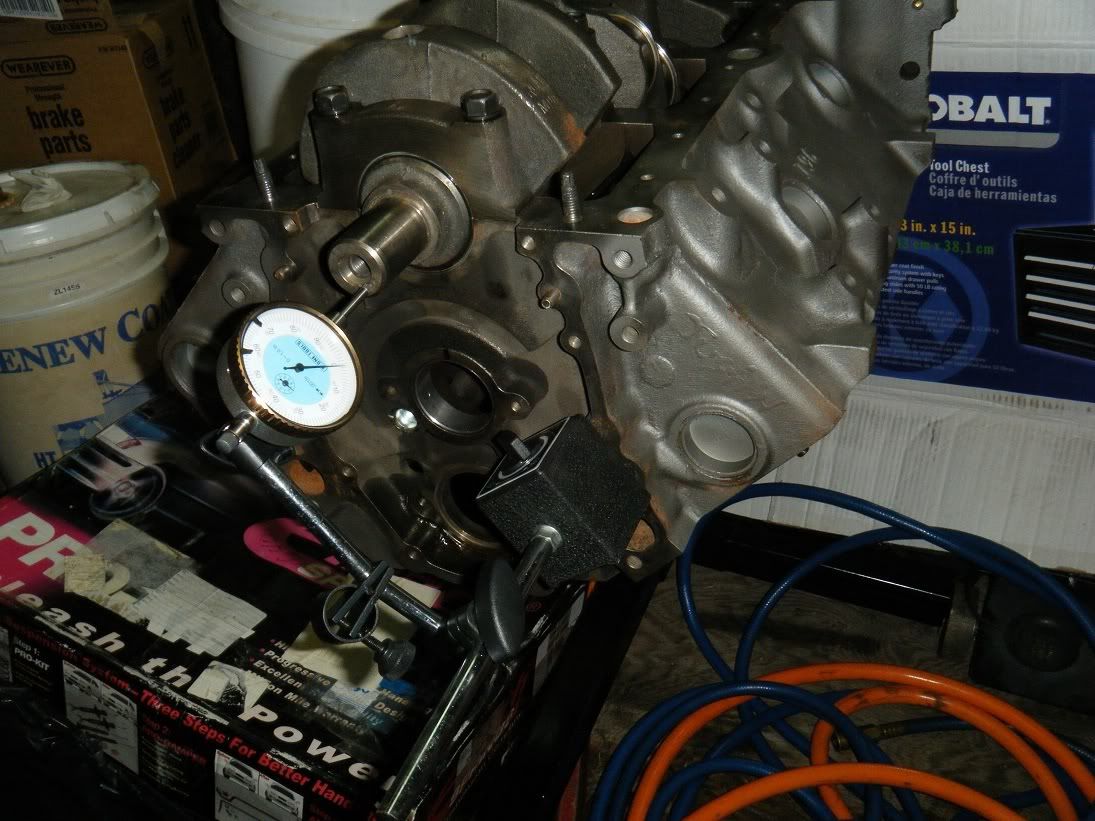
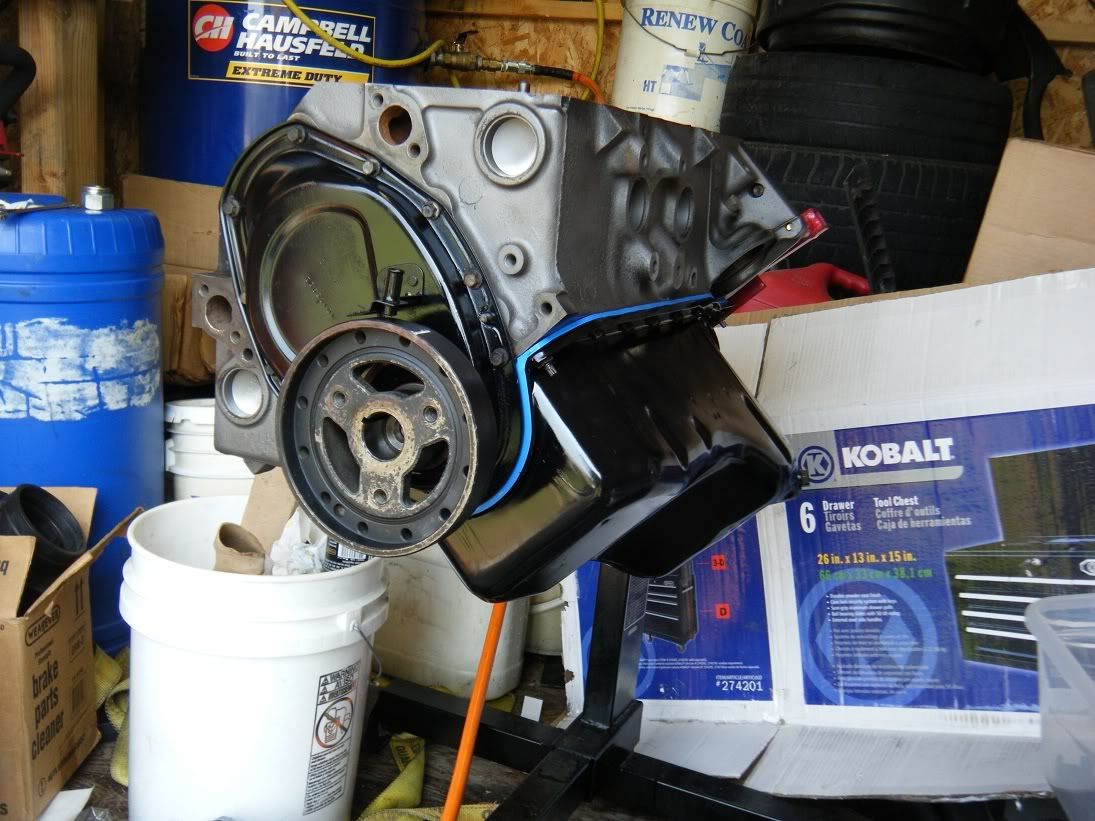
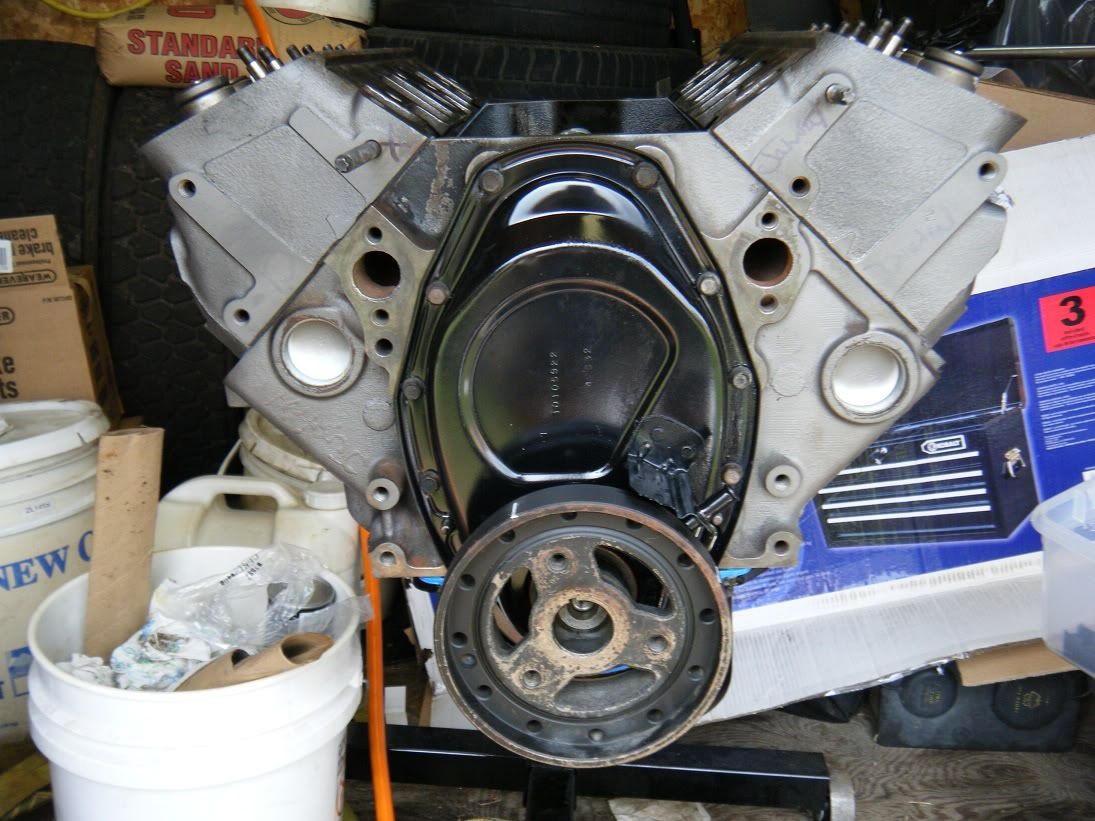
Lost the pics of installing pistons,cam,balance shaft and timing gears/chain, that sucks, but here's a pic with sanded/painted timing chain cover/oil pan. Looks purdy  The way i set the clearance for the oil pump pickup tube was that I installed the oil pan without the gasket and pushed the pickup down. so whatever the thickness is of the gasket is the clearance between pan and pickup, don't know if that's the right way but I've done it on several engines and never had a problem. Also had to order a new piston because there was play between the wristpin and piston that the machine shop didn't notice, the new piston is a different/old style design with the standard size rings cost $25, could have got the oem piston from the dealership for a low price of $183 OMG! for one piston. I weighed the new piston and with rings installed and it's the same weight as the old pistons within 1/100 of a kilogram, has the same dish and valve reliefs, so it should work. Having to buy a new piston with different rings worked out a little bit because i tried using the crappy ring compressor from the parts store "one size fits all that you tighten with an allen wrench" and ended up bending one of the oil rings, no matter how tight you get it it would not work. Borrowed a ring compressor from the shop at work, that uses specific bands with a ratcheting handle, wow the pistons fell right in.
The way i set the clearance for the oil pump pickup tube was that I installed the oil pan without the gasket and pushed the pickup down. so whatever the thickness is of the gasket is the clearance between pan and pickup, don't know if that's the right way but I've done it on several engines and never had a problem. Also had to order a new piston because there was play between the wristpin and piston that the machine shop didn't notice, the new piston is a different/old style design with the standard size rings cost $25, could have got the oem piston from the dealership for a low price of $183 OMG! for one piston. I weighed the new piston and with rings installed and it's the same weight as the old pistons within 1/100 of a kilogram, has the same dish and valve reliefs, so it should work. Having to buy a new piston with different rings worked out a little bit because i tried using the crappy ring compressor from the parts store "one size fits all that you tighten with an allen wrench" and ended up bending one of the oil rings, no matter how tight you get it it would not work. Borrowed a ring compressor from the shop at work, that uses specific bands with a ratcheting handle, wow the pistons fell right in.
Last edited by dmc919; Sep 2, 2011 at 09:13 PM.
Thread Starter
|
Beginning Member
Joined: Dec 2007
Posts: 42
From:
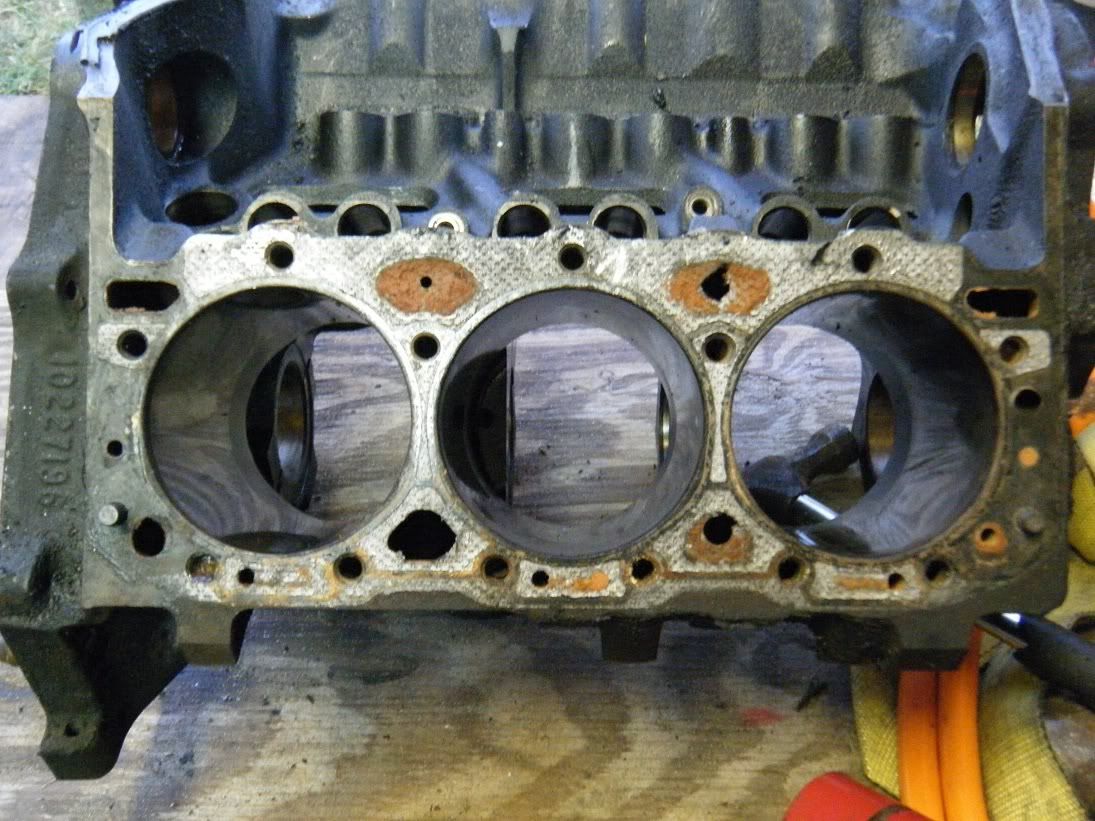
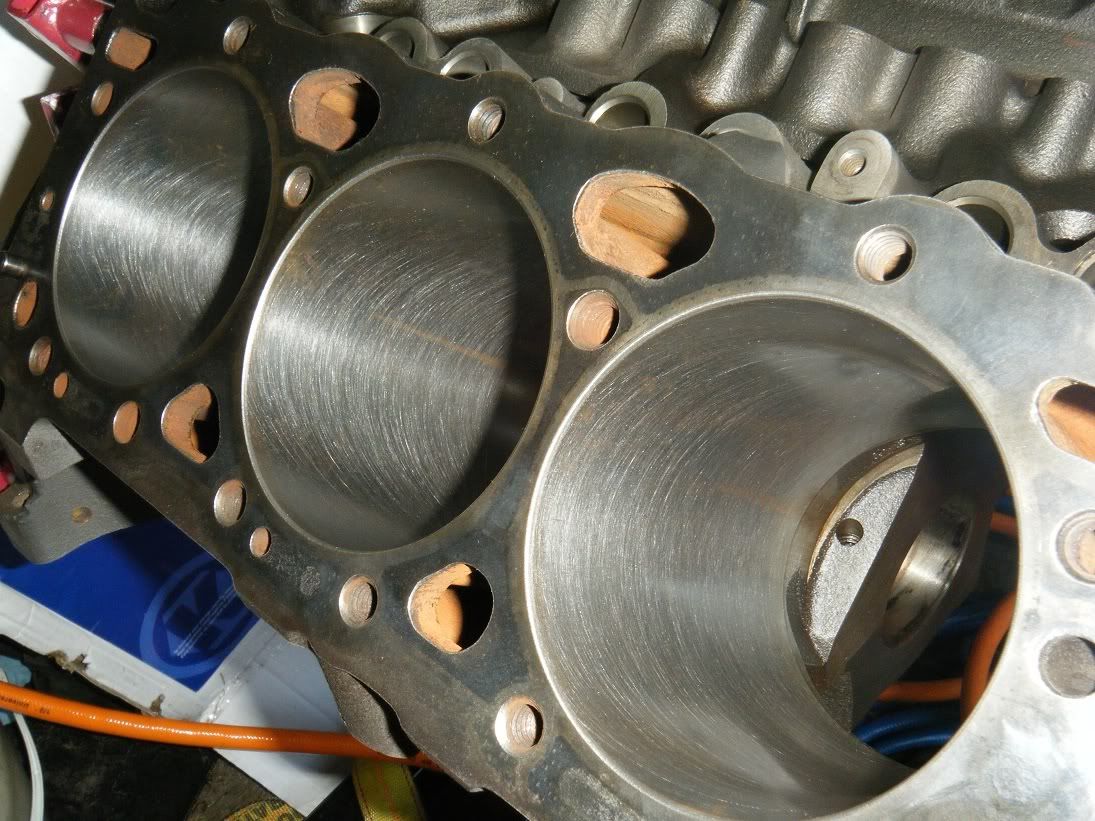
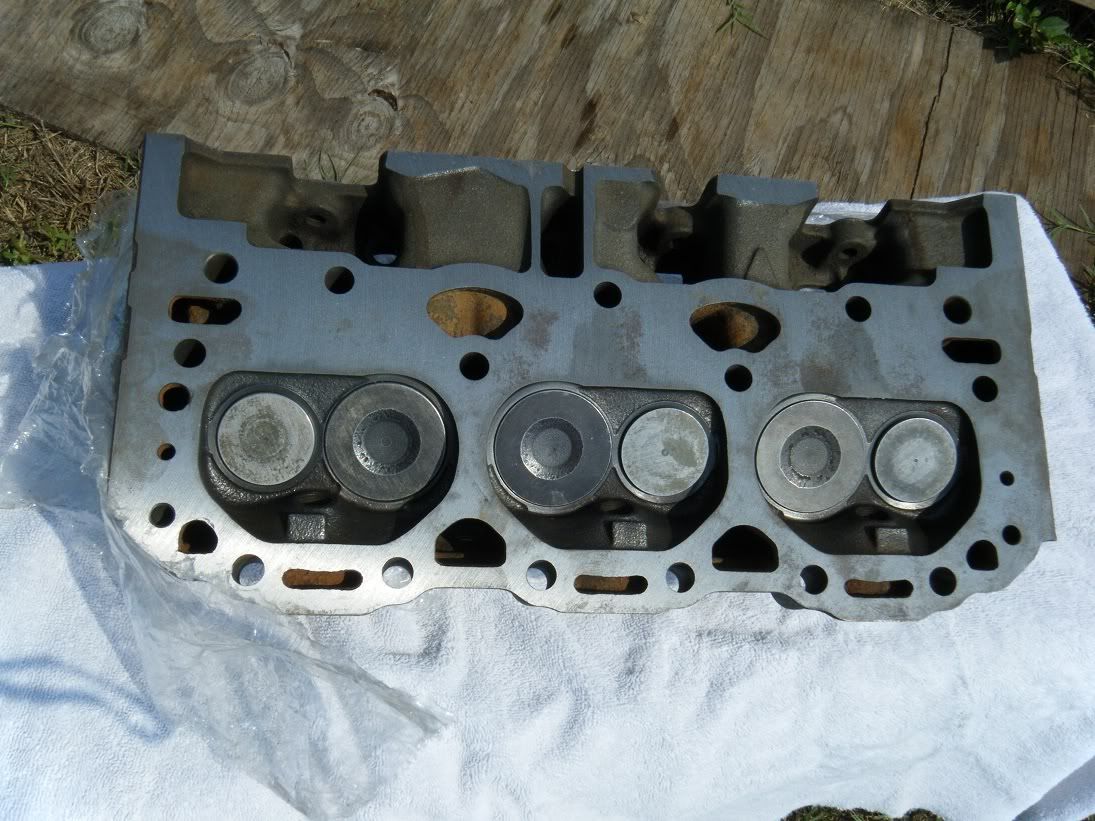
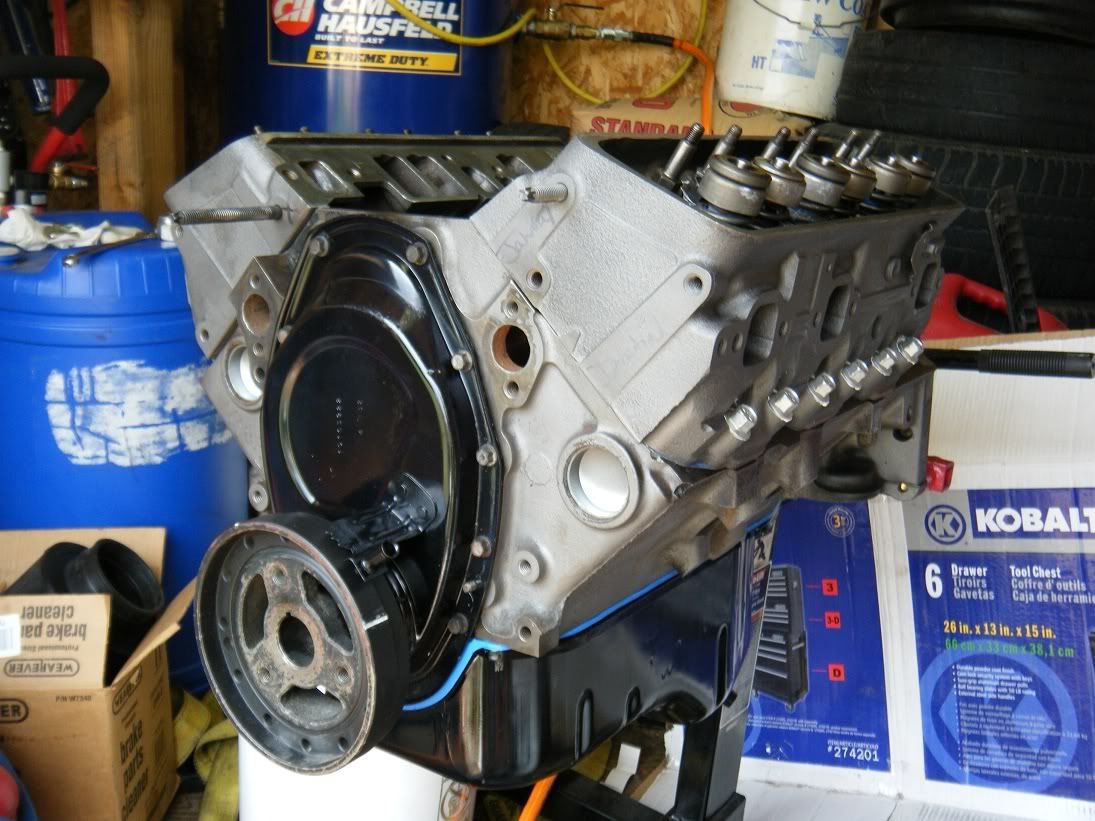
Cylinder heads that I've had for awhile
Clean all the gasket surfaced with, good degreaser, dries fast and leaves no residue

Cleaning bolt threads, even after the cleaning from the machine shop it was dirty.
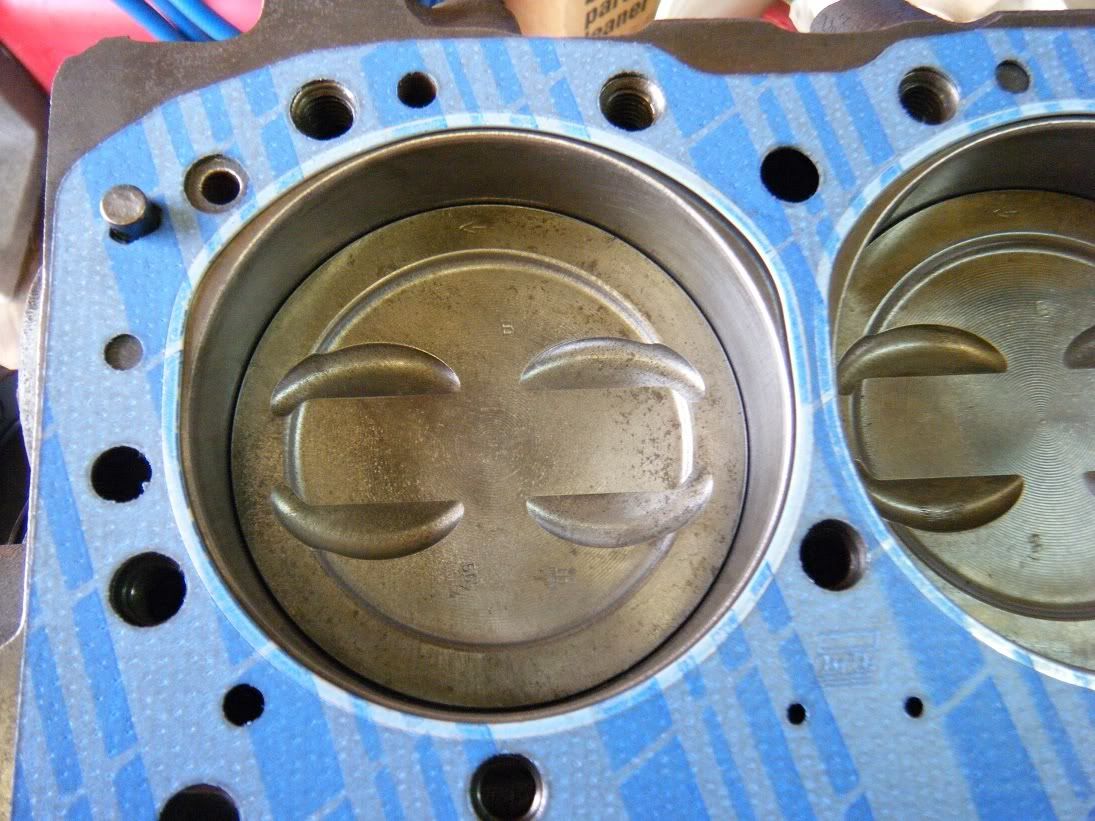
Weird head gasket shape
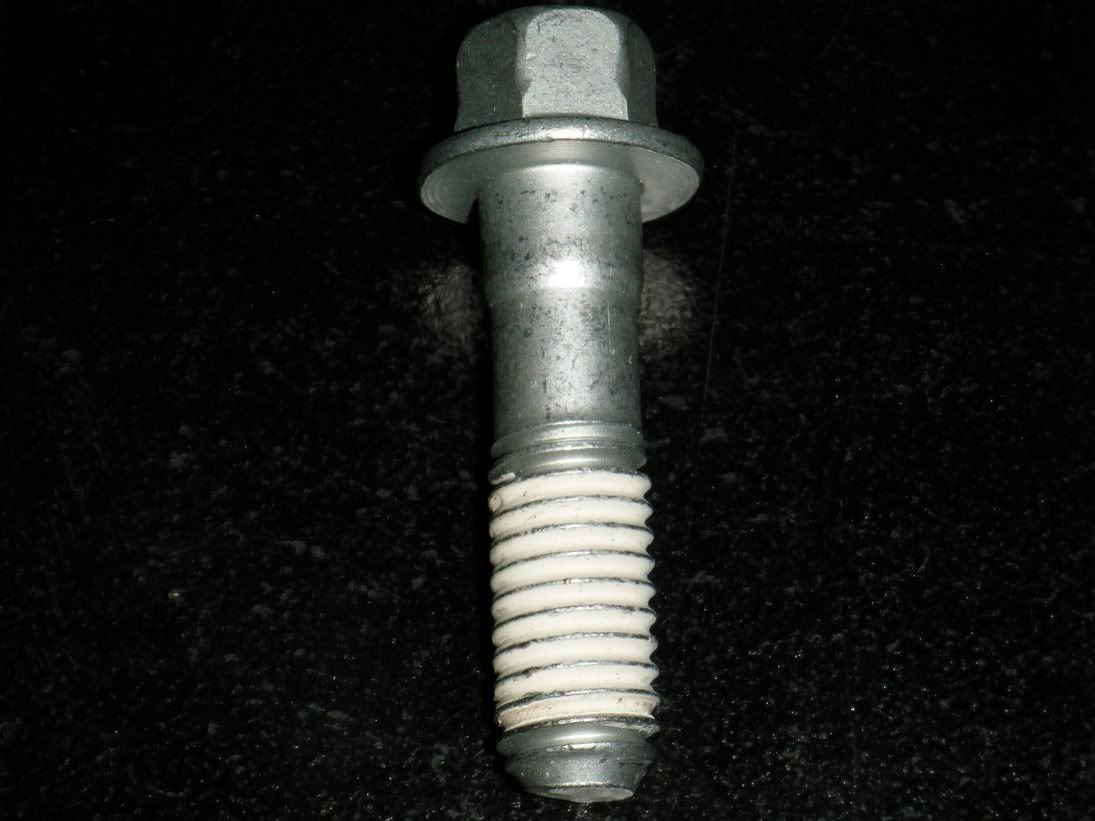
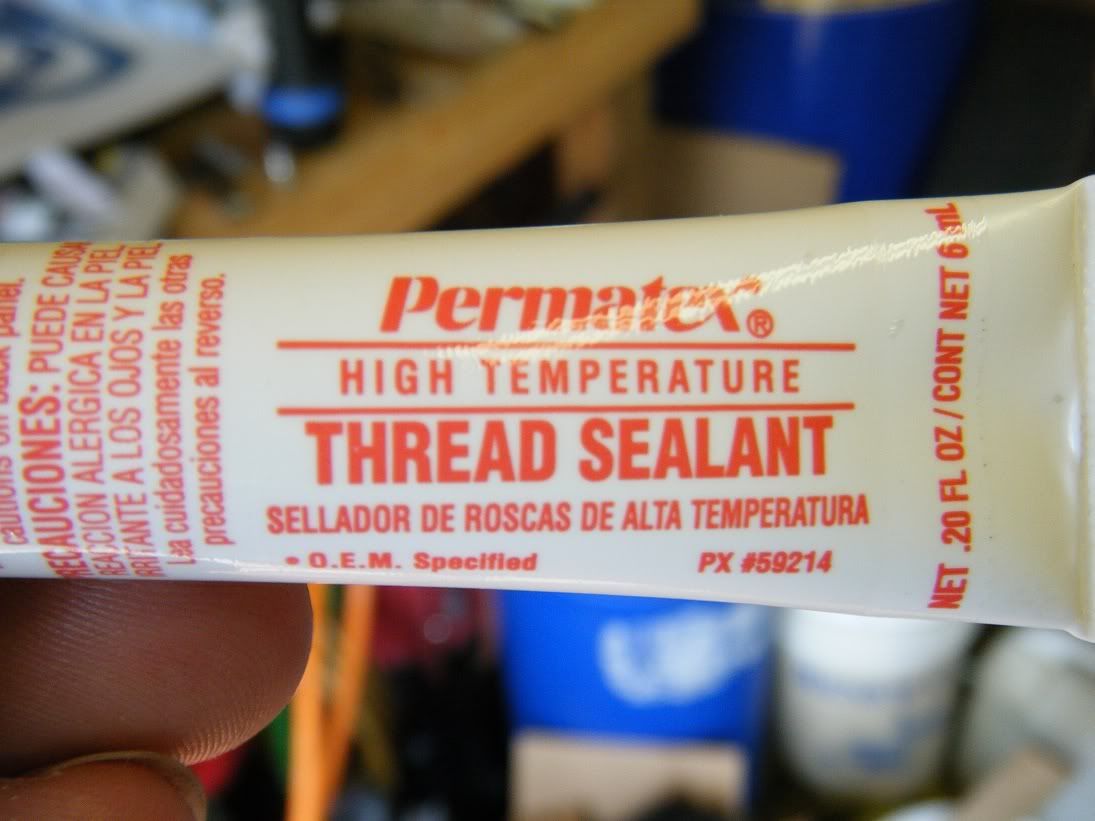
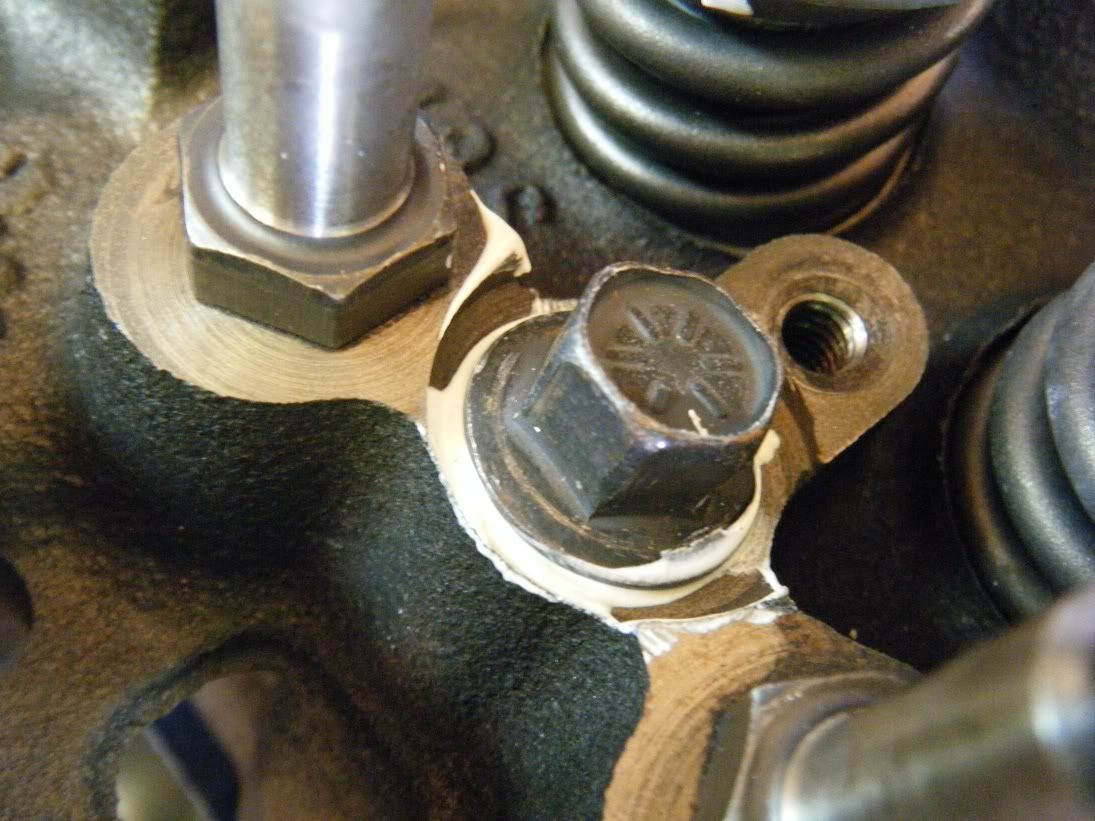
The new head bolts came with sealant, but i added extra, dont want any leaky head bolts
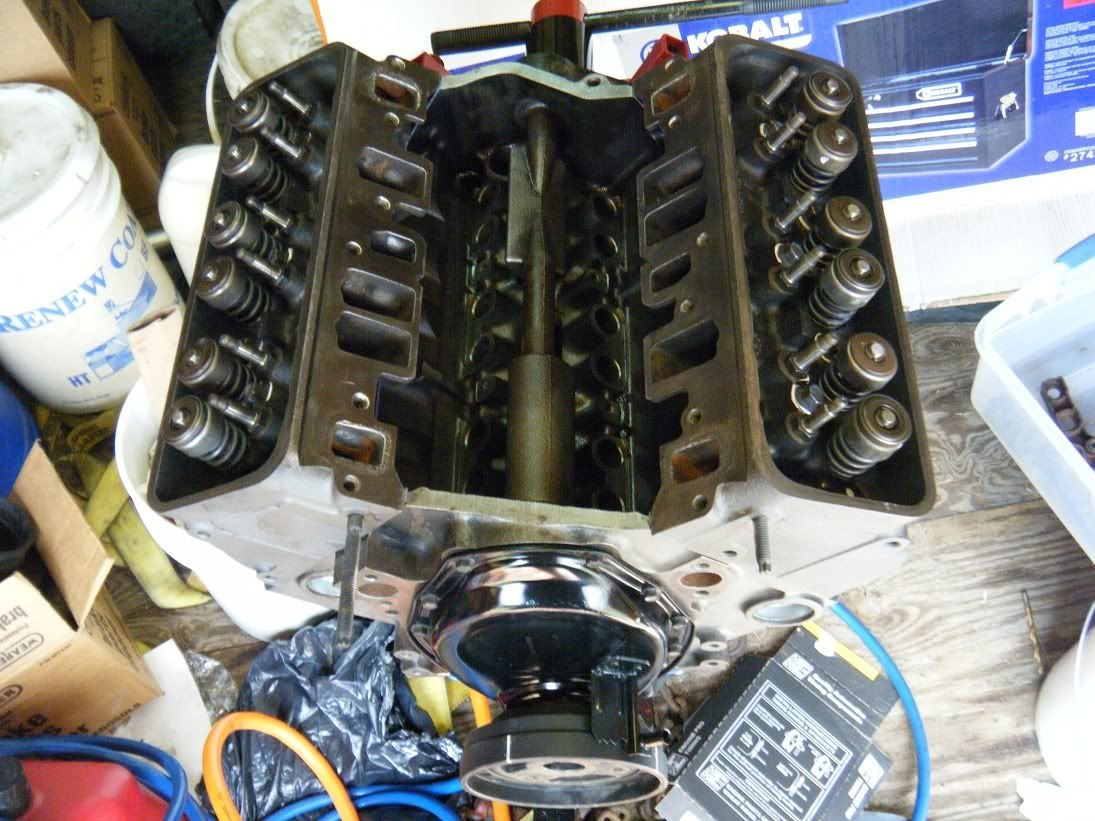
Cylinder heads installed, Yay! Time for engine to go into blazer.
Clean all the gasket surfaced with, good degreaser, dries fast and leaves no residue
Cleaning bolt threads, even after the cleaning from the machine shop it was dirty.
Weird head gasket shape
The new head bolts came with sealant, but i added extra, dont want any leaky head bolts
Cylinder heads installed, Yay! Time for engine to go into blazer.