When you click on links to various merchants on this site and make a purchase, this can result in this site earning a commission. Affiliate programs and affiliations include, but are not limited to, the eBay Partner Network.
@Christine - You are one smart cookie - Well done and as usual well explained!
Just a final clarification of the "circuit" - The engine block is connected to the frame of the car. The radiator is also connect to the frame of the car. The radiator is connected to the block by rubber hoses so there is no "circuit" to the block except via the coolant. So any dissimilar metals will act like a battery. In the case of aluminum and steel a very small current flows. Because the aluminum is the "weaker" metal the electrical process erodes the weaker material.
By putting an even weaker material in the game (magnesium) the magnesium will be the sacrificial metal.
It reminds me of, "I don't have to run faster than a bear. I just have to run faster than you..." - LOL... (Poor slow magnesium...)
Yes, I like your description of the circuit. In my own research, I learned that the coolant can become conductive. This is one of the reasons to change the coolant. I love the analogy of the "slow" magnesium LOL
big help guys thanks! I actually probably almost get it LOL. it does literally make more sense now because before I was literally looking for why and where are we introducing electricity LOL. do normal copper RADS also have a sacrificial metal?
big help guys thanks! I actually probably almost get it LOL. it does literally make more sense now because before I was literally looking for why and where are we introducing electricity LOL. do normal copper RADS also have a sacrificial metal?
No, but brass (original radiator material) and copper are much higher on the scale than aluminum. They will erode but over a much longer period of time. Even the aluminum will last a really long time. Christine' sacrificial anode is a good insurance policy.
I was just looking at this thread the other day, was wondering if you had any updates other then the side threads lol.
helpful as always!
Yeah. Not much time until now to address things. Fingers-Crossed, I think I have most of the major negative issues addressed. Now I can consider some upgrades like finally installing the outside spare tire carrier and my DRL over-ride circuit. I'll have to refurbish the carrier first though with a good paint job. I also have some boat maintenance to address too.
Fixed the sloppy job the local body shop did when it repaired my right rear bumper cap.
Instead of sourcing a new old-stock part, they tried to stick the old trim piece on with double sided tape. They also did not even try to hold it in place with the push on nuts. You can see where it was not adhering to the back top.
I was able to find an NOS part on eBay and so I decided to install it myself. It came with a piece of tape on the top edge. So once I got the old one removed and the remnants of the old tape off, I cleaned the surface with rubbing alcohol and then warmed the surface a bit with a hair drier. The manual says that when applying adhesive emblems that the surfaces should be about 85 to 95 degrees Fahrenheit. I'm guessing this promotes adhesion.
I used a deep socket to help push the push-nuts onto the plastic studs. It would have been much easier with the cap off but I got them on by reaching from below. I had to use the socket as a hammer to get the nuts on so that the trim piece would not move.
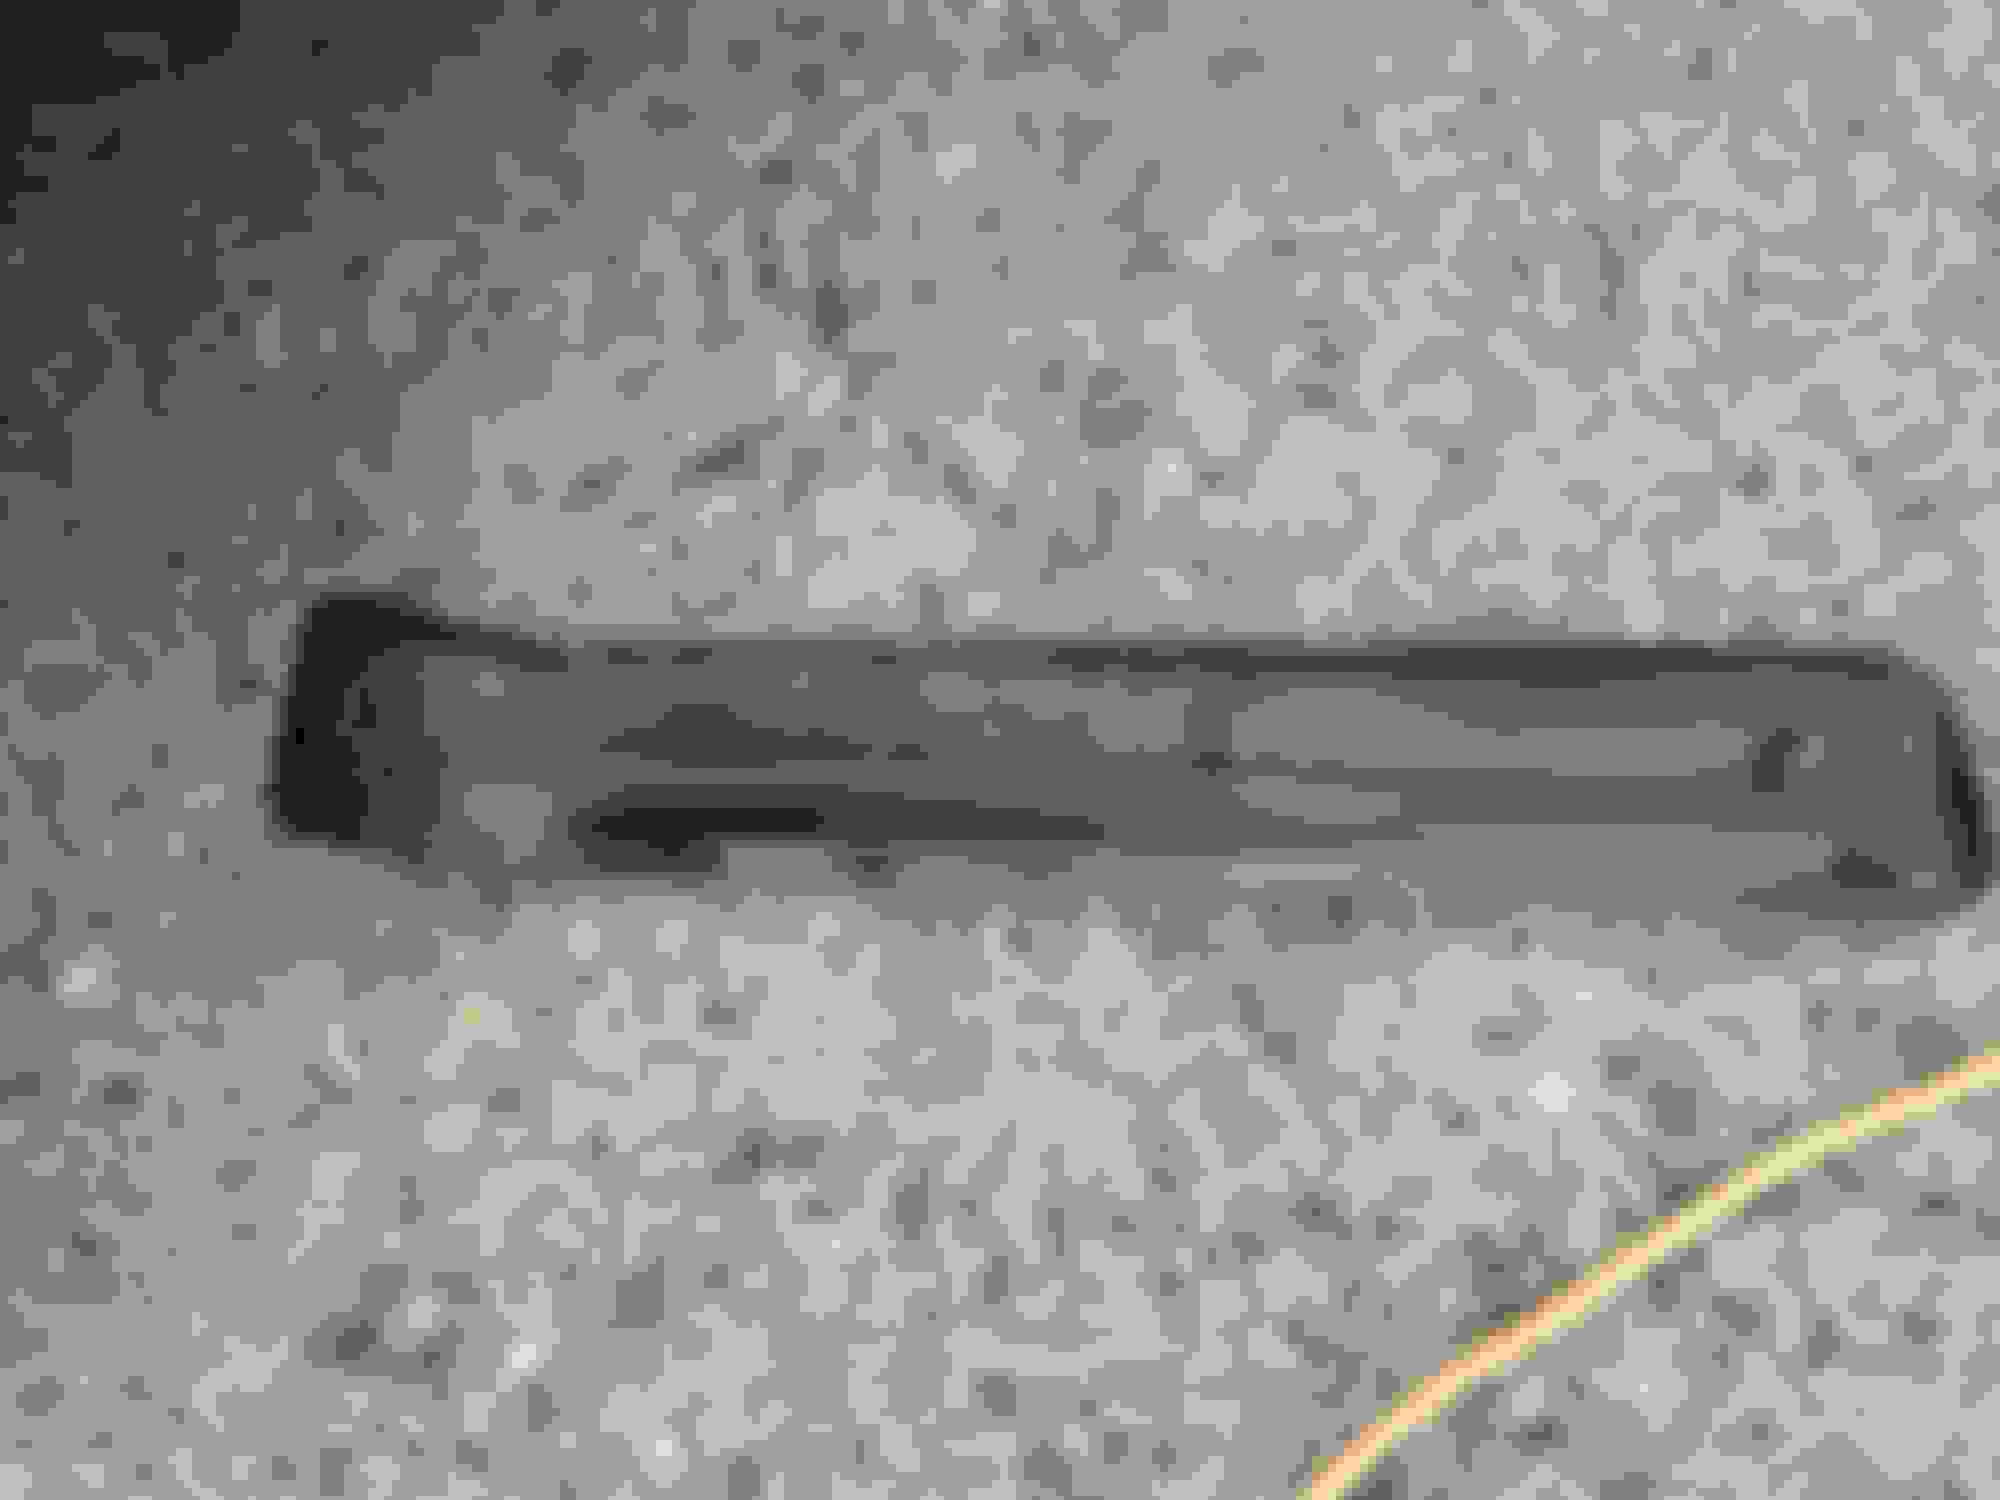
Old trim piece with the tape not sticking.
Bumper cap cleaned and ready for new trim piece.
Backside of old trim piece. The stud on the left was broken off in the collision. But the other two were not even used to hold it back on.