
Kreigeist89's 99 jimmy

Thread Starter
|
New Member
Joined: May 2013
Posts: 65
From: NJ

Hey everyone. I picked up a 99 jimmy sls in great condition for next to nothing. I decided to invest my time fully into it.
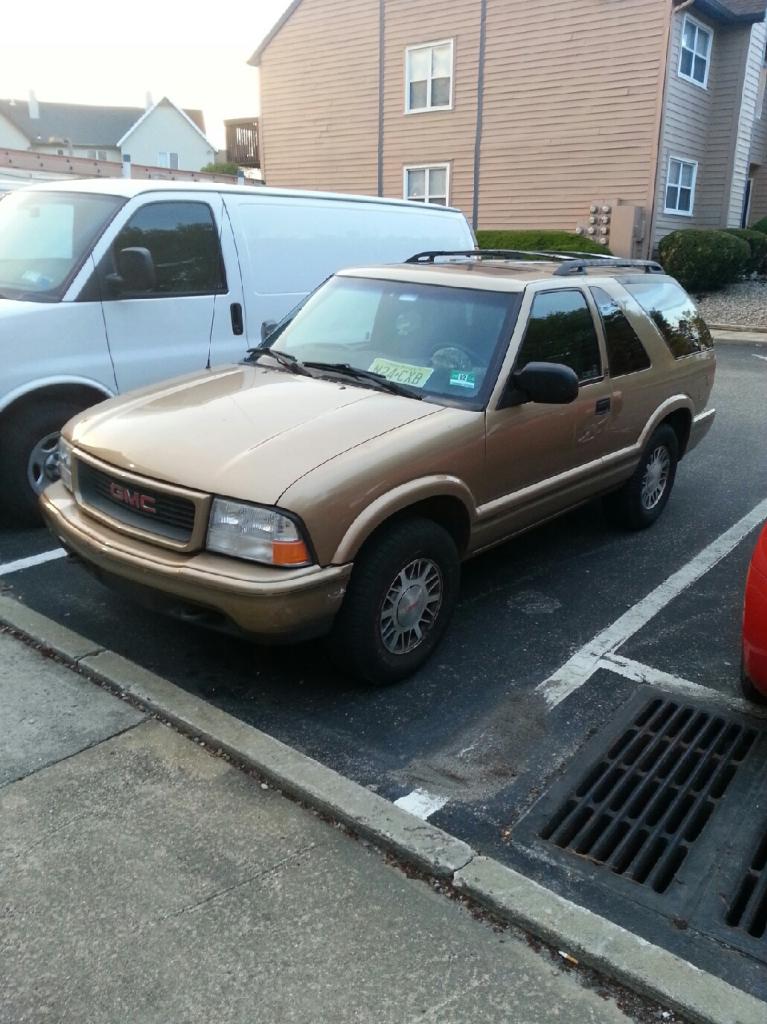
Heres all the parts I have currently and what will be put on in the next few weeks
2 inch PA body lift
2 inch top gun shackles with T bar crank
31's on 5x8 rock crawler 52s

Heres all the parts I have currently and what will be put on in the next few weeks
2 inch PA body lift
2 inch top gun shackles with T bar crank
31's on 5x8 rock crawler 52s
Thread Starter
|
New Member
Joined: May 2013
Posts: 65
From: NJ
Since it is the first day that hasn't been windy or raining or filled with college finals, I decided to install the body lift today. What a PITA. Two broken body mounts, one a broken bolt, the other a loose captive nut and a jackstand failure.
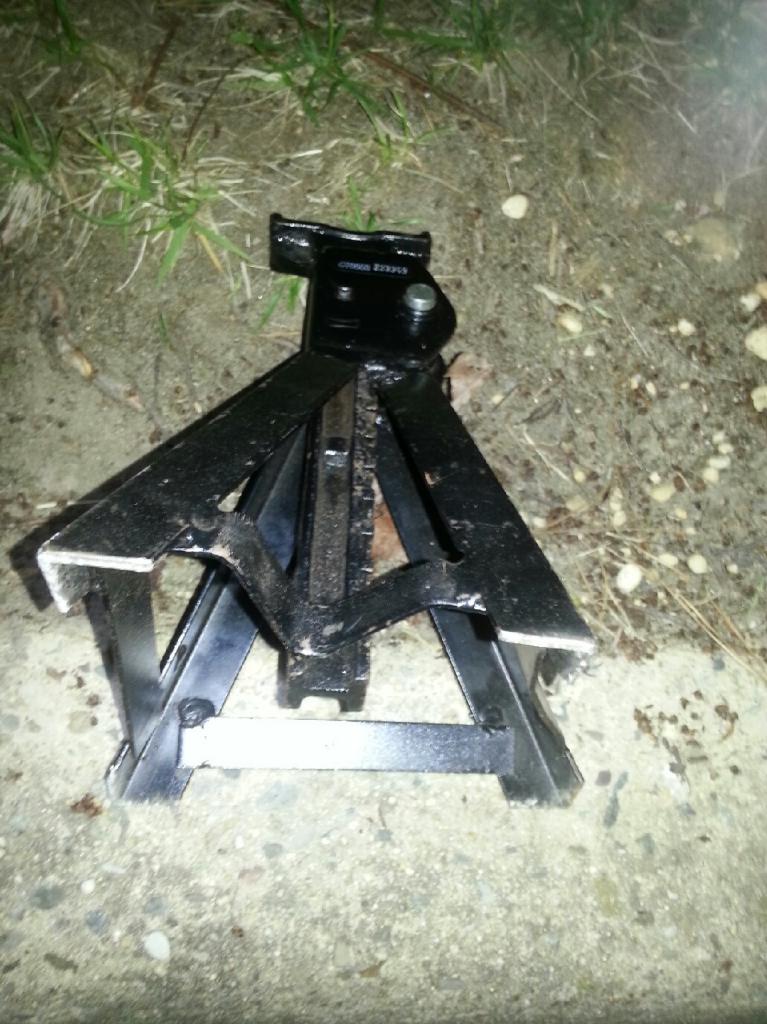
Needless to say I went out and bought some 6 ton jackstands lol and if you are thinking of doing this lift, have some big stands and a big jack. Safety is crucial when installing this thing.
Aside from that, I got 7/8 blocks installed and I am going to head back to my gf's moms house tomorrow with a sawzall to but out the floor so I can reach the mounting nuts. Anyone have any good tricks for cutting the nuts? Im thinking ill just beat on the bolt to break the crap weld and replace with my own hardware.
Tomorrow Ill finish those up, mount the rest of the brackets and try to stop staring at how much better it looks lol. Here's some pictures:
Prepping:

Half way, noticeable difference:

So much better.
I will have some more pictures tomorrow or sunday after I cut everything and get it all situated. Thanks for looking
Super Moderator
Joined: Sep 2011
Posts: 4,459
From: Northern VA
A good impact is crucial for a smooth bl install! Took all of 5 min and all of my bolts were loose. I did mine in about 7 hrs by myself with a few interruptions throughout since I did it at work. I did the pas side and left them loose and then went to the driver side and got those in and tightened everything down. I'm not so good with safety lol I used mine floor jack and a piece of 4x4 is all to lift it. Looks like you have a handle on things tho keep us posted.
Thread Starter
|
New Member
Joined: May 2013
Posts: 65
From: NJ
I miss being in the military where I had a real shop lol I have to work outside my gfs moms house because our complex doesnt want me to work there and for good reason lol.Good call on the 4x4 too. I have a piece of 2x3 that has been through hell and back. Did you use a sawzall to trim the rear bumper on yours?

Thread Starter
|
New Member
Joined: May 2013
Posts: 65
From: NJ
On saturday, I got rained/lightning'd out all day, so this morning I finished my body lift along with cutting out two of the body mount nuts.

Absolutely love the look of the lift and recommend this for everyone. I ended up cutting open small sections in my floor and chiseling out the old cage nuts which had a broken bolt stuck in it, or was spinning freely. The driver side body mount had a nut welded to the floor and the passenger side had an actual cage nut.


All cleaned up:

While I was rained out, I took the time to sand down and paint the tow hooks. I am going to re sand and re paint them this upcoming weekend as well as throw on my shackles, do the t bar crank, and replace the rear rotors. I decided to soak my shackle bolts for another week to help with the process. This makes week 3 and can 3 of pb blaster lol. Im hoping the shackle bolts come out without incident. Still waiting on my wheels and I have a feeling they aren't coming anytime soon.
So I am curious, what did you do about where the front cab mounts bolt to? I am a bit confused? You took off the cage nut, and the nut on the drivers side that was welded to the floor? what did you bolt the mounts up to than?
Thread Starter
|
New Member
Joined: May 2013
Posts: 65
From: NJ
Replaced with my own hardware. Ive done this on a friends blazer and have had no problems whatsoever. Works great and no more cage nuts. I just beat down the metal flap and put the carpet back over so I can go back occasionally and check on the hardware. Lots of loctite.
Replaced with my own hardware. Ive done this on a friends blazer and have had no problems whatsoever. Works great and no more cage nuts. I just beat down the metal flap and put the carpet back over so I can go back occasionally and check on the hardware. Lots of loctite.
Thanks for the tip though
So only one side had the cage nut, the other had the nut welded to the floor?
Thread Starter
|
New Member
Joined: May 2013
Posts: 65
From: NJ
Yea the driver side had the welded nut, the passenger side had a cage nut. I had to beat on the welded nut with a chisel and hammer. The welds were garbage though so it didn't take too long. These were the body mounts right behind the front wheel wells