
Tony's Trailmaster Install


Thread Starter
|
Junior Member
Joined: Aug 2009
Posts: 294
From: New Hampshire

I decided I should make a thread on my Trailmaster and body lift installation. Hopefully this thread will help anyone that has any questions/fears of installing this lift, because once you cut the stock brackets, there's no turning back.
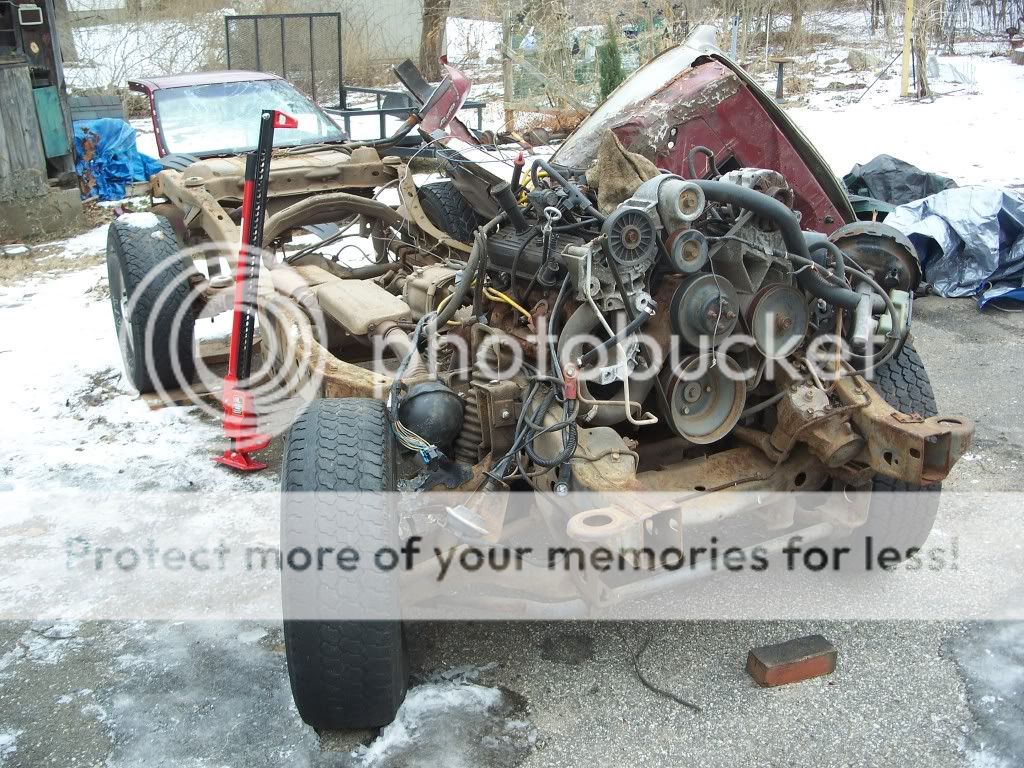
I had an ad on Craigslist in the wanted section for a suspension lift for an S-10 Blazer. A few days after I posted the ad I got a email from a guy saying he had a 6” suspension lift in a frame and he said he’ll give me everything for $100 and he wanted it gone by the end of the week. So I told him I’ll defiantly take it. So I hired one of my friends that has a car trailer and we picked it up. When we got there this is what we found…
1970 Volkswagen Bug body on a 1991 S-10 Blazer frame.


He even gave me a spare transfer case. So we got it to my house. I paid my friend $125 for gas and his time. So it cost me a total of $225.
I took the body off with a little help of the Sawzall and a lot of help from the hi-lift jack.
I put the engine on Craigslist for $80 cause the wire harness was all screwed up and I wanted it gone and I didn’t have an engine hoist. So that was sold. $225-80=$145. The guy that bought the engine helped me take the transmission out with his engine hoist. Now it’s easier to work on. I sold the transmision and transfer case for $150. And I sold the rear-end for $125. and I sold the Bug doors for $35. So I actually made money from buying this lift. I got VERY luckey.
I took the lift out, wire wheeled everything, primed and painted everything.
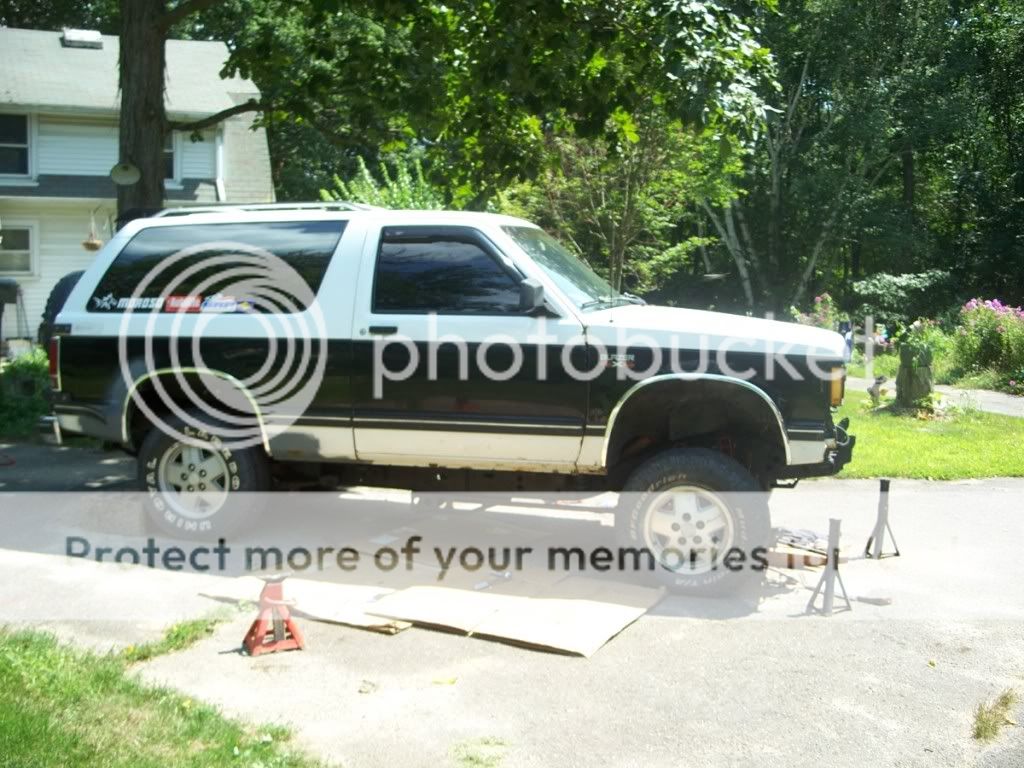
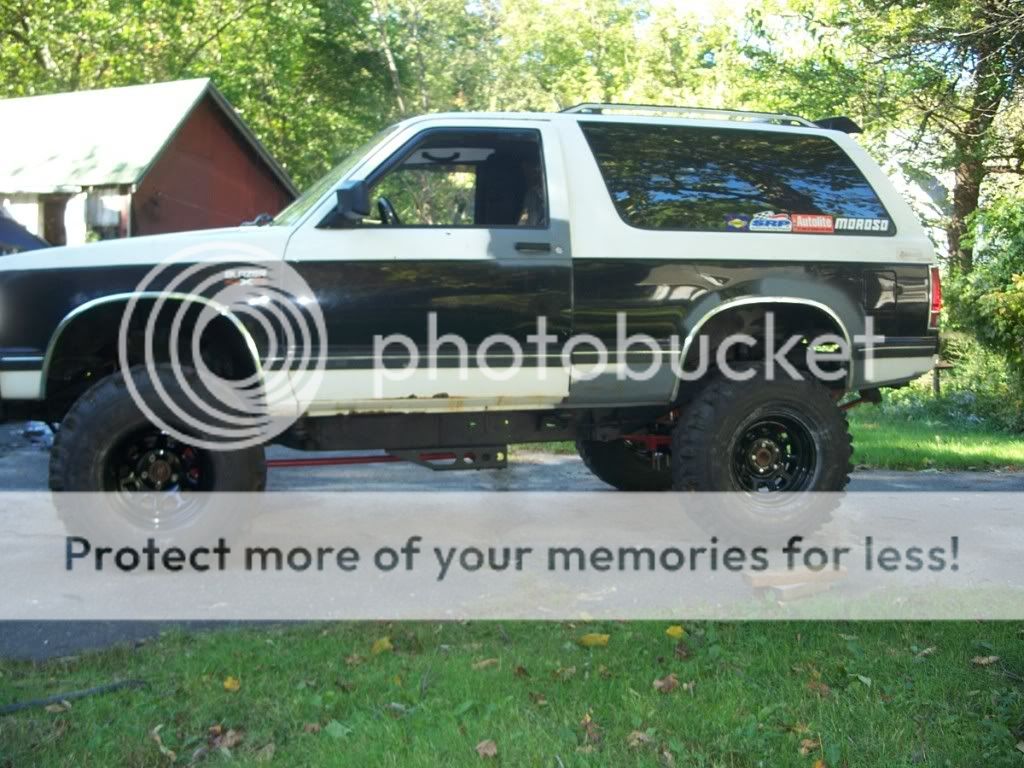
This is my Blazer when it was stock…

3” body lift installed…

Extended shift linkage.(the extention rod comes with the kit)…
This is how I raised the front bumper.I lined the bottem holes of the bumper up with the top holes of the frame. You then have to cut notches in the bumper where the frame would hit or make a spacer. I used washers as a spacer.
This is how I raised the rear bumper. Just a flat piece of steel I found in my backyard and some grade 8 bolts…
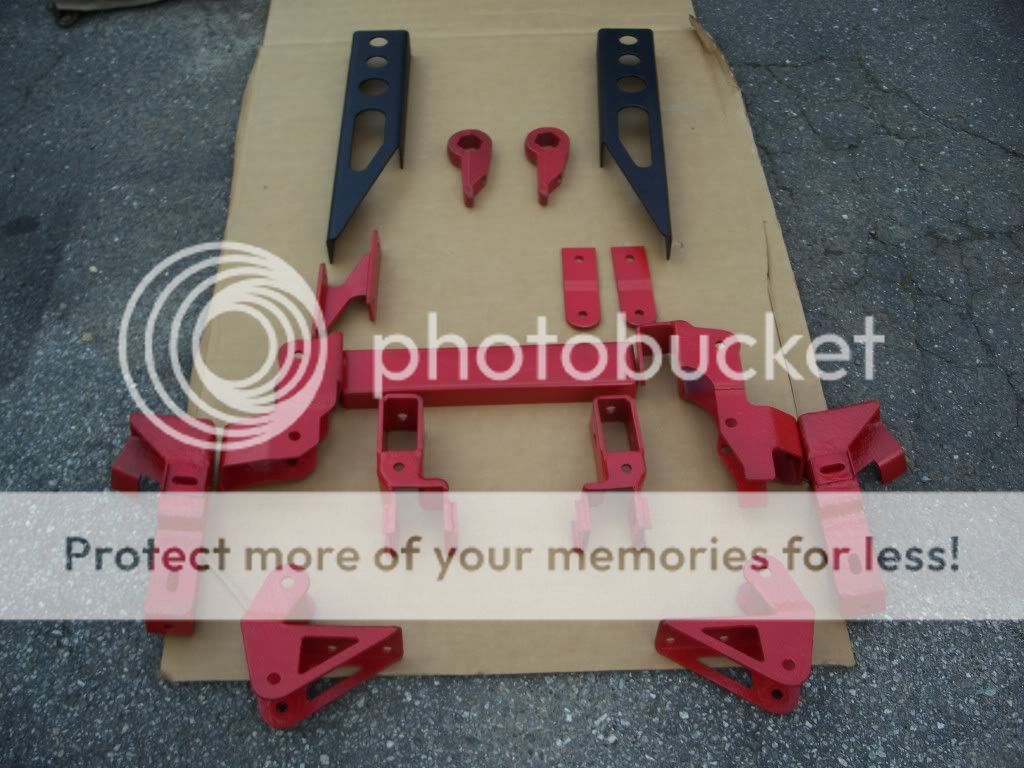
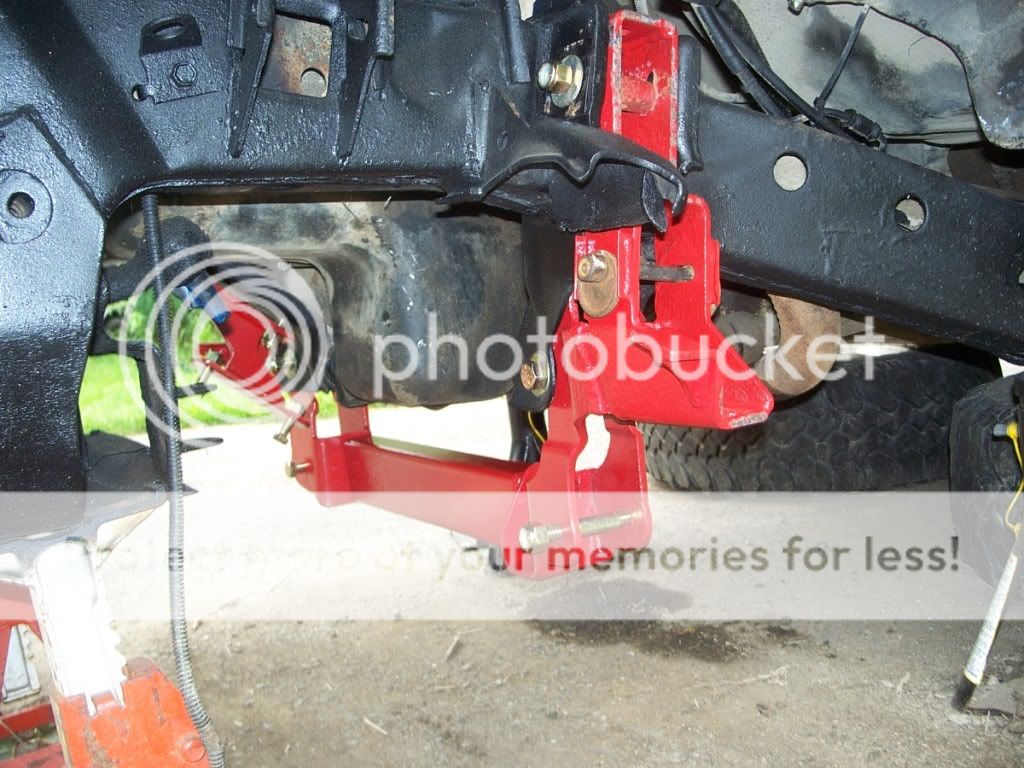
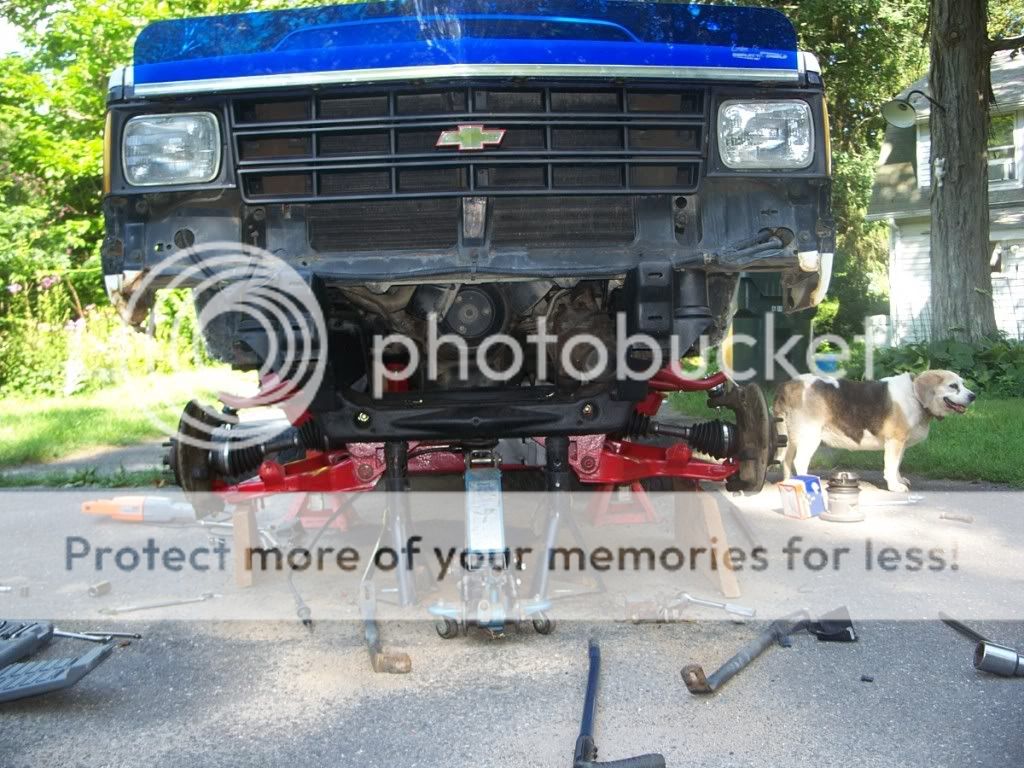
With the body lift done I started with the suspension lift..
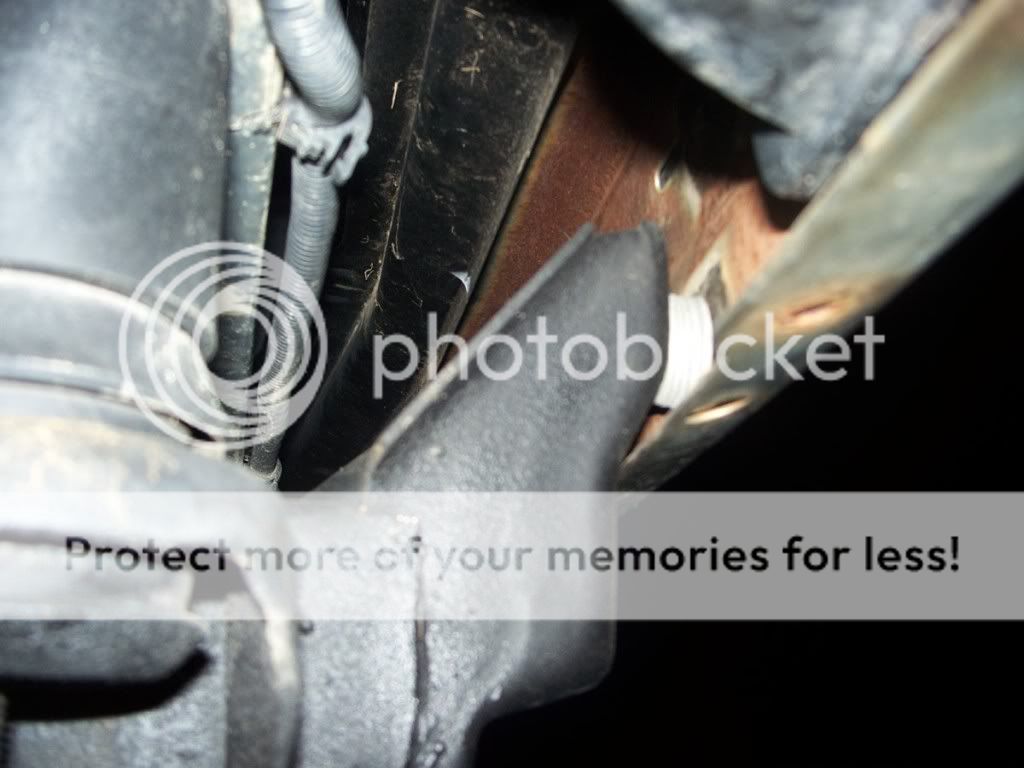
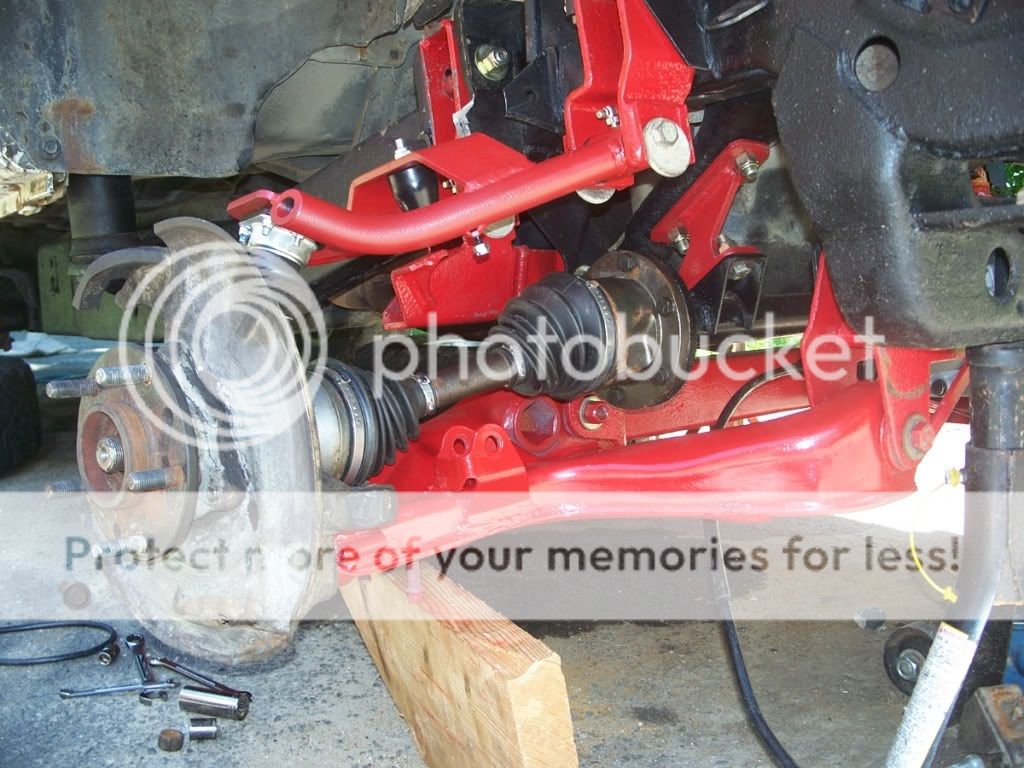
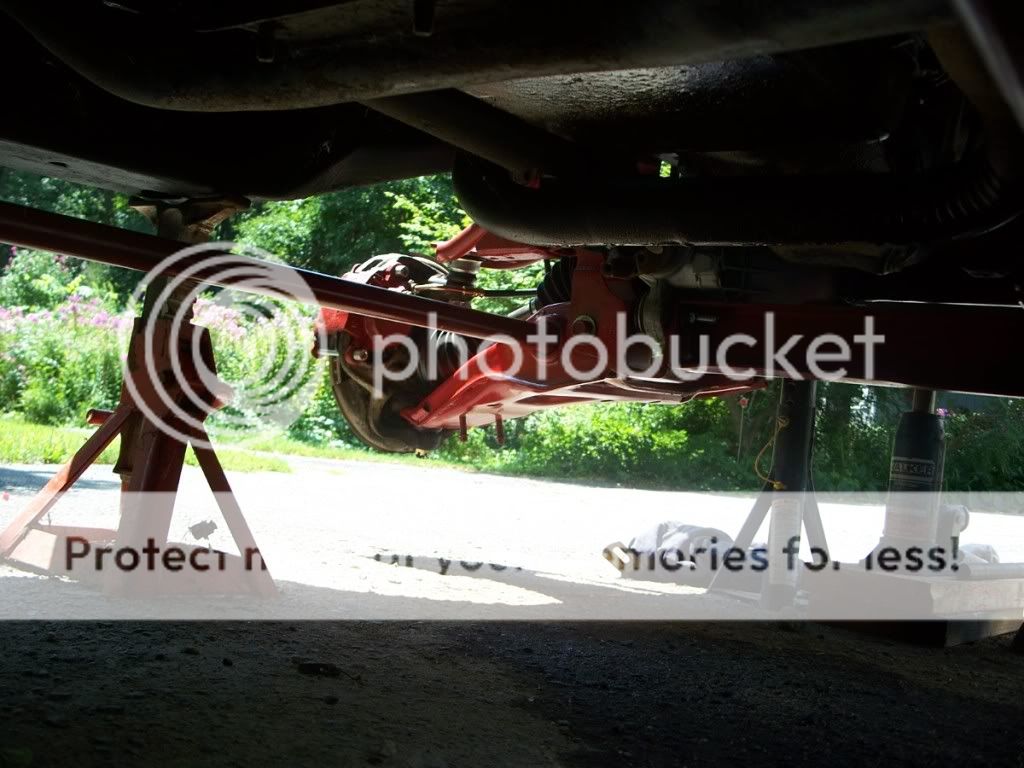
Took out the front-end… The brackets you have to cut are the upper rear control arm bracket, stock differential bracket by the yoke, and OE steering stabilizer bracket.

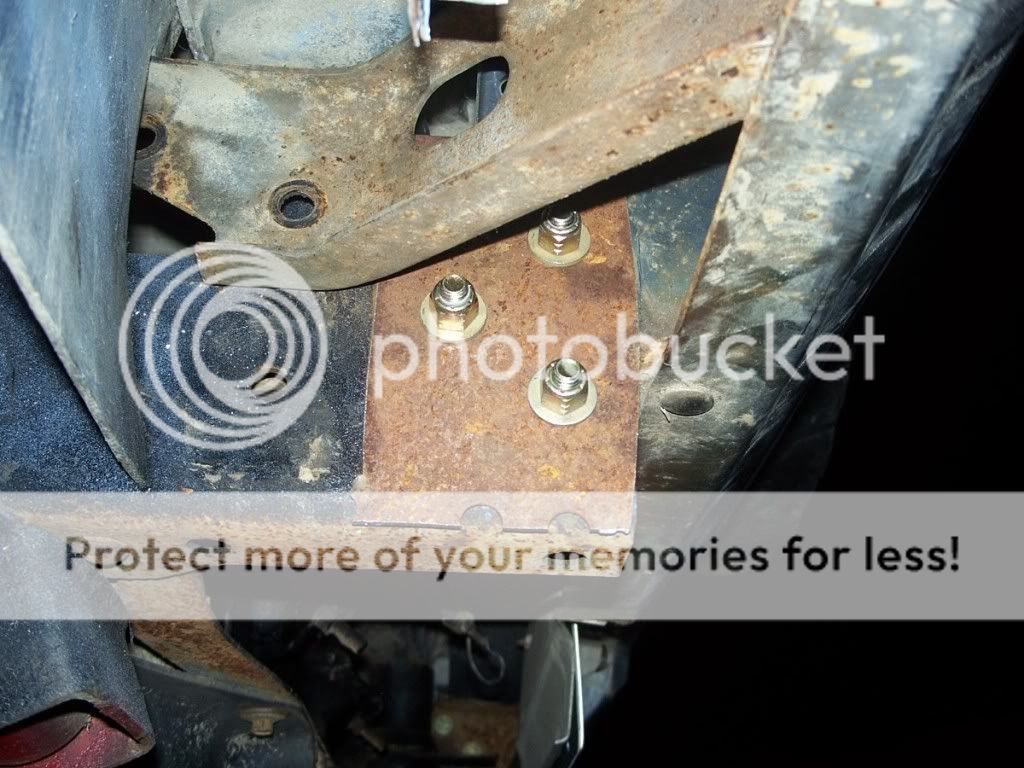
I bedlinered the frame and started putting the brackets in. You do have to cut the "ear" off by the drop bracket. I didn't know at the time.
I bought 4.56 Yukon gears. If anyone’s interested here’s the link for the ring and pinion gears for the front-end…
http://www.ringpinion.com/ProductDet...spx?ProdID=879
And here’s the link to the bearing kit.
http://www.ringpinion.com/ProductDet...px?ProdID=2042
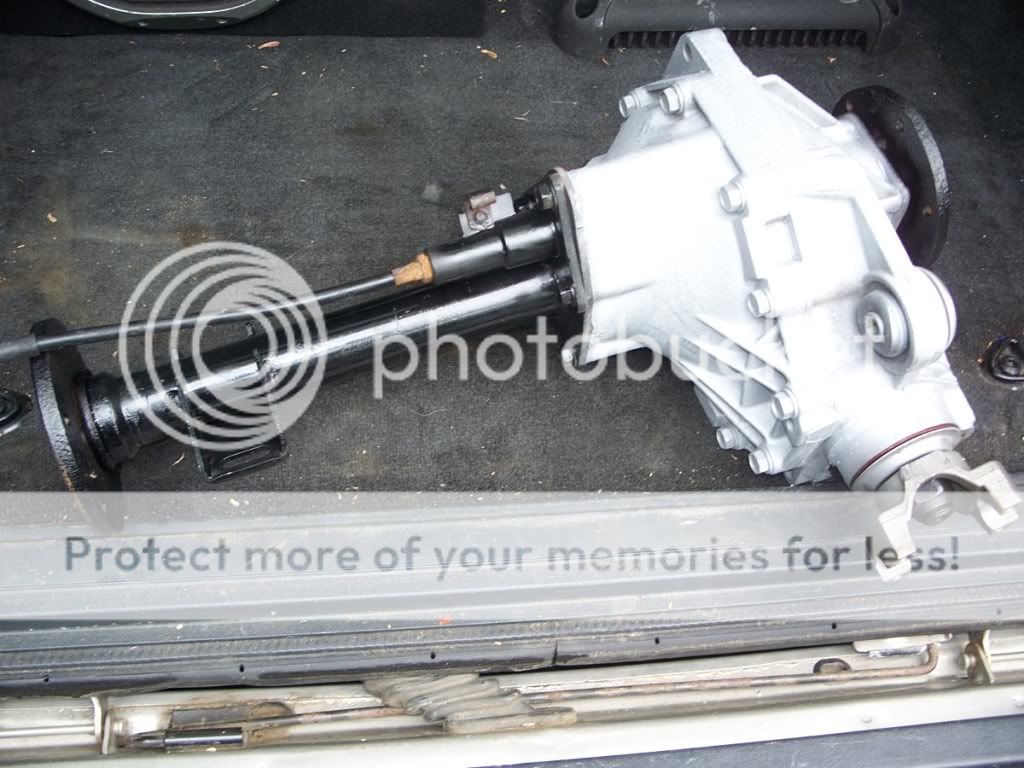
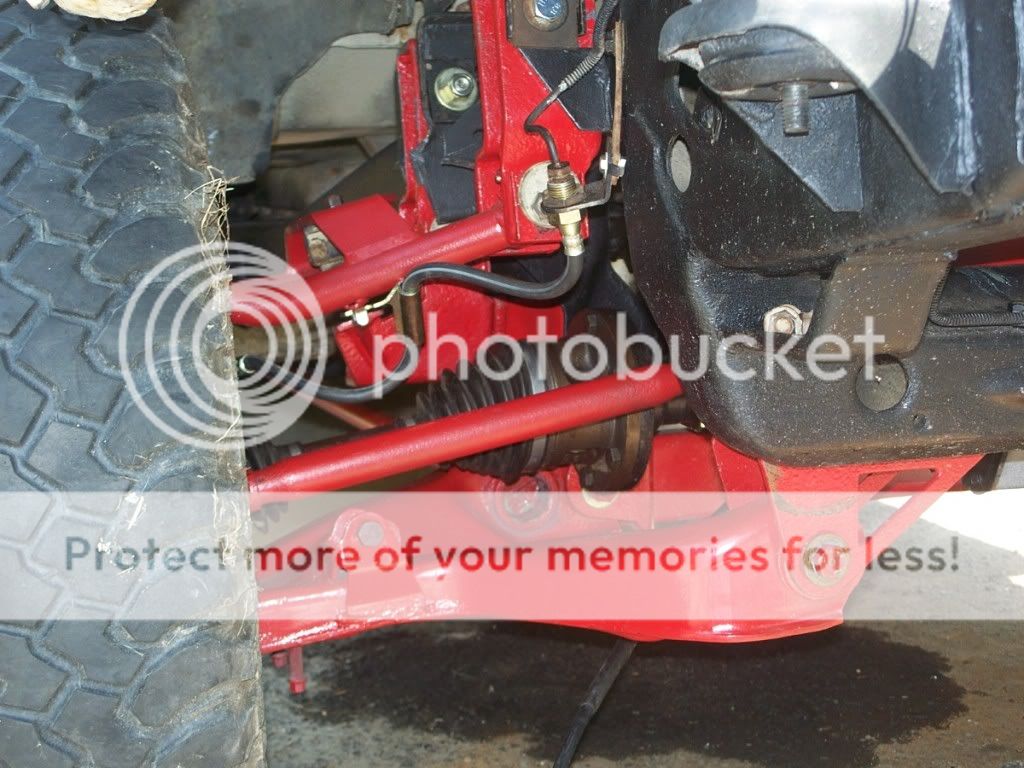
Here’s the front differential after I got it back from the shop.
Put the differential in…

The one problem that I have come across while installing this lift was clearence between the differential hub and the stock bracket. I emailed Trailmaster the pictures then I called them and they said that the clearance should be less than a � of and inch and they said it was ok.

I have read about a lot of people who have cut their upper control arms for shock clearence and had them snap. I didn’t want this to happen to me. So I bought the 2”-3” Rough country lift. I took the control arms, ball joint, and bushings. I sold the rest of the lift for $250.
Here’s the A-arms and yes that's a sock shoved in my CV axle. I used a broken CV axle to check the clearence of the stock bracket and the hub. And used a sledge hammer when appropriate.
I put the Cv axles and the steering knuckles in…
I put the steering assembly in…
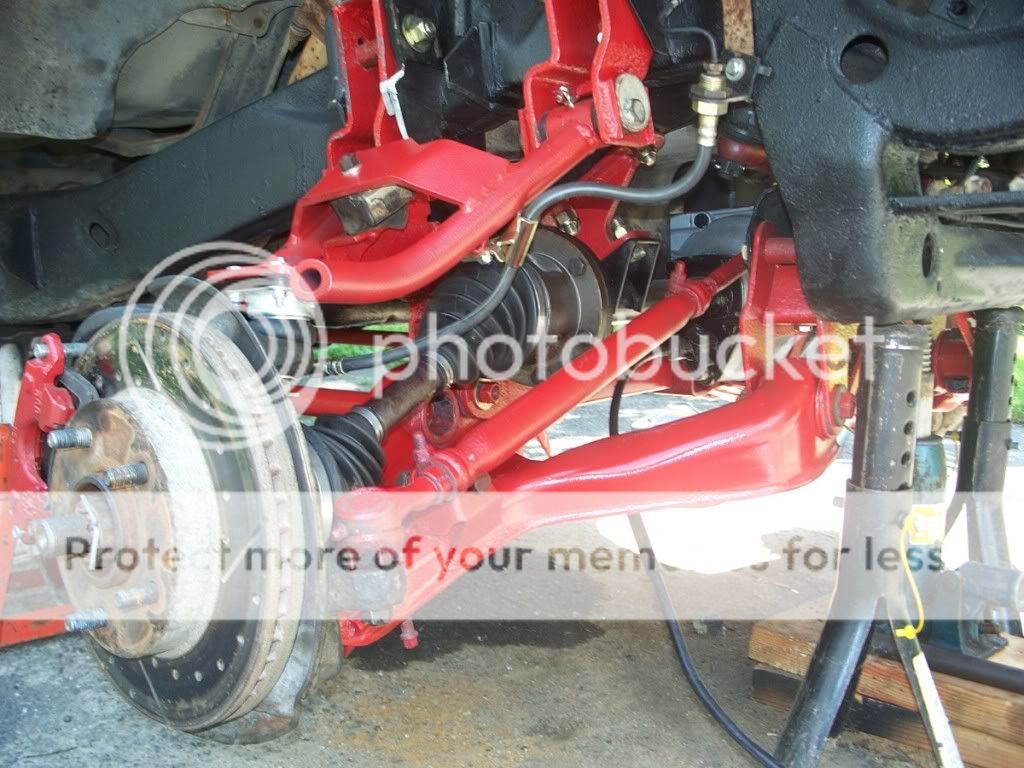
Put the torsion bars in…
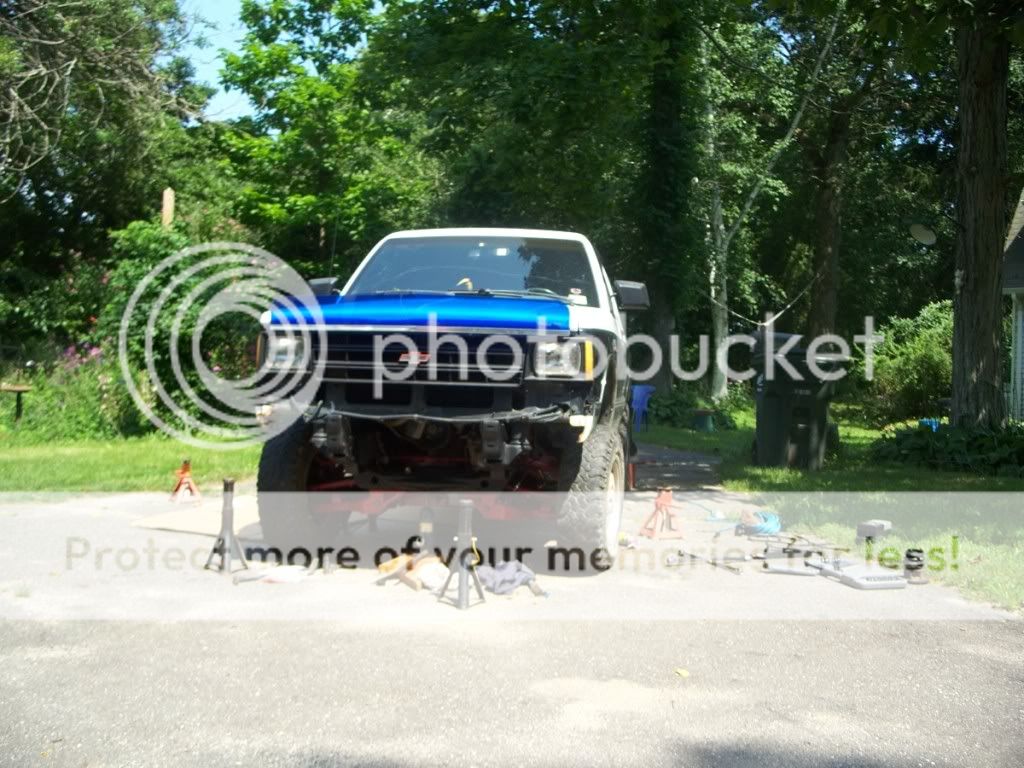
Put the tires on…
This is how I did my brake line on the pass. side…I just bent it down and I made a simple drop down bracket. Then put the clip on…
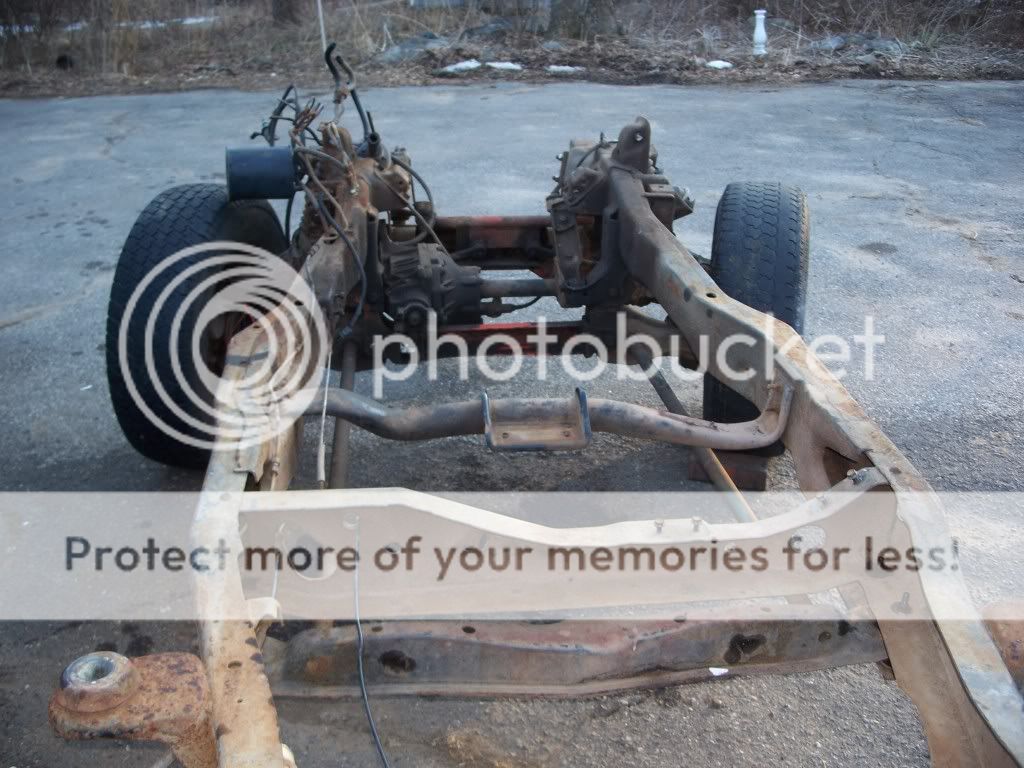
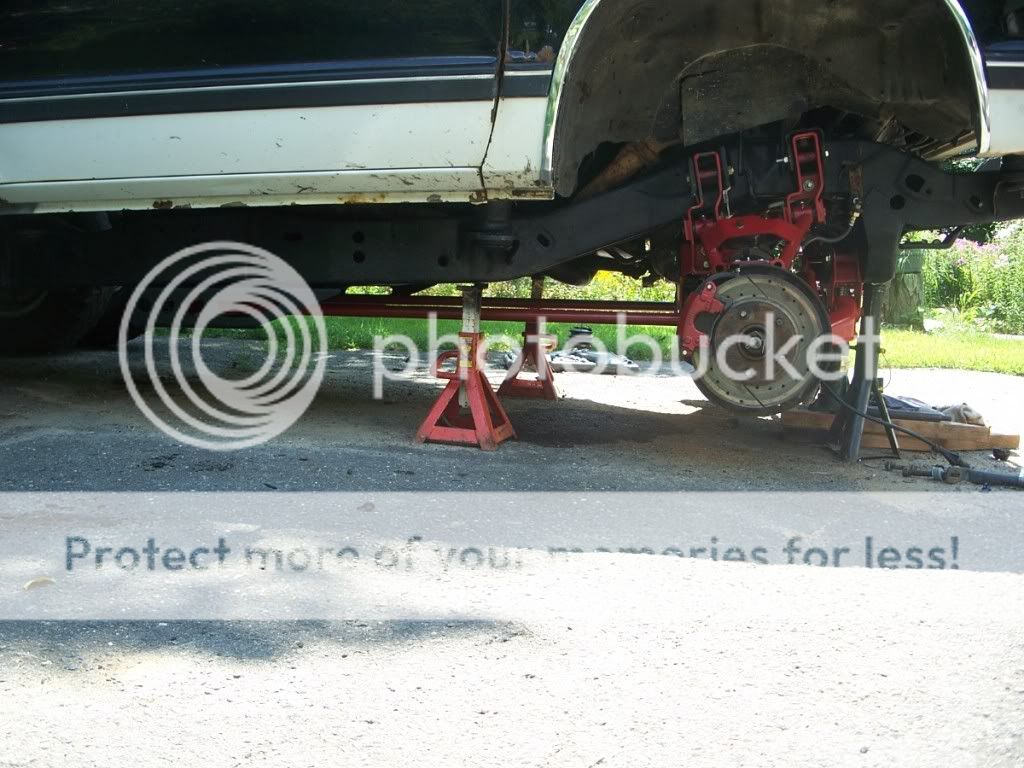
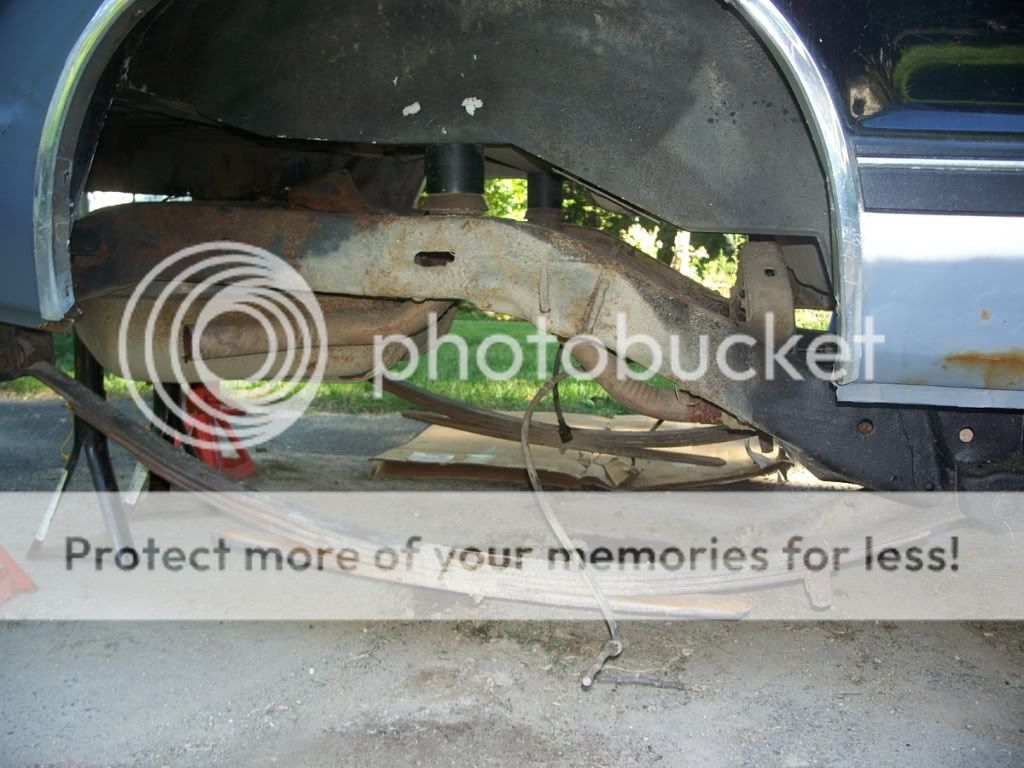
I took the rear-end out…
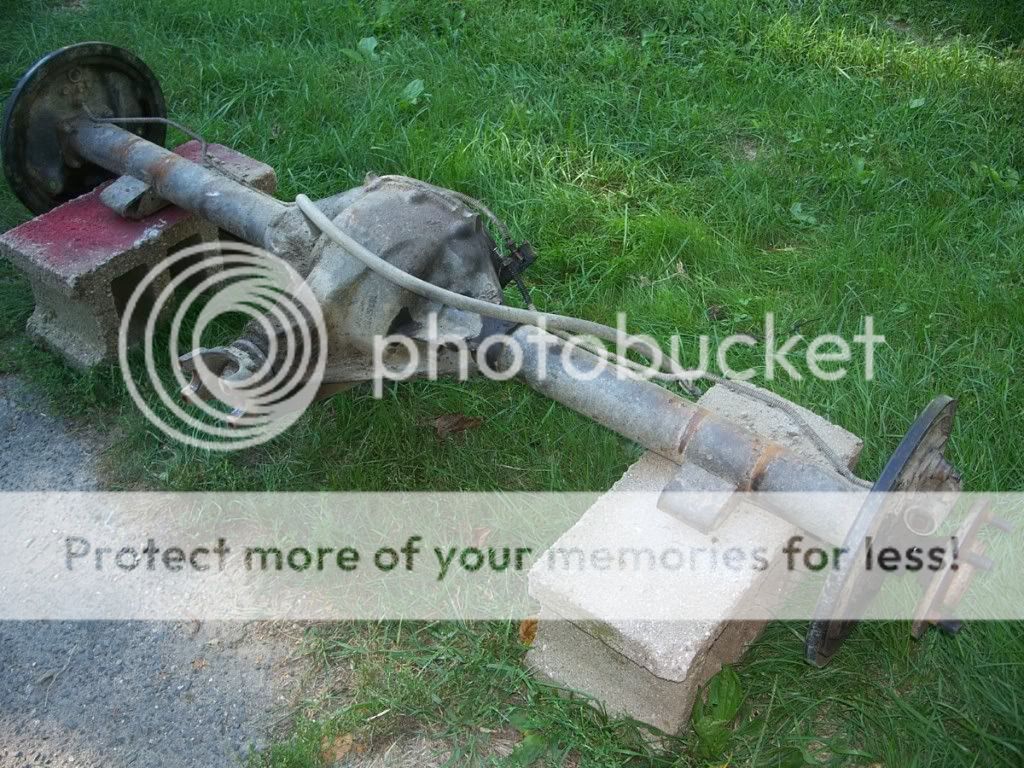
I put 4.56 USA Standard ring and pinion gears in it. Here’s the link to the gears I bought. http://www.ringpinion.com/ProductDet...px?ProdID=1077 and here’s the link to the bearing kit. http://www.ringpinion.com/ProductDet...px?ProdID=6597 If you prefer Yukon gears and have the extra cash, they do sell Yukon as an alternative.

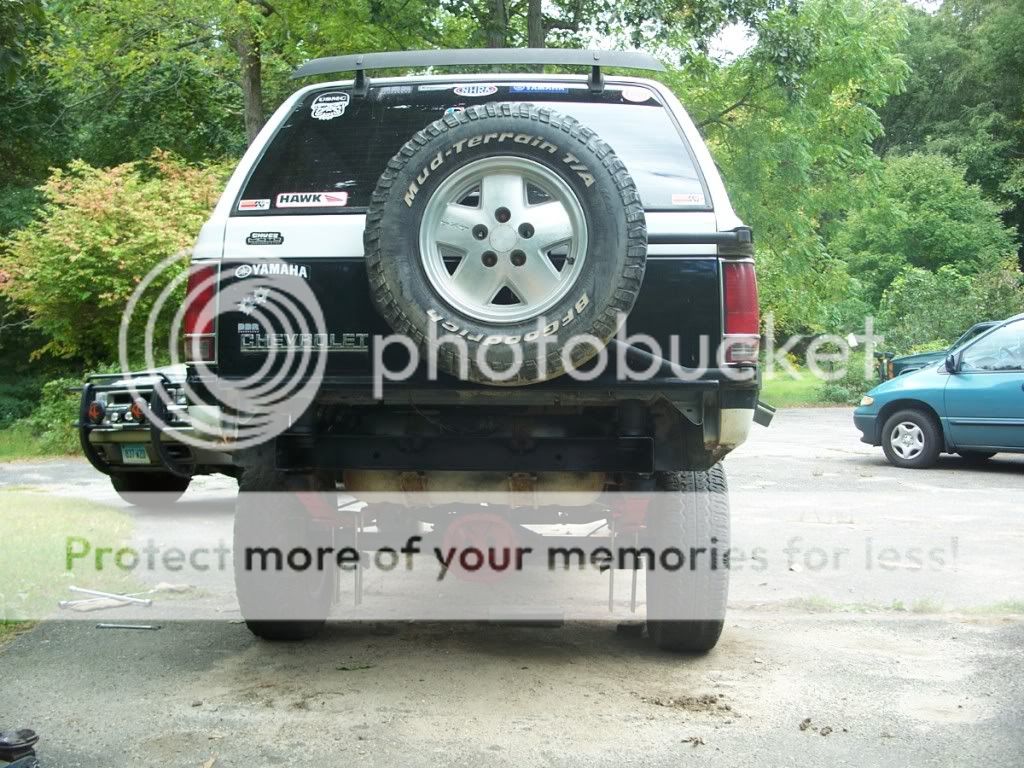
I put the rear differential in.. If you’re wondering about the u-bolts, those are the only size square u-bolts AutoZone had. lol
34 x 9.5 SuperSwamper TSLs that I got from a friend for $40 for the whole set. I got the Cragars from Craigslist for $100. The Cragars are 15" with a backspace of 4.75. A stock blazer rim is 6".
I bought the Surco safari rack from a person I knew for $120. I made a light bar from the square steel bar that pipe is hung from, I can't remember the name of it at the moment. It has holes every couple inches so it was perfect..

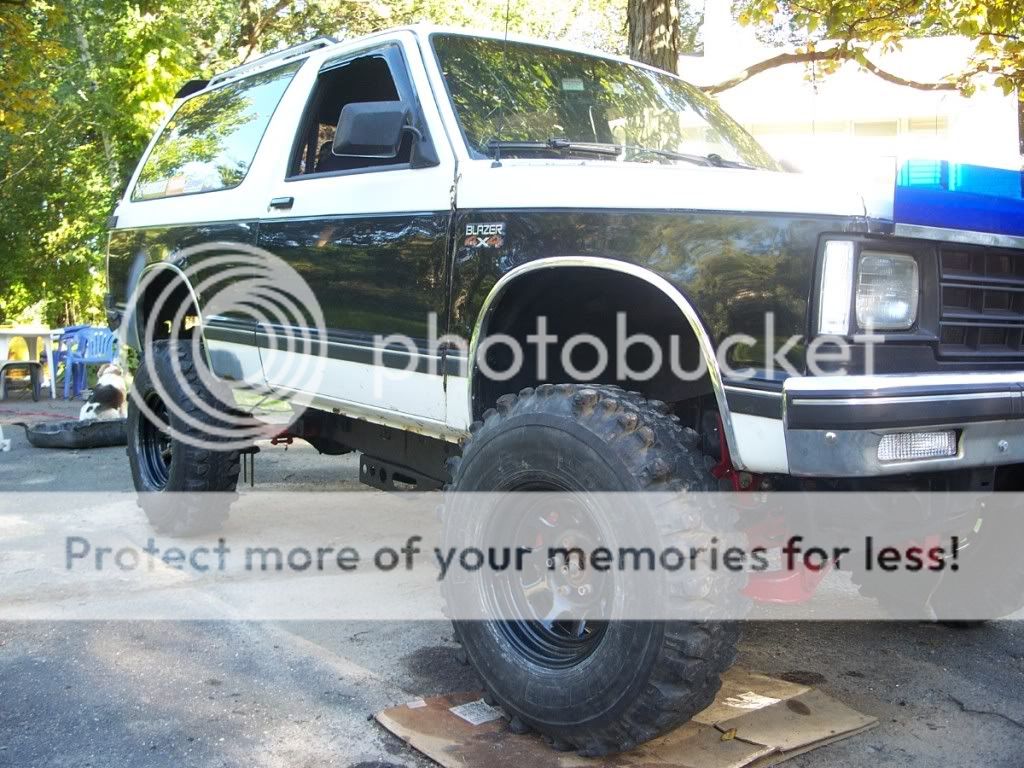
As you can see I did have to trim the fenders a bit...


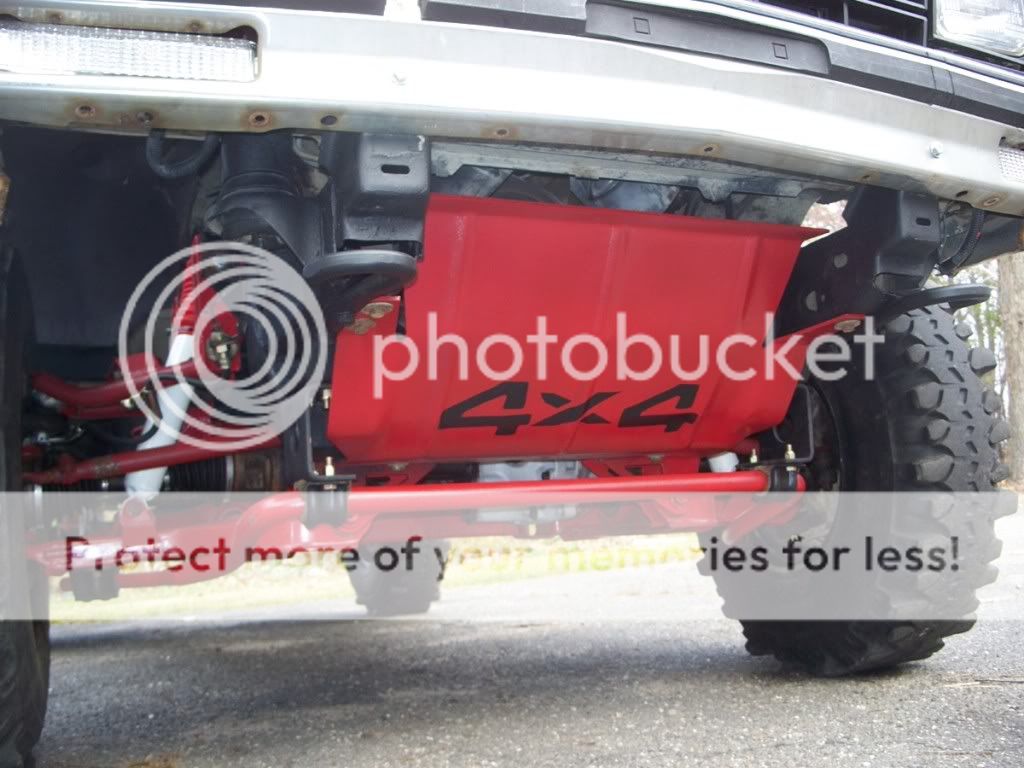
The stock skid plate still works. I’ll eventually make a custom differential, transmission, and transfer case skid plates.
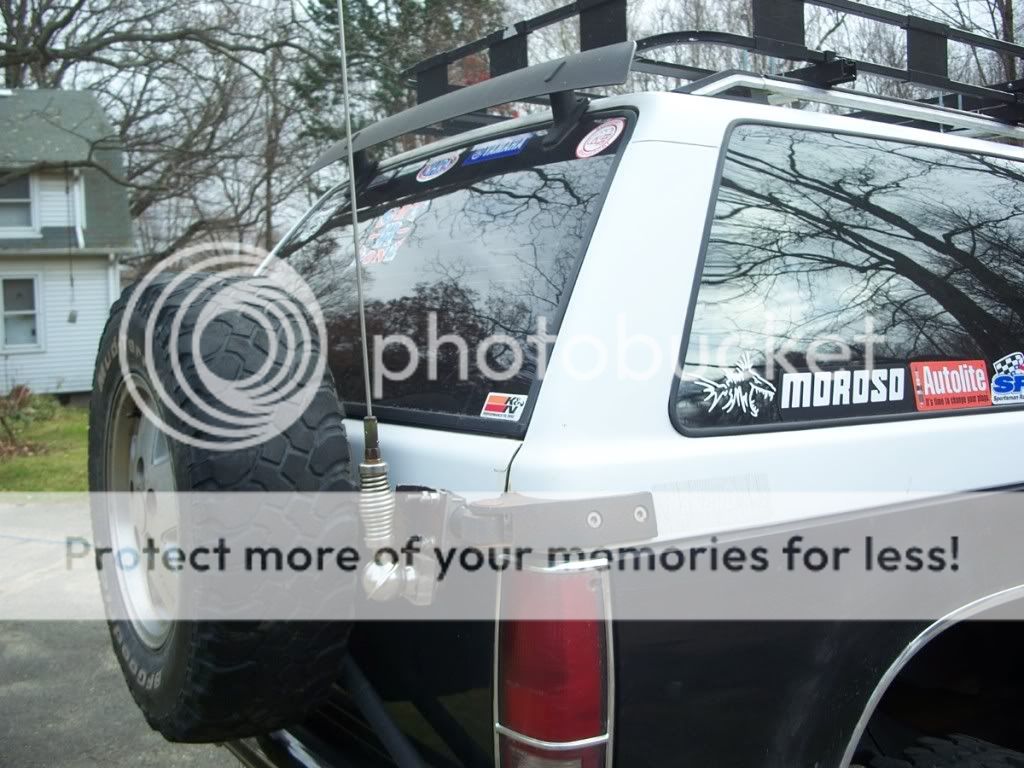
This is how I attached my 7 ft. whip antenna.. I just used exhaust clamps and a piece of angle iron. I broke the plastic part of the ball mount when it was on my 1994 S-10 Blazer when I got it stuck in a mud pit. So I had a piece of 1” plexy glass laying around so I cut that to the size I needed and it works fine. The plexy glass serves as an insulator…
Eat’n Fords, Sh*’n Dodges!!

I'll keep you guys updated with all the modifications I do..
If you have any questions or want me to elaborate on anything let me know..
I had an ad on Craigslist in the wanted section for a suspension lift for an S-10 Blazer. A few days after I posted the ad I got a email from a guy saying he had a 6” suspension lift in a frame and he said he’ll give me everything for $100 and he wanted it gone by the end of the week. So I told him I’ll defiantly take it. So I hired one of my friends that has a car trailer and we picked it up. When we got there this is what we found…
1970 Volkswagen Bug body on a 1991 S-10 Blazer frame.
He even gave me a spare transfer case. So we got it to my house. I paid my friend $125 for gas and his time. So it cost me a total of $225.
I took the body off with a little help of the Sawzall and a lot of help from the hi-lift jack.
I put the engine on Craigslist for $80 cause the wire harness was all screwed up and I wanted it gone and I didn’t have an engine hoist. So that was sold. $225-80=$145. The guy that bought the engine helped me take the transmission out with his engine hoist. Now it’s easier to work on. I sold the transmision and transfer case for $150. And I sold the rear-end for $125. and I sold the Bug doors for $35. So I actually made money from buying this lift. I got VERY luckey.
I took the lift out, wire wheeled everything, primed and painted everything.
This is my Blazer when it was stock…
3” body lift installed…
Extended shift linkage.(the extention rod comes with the kit)…
This is how I raised the front bumper.I lined the bottem holes of the bumper up with the top holes of the frame. You then have to cut notches in the bumper where the frame would hit or make a spacer. I used washers as a spacer.
This is how I raised the rear bumper. Just a flat piece of steel I found in my backyard and some grade 8 bolts…
With the body lift done I started with the suspension lift..
Took out the front-end… The brackets you have to cut are the upper rear control arm bracket, stock differential bracket by the yoke, and OE steering stabilizer bracket.
I bedlinered the frame and started putting the brackets in. You do have to cut the "ear" off by the drop bracket. I didn't know at the time.
I bought 4.56 Yukon gears. If anyone’s interested here’s the link for the ring and pinion gears for the front-end…
http://www.ringpinion.com/ProductDet...spx?ProdID=879
And here’s the link to the bearing kit.
http://www.ringpinion.com/ProductDet...px?ProdID=2042
Here’s the front differential after I got it back from the shop.
Put the differential in…
The one problem that I have come across while installing this lift was clearence between the differential hub and the stock bracket. I emailed Trailmaster the pictures then I called them and they said that the clearance should be less than a � of and inch and they said it was ok.
I have read about a lot of people who have cut their upper control arms for shock clearence and had them snap. I didn’t want this to happen to me. So I bought the 2”-3” Rough country lift. I took the control arms, ball joint, and bushings. I sold the rest of the lift for $250.
Here’s the A-arms and yes that's a sock shoved in my CV axle. I used a broken CV axle to check the clearence of the stock bracket and the hub. And used a sledge hammer when appropriate.
I put the Cv axles and the steering knuckles in…
I put the steering assembly in…
Put the torsion bars in…
Put the tires on…
This is how I did my brake line on the pass. side…I just bent it down and I made a simple drop down bracket. Then put the clip on…
I took the rear-end out…
I put 4.56 USA Standard ring and pinion gears in it. Here’s the link to the gears I bought. http://www.ringpinion.com/ProductDet...px?ProdID=1077 and here’s the link to the bearing kit. http://www.ringpinion.com/ProductDet...px?ProdID=6597 If you prefer Yukon gears and have the extra cash, they do sell Yukon as an alternative.
I put the rear differential in.. If you’re wondering about the u-bolts, those are the only size square u-bolts AutoZone had. lol
34 x 9.5 SuperSwamper TSLs that I got from a friend for $40 for the whole set. I got the Cragars from Craigslist for $100. The Cragars are 15" with a backspace of 4.75. A stock blazer rim is 6".
I bought the Surco safari rack from a person I knew for $120. I made a light bar from the square steel bar that pipe is hung from, I can't remember the name of it at the moment. It has holes every couple inches so it was perfect..
As you can see I did have to trim the fenders a bit...
The stock skid plate still works. I’ll eventually make a custom differential, transmission, and transfer case skid plates.
This is how I attached my 7 ft. whip antenna.. I just used exhaust clamps and a piece of angle iron. I broke the plastic part of the ball mount when it was on my 1994 S-10 Blazer when I got it stuck in a mud pit. So I had a piece of 1” plexy glass laying around so I cut that to the size I needed and it works fine. The plexy glass serves as an insulator…
Eat’n Fords, Sh*’n Dodges!!
I'll keep you guys updated with all the modifications I do..
If you have any questions or want me to elaborate on anything let me know..
Last edited by tony991; Nov 20, 2010 at 09:46 PM.

Thread Starter
|
Junior Member
Joined: Aug 2009
Posts: 294
From: New Hampshire
Very lucky lol The guy was into VWs and needed some extra cash for another one of his projects. I don't think he really knew what he had lol
Junior Member
Joined: Jul 2010
Posts: 364
From: Brantford Ontario Canada
Much respect: especially the creative means by which you financed your project. You should consider a career in Project/Program Management if that's not where you're heading already. Great stuff. I like your moxy Tony - props 2 U.


Thread Starter
|
Junior Member
Joined: Aug 2009
Posts: 294
From: New Hampshire
Thanks guys!
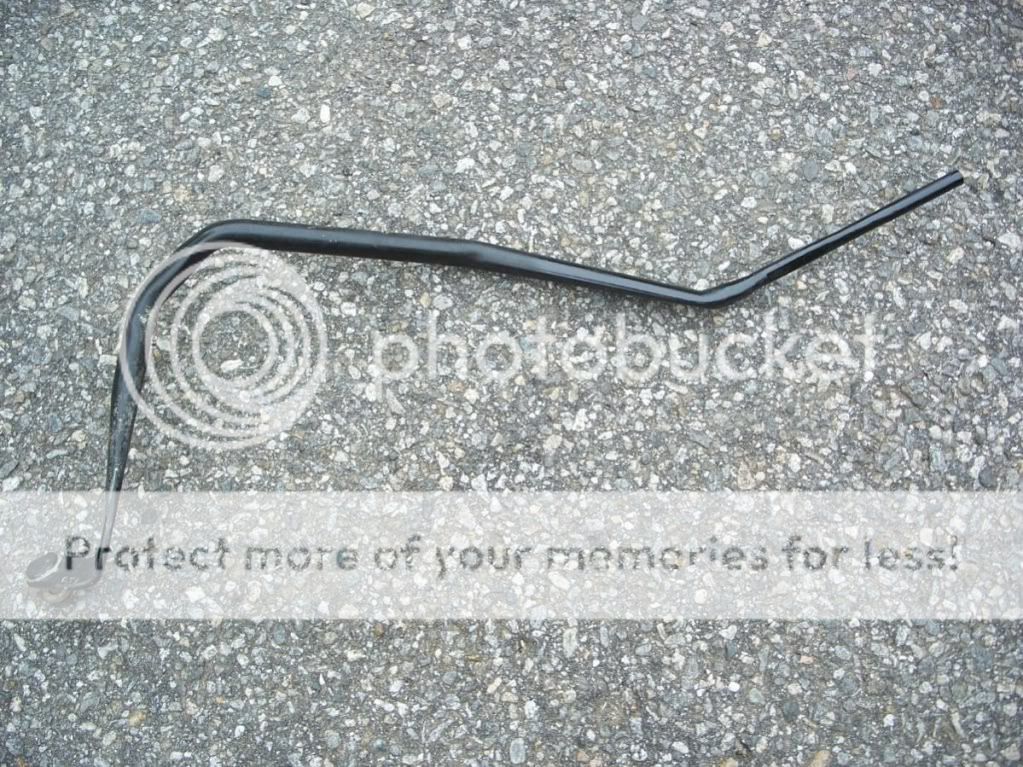
I just wanted to add something. The BDS steering stabilizers do not fit Trailmaster lift kits. The BDS lift kit has a one piece drop bracket for the lower, front control arm. Trailmaster has two brackets. The BDS stabilizer is bolted onto that one piece drop bracket. The steering stabilizers for the Trailmaster lift has a piece of basically angle iron that is bolted under the frame. I guess you can do that with the with the BDS stabilizer, just bolt a piece of angle iron under the frame. Cheaper alternative than the duel Trailmaster stabilzer kit..
I just wanted to add something. The BDS steering stabilizers do not fit Trailmaster lift kits. The BDS lift kit has a one piece drop bracket for the lower, front control arm. Trailmaster has two brackets. The BDS stabilizer is bolted onto that one piece drop bracket. The steering stabilizers for the Trailmaster lift has a piece of basically angle iron that is bolted under the frame. I guess you can do that with the with the BDS stabilizer, just bolt a piece of angle iron under the frame. Cheaper alternative than the duel Trailmaster stabilzer kit..