
2" lift

Thread Starter
|
Senior Member
Joined: Sep 2009
Posts: 524
From: Brownwood, TX

So I bought some 2" lift shackles for my Blazer. And in my anticipation I decided to see if I could photoshop my blazer to have roughly a 2" lift. Here is my very modest attempt:
Before:
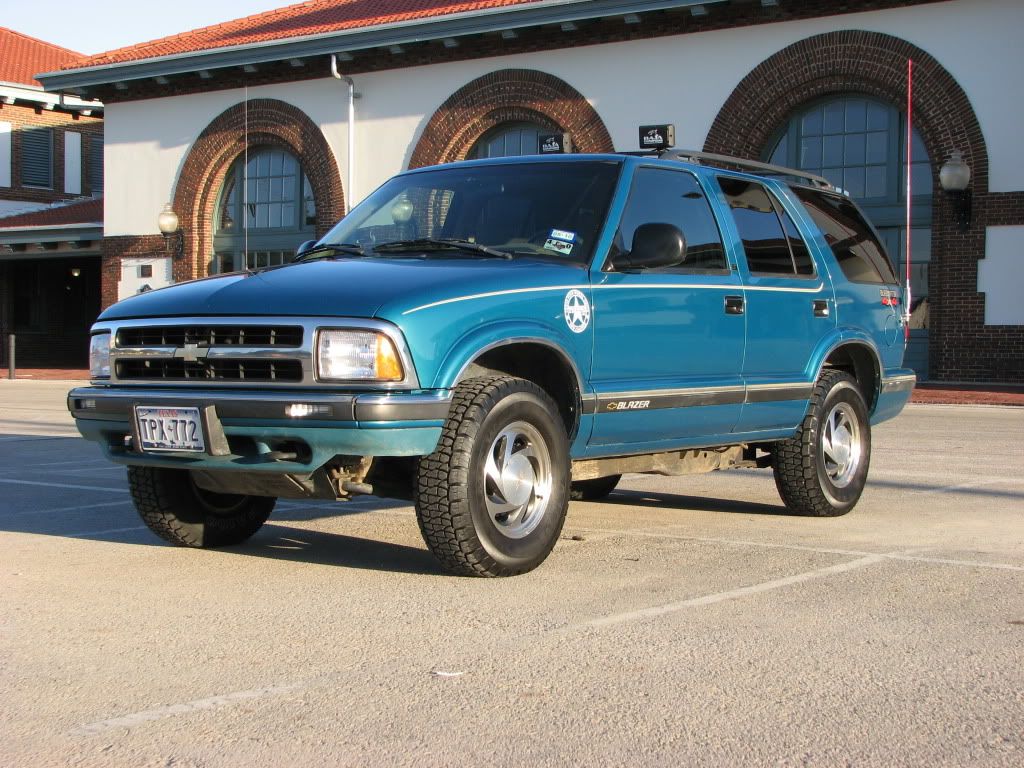
After:
I may have gone a little overbaord...hard to measure inches.
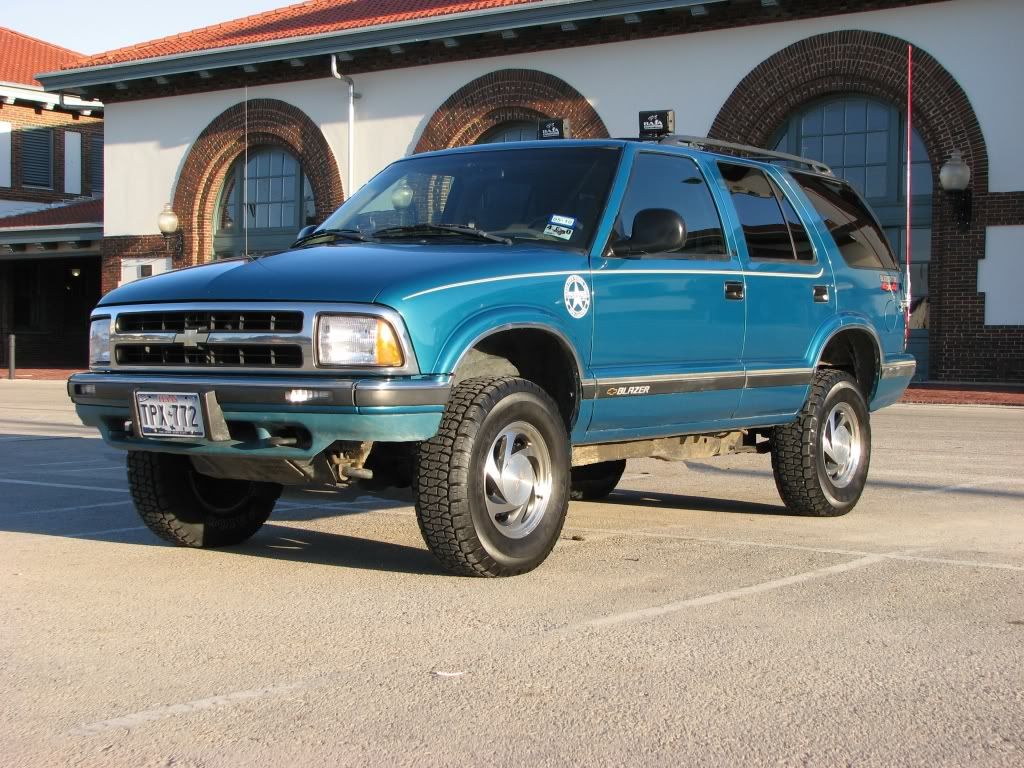
Before:
After:
I may have gone a little overbaord...hard to measure inches.
Last edited by BlaziNator; Oct 4, 2009 at 02:36 AM.

Thread Starter
|
Senior Member
Joined: Sep 2009
Posts: 524
From: Brownwood, TX
Actually this is a pretty terrible job lol. Look closely at the rear tire tread. I botched it all to hell. It's really not that hard editing pictures. I taught myself using paint.net in a couple of hours. Thanks BTW =)

 . Even still not a bad job at all. Can't wait to see them installed...should look awesome!
Thread Starter
|
Senior Member
Joined: Sep 2009
Posts: 524
From: Brownwood, TX
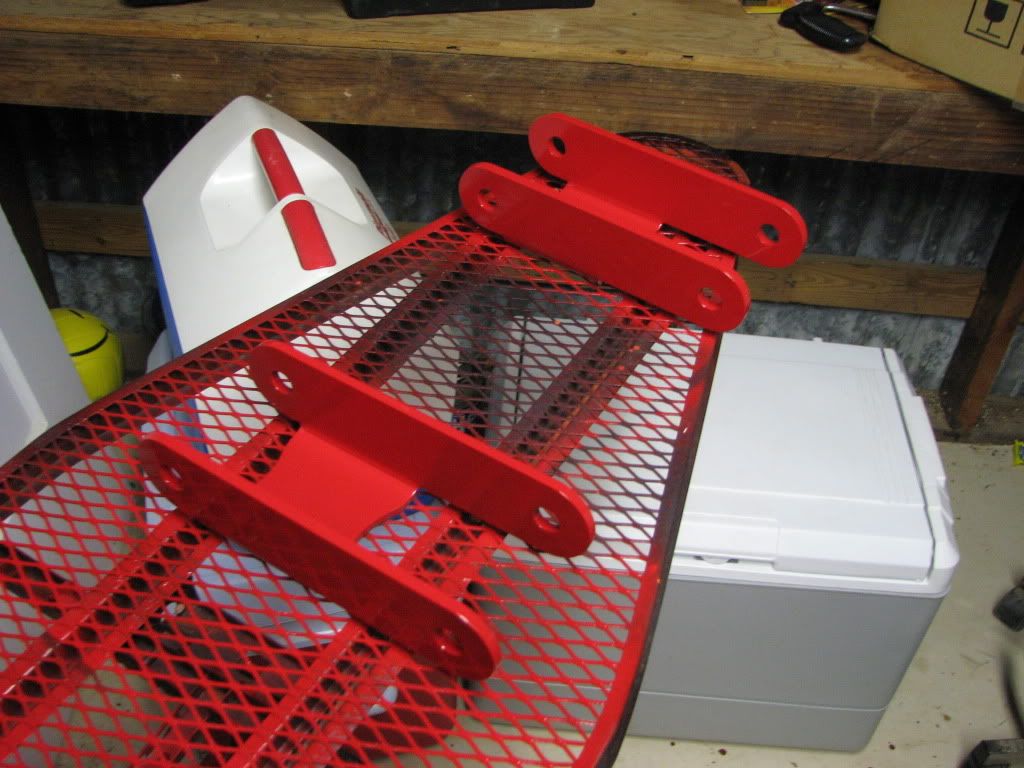
FINALLY got finished. All the bolts came out easy. Slid um out with my hands. Except for one....6 hours, 2 destroyed C clamps, and one angry wife later...it came out. Result:
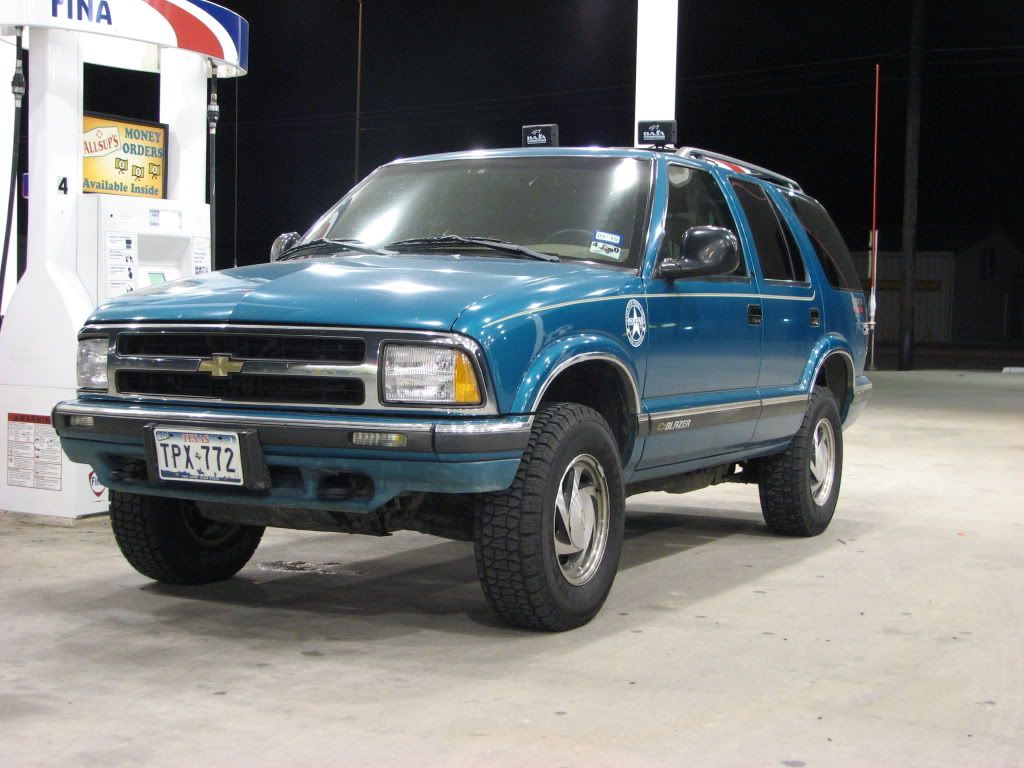
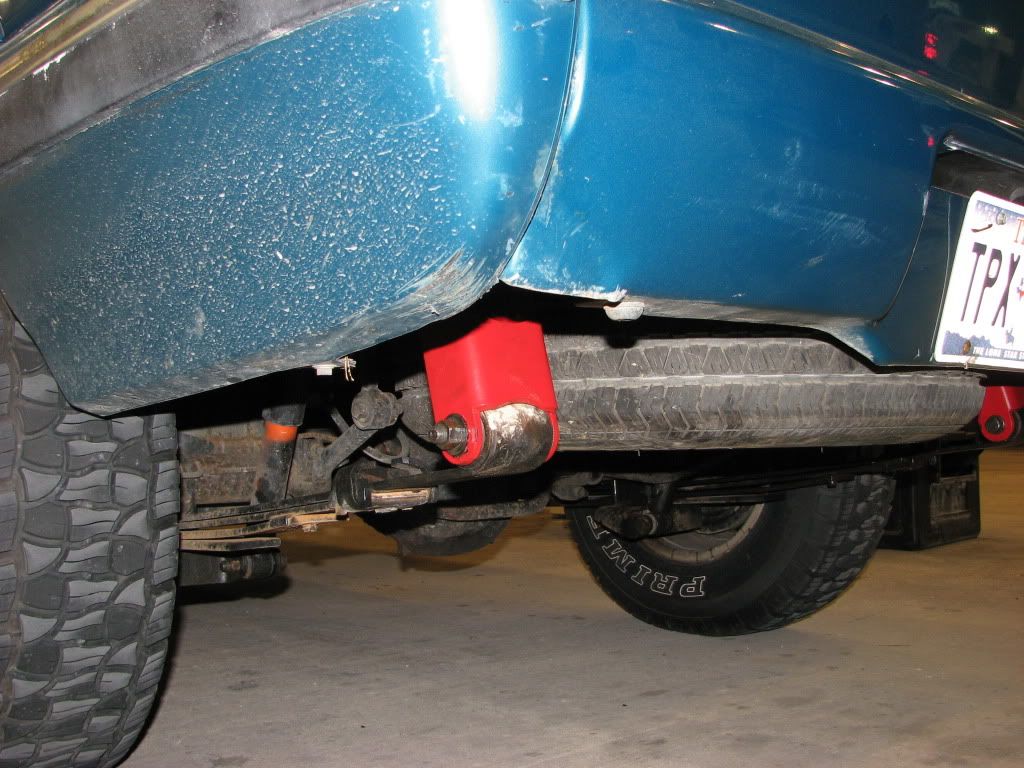
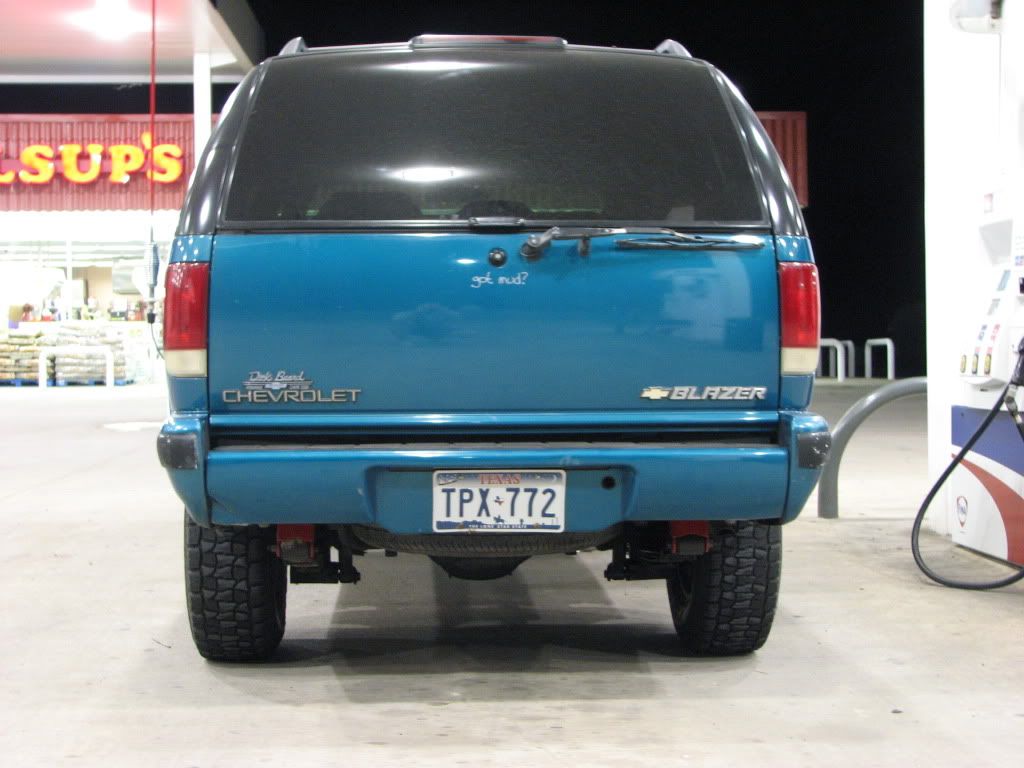
Not too far off from my photoshop =P
Not too far off from my photoshop =P