When you click on links to various merchants on this site and make a purchase, this can result in this site earning a commission. Affiliate programs and affiliations include, but are not limited to, the eBay Partner Network.
Messed with the printer and got it pretty much dialed in nice now, made a few little trinkets for people, a spool holder, and a couple fan guards for the printer.
So far my favorite thing i did is took our shop logo and converted it to 3d, and modified it to be an emblem. Printed a few off for my dad's truck.
These things are pretty awesome, I'm definitely enjoying it. Still have a lot of learning to do on the cad program though.
Next I'm going to get and, so I can print some custom centercaps for my jimmy wheels.(I did a prototype with pla, but definitely need and for the actual thing)
Very cool! That is the same brand and model I have, although I know they completely changed the style of it. Mine does not use the roller guided rails, but rather just linear bearings and 8mm rods
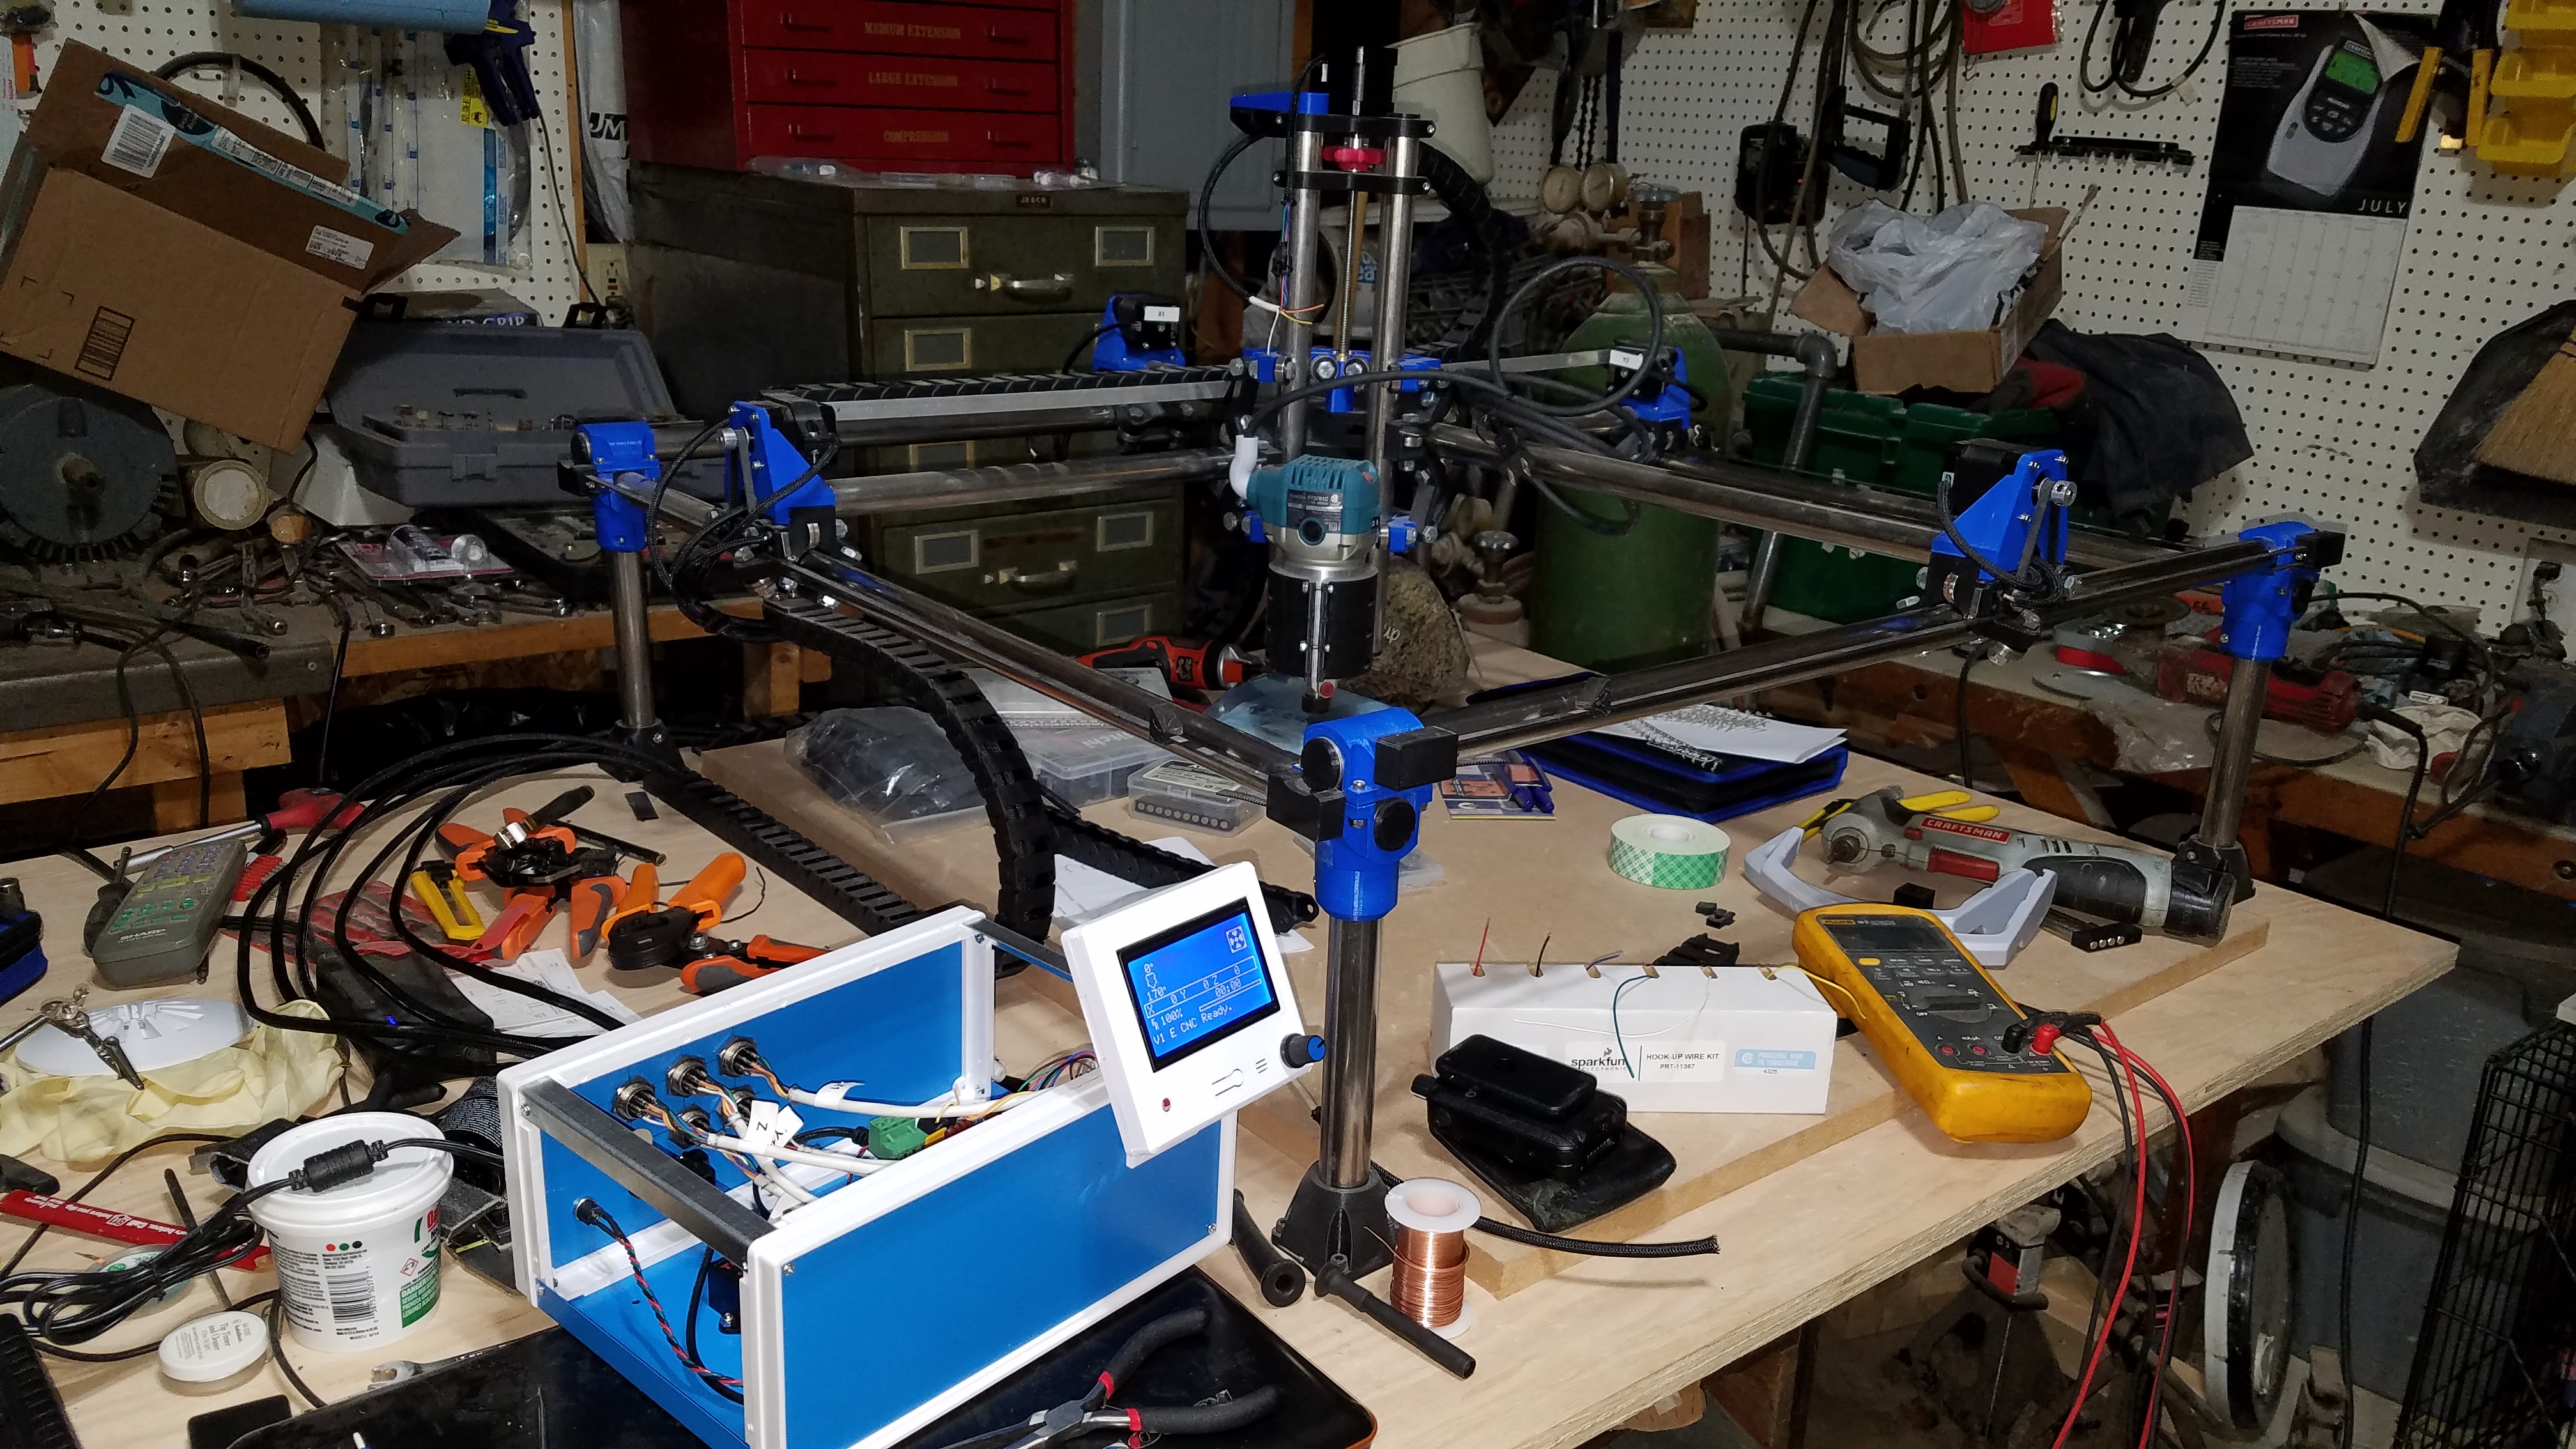
Making progress on my MPCNC build after months on the back burner!
Please excuse the mess... I still haven't properly reorganized after I condensed half my garage into the other half so I could tear up the concrete & replace it.
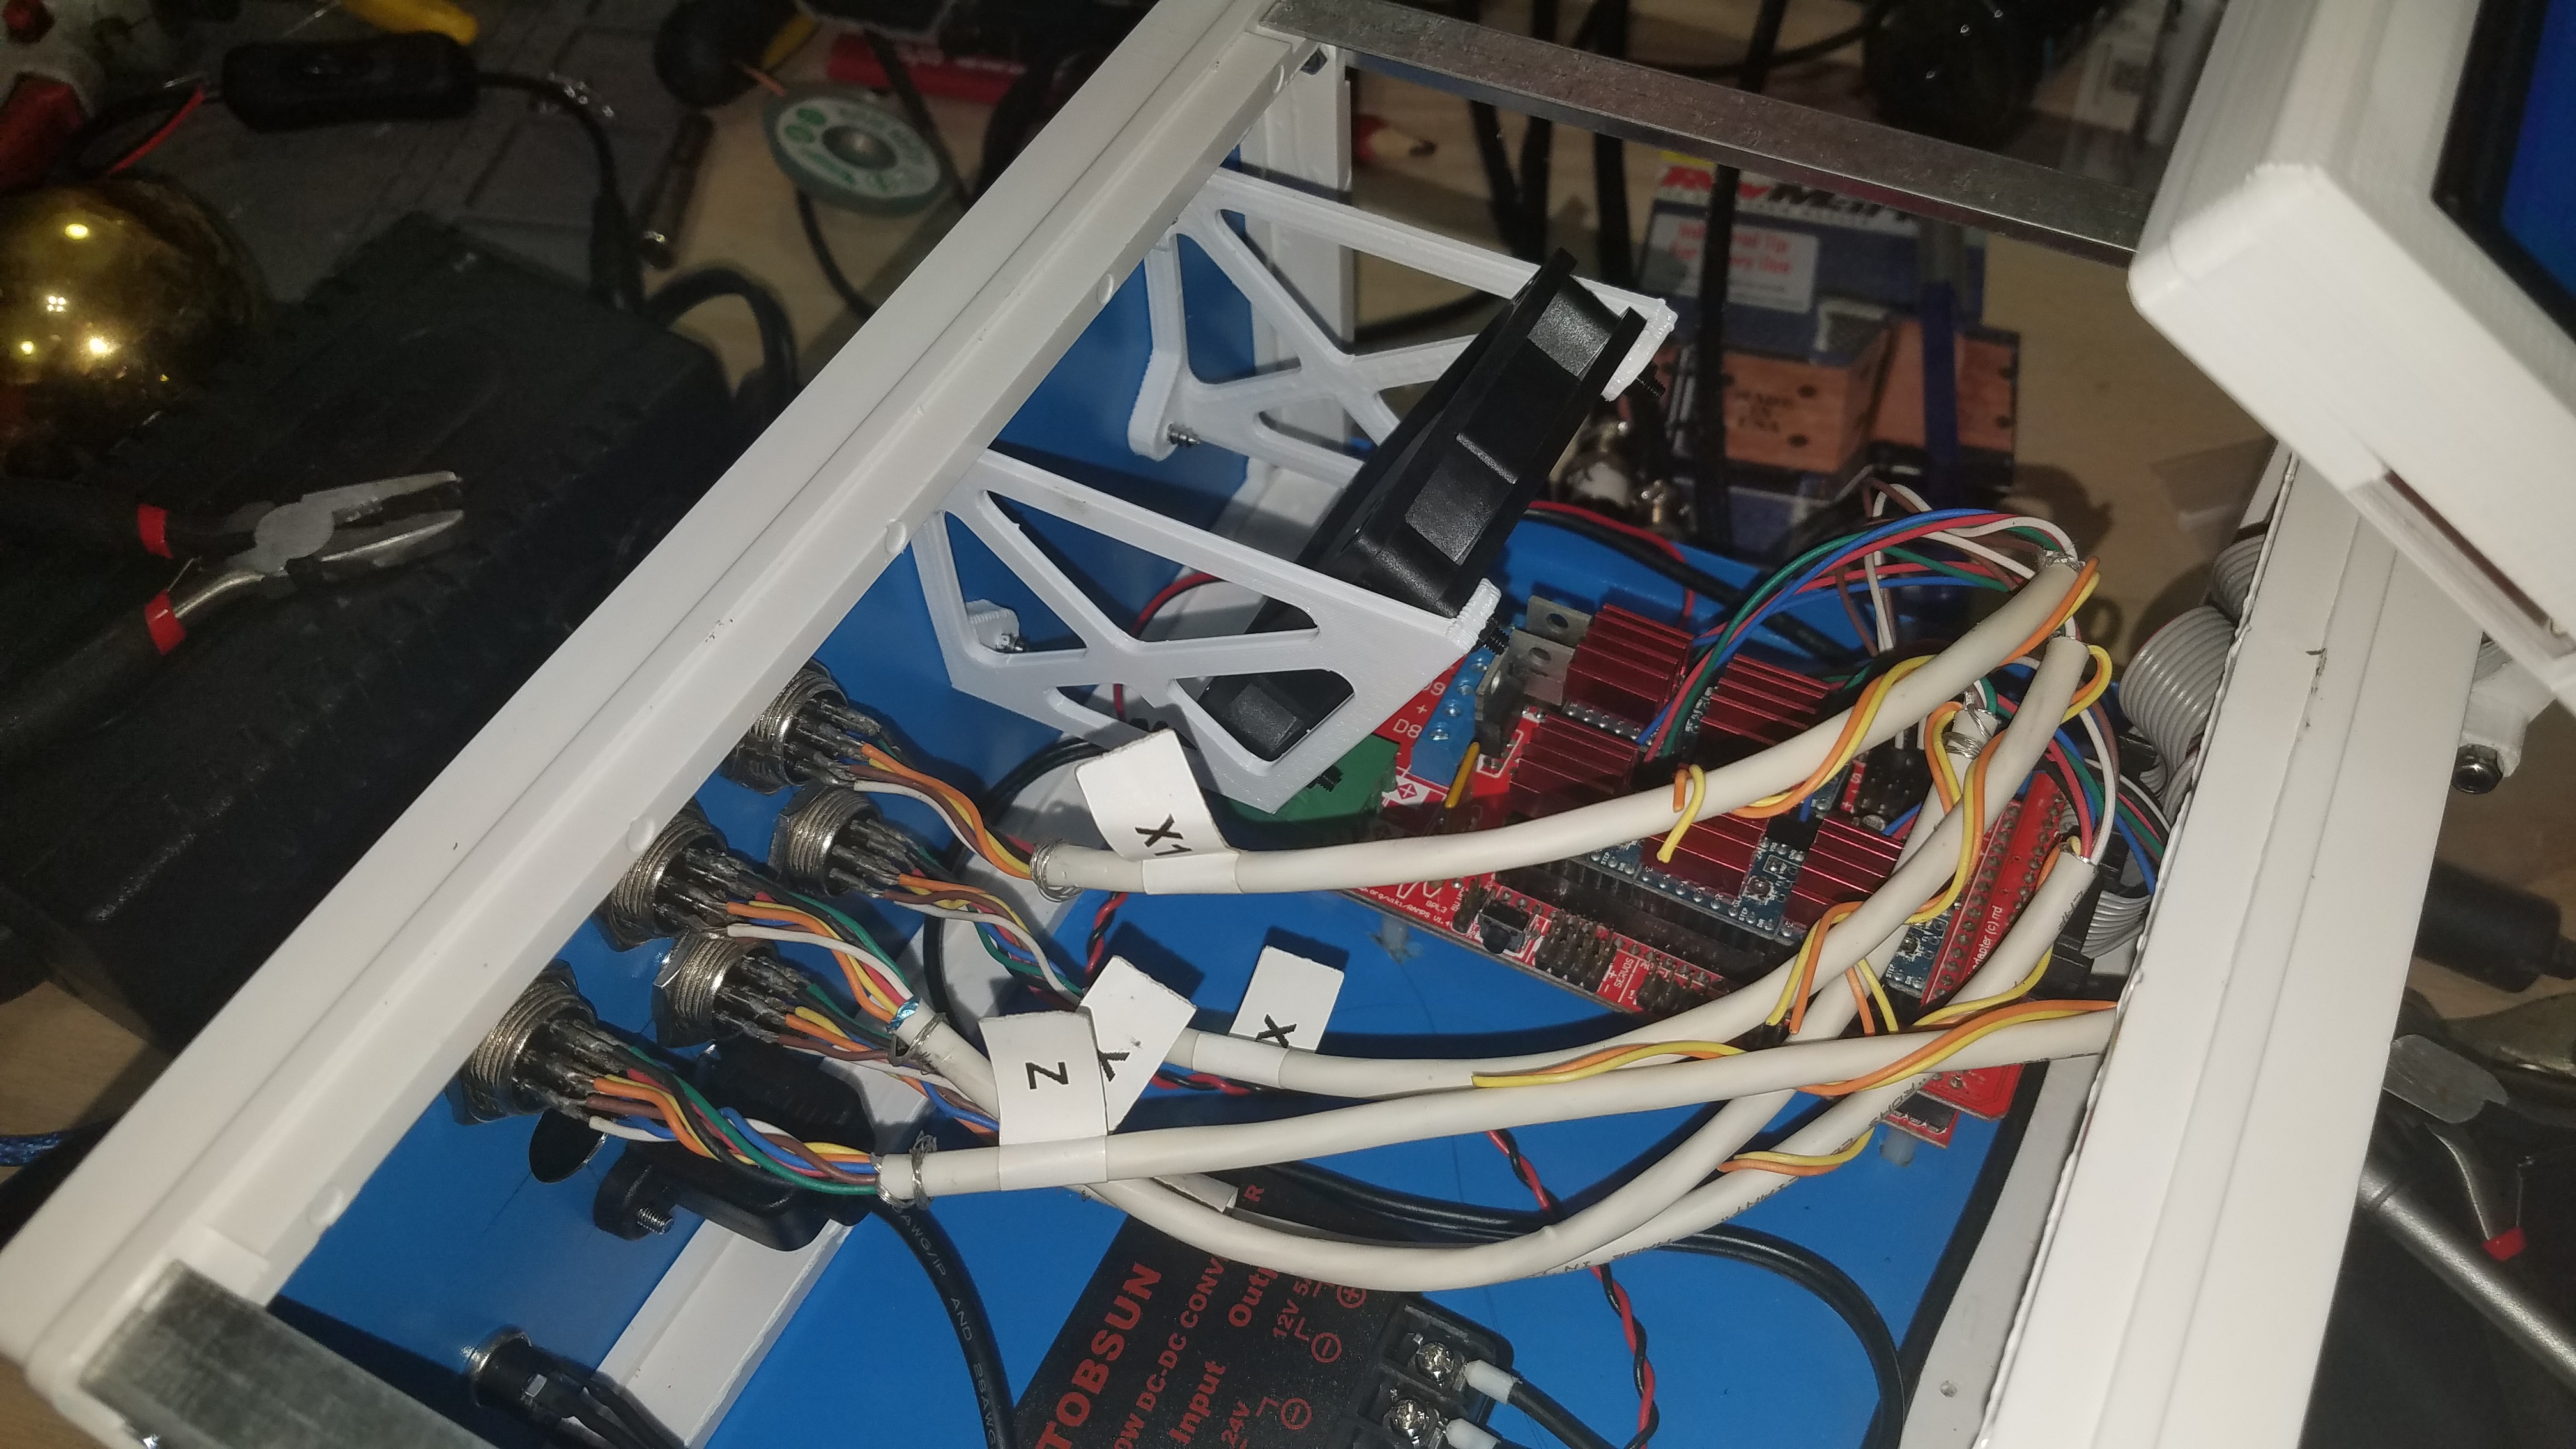
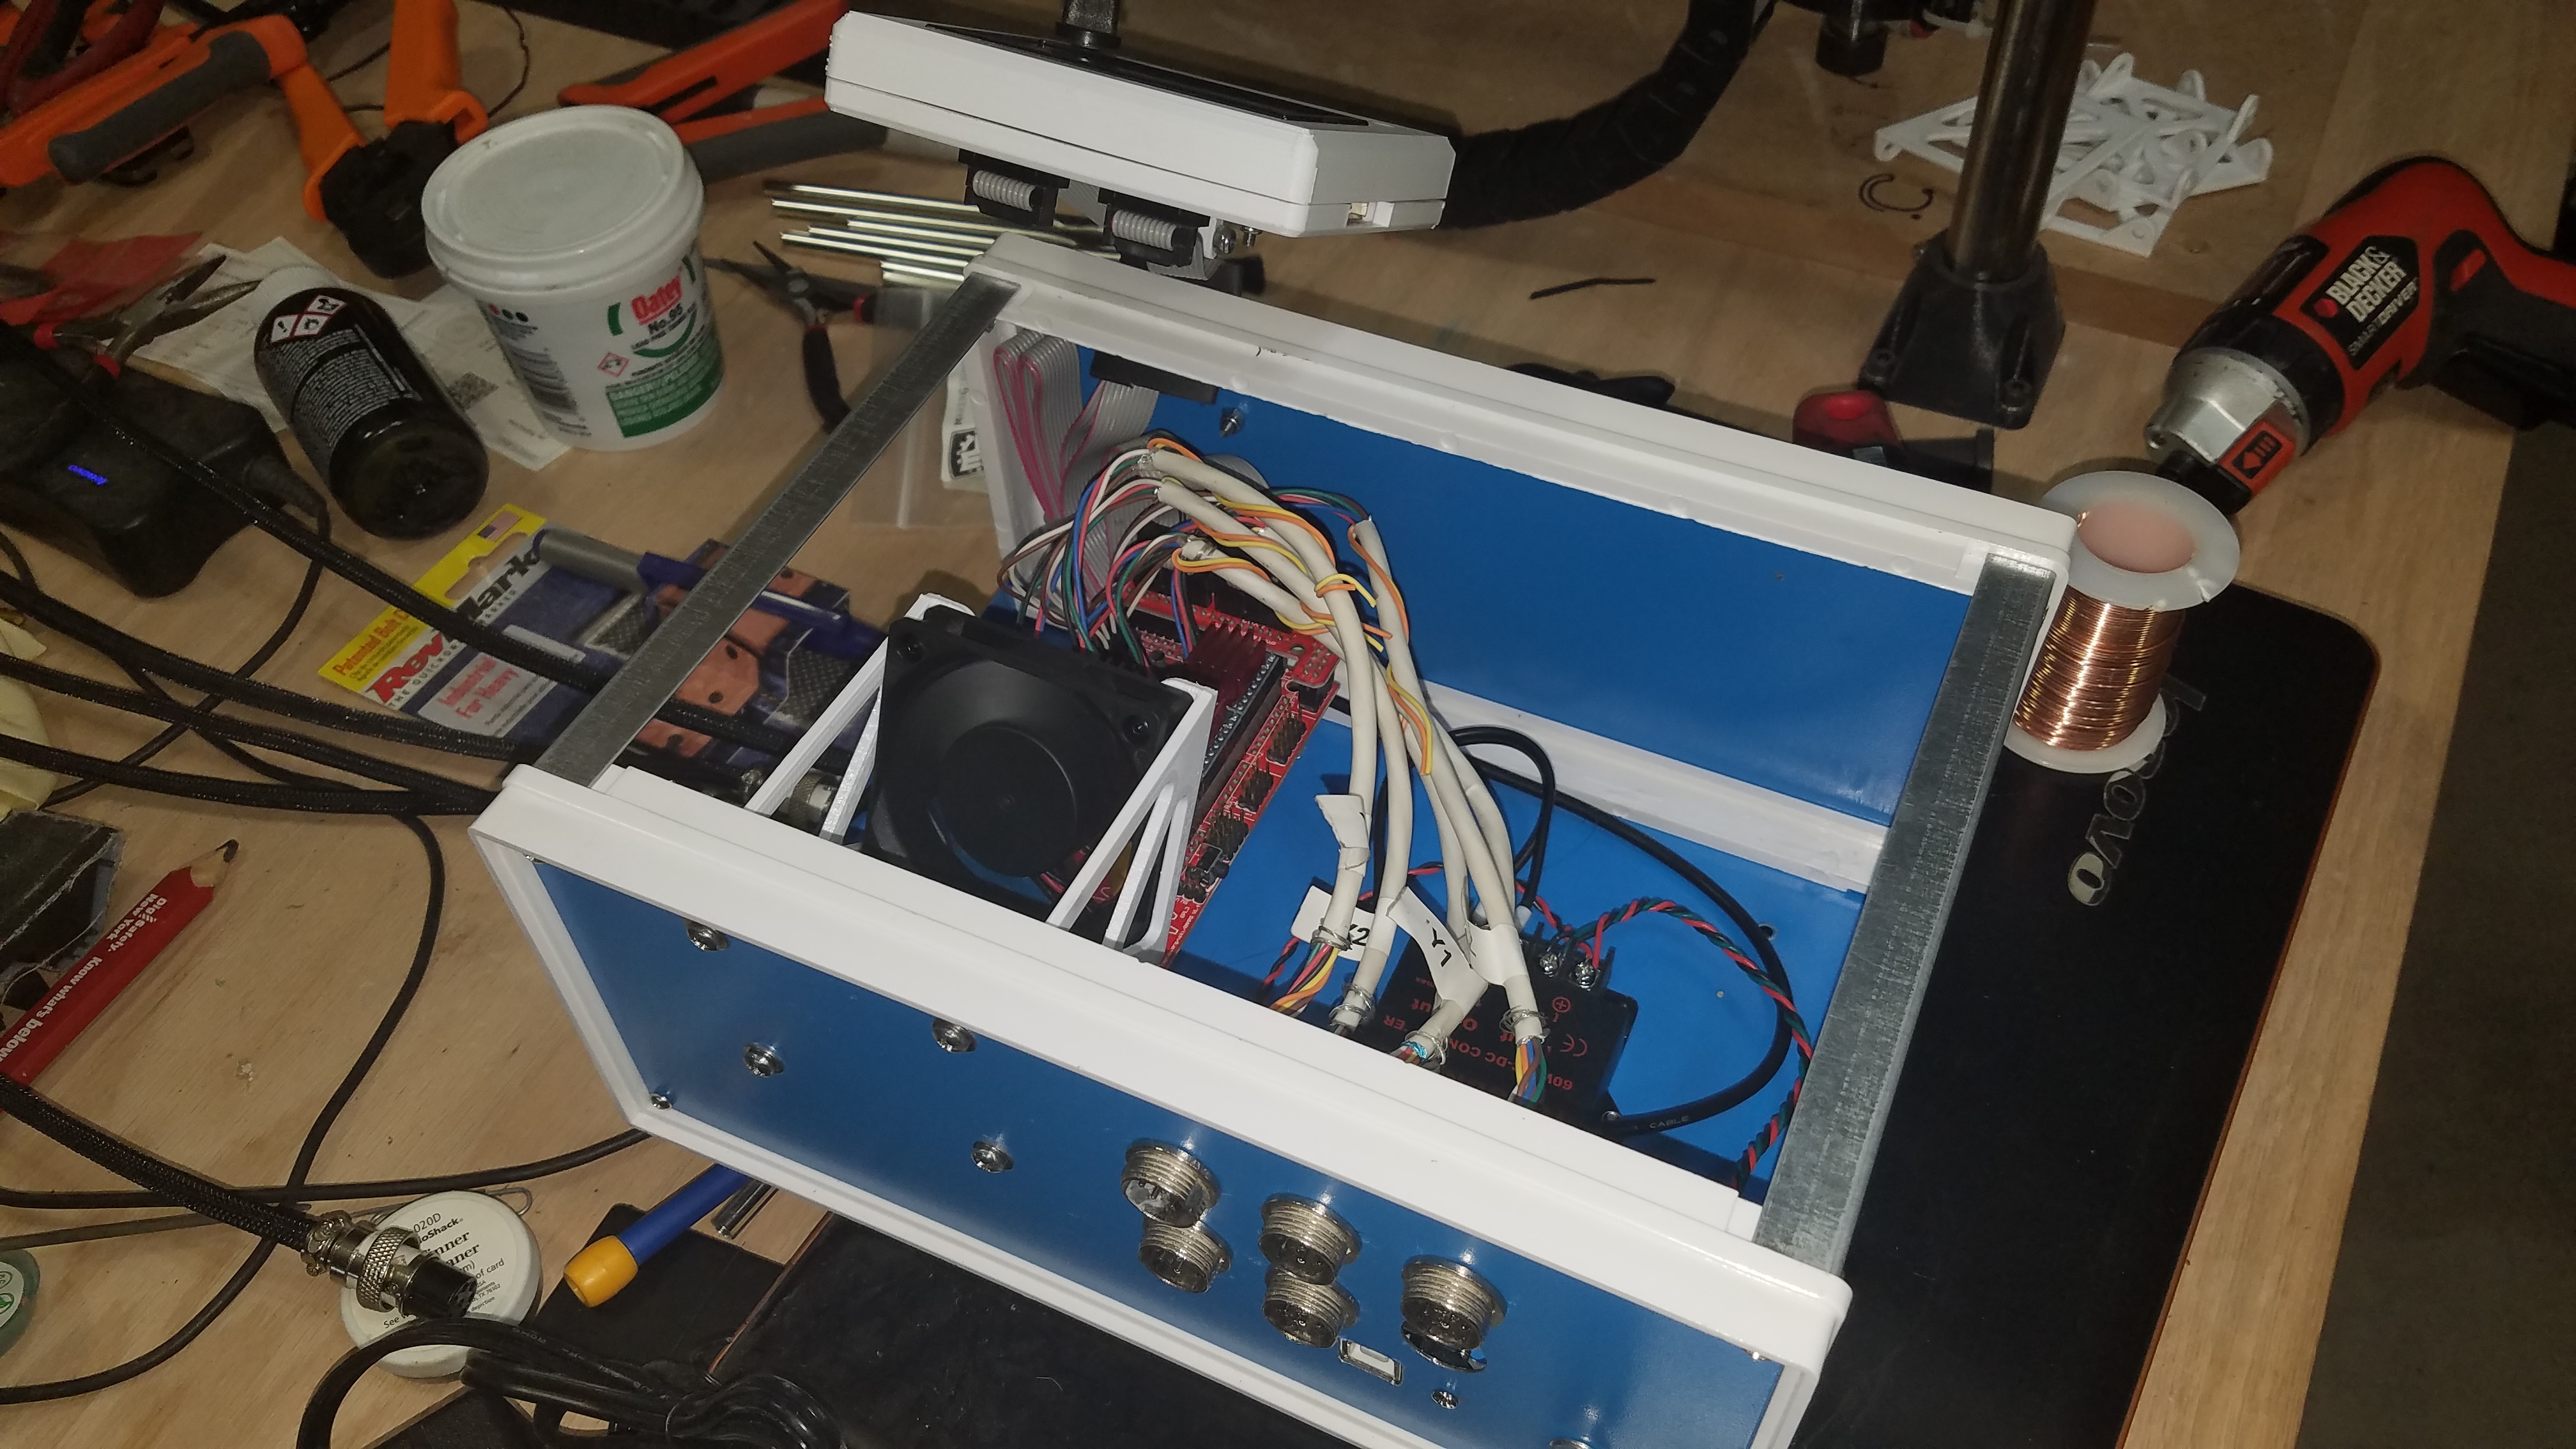
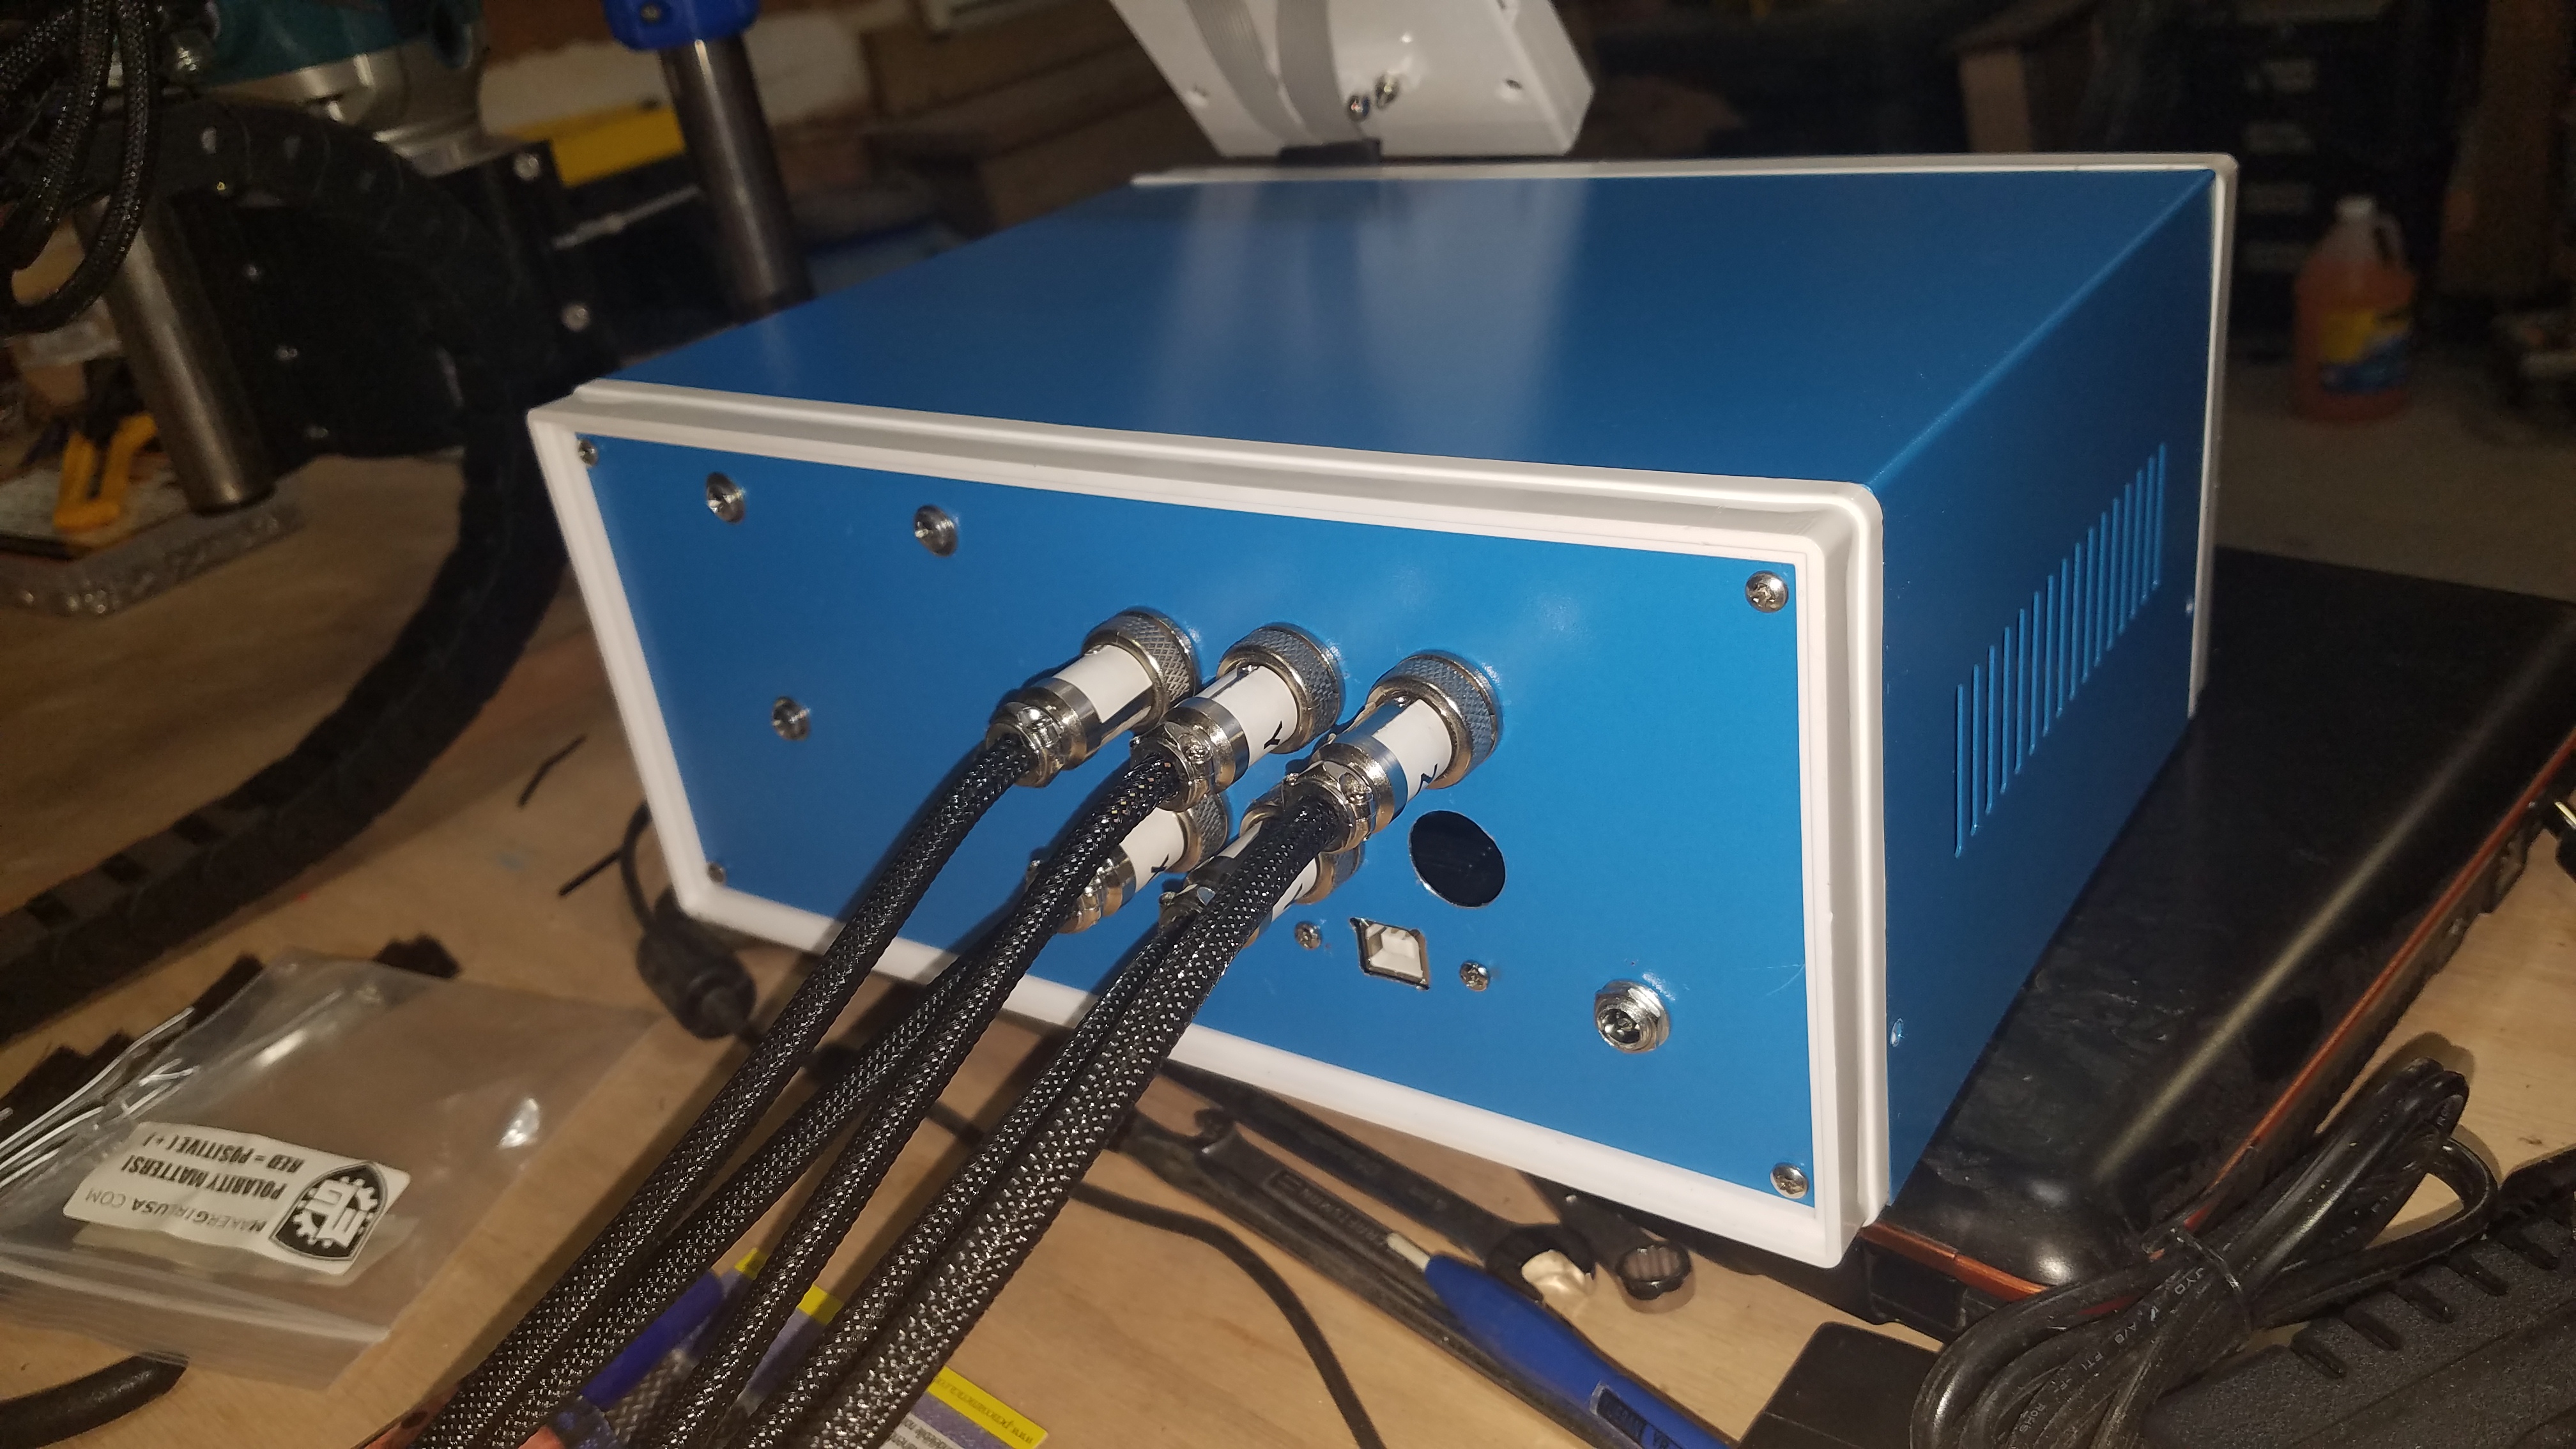
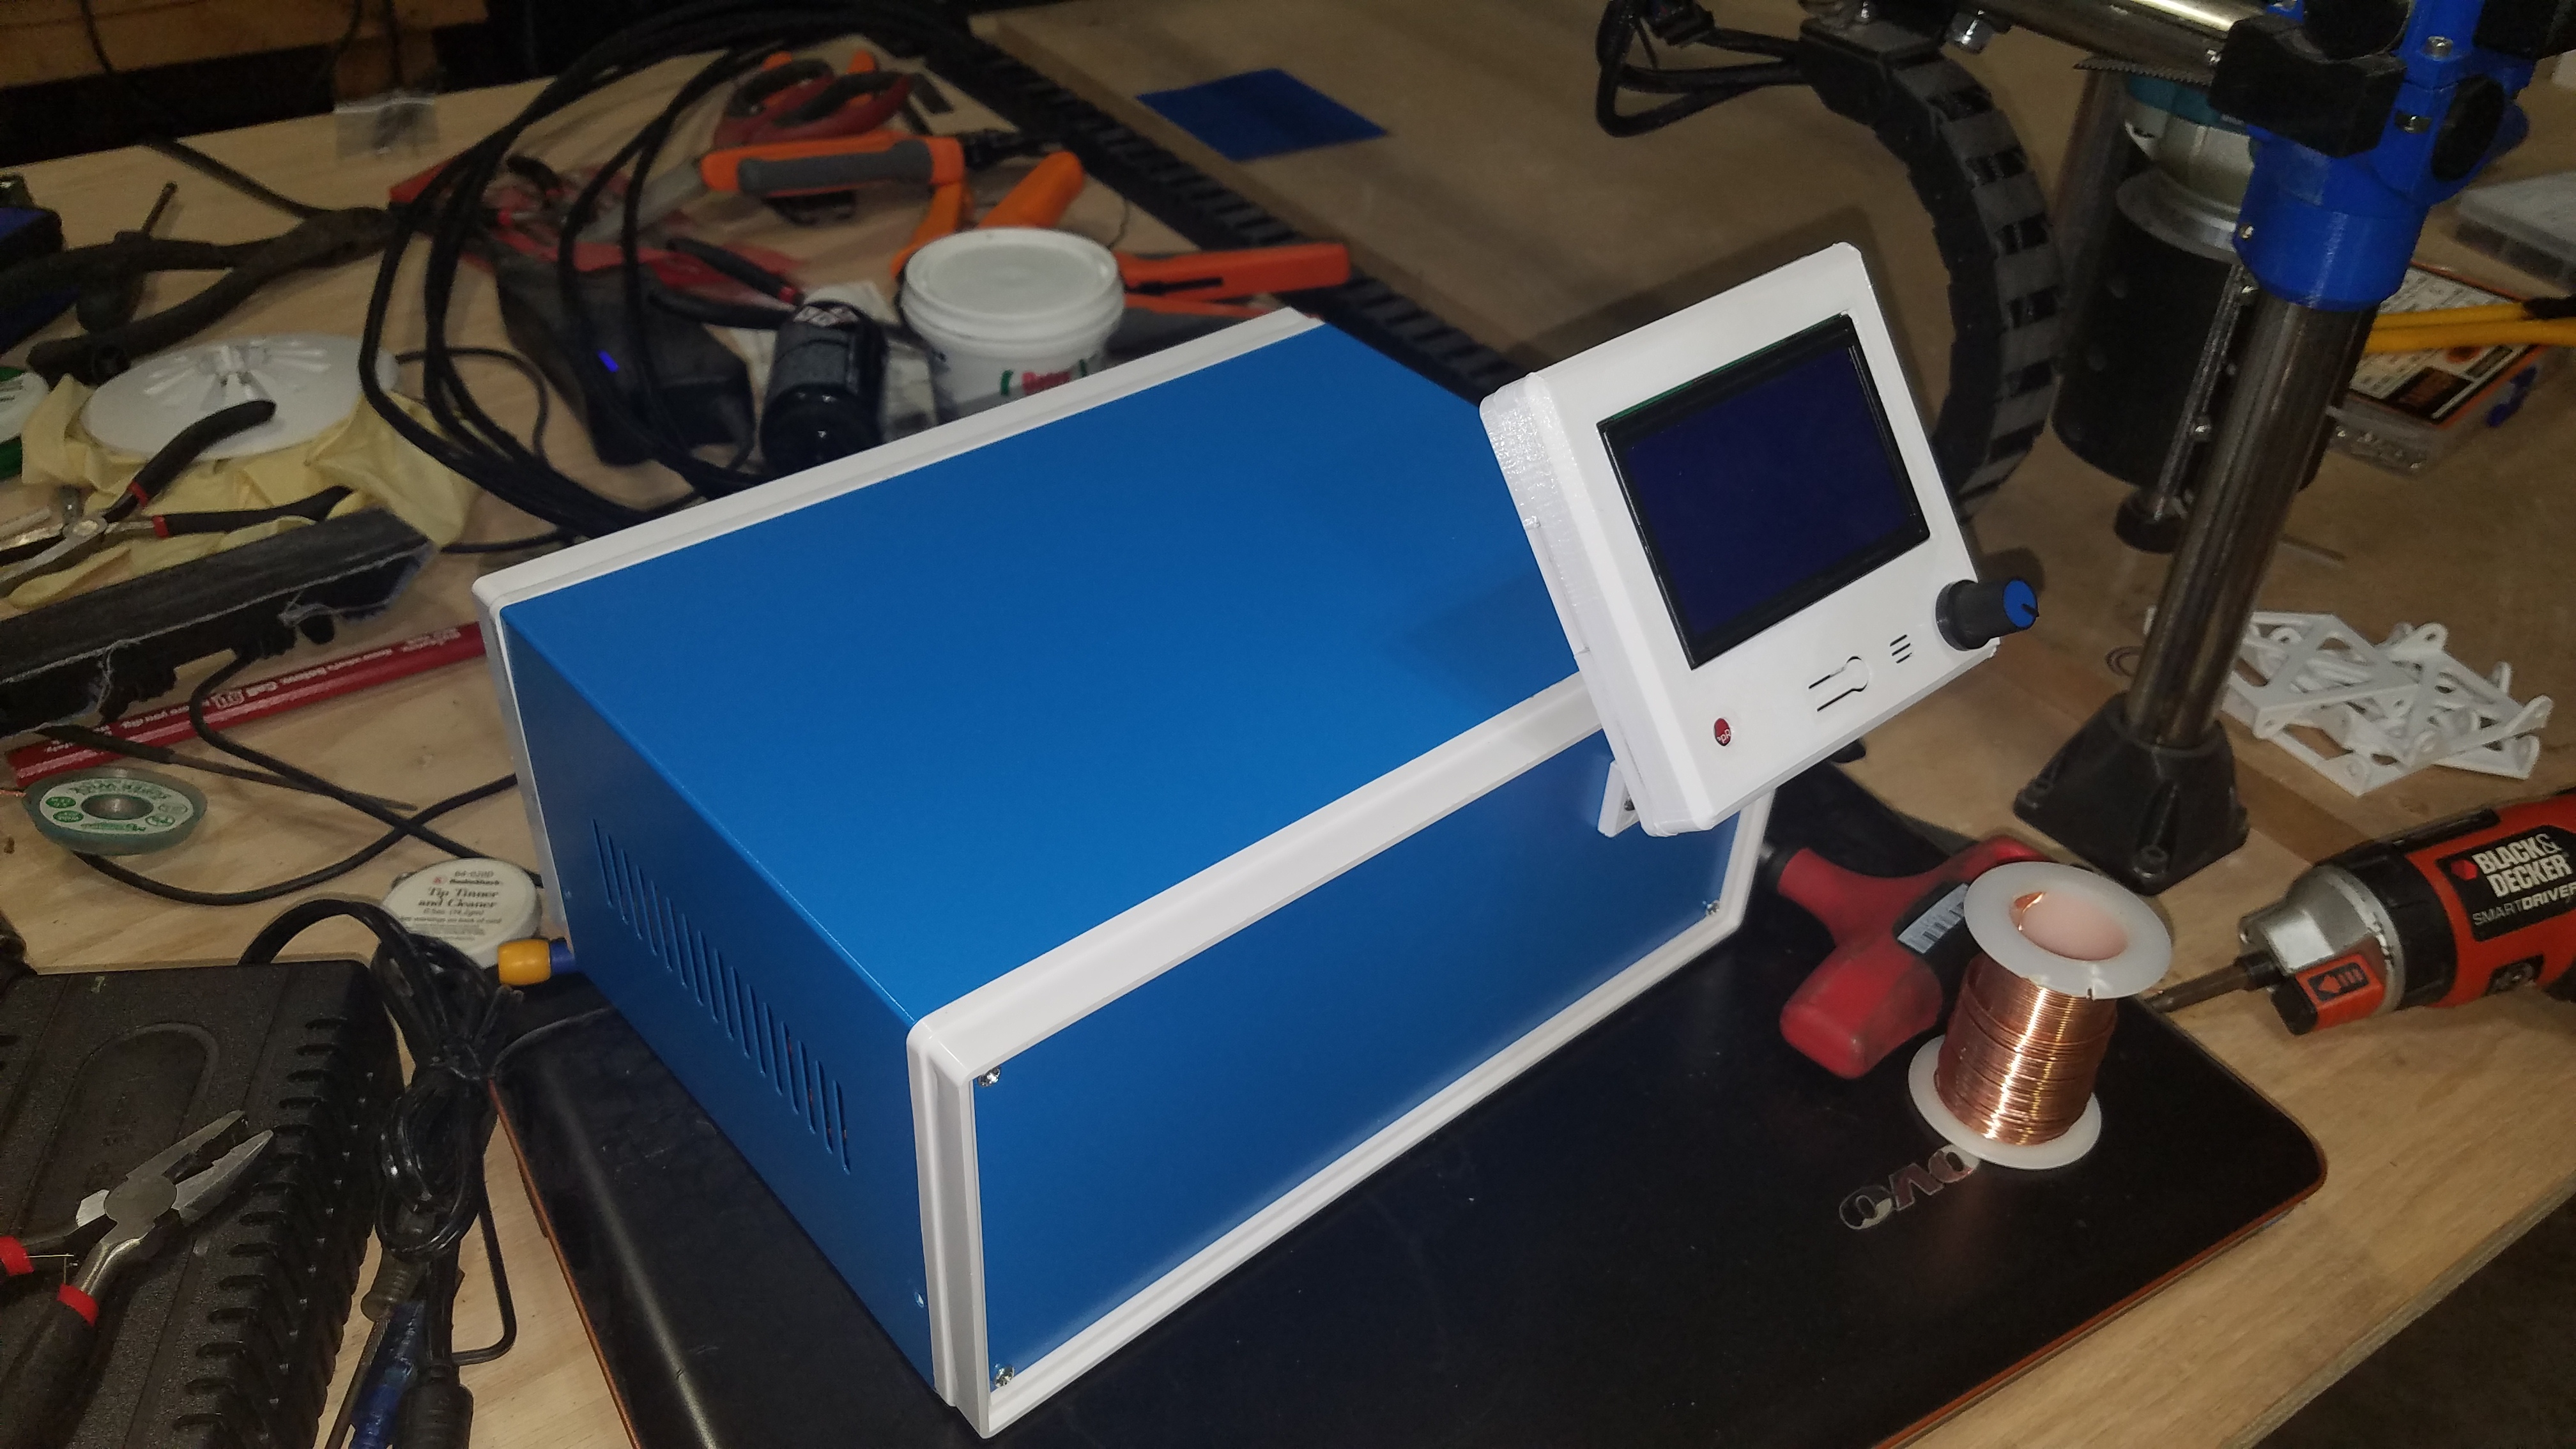
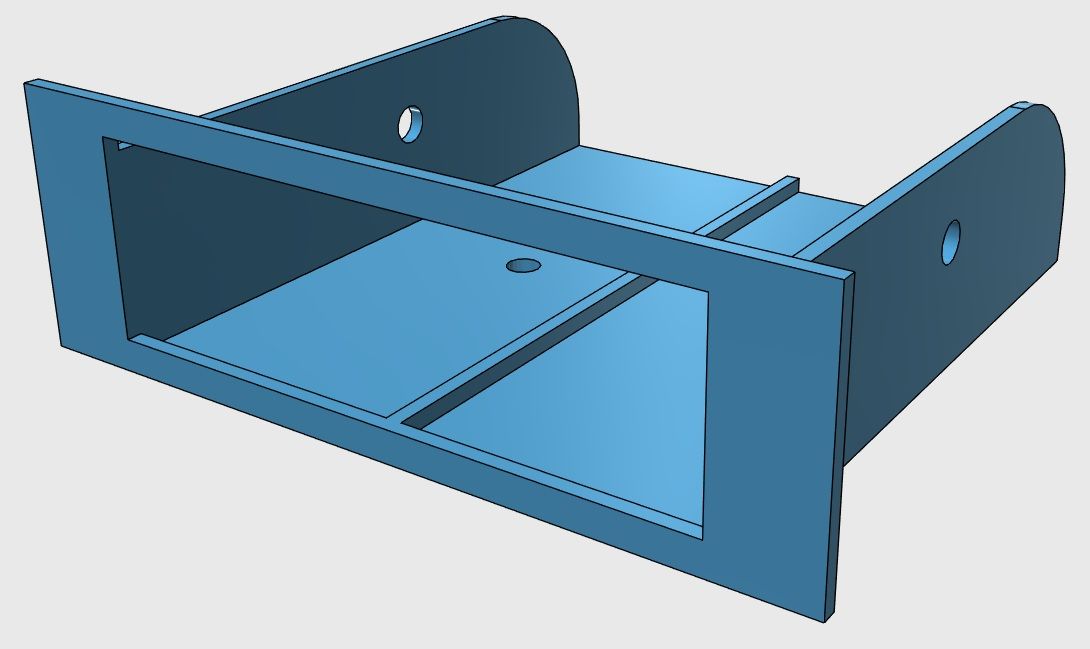
I'm finishing up the CNC control box at the moment. I'm just waiting for some fan supports to come off the printer so I can add active cooling to the DRV8825 drivers. They run quite warm on 24V.
I had to run a popular test with a marker & paper to see how all of the motion controls are working:
*EDIT* -- Here are some new pictures of the wiring at the control box & the fan mount for cooling the stepper drivers that I designed last night and printed this morning:
I had to do a few revisions on the fan mounts to get it in the right location as well as easily serviceable if I have to get to the Arduino or RAMPS boards. It is just held to the back cover of the control box with some plastic screws so it can be easily removed without having 10 tiny hands.
I've been slacking with my printer... Haven't even powered it up in over a month... But I did just get in a new aluminum bracket for the boeden extruder stepper motor as motivation to tinker with and do something with it again lol
Making your own mounts is a great use of your 3D printer! I just put LED blue lights in my Sierra and printed up a control box for the flasher module & power/mode buttons that fit into the pocket on the side of the center console. I'll have to get some pictures uploaded from my phone.
First cut in "wood" (MDF):
I mistakenly set the zero on the bottom line of the part outline so the bottom is messed up. I am still dialing in the feeds/speeds a bit, but I may have to alter the machine build... I went quite tall with the legs & the Z-gantry and I think that height is allowing some flexibility which is allowing chatter on some plunge cuts. This part was made using a 60 degree V-bit and I have since moved to a 90 degree V-bit which will cut down on the depth of cut and hopefully alleviate some of the chatter concern.
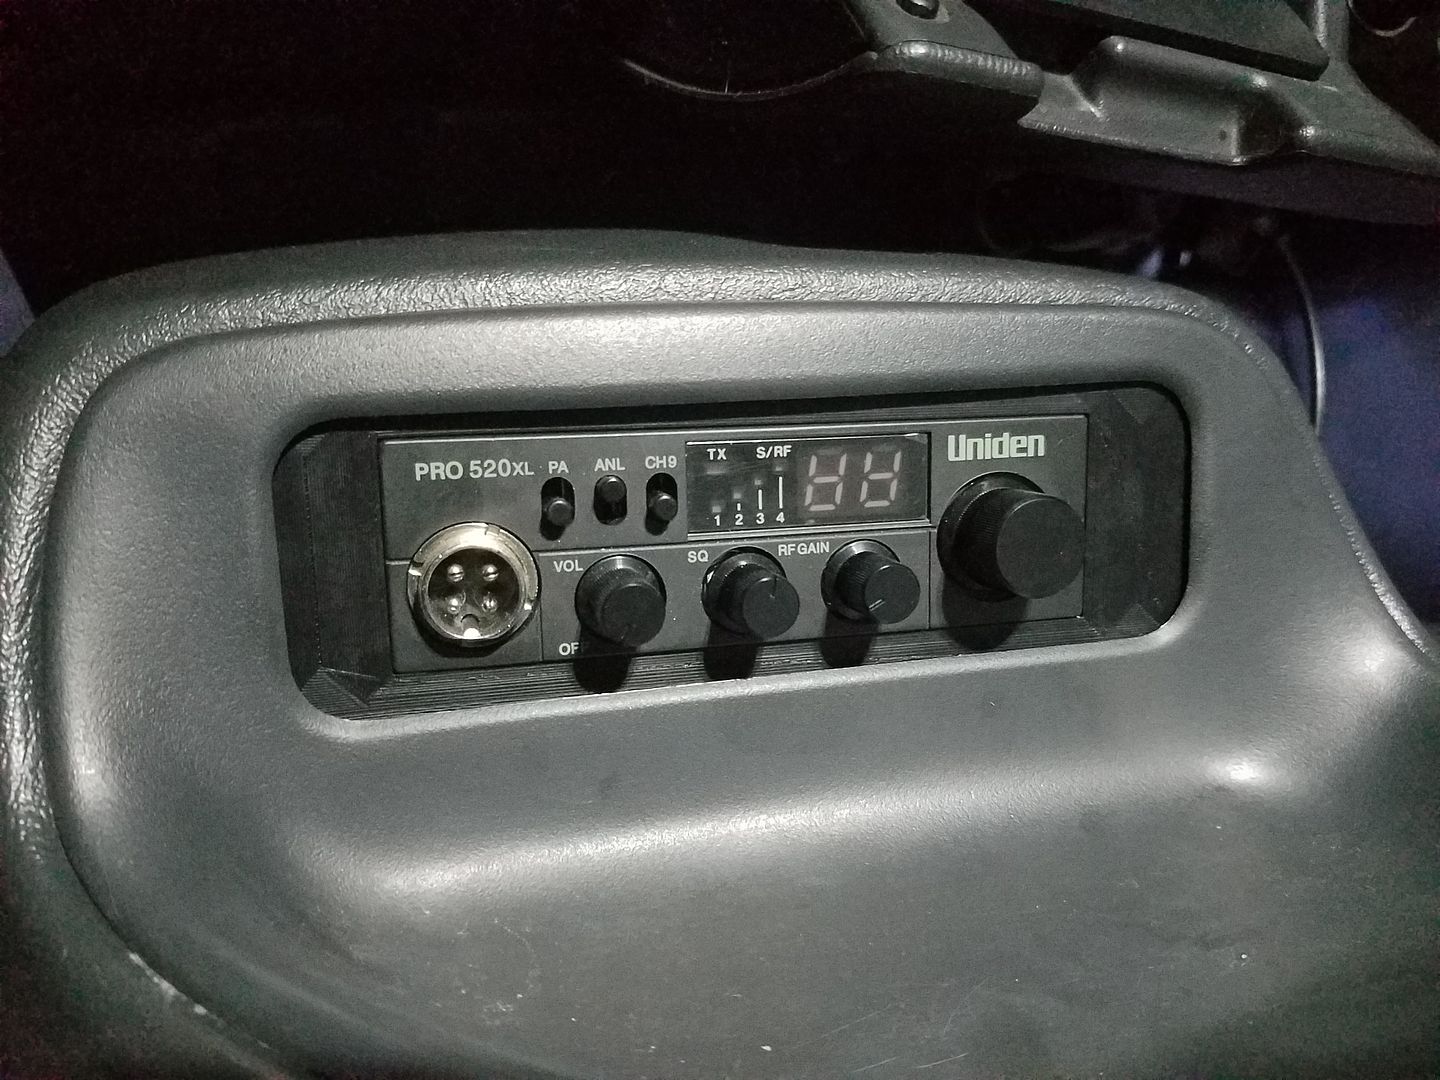
This CB bracket is actually the first time I'll be testing ABS in the Florida heat inside the cab, as we'll see how well it holds up
I had to redesign the bracket a little... ABS is tricky to print large parts with, more so if you don't have the printer incased in a box that will keep the heat in... As the bracket printed, it cooled too quickly and pulled itself apart...
So basically my redesigned bracket just has less material, and is most likely going to turn into a 2 piece part, one to be the face plate filler and one to hold the radio in place.
Got this little filler plate to mount the CB in the tape deck place of my center console printed and installed over the weekend. Not a final product, but gets the point across for now and fills the hole