
How to: LED Strip Lights for interior


I just did this in my blazer and i think it turned out great!
and i haven't done too many "How To"s so i decided to make one for those interested.
Tools Needed: 7mm socket, Socket wrench or extender (to use the socket like a screwdriver) pack of red butt splice connectors, and a pair of wire strippers with crimpers.
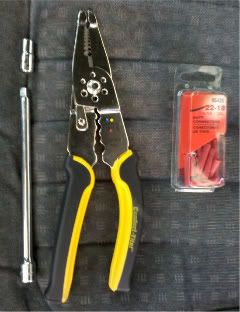
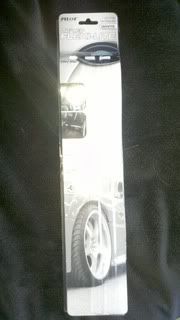
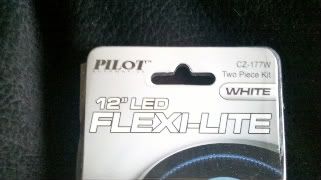
LED Strips, I bought a 2 pack of 12 inch strips from Pep Boys for $20
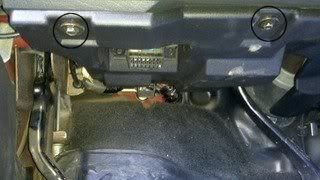
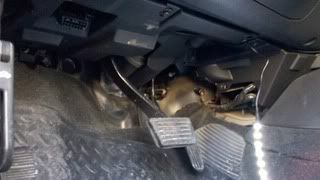
Step 1: Locate and use the 7mm socket to unscrew the four hex screws attaching the kick panel to the dash. The four screws are circled in black.
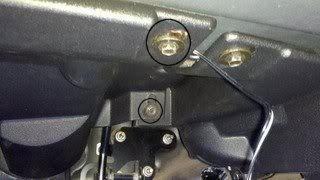
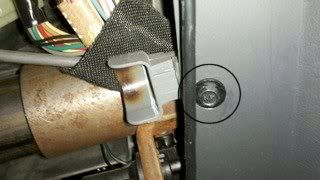
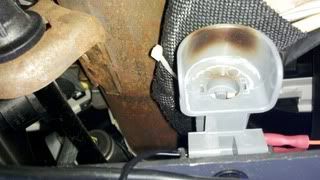
Step 2: Once the kickplate is down locate the footwell light socket and and unscrew the hex screw holding the socket to the dash.

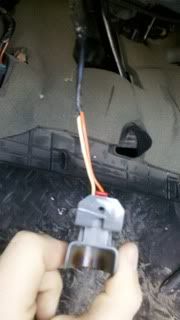
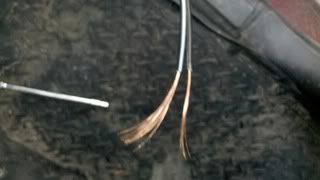
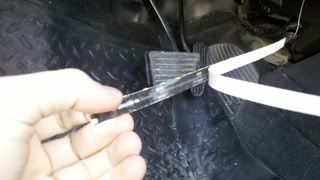
Step 3: Pull the socket and expose the wires. Cut the wires one at a time to make sure you dont blow a fuse. Once cut, strip the insulation back from the wires of the socket and the LED strip. (notice the black wire with the white stripe. this wire gets connected to the orange wire.)
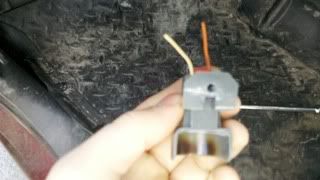
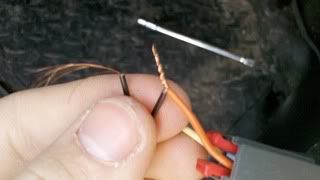
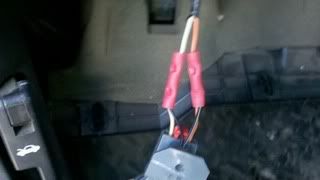
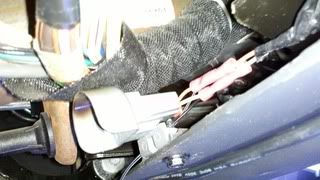
Step 4: twist the black wire with the white stripe to the orange wire of the socket. Then Crimp one end of the butt splice connector to the twisted wires.
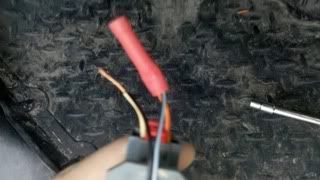
Step 5: Crimp the other end of the connector to the single orange wire in the dash.
Step 6: repeat Steps 4 and 5 for the all black wire and the yellow wire. you should now have power to your LED strip.
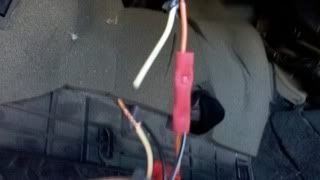
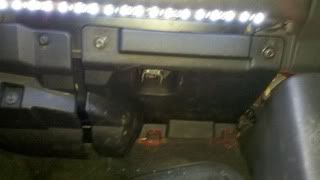
Step 7: Begin to reassemble the socket and kick panel.
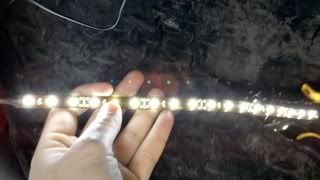
Step 8: Peel back the paper backing of the LED strip. This reveals the 3M adhesive. then simply stick under your dash.
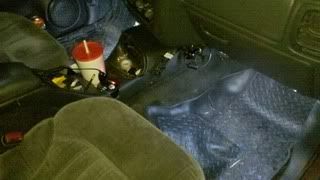
Step 9: Sit back and enjoy your bright interior!
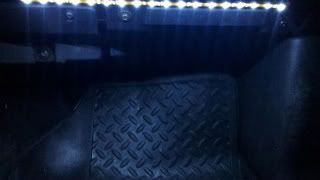
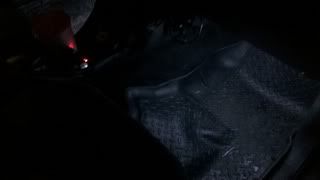
this one is taken with the flash on.
If you have any questions, just ASK! hope this helps
-Will
and i haven't done too many "How To"s so i decided to make one for those interested.
Tools Needed: 7mm socket, Socket wrench or extender (to use the socket like a screwdriver) pack of red butt splice connectors, and a pair of wire strippers with crimpers.
LED Strips, I bought a 2 pack of 12 inch strips from Pep Boys for $20
Step 1: Locate and use the 7mm socket to unscrew the four hex screws attaching the kick panel to the dash. The four screws are circled in black.
Step 2: Once the kickplate is down locate the footwell light socket and and unscrew the hex screw holding the socket to the dash.
Step 3: Pull the socket and expose the wires. Cut the wires one at a time to make sure you dont blow a fuse. Once cut, strip the insulation back from the wires of the socket and the LED strip. (notice the black wire with the white stripe. this wire gets connected to the orange wire.)
Step 4: twist the black wire with the white stripe to the orange wire of the socket. Then Crimp one end of the butt splice connector to the twisted wires.
Step 5: Crimp the other end of the connector to the single orange wire in the dash.
Step 6: repeat Steps 4 and 5 for the all black wire and the yellow wire. you should now have power to your LED strip.
Step 7: Begin to reassemble the socket and kick panel.
Step 8: Peel back the paper backing of the LED strip. This reveals the 3M adhesive. then simply stick under your dash.
Step 9: Sit back and enjoy your bright interior!
this one is taken with the flash on.
If you have any questions, just ASK! hope this helps
-Will

thanks neo i hope i have better luck. we'll see.
Moores, thats right. I personally didnt want them to be on all the time. If you wanted that all you would have to do is hook them straight to the battery. I would put a switch on there just so you have the option.
Moores, thats right. I personally didnt want them to be on all the time. If you wanted that all you would have to do is hook them straight to the battery. I would put a switch on there just so you have the option.

Starting Member
Joined: Apr 2011
Posts: 1

I will be installing something like this flexible LED strip , your post help me a lot
you have a clear explanation on the installation , very nice =)
you have a clear explanation on the installation , very nice =)
