AltonCustomTech's 2010 Chevy Traverse Audio Build
#1
 05-27-2015, 10:30 AM

Join Date: Oct 2010
Location: Monroe City, IN
Posts: 931

Well, It's not even close to the Blazer platform but it's still a Chevy! lol
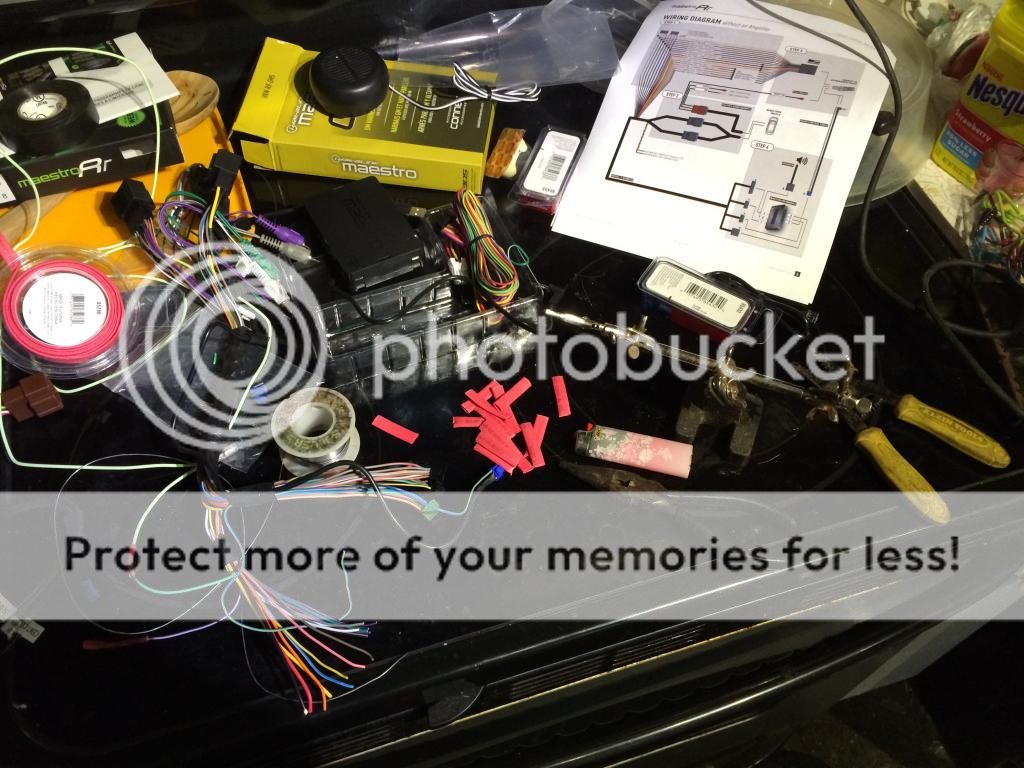
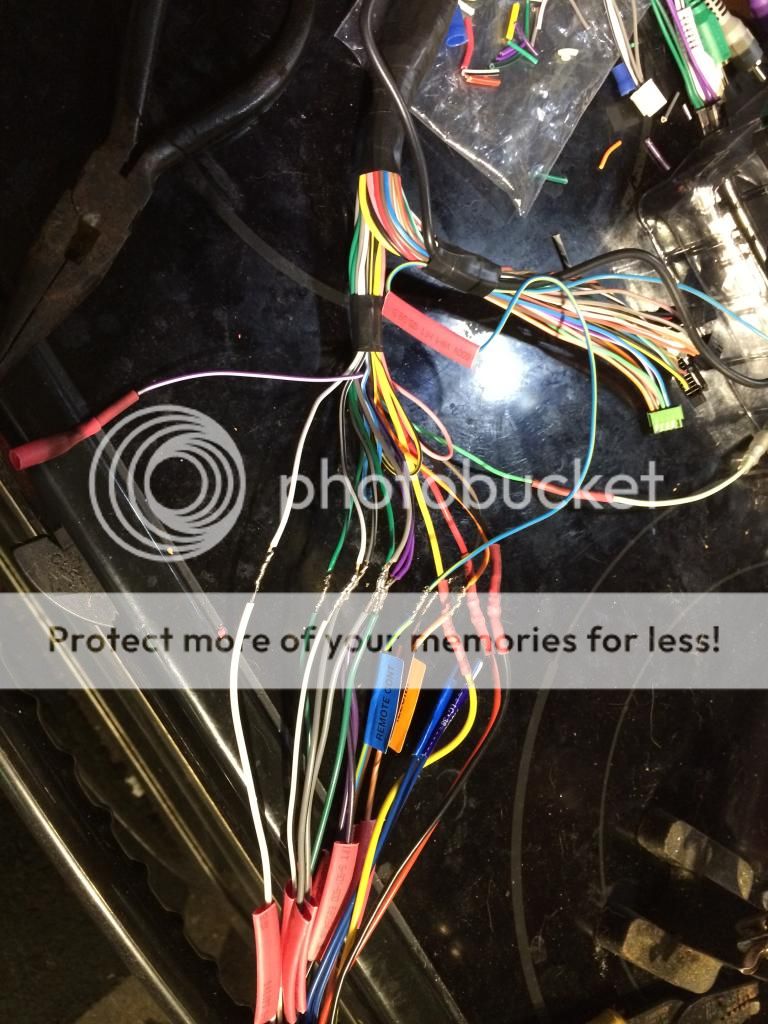
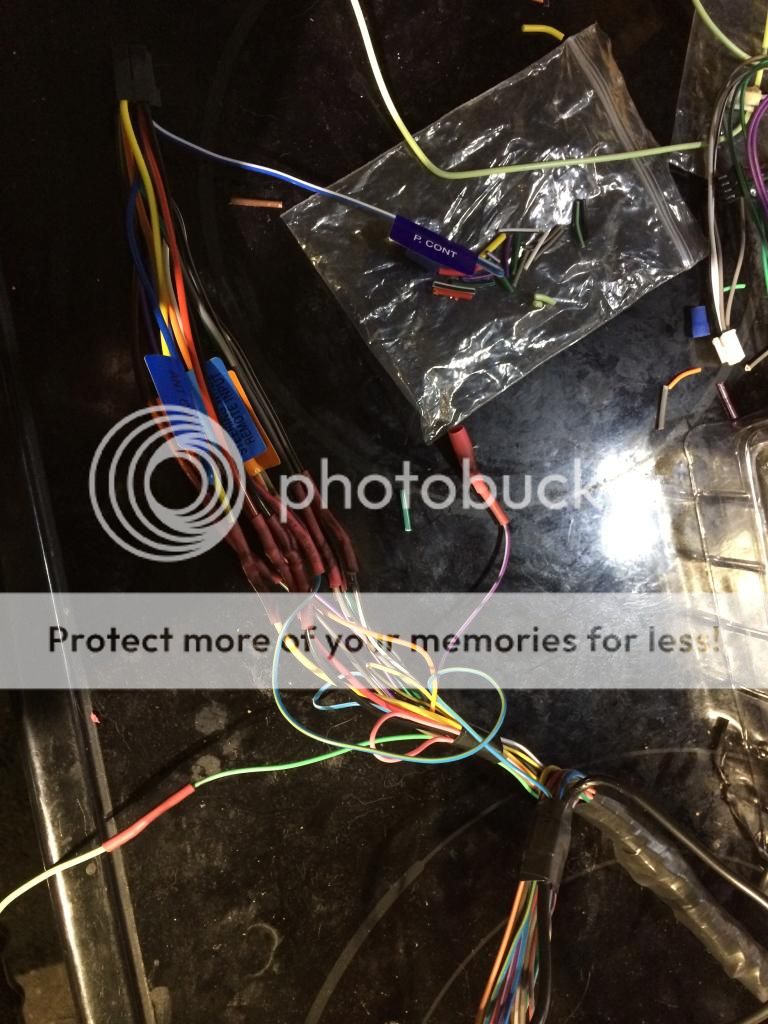
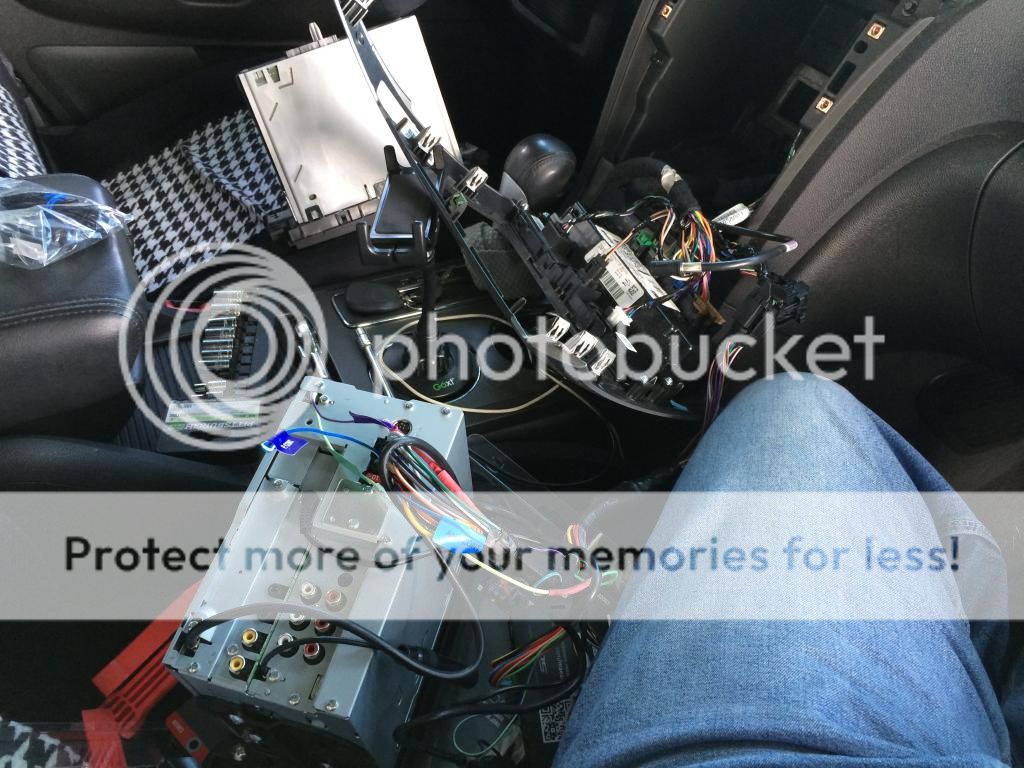
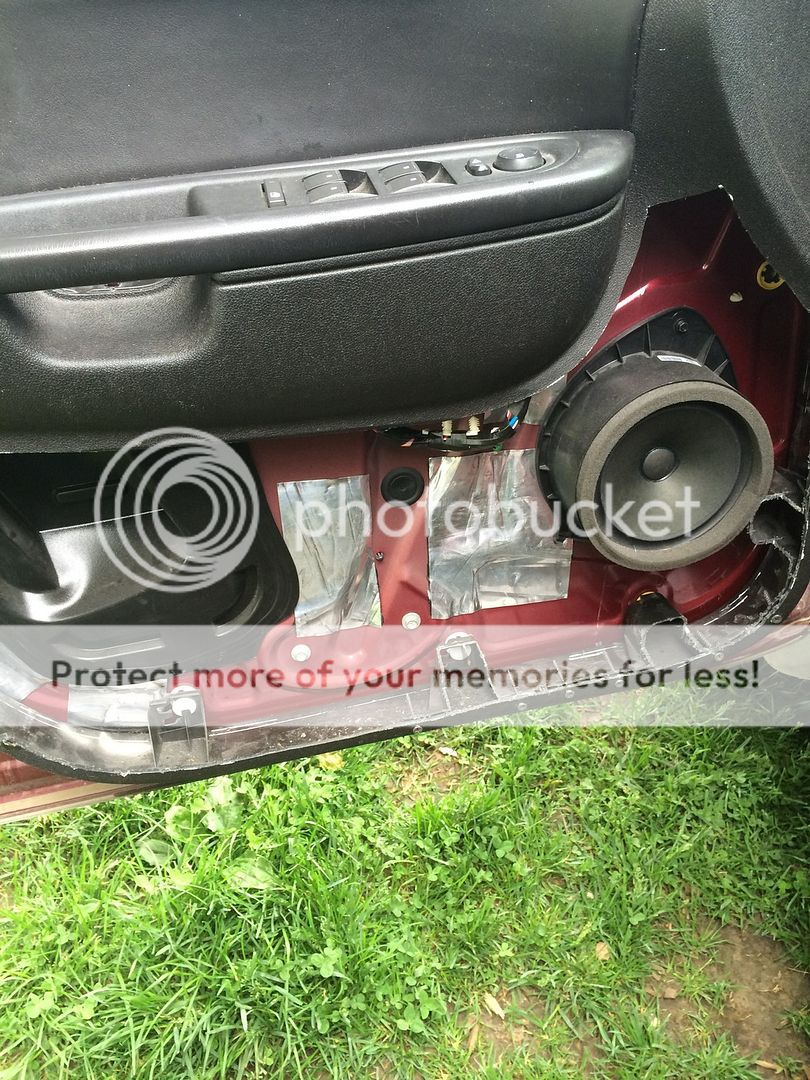
I bought this last year for the wife to replace the 1998 Chevy Venture (which has a log here too) as the family daily driver. She originally wanted the audio build in this vehicle to be considerably less intrusive and less destructive than the setup that was in the van. The subs broke quite a few of the points where the interior panels attach and also managed to break a spot weld seam loose in the floor pan. She didn't want to tear that much stuff up so we looked at doing a little smaller build. I already had a set of Bravox CS603CF 3-way components in my possession and we felt this was a great vehicle to use them on. I ordered a Kenwood DDX771 double din unit to replace the stock HU and a iDatalink Maestro unit to retain the factory steering wheel controls. I ordered a Zapco ST-4D four channel amp to power the components with and a Zapco Z-1KD to power the subwoofers with. For the sub bass duty I ordered a pair of SSA DCON 10" subs. I also have a SoundStream Harmony DSP to dial everything in with, same as I have installed in the Jimmy.
The original plan was to make this a stealth build not being able to see much of the install. I was going to attempt to quietly work the components into the front of the vehicle, build a false floor amp rack that would be in the center of the vehicle and as small and stealthy a sub enclosure as possible to retain as much of the cargo area as I could. I got the Kenwood and Maestro units installed last fall without any issue and got to work designing how to do the rest of it. Unfortunately work got in the way and I couldn't get anything useful done on the build pretty much all winter long.
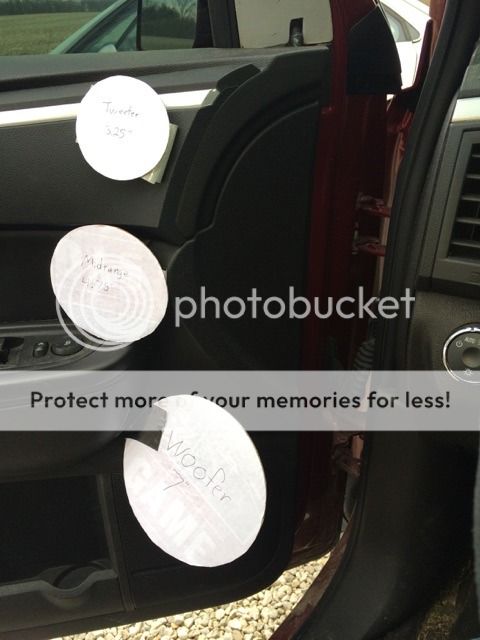
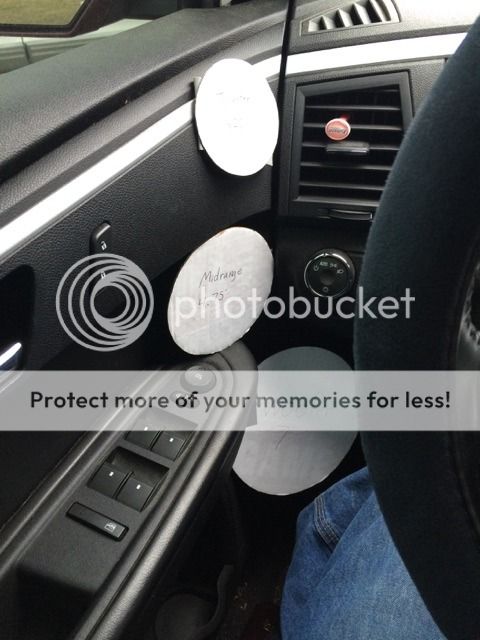
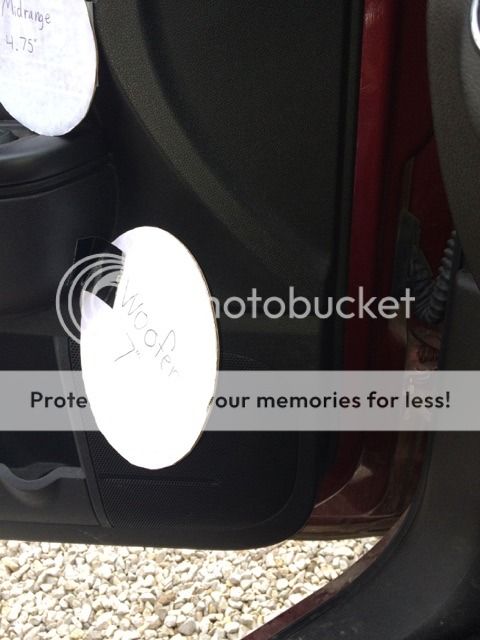
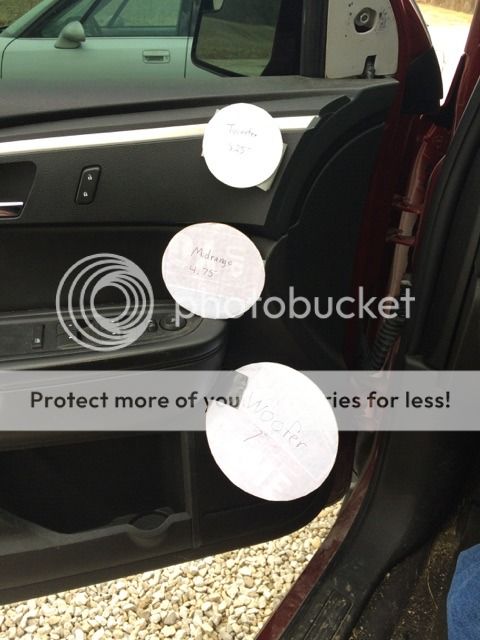
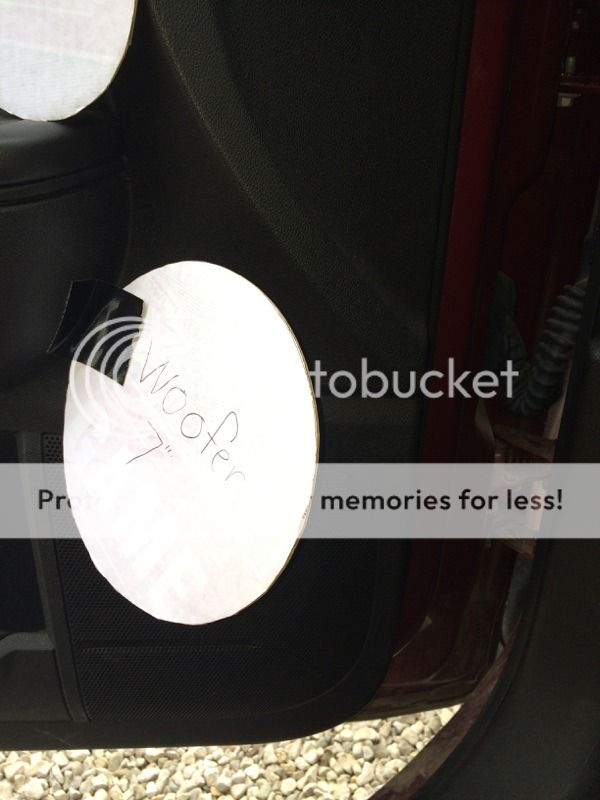
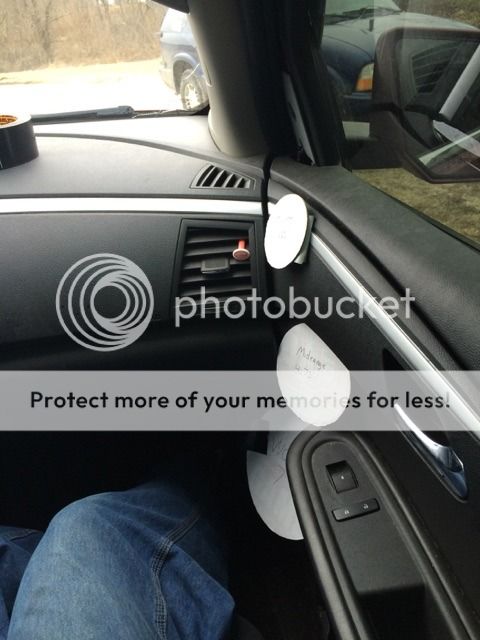
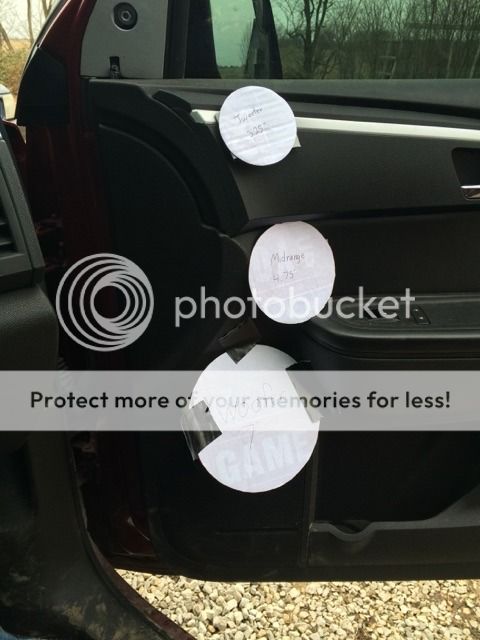
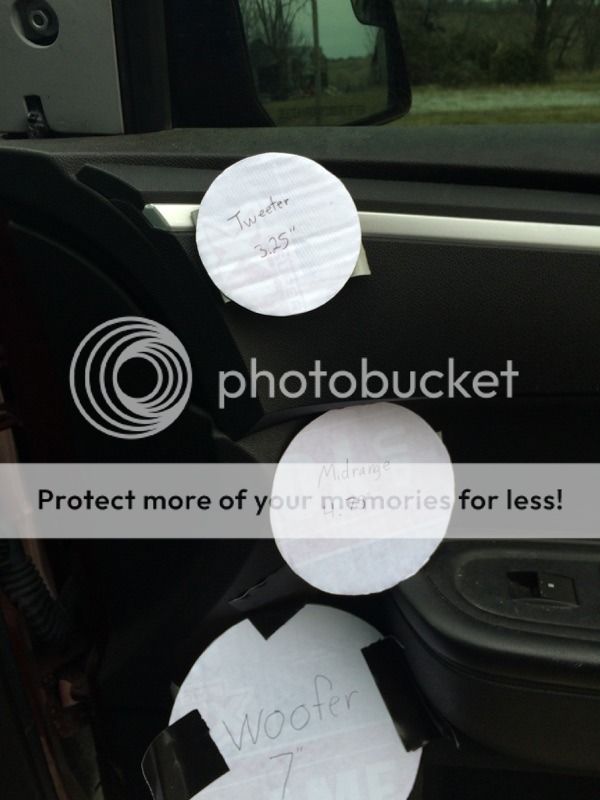
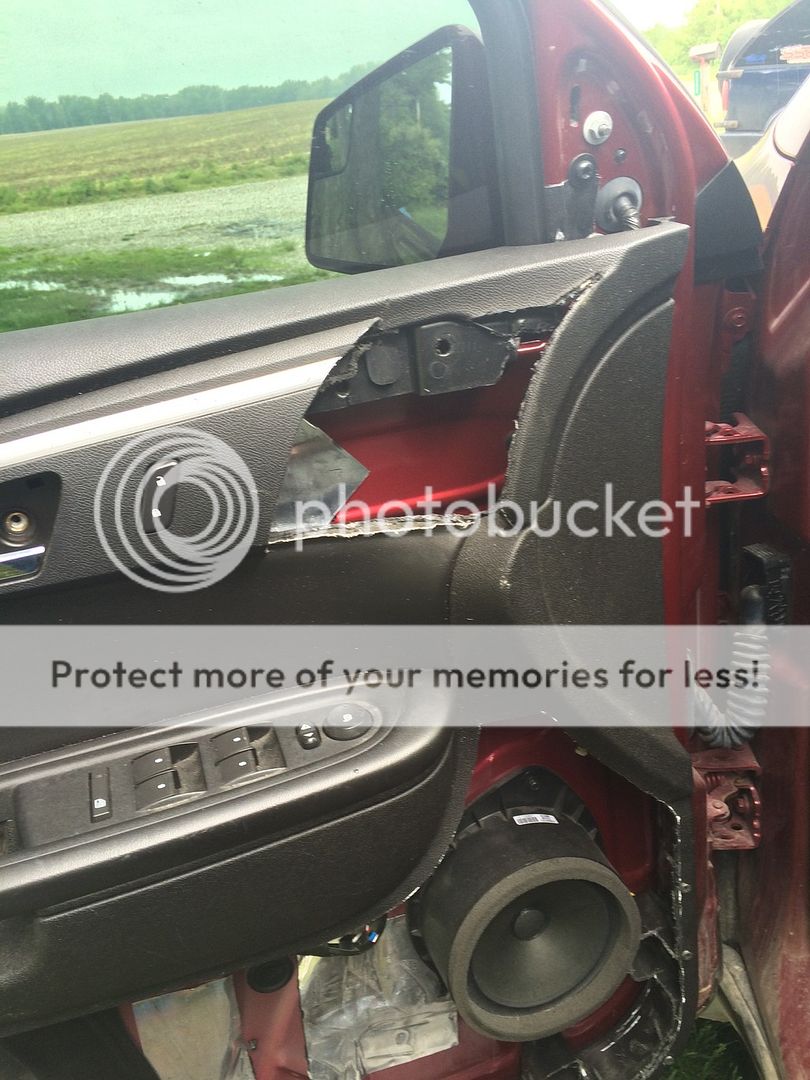
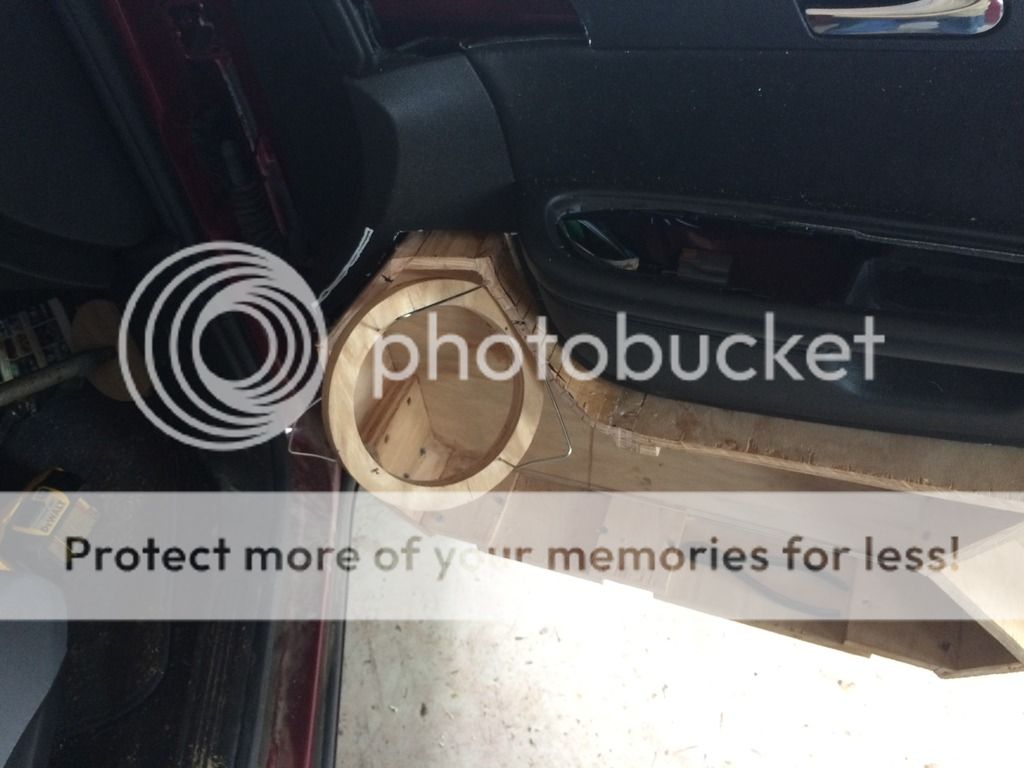
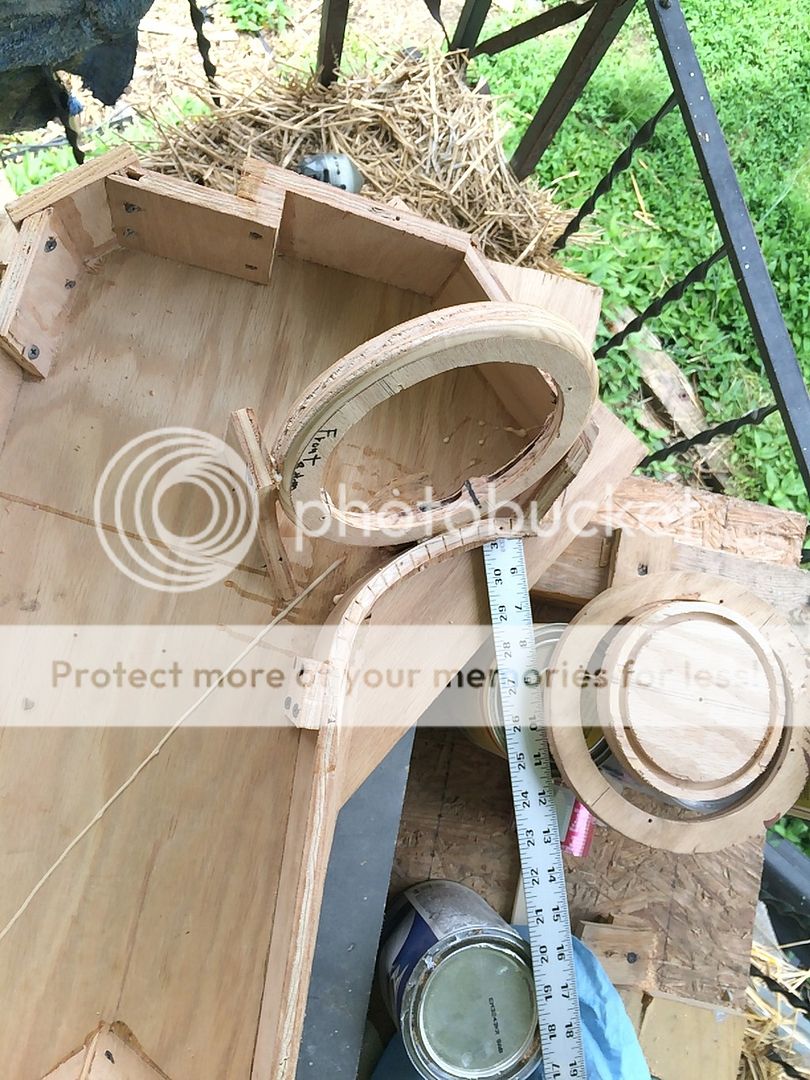
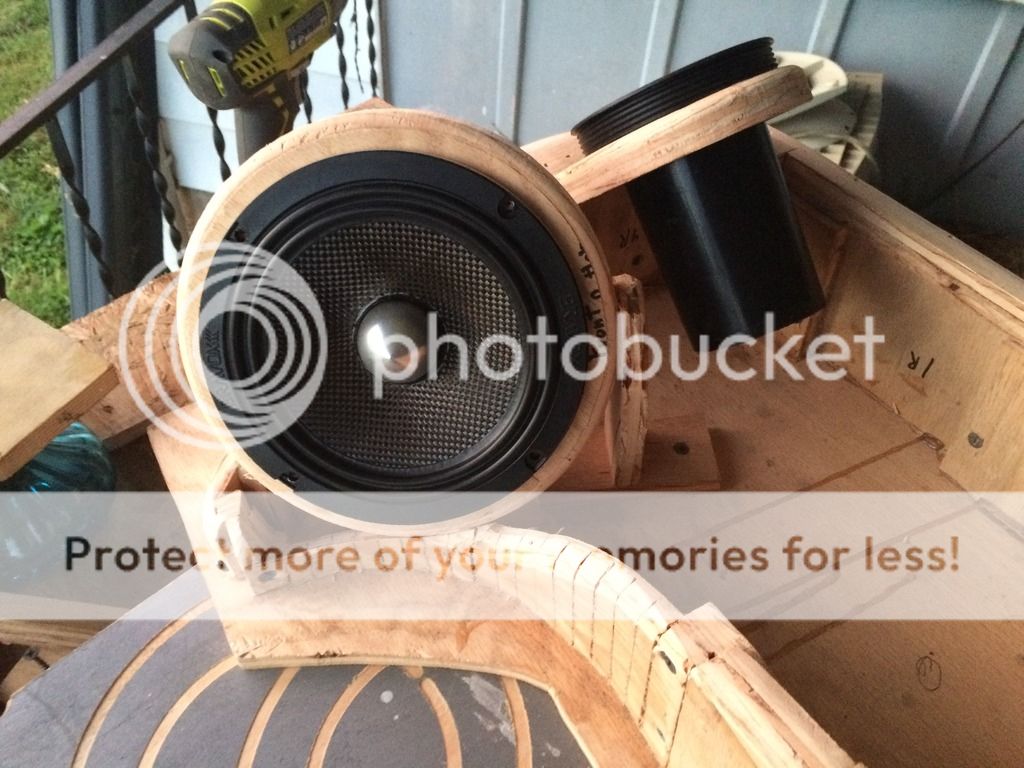
Fast forward to early this spring and the wife can't take it anymore, she wants her system installed, lol. So she gave me the go ahead to do whatever I felt like doing with it (within reason of course)!! I decided to keep the false floor amp rack and the original sub enclosure design due to the fact they're fairly straight forward and the designs wouldn't affect the performance any. However the original plans for the speakers were lackluster for a $1200 set of speakers IMHO so I decided to rebuild the door cards with fiberglass. The woofers will be installed in 0.5 cu.ft. ported enclosures tuned to 65hz with the midrange and tweeter up high and forward on the door card.
I'm laying all this out here instead of captioning each of the pictures as usual since there are so many to post up to catch up to where I'm at.
Onto the pictures!


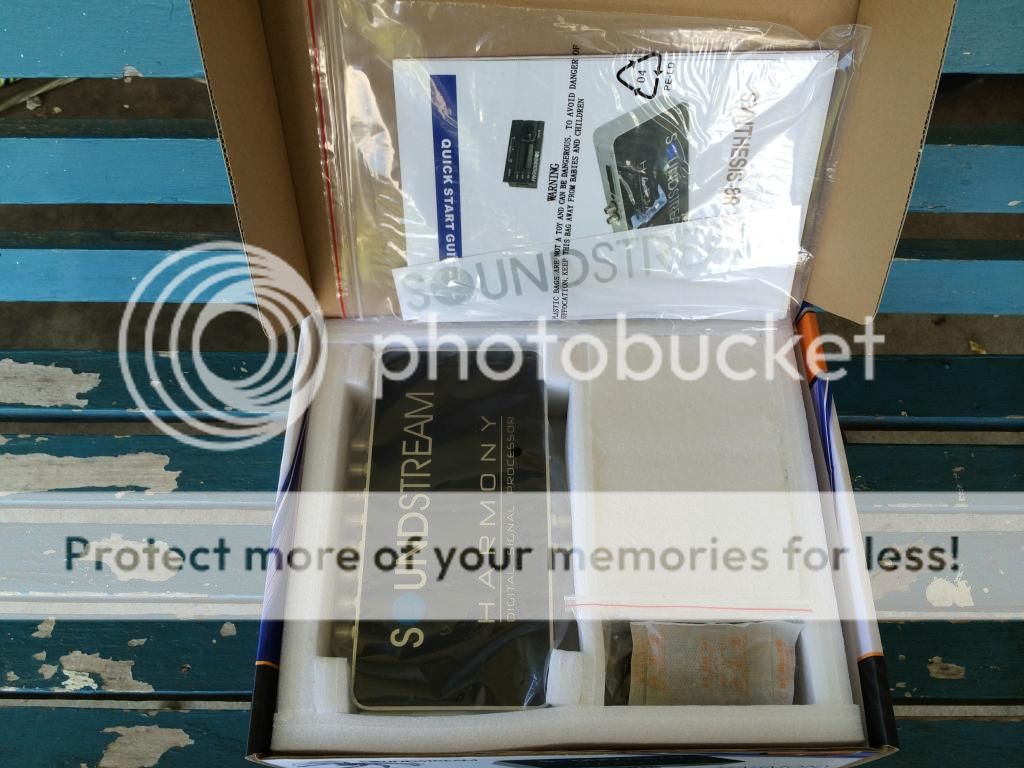
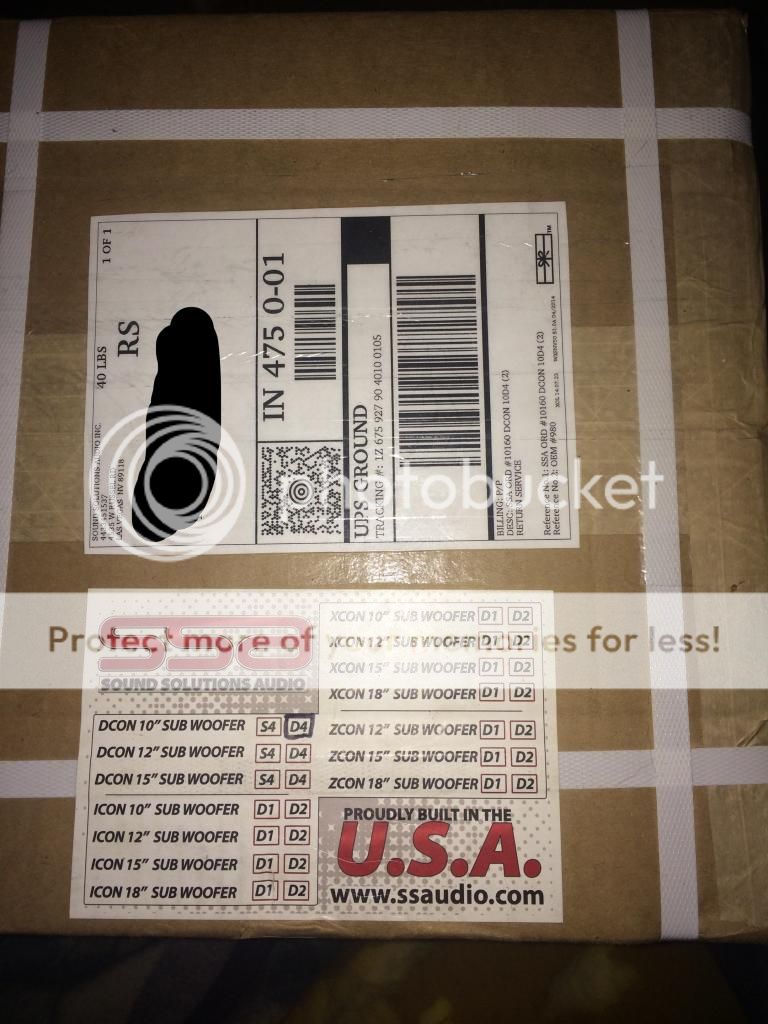
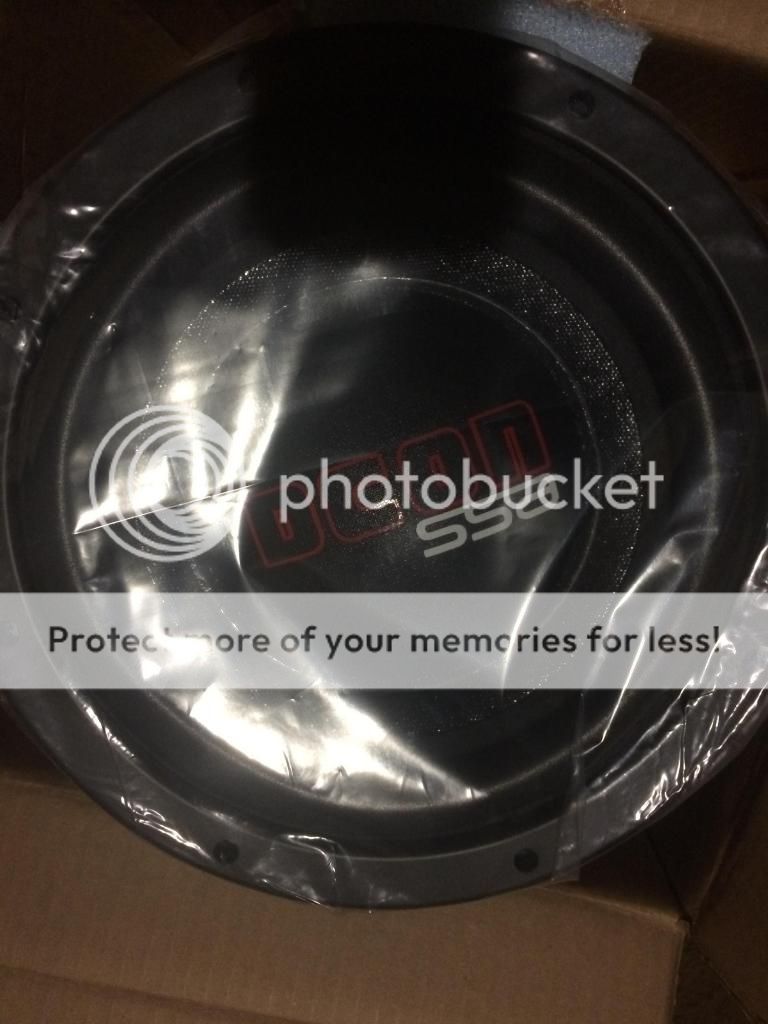
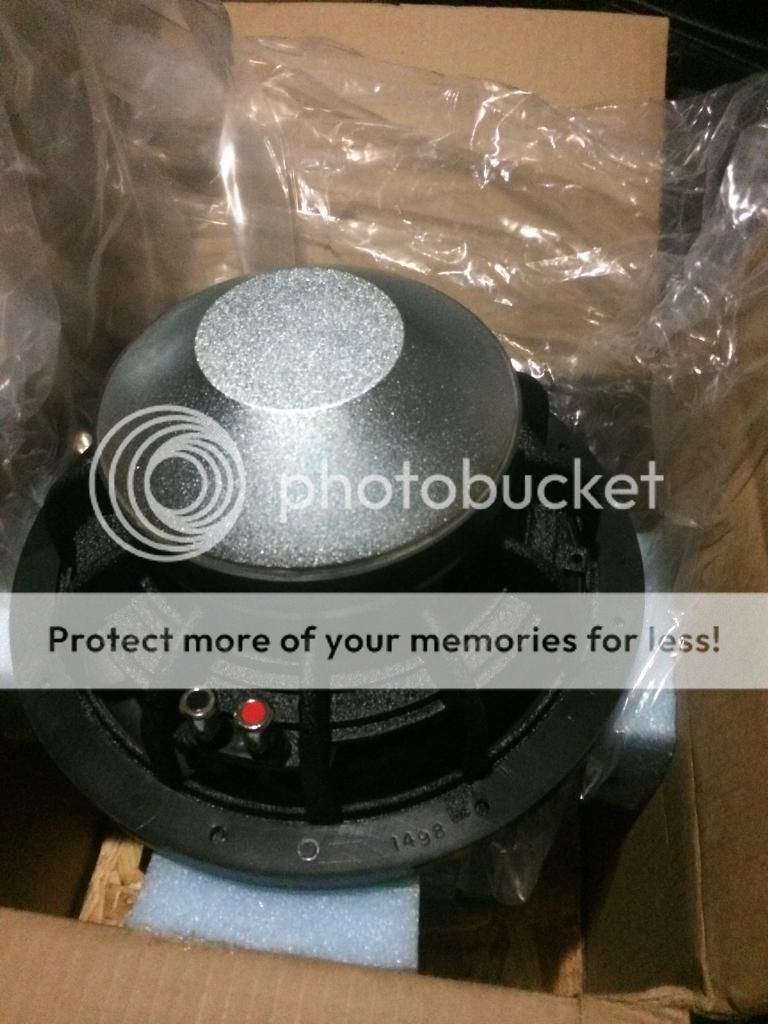


I bought this last year for the wife to replace the 1998 Chevy Venture (which has a log here too) as the family daily driver. She originally wanted the audio build in this vehicle to be considerably less intrusive and less destructive than the setup that was in the van. The subs broke quite a few of the points where the interior panels attach and also managed to break a spot weld seam loose in the floor pan. She didn't want to tear that much stuff up so we looked at doing a little smaller build. I already had a set of Bravox CS603CF 3-way components in my possession and we felt this was a great vehicle to use them on. I ordered a Kenwood DDX771 double din unit to replace the stock HU and a iDatalink Maestro unit to retain the factory steering wheel controls. I ordered a Zapco ST-4D four channel amp to power the components with and a Zapco Z-1KD to power the subwoofers with. For the sub bass duty I ordered a pair of SSA DCON 10" subs. I also have a SoundStream Harmony DSP to dial everything in with, same as I have installed in the Jimmy.
The original plan was to make this a stealth build not being able to see much of the install. I was going to attempt to quietly work the components into the front of the vehicle, build a false floor amp rack that would be in the center of the vehicle and as small and stealthy a sub enclosure as possible to retain as much of the cargo area as I could. I got the Kenwood and Maestro units installed last fall without any issue and got to work designing how to do the rest of it. Unfortunately work got in the way and I couldn't get anything useful done on the build pretty much all winter long.
Fast forward to early this spring and the wife can't take it anymore, she wants her system installed, lol. So she gave me the go ahead to do whatever I felt like doing with it (within reason of course)!! I decided to keep the false floor amp rack and the original sub enclosure design due to the fact they're fairly straight forward and the designs wouldn't affect the performance any. However the original plans for the speakers were lackluster for a $1200 set of speakers IMHO so I decided to rebuild the door cards with fiberglass. The woofers will be installed in 0.5 cu.ft. ported enclosures tuned to 65hz with the midrange and tweeter up high and forward on the door card.
I'm laying all this out here instead of captioning each of the pictures as usual since there are so many to post up to catch up to where I'm at.
Onto the pictures!
#2
05-27-2015, 10:31 AM
Join Date: Oct 2010
Location: Monroe City, IN
Posts: 931

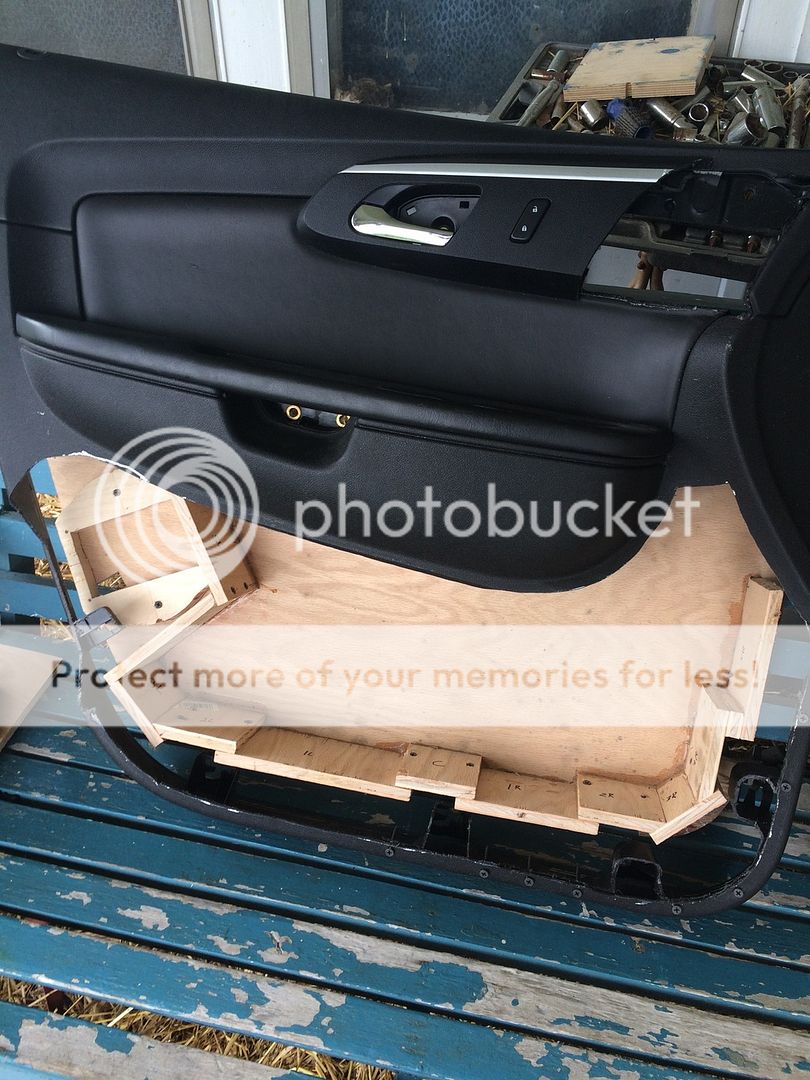
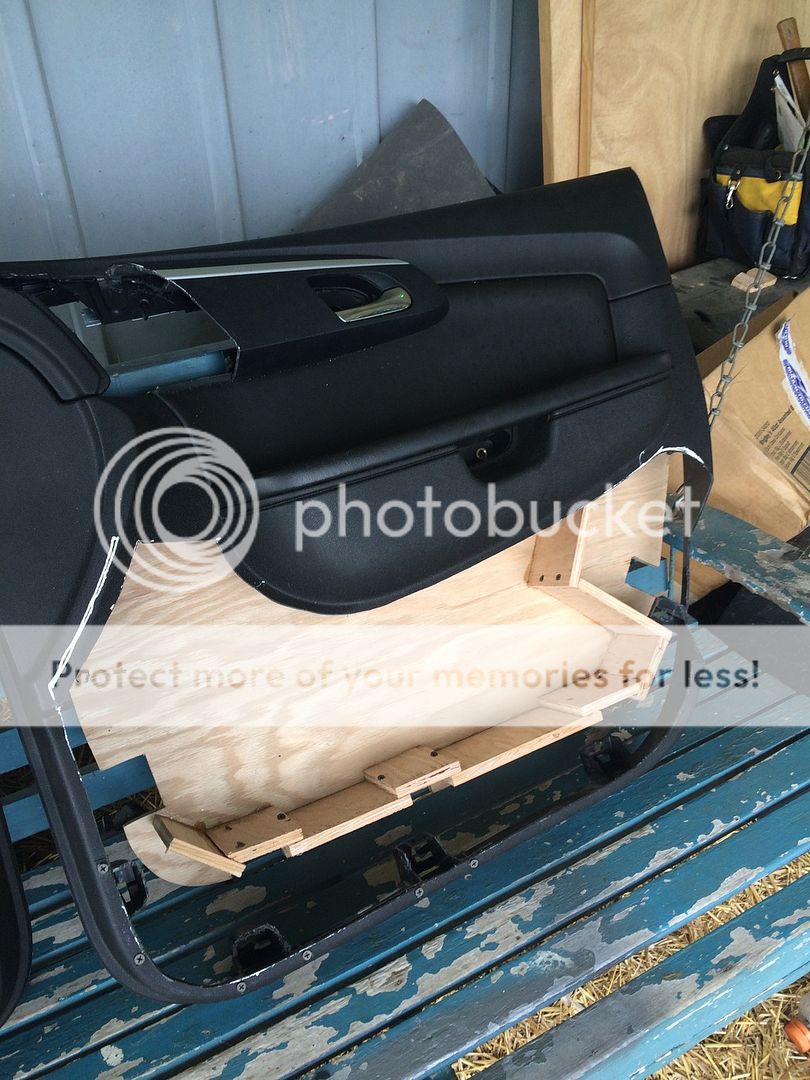
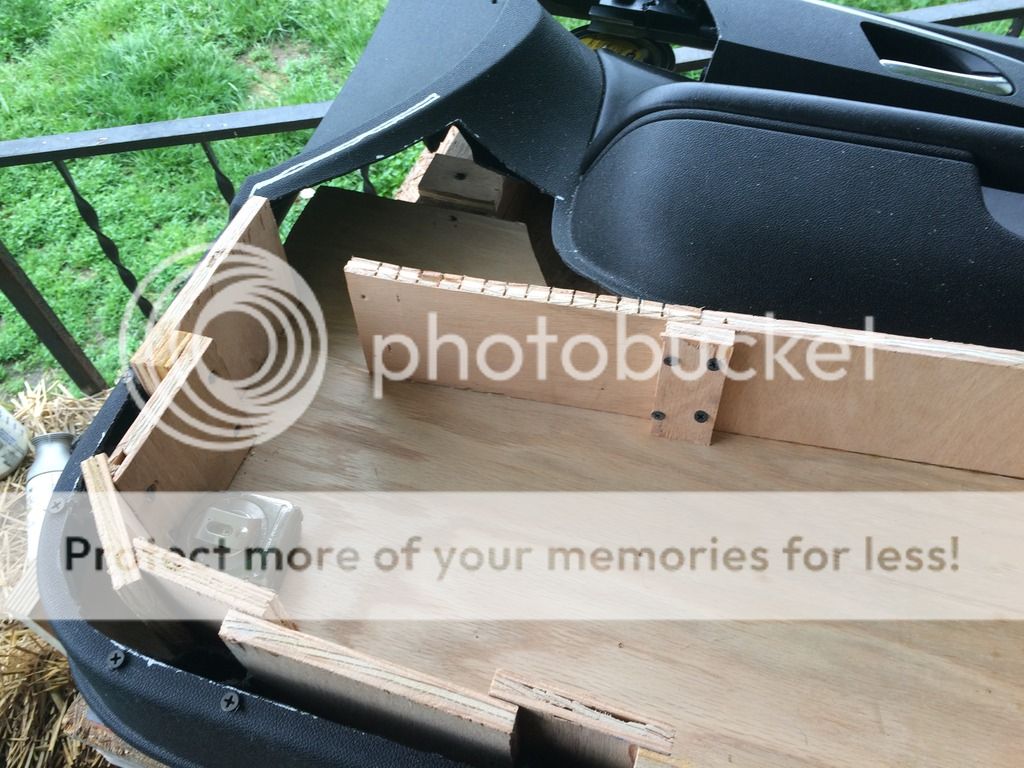
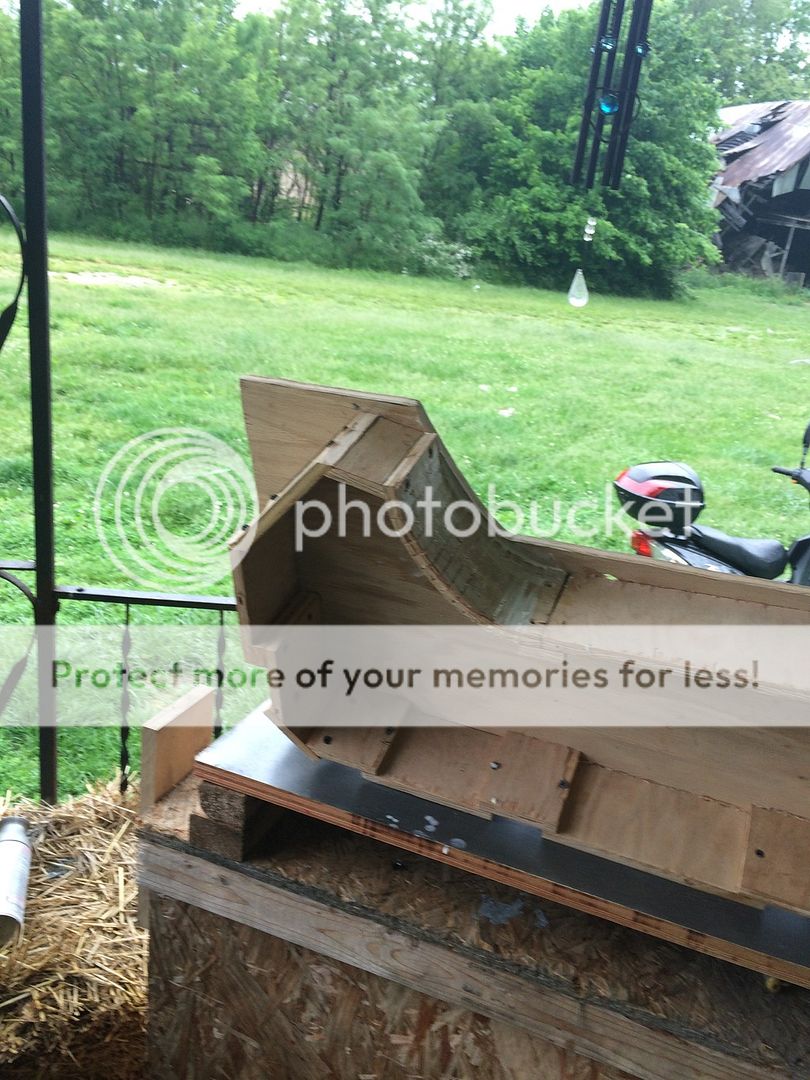
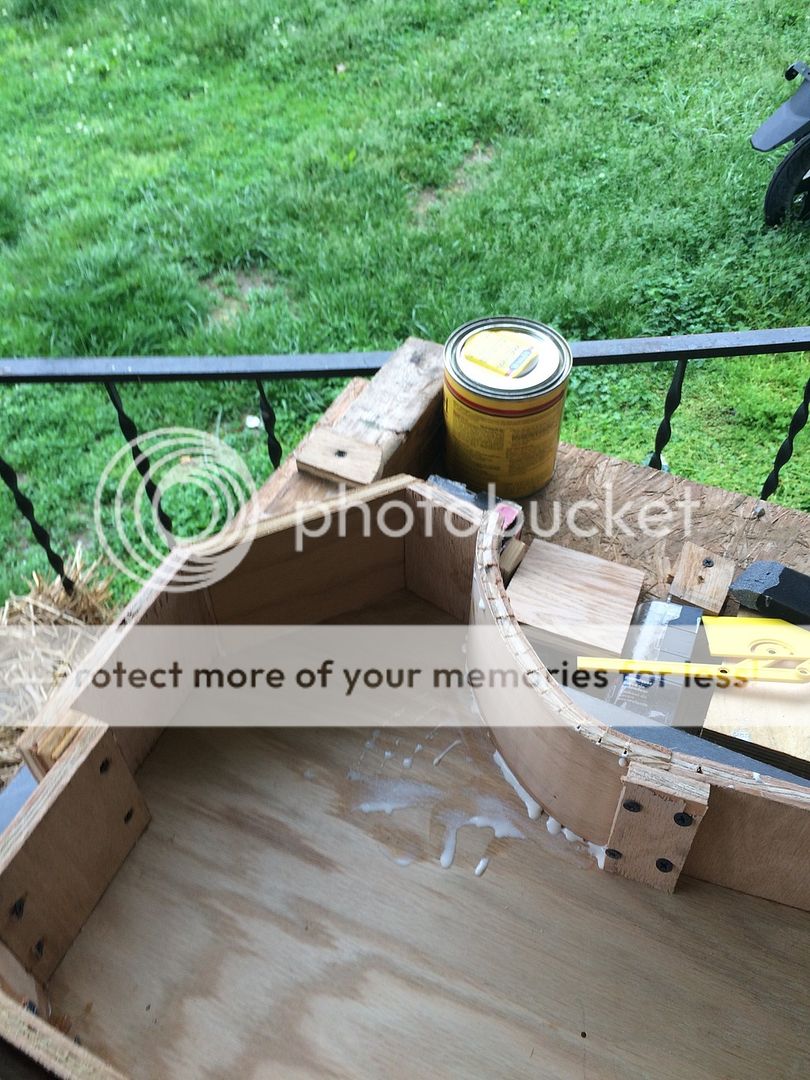
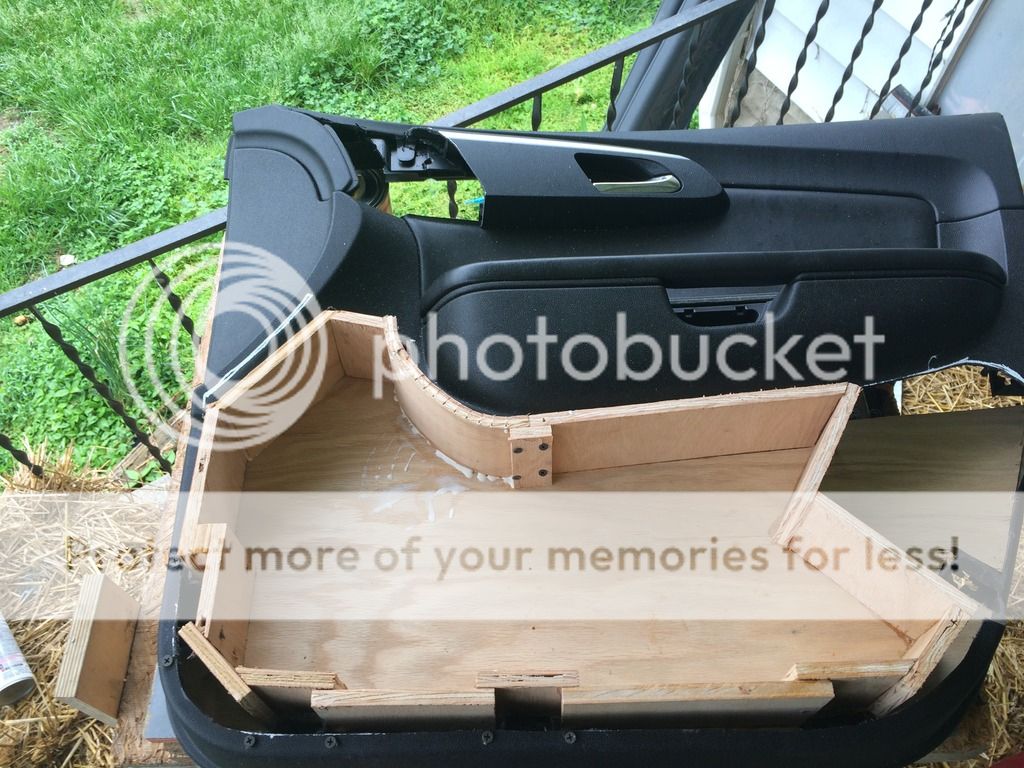
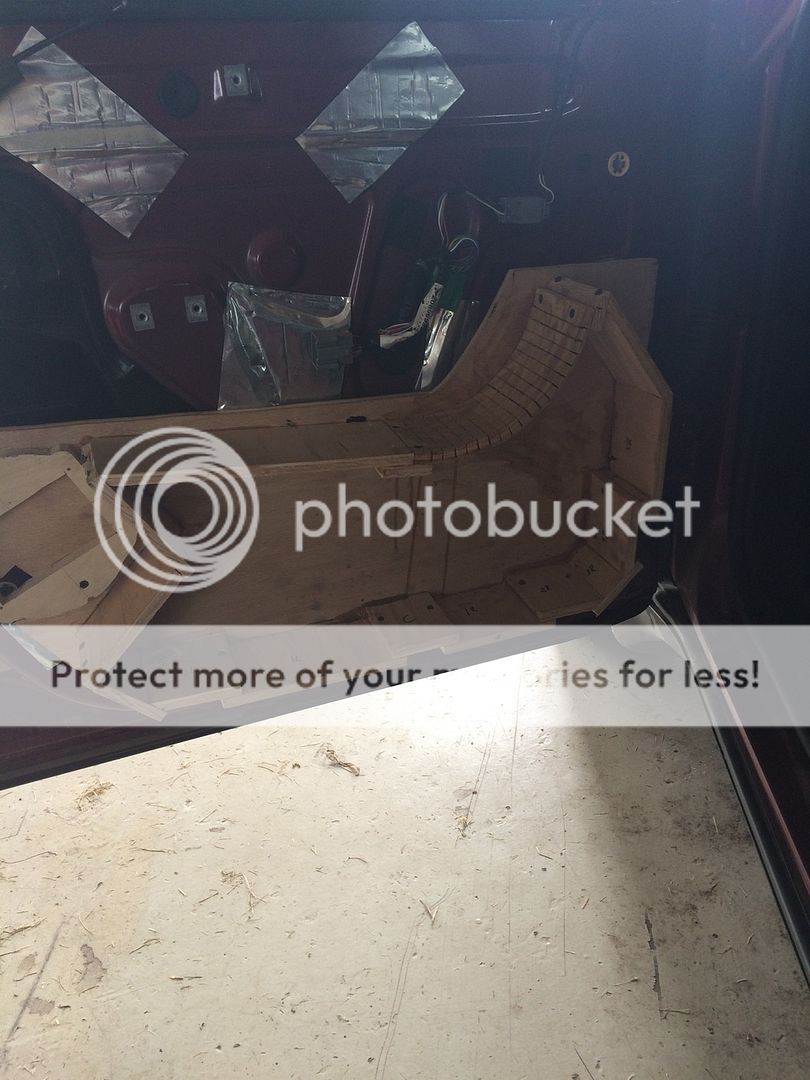
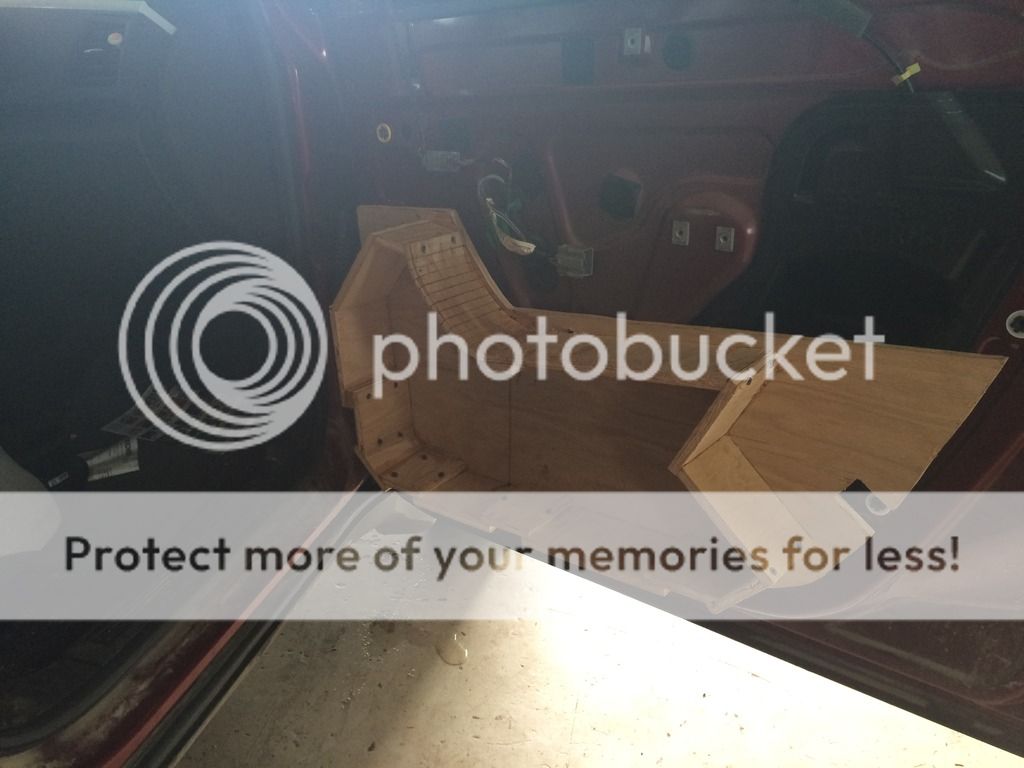
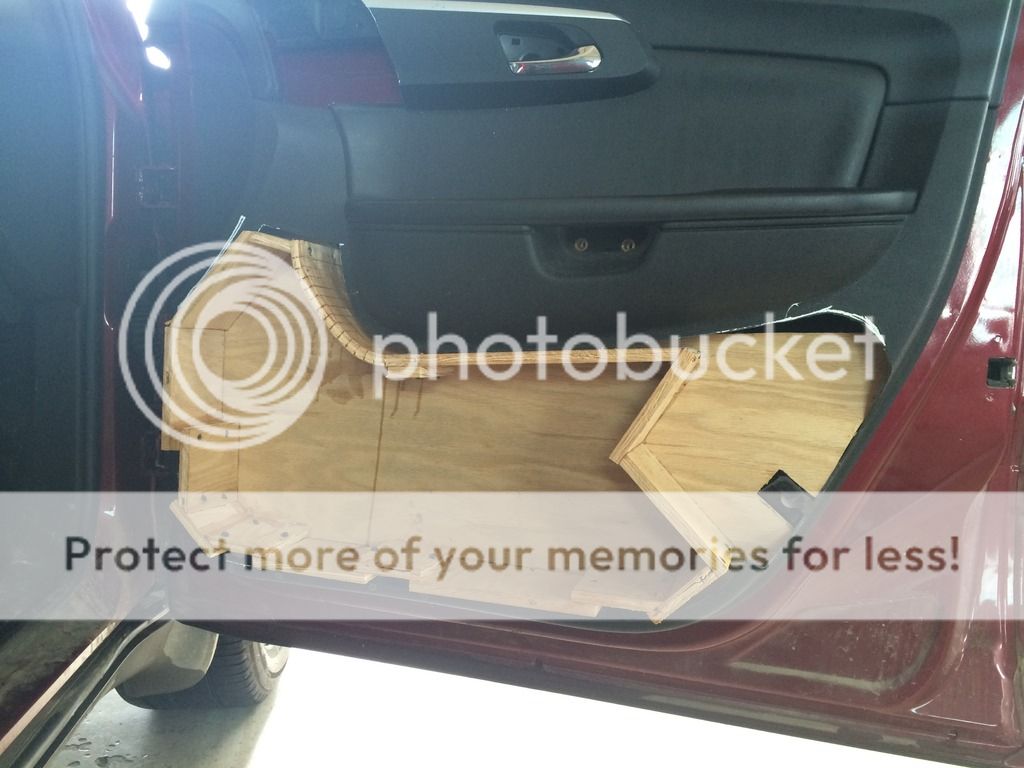

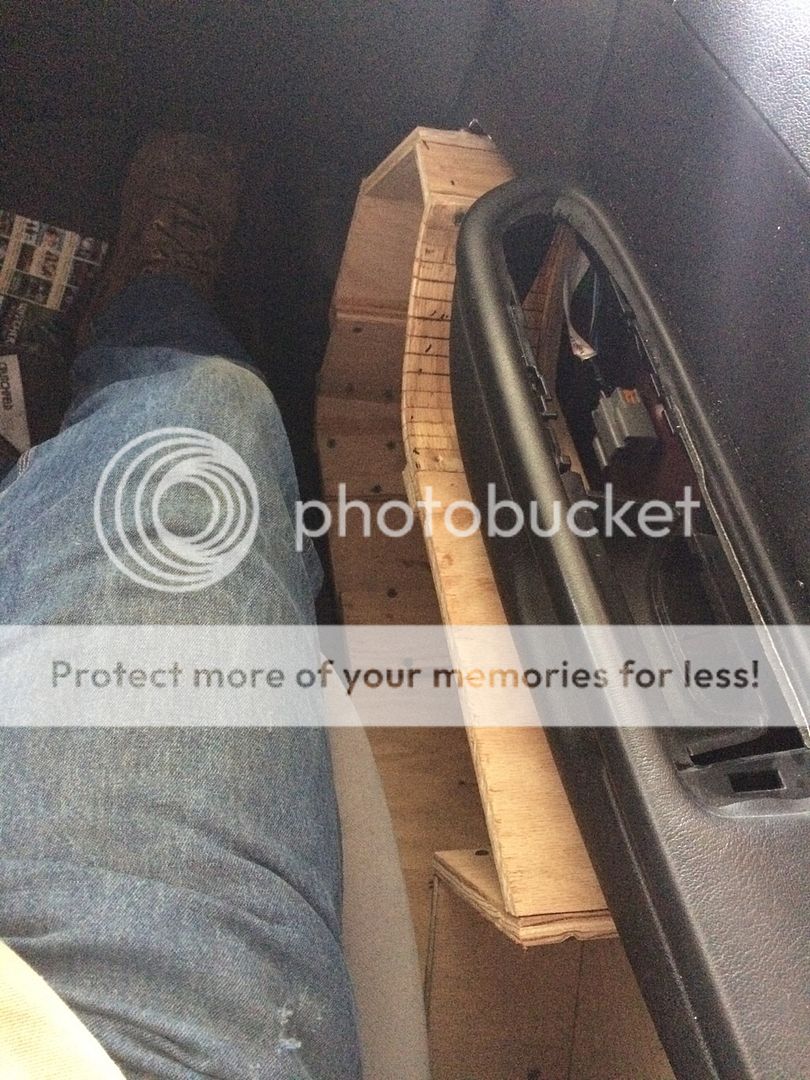
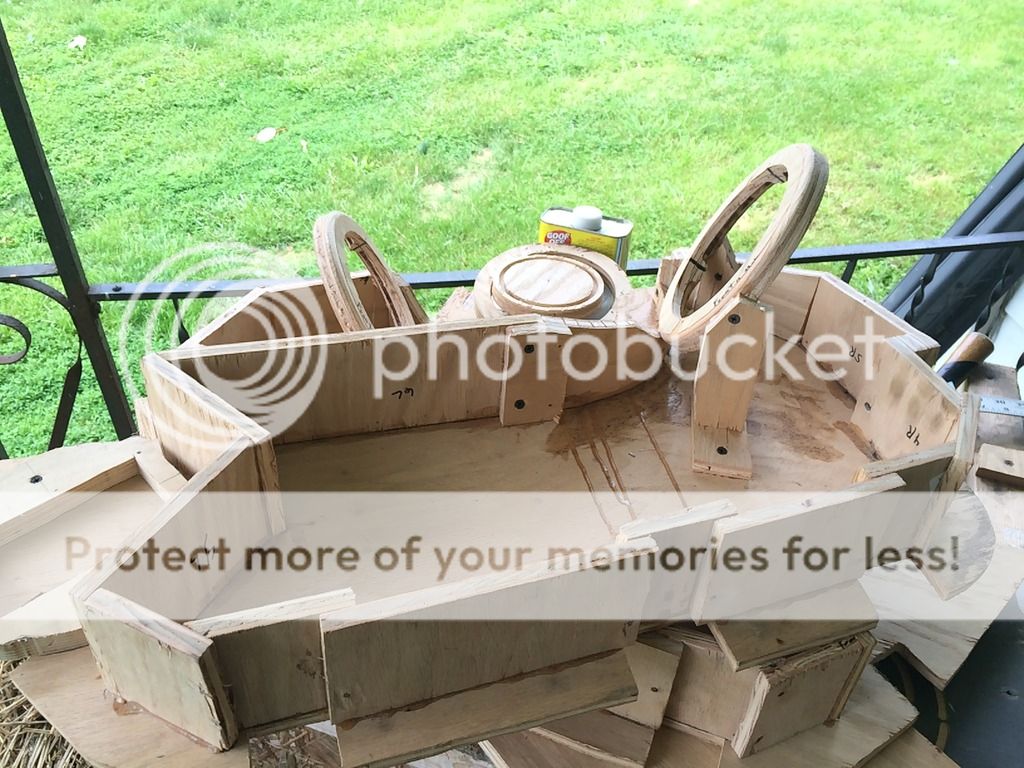
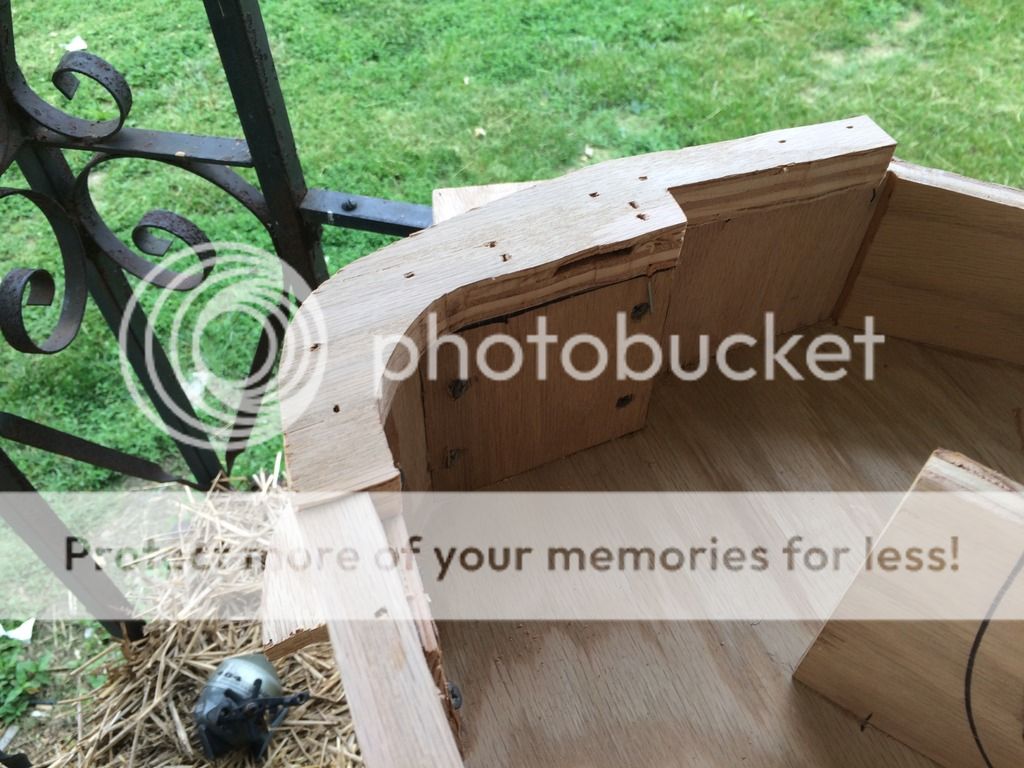
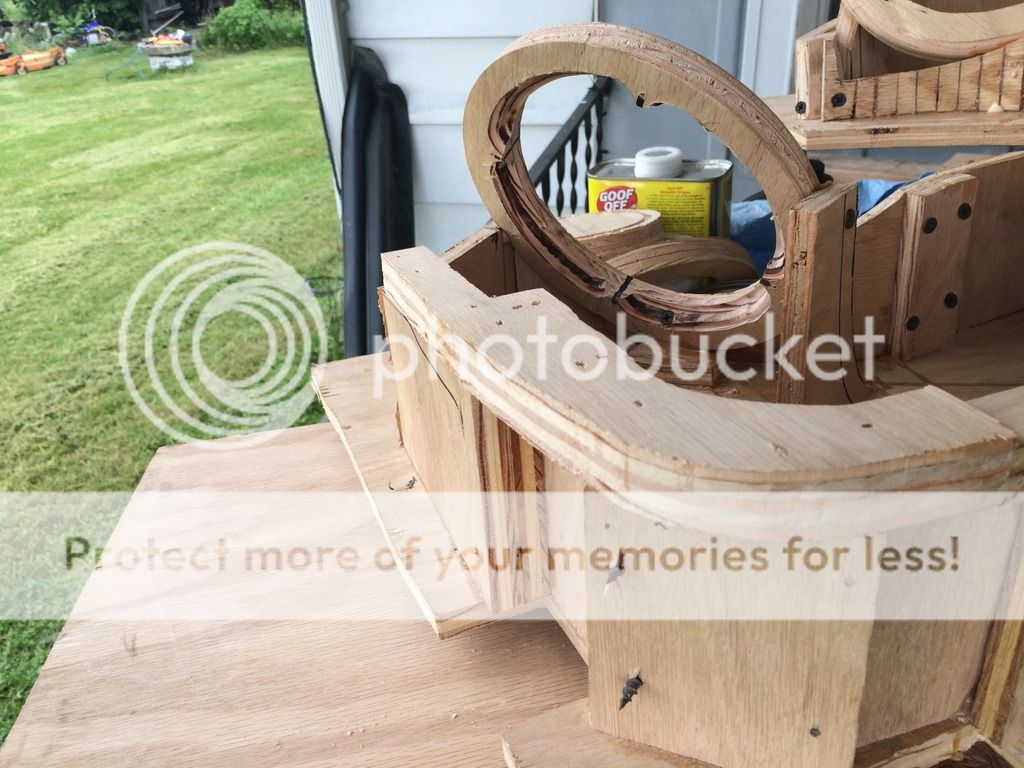

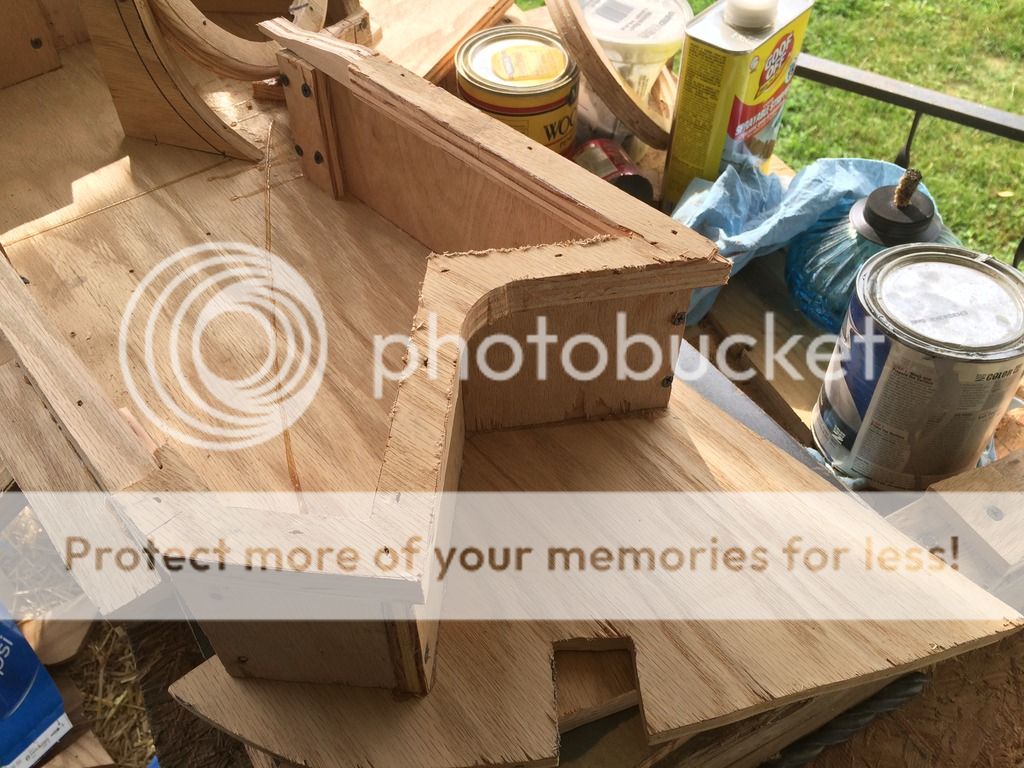
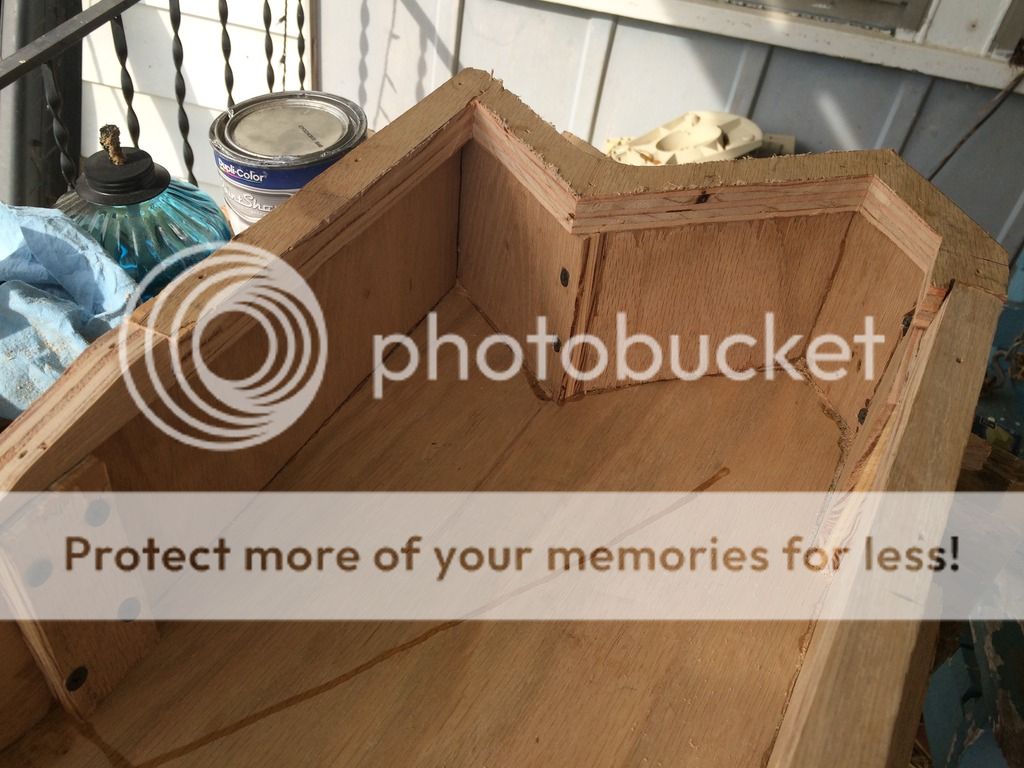
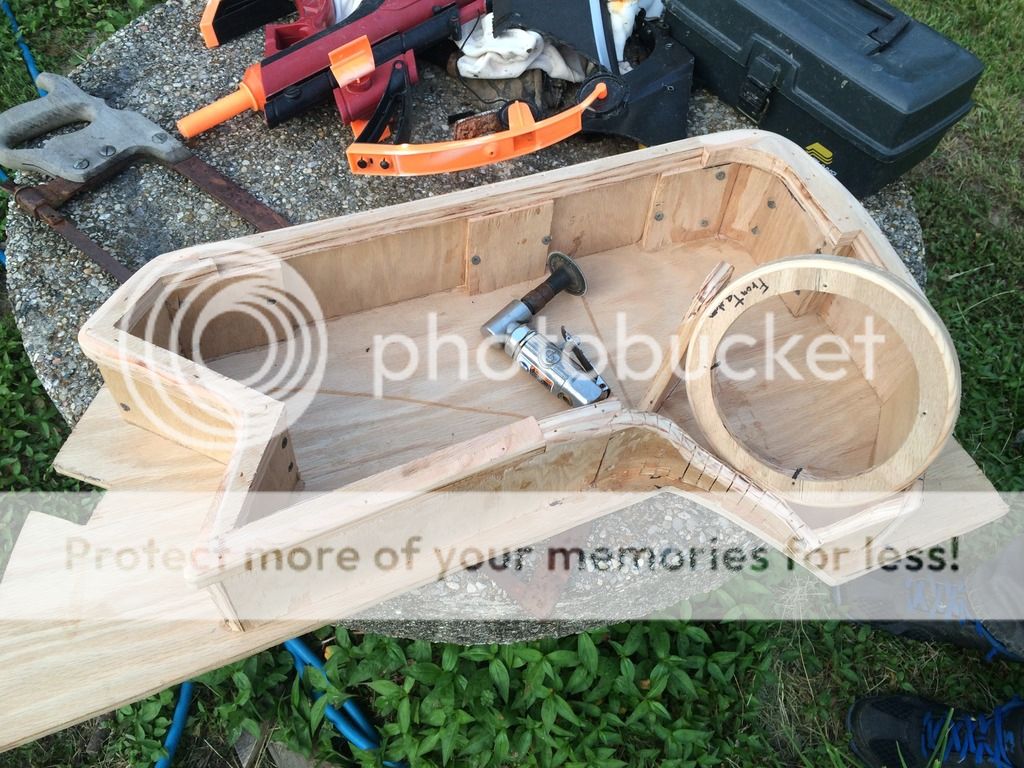
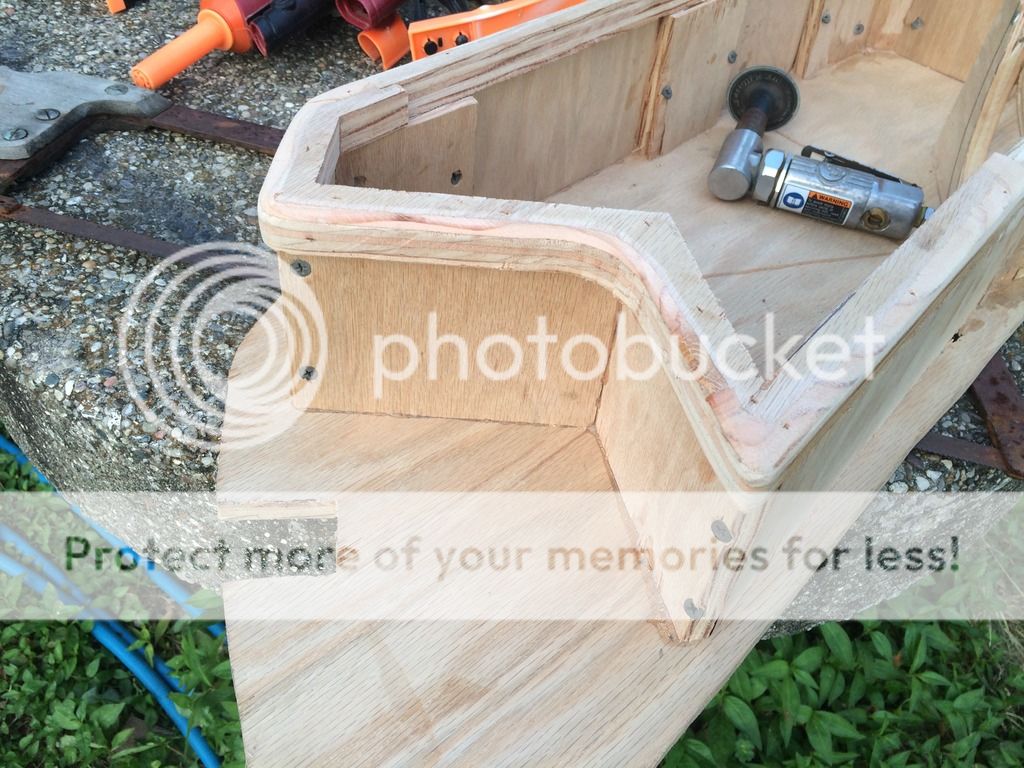
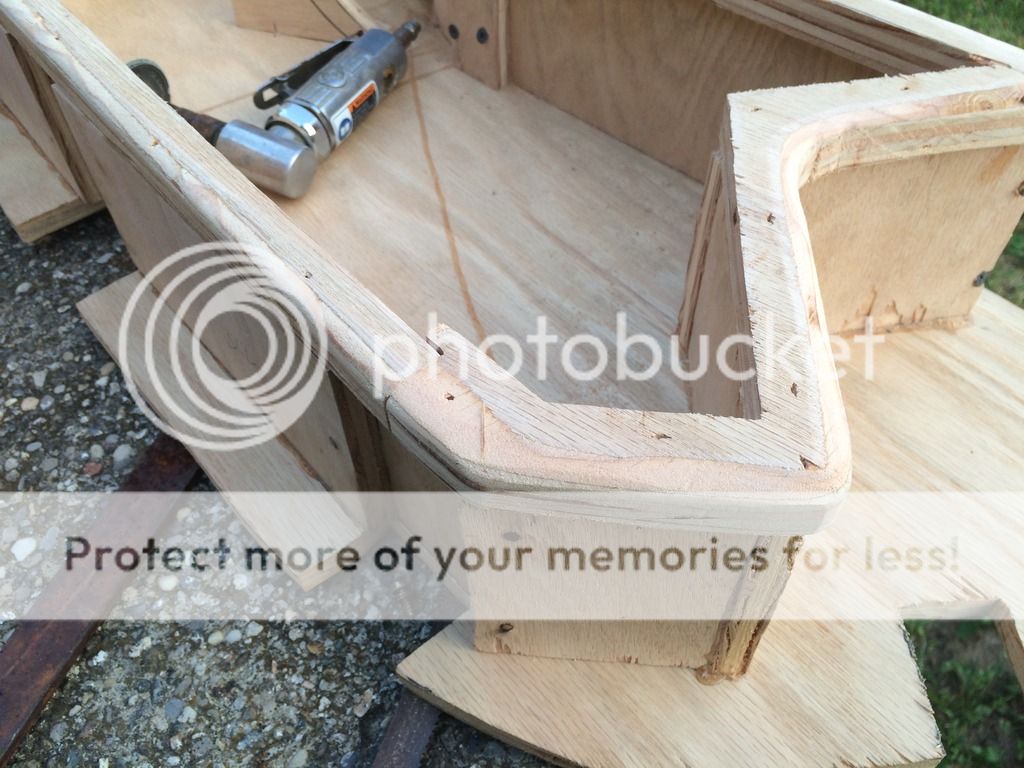
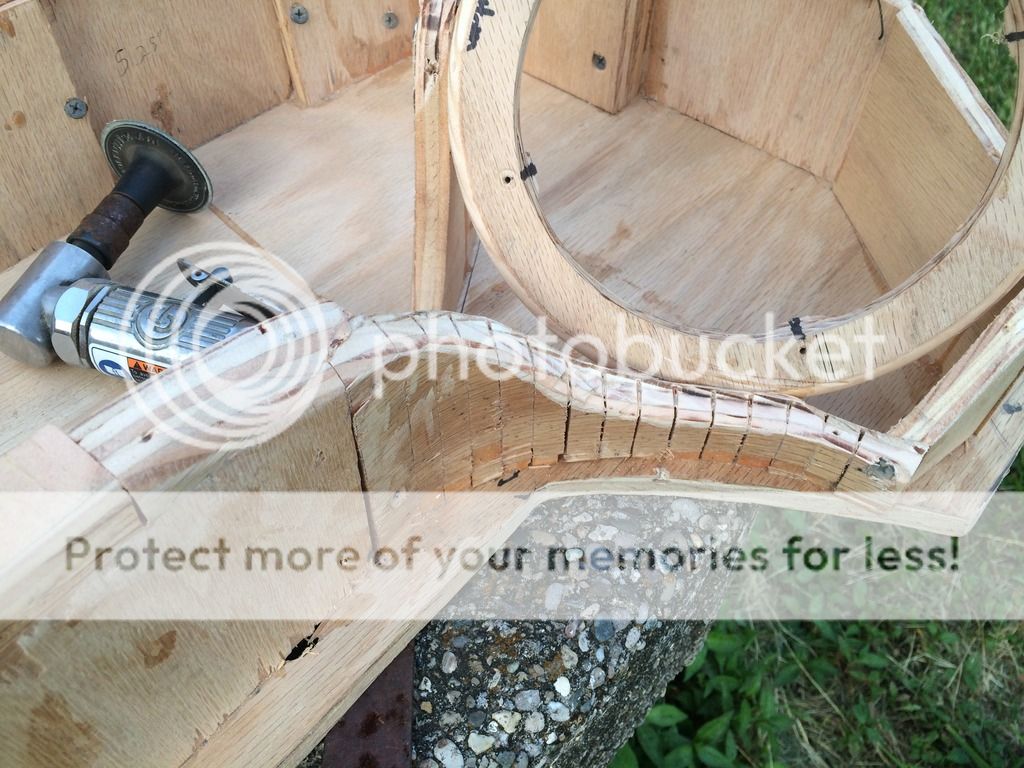

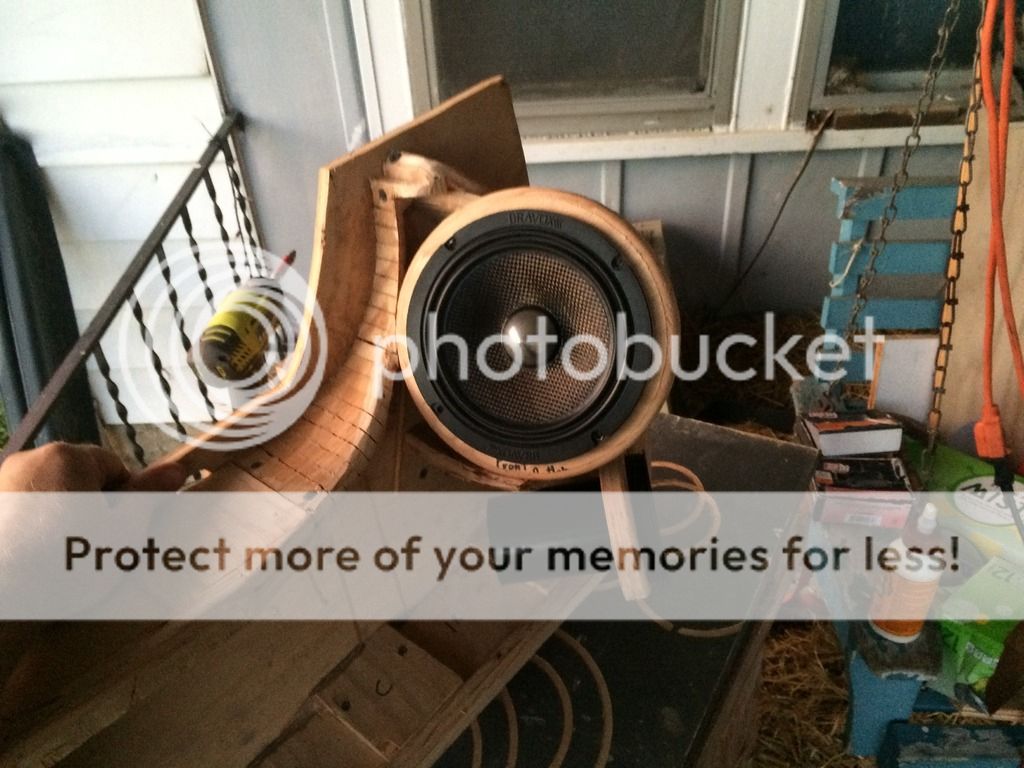
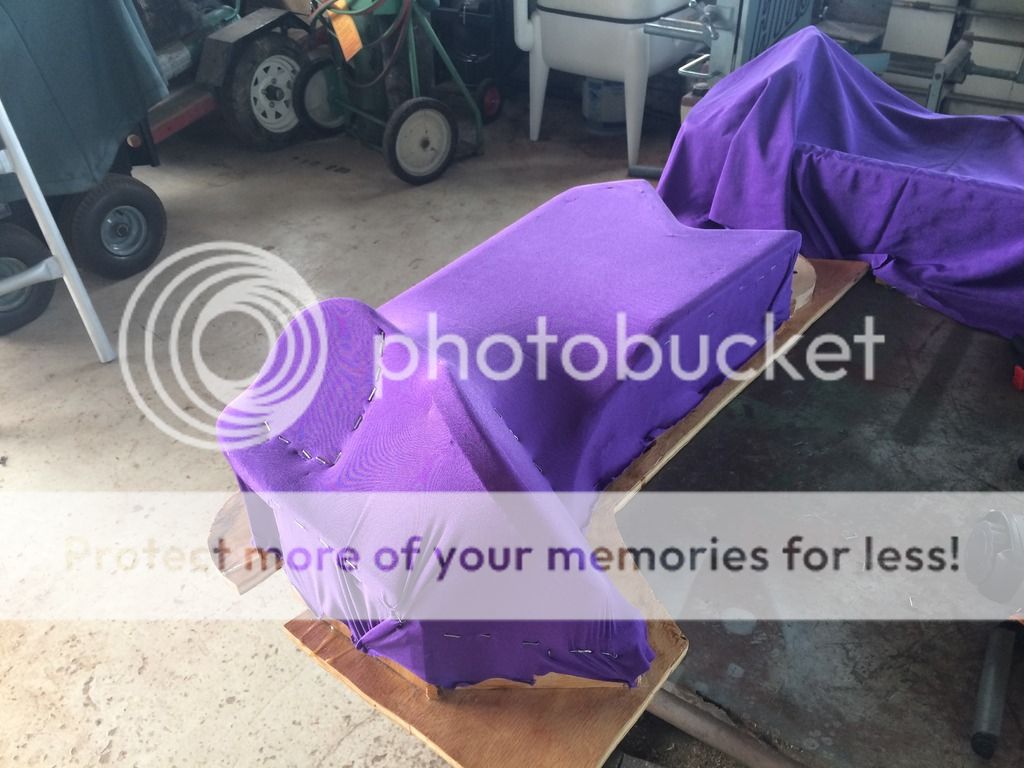
And there we are, ready to stretch fabric over the enclosure and start laying fiberglass! I just hope it turns out as good proportionally to the amount of work that's going into it.
Let me know if you have any questions.
#6
05-28-2015, 08:25 AM
Join Date: Oct 2010
Location: Monroe City, IN
Posts: 931
Thanks man!!
Me too guys, me too! I'm really hoping all the work is worthwhile.
Me too guys, me too! I'm really hoping all the work is worthwhile.
#7
06-03-2015, 10:21 PM
Join Date: Oct 2010
Location: Monroe City, IN
Posts: 931
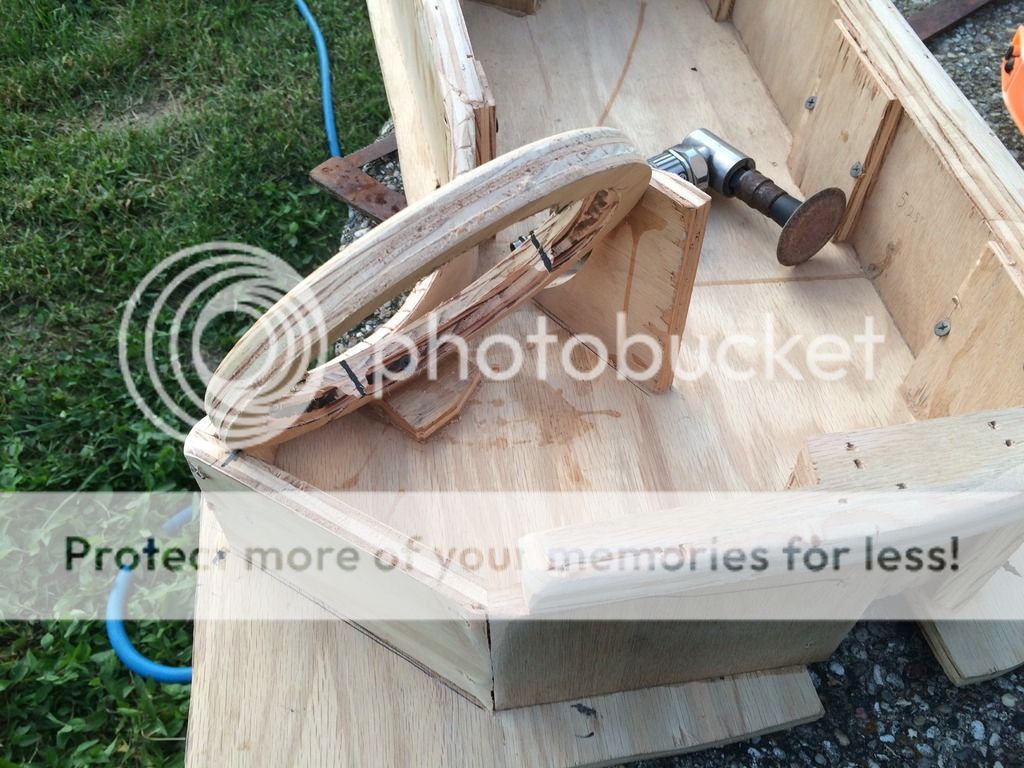
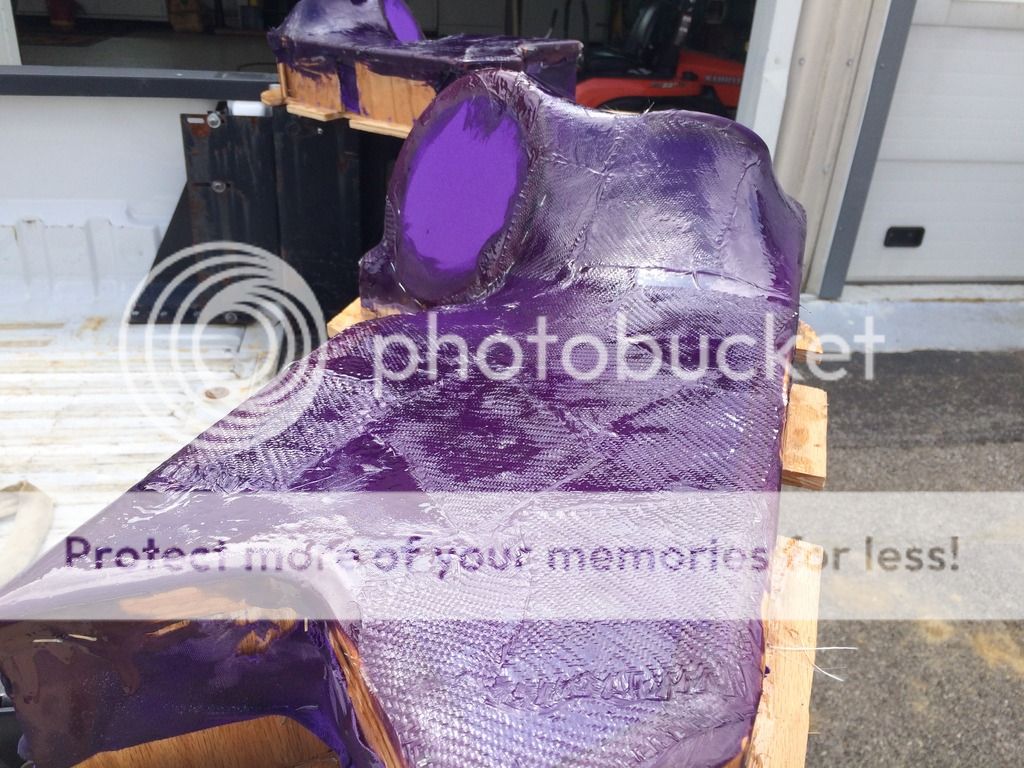
Okay, got a little update to post up. I was finally able to get around to beginning the fiberglassing of the enclosures themselves. I got the fabric stretched over them and most of a first layer of glass mat down before the end of the day today. Hopefully this weekend, barring any rains, I can get chase the layers and get a lot of mat down.
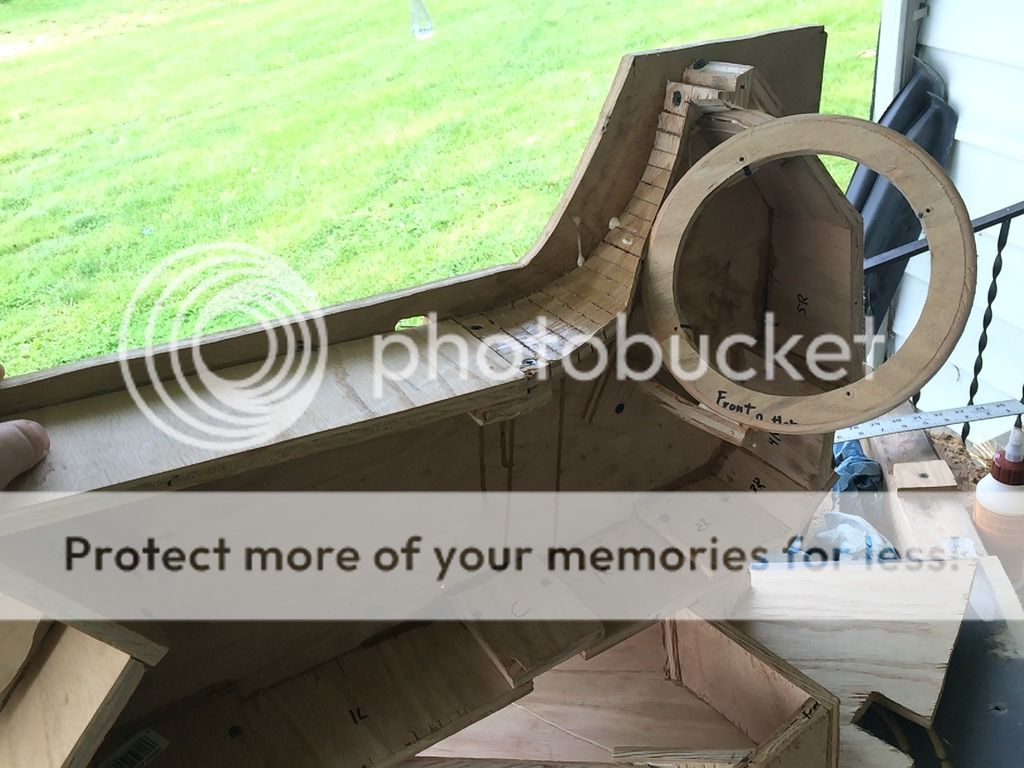
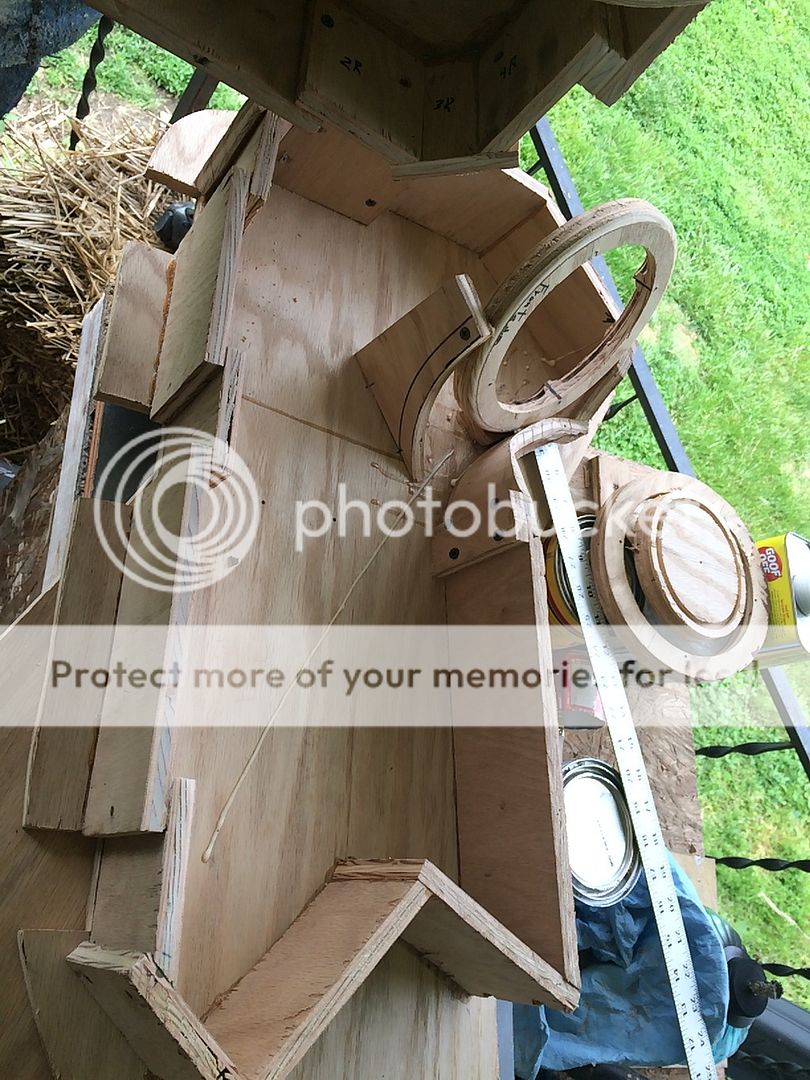
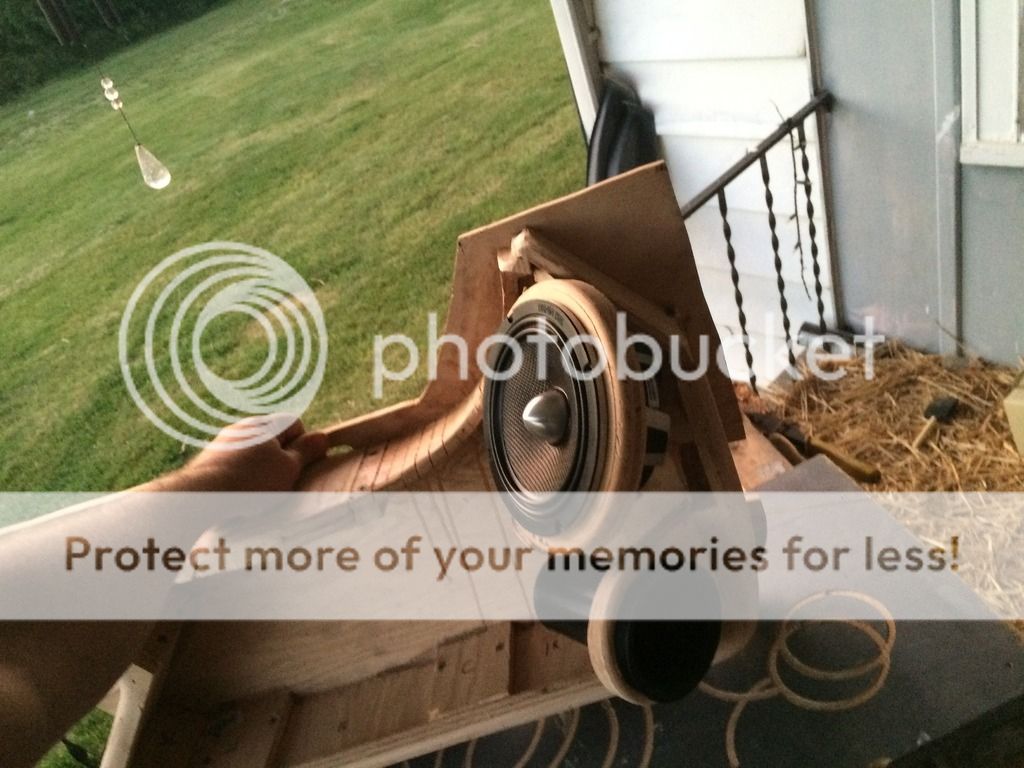
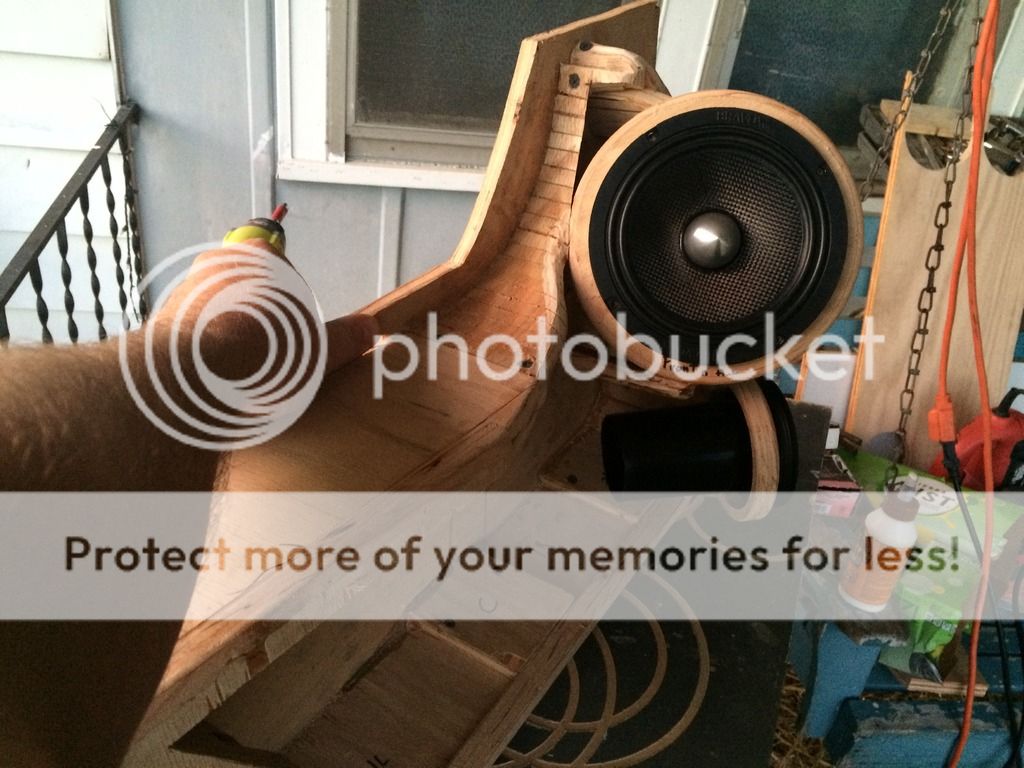
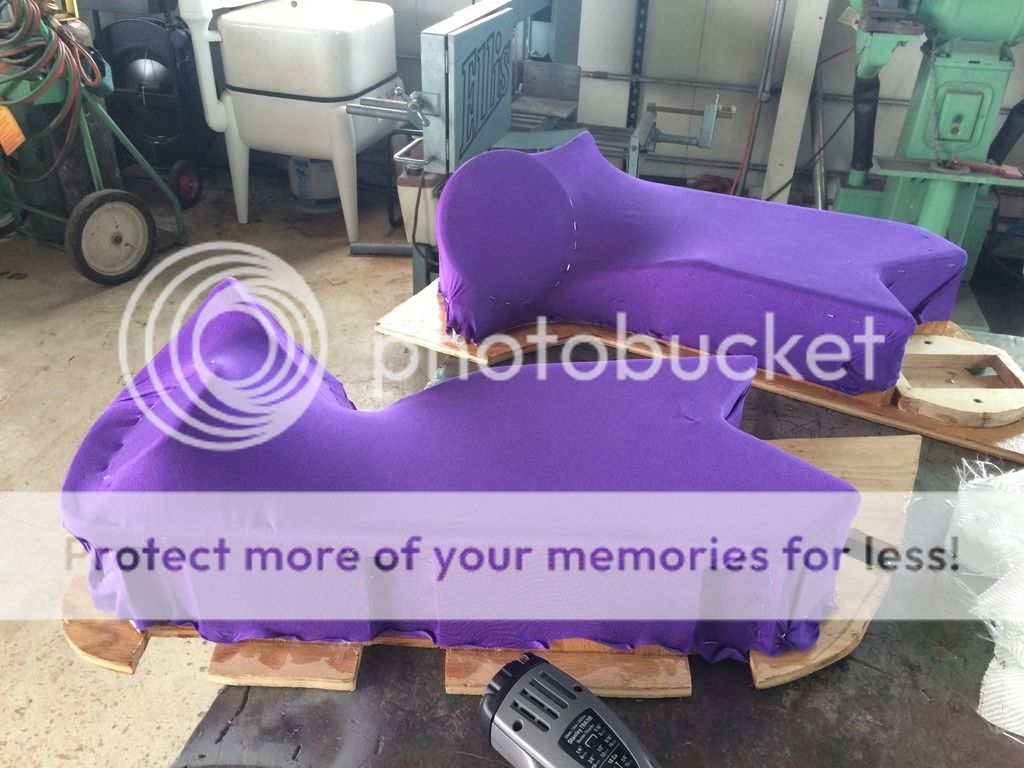
So, here in these pictures I got the fabric stretched over the enclosures and stapled down into place. I think the curves and contours came out really good on them and the final shape and look should be exactly what I was going for.

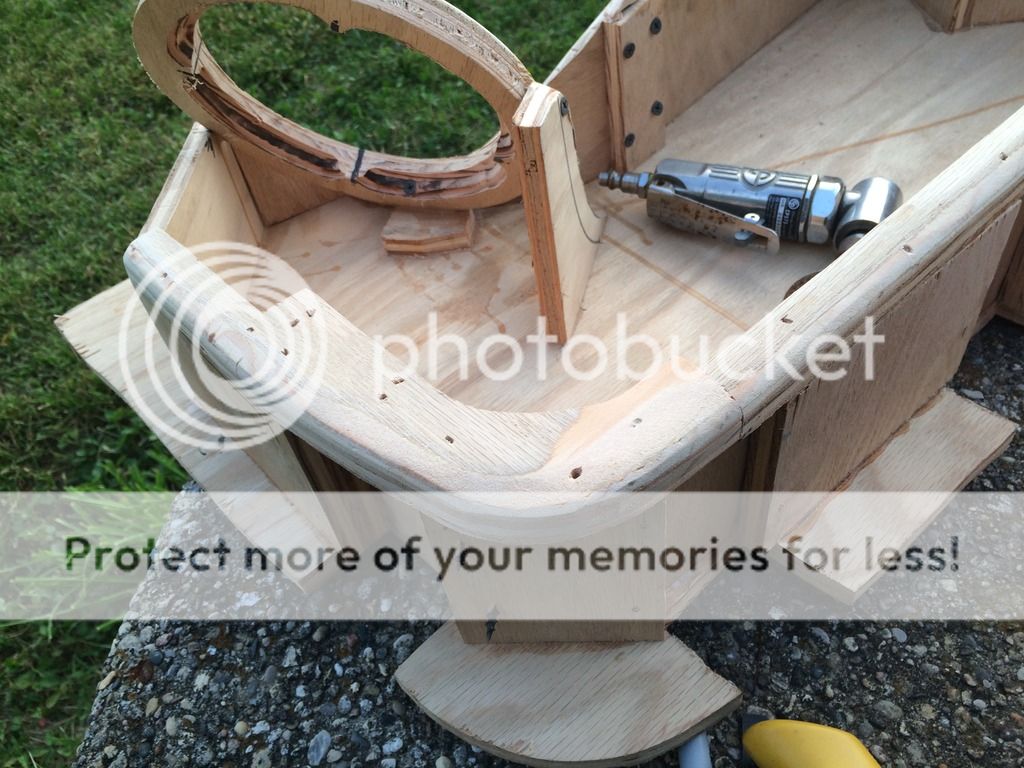
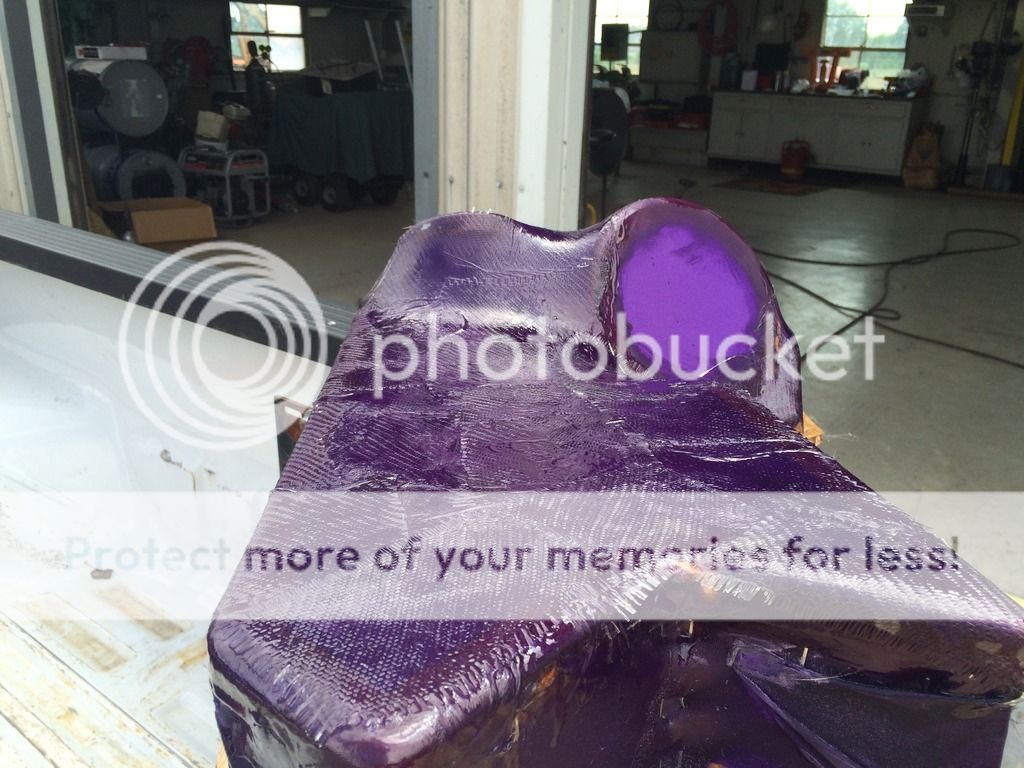
I didn't manage to get a picture of them right after I got the initial application of resin on them. Being that this is the first time I've tried to tackle a job like this I made a rookie mistake and didn't get the fabric tight enough to start with. That in turn led to sagging so I had to hurry up to stretch it tight and stapled before the resin began to harden. THAT little gem led to some HORRIBLE wrinkles as one could imagine. The best course of action I could come up with after that happened was to sand them down with my die grinder after the resin had hardened. The gaps, spaces, or whatever you want to call them, that you see in the following picture are a result of sanding those away.
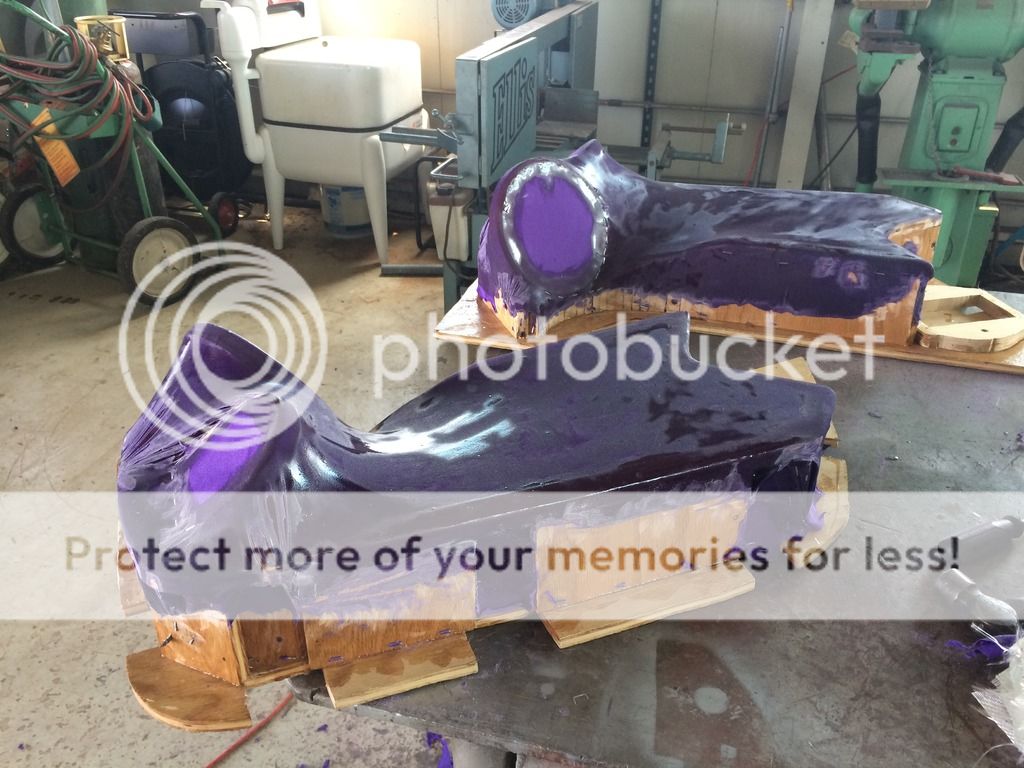
As you'll see in the following pictures I believe that sanding those away at that stage was indeed the best course of action. I'll lay up a thicker layer of glass over those areas for more strength but it helped those areas cover MUCH smoother than they would have doing anything else, at least in my honest opinion.
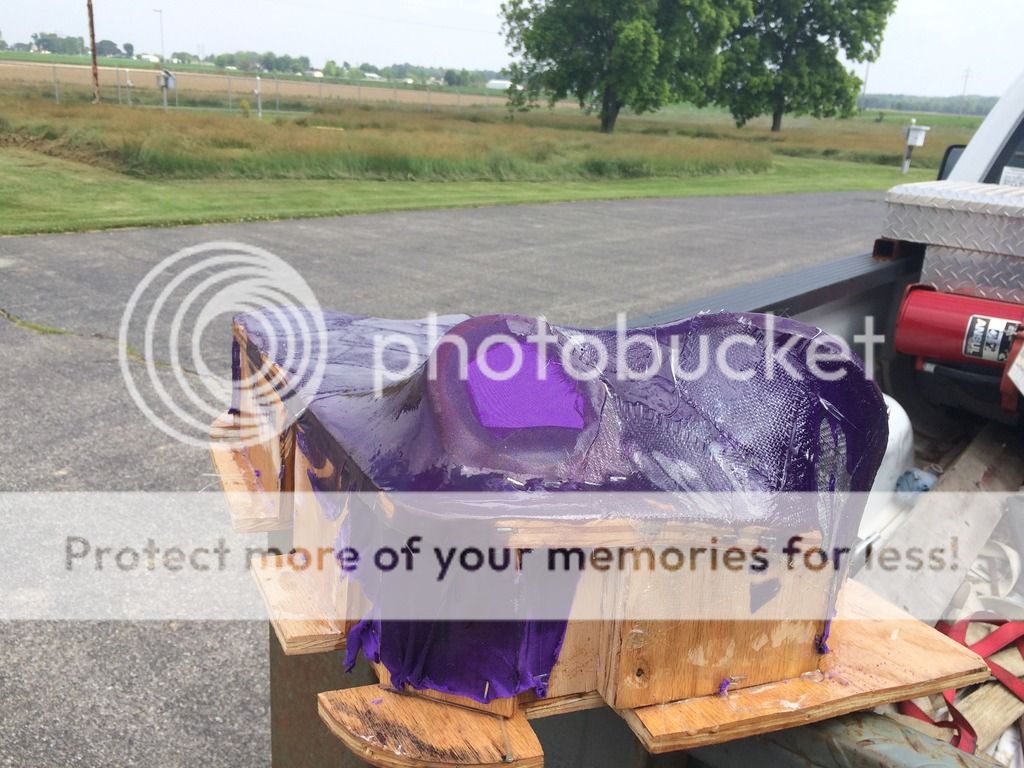
And finally here they are with a little fiberglass mat on them. As soon as I get the next opportunity to do so, I'll sand down any high spots again and lay on more mat.
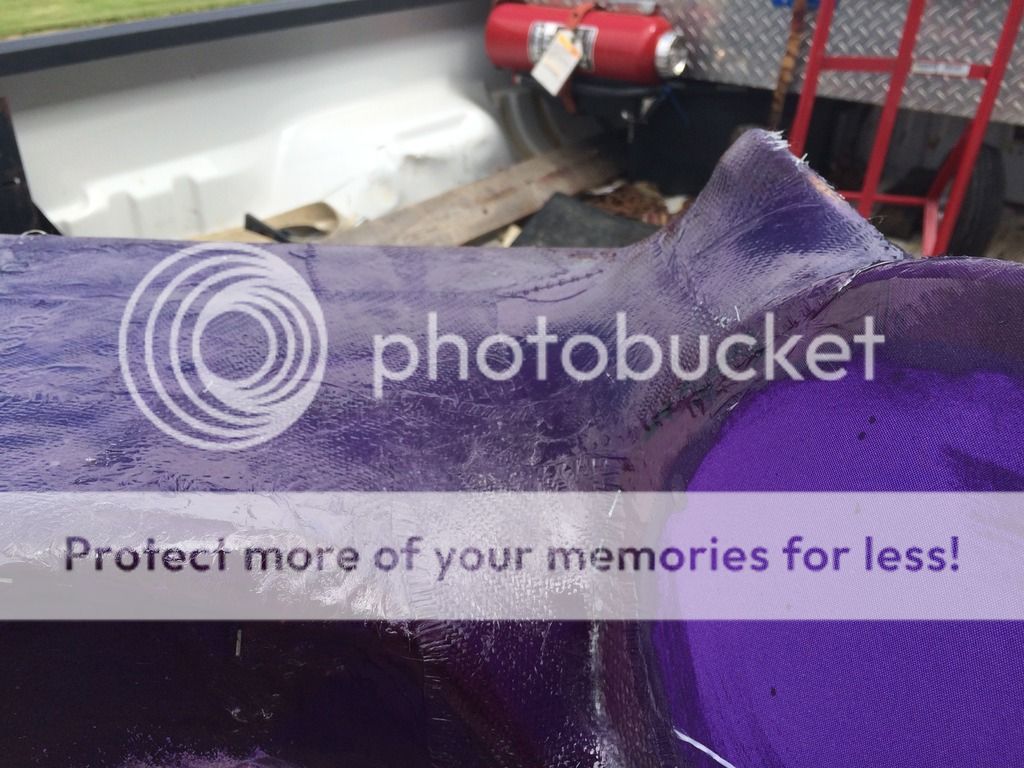
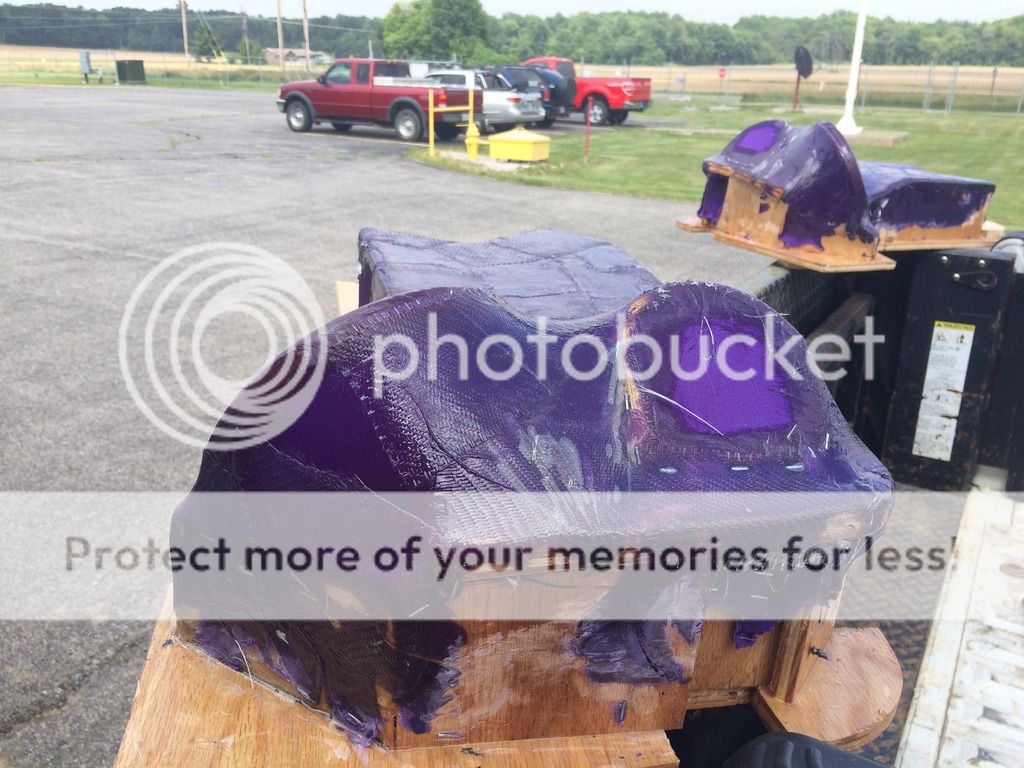
YAY, progress!
So, here in these pictures I got the fabric stretched over the enclosures and stapled down into place. I think the curves and contours came out really good on them and the final shape and look should be exactly what I was going for.
I didn't manage to get a picture of them right after I got the initial application of resin on them. Being that this is the first time I've tried to tackle a job like this I made a rookie mistake and didn't get the fabric tight enough to start with. That in turn led to sagging so I had to hurry up to stretch it tight and stapled before the resin began to harden. THAT little gem led to some HORRIBLE wrinkles as one could imagine. The best course of action I could come up with after that happened was to sand them down with my die grinder after the resin had hardened. The gaps, spaces, or whatever you want to call them, that you see in the following picture are a result of sanding those away.
As you'll see in the following pictures I believe that sanding those away at that stage was indeed the best course of action. I'll lay up a thicker layer of glass over those areas for more strength but it helped those areas cover MUCH smoother than they would have doing anything else, at least in my honest opinion.
And finally here they are with a little fiberglass mat on them. As soon as I get the next opportunity to do so, I'll sand down any high spots again and lay on more mat.
YAY, progress!
#8
06-03-2015, 10:36 PM

May I suggest SMD Sunflash resin? It won't dry until it get's hit by UV rays so something like that mistake could've been dealt with with a little less worry and haste. Looks great man!
#9
06-04-2015, 07:45 AM
Join Date: Oct 2010
Location: Monroe City, IN
Posts: 931
Thanks for the tip. I'm not sure if that stuff could have been drawn tight and shaped like I needed for this project but I've definitely looked into using UV setup fiberglass products for other projects before, even made a thread on the subject. Otherwise, I won't give a dime to that guy for any product he sells.
Thanks man, I appreciate it.
Thanks man, I appreciate it.
#10
07-12-2015, 11:29 PM
Join Date: Oct 2010
Location: Monroe City, IN
Posts: 931
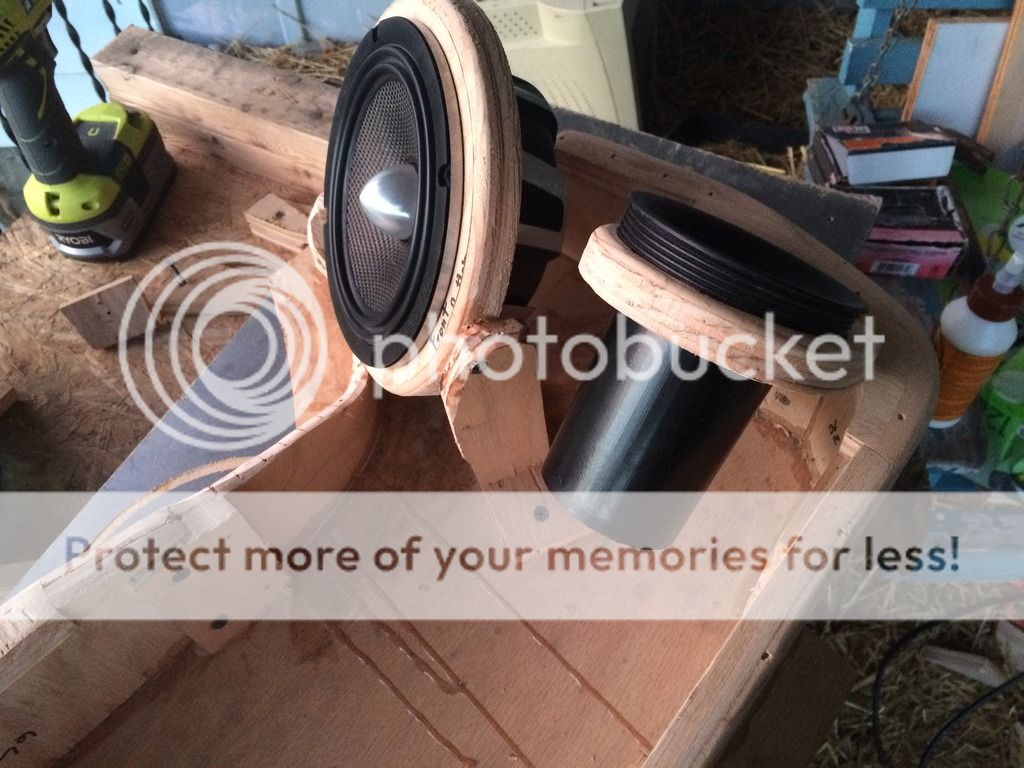
Well I finally got enough fiberglass down to do a test and it was a good success. I tested it out with just one enclosure and mid. Me and a good buddy ended up spending about an hour and a half listening to just the one astounded by what we heard. The traverse will barely even need the subs with this setup and it wasn't even running through the EQ, crossovers, amps or anything of the sort. The enclosures have proven to be worth all the time, effort and expense.
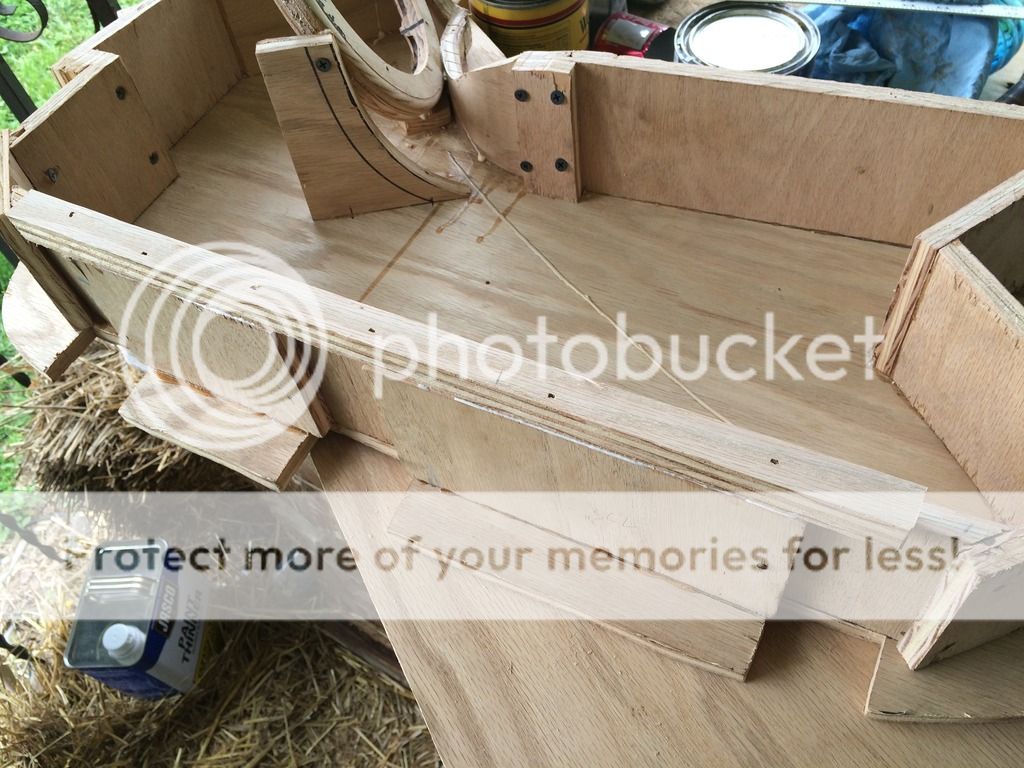
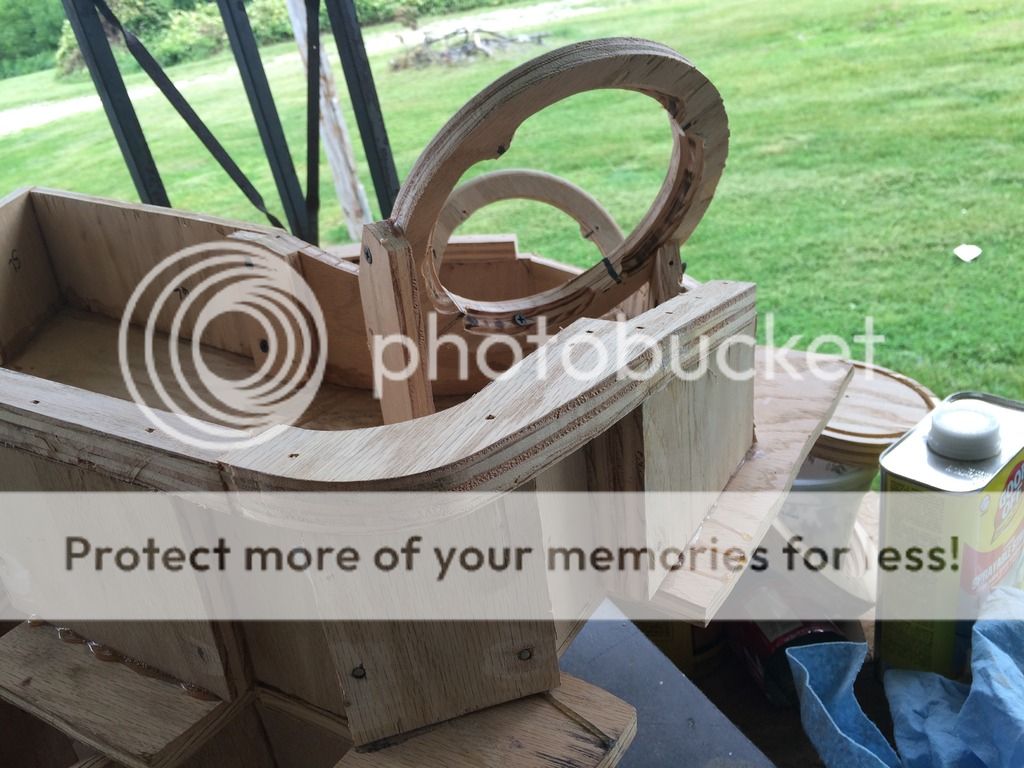
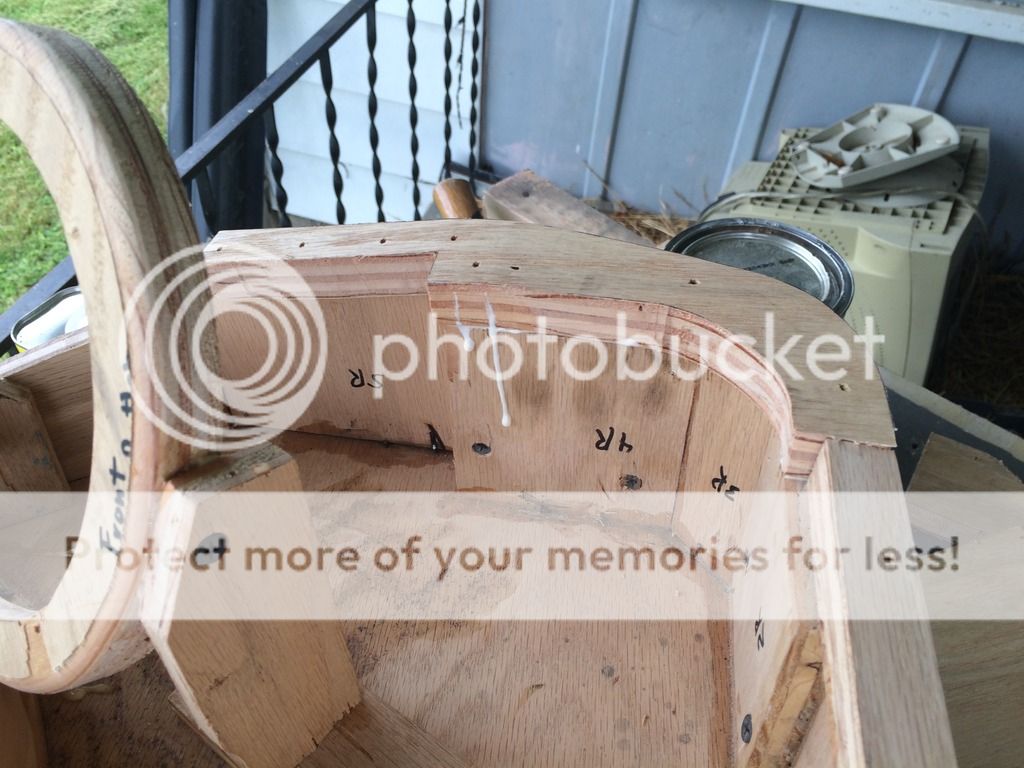
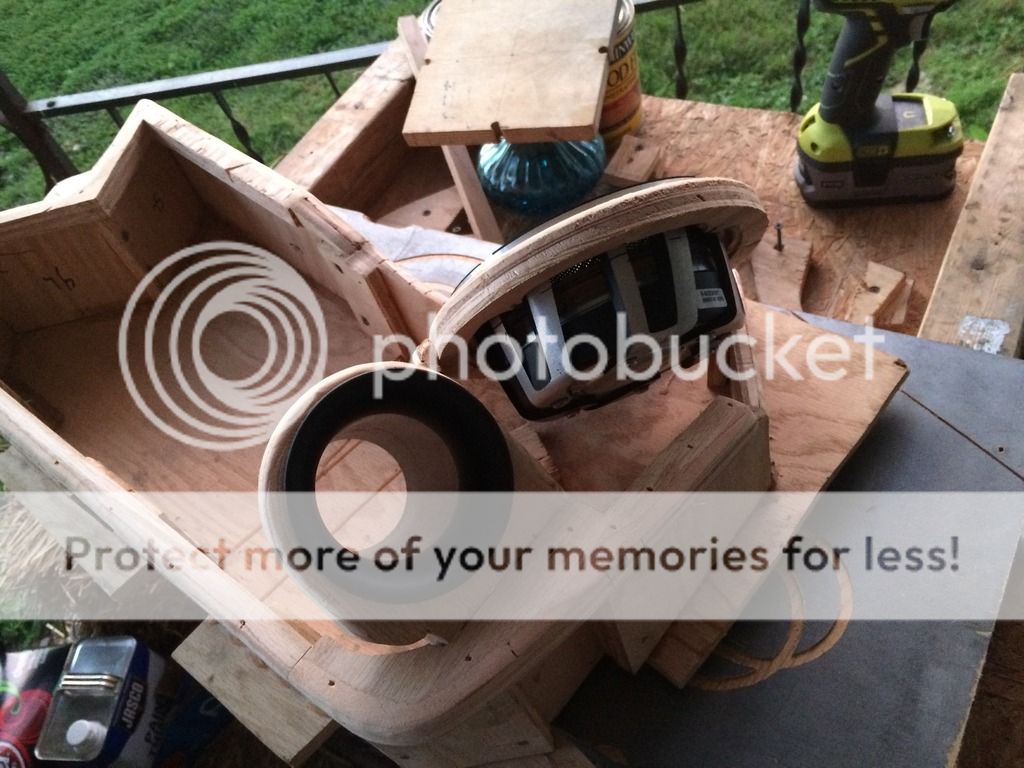
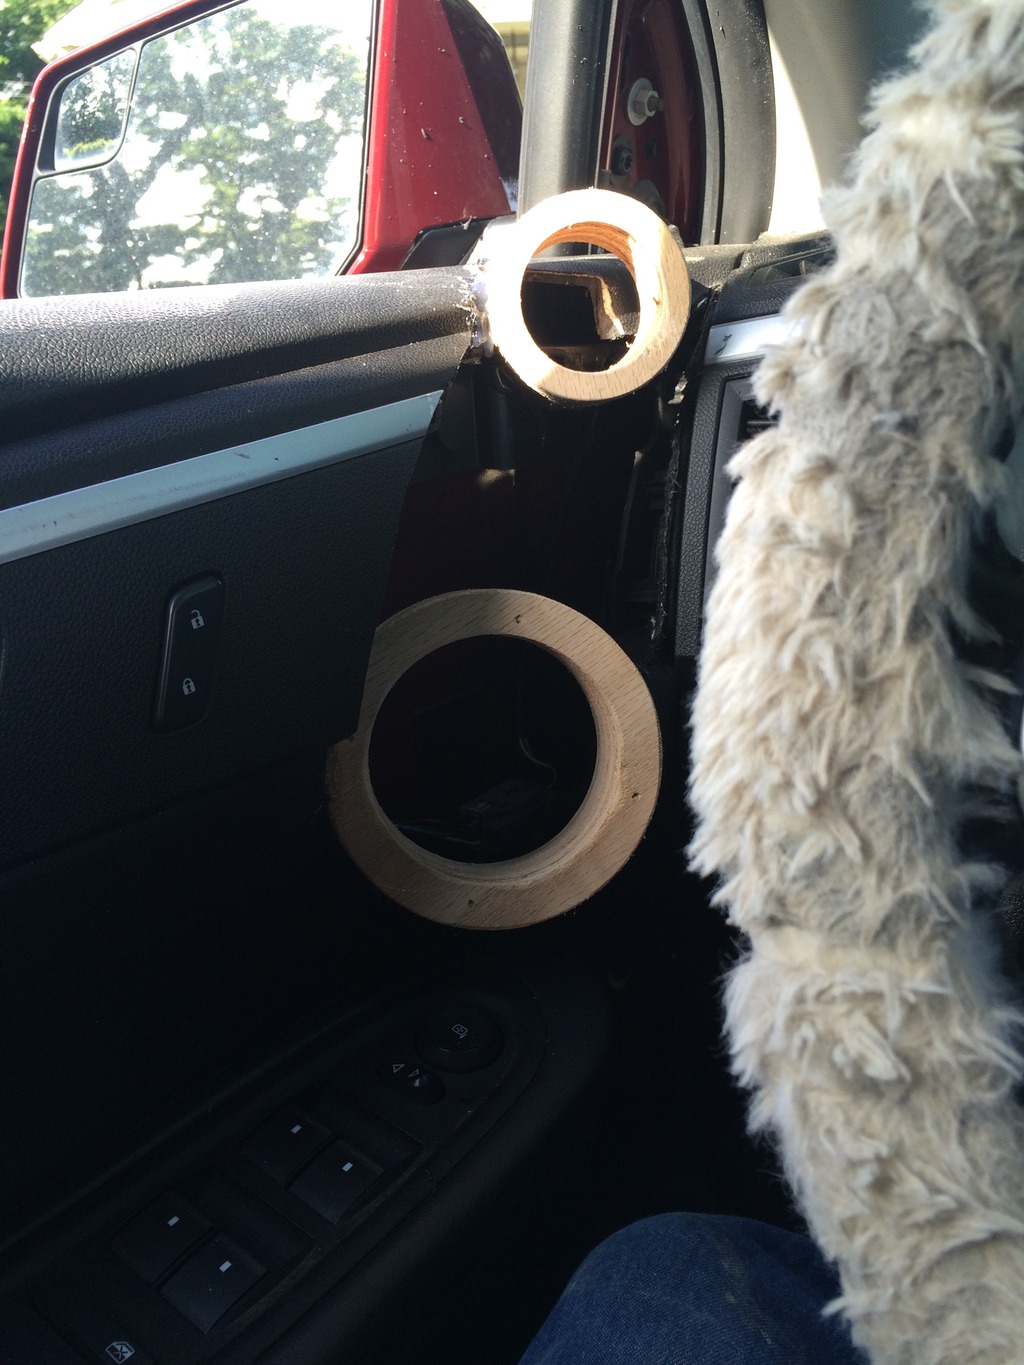
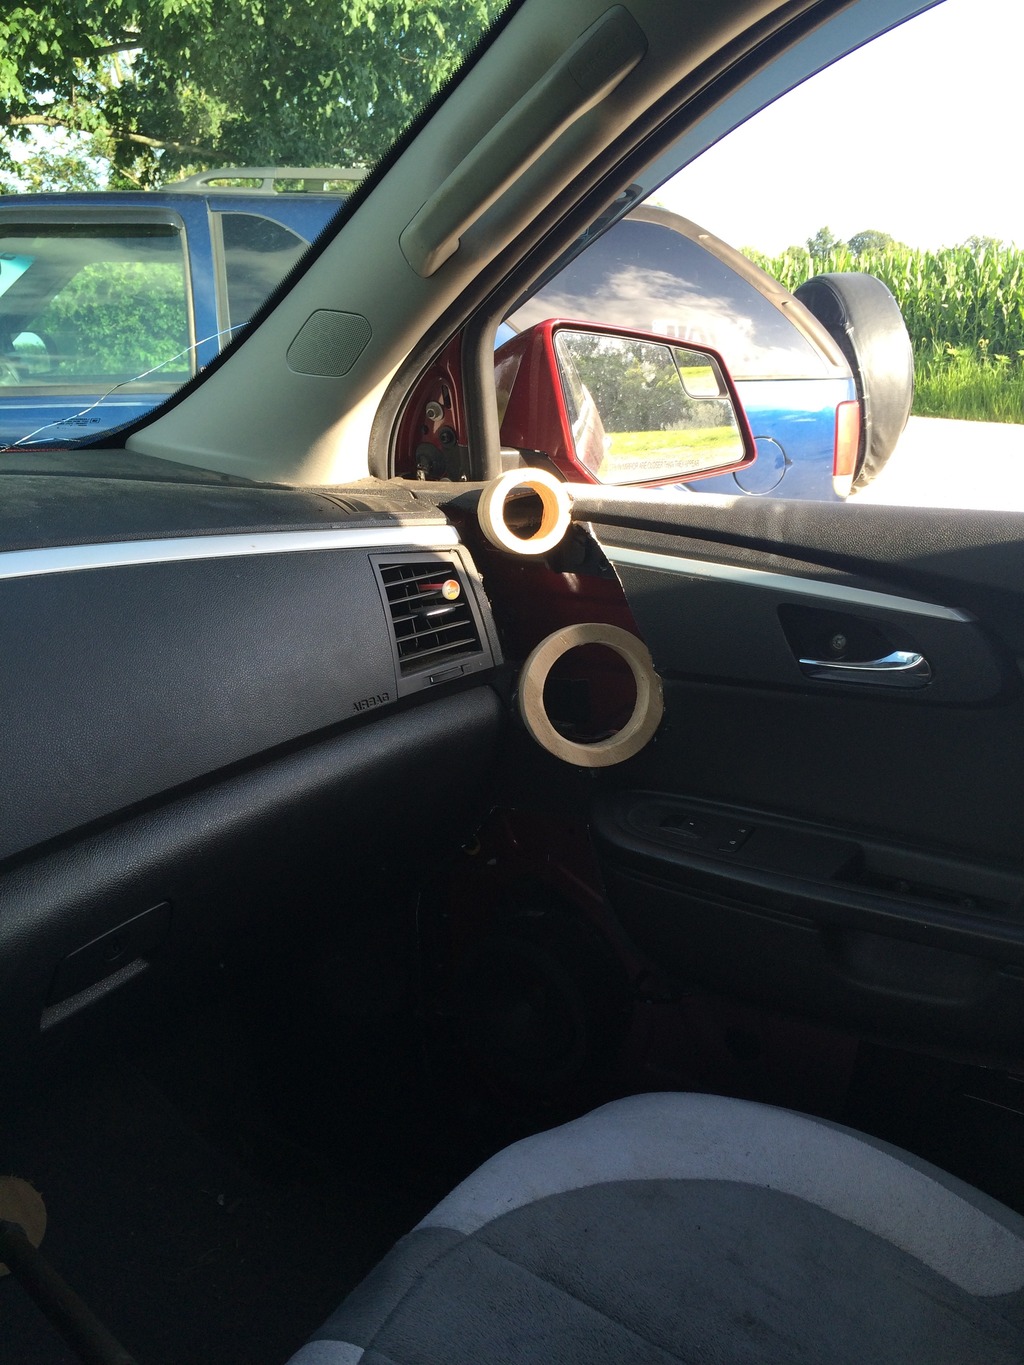
I went ahead and added a few more layers of fiberglass to ensure that they are plenty strong enough to handle what's going to be getting thrown at them. I got that finished Friday evening and began picking up the supplies needed to get the midranges and tweeters mounted to the doors. Today I got the wood rings cutout, the doors prepped and the rings aimed and glued into place. Now I'll take crafting foam and cut, glue and shape the area around the mounting locations. In the process of doing that I'll also be permanently mounting the enclosures into the door cards. Then the doors will be ready for the last of the fiberglass work, smoothed down and whatever finish my wife decides on will be applied. The doors will then be officially done and I can start on the false floor amp rack and the subwoofer enclosure.
How about some pictures of the doors with the rings in them?? I'll get the pictures of the enclosures posted up tomorrow.


More updates tomorrow!!!