When you click on links to various merchants on this site and make a purchase, this can result in this site earning a commission. Affiliate programs and affiliations include, but are not limited to, the eBay Partner Network.
I'm up **** creek without a paddle. I'll try to make this short. I've been in the process of replacing the Spider Injector (CMFI) or "CPI" fuel injector. I've removed the upper intake plenum and cleaned the mating surfaces and cleaned the upper plate bowl and runners.
I've removed the Spider with everything intact. I know the leak was coming from the O-Ring closest to Injector off of Regulator (Leak from Regulator) and leak from one of the Fuel Inlet/Outlet Hoses. I ended up just buying a whole remanufactured Spider and new Inlet/Outlet Hoses instead of screwing with the Regulator. (Two Inlet/Outlet Hoses not to be confused with the Six Poppet Lines/Nozzles)
Here's the kicker. The damned T-27 Torx Screw holding up the back metal bracket that holds the Fuel Inlet/Outlet hoses in place is not only stripped to all hell; I'm pretty sure the wiseguy that put in that Torx Screw threadlocked the bastard in there. I managed to bend and pry enough of the metal bracket to try to strike it down making a rotational force to try to turn the screw to no avail but to also bend it enough to take out the right Inlet/Outlet fuel hose to make enough room for more direct attempts.
I also removed the Windshield Wiper Motor out of the way to make more room for access (Hood and Cowling removed). So doing all that gave me enough room to get a small Needle Nose Vice Grips on the Screw Head. Still won't budge. I tried filing flat spots on either side of the screw after cutting a file in half to fit it down there. Still won't turn worth a ****.
So I guess I have to remove my Lower Intake Manifold. I've been reading through my Haynes Manual and they are telling me to put my Engine to TDC for Number 1 Piston before pulling the Distributor. Well uh, I cant really do that with the Spider, Ignition Coil, etc removed.. Can I? Or do I even need to remove the Distributor to take off my Lower Manifold? Look, the only way I'm going to be able to get this screw out is by removing the Lower Manifold but am I on a rock in a hard place because I can't remove the Distributor whilst everything else has been taken apart?
This is my first time going inside an Air Plenum. I've done well so far but I've never done a Head Gasket/taken off Lower Manifold. I have the knack and gumption. I'm a new student in College for Automotive & Light Duty Truck Tech. I'm in it for the long run so anybody with enough patience to get this far, thank you and I really appreciate any help anybody experienced enough can give me.
One last note. Screw the '95 Black Sheep Blazer. I've stuck $2,000 in it over the past 3 years so don't tell me to junk it.
Whole Sh'bang Fuel Inlet/Outlet Hose Area Cursed Torx Screw
Last edited by WaywardSteel; Mar 25, 2022 at 06:04 PM.
What I would normally do in that case is weld a nut to the screw head and use that to unscrew it. But that's going to be pretty much impossible in your case without removing the intake manifold. You do NOT need to set the distributor at TDC before removing it, as long as you put it back in exactly as it came out, and you don't rotate the engine while it's out. Use a Sharpie to mark the distributor's position relative to the intake manifold and the rotor's position relative to the distributor body, then line up the marks when you install it. Take pictures before removing it if you're still not confident.
That's what I told my dad I was gonna do if I couldn't find anything out. Just mark it out and put it in exactly the same way I took it out. He keeps making me worry too much. I know I have to remove Coolant Hoses and the Thermostat cause the Thermostats gonna be in the way of a Pry Bar to separate Manifold from Head. I gotta see if there is a certain bolt sequence for the Mainfold Bolts as well.
Anyway, I think I'm pretty much set. I'll reply back here if I have run into anything else during this job. Thanks again.
There is a torque procedure for the manifold bolts, but it's pretty easy to find online. Make sure you get Fel-Pro rubber and metal gaskets. The plastic ones tend to crack and cause leaks.
The removal of the lower intake manifold (LIM) is a time-honored right of passage for 4.3L powered Blazer owners.
If you have to go that route, there are several writeups people have done. I'll attach the files to the ones I've accumulated when I was about to do mine.
If you do have to take off the LIM, here are a few things to consider:
Replace the gaskets with the metal-framed LIM gaskets that are part of the full kit from FelPro.
Do NOT rotate the crank shaft of the motor after you take out the distributor. Take pictures to record the orientation of the rotor before you remove the distributor. You should be able to drop it back in where it was. If it doesn't go back in, the culprit is that the oil-pump driveshaft has rotated a tad. I used a very long, large flat-blade screwdriver to rotate the oil-pump drive shaft back just enough to allow getting the distributor back in properly.
I think I did not apply the RTV correctly at the block rails at the front and rear end of the block that mate with the LIM. Be sure to due that well.
And of course, do not let anything drop into the lifter valley or down the intake runners!
Hi all. Thanks for all the help. By the way it wasn't the Thermostat that was in the way. It's the EGR du-hicky. I just bought a roll of gasket to cut my own Gasket for that.
Thanks for the links for reference but none of these are the same Air Intake as mine. Mine has the front facing TB with CMFI Spider. This has been the biggest problem. Finding exactly what bolts to take out because my Haynes Manual is very unimformative of what bolts to take out and where. Also, it seems everybody else has the top upwards facing TB on all the videos and all the links I've been given or looked up myself and they are all different from mine so.
I am having an hard time finding what bolts to take out and where. I have an idea but I don't want to go pulling out bolts that don't need to be. So here's the pathetic excuse of an explanation my Haynes Manul gives me. The one and only and what's more, it's just a picture and It's not even telling me where the other bolts are outside of the plenum. Plus mine has 5 bolts inside the Plenum. Unlike the four in my book? No videos on it for my type or anything I've tried looking up online.
Pretty much at the point where I'm about to say screw it and start taking out all the damn bolts I see that I think are holding it down. 😆👈
Awesome. Thank y'all so much. I found the Manifold Bolt locations, torque specs and tightening sequence in my Haynes finally. Also found the Plenum torque specs and to do it in a criss-cross tighting sequence. Wasn't too specific.
My dad always gave me **** about being able to use the internet but I say hes lucky he had these manuals back then cause they've been more handy than anything. Just takes patience and page flippin' with an iron will. I'm gonna go out there and take out my first Manifold. Get 'er done. 😄
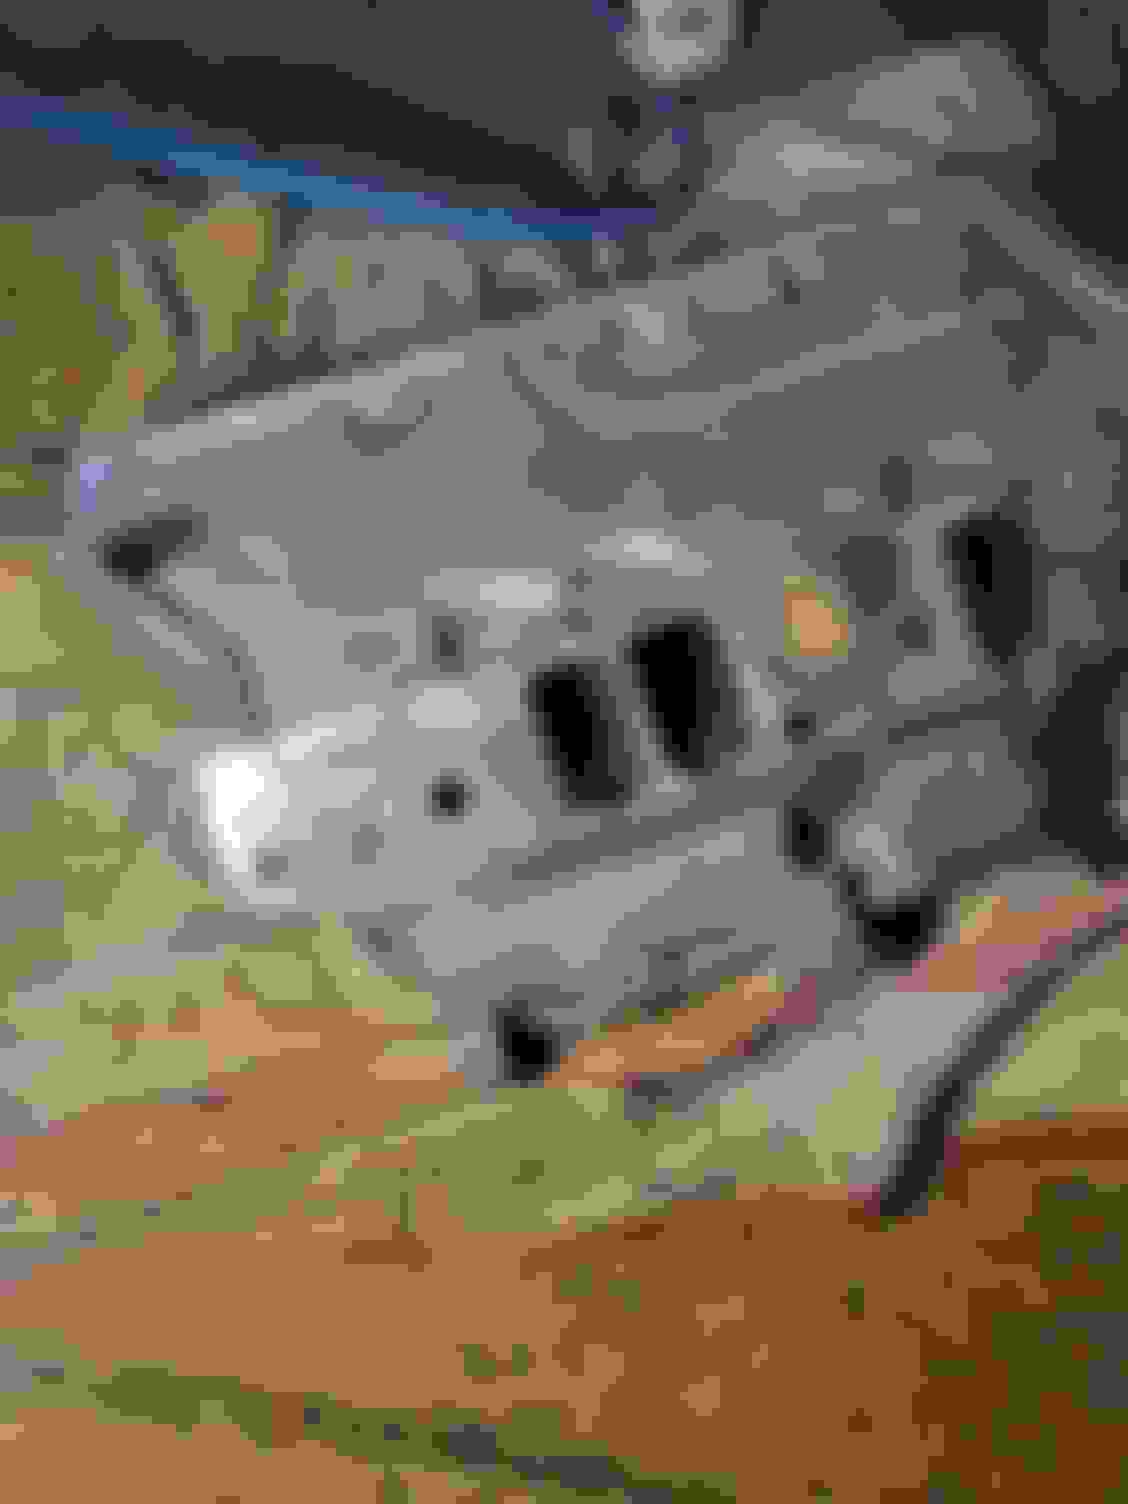
Hello again. So I see they welded some Coolant Passages or Water Jackets? There are two that are eaten up. One of them is really bad but not all the way through. Should I fill in the rot with JB Weld? I don't have access to a welder.
These are the heads (unclean). One Coolant Passage is really caked. How do I go about cleaning that out without knocking any debris down the Coolant Passage? 😬 Shop Vac whilst chipping away at it? Any more advice would be greatly appreciated.