
2nd Gen shifter cable replacement

Thread Starter
|
Super Moderator
Joined: Sep 2011
Posts: 4,459
From: Northern VA

So to today I finally got around to replacing my shifter cable and after discussing it with a few other members on here I decided to do a how to write up on it. This job was done on a 96 4 door 4x4 Blazer other models may be different I'm not sure.
Tools needed:
*7,10,15mm sockets and wrench
*phillips and flat screwdrivers
*T30 torx bit
*needle nose pliers
*wooden block
*jack and jack stands (optional)
You may need alternatives but this is what got the job done for me.
Part needed:
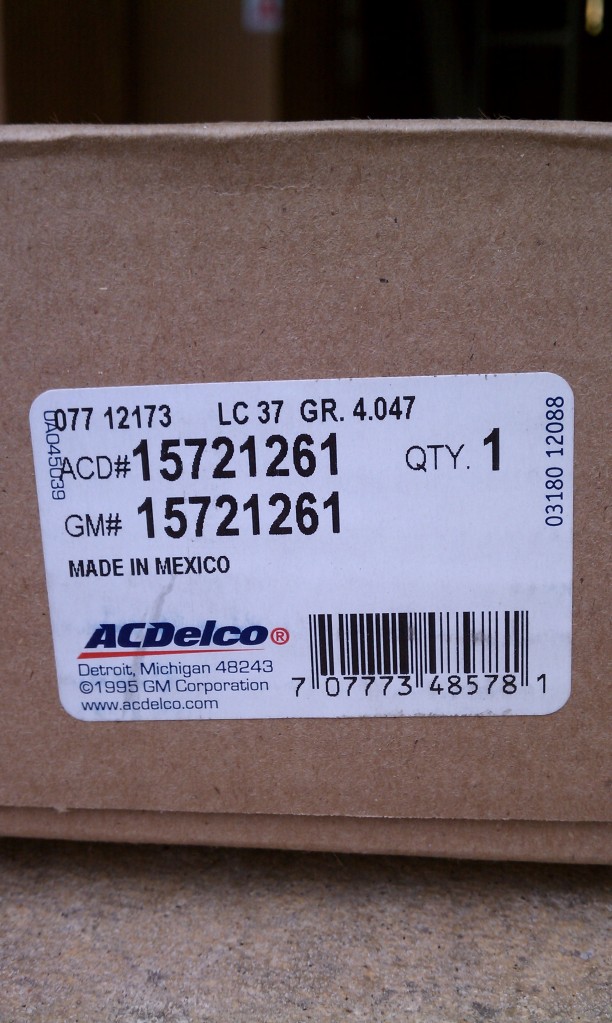
* GM and AC Delco PN 15721261
So the first thing you will want to do is block the tires so the truck can't roll. This is the most important step in this entire process as its extremly easy to bump the truck out of park when underneath messing with the shifter cable.
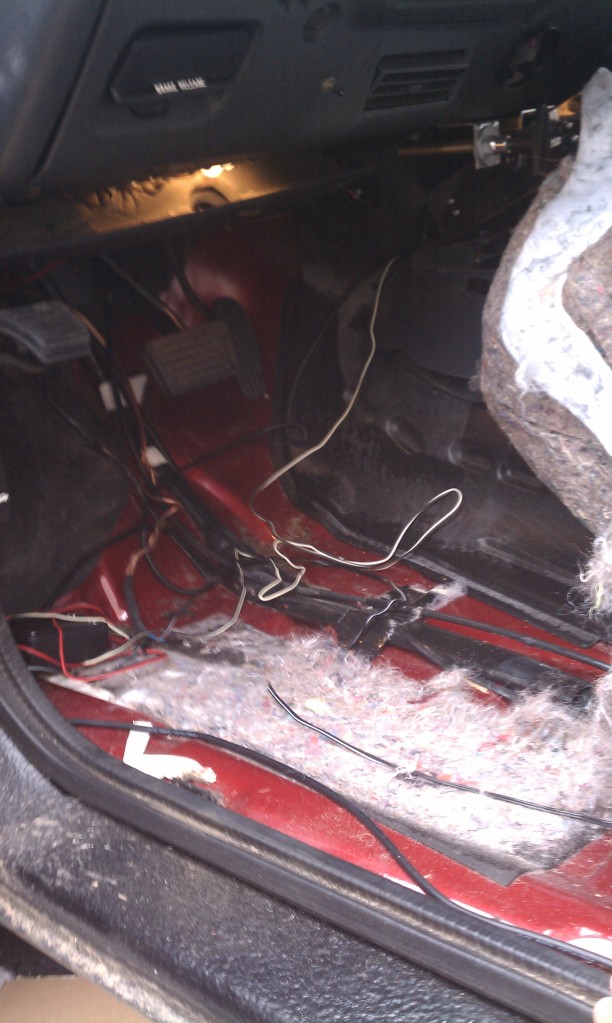
Next you will use the T30 and 7mm to take off the lower dash panels exposing the bottom of the steering column. Then you will need to pull the carpet back as far as possible.
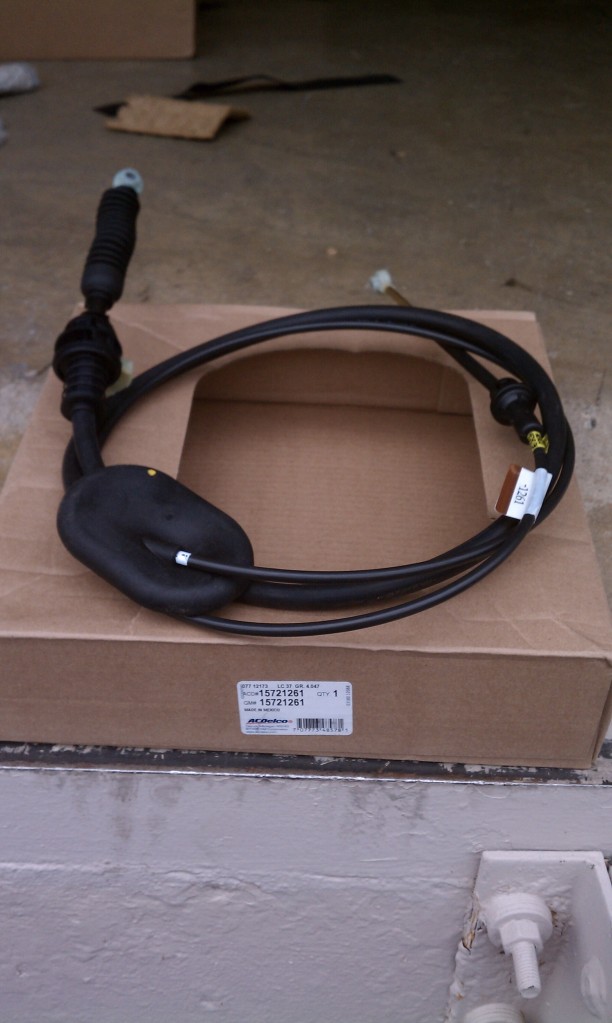
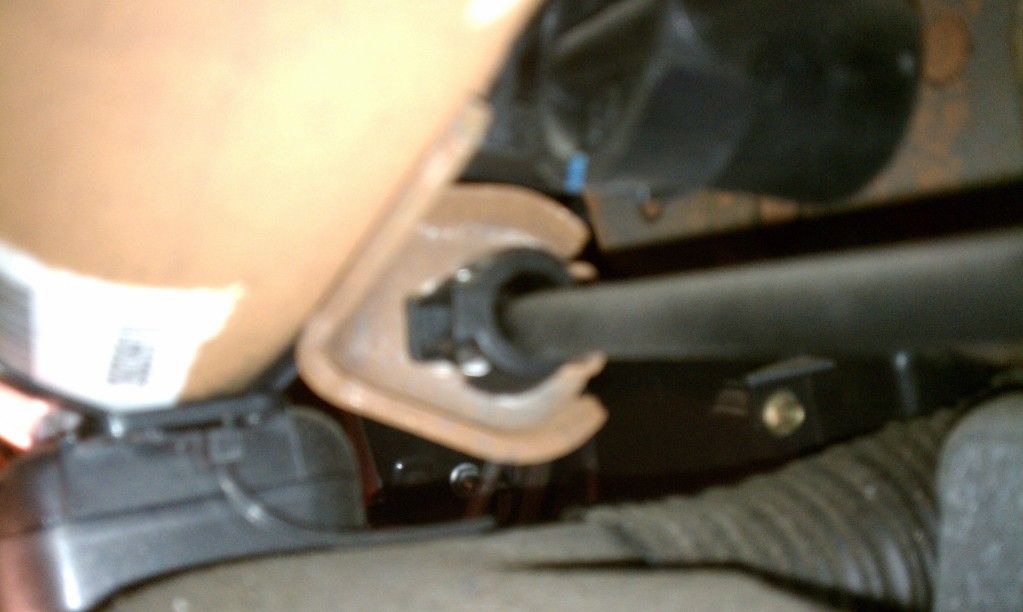
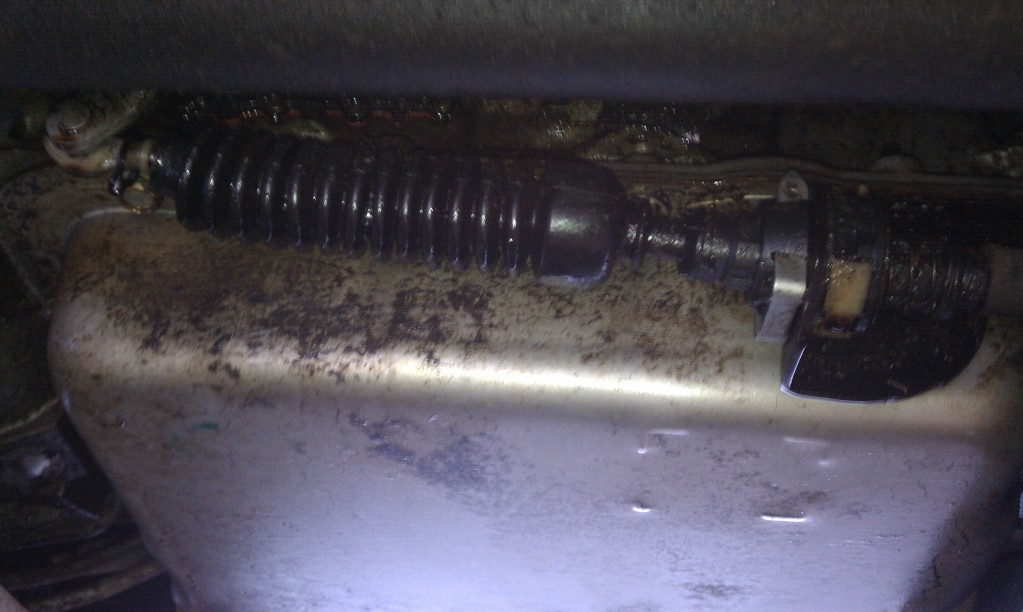
When you have everything out of the way look for the end of the shifter cable. It will look like this.
Once you have located it use a flat screwdriver to gentley pop it off of the shifter "nub".
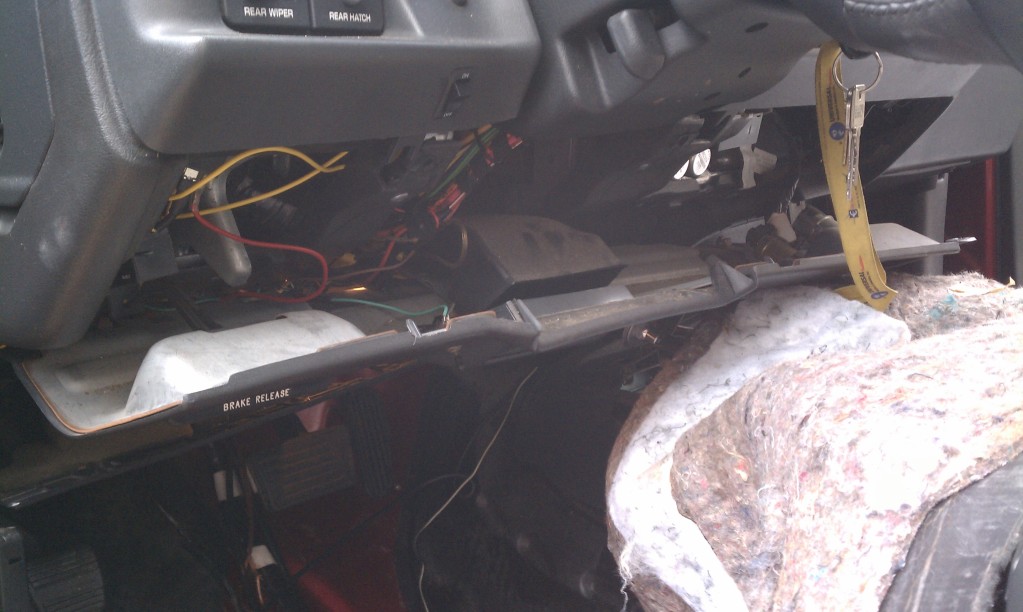
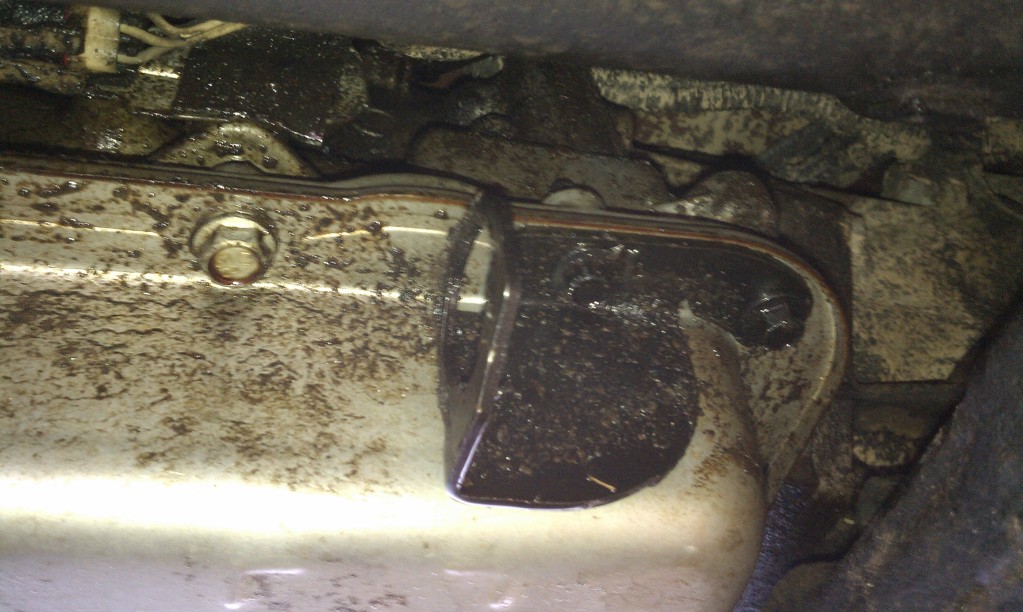
Once that is removed follow the cable to the next connection point which is on the steering column. (sorry for the bad picture here)
Now you will need to use the flat screwdriver to remove the metal retaing clip from the cable.
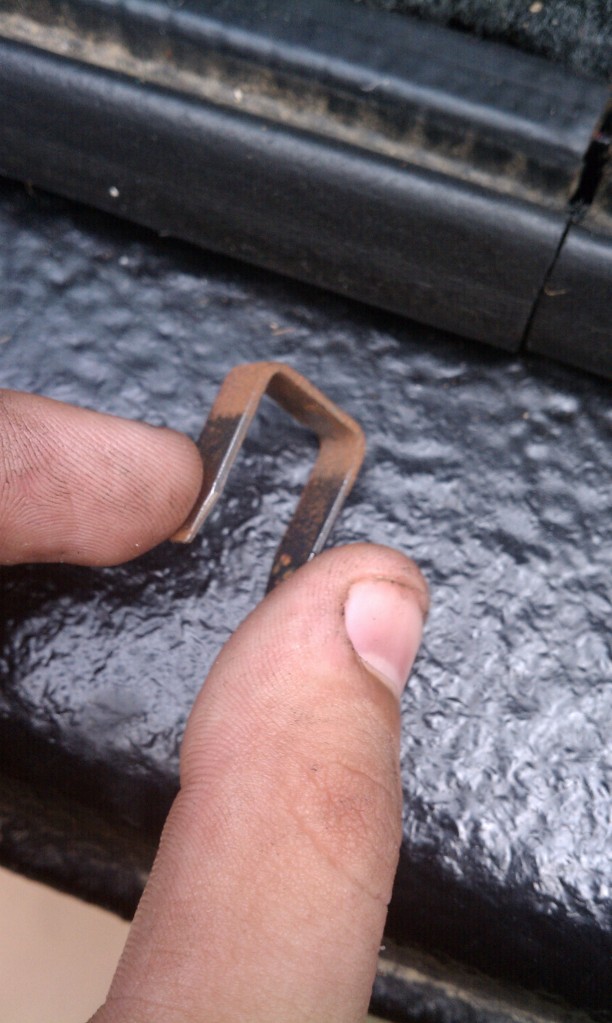
Once that is removed you will use the needle nose and squeeze the clip together to free the cable from the bracket. For me this was the hardest part of the entire job since there is no room to work. I just worked at it for a couple minutes and it came free so just be patient here.
once that is removed follow the cable a little farther and you will see a clip that looks like this.
Use the flat screwdriver to carefully pop the clip open.
Now the cable should be free besides maybe some tape that was used to hold it in place. Just follow the cable back and you will come to a large rubber grommet. Push that down through the floor board followed by the rest of the cable. Sorry I forgot to get a picture of this but its pretty straight forward.
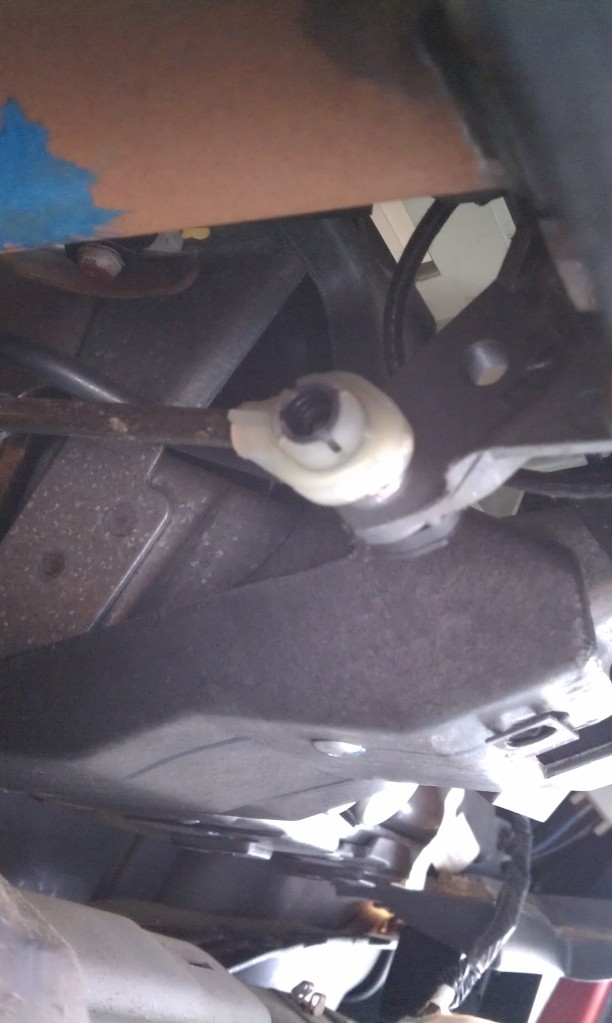
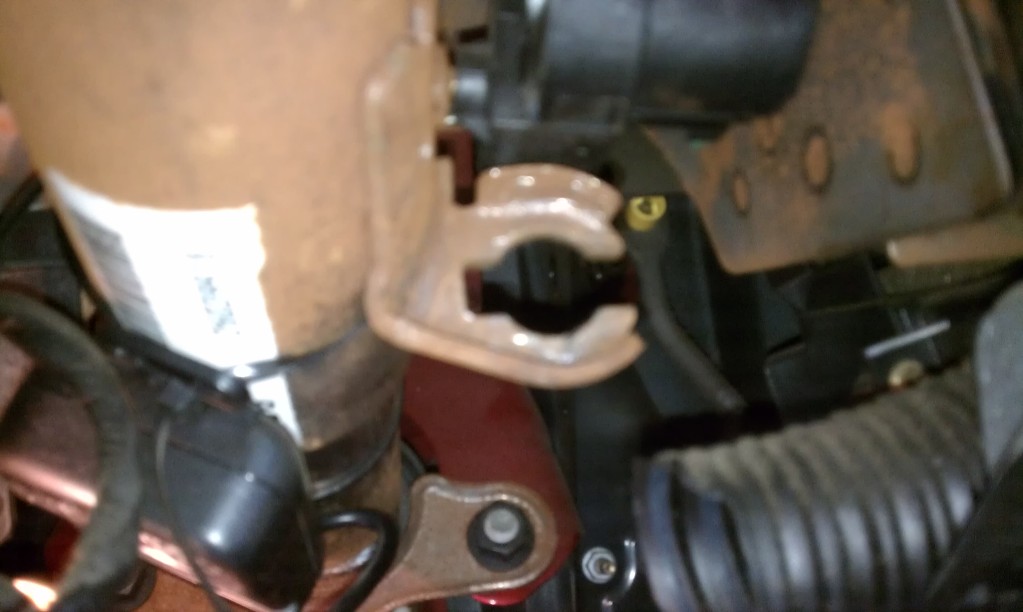
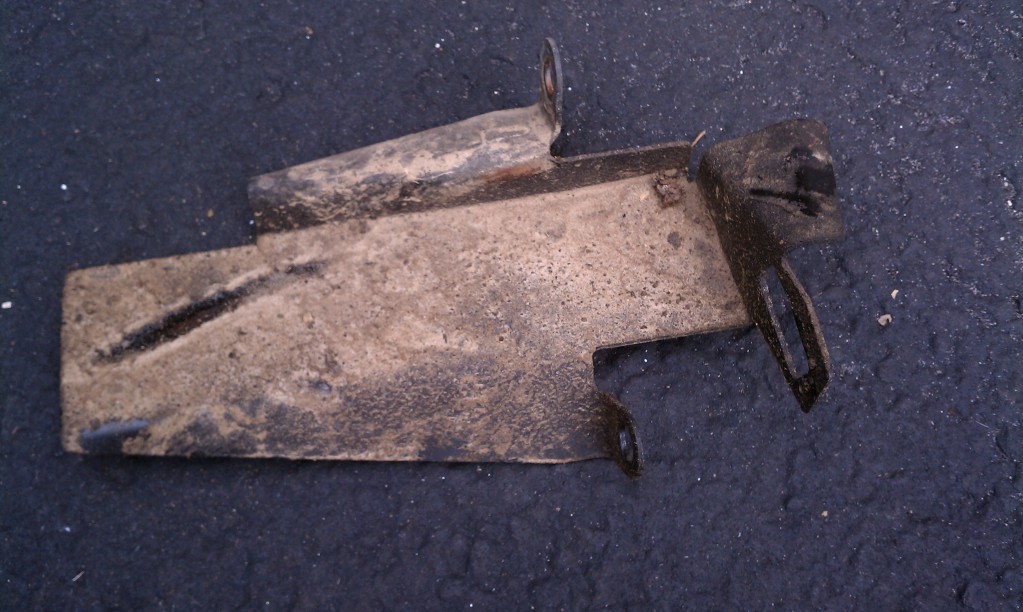
Now if you choose to go ahead and securely jack the truck up. I chose not to as I had plenty of space to get under my truck. Once that is done go ahead and remove the center skid plate if you have one. Then you will see a small bracket that looks like this.
Using the 15mm socket go ahead and remove this and get it out of the way. But pay attention to how the cable was routed through it first.
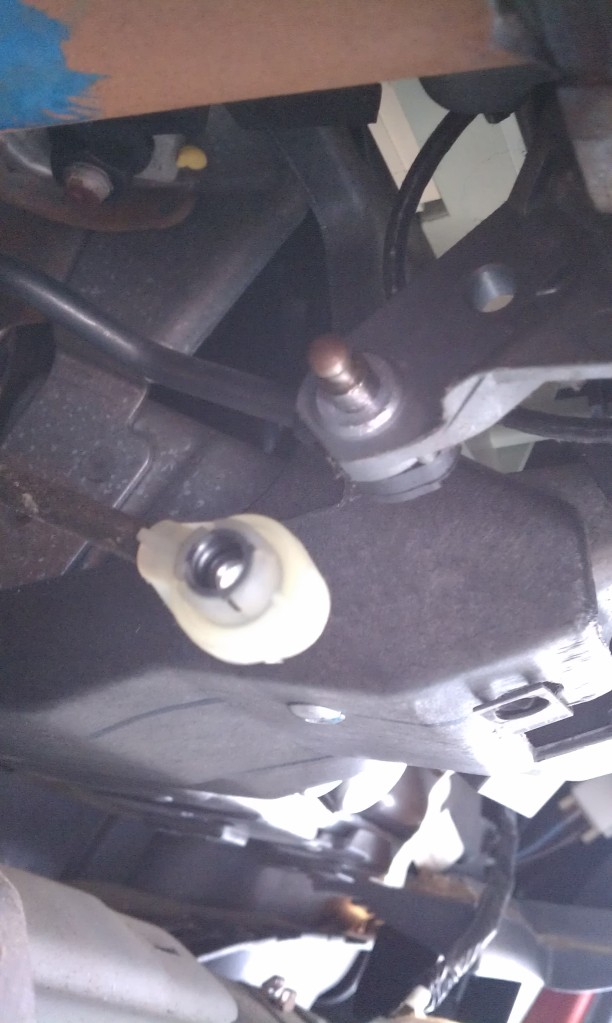
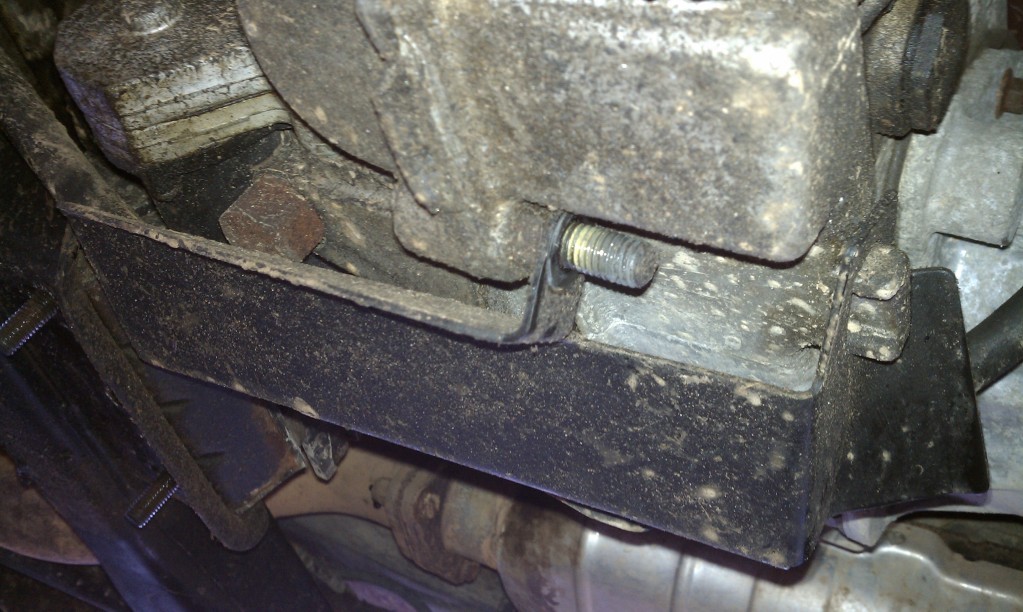
With that out of the way the cable should be free except for for the bracket on the transmision.
This is all connected the same as the other end. Gentley pry the end of the cable off of the transmision shift "nub". Remove the metal retaining clip and squeeze the cable back through the bracket.
With the cable removed get the new cable and and thread it through the hole in the floorboard and seat the grommet in place. Route the cable back the way it was when you took it out to keep everything at a good functioning angle and out of the way of moving parts. Then install the transmision end of the cable and pop the end on the "nub" securely (don't forget the metal retaining clip!)
I would recommend not tightening everything yet as you will want to check for proper function when before you do. Now go back inside the cab and route the cable the same way that it came out and put everything back together the same as it came apart.
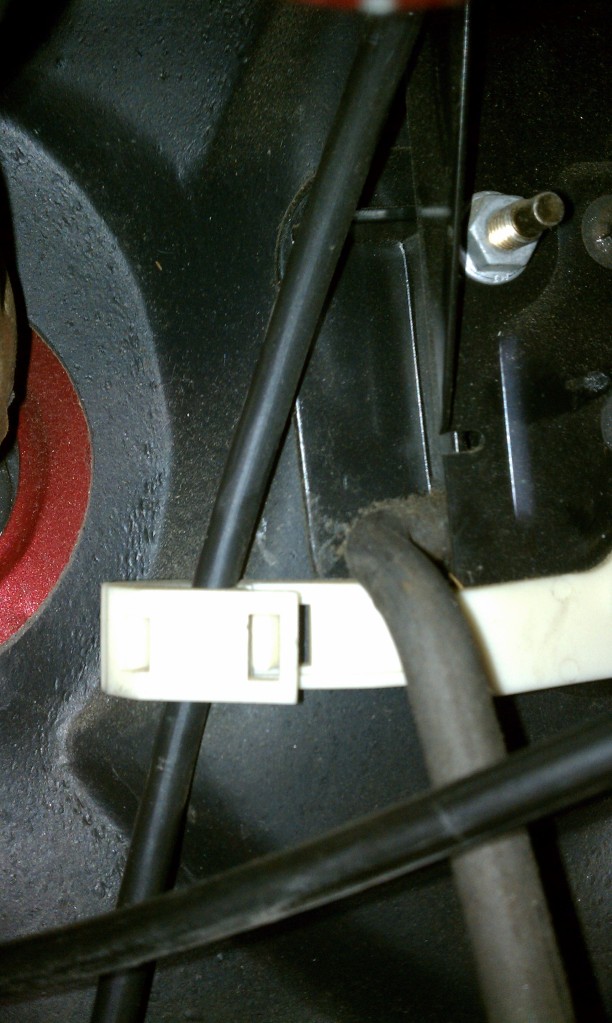
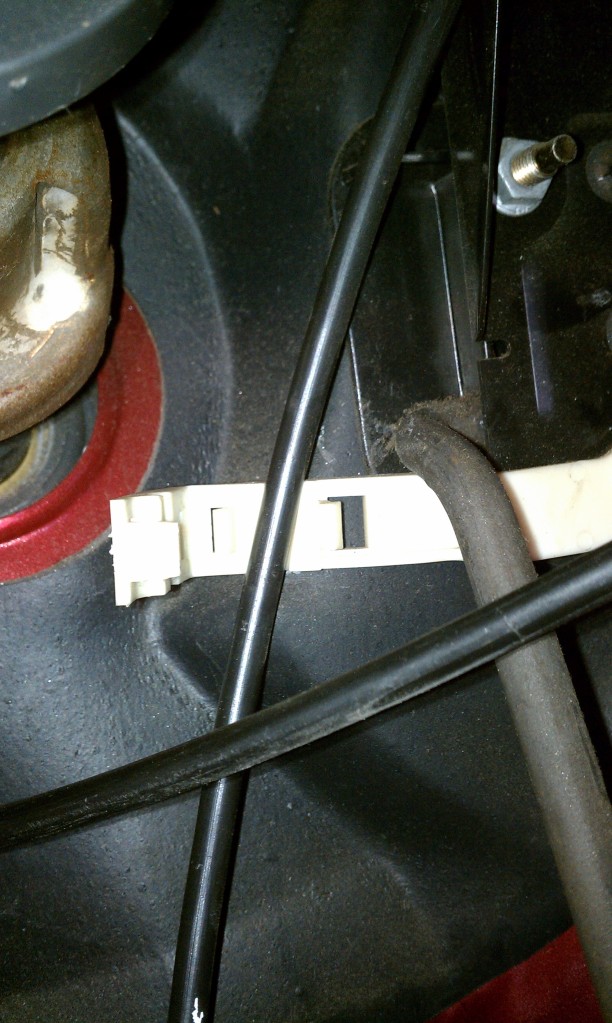
With everything together you will want to test the cable. I found that I had to lengthen mine a tad to get it to go into park. To do this you will need to get under the truck and on the cable there is a large white clip. Pull the clip part way out to free the adjuster and then udjust your cable either direction if needed. Once the cable is in place push the white clip back in and go check for proper shifter function. If all is good go ahead and tighten everything up and give it a good once over to make sure everything is in place. Take it for a test drive and hopefully all went according to plan.
I did this at work and answered about 7-10 phone call and it took me about an hour. Its a pretty easy job to do. If this write up helps one person get this done on their own then it was worth my time to do it. If anyone has any question feel free to ask at any time. Good luck!!
Tools needed:
*7,10,15mm sockets and wrench
*phillips and flat screwdrivers
*T30 torx bit
*needle nose pliers
*wooden block
*jack and jack stands (optional)
You may need alternatives but this is what got the job done for me.
Part needed:
* GM and AC Delco PN 15721261
So the first thing you will want to do is block the tires so the truck can't roll. This is the most important step in this entire process as its extremly easy to bump the truck out of park when underneath messing with the shifter cable.
Next you will use the T30 and 7mm to take off the lower dash panels exposing the bottom of the steering column. Then you will need to pull the carpet back as far as possible.
When you have everything out of the way look for the end of the shifter cable. It will look like this.
Once you have located it use a flat screwdriver to gentley pop it off of the shifter "nub".
Once that is removed follow the cable to the next connection point which is on the steering column. (sorry for the bad picture here)
Now you will need to use the flat screwdriver to remove the metal retaing clip from the cable.
Once that is removed you will use the needle nose and squeeze the clip together to free the cable from the bracket. For me this was the hardest part of the entire job since there is no room to work. I just worked at it for a couple minutes and it came free so just be patient here.
once that is removed follow the cable a little farther and you will see a clip that looks like this.
Use the flat screwdriver to carefully pop the clip open.
Now the cable should be free besides maybe some tape that was used to hold it in place. Just follow the cable back and you will come to a large rubber grommet. Push that down through the floor board followed by the rest of the cable. Sorry I forgot to get a picture of this but its pretty straight forward.
Now if you choose to go ahead and securely jack the truck up. I chose not to as I had plenty of space to get under my truck. Once that is done go ahead and remove the center skid plate if you have one. Then you will see a small bracket that looks like this.
Using the 15mm socket go ahead and remove this and get it out of the way. But pay attention to how the cable was routed through it first.
With that out of the way the cable should be free except for for the bracket on the transmision.
This is all connected the same as the other end. Gentley pry the end of the cable off of the transmision shift "nub". Remove the metal retaining clip and squeeze the cable back through the bracket.
With the cable removed get the new cable and and thread it through the hole in the floorboard and seat the grommet in place. Route the cable back the way it was when you took it out to keep everything at a good functioning angle and out of the way of moving parts. Then install the transmision end of the cable and pop the end on the "nub" securely (don't forget the metal retaining clip!)
I would recommend not tightening everything yet as you will want to check for proper function when before you do. Now go back inside the cab and route the cable the same way that it came out and put everything back together the same as it came apart.
With everything together you will want to test the cable. I found that I had to lengthen mine a tad to get it to go into park. To do this you will need to get under the truck and on the cable there is a large white clip. Pull the clip part way out to free the adjuster and then udjust your cable either direction if needed. Once the cable is in place push the white clip back in and go check for proper shifter function. If all is good go ahead and tighten everything up and give it a good once over to make sure everything is in place. Take it for a test drive and hopefully all went according to plan.
I did this at work and answered about 7-10 phone call and it took me about an hour. Its a pretty easy job to do. If this write up helps one person get this done on their own then it was worth my time to do it. If anyone has any question feel free to ask at any time. Good luck!!
Last edited by rexmburns; Aug 28, 2012 at 11:36 AM.

Thread Starter
|
Super Moderator
Joined: Sep 2011
Posts: 4,459
From: Northern VA
Thanks! Its really not at all hard to do. I was going to do a floor shifter swap myself but the guy I was buying it from stopped responding so I ended up having to do this so I could pass safety inspection. Amazon was the cheapest place I found the cable I believe I'll have to check my Amazon history tomorrow!

Beginning Member
Joined: May 2009
Posts: 42
From: colonie, n.y.
I'm gonna replace the shift cable on my kid's 98 4 door LS. His is a column shift. This write-up is excellent and will help a lot. I am a little confused with the GM Part # pictured on the box however because I ordered the cable from Rock Auto and the part # was different. I'm getting # 15189198. So I googled both part #'s and Nally's came back with a picture of both and it looks like the one in this write-up is for a floor shifter. It worked though.

Beginning Member
Joined: May 2009
Posts: 42
From: colonie, n.y.
OK, so I did the job today with the help of your write-up and my service manual. The different part# was because it apparently is different than the 96. Other than that it went exactly as you described. Next up I have to figure out a way to fix his broken door panels. Handle is cracked and broke at the screw location. Any thoughts out there? (Oops, sounds like a new thread)