
How-to: HID Plug & Play install & DRL disable

Thread Starter
|
BF Veteran
Joined: Feb 2007
Posts: 3,128
From: Princeton, NC, USA

How-to: HID Plug & Play install
[hr]
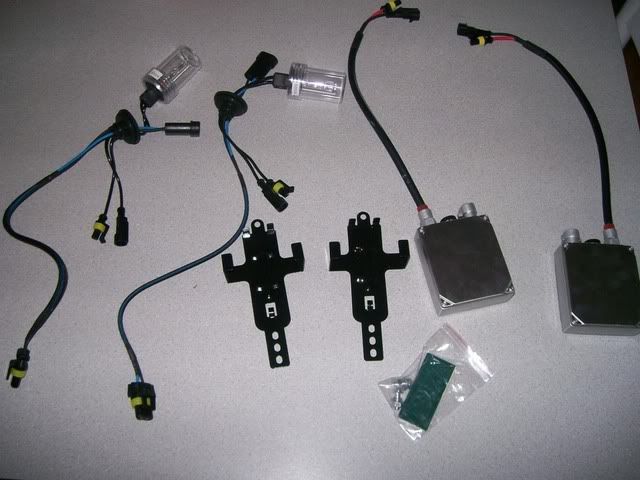
To install your new HID plug and play kit, you will need the following materials:
[ul][*]The kit (complete with wiring, ballasts, ballast mounts, andbulbs.)[*]Drill and zip-in screws[*]Double sided tape (may be included in some kits)[*]Pliers[/ul]
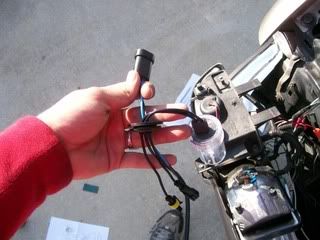
Your kit should look something like this:
First, when installing in high beams, you must disable your DRLs. To do this and keep your automatic function, read the following:
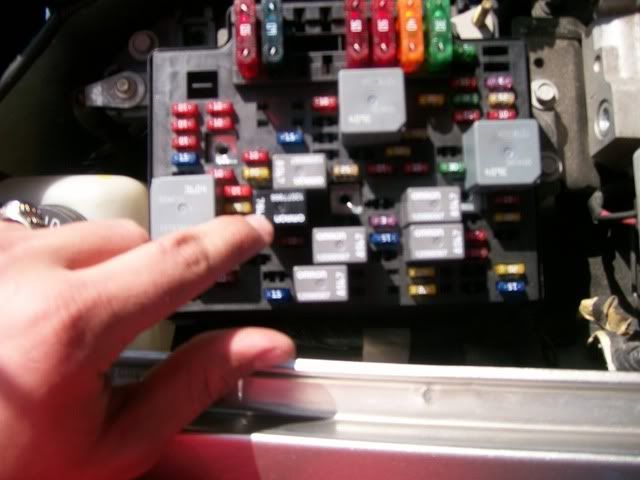
Go to the fuses located under the hood (black box next to air box.) Open it and find the relay labled DRL.
On the bottom of the relay you will see 5 prongs with the numbers 30, 85, 86, 87 and 87a. Use your pliers and bend the prong numbered 86 up toward the top of the relay.
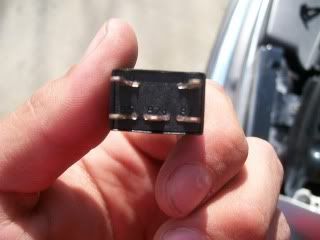
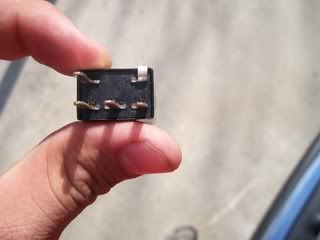
This will prevent that prong from engaging and will deactivate the DRL's. Replace the realay and put cover back on.
[hr]
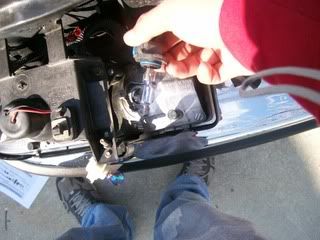
Pull off your grille. Just open the hood and give it a good pull by the handholds on the bottom of the crossbar. Pull out the parkinglights and fog lights (if equipped) to full disconnect the grille.
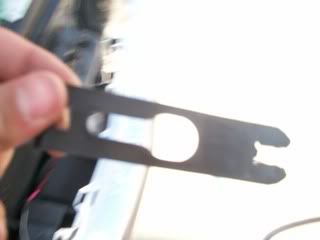
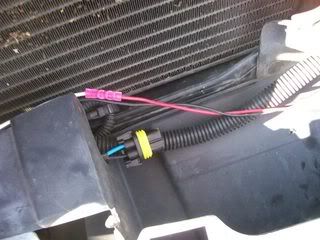
Locate your ballast mounts. They will look similar to this depending on the kit:
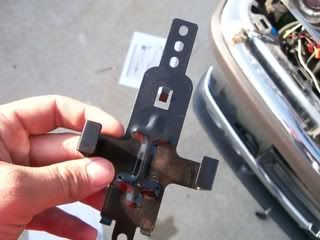
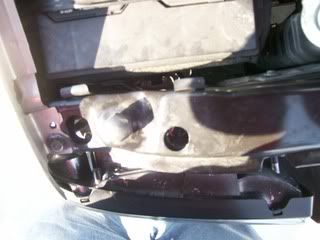
I chose to mount mine on the radiator scoop. The radiator scoop will pull air from above the license plate mount. This scoop will vary in shape depending on your model. Mounting it here will provide the ballasts with adequate airflow to keep them cool. You may mount them anywhere, its up to you.
Next, you will have to remove the headlights. To do this, locate the tabs on the back of the radiator support.
Pull out the tabs, you may have to use pliers, as they are sometimestight.
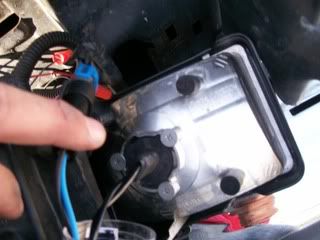
Once you've remove the headlamp from the radiator support, twist the bulb and pull it out.
Undo the bulb from the wiring.
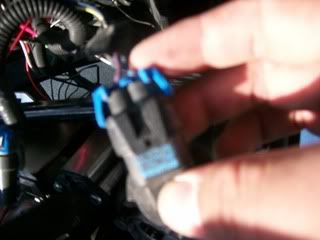
Connect the female end of the harness to wiring on the vehicle.
Insert the bulb in the headlamp assembly. Be careful NOT to touch the bulb. Fingerprints may weaken the ability of the glass to release heat and cause premature failure.
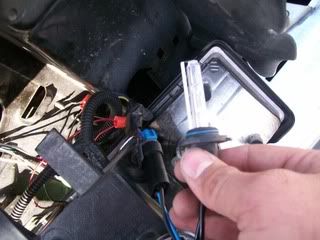
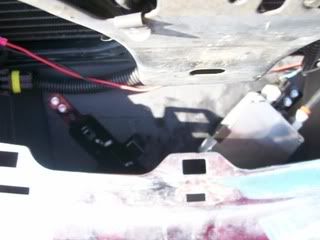
Run the male end of the wiring harness through the hole in the divider flap between the radiator and the headlights. Pull it all the way through.
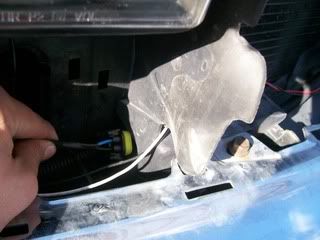
Connect the male end of the wiring to the ballast.
[IMG]http://i2
[hr]
To install your new HID plug and play kit, you will need the following materials:
[ul][*]The kit (complete with wiring, ballasts, ballast mounts, andbulbs.)[*]Drill and zip-in screws[*]Double sided tape (may be included in some kits)[*]Pliers[/ul]
Your kit should look something like this:
First, when installing in high beams, you must disable your DRLs. To do this and keep your automatic function, read the following:
Go to the fuses located under the hood (black box next to air box.) Open it and find the relay labled DRL.
On the bottom of the relay you will see 5 prongs with the numbers 30, 85, 86, 87 and 87a. Use your pliers and bend the prong numbered 86 up toward the top of the relay.
This will prevent that prong from engaging and will deactivate the DRL's. Replace the realay and put cover back on.
[hr]
Pull off your grille. Just open the hood and give it a good pull by the handholds on the bottom of the crossbar. Pull out the parkinglights and fog lights (if equipped) to full disconnect the grille.
Locate your ballast mounts. They will look similar to this depending on the kit:
I chose to mount mine on the radiator scoop. The radiator scoop will pull air from above the license plate mount. This scoop will vary in shape depending on your model. Mounting it here will provide the ballasts with adequate airflow to keep them cool. You may mount them anywhere, its up to you.
Next, you will have to remove the headlights. To do this, locate the tabs on the back of the radiator support.
Pull out the tabs, you may have to use pliers, as they are sometimestight.
Once you've remove the headlamp from the radiator support, twist the bulb and pull it out.
Undo the bulb from the wiring.
Connect the female end of the harness to wiring on the vehicle.
Insert the bulb in the headlamp assembly. Be careful NOT to touch the bulb. Fingerprints may weaken the ability of the glass to release heat and cause premature failure.
Run the male end of the wiring harness through the hole in the divider flap between the radiator and the headlights. Pull it all the way through.
Connect the male end of the wiring to the ballast.
[IMG]http://i2


BF Veteran
Joined: Jan 2007
Posts: 3,946
From: GP AB CA
That method of DRL disable is good for 98+ as long as the highbeams are the DRL's...
Quadbeam mod will mess things up a bit, and give you low beam DRL's.
I'd recommend quad beam to anyone with HID's so you don't have a period of darkness when switching between highs and lows
Great work!
Quadbeam mod will mess things up a bit, and give you low beam DRL's.
I'd recommend quad beam to anyone with HID's so you don't have a period of darkness when switching between highs and lows
Great work!


Super Member
Joined: May 2007
Posts: 1,980
From: Appleton, WI / Houghton, MI
Also might want to mention to remove the turn signal lamp housings before ripping off the front grille. Otherwise looks great, thanks for the write-up.
Thread Starter
|
BF Veteran
Joined: Feb 2007
Posts: 3,128
From: Princeton, NC, USA
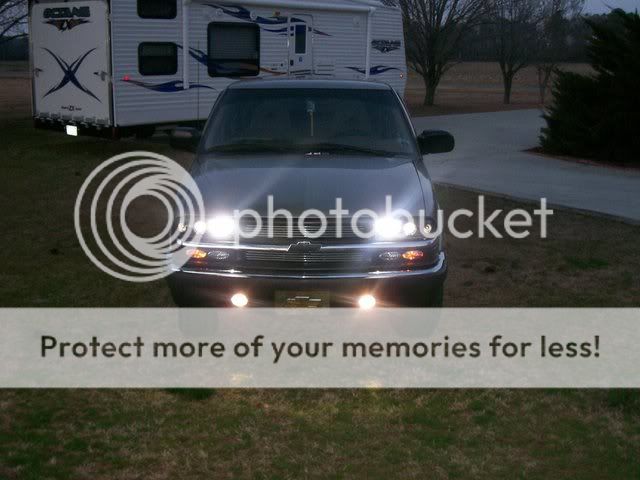
I promised a good writeup!!! I'll add a few more details to the post above and add a demo of how to remove the grille. Heres some pics of sunset:


Thread Starter
|
BF Veteran
Joined: Feb 2007
Posts: 3,128
From: Princeton, NC, USA
Tell me how to install the relay and I'll do that as well. I thought my kit was supposed to come with a relay, but then I tooka look at the description.