Sub Questions


Junior Member
Joined: Oct 2007
Posts: 436
From:

Heres a Designs:
Click Here
Materials you will need
-3/4" MDF Wood
-High-Grade Wood Glue(i.e. Titebond II or III)
-Good Drill
-1-1/4"Drywall Screws
-Jigsaw to cut the speaker hole
Its nice if you have access to a pnumatic brad nailer or stapler. It makes it a lot easier and faster because you dont have to predrill every screw hole and then drive a screw in while trying to hold the box in place.
Also, If you get your wood at Home Depot or Lowe's, bring all your measurments and they can cut them out for you. Just make sure you babysit them and bring a tape measure to double-check...


Thread Starter
Joined: Feb 2007
Posts: 546
From: My computer?

Thanks alot ! very much appreciated
Wasn't expecting this big of a box for 1 sub though [&:]
This should be a fun project monday when I am off of work!
do I have to wait for the glue to dry before I nail? or can I do them simultaniously?
Wasn't expecting this big of a box for 1 sub though [&:]
This should be a fun project monday when I am off of work!
do I have to wait for the glue to dry before I nail? or can I do them simultaniously?
Junior Member
Joined: Oct 2007
Posts: 436
From:
ORIGINAL: Zasder
do I have to wait for the glue to dry before I nail? or can I do them simultaniously?
do I have to wait for the glue to dry before I nail? or can I do them simultaniously?
A few Tips:
-MDF likes to split, so predrill for all of your screw holes and use a countersink bit if you have one.
-Rounded edges are a must on ported boxes. make sure you sand the elbow, mounth, and entry of the port to reduce any change of port noise caused by turbulance. You can do this either with a hand sander, or a router with a roundover bit if you own one.
-Furniture clamps really make the job easier when you are working by yourself.
Good luck, if you have any questions feel free to ask...
Junior Member
Joined: Oct 2007
Posts: 436
From:
ORIGINAL: Zasder
So on the port take a sander and round off all the edges? Im guessing I do this before I put on the top and bottom?
So on the port take a sander and round off all the edges? Im guessing I do this before I put on the top and bottom?
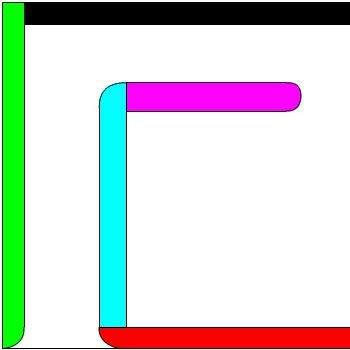
Roundover Example to show you which area need to be rounded...