
2000 Boring Blazer Build


Thread Starter
|
Super Member
Joined: Jul 2012
Posts: 1,542
From: Glen Rock, PA

Definately. Hit it with a red scotch bright pad and some good self etching primer.
Thread Starter
|
Super Member
Joined: Jul 2012
Posts: 1,542
From: Glen Rock, PA
Thanks. I was also pleased with how it turned out.
Last edited by Tajohns34; Aug 28, 2013 at 05:12 AM.
Thread Starter
|
Super Member
Joined: Jul 2012
Posts: 1,542
From: Glen Rock, PA
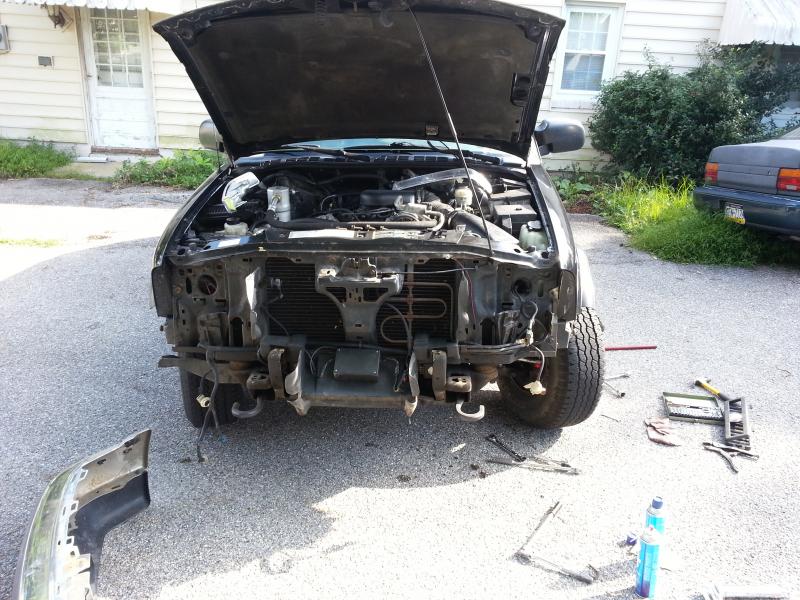
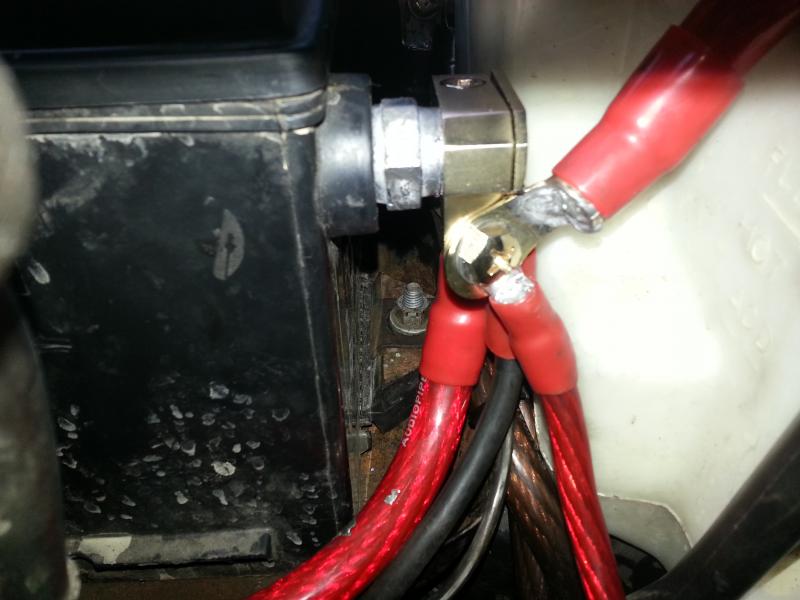
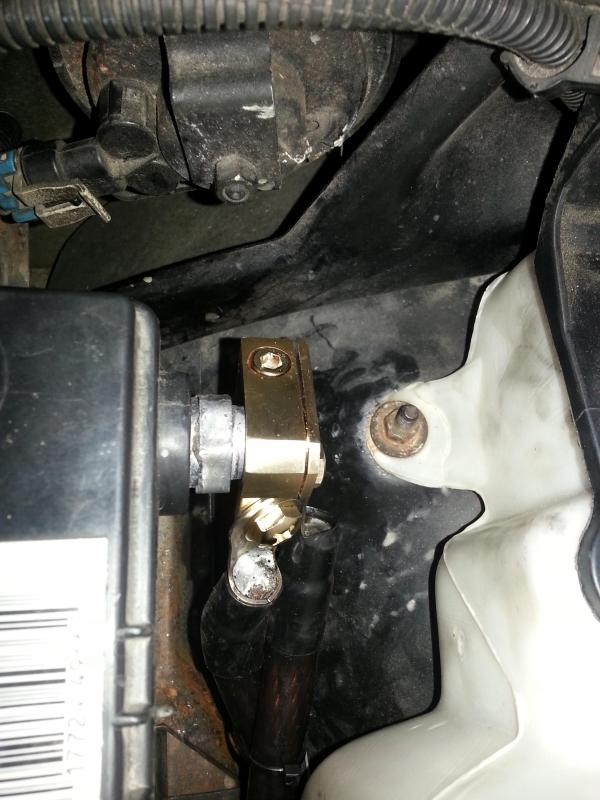
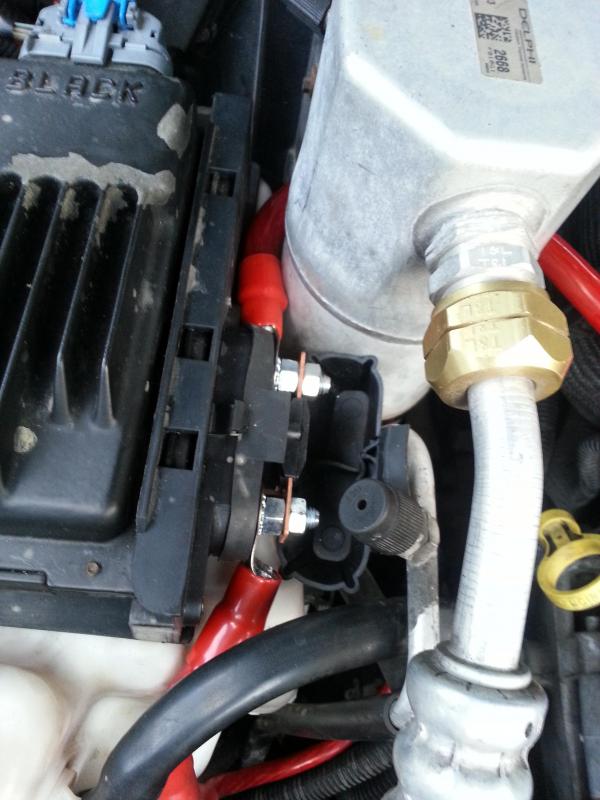
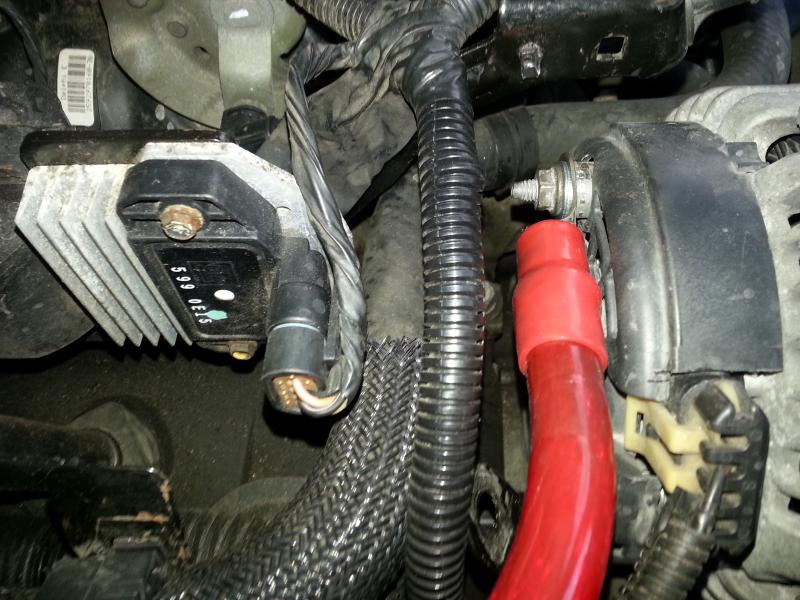
So, I did my big 3 yesterday. I used 1/0 gauge from the negative to the block and the frame. Then, from the positive to the fuse block that was under the battery, and from the alternator to the positive. I did not keep the factory cables, they were very corroded and not worth keeping. I did get a bunch of pictures but they are blurry so here are the ones that were worth posting.
Thread Starter
|
Super Member
Joined: Jul 2012
Posts: 1,542
From: Glen Rock, PA
I figured while I was doing my big 3 I would run the 4 gauge to the amp. But I got carried away and gutted my interior. I will be hopefully finishing my audio build and posting pics this afternoon or tomorrow.
Thread Starter
|
Super Member
Joined: Jul 2012
Posts: 1,542
From: Glen Rock, PA
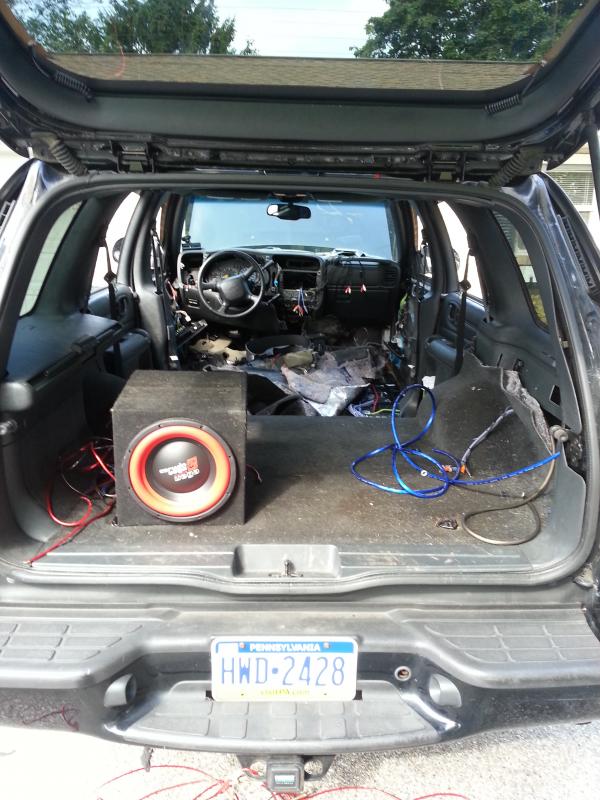
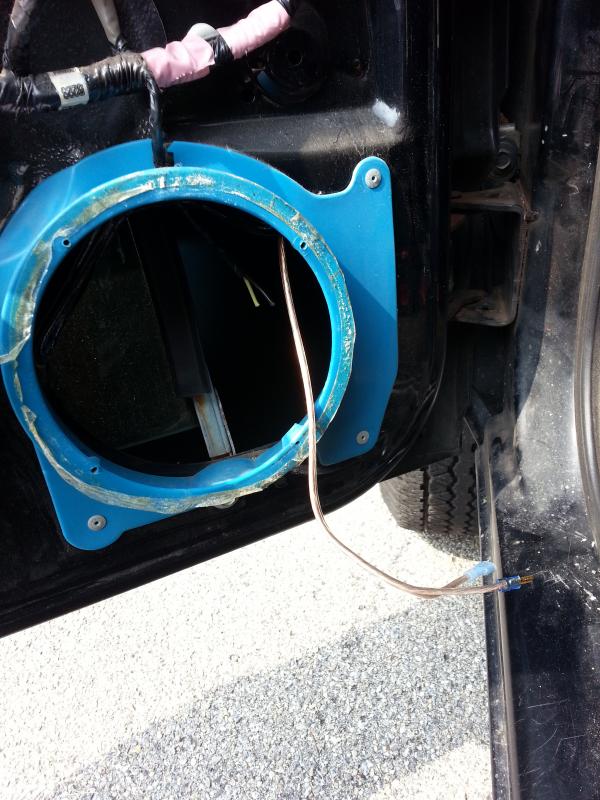
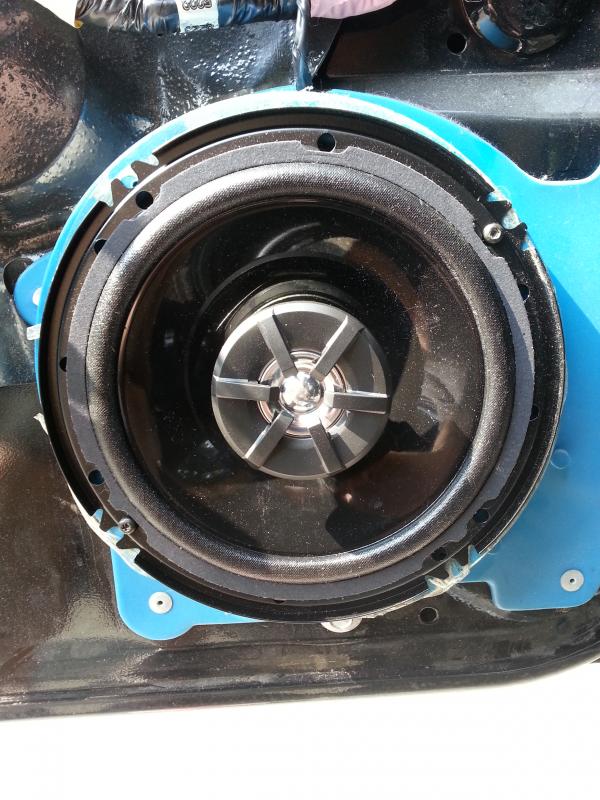
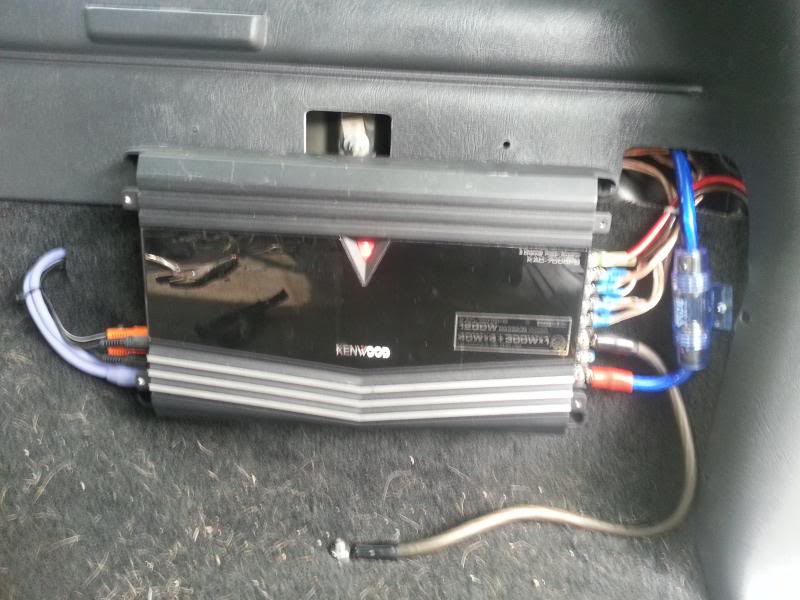
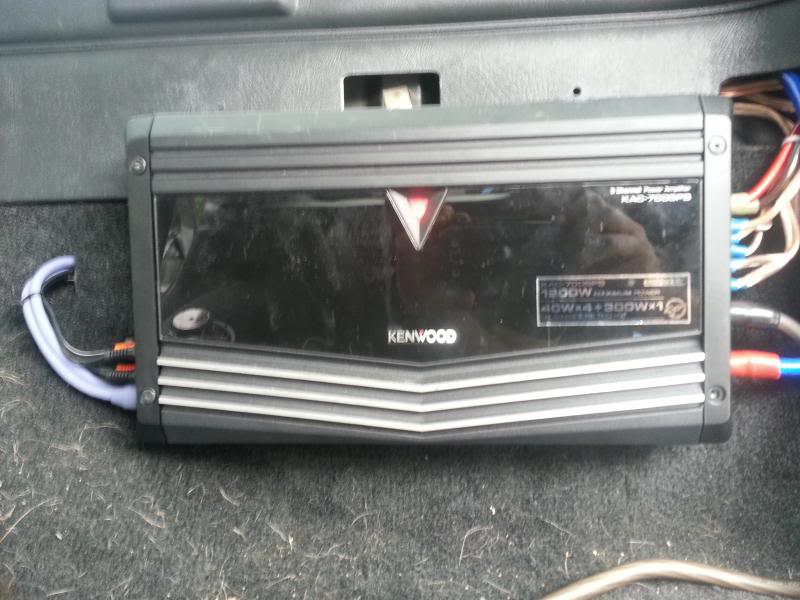
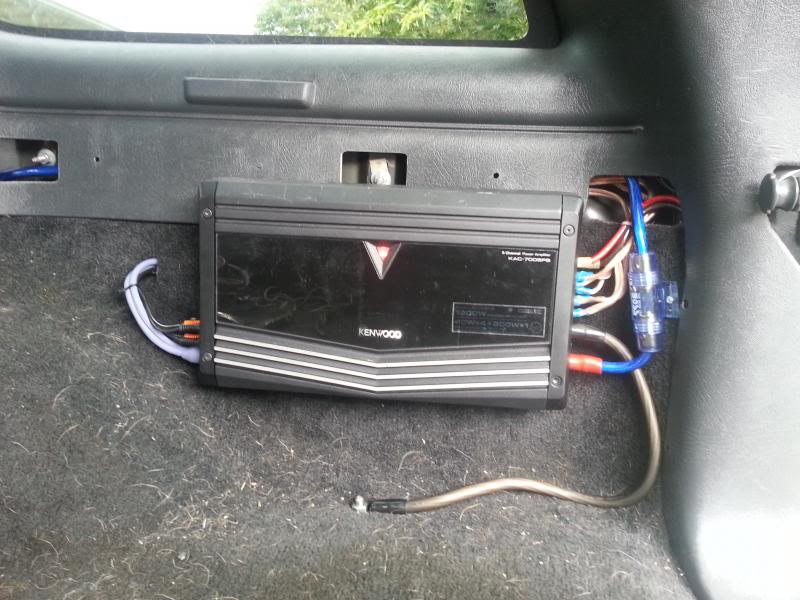
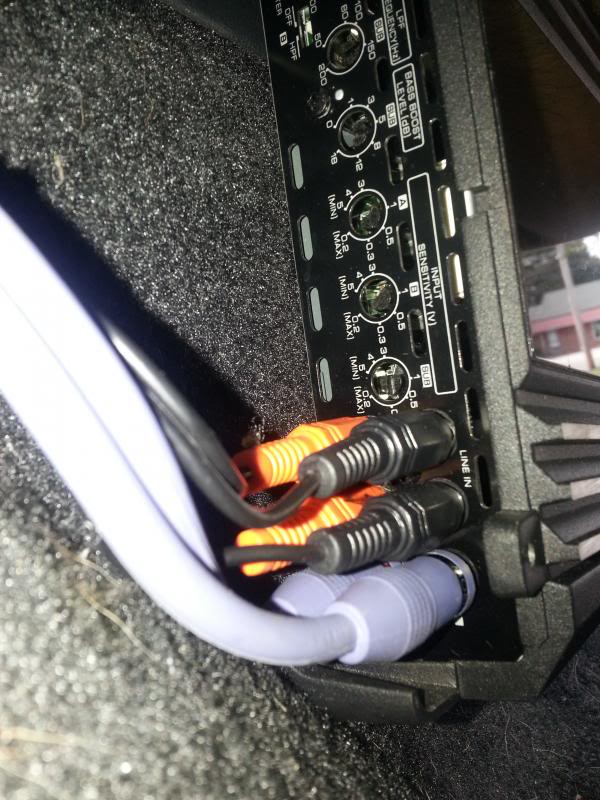
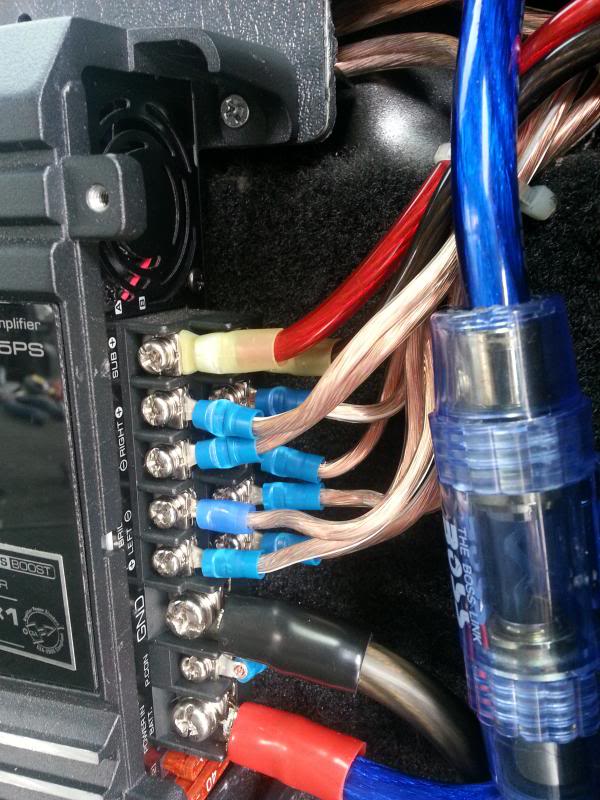
So I got my stereo install done. I mounted my amp, ran my RCA cables, Wired all 4 doors, installed 4 new speakers in the doors running off my amp. 2 4 x 6s in the dash hooked to the head unit, and connected my Sub.
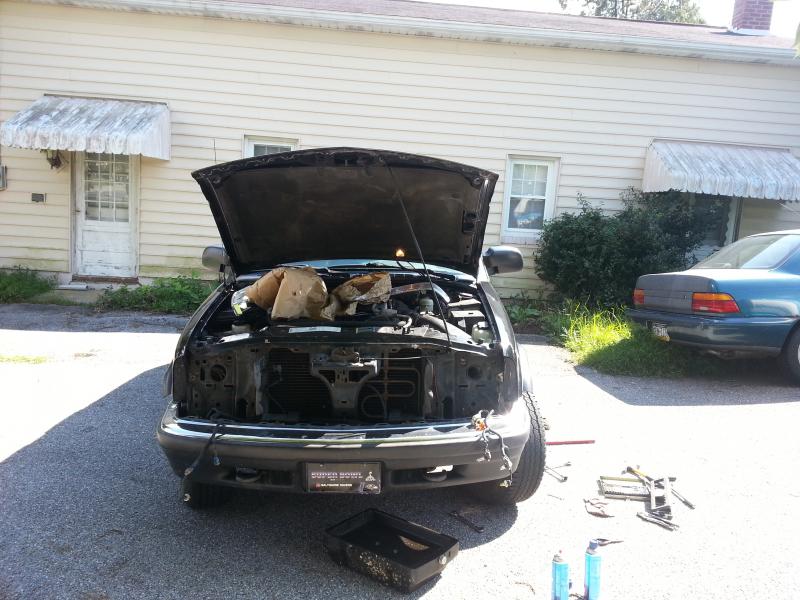
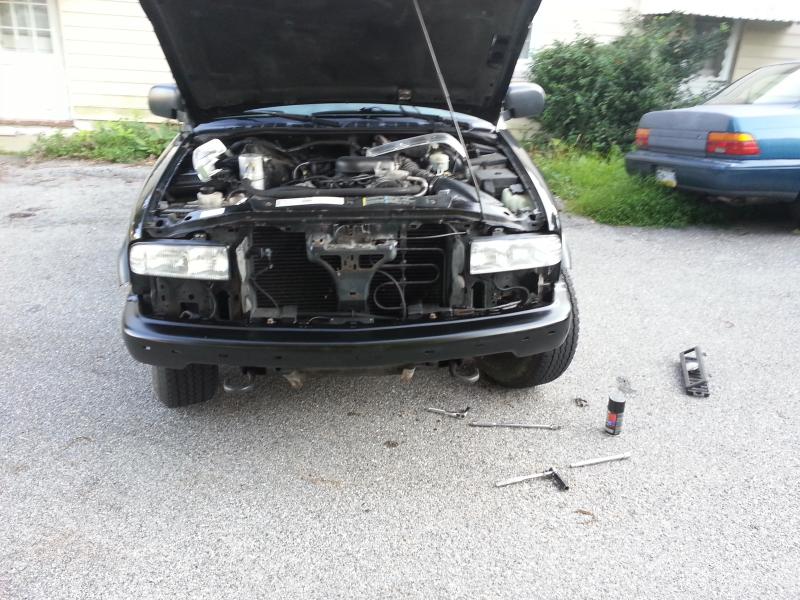
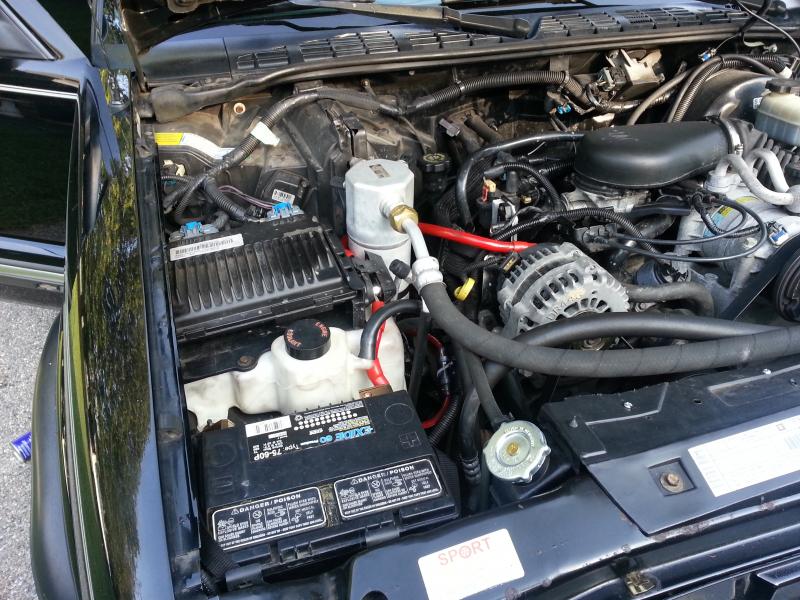
Also, here is a shot of my engine bay after the big 3.
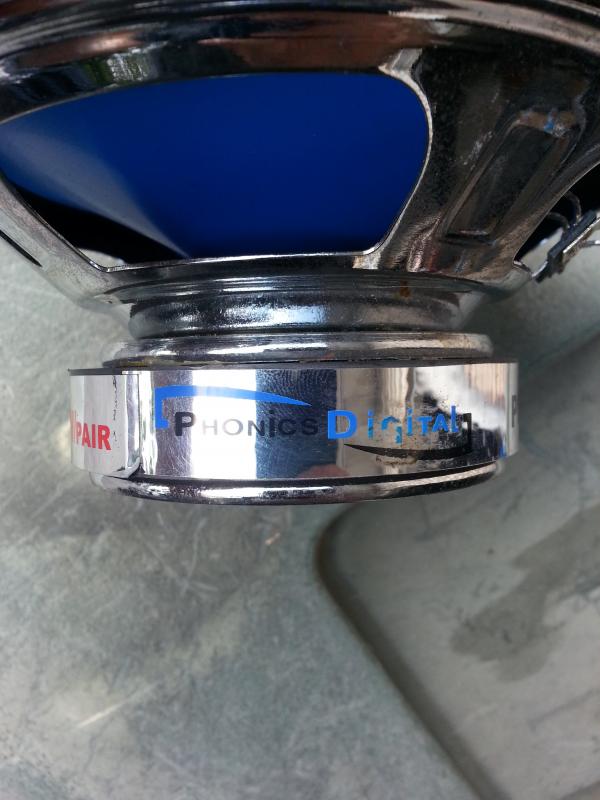
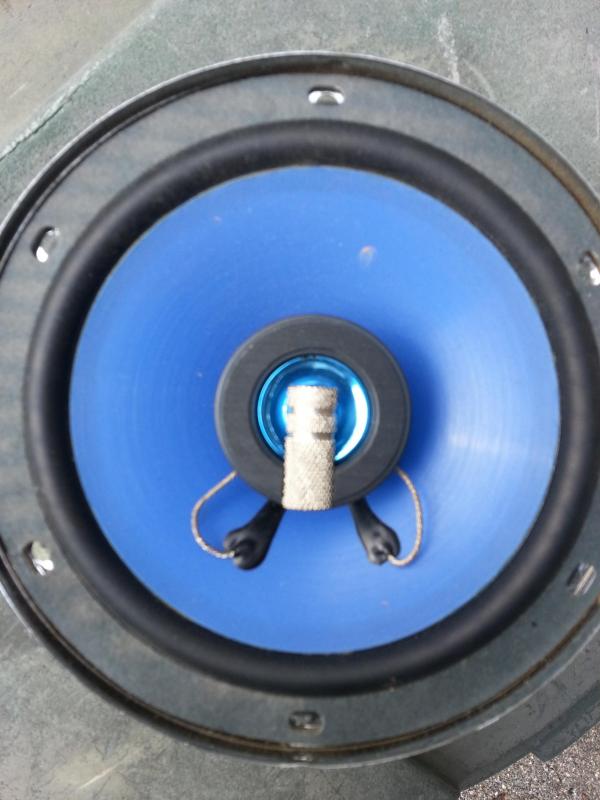
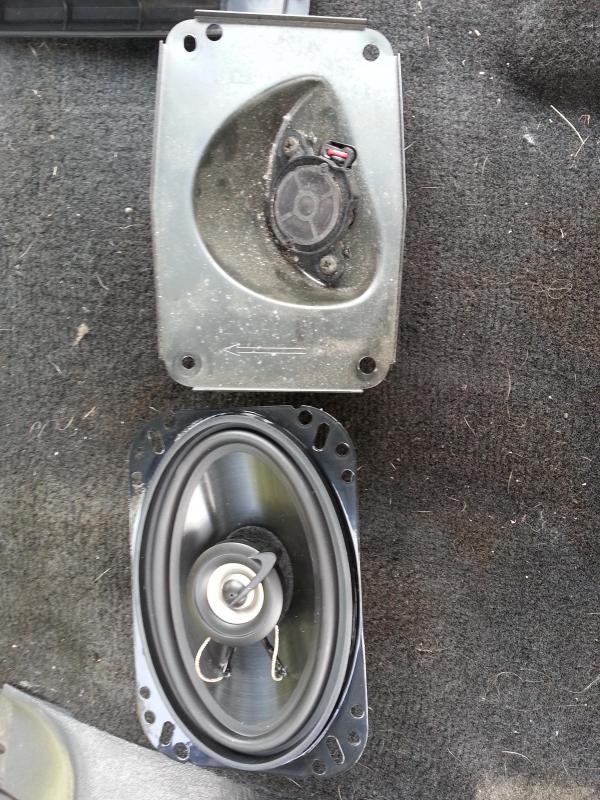
This is what I pulled out of my front doors, I've never heard of Phonics Digital. I just know they are cheap.
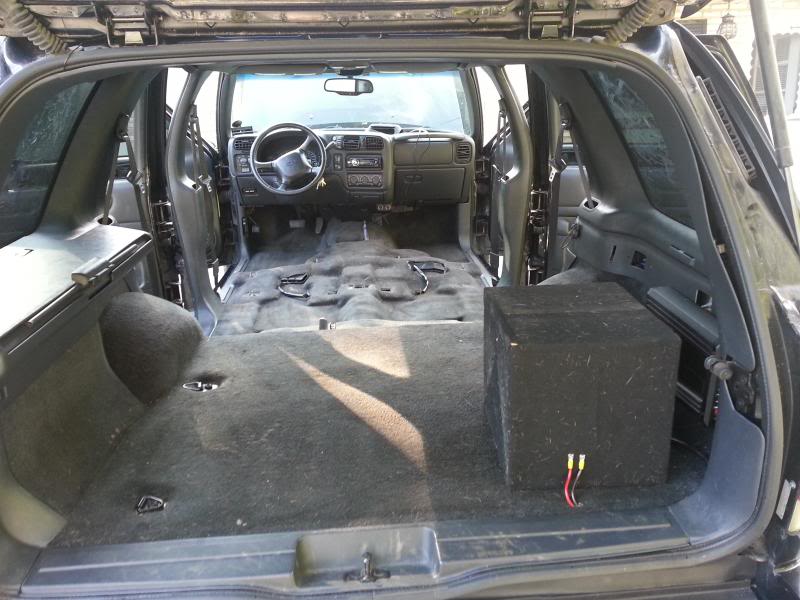
no seats and the power cables run
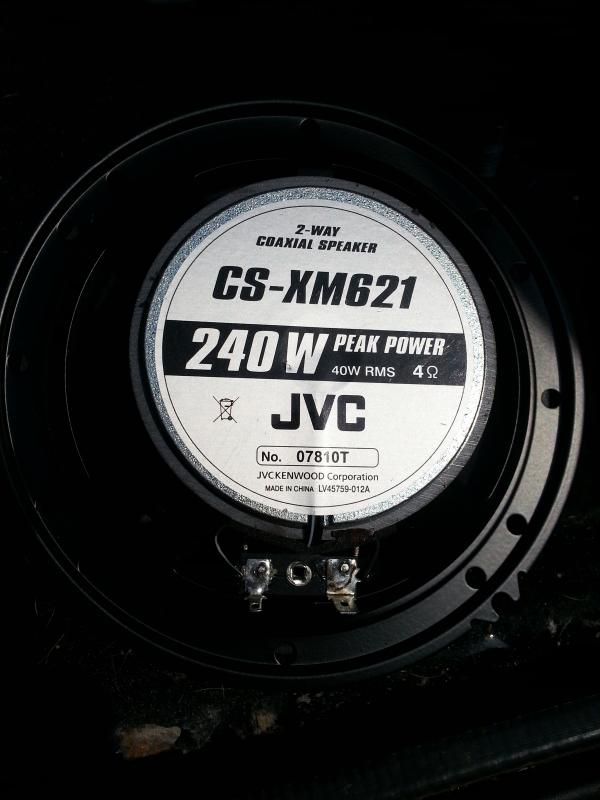
The new JVC speakers that I put in and the wire run to the door.
new dash speakers next to the stock tweeters.
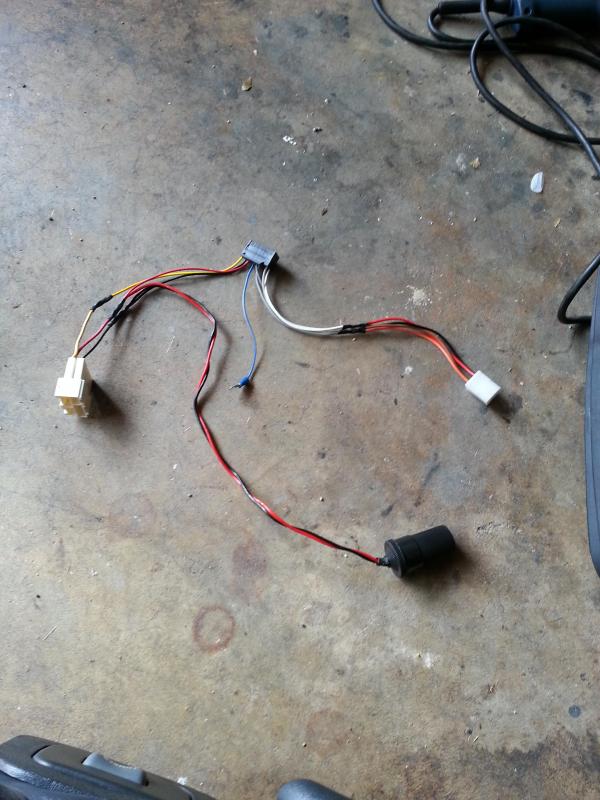
This next picture takes some explanation. This is my Sony harness to my GM harness. I am not running any factory speakers off the head unit except for the dash. I didnt' want to use the factory wiring because they have a crossover in them since they were just tweeters. So I ran my own wiring and used a 4 pin connector I got from my local electronics store. that is the white connector on the upper right. the blue wire is the amp turn on which just has a quick disconnect male end and the wire to the amp is female (duh!). The cigarette lighter wire is for my sirius, it is connected to the switched 12v. And the only thing I am using from the factory harness is the 12v constant, the 12v switched and the ground. I have since wrapped this all in electrical tape to make it a little neater. I also pulled all of the wires out of the harnesses that I wasn't using
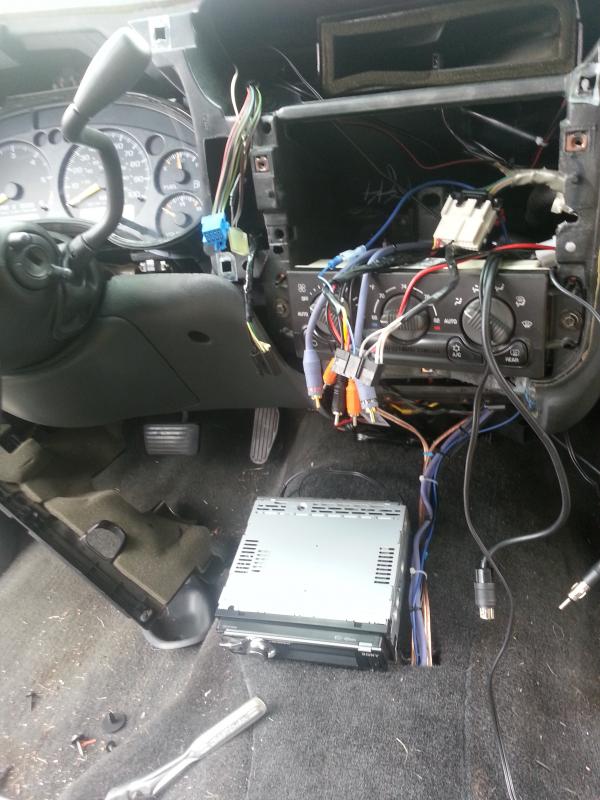
The wires hanging out of my dash opening and my RCA and front speaker wires that run under the console and under the carpet.
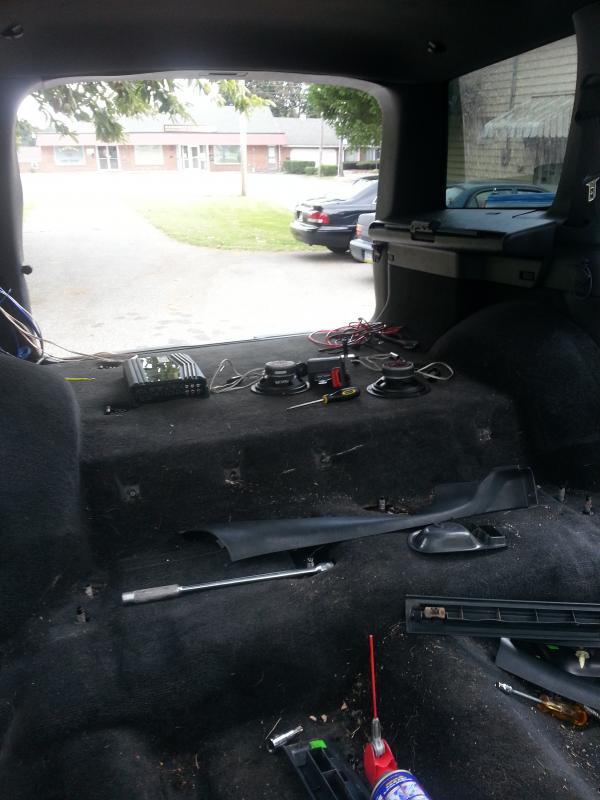
Random interior shots. The speakers laying on the floor are my old Cerwin Vega Stealths that were in the back door.
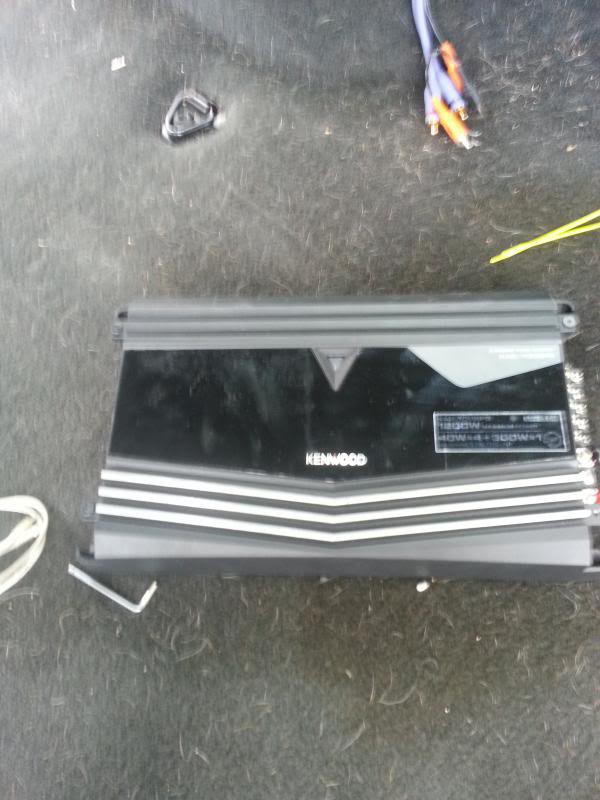
Kenwood KAC-700PS
mounted and connected
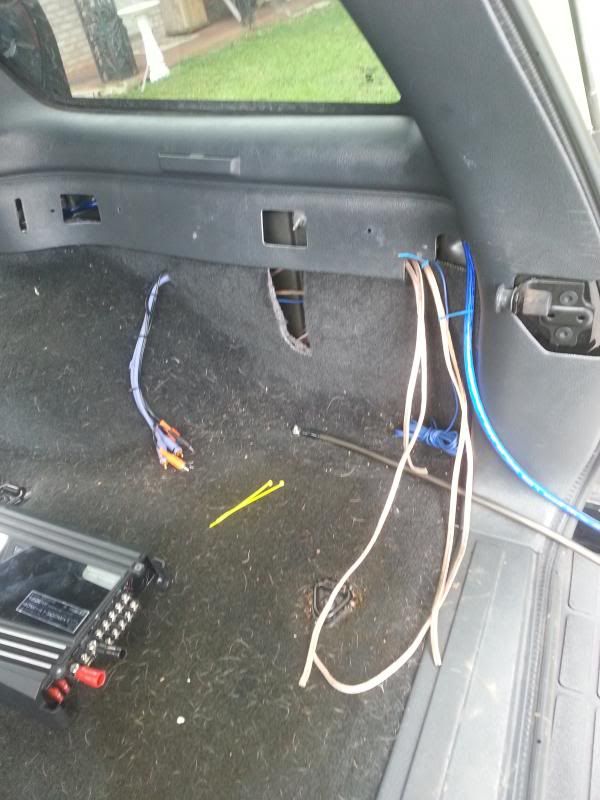
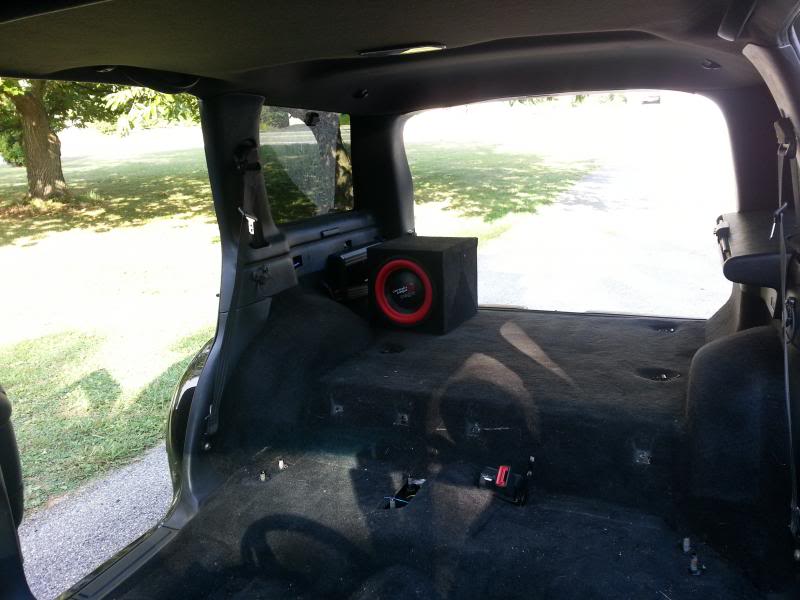
More random empty interior shots.
After a serious vacuuming I put the rest of the interior together. I have 2 issues, a very minor ground loop and the door speakers are way out powering the sub-woofer's sound, I just need to play with the settings on the amp.
Also, here is a shot of my engine bay after the big 3.
This is what I pulled out of my front doors, I've never heard of Phonics Digital. I just know they are cheap.
no seats and the power cables run
The new JVC speakers that I put in and the wire run to the door.
new dash speakers next to the stock tweeters.
This next picture takes some explanation. This is my Sony harness to my GM harness. I am not running any factory speakers off the head unit except for the dash. I didnt' want to use the factory wiring because they have a crossover in them since they were just tweeters. So I ran my own wiring and used a 4 pin connector I got from my local electronics store. that is the white connector on the upper right. the blue wire is the amp turn on which just has a quick disconnect male end and the wire to the amp is female (duh!). The cigarette lighter wire is for my sirius, it is connected to the switched 12v. And the only thing I am using from the factory harness is the 12v constant, the 12v switched and the ground. I have since wrapped this all in electrical tape to make it a little neater. I also pulled all of the wires out of the harnesses that I wasn't using
The wires hanging out of my dash opening and my RCA and front speaker wires that run under the console and under the carpet.
Random interior shots. The speakers laying on the floor are my old Cerwin Vega Stealths that were in the back door.
Kenwood KAC-700PS
mounted and connected
More random empty interior shots.
After a serious vacuuming I put the rest of the interior together. I have 2 issues, a very minor ground loop and the door speakers are way out powering the sub-woofer's sound, I just need to play with the settings on the amp.
Last edited by Tajohns34; Sep 9, 2013 at 11:30 AM.