When you click on links to various merchants on this site and make a purchase, this can result in this site earning a commission. Affiliate programs and affiliations include, but are not limited to, the eBay Partner Network.
That's a very good tip! I do have a list in my head of what needs attention. But as I am working on it I discover something new to add to the list so it's ever changing.
Yeah our local junk yards have an app so as soon as an S10/Blazer in certain year range drops in I am notified so I can go an pull parts. It's a bit frustrating since a lot of the people that go there do not go about the right way of dismantling parts so you get some important pieces are broken while they were trying to remove it. It happens alot with the dashboard bezels, the door panels and the inside trim pieces.
But I have learned that I have to be patient with this build. There are still a lot of S10 and Blazers still driving around many in good condition so eventually I will get all the pieces I need.
The cloth on the existing one was beginning to sag on the driver and passenger side. So when I found out how easy it was to remove the headliner I went ahead and removed it to asses the condition of it. Once decided I removed the cloth and began the tedious process of removing the old foam from the headliner with a toothbrush sized metal brush! I know but since I am going through home renovations my dremel ended up in one of many boxes of temporary storage. I set it up on a flat surface in the shade of the garage and just started scrubbing, it took a good 2 hours to removed the old foam but I was in business.
Next I raced off to the local auto upholstery store and tried to buy 3 yards of headliner material but got nowhere on account of the workers there. I went to another place and I got my headliner material in 5 minutes. It was about 98 degrees outside so I decided to take a break until the late afternoon when the sun eased up.
Here is where things started to go wrong. Over here where I live around 5-6pm on many evenings we get some cooling winds coming from the west. It's great because on hot days it's nice to feel the cool breeze coming back. Problem is it gusts so trying to put a headliner material on a cardboard/fiberglass surface that has not much weight is not fun. A few times it would blow over before I even could lay the cloth material over it. I ended up using those plastic clamps to hold one side down and started spraying the glue.
I had a full can of some heavy duty spray adhesive Misty brand whose valve went bad and leaked out the side. So no good. I found that I had a full can of 3M 77 general purpose glue and decided that this could work. This was my second mistake.
I managed to coat half of it and glue the material down, I smoothed it out paying attention to any air pockets or wrinkles. Then I moved the clamps over to the glued side, "just in case" and spray the other side. By this point the can was felling very light but I managed to finish the flat surface, but I didn't have enough to cover the overlap on the backside. I managed to get the misty adhesive to work and forced it to work and finished just before dark.
My third mistake came next. I started cutting the access holes for screws and upper console, etc and everything was going good. Got them all cut and instead of waiting I went ahead and put it back into the truck. Well, that did it. I came back the next morning to find it sagging in many many places but since I cut the accessory holes already, it was a lost cause. I ripped off my headliner material and decided to let the glue dry completely while I pondered my options. $45 dollars and a day gone.
SO learn from my mistakes.
1. Don't rush the job.
2. Have a suitable work area.
3. Use quality glue and have extra just in case.
4. Let the glue dry and cure completely before moving it back into the vehicle.
I will post some pics in about an hour so you can see visually.
Last edited by MacroMachine; Jul 14, 2020 at 10:13 AM.
Reason: Typos
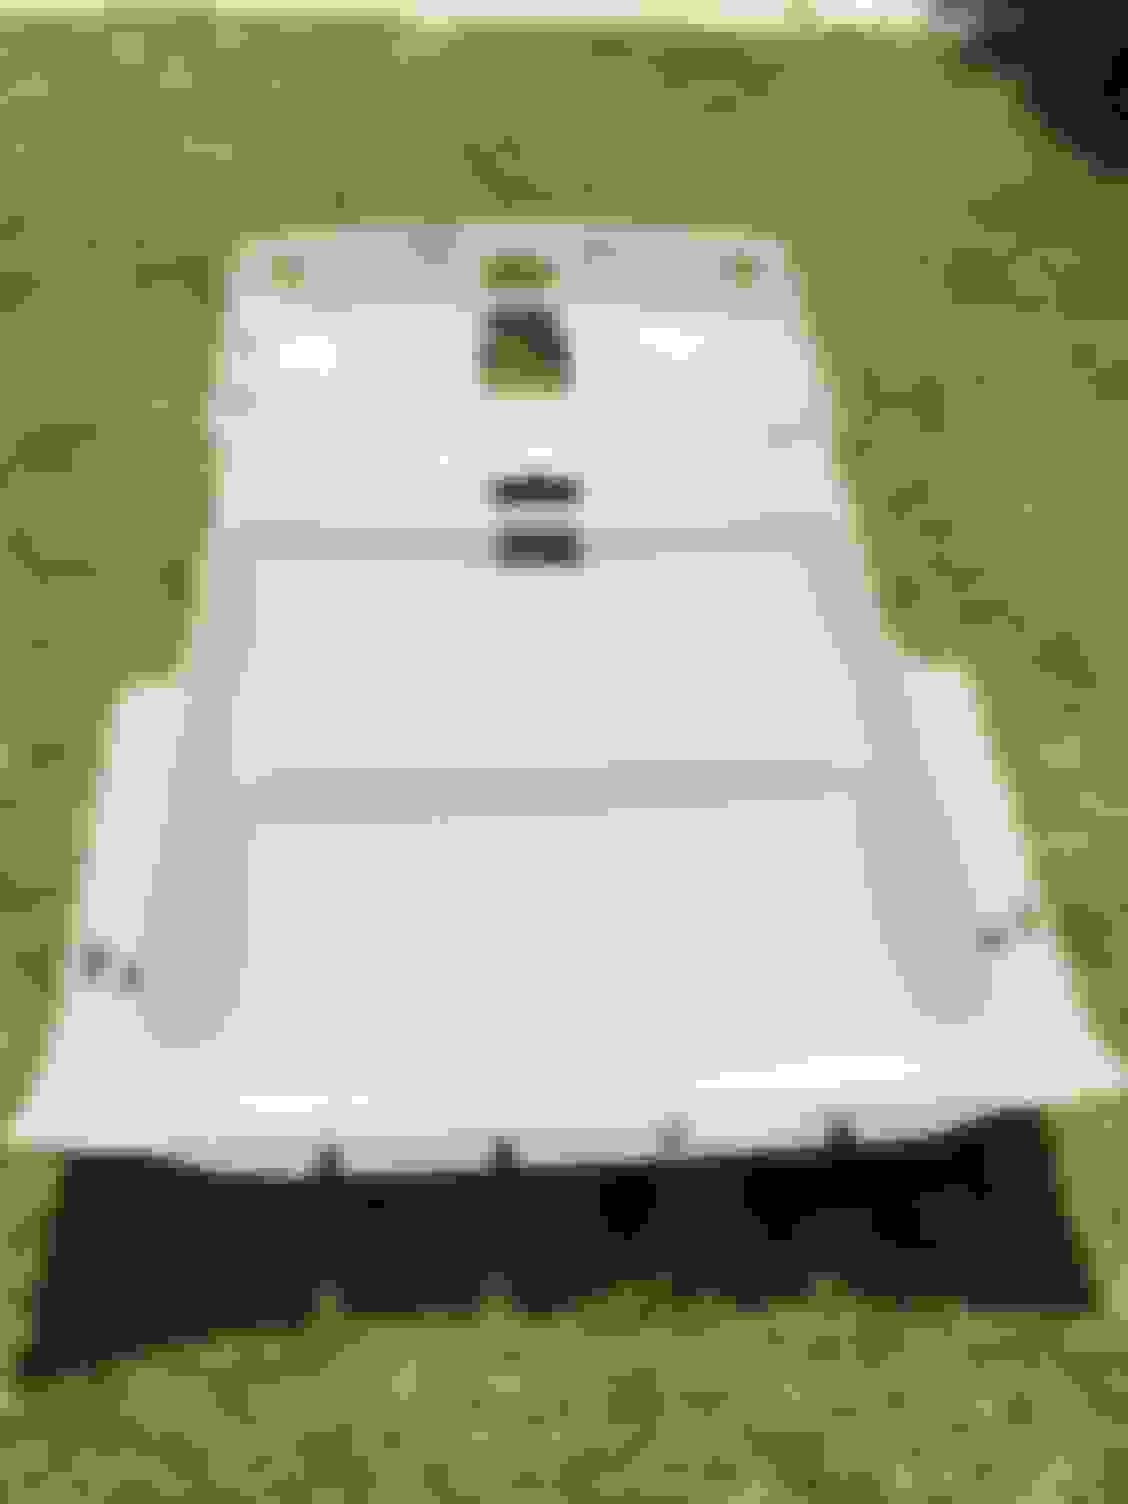
Here's the pics of the misadventures in replacing the headliner. Looking back it wasn't as bad as I thought but like I said I got impatient. I recommend that glue. It's very sticky, I got some on my hands and it takes about a day and half for the glue to wash off with constant hand washing and scrubbing. Just make sure the valve is good and keep some replacement spray nozzles on hand. The quality of the glue clogs them up quickly. Before, you can see the stain on the right side and you can make out the air pocket. You can see my troubles beginning in the back Disaster Worse than before Quality glue, just make sure the valve works.
So I'm in the mood to type today so I will update where I am at now. The headliner was from last weekend. This weekend was very busy and productive!
Thursday comes around and I am at work and decide to check the local junkyard inventory to see if anything new had been added. I was surprised to see a '96 Blazer 4X4 2 Door in white was just added. It looked like the rims it has matches mine! I didn't have my tools in my car with me so I could head directly after work so I planned on friday after work heading there directly and see what is left. When I go a day later they are always torn apart with lots of broken pieces scattered everywhere. Which is a shame because you might need a part that someone else broke.
Friday after work I head over and found it, and to my surprise no one had touched it. I went inside and the interior was immaculate, the last owner really took care of the interior. So I climbed in and sat there trying to see what I could use on mine. I already had the seats which were charcoal, and the lower rear panels too (also charcoal). But my Blazer is Pewter Grey. I was planning on painting the rear interior panels to match the pewter grey. I decided to take the upper inner panels with me right then and see how I could take them home in my sedan. Which fit, barely.
I would come back the next morning right when they open and grab the carpet and headliner. Off I went and I took all interior panels except for the dashboard and door panels, since they were different than mine. I took my time and got the rear glass hatch to open and with that I was in business, I took care to remove all the pieces and gather all the lug nuts for the next guy. I didn't want to be one of those guys that just destroys everything. I took the seats out and placed them outside along with the other pieces I didn't need. When I had what I wanted I put everything back inside and went to pay for my stuff.
I came back yesterday morning to pick up the center console (this one was in better condition) and a spare rim to replace the one hanging off the back. And of course the guys who destroy cars got it and broke and scattered a lot of the pieces I took care of putting back into the car. I managed to find the center console, disassembled and scattered and pulled one of the tires off for the rim.
So now my ZR2 is Charcoal grey instead of Pewter grey. I like it it looks a lot cleaner inside. Rim that matches my ZR2 Donor Vehicle. All the seats were in very good condition. Manual seats but clean.
Yeah it is. My work has about two boxes of the stuff. Which is where I got it but since it's been sitting so long a lot of them are leaking, losing pressure or have bad valves. I managed to find a good one and asked the manager for it and he gave it to me.
So what's the deal with the destroyer people? Can you tell if they are after specific parts?
The few times i go to a u-pull yard i'll try to kerp things tidy for the next person as a way to "pay it forward" to the person who did that for me.
I don't know maybe they are impatient, don't care, don't have the right tools with them or don't know how to disassemble. There are some that break open glove boxes and other storage places to find valuables the last owner left behind. It's not uncommon to find some nice stereo speakers hidden in a weird spot because someone wanted to "save" them for themselves. Plus the workers don't patrol anywhere (they just stay by the entrance) so it's not like they are gonna get caught for it. Supposedly if they catch you breaking a piece you pay for it. But each junkyard has its own problems. Some more broken windows, others more broken parts, some more scattered parts.
The best way is to get there as soon as the car your looking for drops or hope you have really good luck.
The main differences from mine and the youtube version are: I have aftermarket rims, I don't have those wind deflectors on the hood and windows. I don't have the step platform under the doors, I have a cowl hood instead of the flat one and the badge on mine has a blocky, stencil lettering with the word Off Road in red. Other than that they are identical, more now that I changed the interior to charcoal grey instead of pewter.
Also some past owner, sprayed the fender flares and bumpers with that rhino lining, like for truck beds, and my goal was to get them smooth but the texture is growing on me. So I may leave them as is.
Last edited by MacroMachine; Jul 15, 2020 at 10:20 AM.
Reason: More information
This past Sunday, I went all out and put the inside back together. I have almost everything i need to complete it. I just need the charcoal door panels and the dashboard. Mine is good except for the bezel around the odometer and radio. It's cracked same with the dash mat.
So i cleaned the carpet on Saturday evening with my handy carpet cleaner and some scrubbing and let it dry overnight. The next morning, while the carpet was getting rid of the last of its dampness, I gently washed the new replacement headliner. While those were drying I got all my pieces together and formulated a plan of attack. I removed the grey carpet I had recently put back into the truck and by then the new carpet was good to go in. I removed the last of the pewter grey trim pieces still inside. After I attached the seat belts from the center mounts only.
The headliner was dry and in it went. Added the visors and overhead console. Added the hand holds to keep the headliner in place. Next I added the lower rear trim panels, then the upper trim panels and got the seat belts attached from the top.
I then moved the rear seats into place and began to tighten them down. As I was almost done with the rear seats I was using a ratchet with a pivoting head and while I giving it the last push to tighten them the pivot moved up and threw my hand into the metal frame of the seat and cut me pretty good. So after the bleeding stopped I packed it up for the day. I joked with my dad that the Blazer has tasted my blood so we are connected. Haha
I just needed the front seats, center console and the door panels to complete and be done with the inside for now. So with a busted hand and help with my dad I added the front seats and got a pewter grey console in place.
Yesterday (Tuesday) I removed the lower tailgate cover and cleaned all the dirt out of the mechanical switches and parts and greased them. I put the new charcoal grey tailgate cover and added a handle to the glass hatch, mine was missing. Carpet in! Looks great! Visor lock Seat belts bolted in Lower rear trim panel in. Passenger side. Back seats all cleaned up