
96 ZR2... Vader?


Thread Starter
|
BF Veteran
Joined: Aug 2009
Posts: 2,040
From: Sullivan County, NY

I installed a posi-lock cable for the 4WD because my actuator had a rip in it. It was kind of a pain to get everything installed, but it works. Here's the build for that...
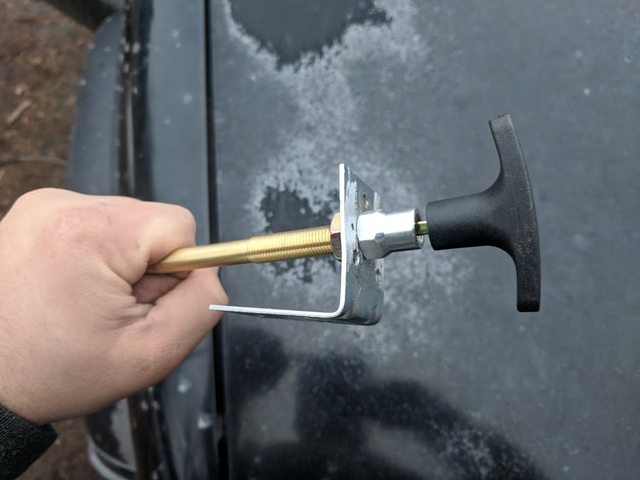
The cable I got from here, $24 shipped.
https://www.rcpw.com/truck-accessori...O9D3.5X10.html
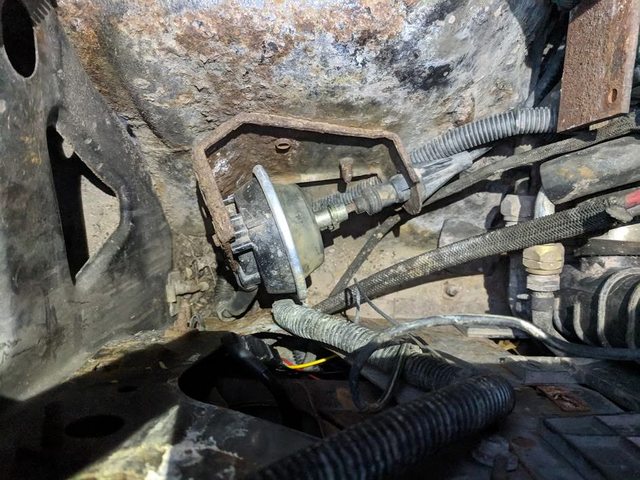
Old actuator had a rip in the boot.
I removed the vacuum line all the way to this hose, there was no sense in keeping a long piece of hose down there for no reason. Just have to plug this up.
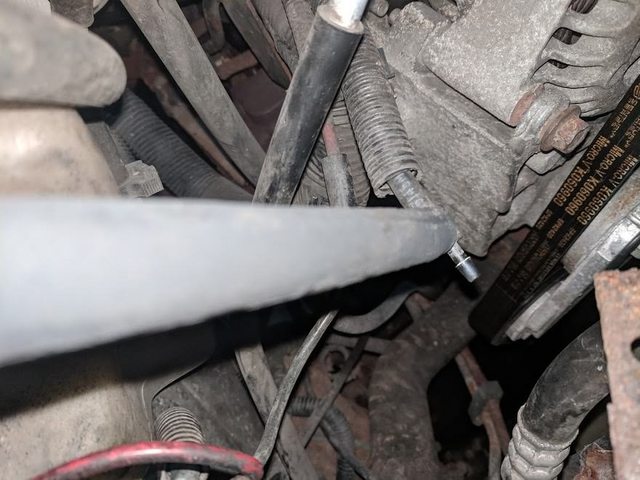
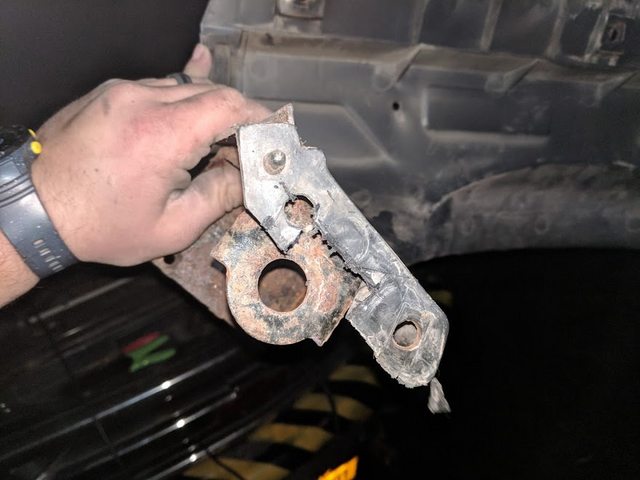
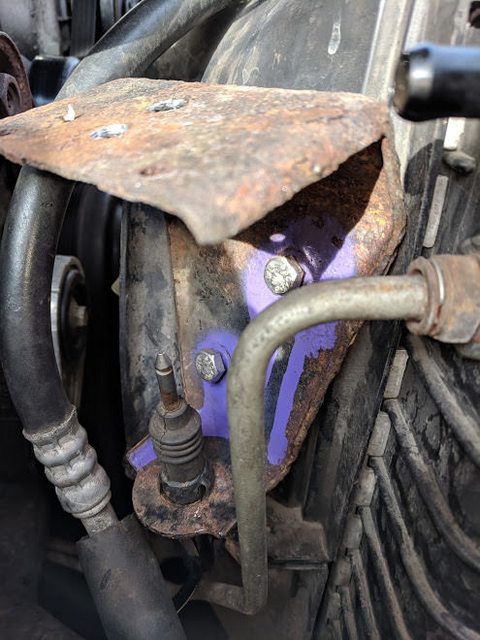
Mocking up where I want to attach the old bracket. It's a tight fit with all the cooling hoses, but it fits.
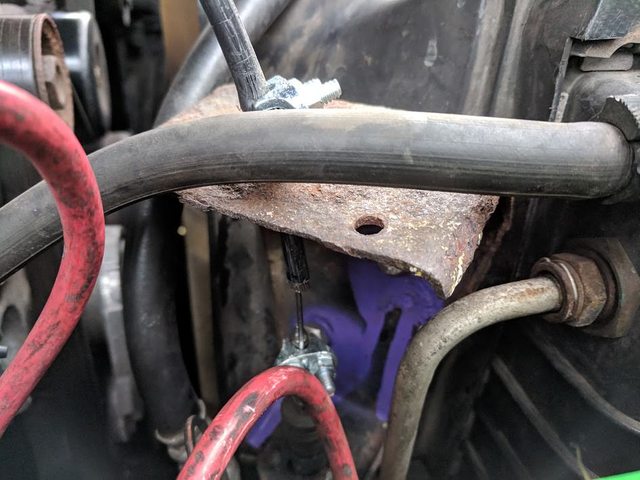
I had to trim a piece of the bottom of the fan shroud so the transfer case cable could fit up in the hole nicely.
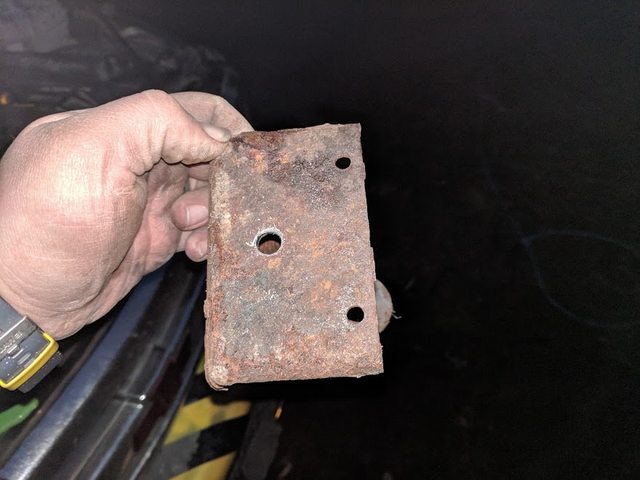
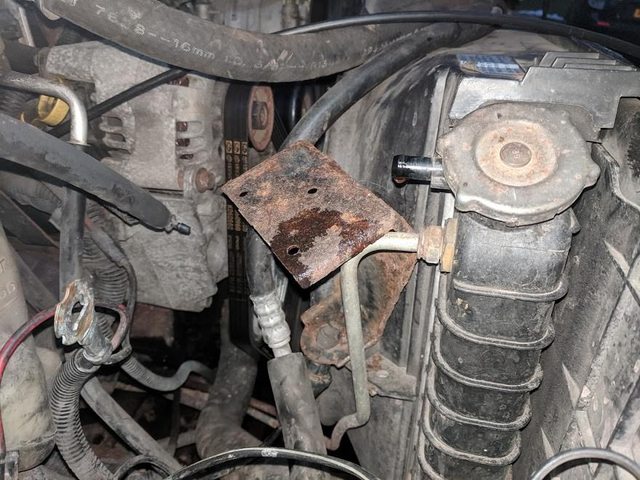
I drilled out the center hole bigger. Turns out I had to drill a new hole anyway...
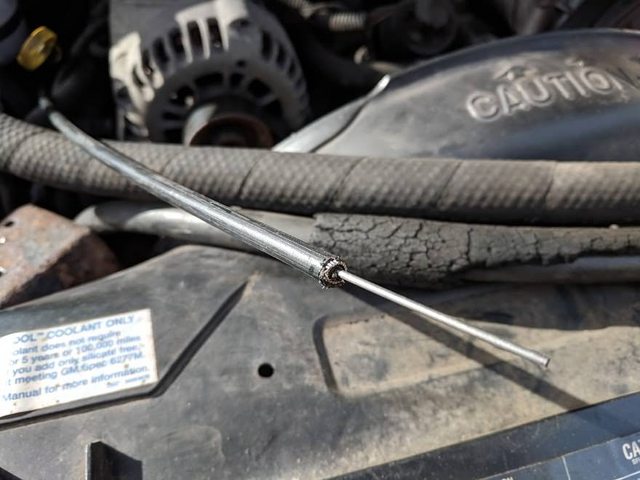
I trimmed the cable to almost the right length, then I pulled the cable from the inside and made my final cut. When I pushed the cable back in, I was left with this.
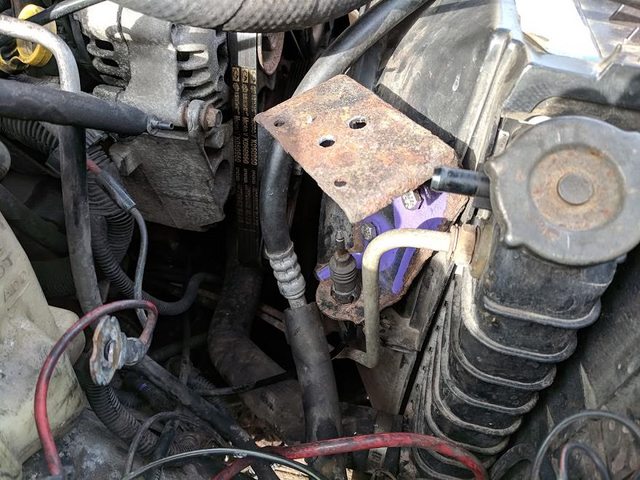
Used some nuts/bolts I had lying around to mount it to the fan shroud.
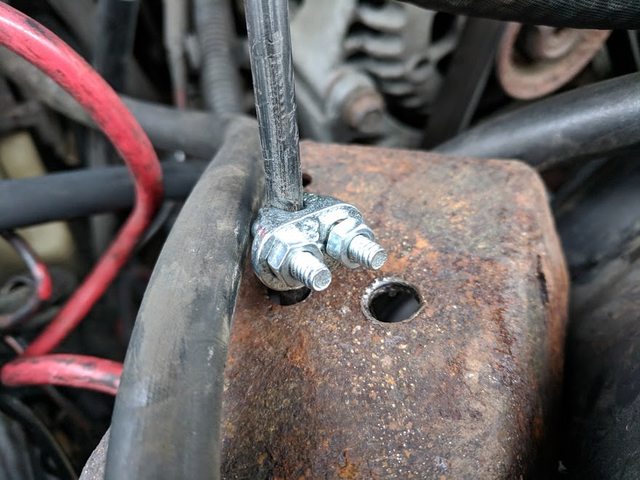
I used cheap clamps off Amazon to attach the cable. The clamp on top seemed to help. When ever I pulled the cable from inside, the black hosing would want to move instead of the cable itself. This helps.
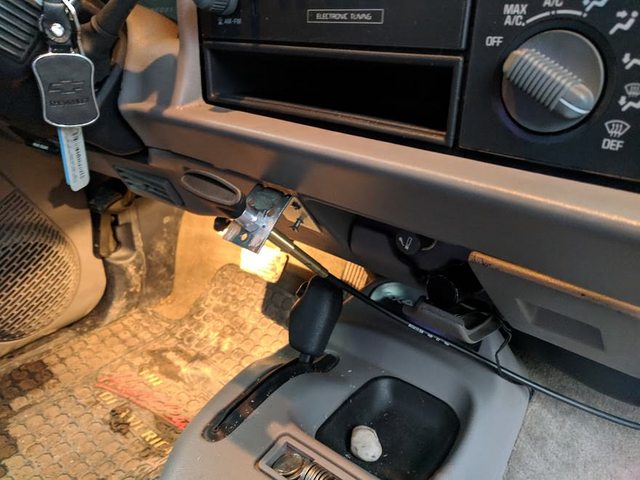
Inside view. I made the mistake of mounting the bracket after putting the cable through it and hooking everything up. I couldn't get that bottom screw in all the way... oh well.
Flex shot
The cable I got from here, $24 shipped.
https://www.rcpw.com/truck-accessori...O9D3.5X10.html
Old actuator had a rip in the boot.
I removed the vacuum line all the way to this hose, there was no sense in keeping a long piece of hose down there for no reason. Just have to plug this up.
Mocking up where I want to attach the old bracket. It's a tight fit with all the cooling hoses, but it fits.
I had to trim a piece of the bottom of the fan shroud so the transfer case cable could fit up in the hole nicely.
I drilled out the center hole bigger. Turns out I had to drill a new hole anyway...
I trimmed the cable to almost the right length, then I pulled the cable from the inside and made my final cut. When I pushed the cable back in, I was left with this.
Used some nuts/bolts I had lying around to mount it to the fan shroud.
I used cheap clamps off Amazon to attach the cable. The clamp on top seemed to help. When ever I pulled the cable from inside, the black hosing would want to move instead of the cable itself. This helps.
Inside view. I made the mistake of mounting the bracket after putting the cable through it and hooking everything up. I couldn't get that bottom screw in all the way... oh well.
Flex shot
Thread Starter
|
BF Veteran
Joined: Aug 2009
Posts: 2,040
From: Sullivan County, NY
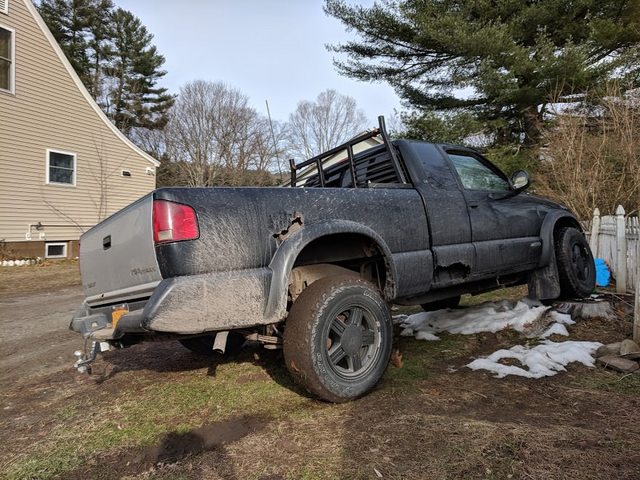
Some pretty exciting stuff today, something I've been wanting to do for a while: adding a roof rack to the truck! It's not a perfect fit, and part of that is my visor which I did not want to take off, but I love it.
This is what I used. The rivet kit I got from Harbor freight, it was the cheapest one I could find and the quality seems really good. I used the 1/4-20 inserts and bought bolts from Home Depot. The drill bit was a 25/64. The sealant barely worked, but that may have been because it was about 17 degrees out.

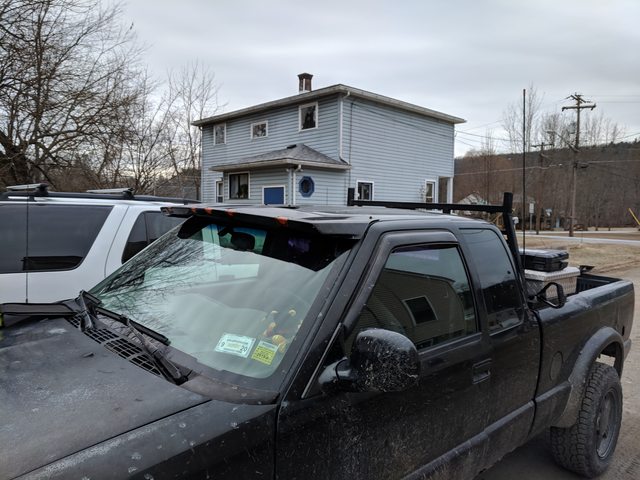
I got rough measurements and took the back mounts off the rack (there's a tiny torx bolt on the bottom and the rails just slide out) and cut the rails down to about 16". I put the back mounts in for now to mock it up. Still a little to long.
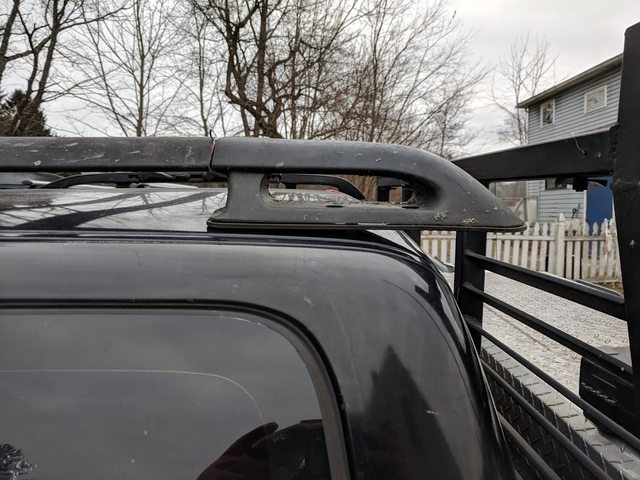
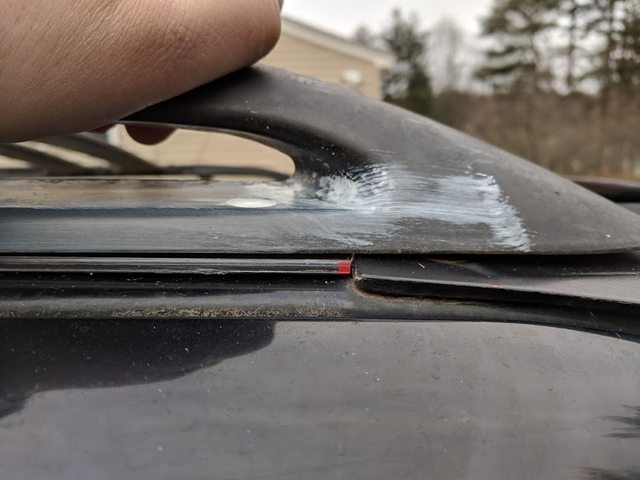
I couldn't shortern it up too much more, so I shifted it forwards over the top of the visor. I cut the bottom plastic "pad", for lack of better term, so it sat more flush.
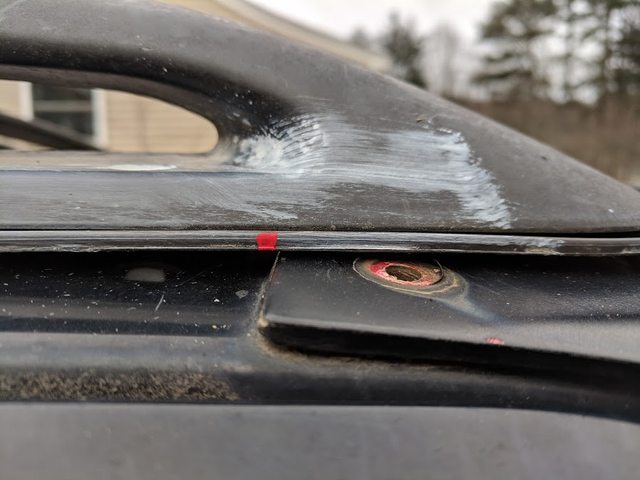
I didn't take pictures from here on out until I was finished, but I mocked up the rack to be where I wanted it, and used a hole punch in the mounting holes to make a mark. Then I took it off and drilled the holes out. Once I did, I applied sealer around the holes and used the rivet gone to mount the threated inserts. Threw the rack on and bolted it down! Easy.
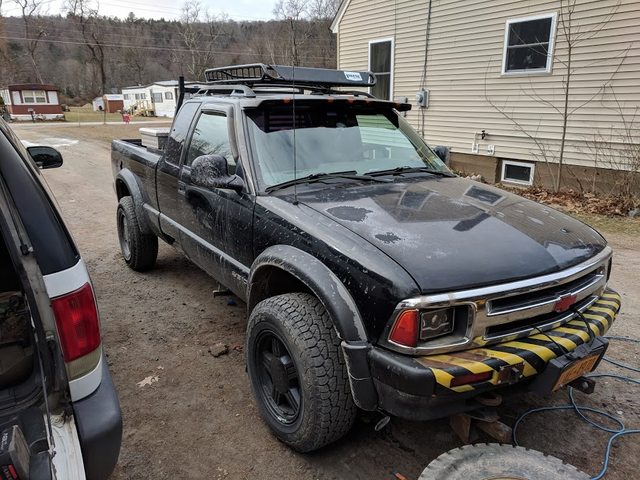

Come spring I'm going to take it off to paint, and I'm going to reseal everything so it's more weather proof and looks better. I'll update with pictures then.
Now I just have to figure out how to mount my shovel and we'll be all set!
This is what I used. The rivet kit I got from Harbor freight, it was the cheapest one I could find and the quality seems really good. I used the 1/4-20 inserts and bought bolts from Home Depot. The drill bit was a 25/64. The sealant barely worked, but that may have been because it was about 17 degrees out.
I got rough measurements and took the back mounts off the rack (there's a tiny torx bolt on the bottom and the rails just slide out) and cut the rails down to about 16". I put the back mounts in for now to mock it up. Still a little to long.
I couldn't shortern it up too much more, so I shifted it forwards over the top of the visor. I cut the bottom plastic "pad", for lack of better term, so it sat more flush.
I didn't take pictures from here on out until I was finished, but I mocked up the rack to be where I wanted it, and used a hole punch in the mounting holes to make a mark. Then I took it off and drilled the holes out. Once I did, I applied sealer around the holes and used the rivet gone to mount the threated inserts. Threw the rack on and bolted it down! Easy.
Come spring I'm going to take it off to paint, and I'm going to reseal everything so it's more weather proof and looks better. I'll update with pictures then.
Now I just have to figure out how to mount my shovel and we'll be all set!