
Altoncustomtech's 2001 Jimmy = slow audio build

Enjoying this. I didn't add before that I went with the Alpine IMPRINT system for tuning. Comes with a Mic and software and sets itself up. I couldn't be bothered with darting with settings and would rather my laptop decide what sounds best. Hopefully me and the boy can get it booming this summer.
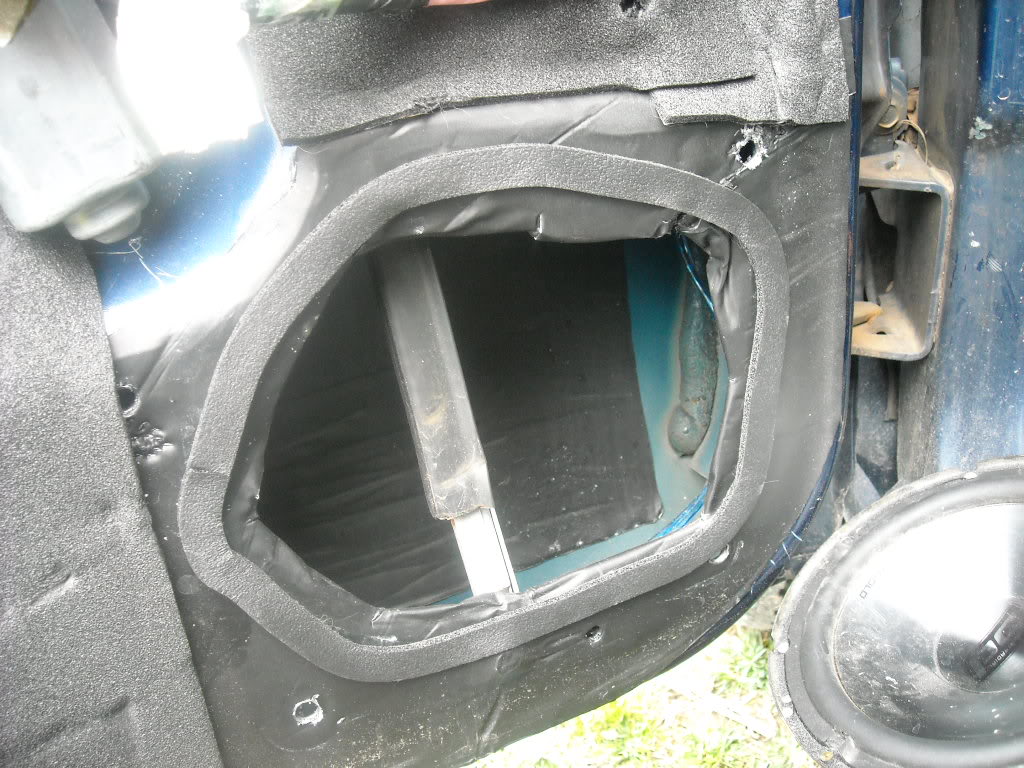
I've applied some CCF speaker gasket tape around the opening of the door for a couple of reasons. One, it's just another way to help decouple the baffle from the door. Two it will help seal it, obviously..
[/QUOTE]
im not trying to be a jerk with this comment and you obviously good at what you do. i love what you did with the door panels, cutting the stock grilles out that is. gives me an idea about mine. anyway, to the point.
if the baffle that you made has no back on it behind the speaker, what exactly are you sealing?? im kind of a novice to the whole speaker sealing, making it sound better thing, so i guess im curious as to what you did that. thats why i started with what that first line.
Thread Starter
|
Senior Member
Joined: Oct 2010
Posts: 931
From: Monroe City, IN

Enjoying this. I didn't add before that I went with the Alpine IMPRINT system for tuning. Comes with a Mic and software and sets itself up. I couldn't be bothered with darting with settings and would rather my laptop decide what sounds best. Hopefully me and the boy can get it booming this summer.
Originally Posted by altoncustomtech
I've applied some CCF speaker gasket tape around the opening of the door for a couple of reasons. One, it's just another way to help decouple the baffle from the door. Two it will help seal it, obviously..
if the baffle that you made has no back on it behind the speaker, what exactly are you sealing?? im kind of a novice to the whole speaker sealing, making it sound better thing, so i guess im curious as to what you did that. thats why i started with what that first line.
Whether it's in a house, car, boat, PA system, etc. the back wave has to be kept from the front wave (except in a properly tuned ported enclosure, but that's an altogether different discussion) so that what we hear is as clear and uncolored as possible. In a car door, there is a tremendous number of places that back wave is going to have an opportunity to come out of the inside of the door and interact with the front wave. Ideally the best solution is to seal as much as humanly possible in that door to prevent that issue from occurring and that's precisely what one of those functions of that seal is for.
In all honesty, it's really a bit of overkill. If I were to mount the baffle directly to the door, especially with all that sound deadening mat on there, it would seal pretty well and very little of that back wave would ever get through that particular location, if any. I'm a bit of an overkill enthusiast though, and yes I did it to help seal the baffle to the door, but it's biggest reasons for being there was to help decouple the baffle (not make the mating of the baffle and door so rigid that the forces enacted by the speaker on the baffle are transferred into the door's structure) and it gave a little bit of wiggle to the baffle so I could perfectly align the protruding part of the baffle with the hole in the door panel.
Hope that helps explain my actions there.
Last edited by altoncustomtech; Feb 27, 2013 at 06:26 AM.
Thread Starter
|
Senior Member
Joined: Oct 2010
Posts: 931
From: Monroe City, IN
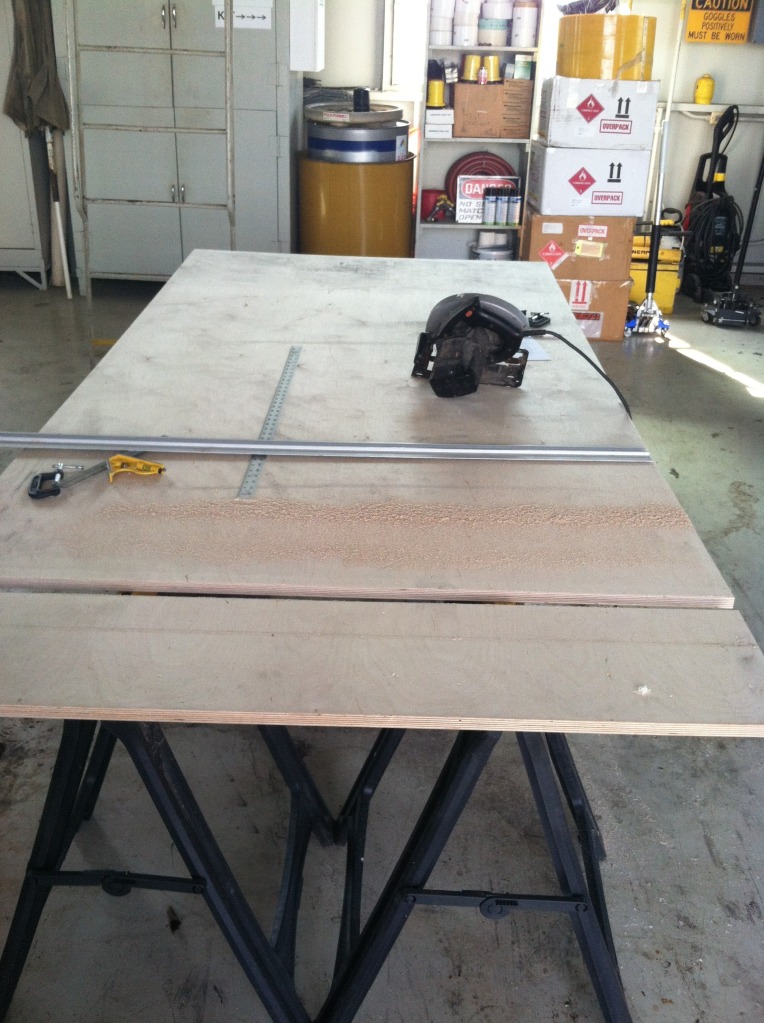
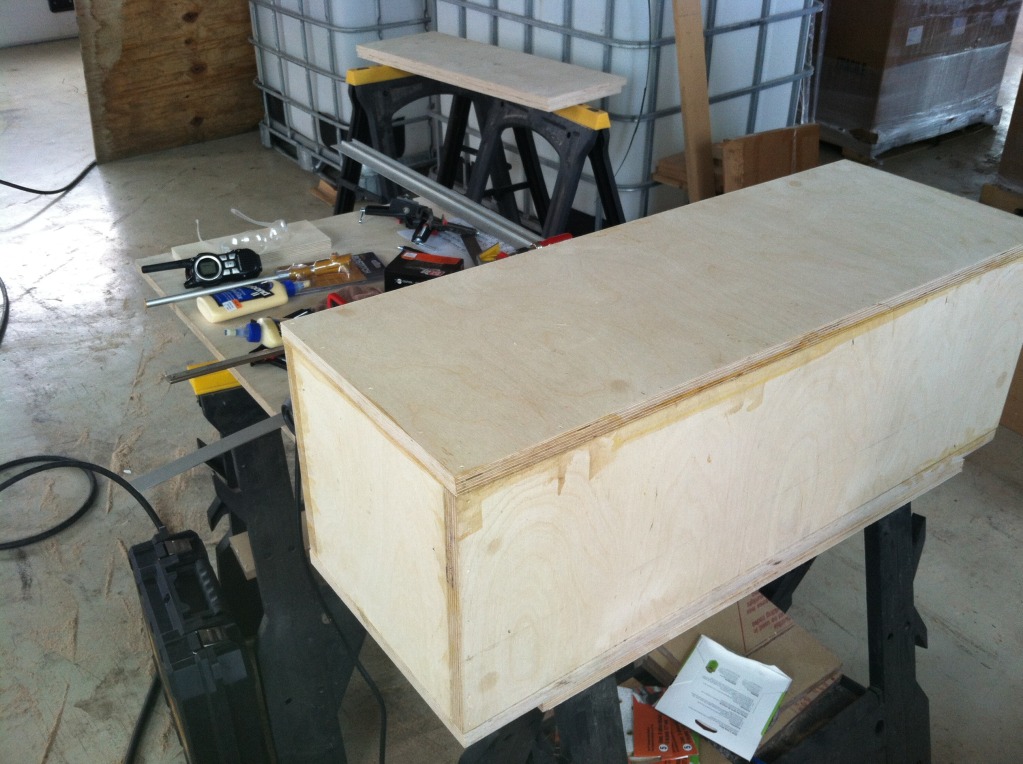
Ok. Finally got started on the enclosure again. Work has been just shy of insane with us running most of our engines moving gas since September last year. In the last few weeks we've been slowing down on the amount of gas we're moving and engines we run so after getting caught up on a few things I had a little free time to start on the enclosure. So here's a few pictures to start it off, lol.
First cut. It is noticeably easier to cut than MDF, I'm looking forward to routing it for the plexi.
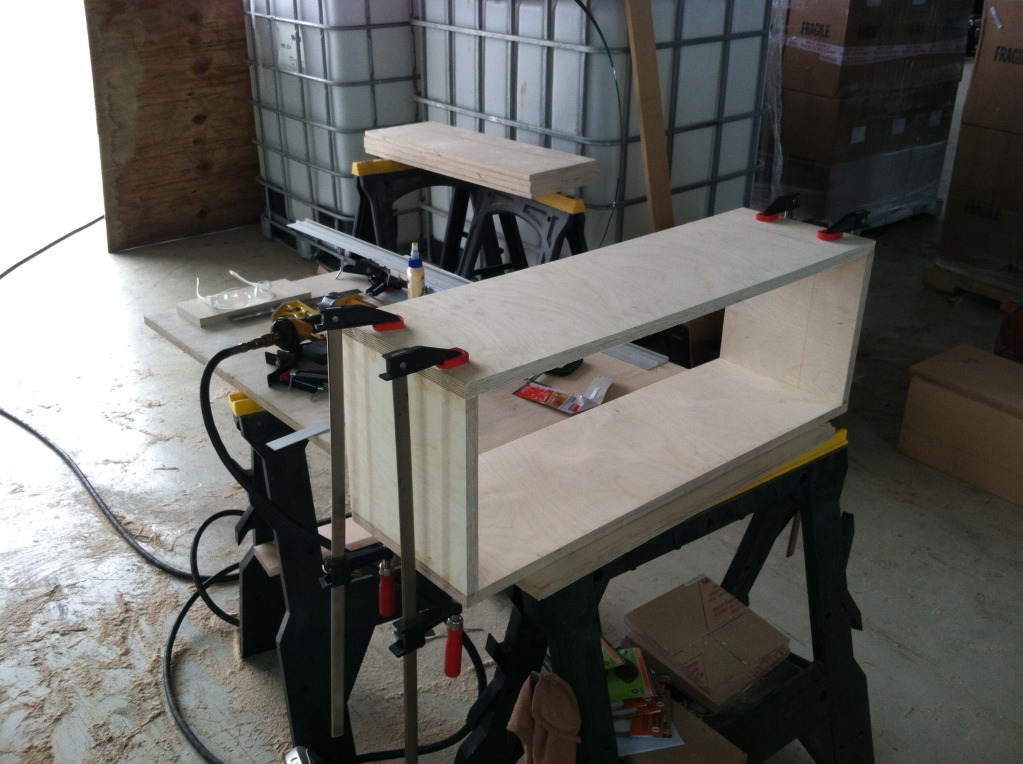
Got all the cuts made, beginning the assembly.

This is how I left it today. With any luck I can get there to work on it some this weekend but I'm not going to hold my breath.
First cut. It is noticeably easier to cut than MDF, I'm looking forward to routing it for the plexi.
Got all the cuts made, beginning the assembly.
This is how I left it today. With any luck I can get there to work on it some this weekend but I'm not going to hold my breath.
Using plywood for a box? I always heard thats not a good idea from my dad who is a carpenter and by no means an audiophile. He told me that the vibrations would separate the fibres and glue and that plywood flexes where MDF doesnt. He also figured that the plywood would add a "buzz" to the sound, and also wouldnt be air tight. He always built my boxes and used MDF even though he also hates cutting it with his saws (something about it being hard on his expensive blades and the bad smell it gives off). We always used 1/2 instead of 3/4 to cut down on weight, and to add stregnth he would build braces into the corners and rib the large panels. What wood is it exactly?
Last edited by ohsofly; May 4, 2013 at 01:57 AM.
Thread Starter
|
Senior Member
Joined: Oct 2010
Posts: 931
From: Monroe City, IN
Using plywood for a box? I always heard thats not a good idea from my dad who is a carpenter and by no means an audiophile. He told me that the vibrations would separate the fibres and glue and that plywood flexes where MDF doesnt. He also figured that the plywood would add a "buzz" to the sound, and also wouldnt be air tight. He always built my boxes and used MDF even though he also hates cutting it with his saws (something about it being hard on his expensive blades and the bad smell it gives off). We always used 1/2 instead of 3/4 to cut down on weight, and to add stregnth he would build braces into the corners and rib the large panels. What wood is it exactly?
Also, I forgot to update the thread about the original box I had started on. One of my co-workers was cleaning some engine/regulator parts in the parts washer and set them on the top of the box when he got done. The cleaner in those washers and MDF DO NOT GET ALONG! It literally disintegrated the panels it touched and ruined the enclosure.
Thread Starter
|
Senior Member
Joined: Oct 2010
Posts: 931
From: Monroe City, IN
Mine may seem hardcore, but it's nowhere near as hardcore as many others. I may have mine a bit overbuilt, but it's mainly due to the fact that dollar for dollar I want everything I have to perform at it's absolute best. It's easier and yields much better results to spend that money on the fab work and supplies to make the installation as good as it possibly can be than to spend it on the equipment and hope for the best without a great installation. As it is the bass/midbass (READ NOT SUB BASS) from the components is powerful enough to feel it in my back and chest and doing that with just a $150 set of components and a little over 100 watts per channel has only to do with how they're installed. On top of that, with a strong foundation to work from I can upgrade to better equipment in the future and really take advantage of all the work I've put into the installation.
Thread Starter
|
Senior Member
Joined: Oct 2010
Posts: 931
From: Monroe City, IN
A few more updates. I'm at the intrakit part of the build process now. I have to use careful precision so that the holes and flush recesses all line up perfectly.
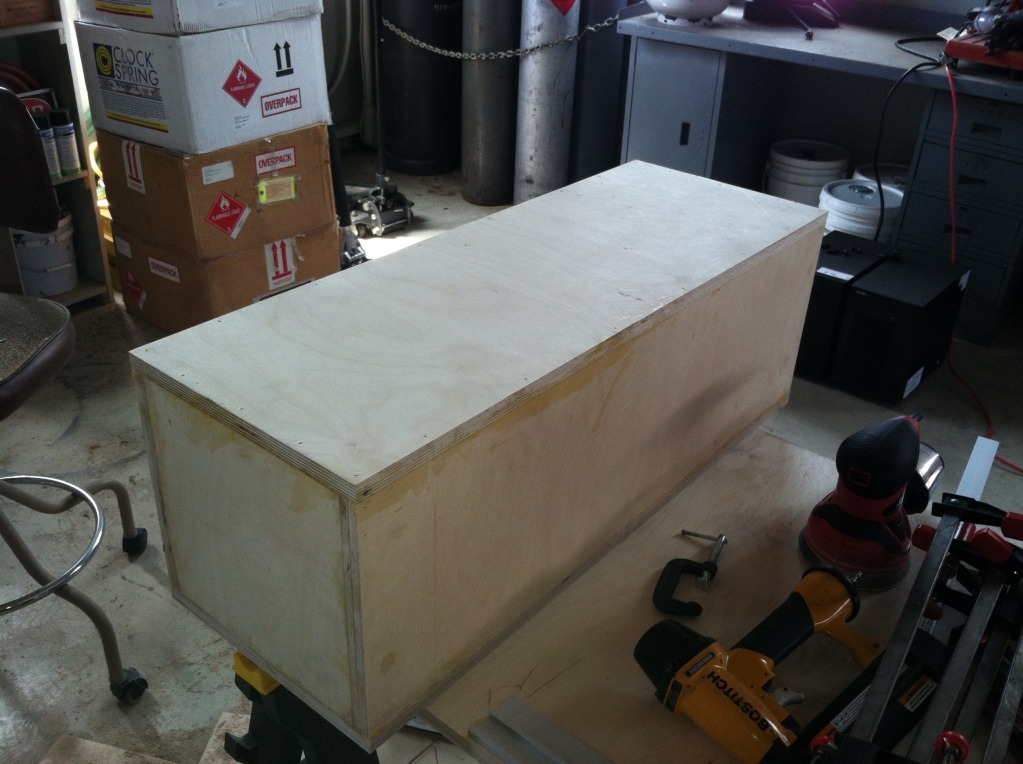
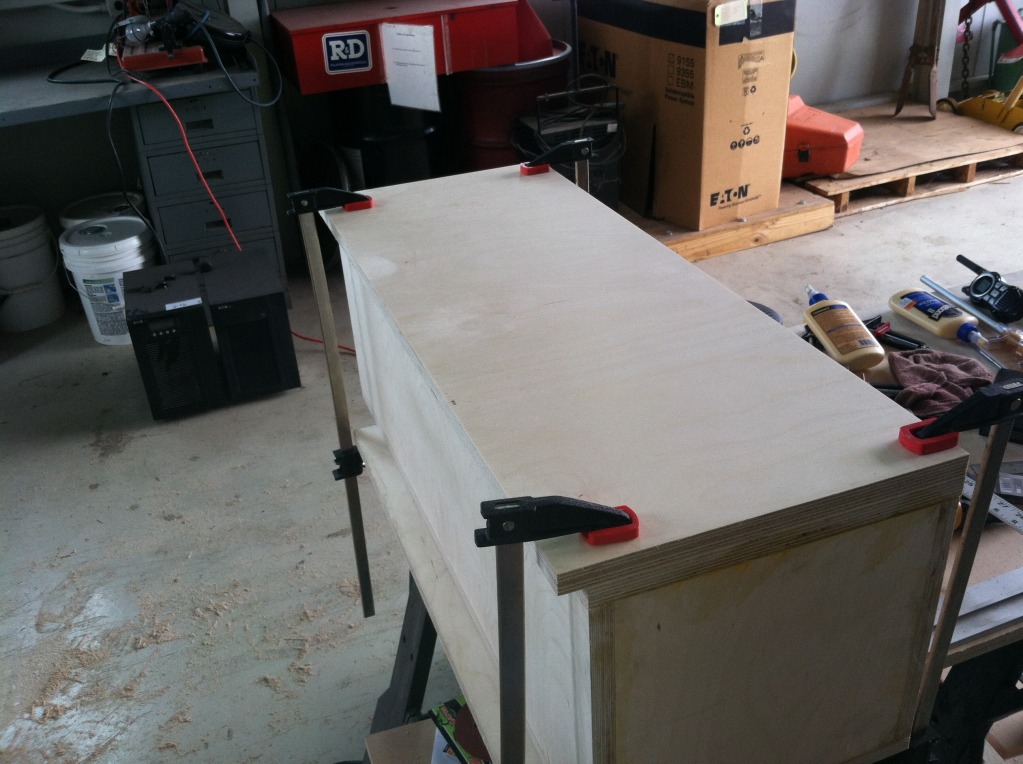
Here's the enclosure with all the regular panels attached.
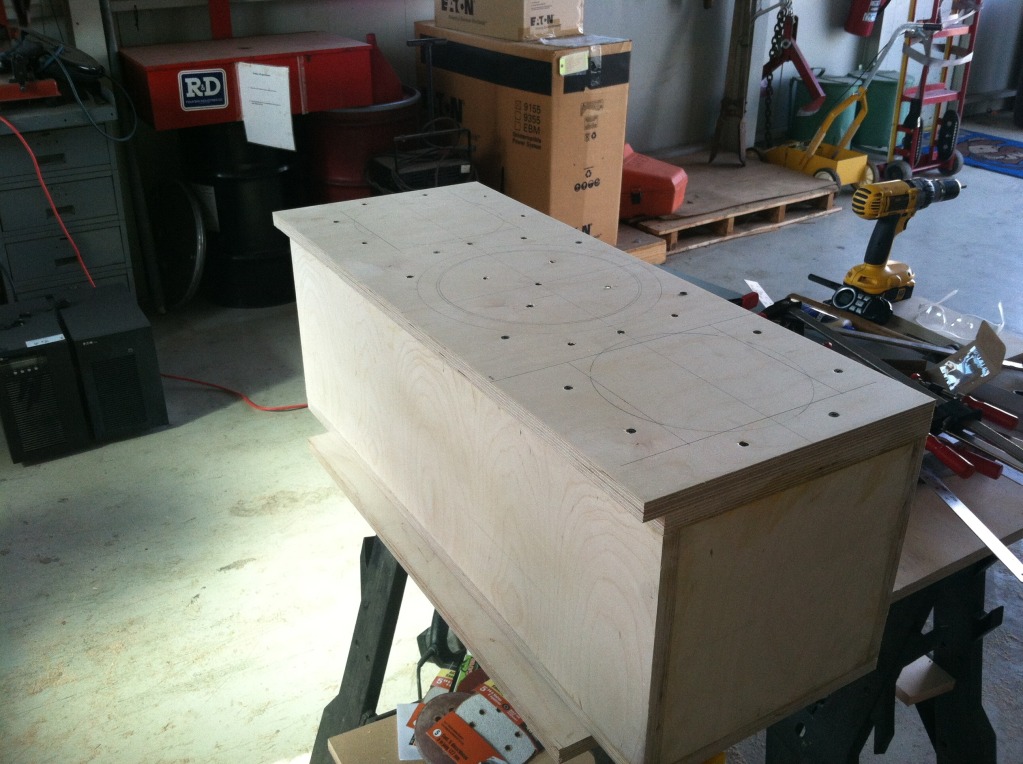
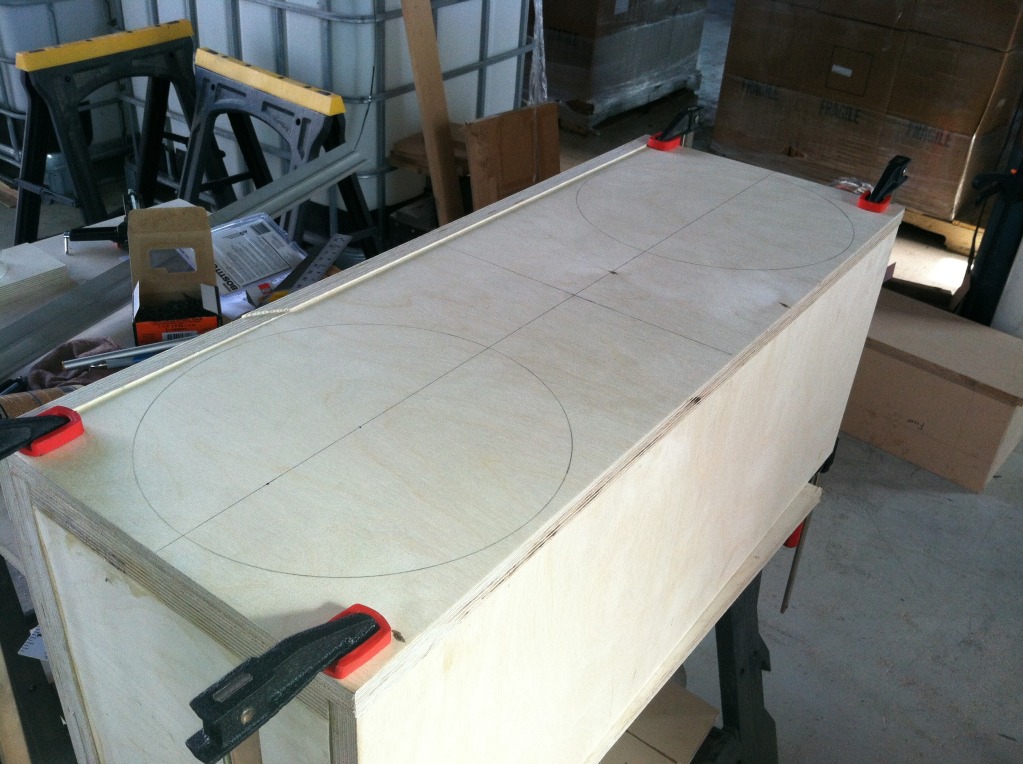
Here I've clamped the top double baffle panel onto the enclosure. Once I got it aligned I measured out the centers for each of the three cuts I plan to make on this panel and traced the outline of the holes to be cut.
Here I've got the outlines drawn. I also used those outlines to know precisely where to put the screws that will hold the baffles together once they're ready to be glued.
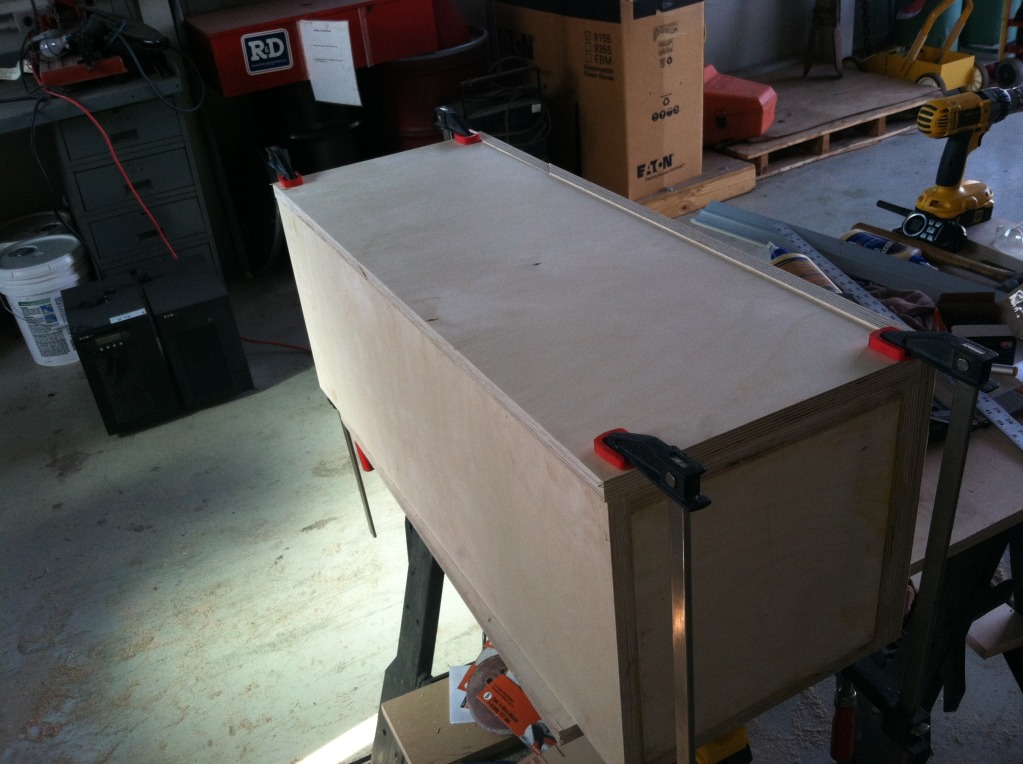
Here I've clamped the front double baffle onto the front of the enclosure. Getting ready to measure and mark the centers for the three holes on this side.
This is how I had to leave it today. I got the outlines for the PR's drawn and if you look very closely you can even see the center holes. Those holes are drilled down to the first baffle beneath. That hole lines them up perfectly so I can transfer the hole for yhe plexi windows through both.
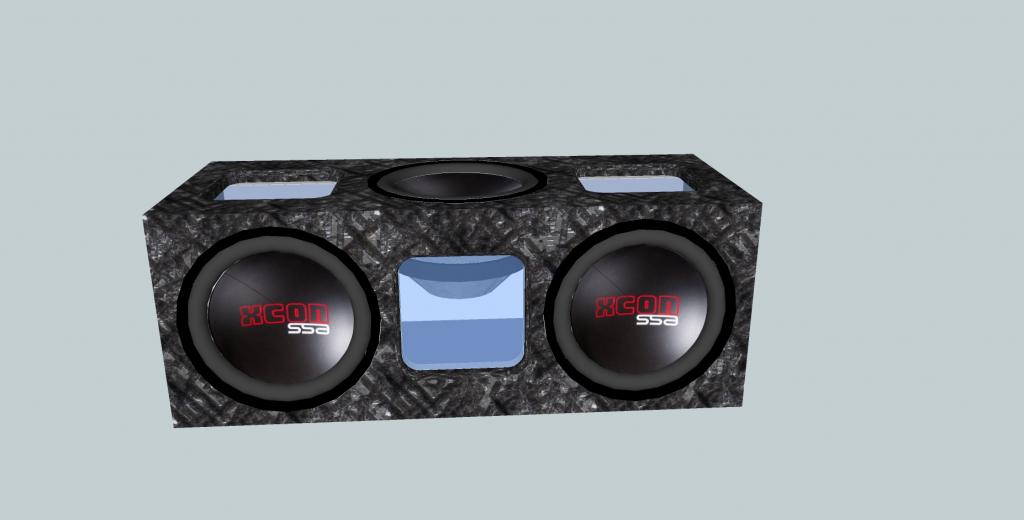
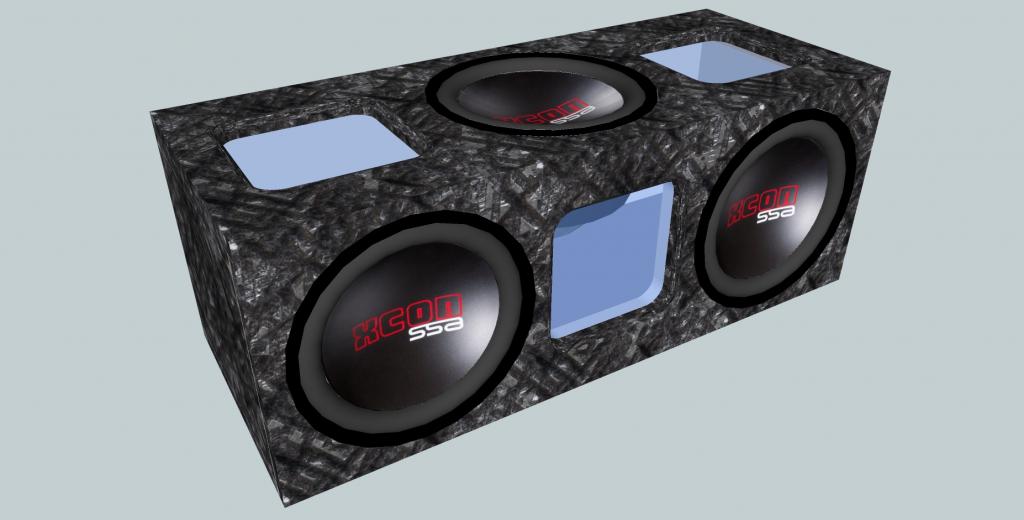
This is basically the design and what it should look like when its completed.
It's such a slow and delicate process at this point. One good little screwup and I'll have to scrap it and start over. Not something I really want to do with $90 worth of plywood. If I'm remotely lucky it'll come out looking great.
Here's the enclosure with all the regular panels attached.
Here I've clamped the top double baffle panel onto the enclosure. Once I got it aligned I measured out the centers for each of the three cuts I plan to make on this panel and traced the outline of the holes to be cut.
Here I've got the outlines drawn. I also used those outlines to know precisely where to put the screws that will hold the baffles together once they're ready to be glued.
Here I've clamped the front double baffle onto the front of the enclosure. Getting ready to measure and mark the centers for the three holes on this side.
This is how I had to leave it today. I got the outlines for the PR's drawn and if you look very closely you can even see the center holes. Those holes are drilled down to the first baffle beneath. That hole lines them up perfectly so I can transfer the hole for yhe plexi windows through both.
This is basically the design and what it should look like when its completed.
It's such a slow and delicate process at this point. One good little screwup and I'll have to scrap it and start over. Not something I really want to do with $90 worth of plywood. If I'm remotely lucky it'll come out looking great.