When you click on links to various merchants on this site and make a purchase, this can result in this site earning a commission. Affiliate programs and affiliations include, but are not limited to, the eBay Partner Network.
Wow its been a while since I worked on it, but its all coming along nicely. I�m still waiting for the oil pump and pan-those are going to be purchased at a later date-and I�ve started taking the body apart. Originally I bought that 2000 ZR2 parts mobile and was going to graft the front half of the frame to avoid having to buy a suspension lift, but that idea fell by the wayside once work picked up and I ran out of time before winter showed up. The good news is that I got $1500 trade-in for it when I bought my 2018 Silverado, so it was $400 bucks well spent. And I got a set of 5-31 x 10.5 on the ZR2 rims to boot.
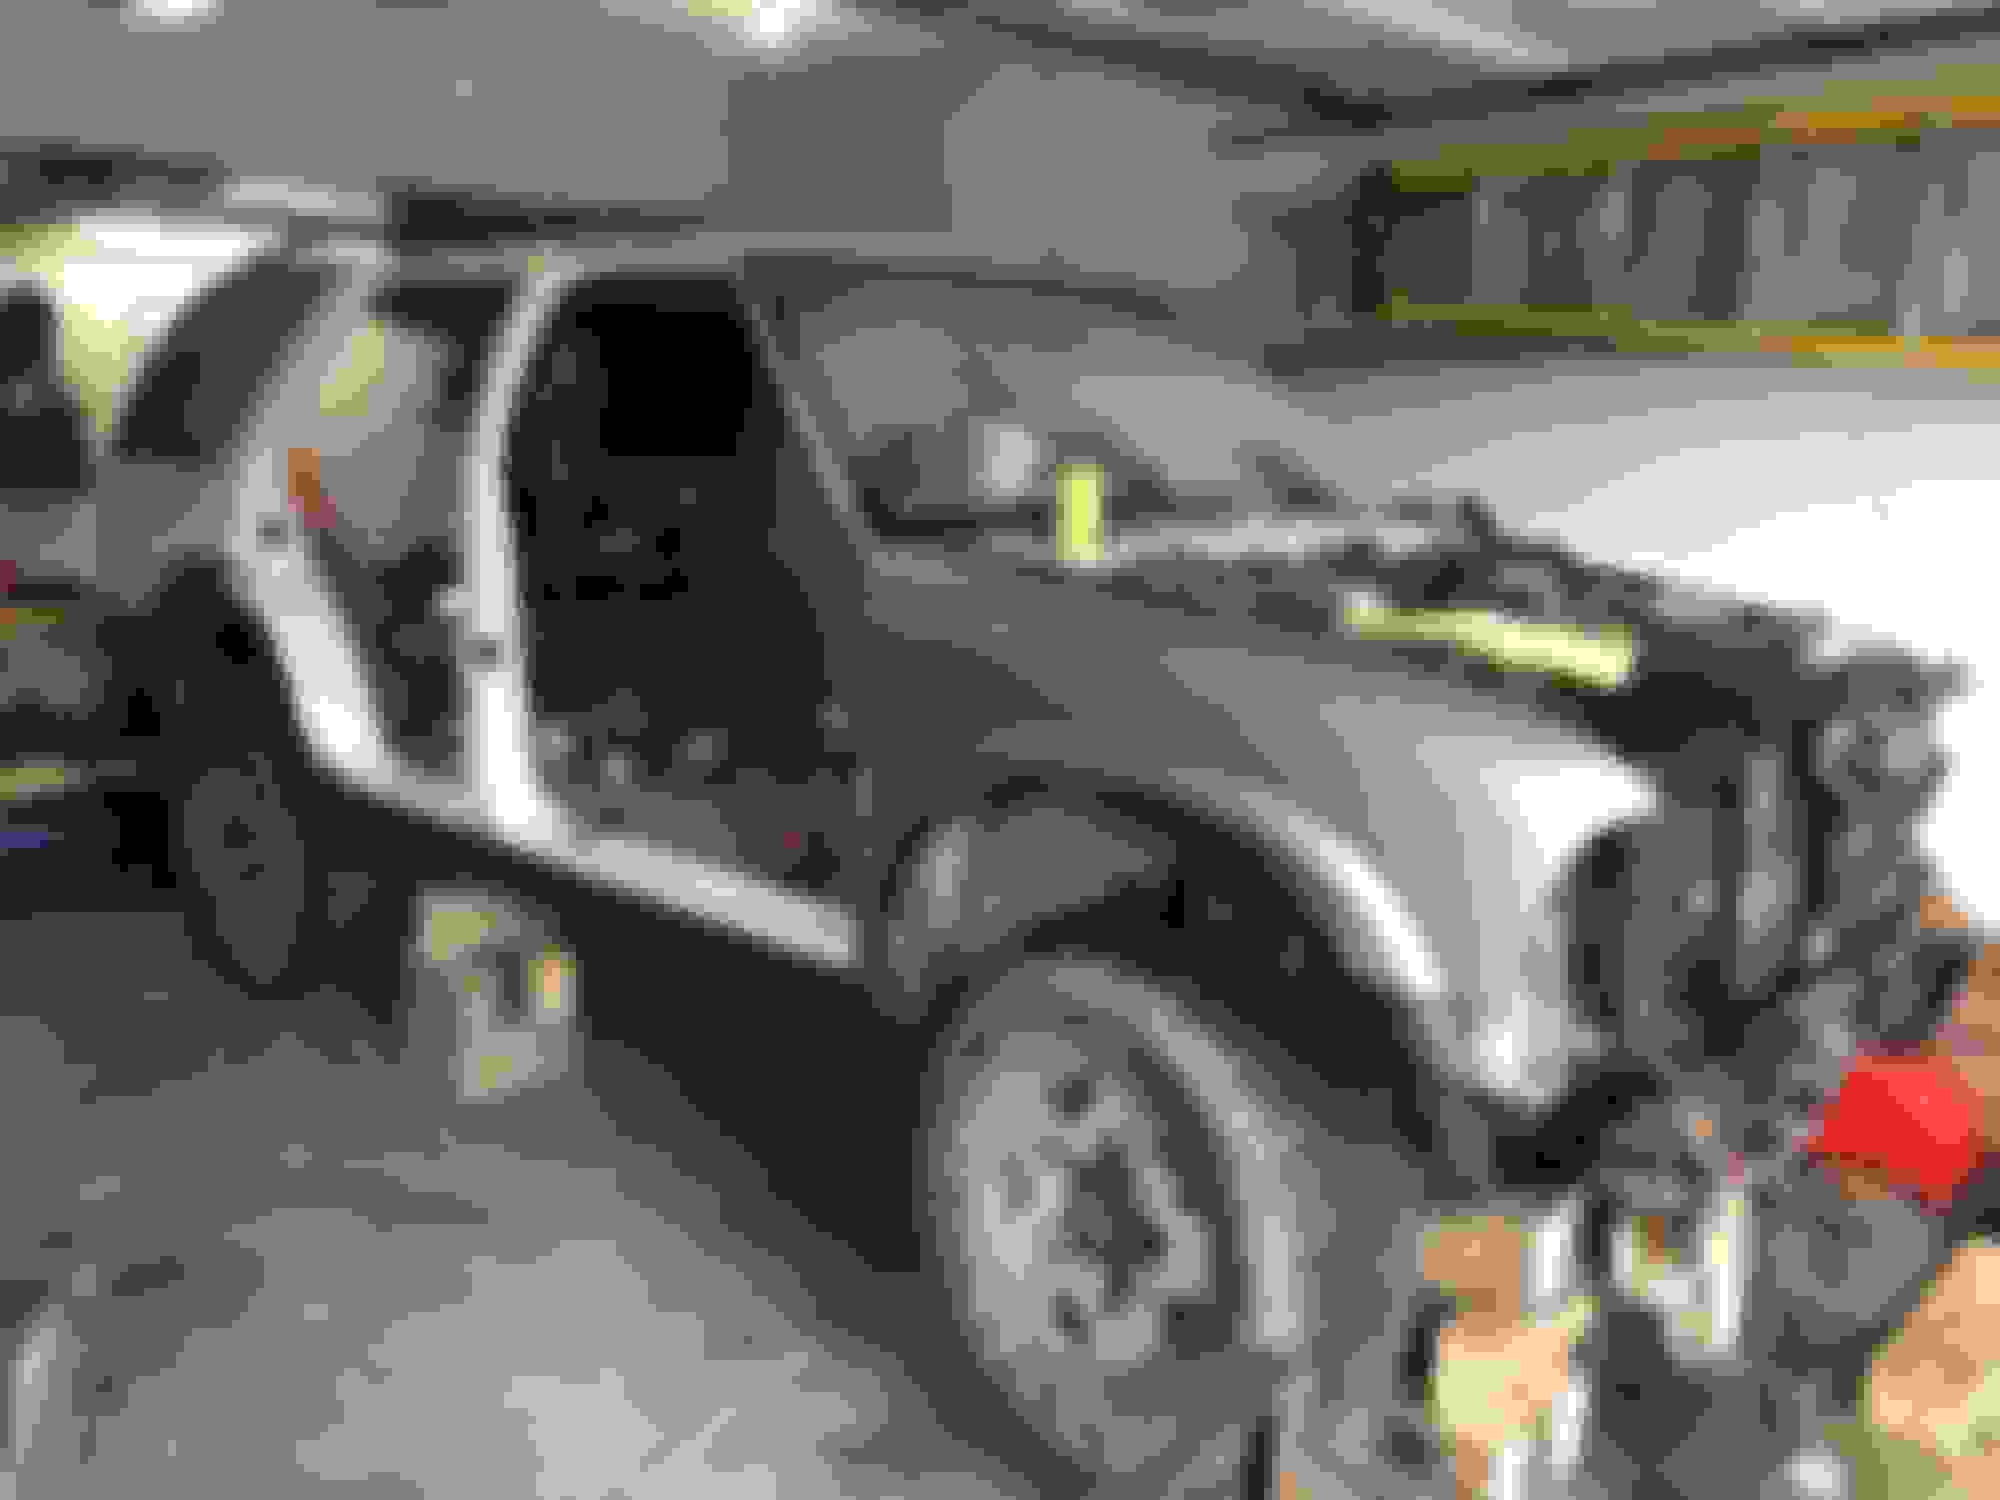
Now I figure since I�ve got a daily driver again, I can afford the time to do a full resto on the frame. I�ve pulled the bumpers off, the front clip and the doors-both driver side doors need replacing from a kiss with a guard rail last spring, so a trip to pick-n-pull is coming soon. I�m about to head back to the garage right away to empty the camping gear out of the cab that I had stored from the summer and remove the windscreen and seats to reduce weight when I lift the body. My plan now is to roll the frame out, remove everything and have it blasted and painted with rubber guard or the like. Brake and fuel lines look kind of rotten, so I�ll definietly get use out of my tubing bender and flare kit too.
I bought the S10-V8 conversion manual from JTR, but its lacking info for this era of blazer. It does have some good info about engine mounting and such, but the rest I�ll have to figure out on my own theoigh yourube and all you guys on here. I�m also going to reuse the 4L60E transmission and stock transfer case, but I�m going to beef up the trans with a rebuild kit when work starts and money isn�t so tight anymore. I�ll also get the suspension lift kit from Rough Country and a 2� body lift to avoid the �necessary firewall massaging� as much as I can. With any luck, all I�ll have to do is drop the body back down and connect everything. Haha yeah right!
I expect it should be ready by next winter, but I want to take my time do it as well as I can because my dad told me many times:
Sounds like you're having fun with it. It's nice when you can take your time and be sure to do it proper. I have an 02 ZR2 that I just picked up as a parts truck. I'm just waiting for nicer weather before I do anything with it. Alberta winters are not the most conducive to working outside.
I have read somewhere that there are certain year S-10 Pick up's and Blazers that are much easier in which to install a Chevy V8. No, I have no idea which years are better than others. Google and see what you get. Also call JTR and see what they recommend. I am sure that they will have some ideas.
There was a Saturday morning TV show on a 'V8 install into an S10 pick up truck' project. You may find that by googling You tube. I remember that they removed the hood, both front fenders, and the radiator, support, and grill to make access easier. It fit snuggly but they said it looked like it came from the factory with the V8! I also remember I wanted one.
Lots of work done, but still not running yet. Got the motor installed using TransDapt mounts and the headers too. Had to make my own oil pan from the old one and some sheet metal I had laying around; I think it looks.....like it�ll work! The motor mounts made it so the transmission and t-case were in the same position as they were with the 4.3, only the motor sits much higher in the engine bay. Nothing that a bucket of hockey pucks can�t cure for time being!
it�s a tight squeeze in front of the radiator since I went with the original location for it, but I think for now I may just put a flex fan on it until I cut the rad support and make the Taurus efan-$30 at pick & pull-work.
Installed an oil filter adapter so I can reuse the remote filter location again, but have yet to install it lower than stock. I found the original lines were rubbing against the balancer hub, but that�s minor to fix. Coolant lines and rad hoses are home made using stock ones with some modifications.
I figured I�d keep the EGR system for now, but that necessitated cutting a hole and welding the threaded stub onto my new headers. I also took 2 of the EGR tubes and cut/welded to size much like I did with the oil pump pickup tube. Got a new (to me) fender and put the doors/tailgate back on.
All she needs now is exhaust, prime the oil system, install the remote oil filter, put the hood on, reflash the PCM for a Savana van setup and seat the piston rings.
I hope....
Weight reduction Neat pile of stuff Homemade pickup tube Its not pretty, but it works Ready for a body Just some minor modifications I�m not a welder, but I do alright Coming together nicely Sort of ready Before the cleaning Coming together even more Gotta get rid of the 4.3
Got it assembled an running last night! Here�s the lowdown on work since my last post:
2� body lift-hockey pucks for now, but as soon as I get it roadworthy I�ll get a �real� BL kit. The front and rear bumpers were lifted accordingly as well-front took 4 pieces of scrap 2� pipe cut into 51mm segments between frame and chrome, side brackets had the holes lobed so they�d fit at a better angle; for the rear I just had to drill 1 extra hole in the bracket on each side so it�d sit higher. I only have 2 bolts holding each side to the rear frame, but a BL kit will come with the proper brackets.
Took the original exhaust and cut the forward foot or so of each bank into pieces so I could make proper angles to fit the header collectors with 2.5�-2� reducers. Drilled holes and welded O2 bungs in the collectors, then welded the stock flanges back on for the cat and muffler. Got the flanges from pick-n-pull because the previous owner got a new(er) cat however long ago and they welded it all together, which makes it difficult to remove the y-pipe for repairs and such. Once it�s drivable, I�ll take it to the exhaust shop and have them custom build a 2.5� y-pipe for me that looks better than what I can do in the garage. For now it works.
Steering shaft from the Jeep wouldn�t collapse even with red-heat, so I cut the lower bar off. Slid the larger portion off the stock shaft and found it wasn�t quite large enough to be a tight fit, so I pounded the sides in a bit and loaded it up with epoxy. Should still collapse in a collision, but is rigid enough for me to use. I found the engine mount plates I used-the trans is in the stock position, so the motor is further ahead-didn�t have enough clearance for the u-joint, so I squeezed a grinder in and went to town until there was room. I swear I�m getting to be a surgeon with that thing!
Cooling was my main concern for about a week. In trying to keep the costs down, I decided to use the original 4.3 radiator in the �forward� position. Cut off the bottom and welded the mounts almost at the front, then cut the top and sides to fit the rad. Made mounts for the top out of 1/8� steel strips and using the original rubbers, made it all fit. The A/C condenser had to get moved to the front of the support, so I got rid of the hood latch system-details below-and riveted the condenser to the front. I used weather stripping on any part that touched any other part, so it�s all isolated. Cut the Taurus 2-speed fan down and zip tied it to the back of the radiator-again, just for now. I have about 0.5�-0.75� between the clutch fan nub on the pulley and the plastic fan. Got 2 80A relays from Amazon.ca and wired them to the stud on the side of the under hood fuse panel with a 50A maxi fuse. I have it so when the PCM commands cooling it turns on the low side, but when the A/C clutch engages, it switches to the high side. I checked it once installed, and the low speed sucks a $20 to the condenser. The high speed almost cuts it to pieces and sends it THROUGH the condenser. Nice.
I�m gonna post this and have some coffee before I continue.
I was going to send my PCM to the states to get programmed, but I found a local guy that said he could do it for the same price, he just had to order a bench tuning cable-no brainer. When I took the black box to him, I was informed that �ain�t nobody gonna touch that thing with a 10-foot pole� (I�m paraphrasing, of course!). I was disappointed to say the least, but I went to Buck�s Auto looking for a 411 PCM. First Silverado I see had exactly what I needed, and beside it was a 2003 blazer with the reservoir bracket mount for that style PCM-the whole works cost me $26.25 with GST. Took it to the guy the next day, and within an hour he called to say it was done. Shout out to Chris from Player 3 Performance in Edmonton for the excellent work! Another shout out to Lextech from GMT400.com, ls1truck.com, etc. for the pinout chart to do the swap. Took me about 4 hours in total because I made labels for each wire as I moved it just in case I pinned some wrong. Turns out I didn�t...
Installed a remote filter adapter on the block and ran 3/8� tranny oil lines to the front. I�d changed the rad support so much that the stock filter mount wouldn�t work-even if the lines didn�t hit the balancer-so I welded some angle to the frame where the support would have sit without the lift and ordered a mount and PH8A filter. Filled the crankcase with oil and started using my priming tool, and I gotta say my wrists hurt. She built up a staggering amount of oil pressure, then didn�t. Looked underneath at the massive puddle of expensive break-in oil on the garage floor. Didn�t check the adapter gasket after installation, so lesson learned. Got that fixed in reasonable time, then burned out a cordless drill and almost a corded one priming. Checked the underside for leaks again, and apparently I�m not a very good welder because there�s a few from the oil pan. Oh well, it�s nothing that a bit more epoxy won�t fix! Oil system ready.
Added coolant and noticed a leak. I�d spent time cleaning and refurbishing the stock 5.0 water pump (new impeller gasket, paint) only to find the bearing seal leaking out the weep hole. That�s ok, I�ll just use the stock 4.3 one! A couple hours and a trip to NAPA for mating gaskets later, coolant is ready.
One last run through my startup checklist and she�s ready for spark.
There�s numbers on the dizzy cap that I didn�t follow. Easy fix again. Now it�s got correct firing order, but won�t start-it�ll almost run, but won�t catch. What now?
Immediately I think fuel delivery. I took the old style spider apart and got new style injectors from a couple 2003 Blazers to put in. People online have said they don�t fit and will leak, so I kept the original ones just in case. In case of this. Hooked up my fuel pressure tester-20lb during prime, then drops to zero. Bingo!
Removed plenum and spider assembly. Was about to start changing injectors, but decided to check the regulator first. Checked ok, but something about it didn�t feel right. Upon further inspection, I guess when I put it all back together 2 years ago I missed a rubber o-ring between the supply/return internals. Lucky I still have that 4.3 in the garage! Put it all together properly and checked again-on prime it goes to damn near 70 psi, then drops to about 30 and holds. Must have been air in there, because after a few cycles it primes to 55-60 and holds at about 40-45. Slowly leaks, but holds indefinitely at about 25-30. Good enough for now. The new style injectors may not fit perfectly, but they sure do fit well!
I had the wife video my next attempt-sink or swim-and the damn thing fired right up! Sounded great too except for the numerous exhaust leaks from shady welding. I let it idle for about 5 mins while I kept filling the radiator, then shut it off after the smoke from the header paint burning off made me nauseous. I wanted it to get to operating temp before I took it for a drive to break it in, but in the next 7 or 8 minutes of idling, it�s developed a loud tick coming from the passenger side. I�m hoping it�s just a stuck lifter, improperly adjusted valve or header leak, but I�ll find out more soon enough. I reused the old lifters and pushrods, but didn�t keep track of where they went when I reassembled. It�s a high-pitched tick-tick-tick rather than knock.....knock....knock, so I�m fairly certain it�s in the valve train rather than the bottom end. Plus it�s more pronounced on the passenger side near the front.
If you�ve read this far, maybe you have some input as to what I might be able to do to rectify this sound.
Thanks,
Jeff
Last edited by Jeffaroni; Jun 24, 2019 at 12:07 PM.