
Let's build a 95 blazer!


Thread Starter
|
Beginning Member
Joined: Jul 2012
Posts: 39

Had an extremely busy year and had to put the project on hold up until the last couple months, back with lots of pictures though.
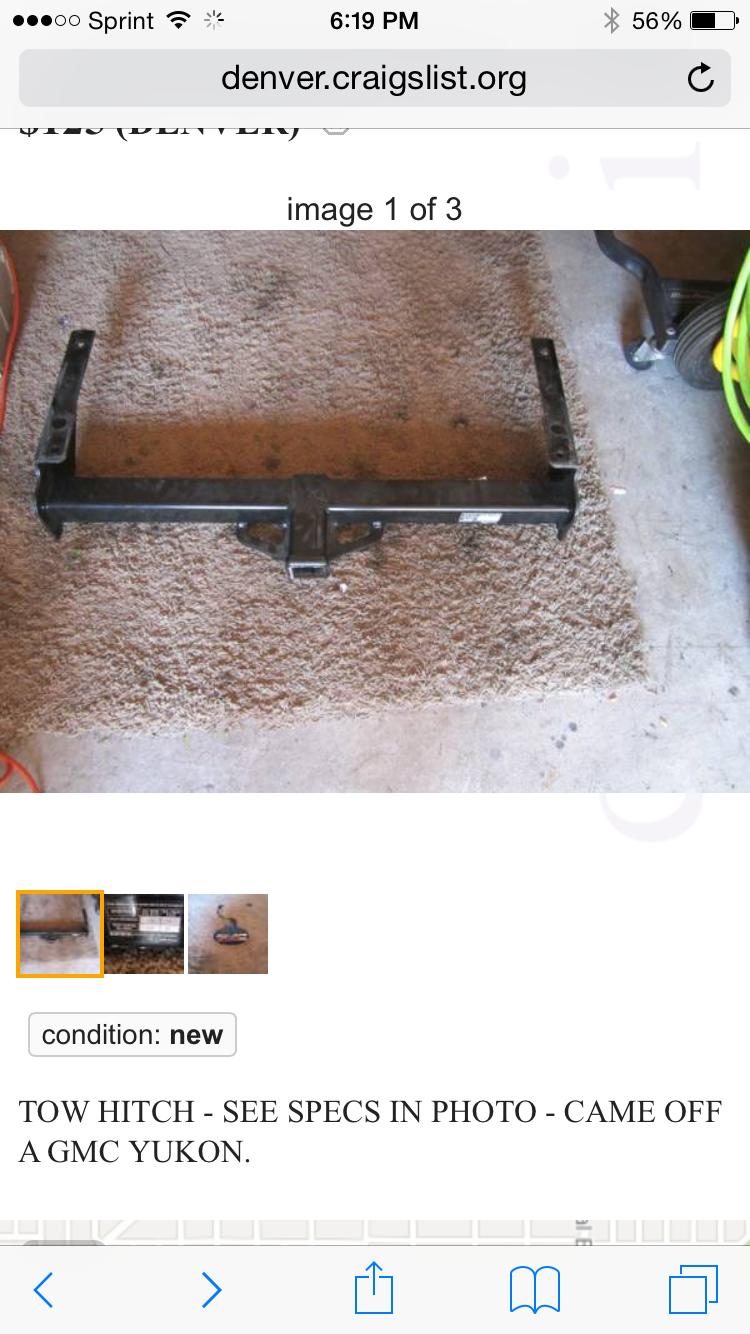
Started with my front cross-member, I wanted to have a receiver hitch in the front so I found a yukon hitch on craigslist and ordered some adjustable shackle hangers that I originally wanted to put in the front rears, but my fab skills are subpar so I ran them up front.
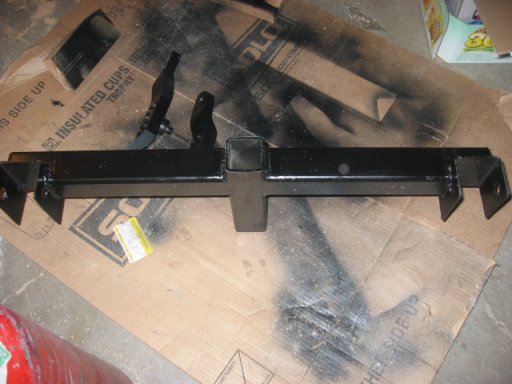
Here's the hitch I started with
..and the general concept I had
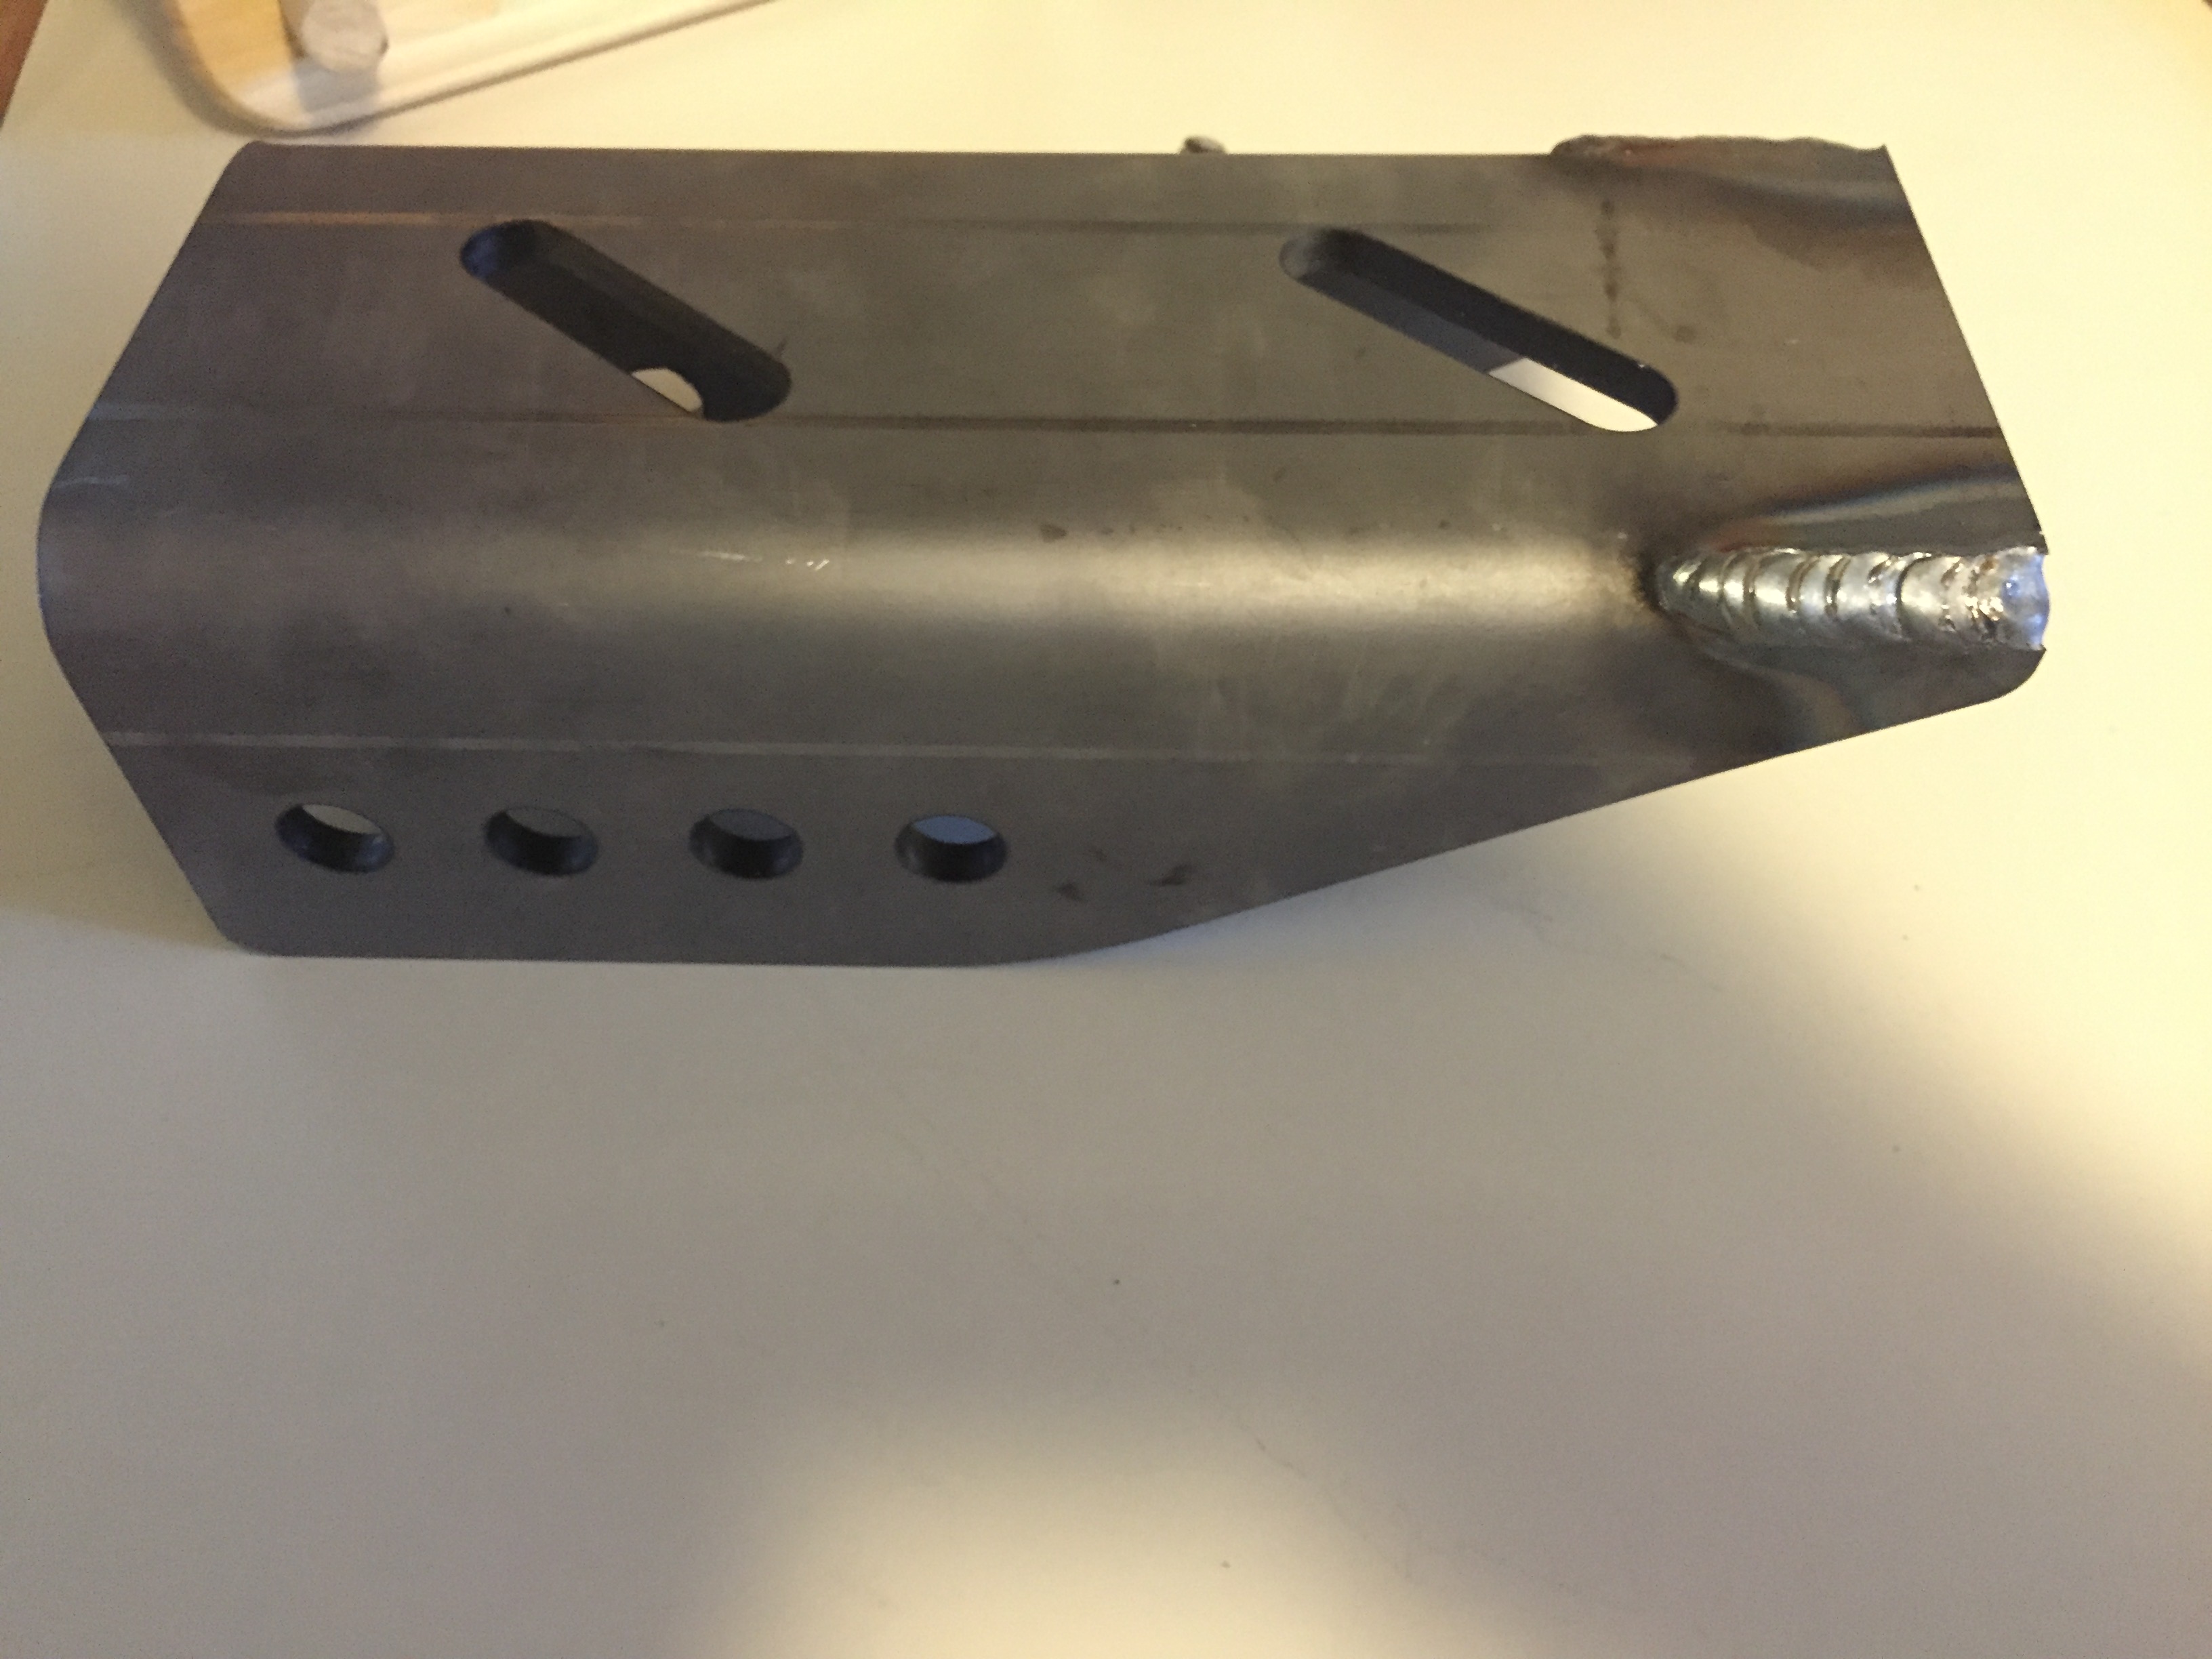
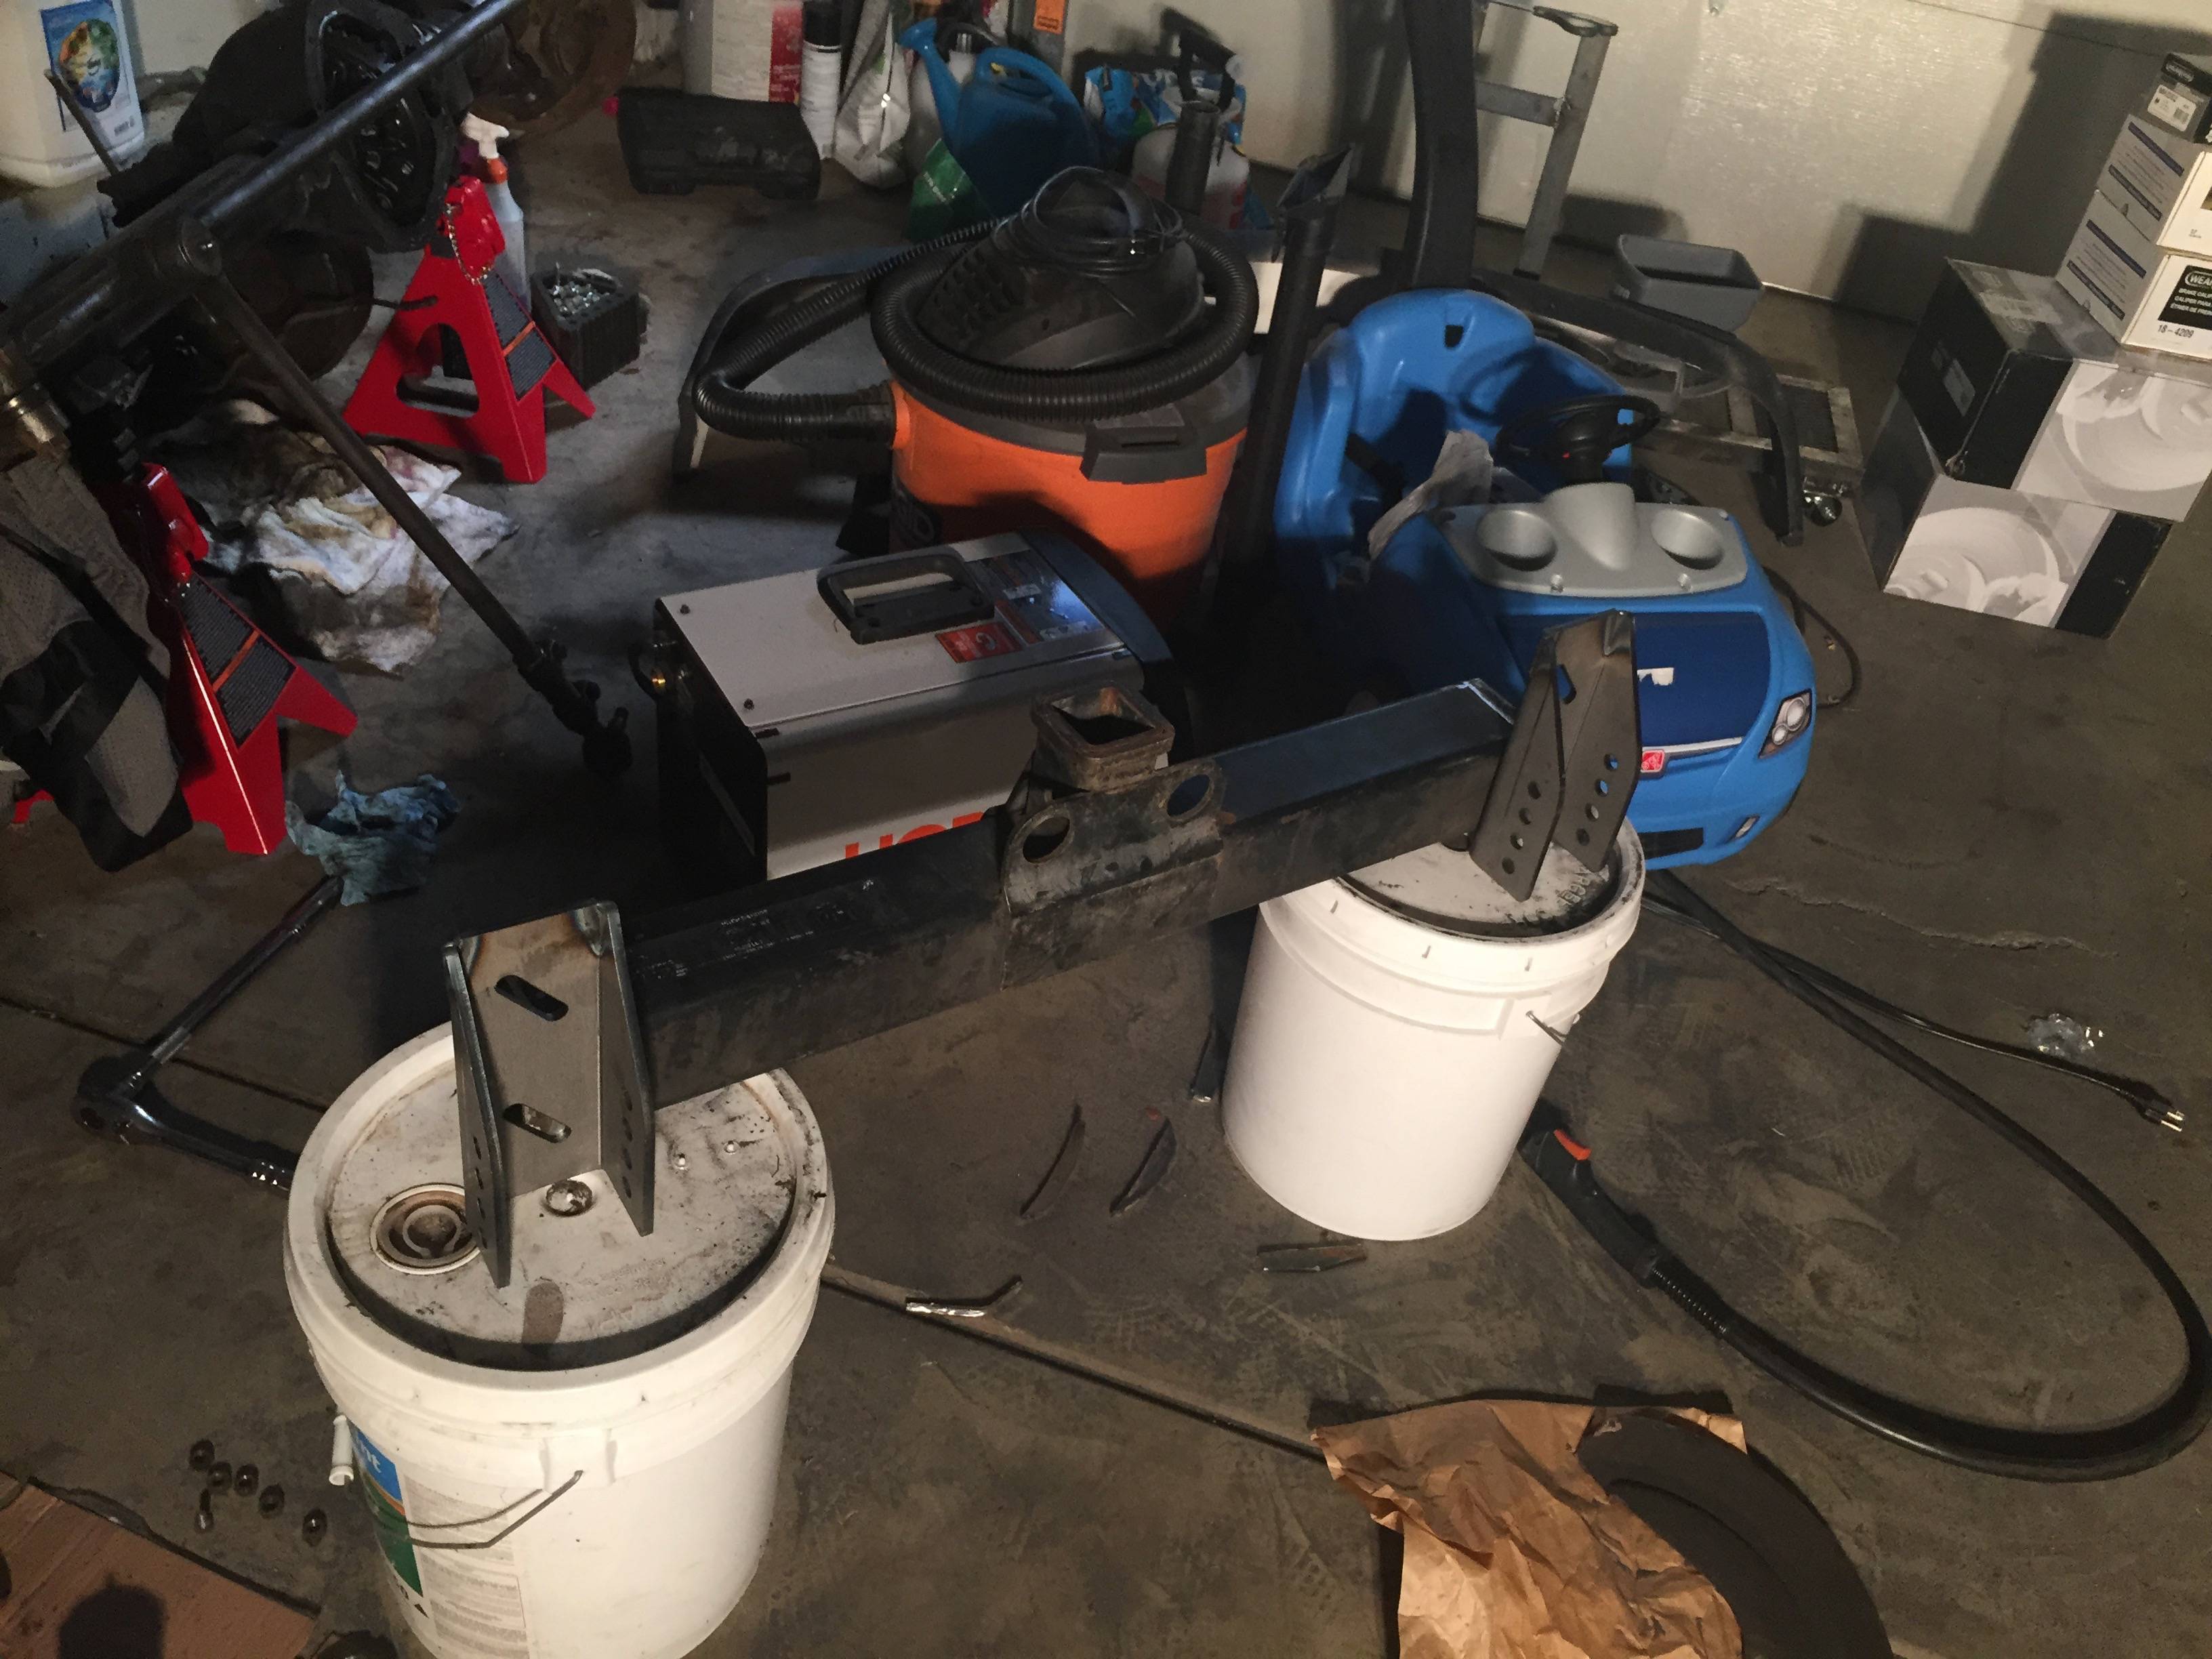
The adjustable shackle mounts I found online
obviously the car it'll be going on in the background
Started with my front cross-member, I wanted to have a receiver hitch in the front so I found a yukon hitch on craigslist and ordered some adjustable shackle hangers that I originally wanted to put in the front rears, but my fab skills are subpar so I ran them up front.
Here's the hitch I started with
..and the general concept I had
The adjustable shackle mounts I found online
obviously the car it'll be going on in the background
Thread Starter
|
Beginning Member
Joined: Jul 2012
Posts: 39
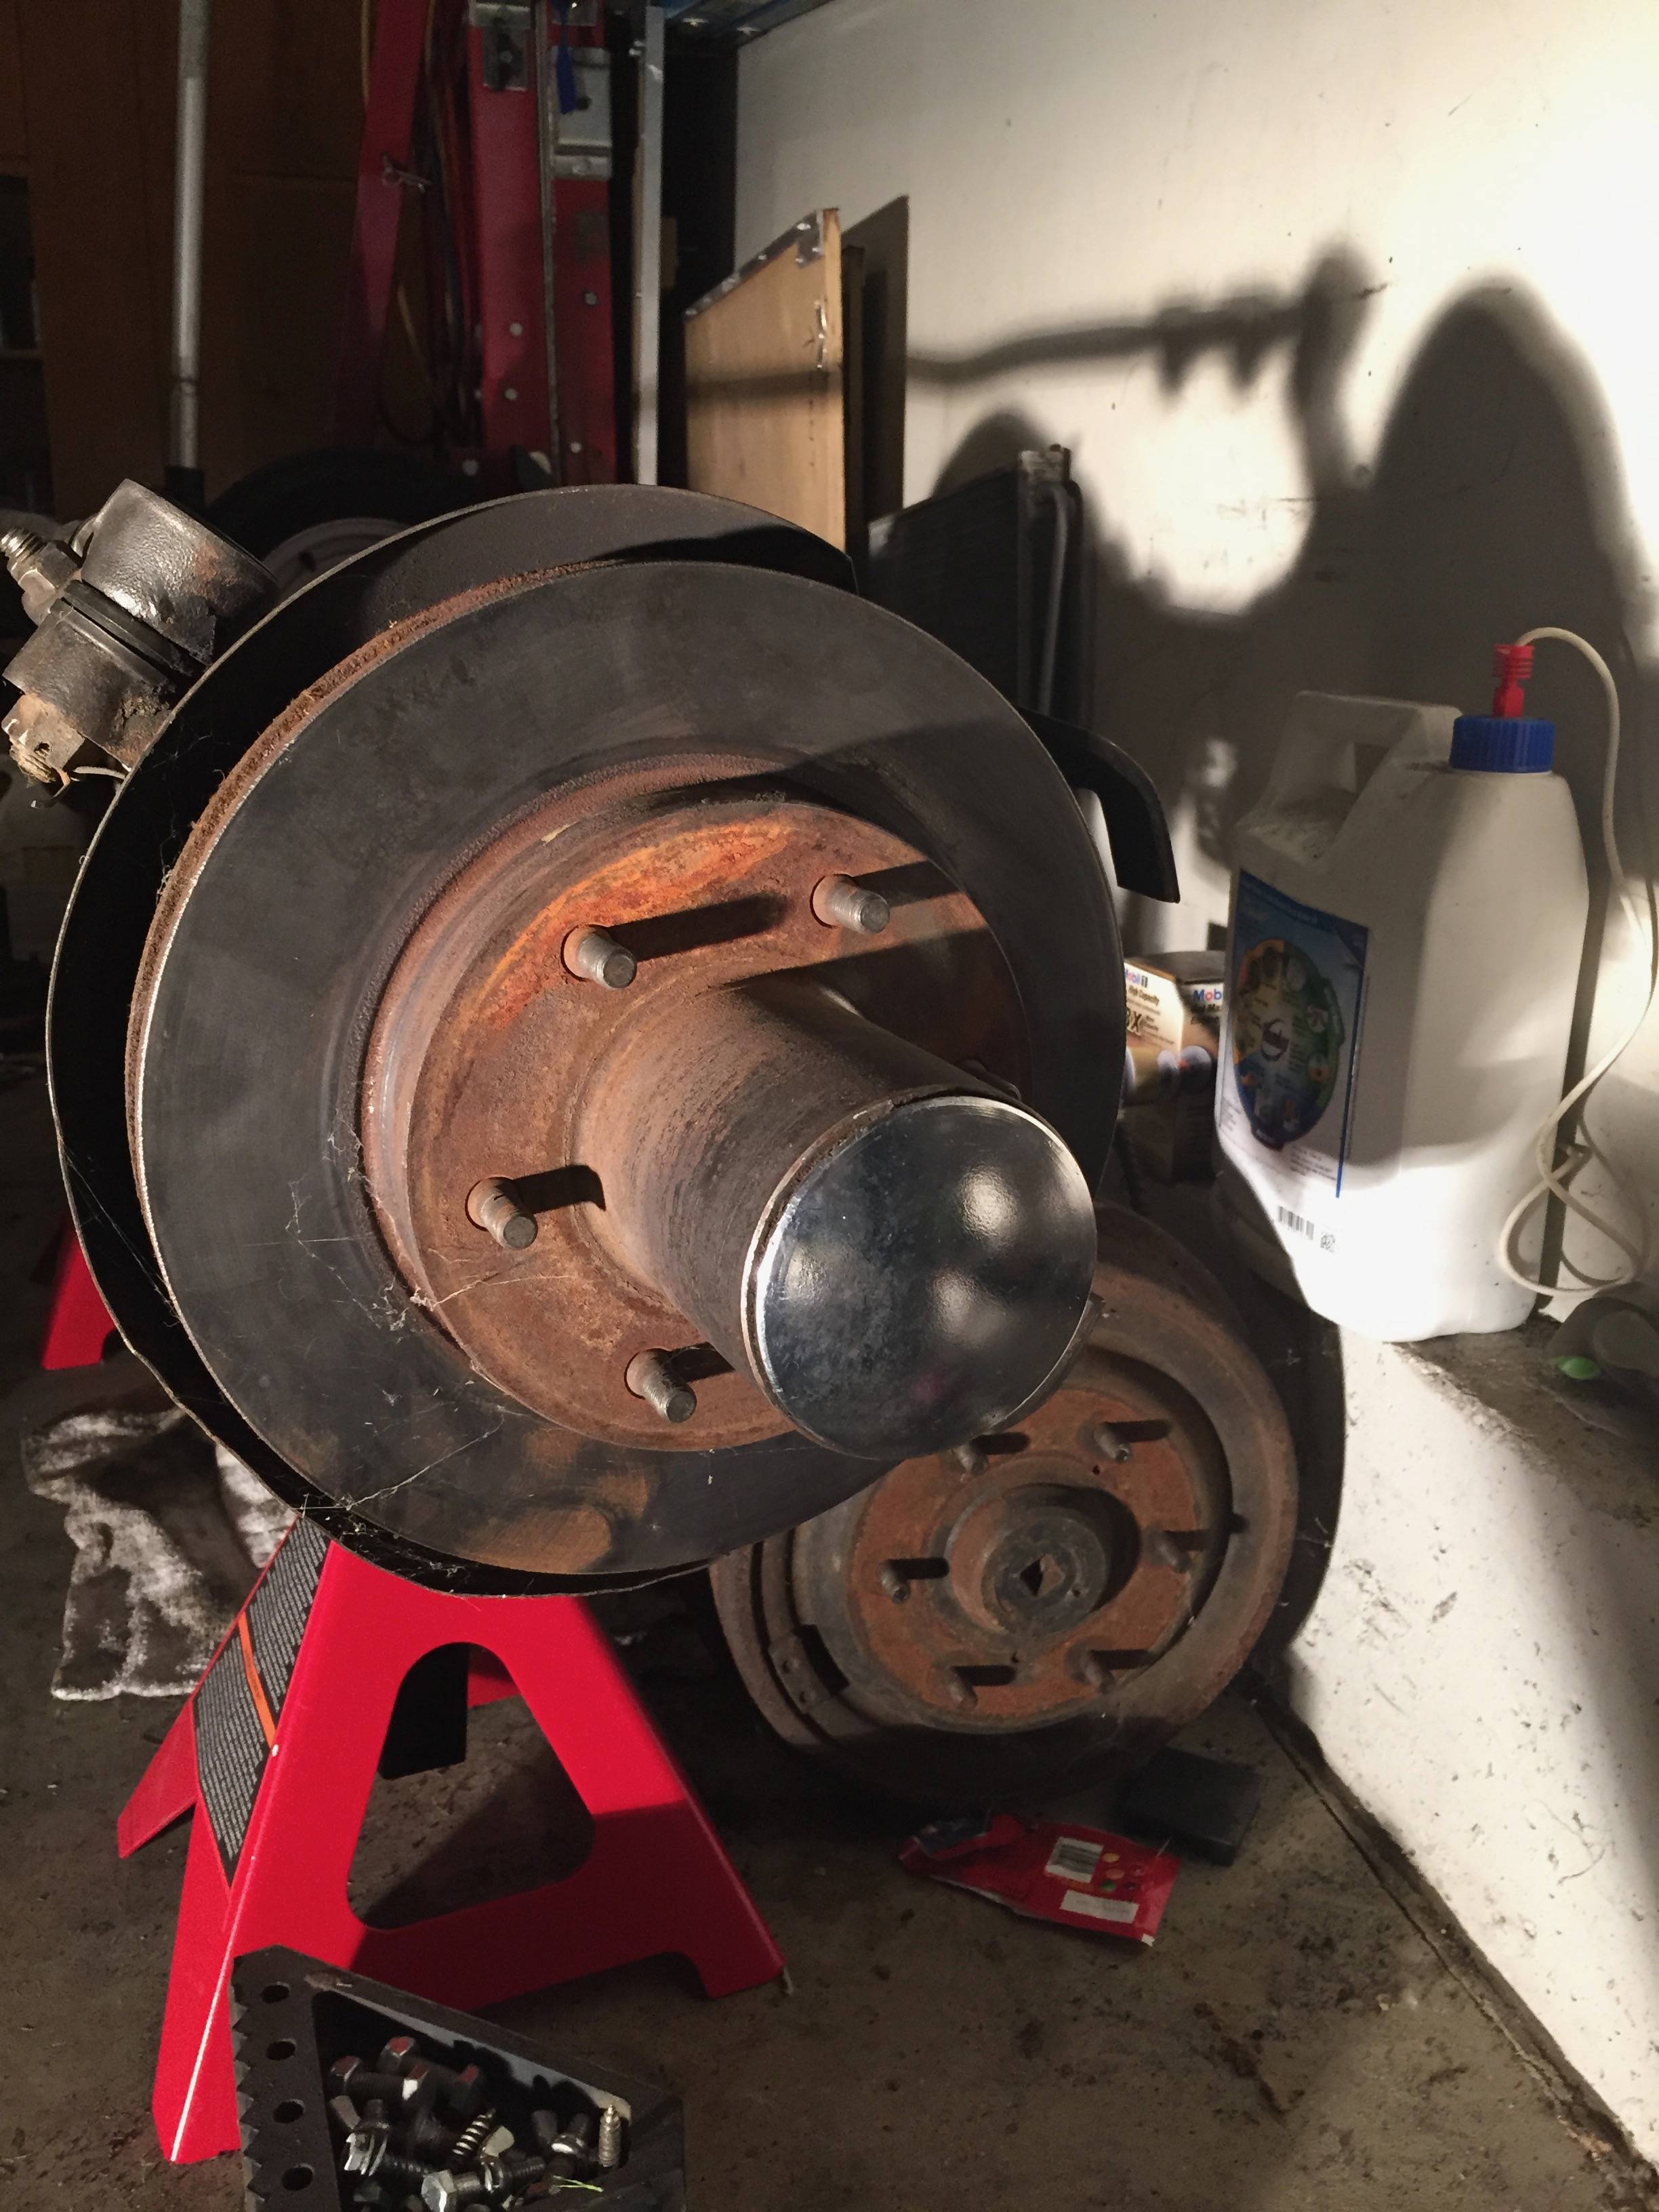
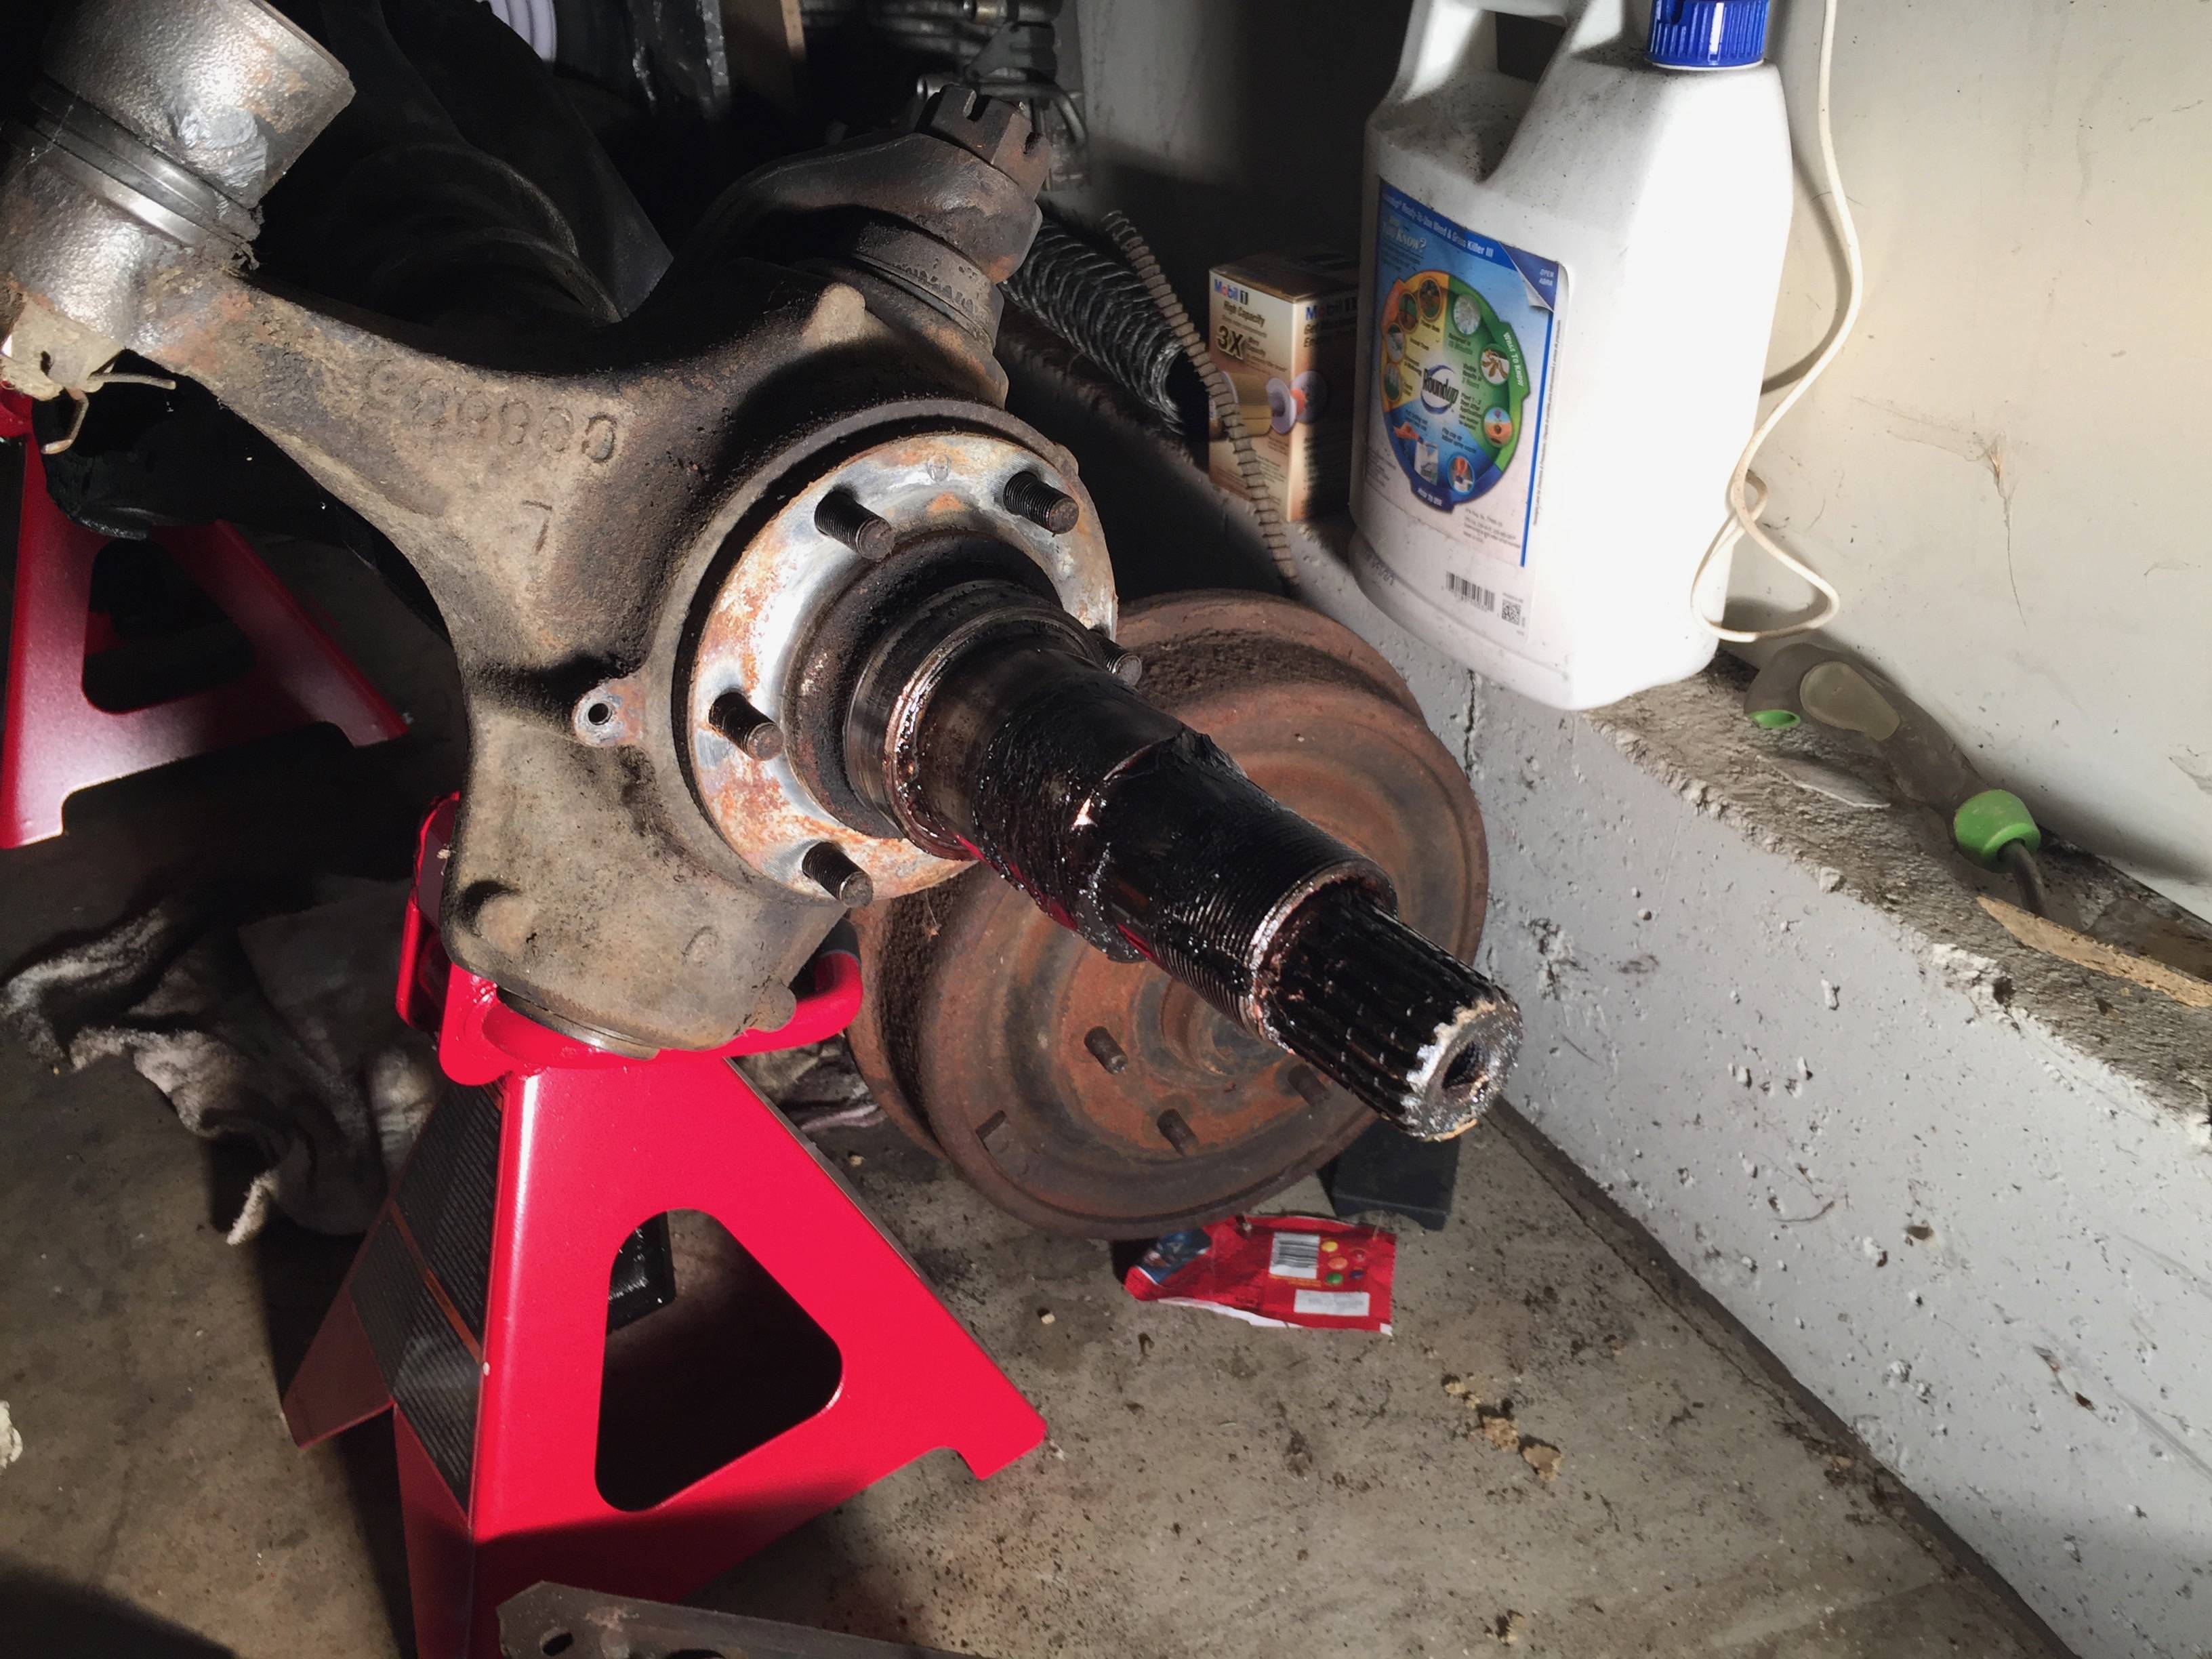
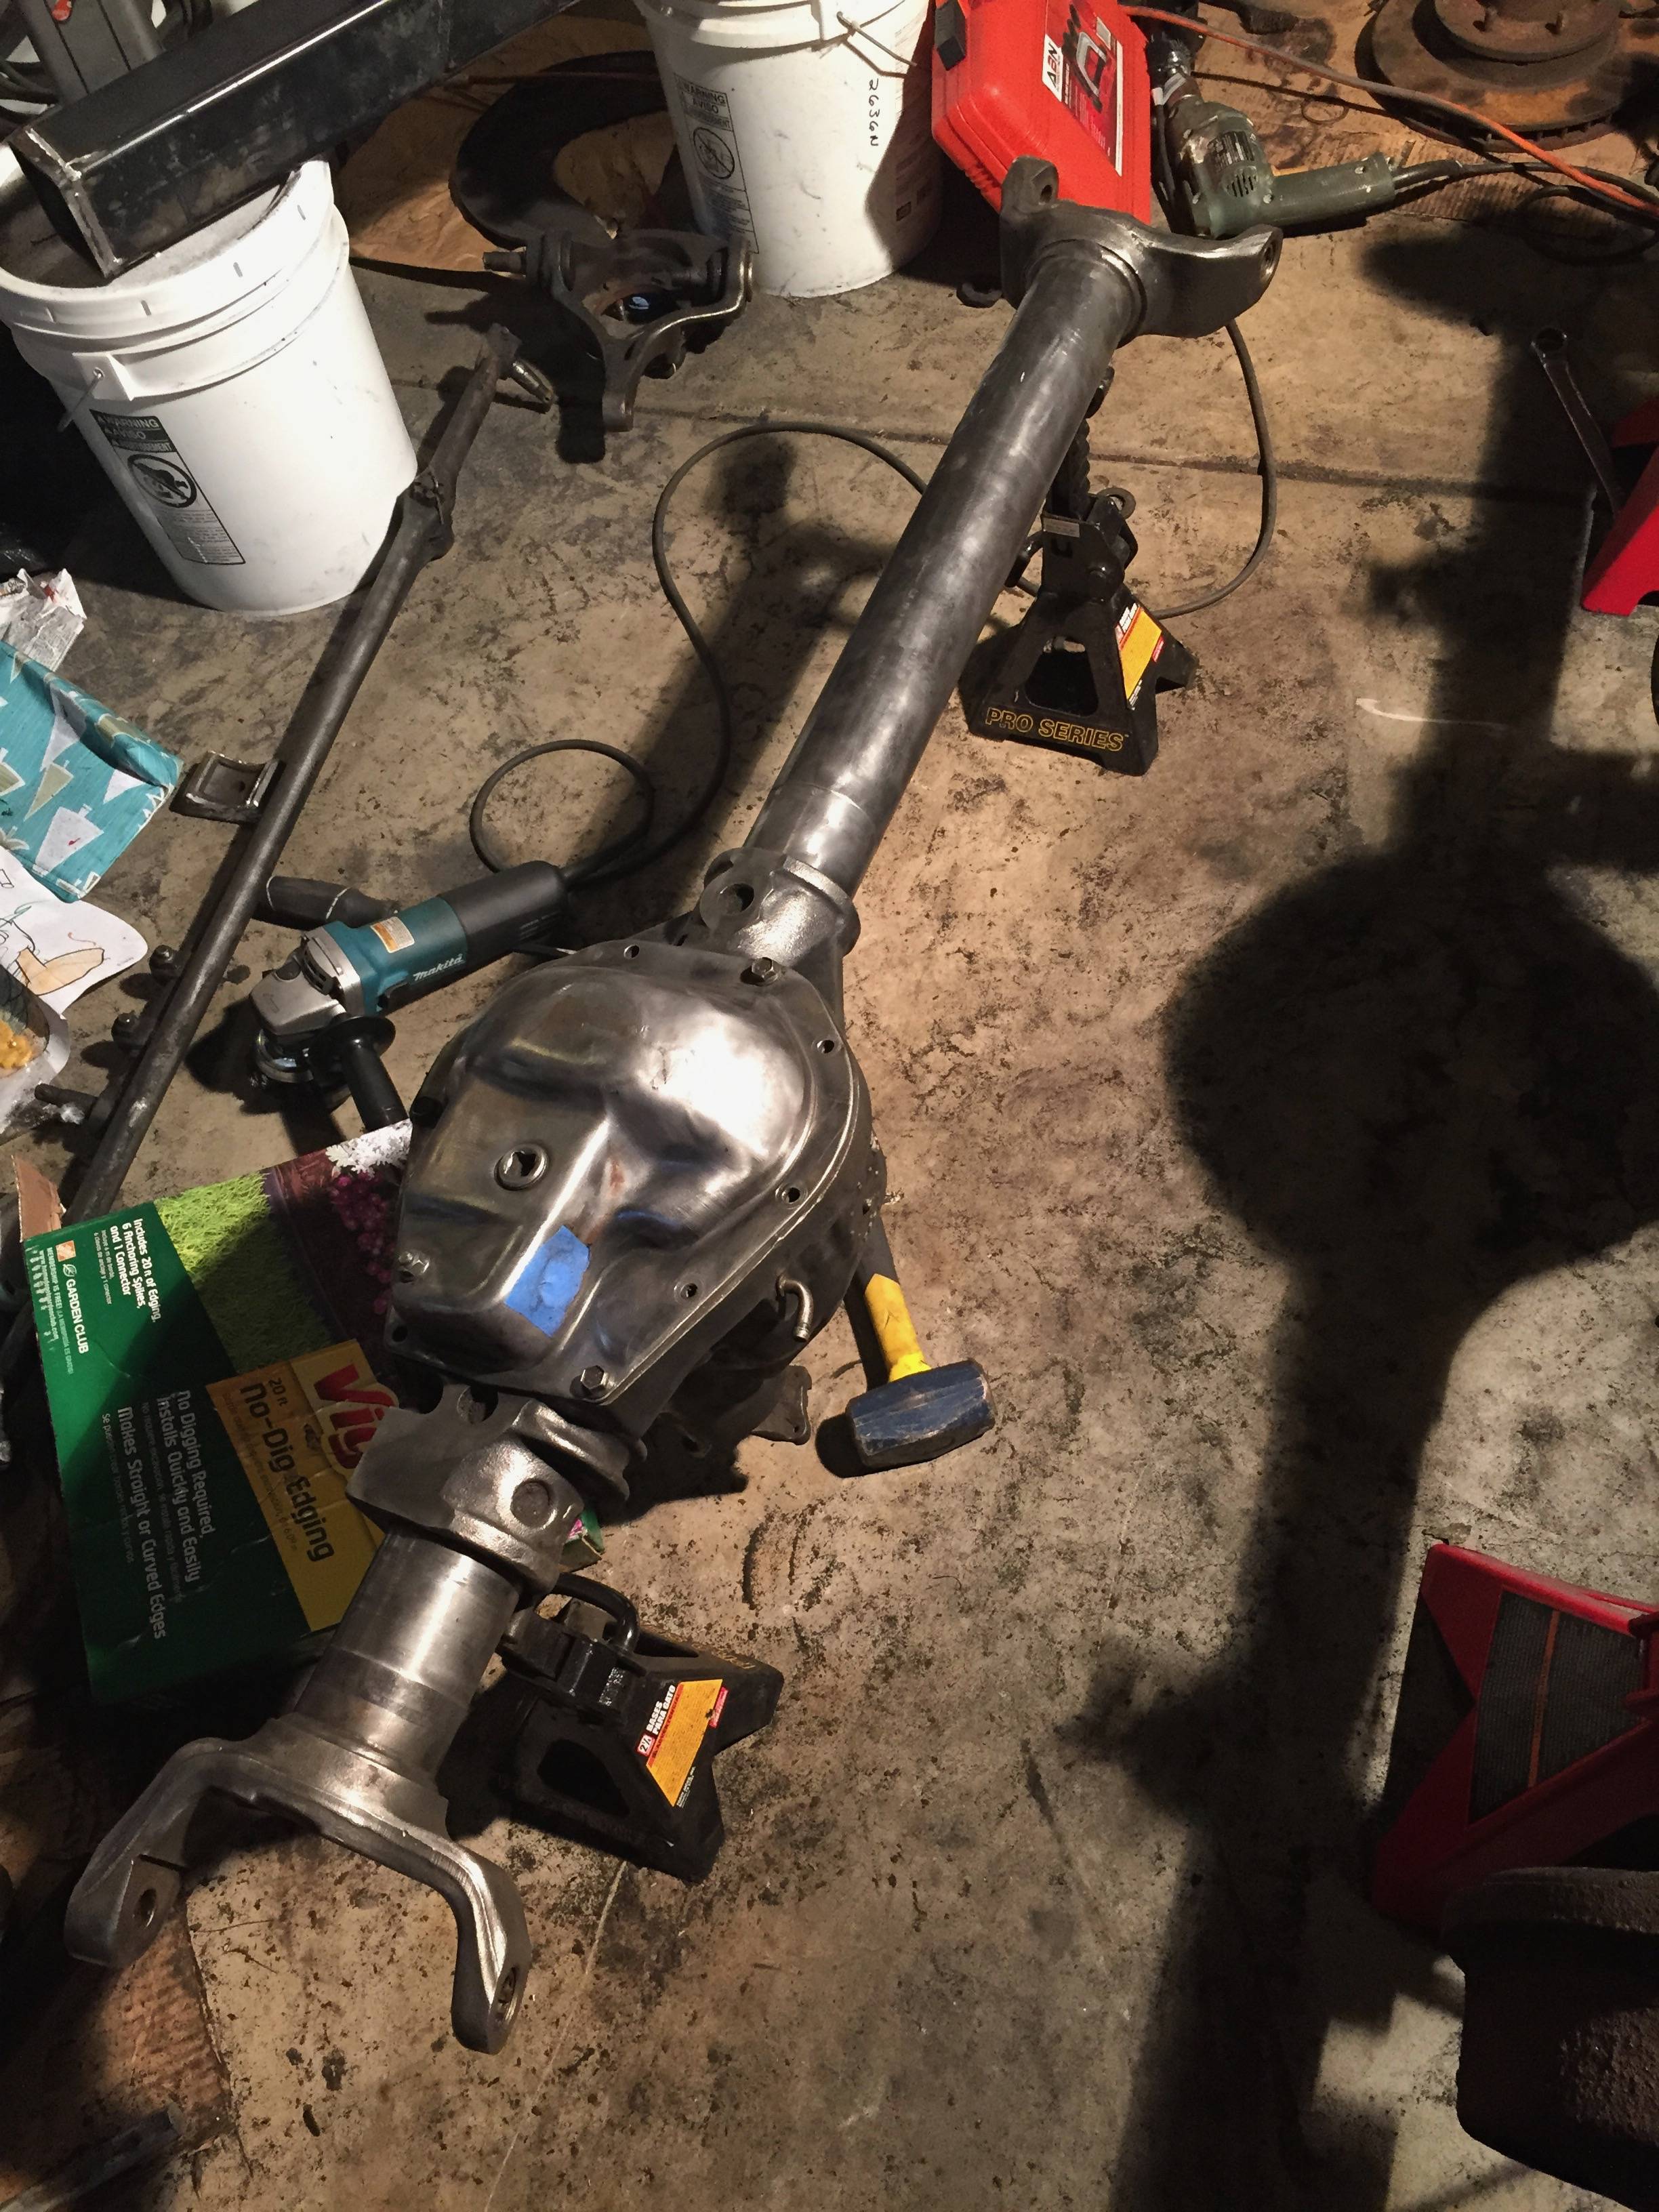
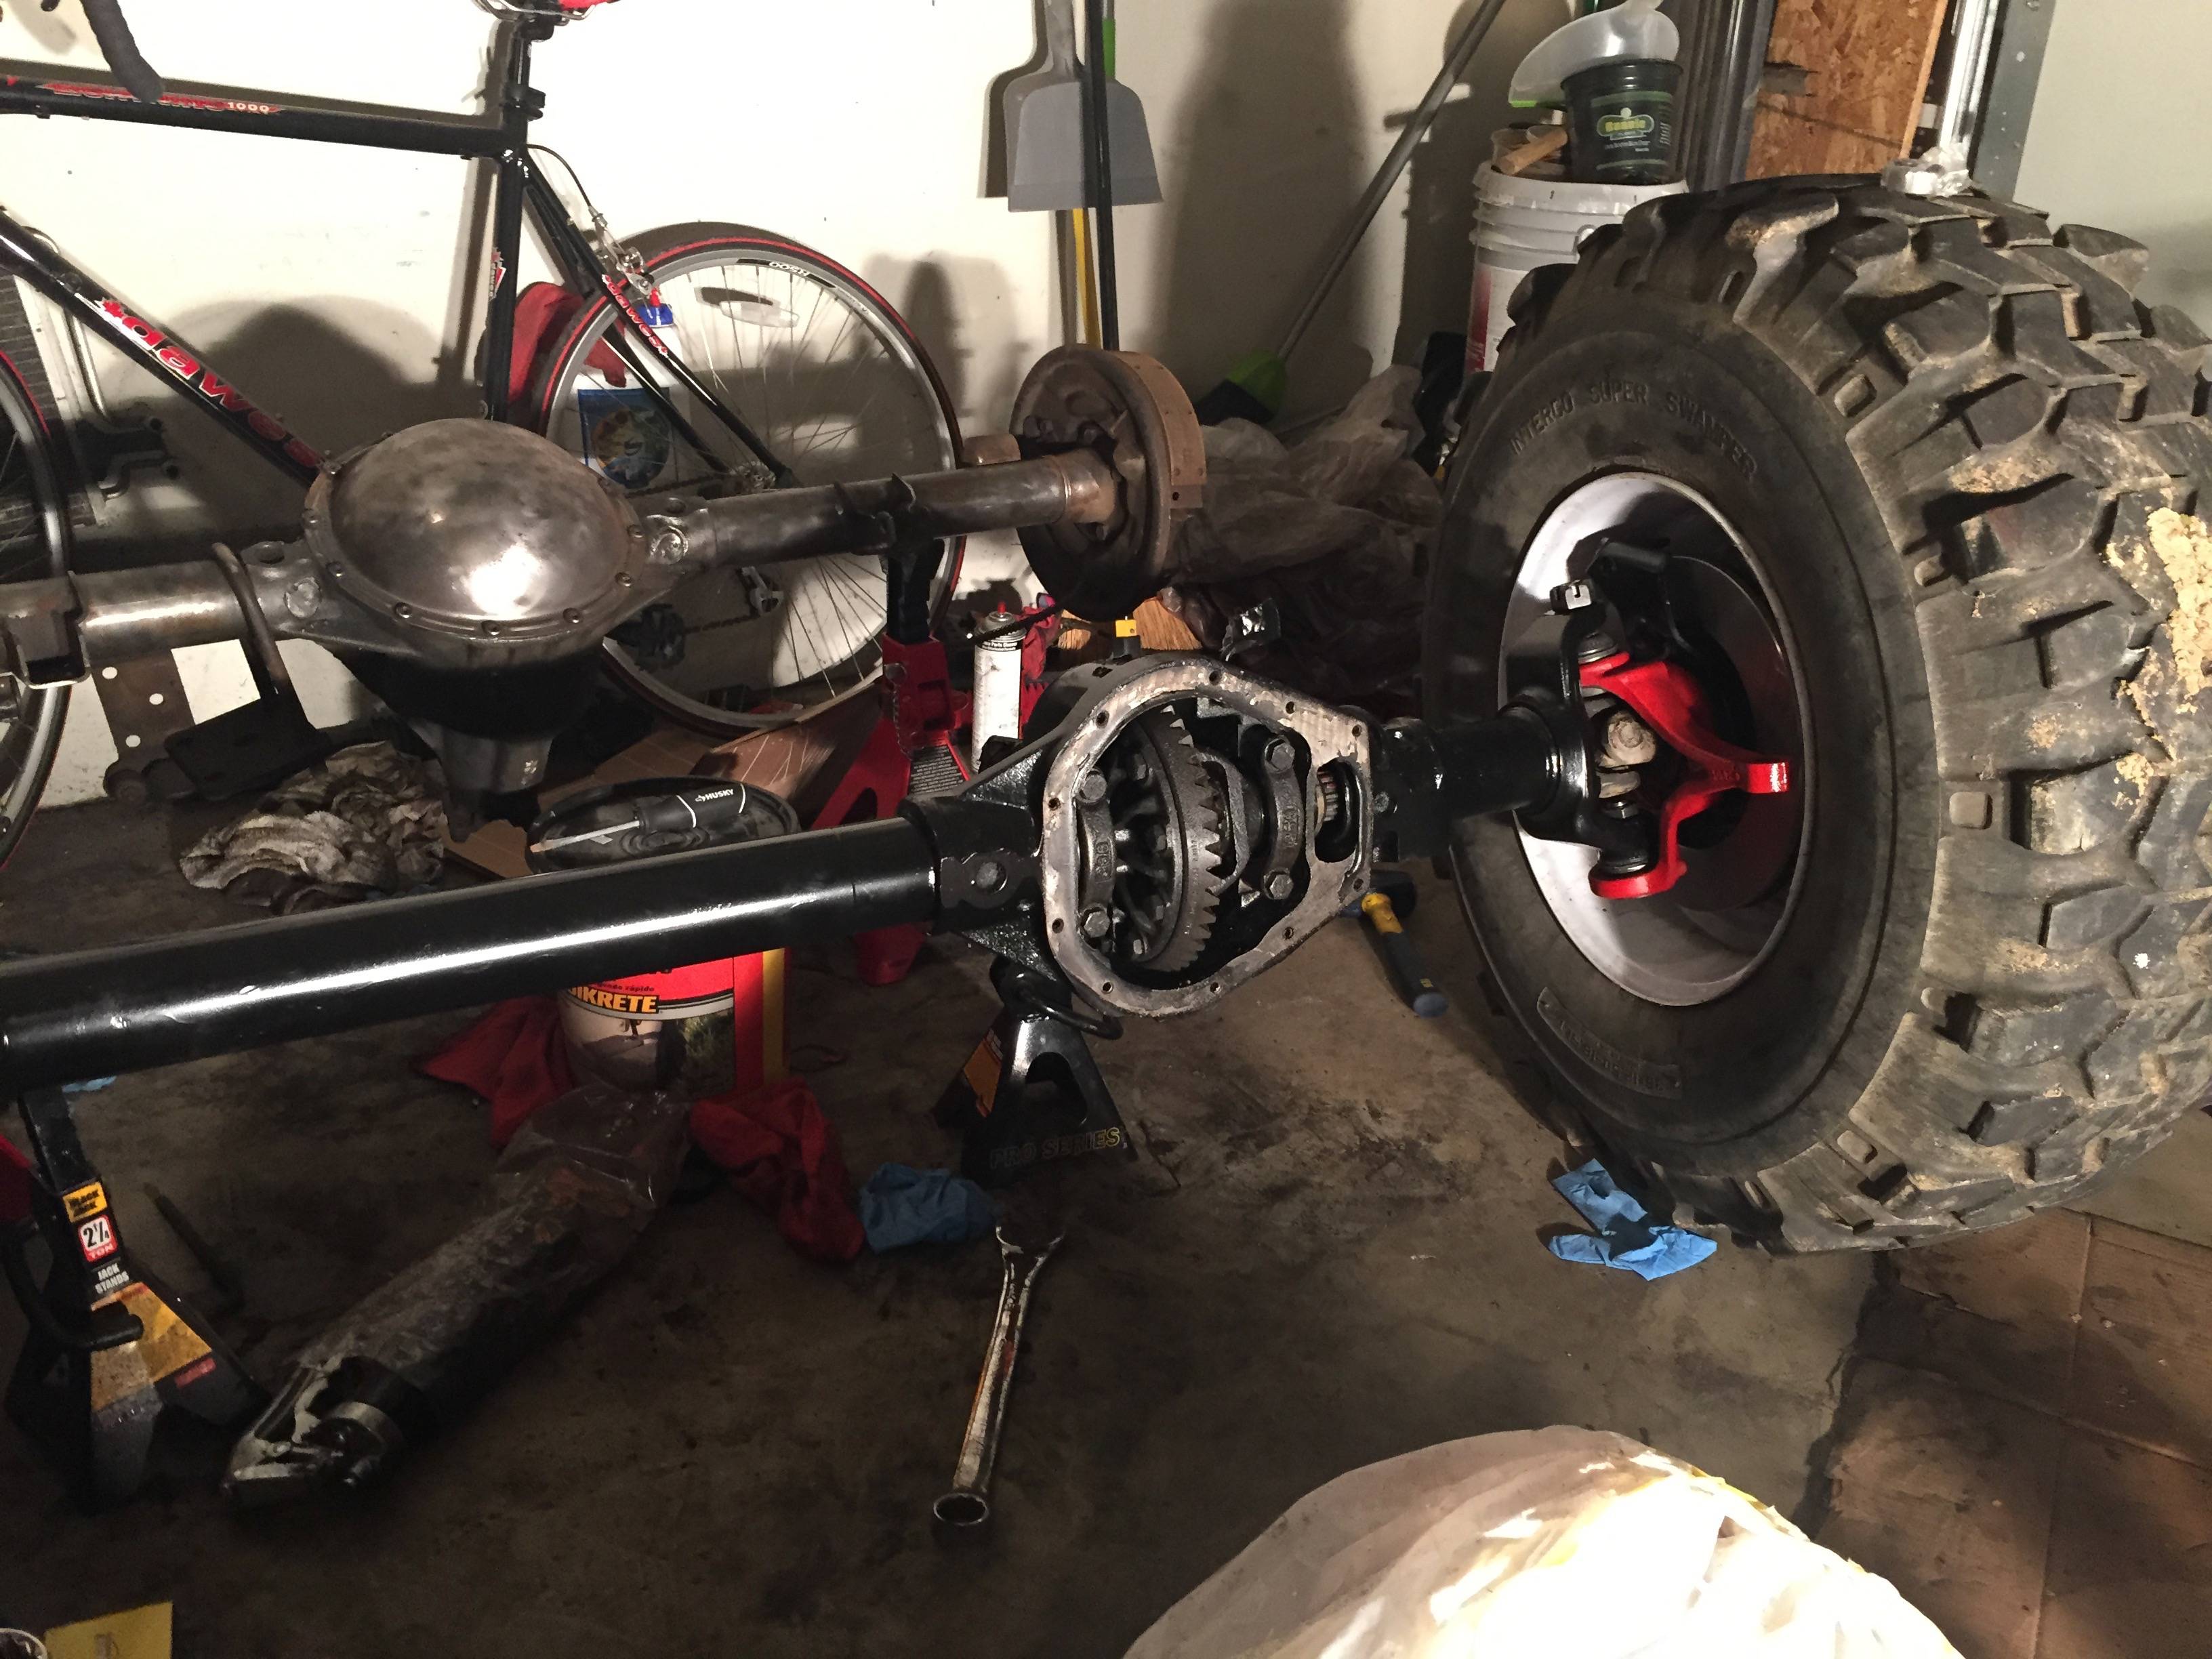
Started the tear down on the d44 that's going in the front. It's from an 83' waggy and has the vacuum disco that I thought I had good plans for a year ago. A year later, I'm not sure about my original plans but oh well, both axles were like $100.
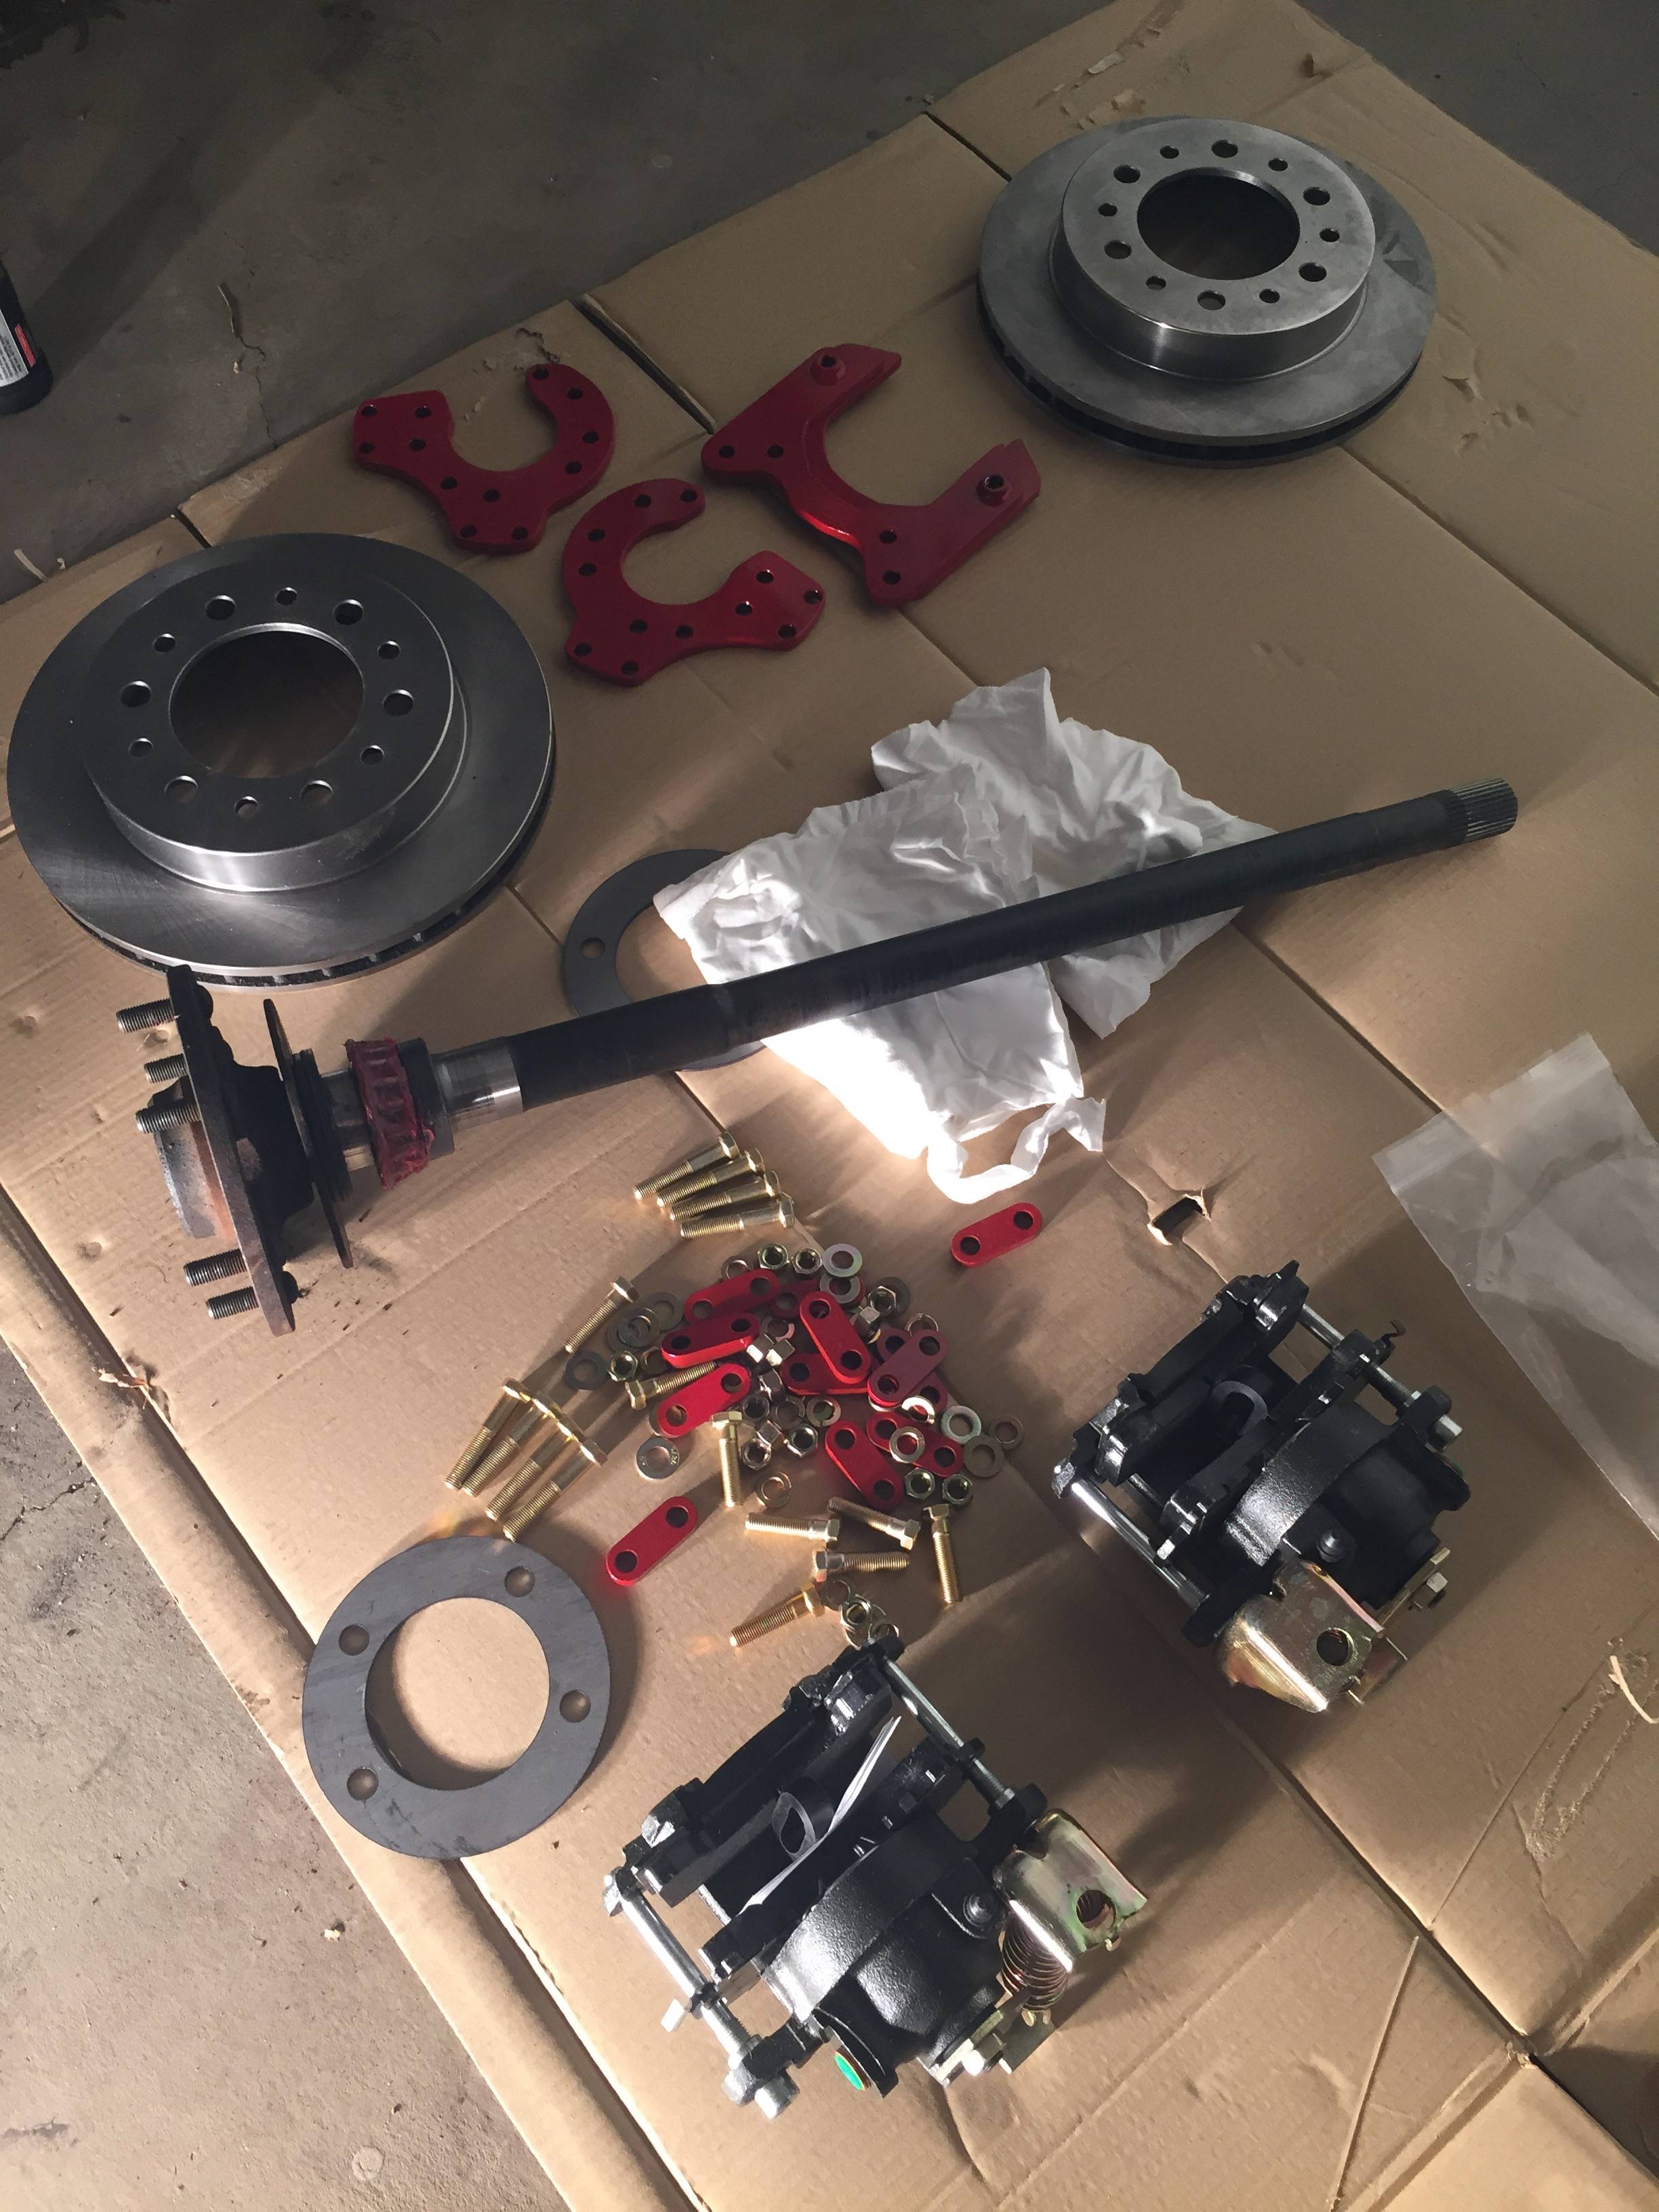
Picked up new bearings, rotors, hubs, brake parts, etc. that can be seen in boxes of the background in my last post.
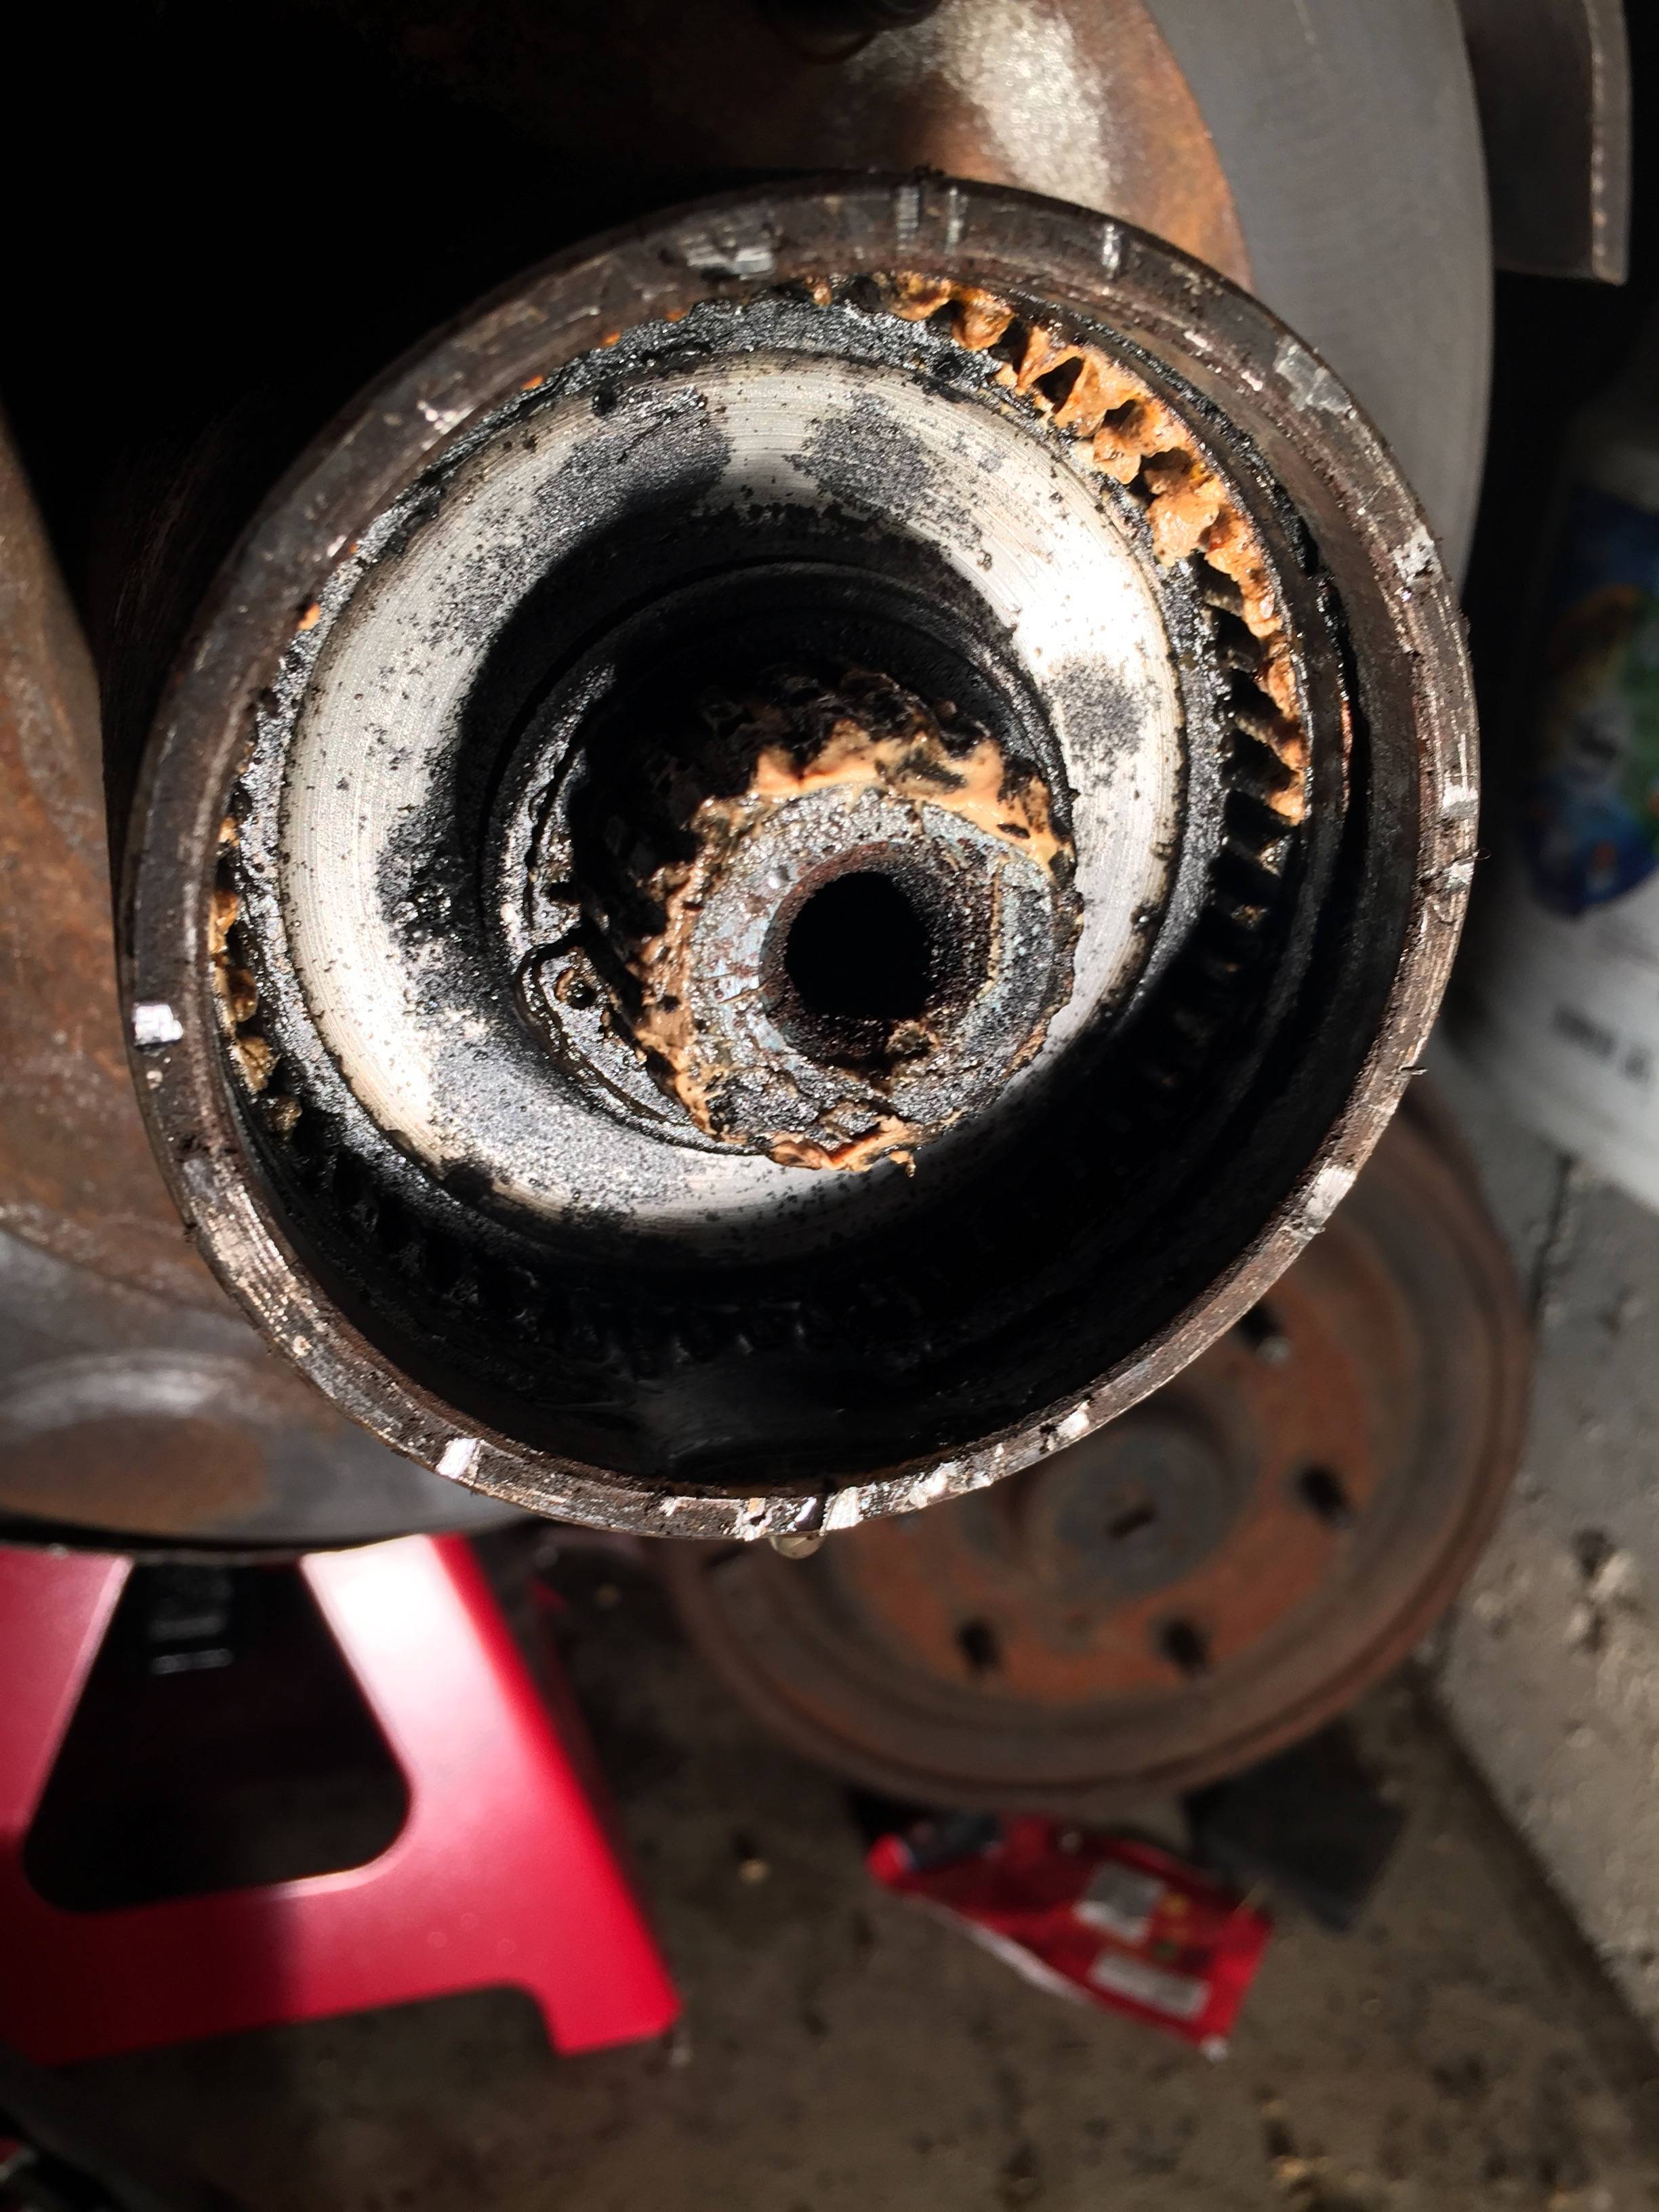
yummy..
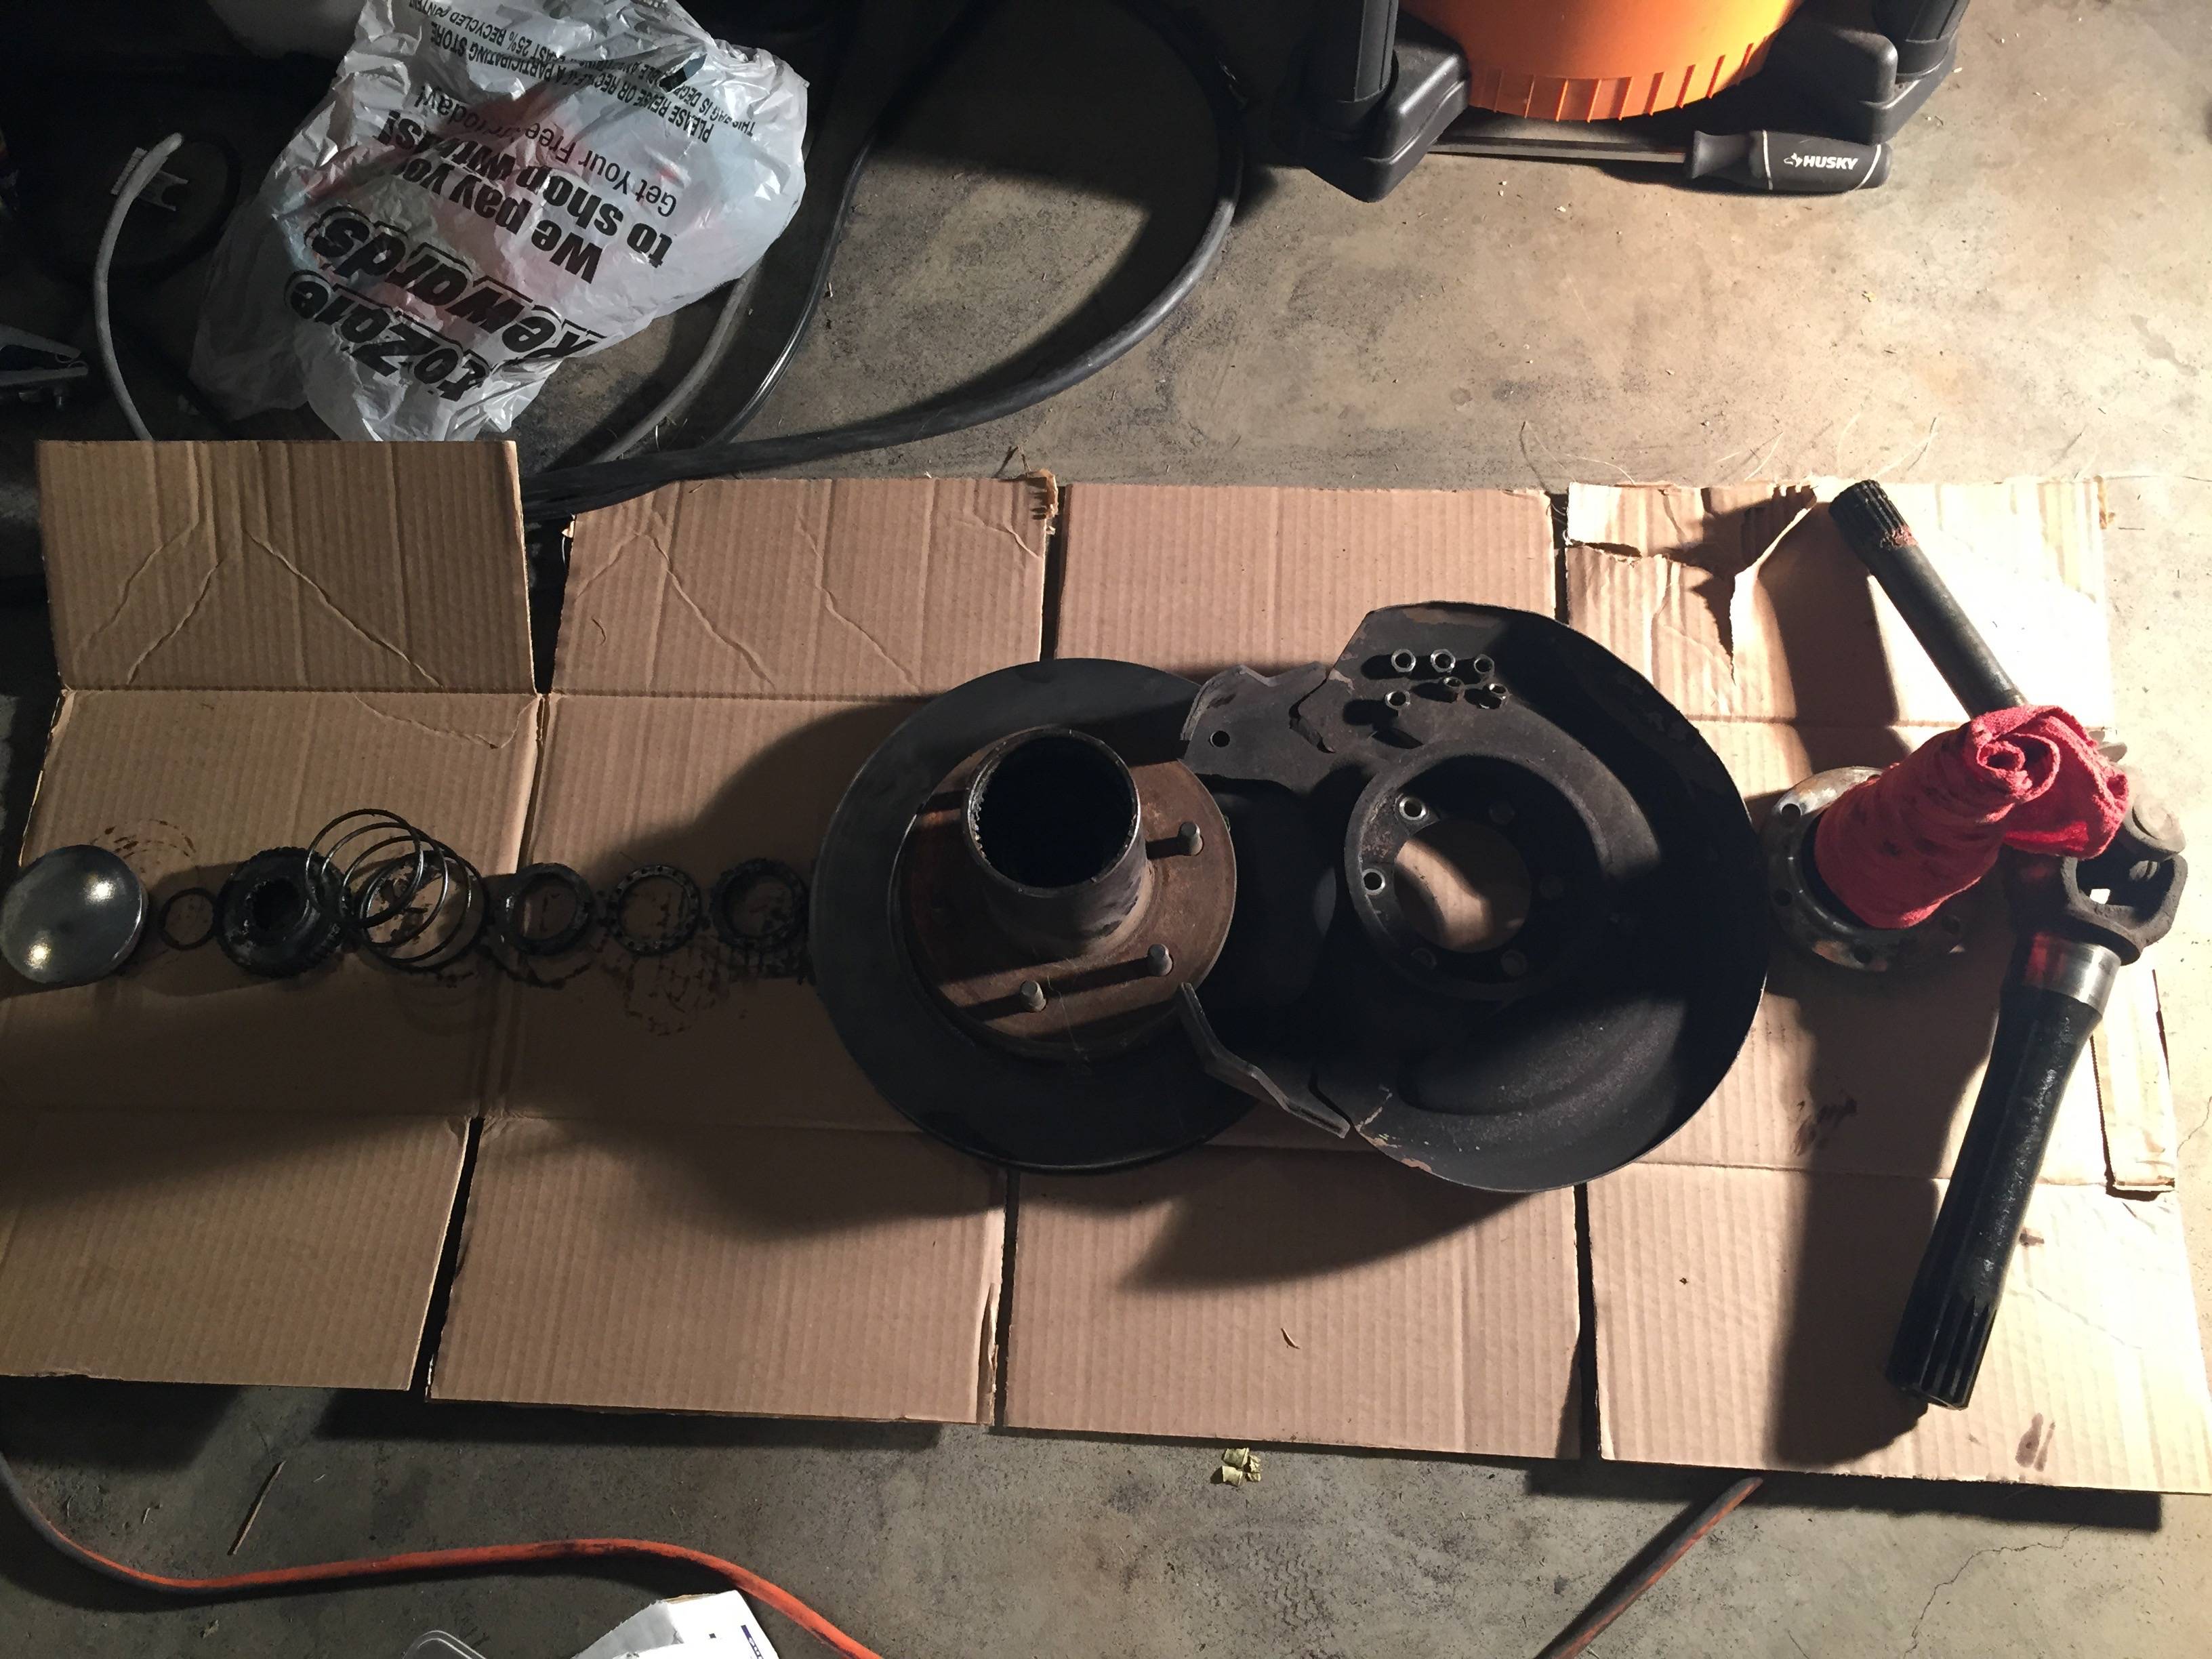
everything laid out in the order it came off
Picked up new bearings, rotors, hubs, brake parts, etc. that can be seen in boxes of the background in my last post.
yummy..
everything laid out in the order it came off
Thread Starter
|
Beginning Member
Joined: Jul 2012
Posts: 39
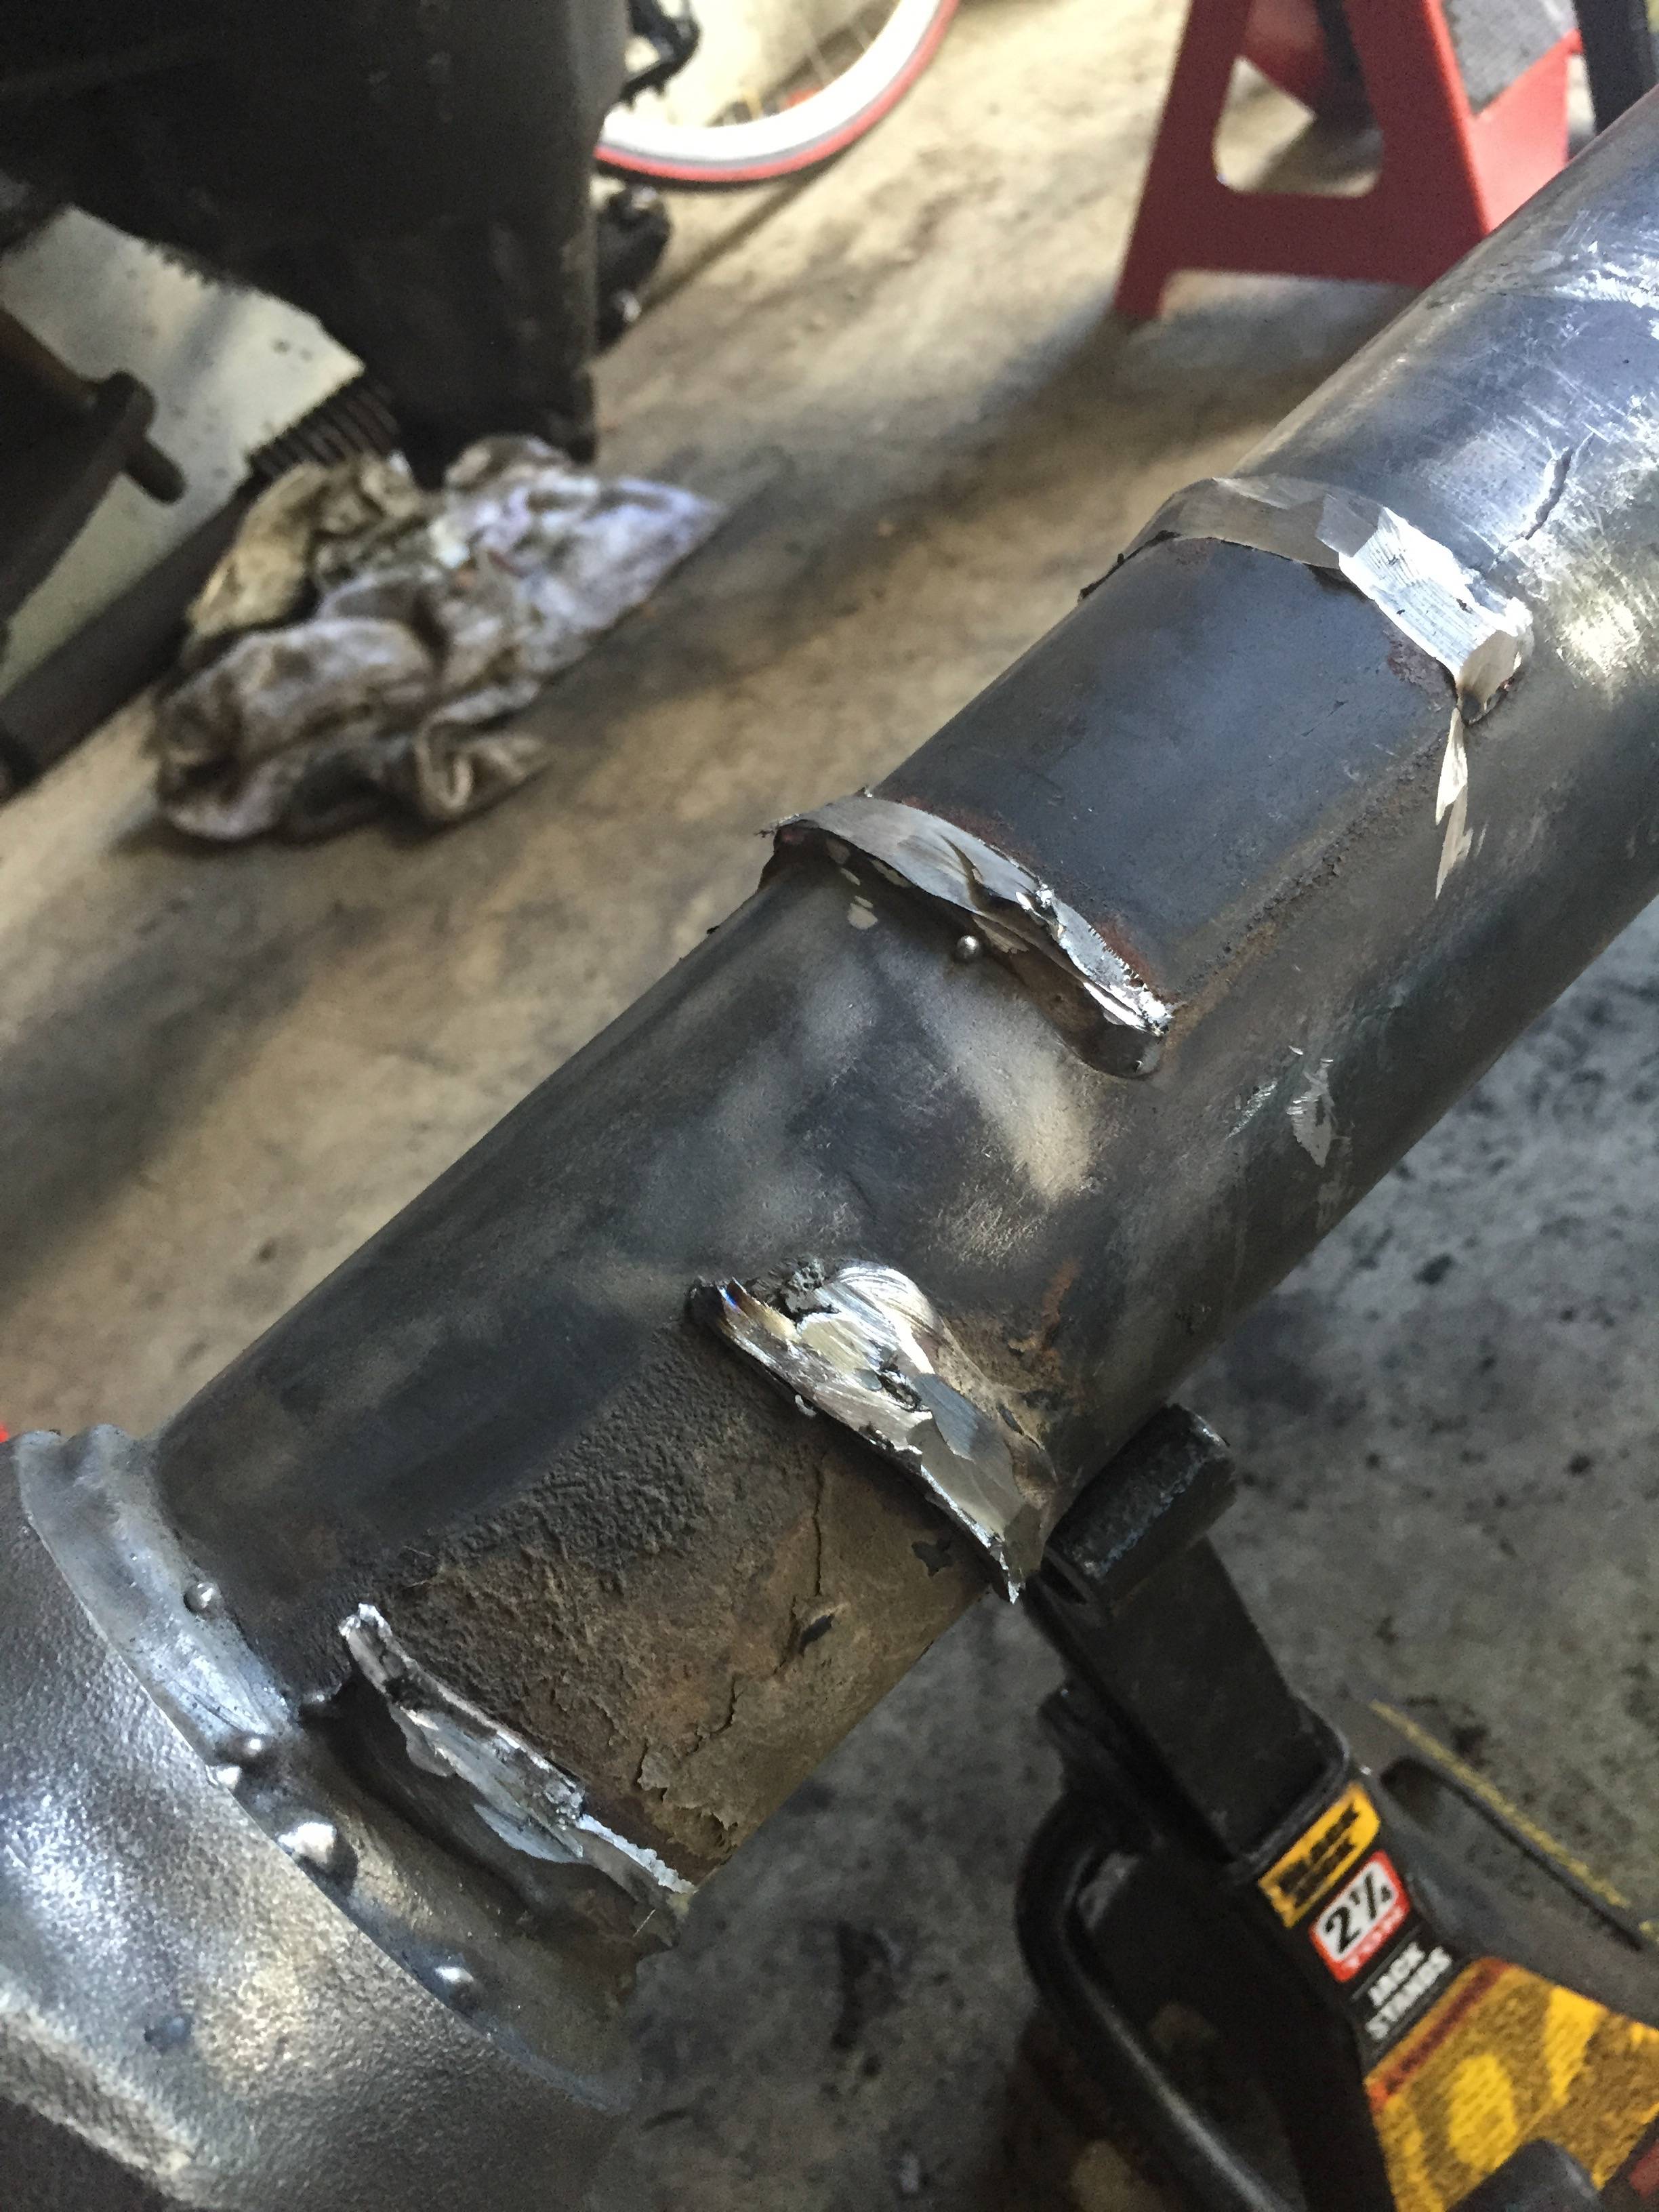
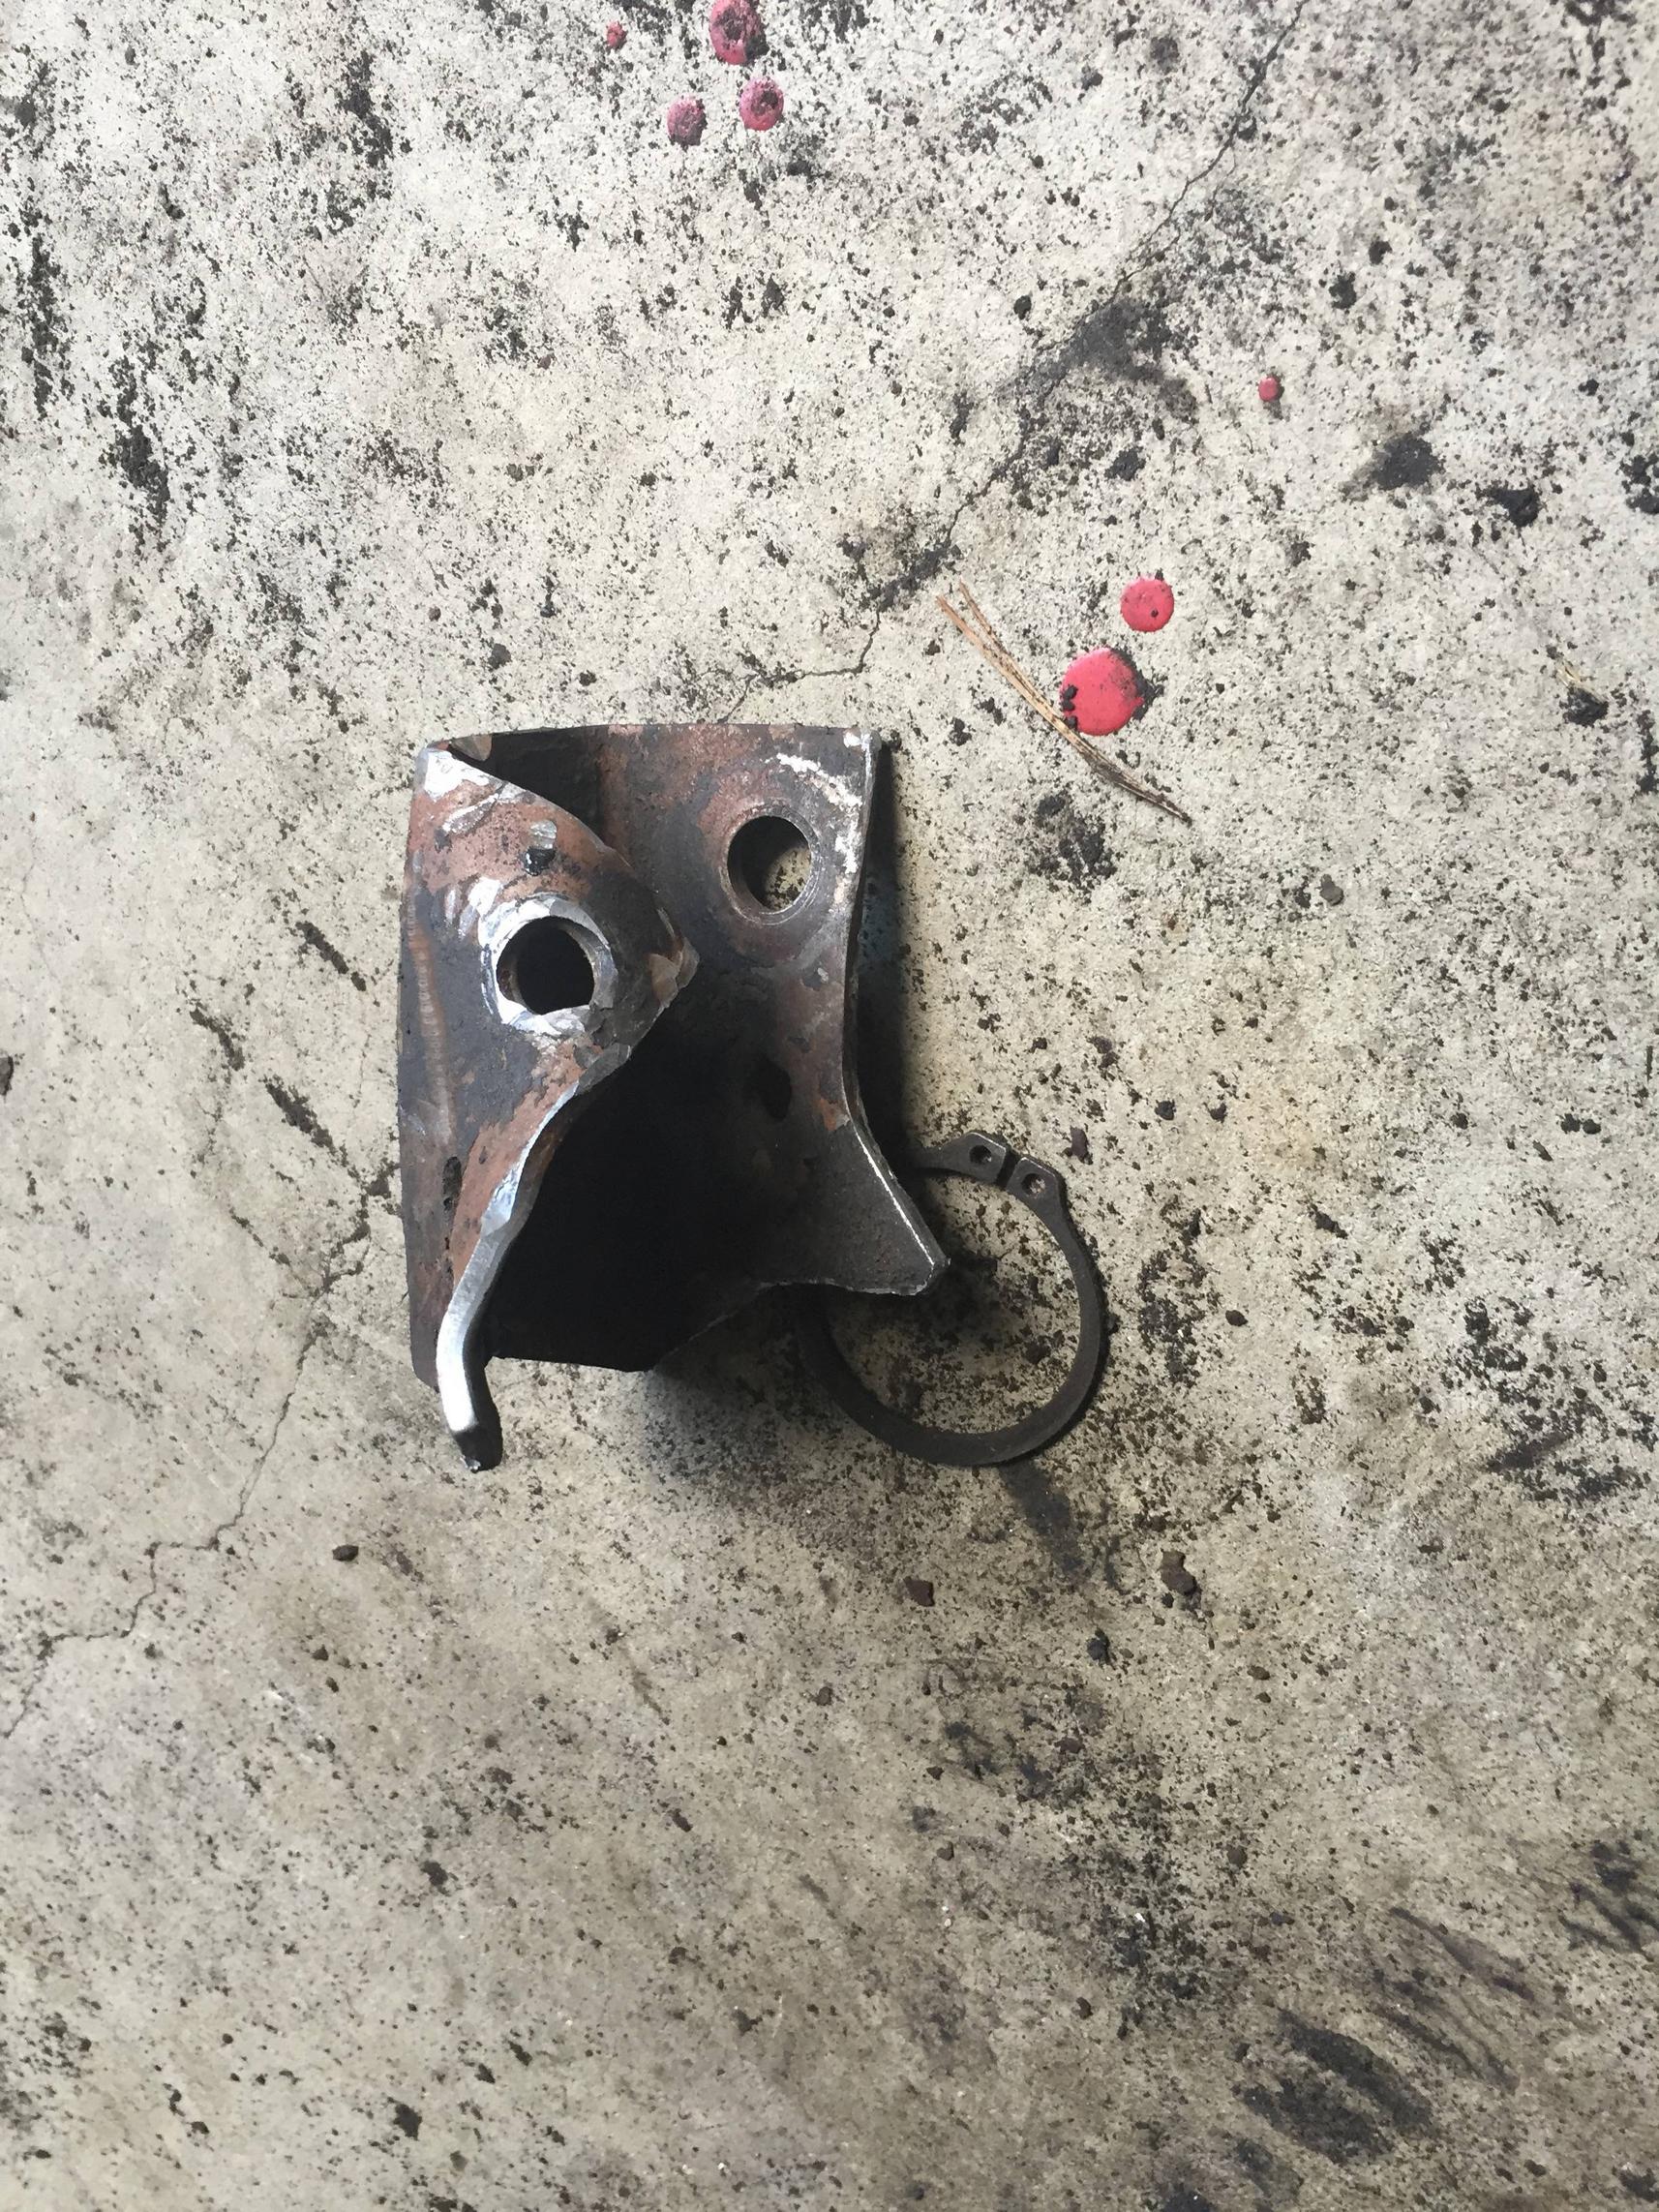
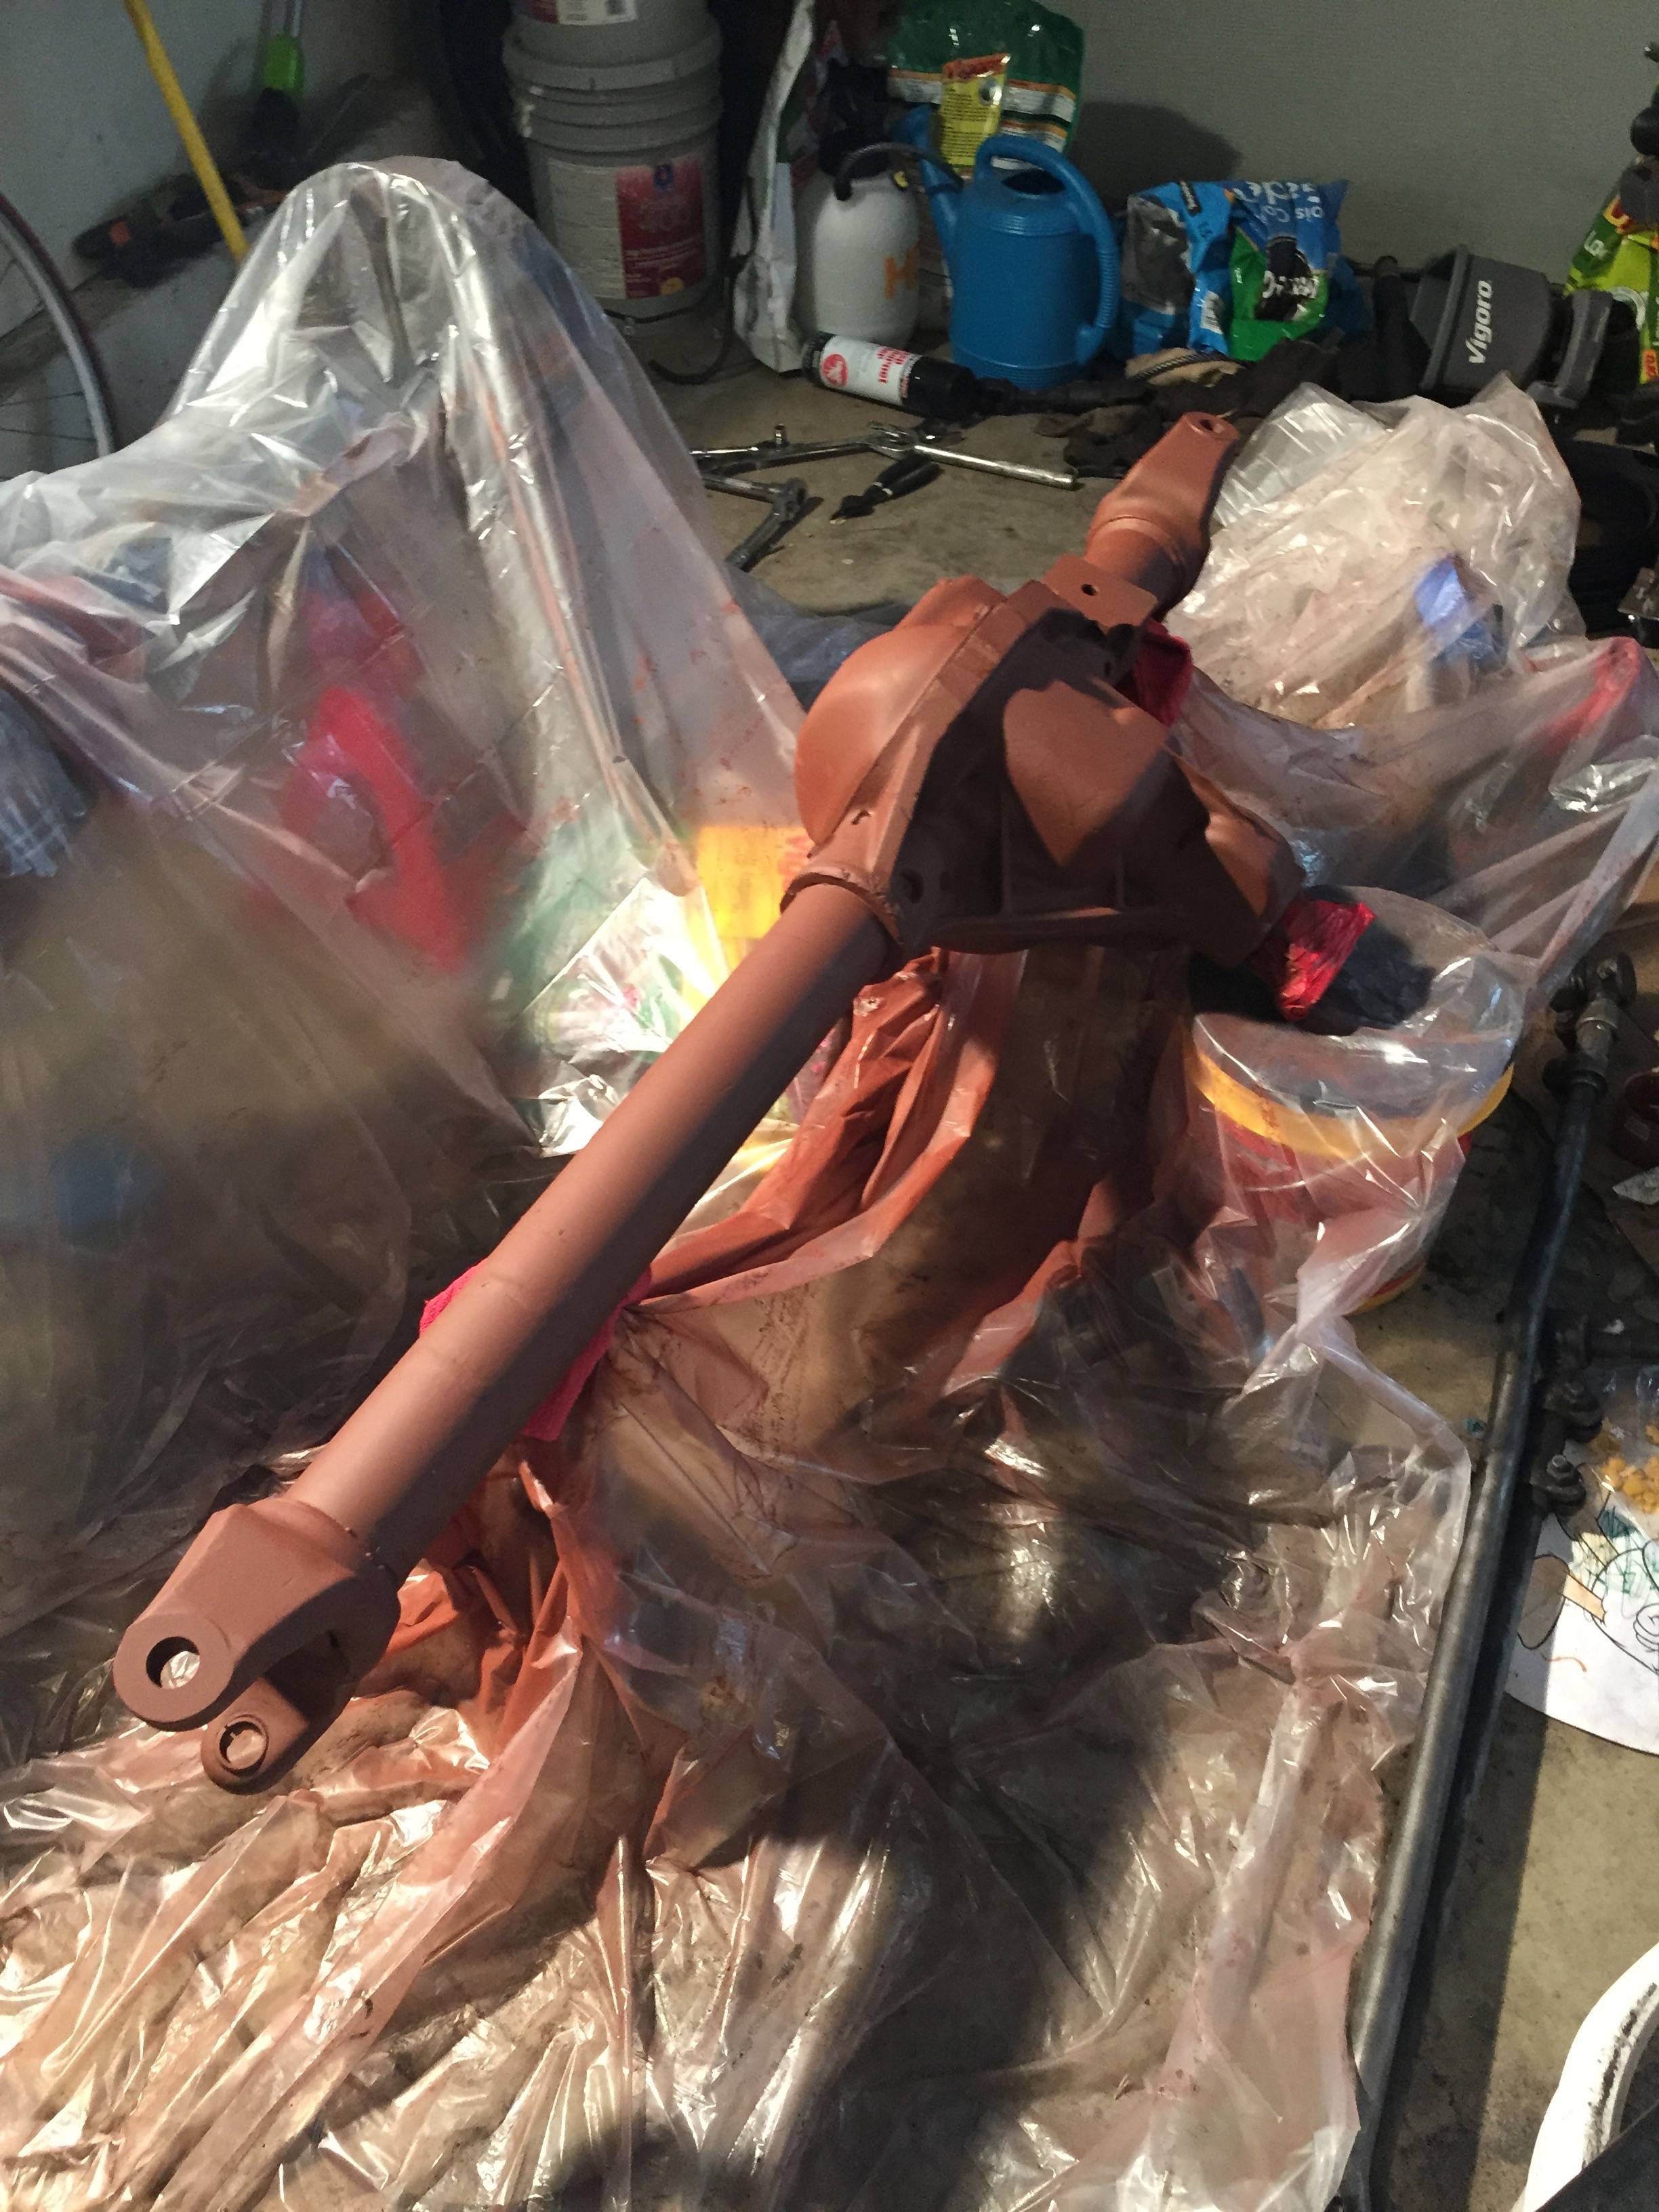
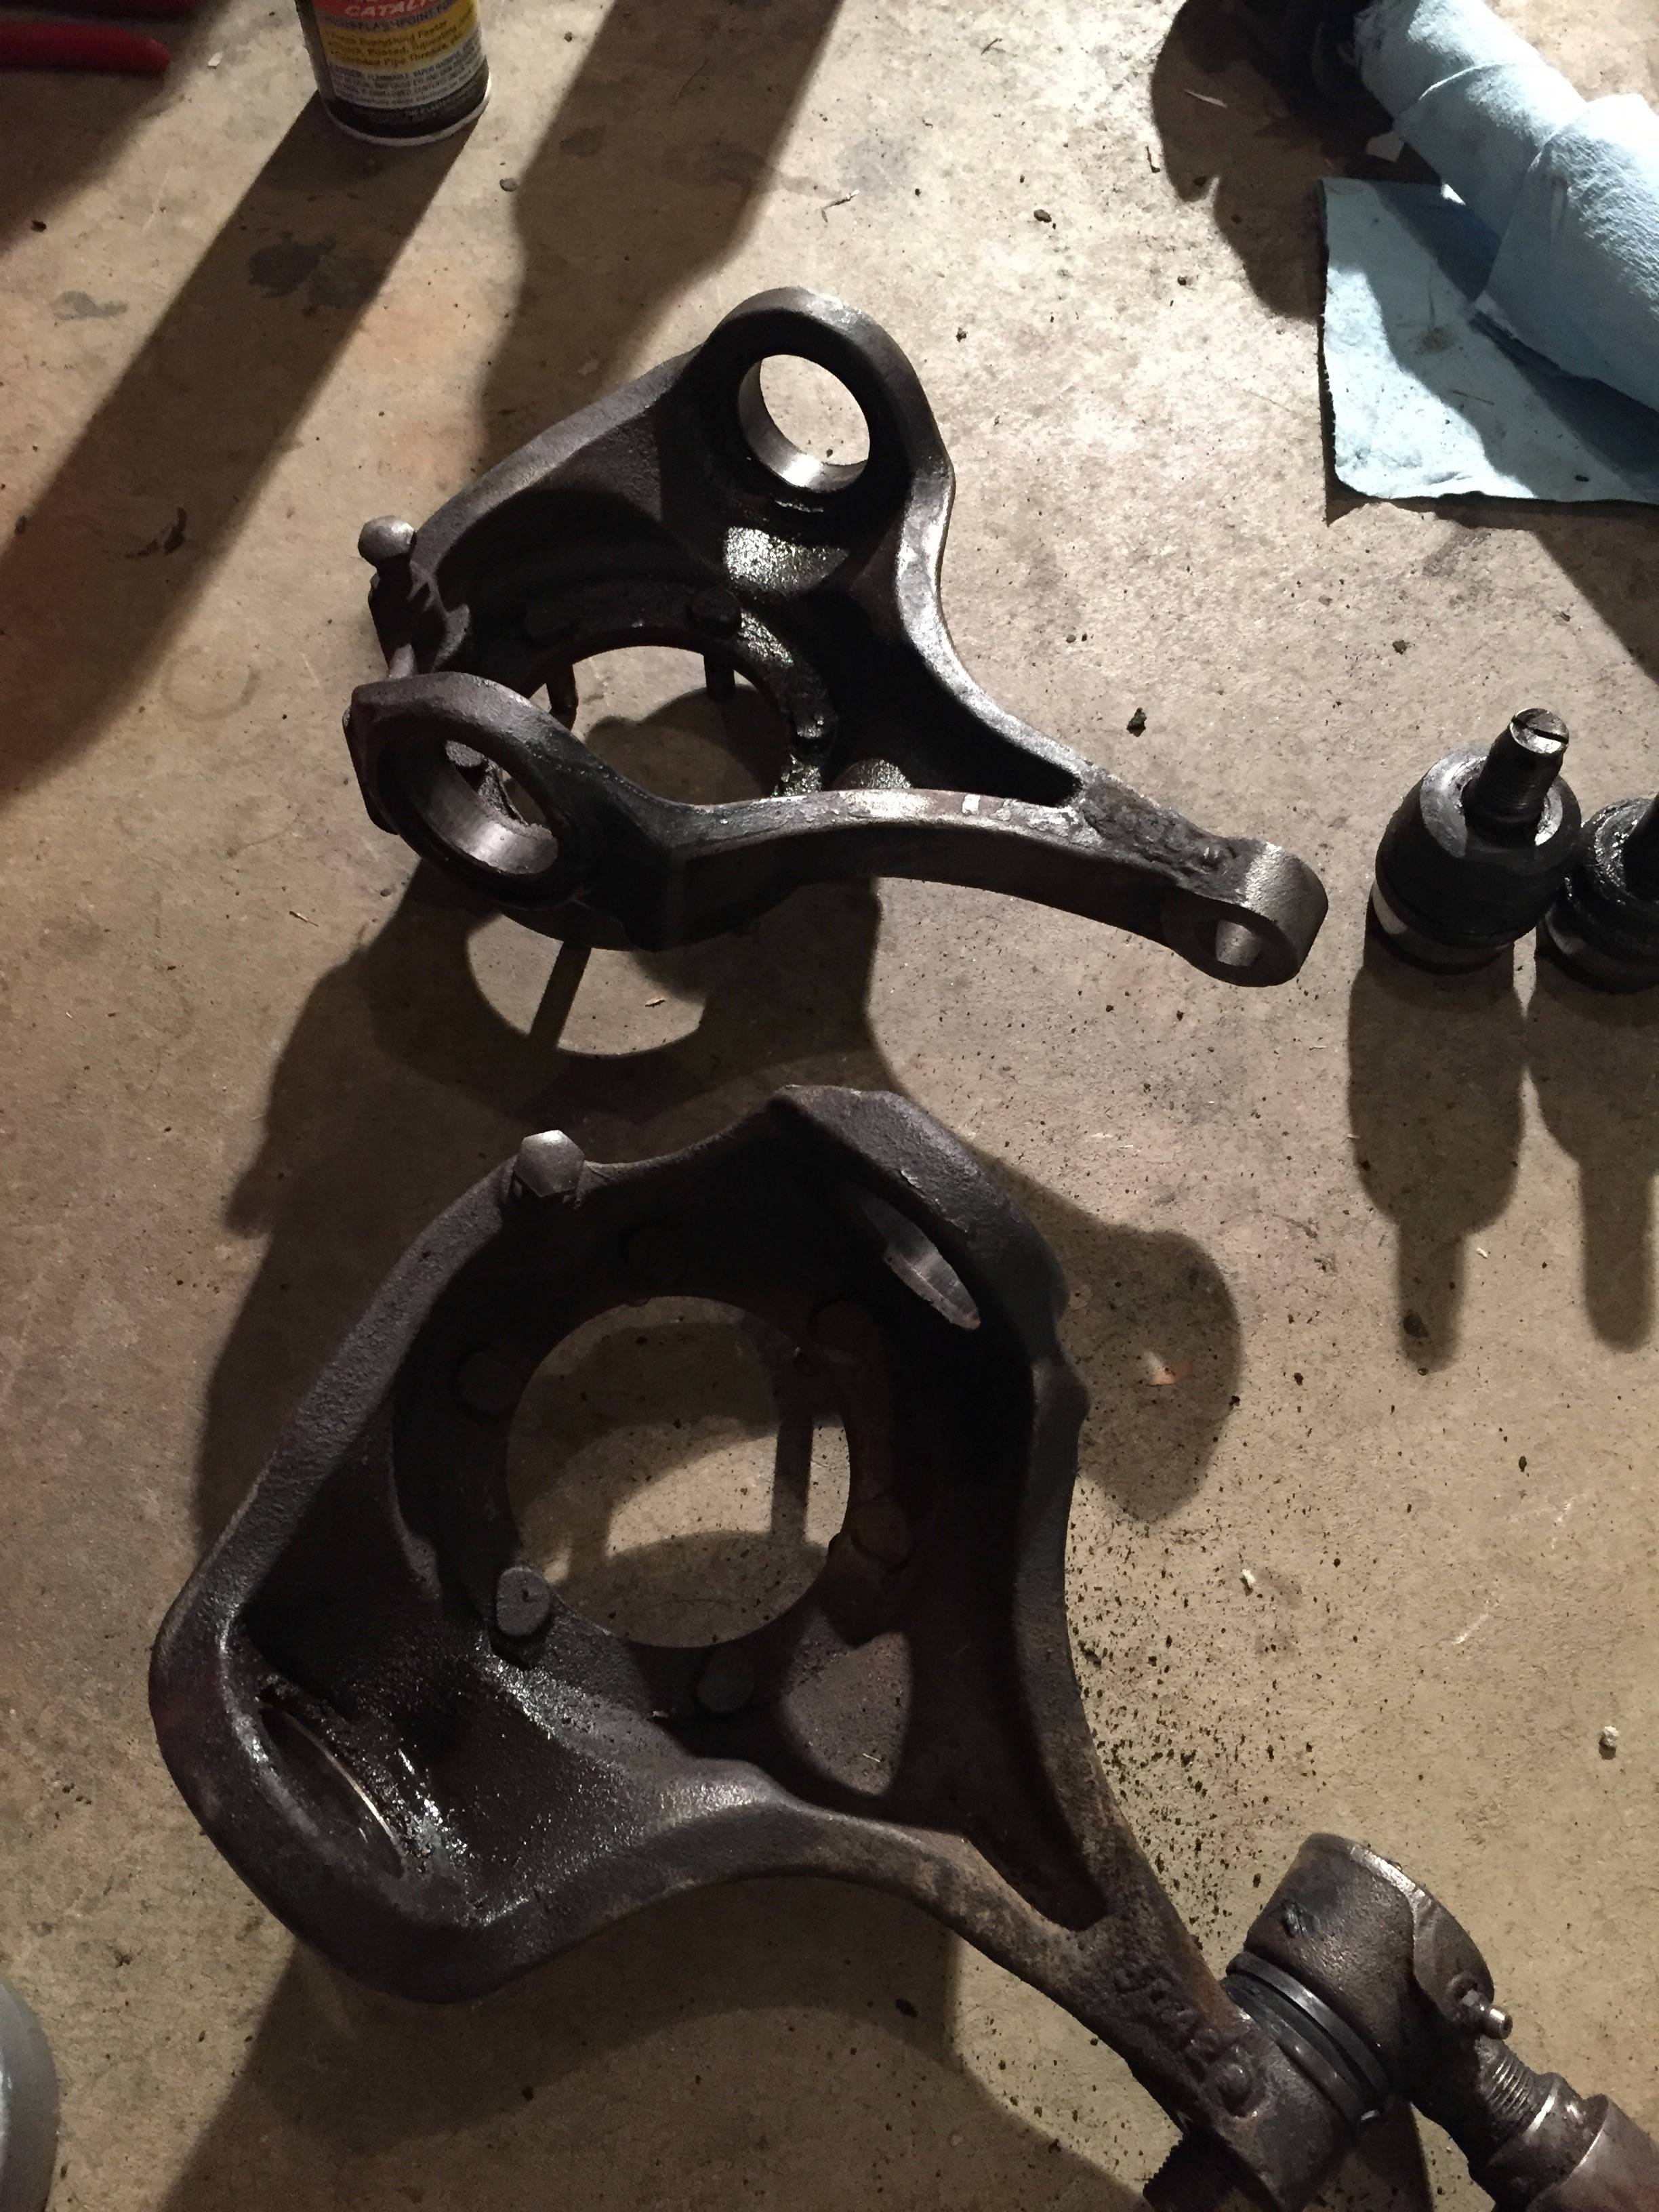
Once I had everything pulled off to the outer c's I started cutting off the old mounts. A cutting wheel and bfh made this pretty quick work.
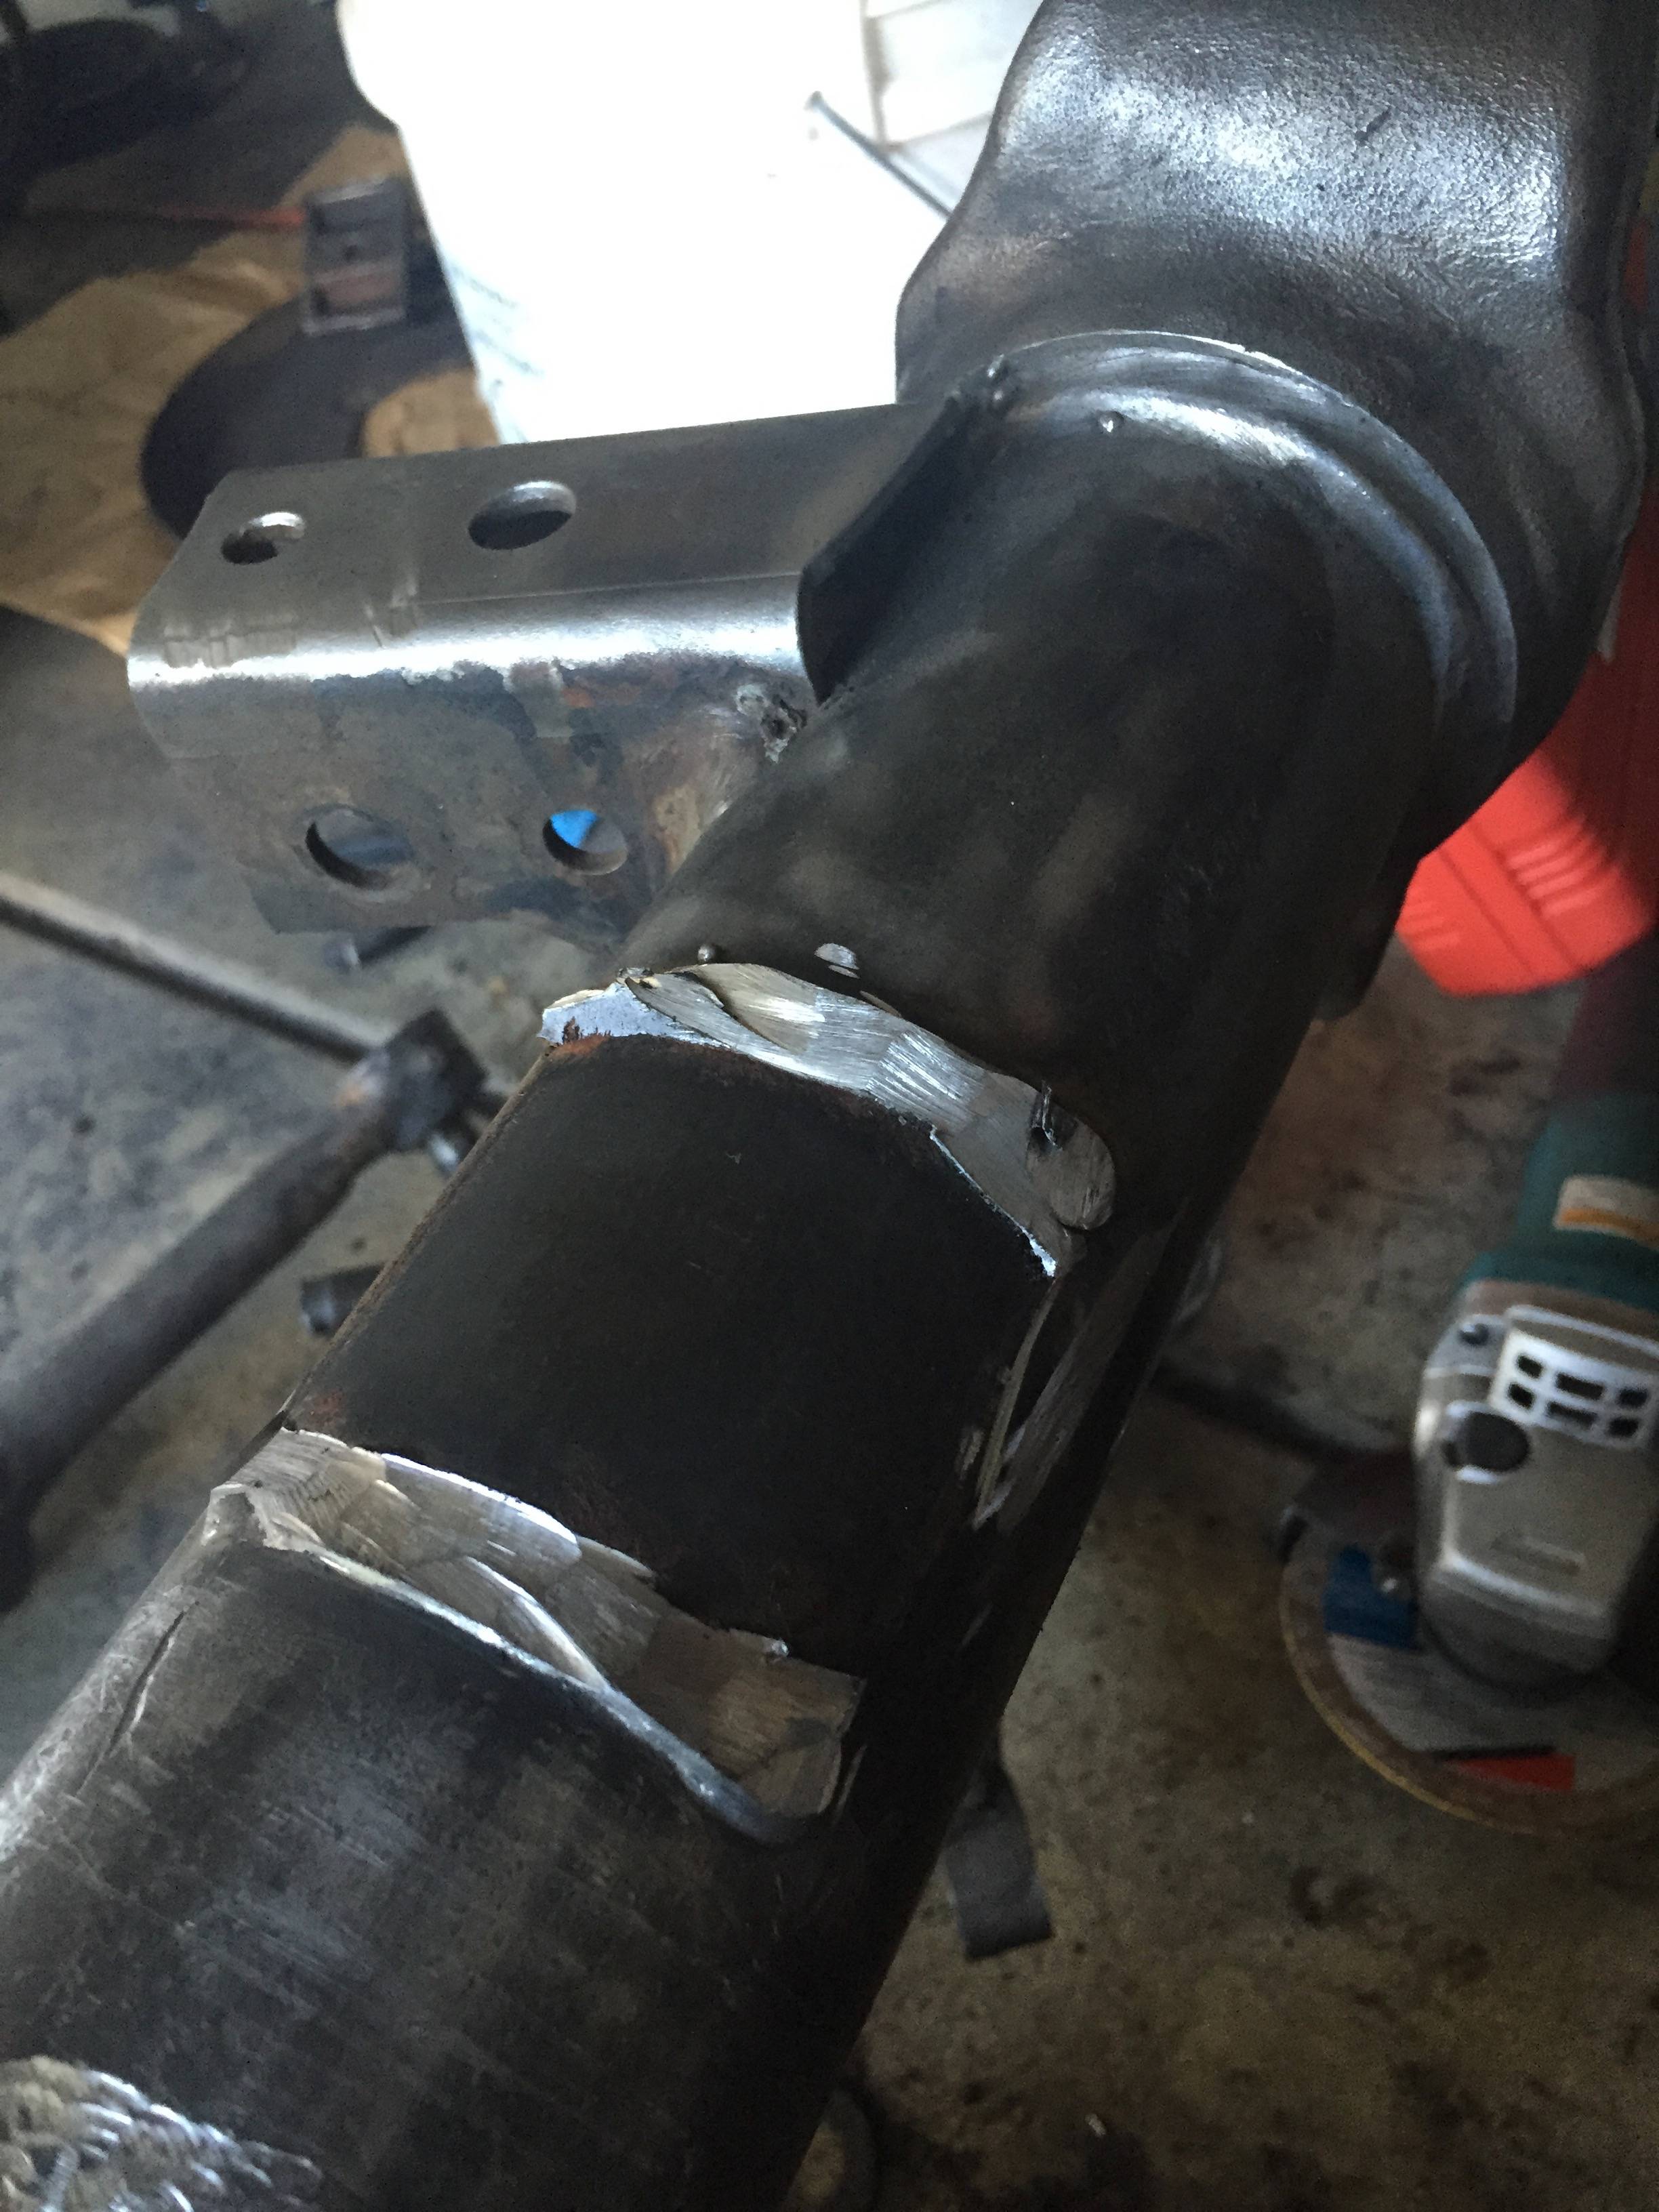
could've got closer but didn't want to cut into the tubes on accident

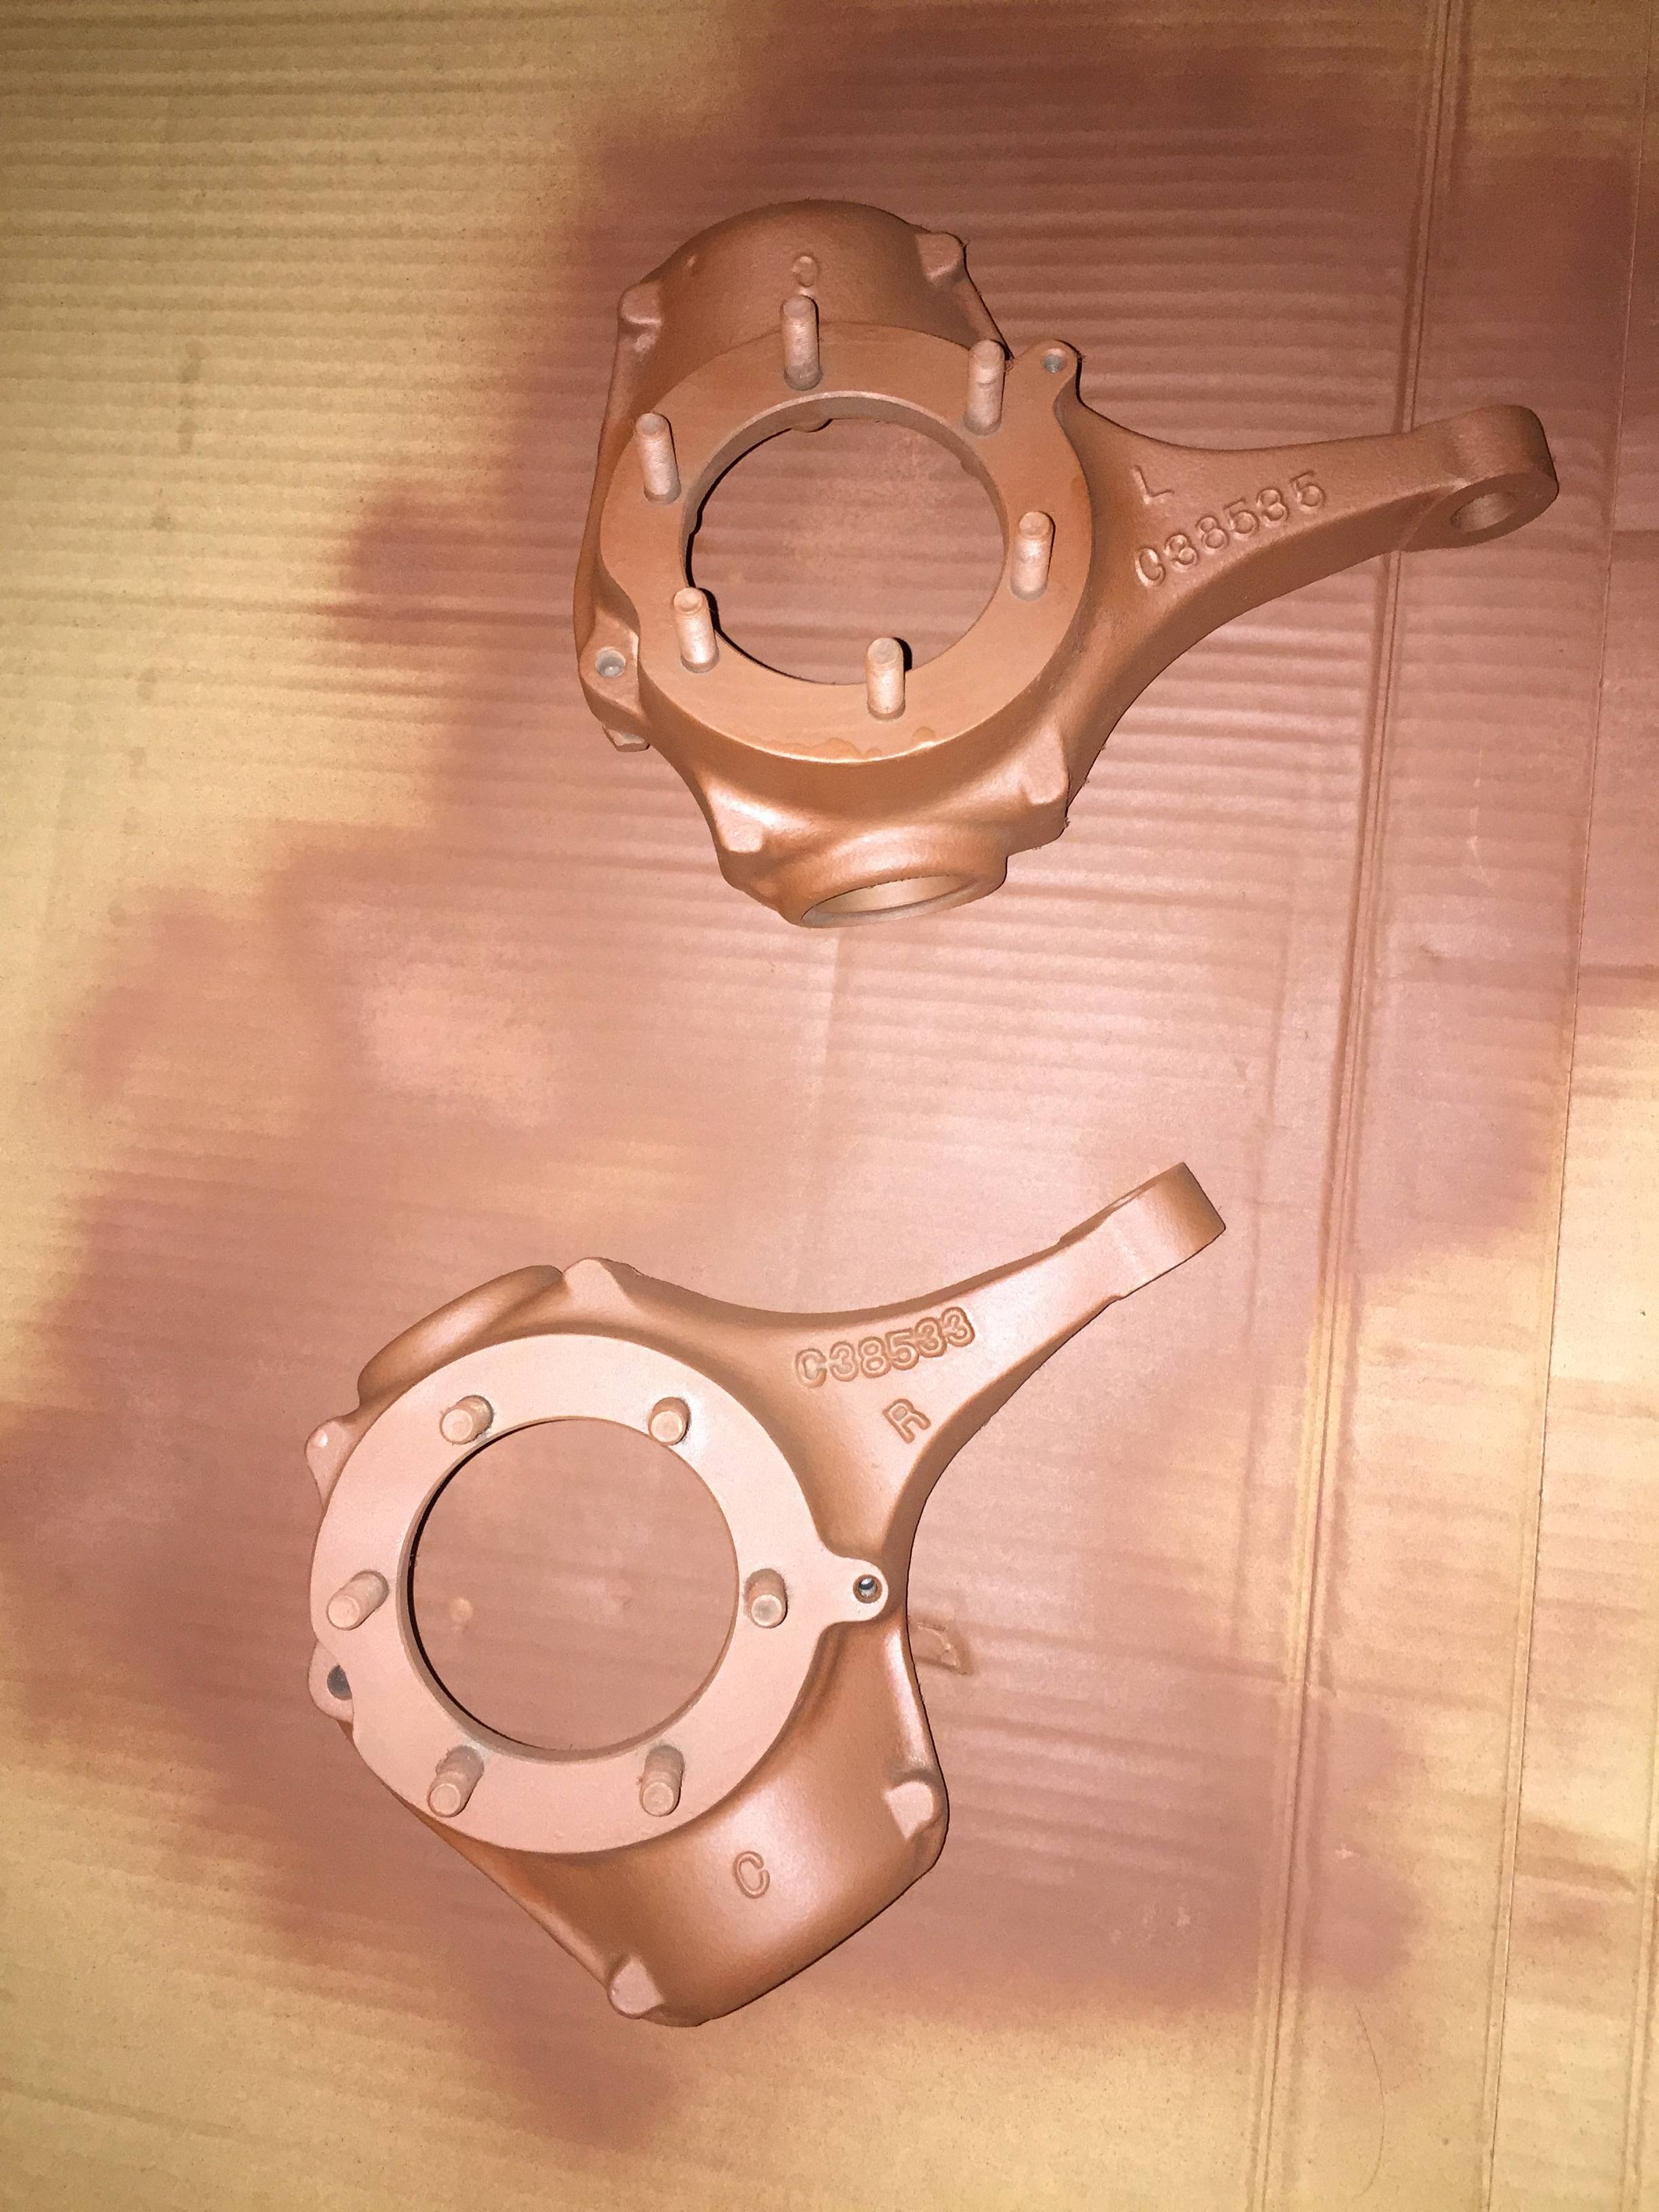
cleaned up with a grinding disc
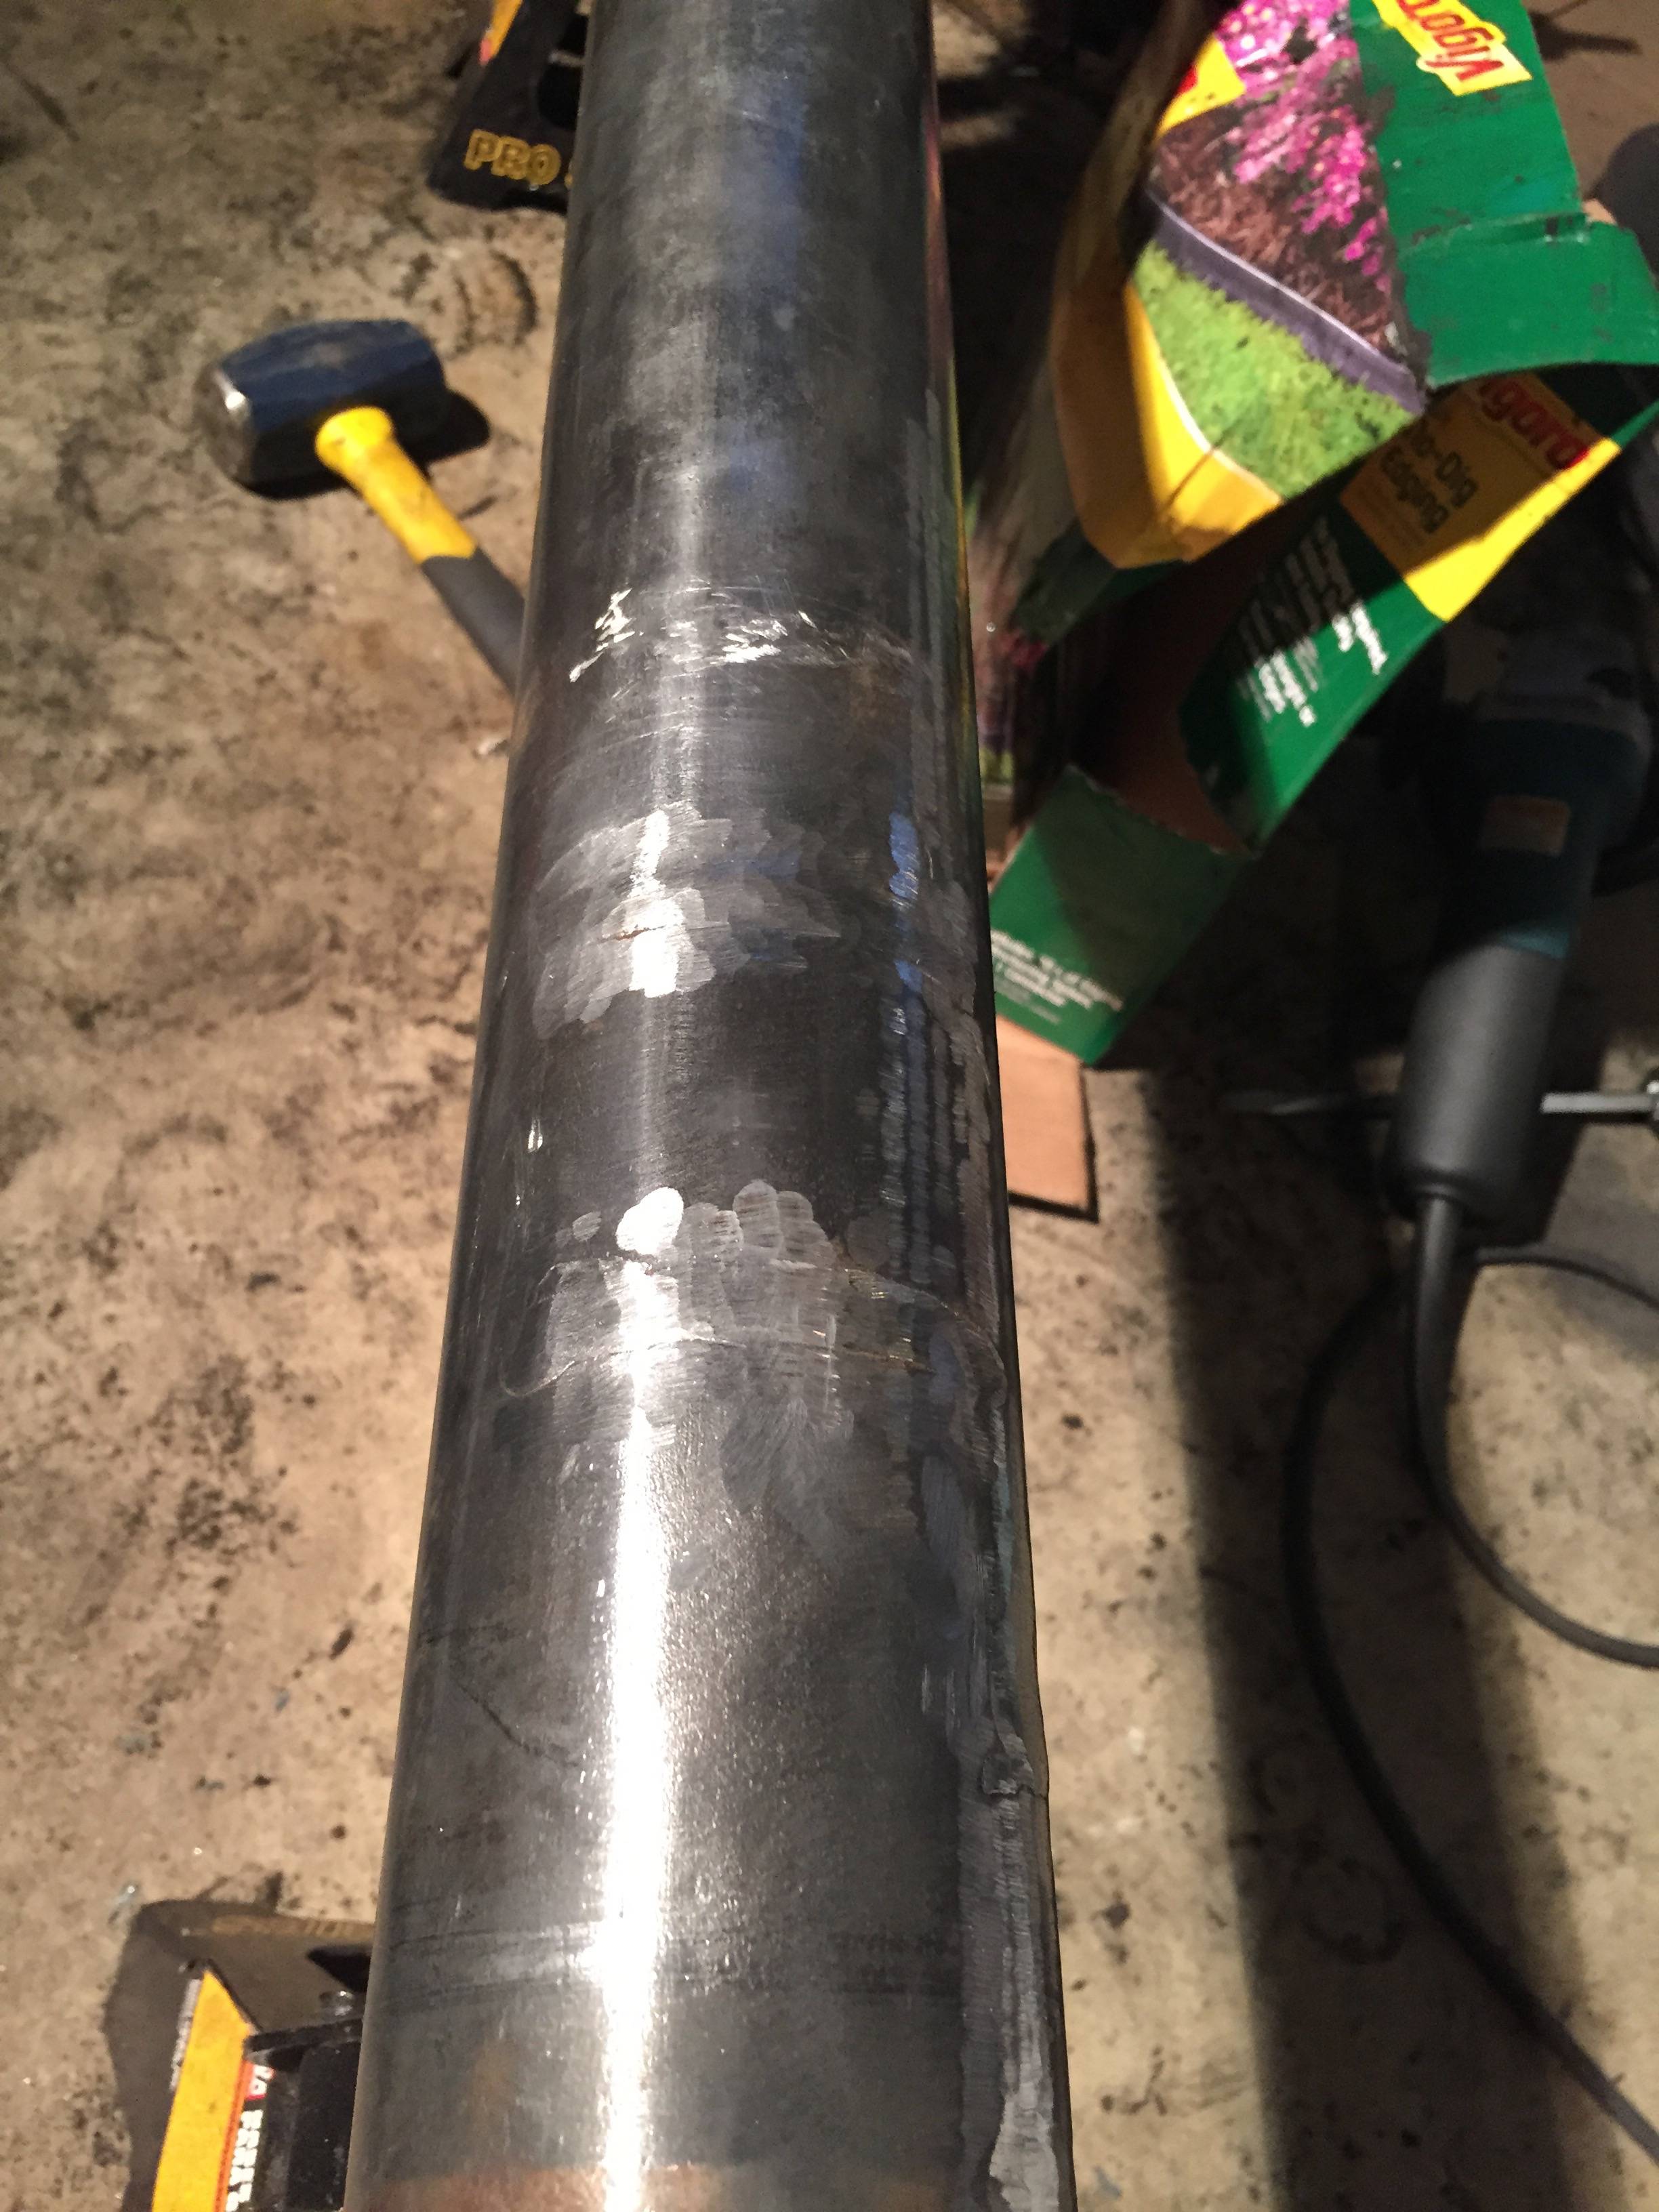
wire wheel
first or second coat of primer
could've got closer but didn't want to cut into the tubes on accident
cleaned up with a grinding disc
wire wheel
first or second coat of primer
Thread Starter
|
Beginning Member
Joined: Jul 2012
Posts: 39
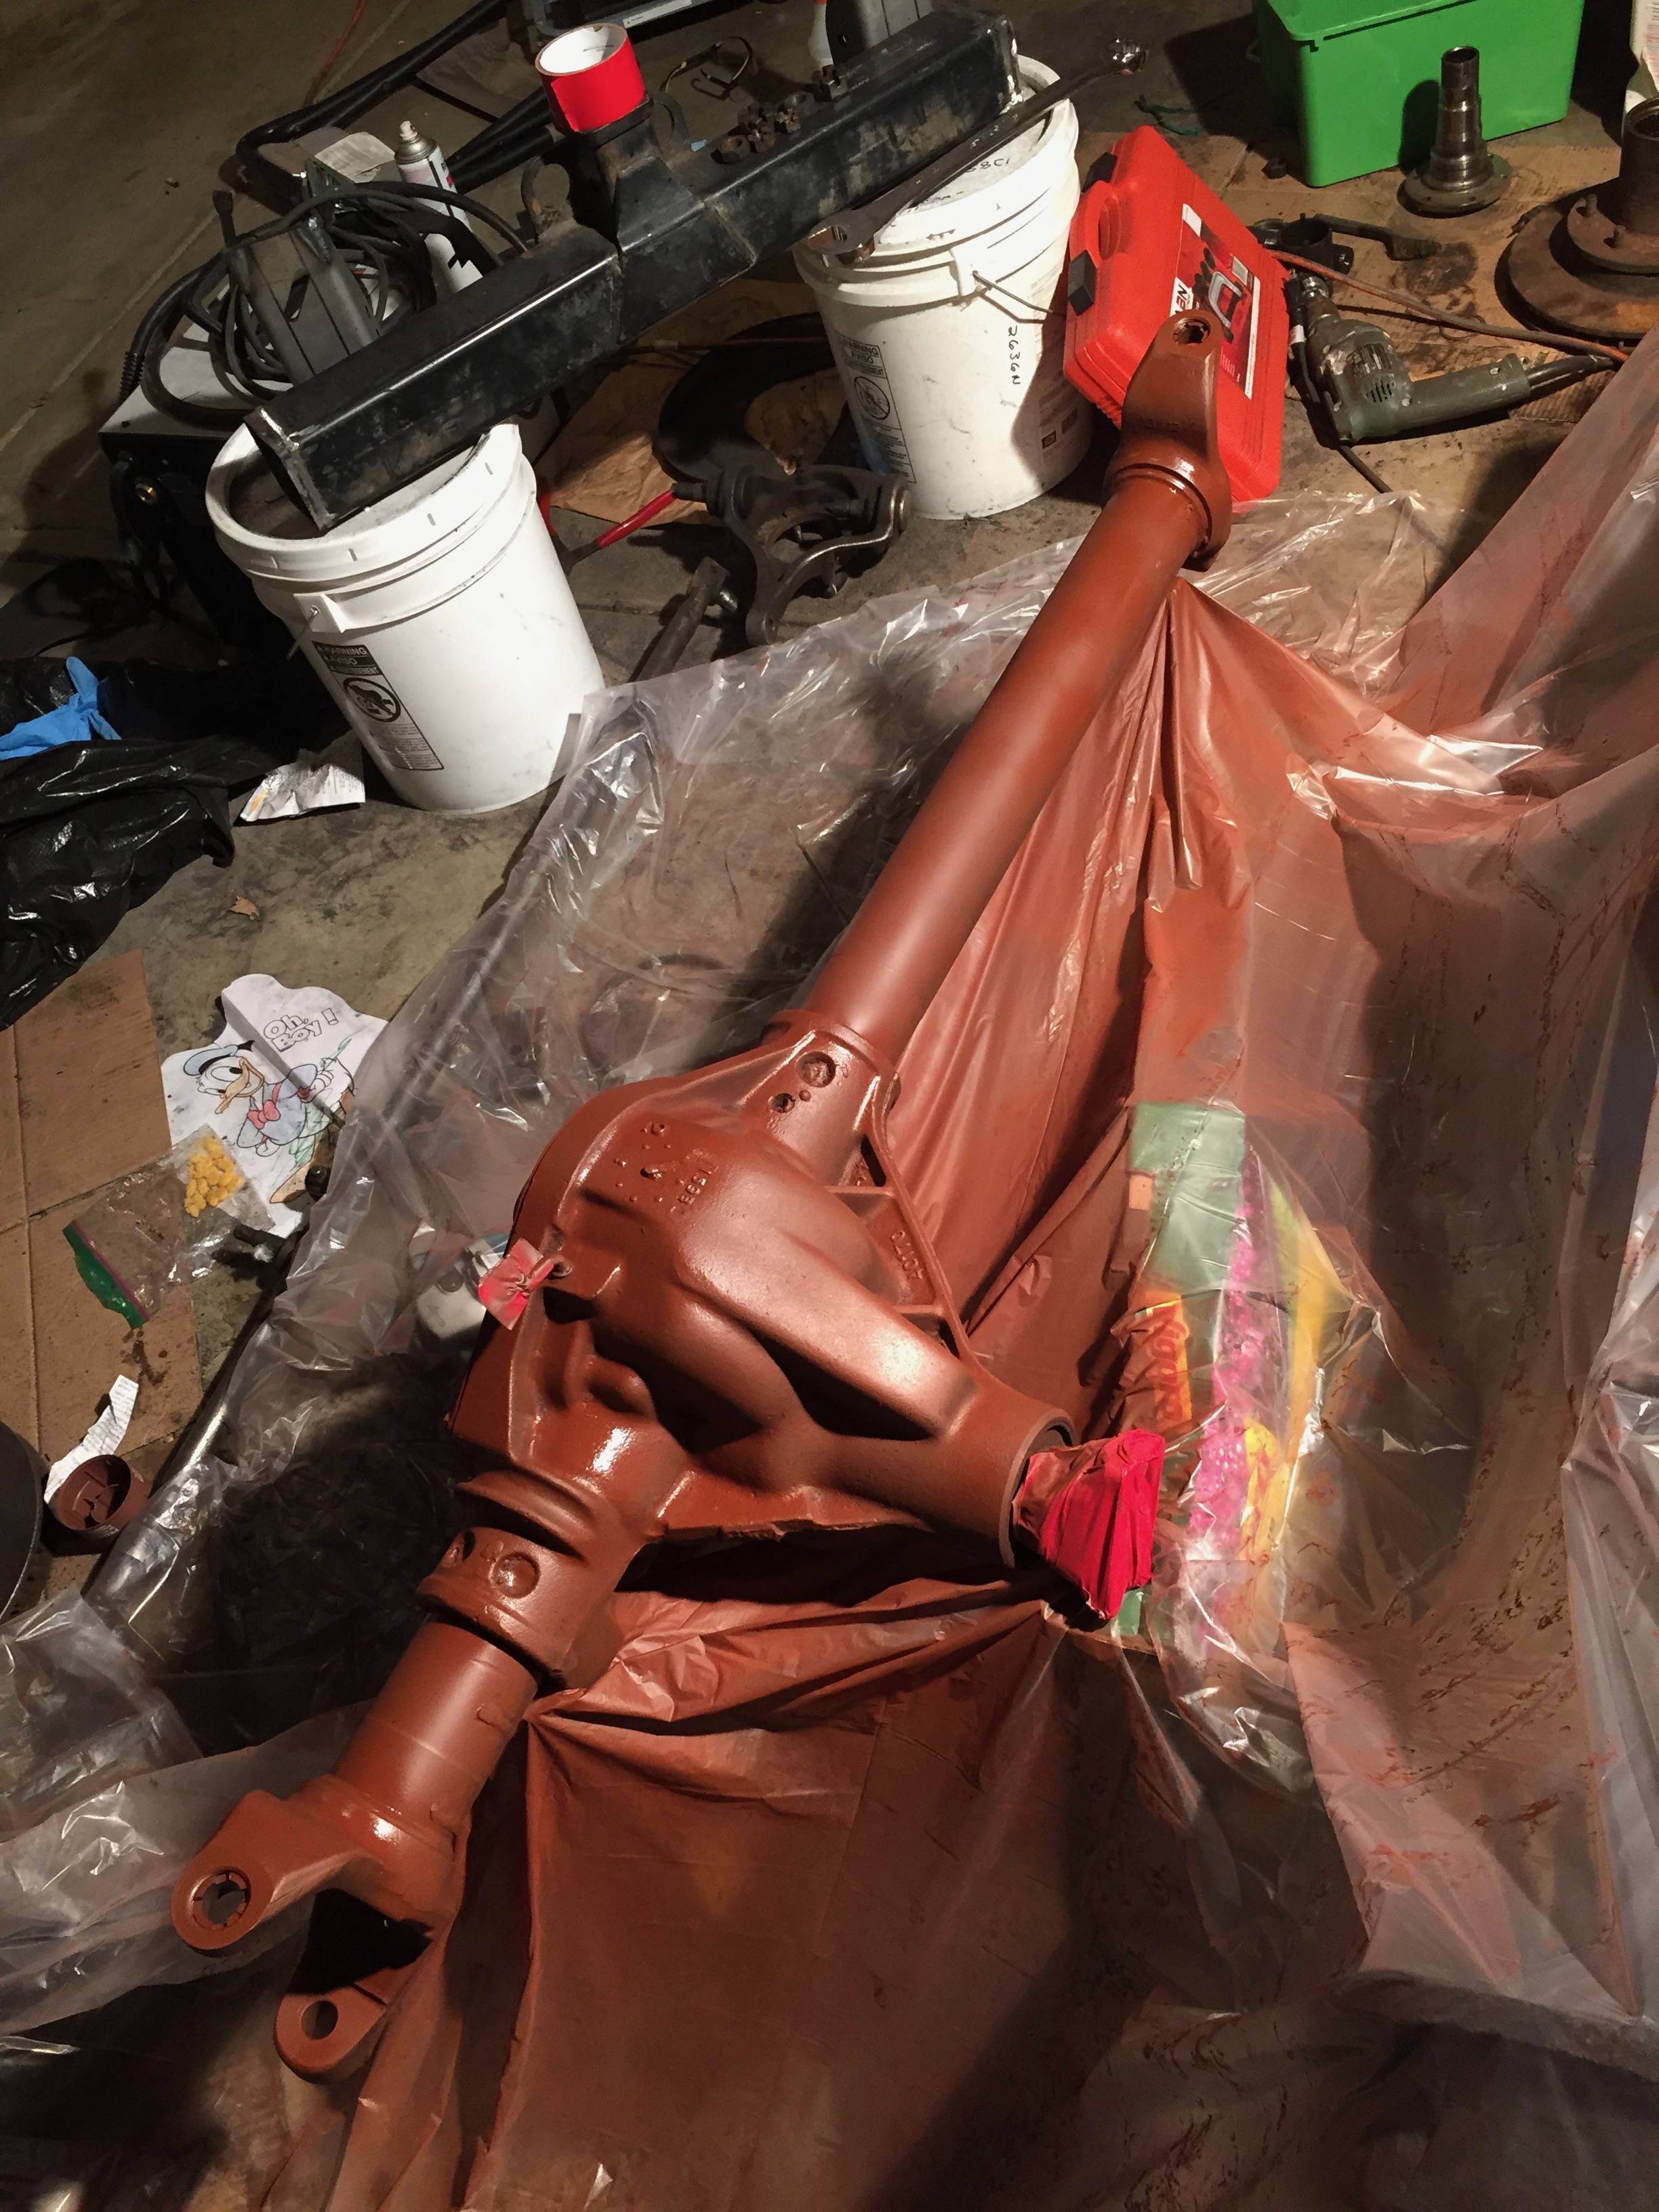
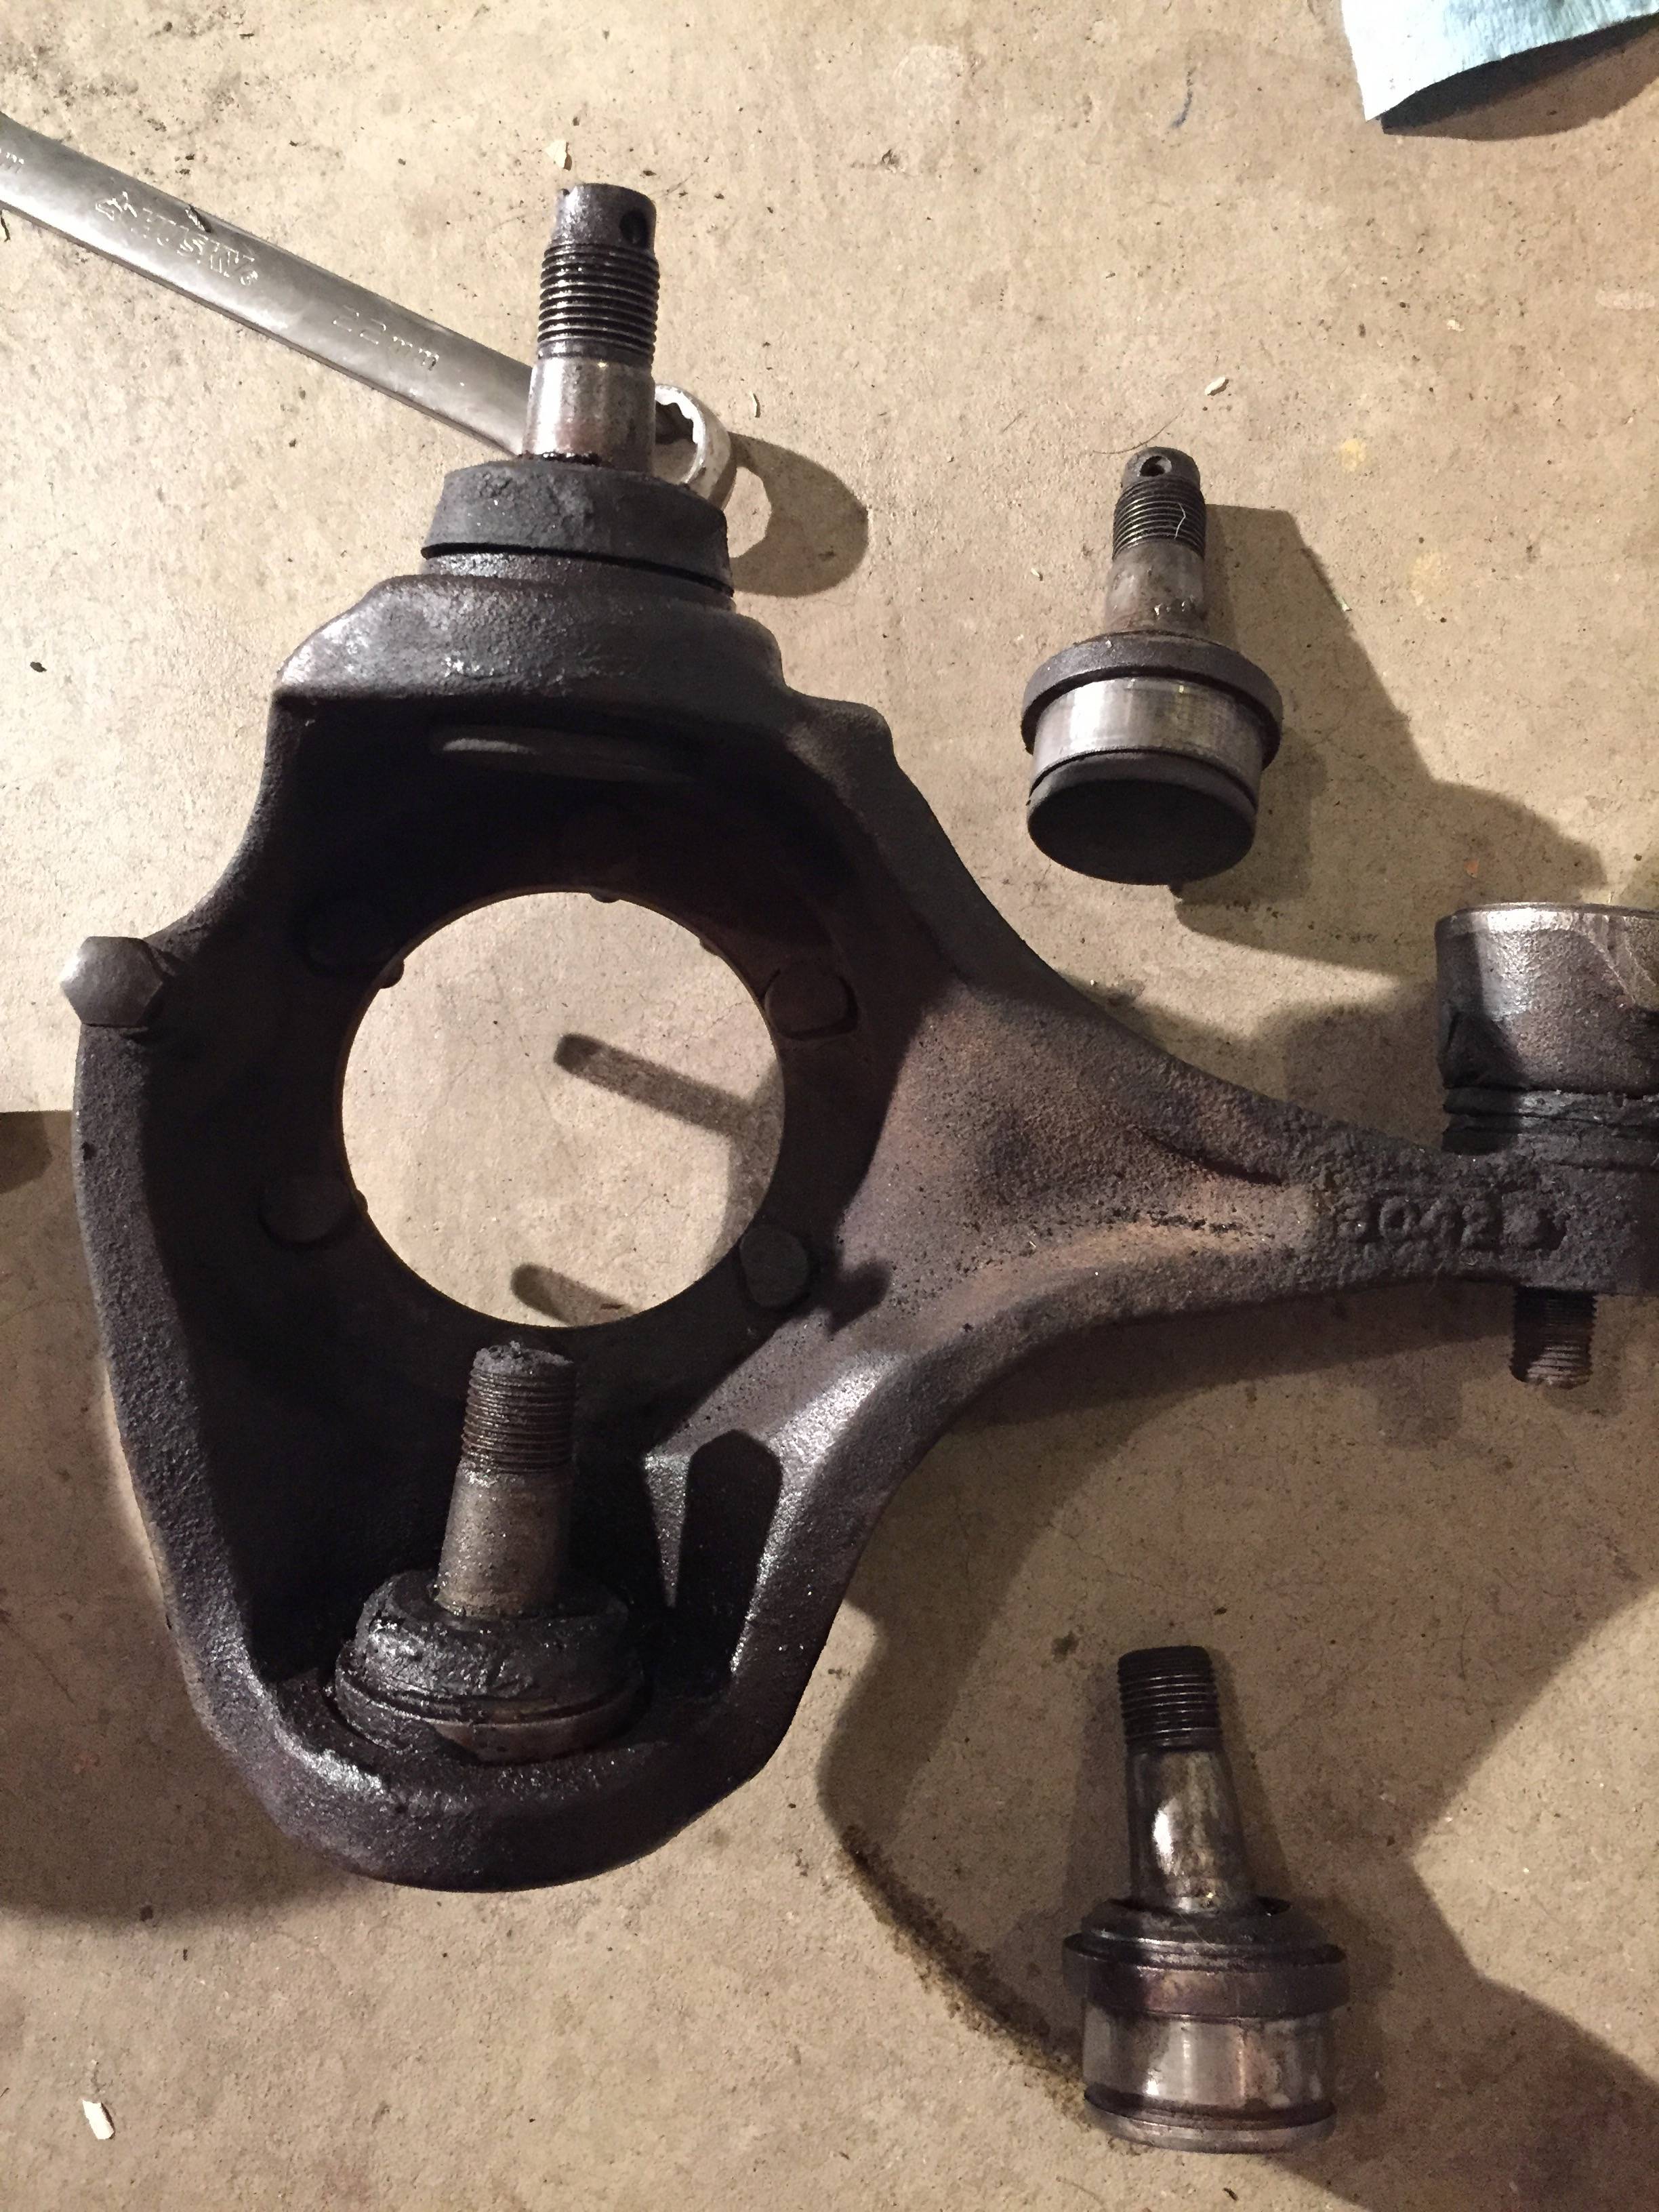
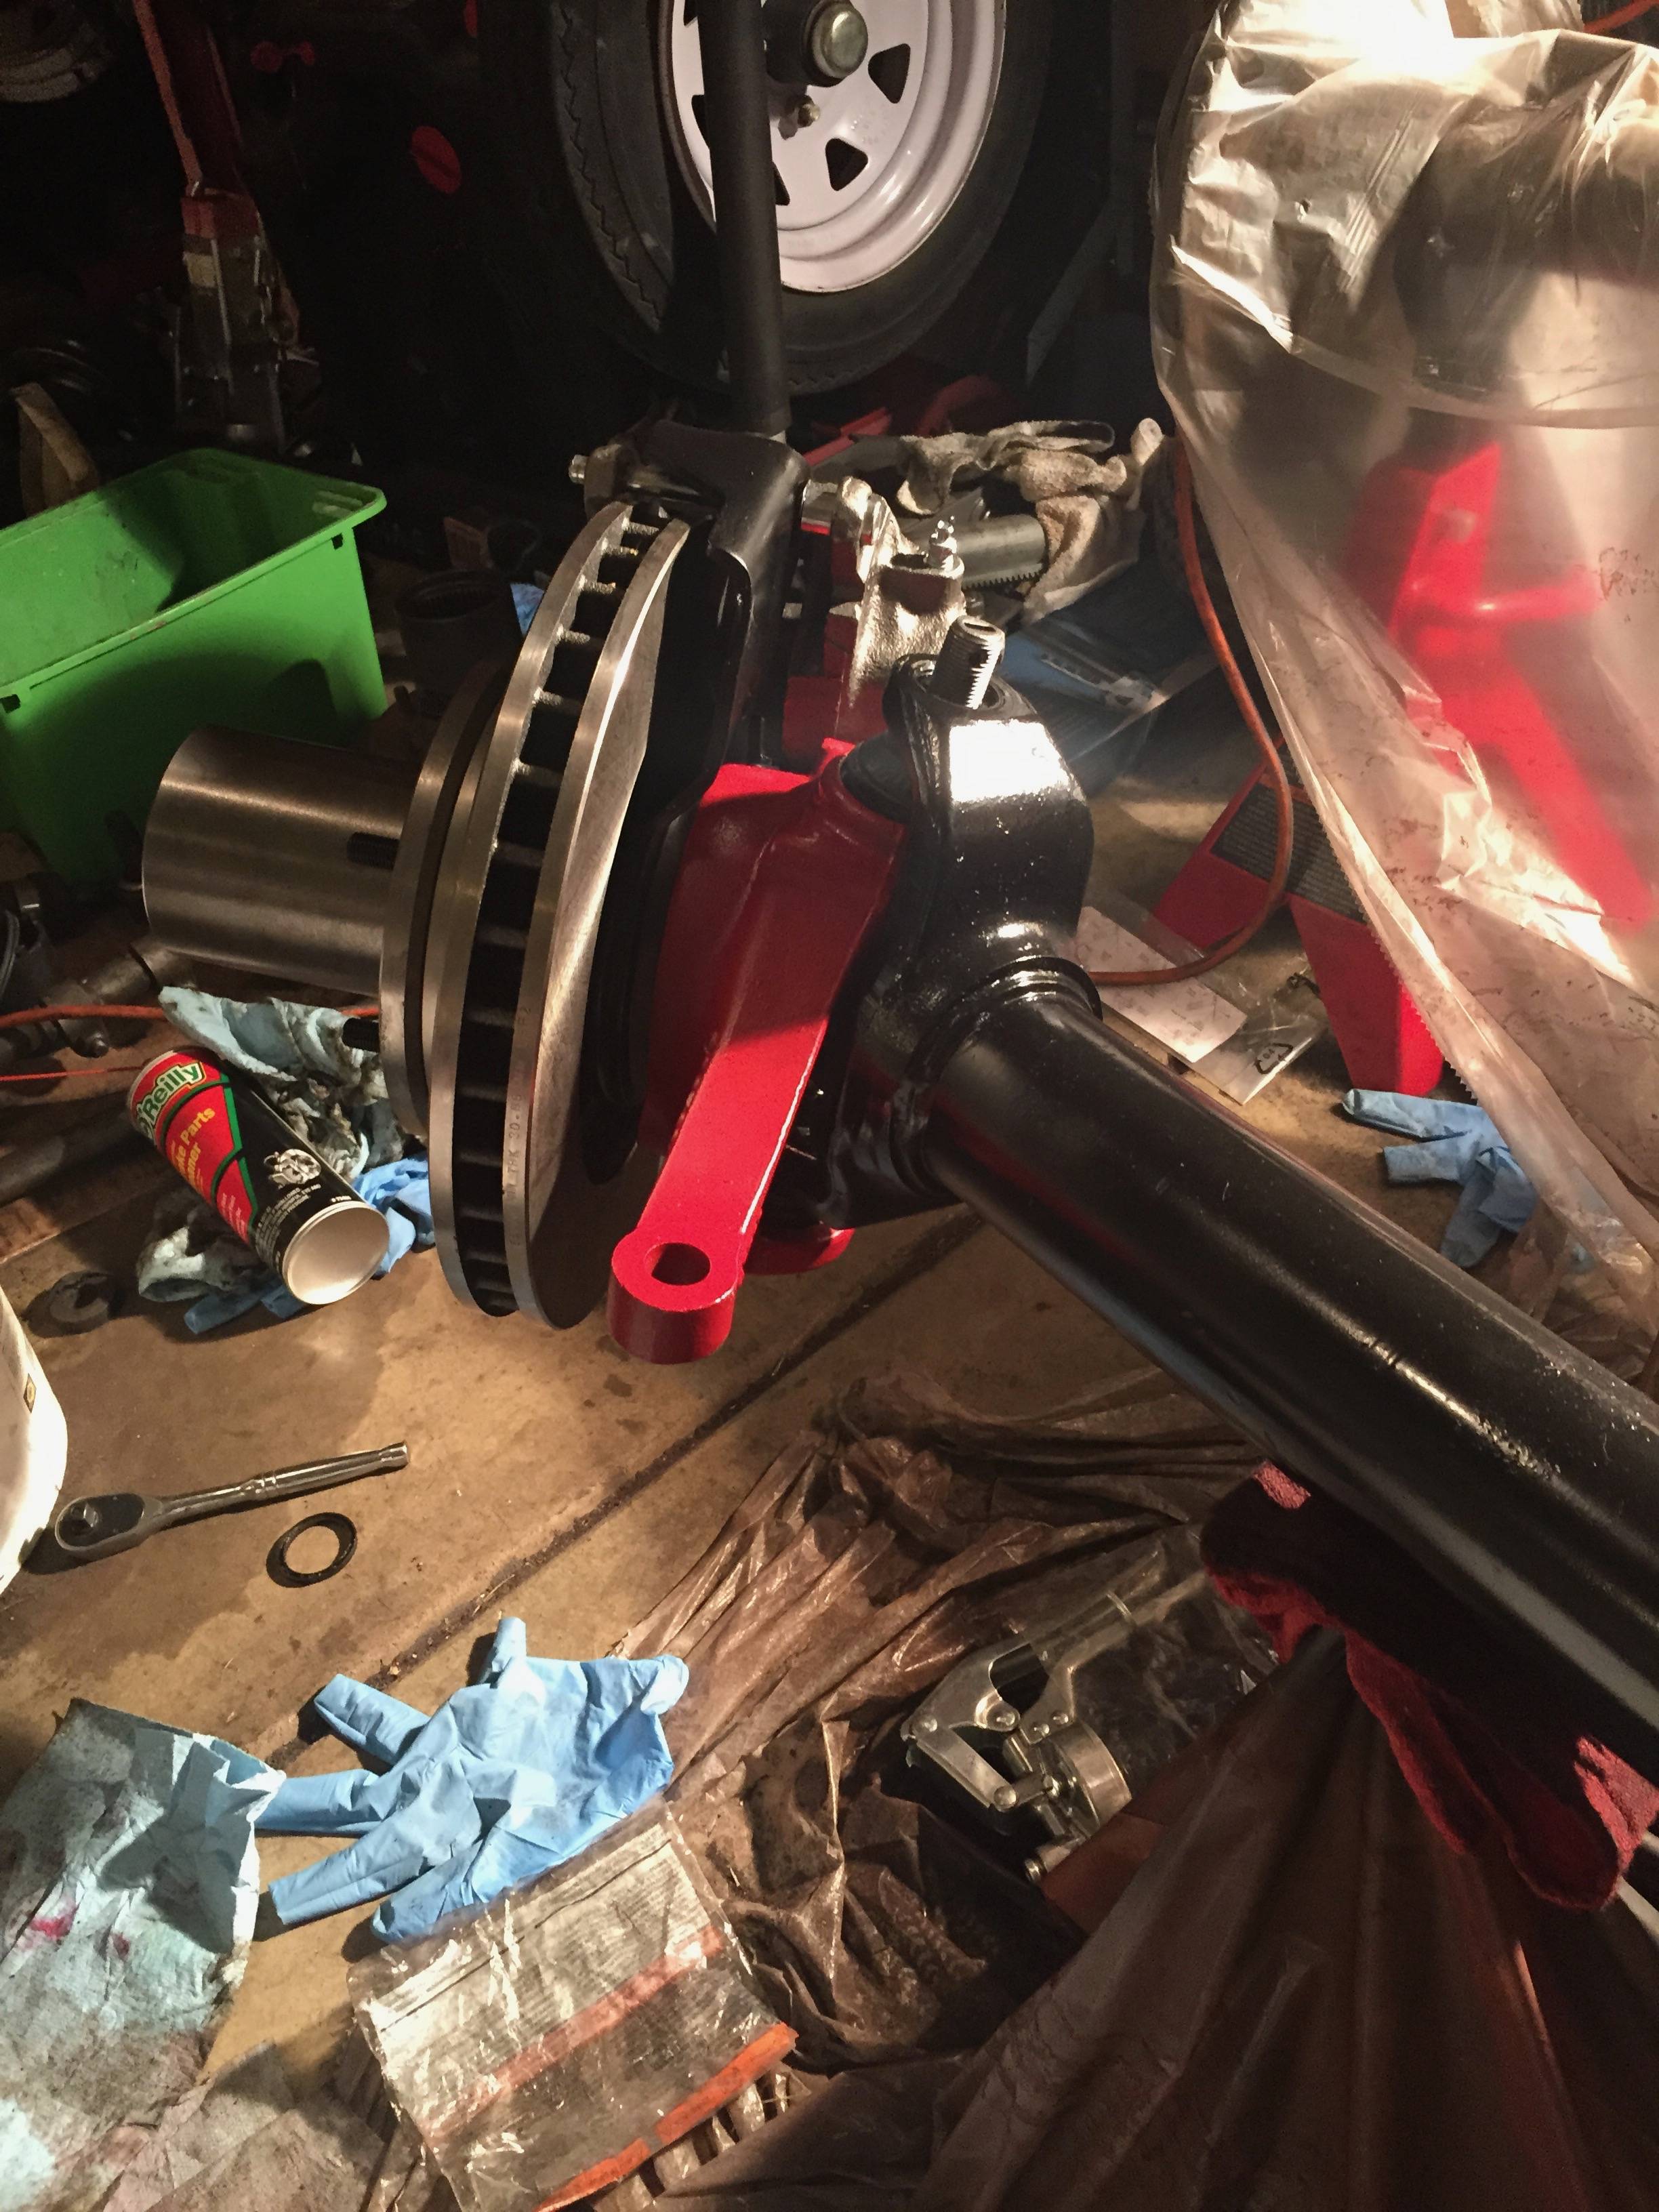
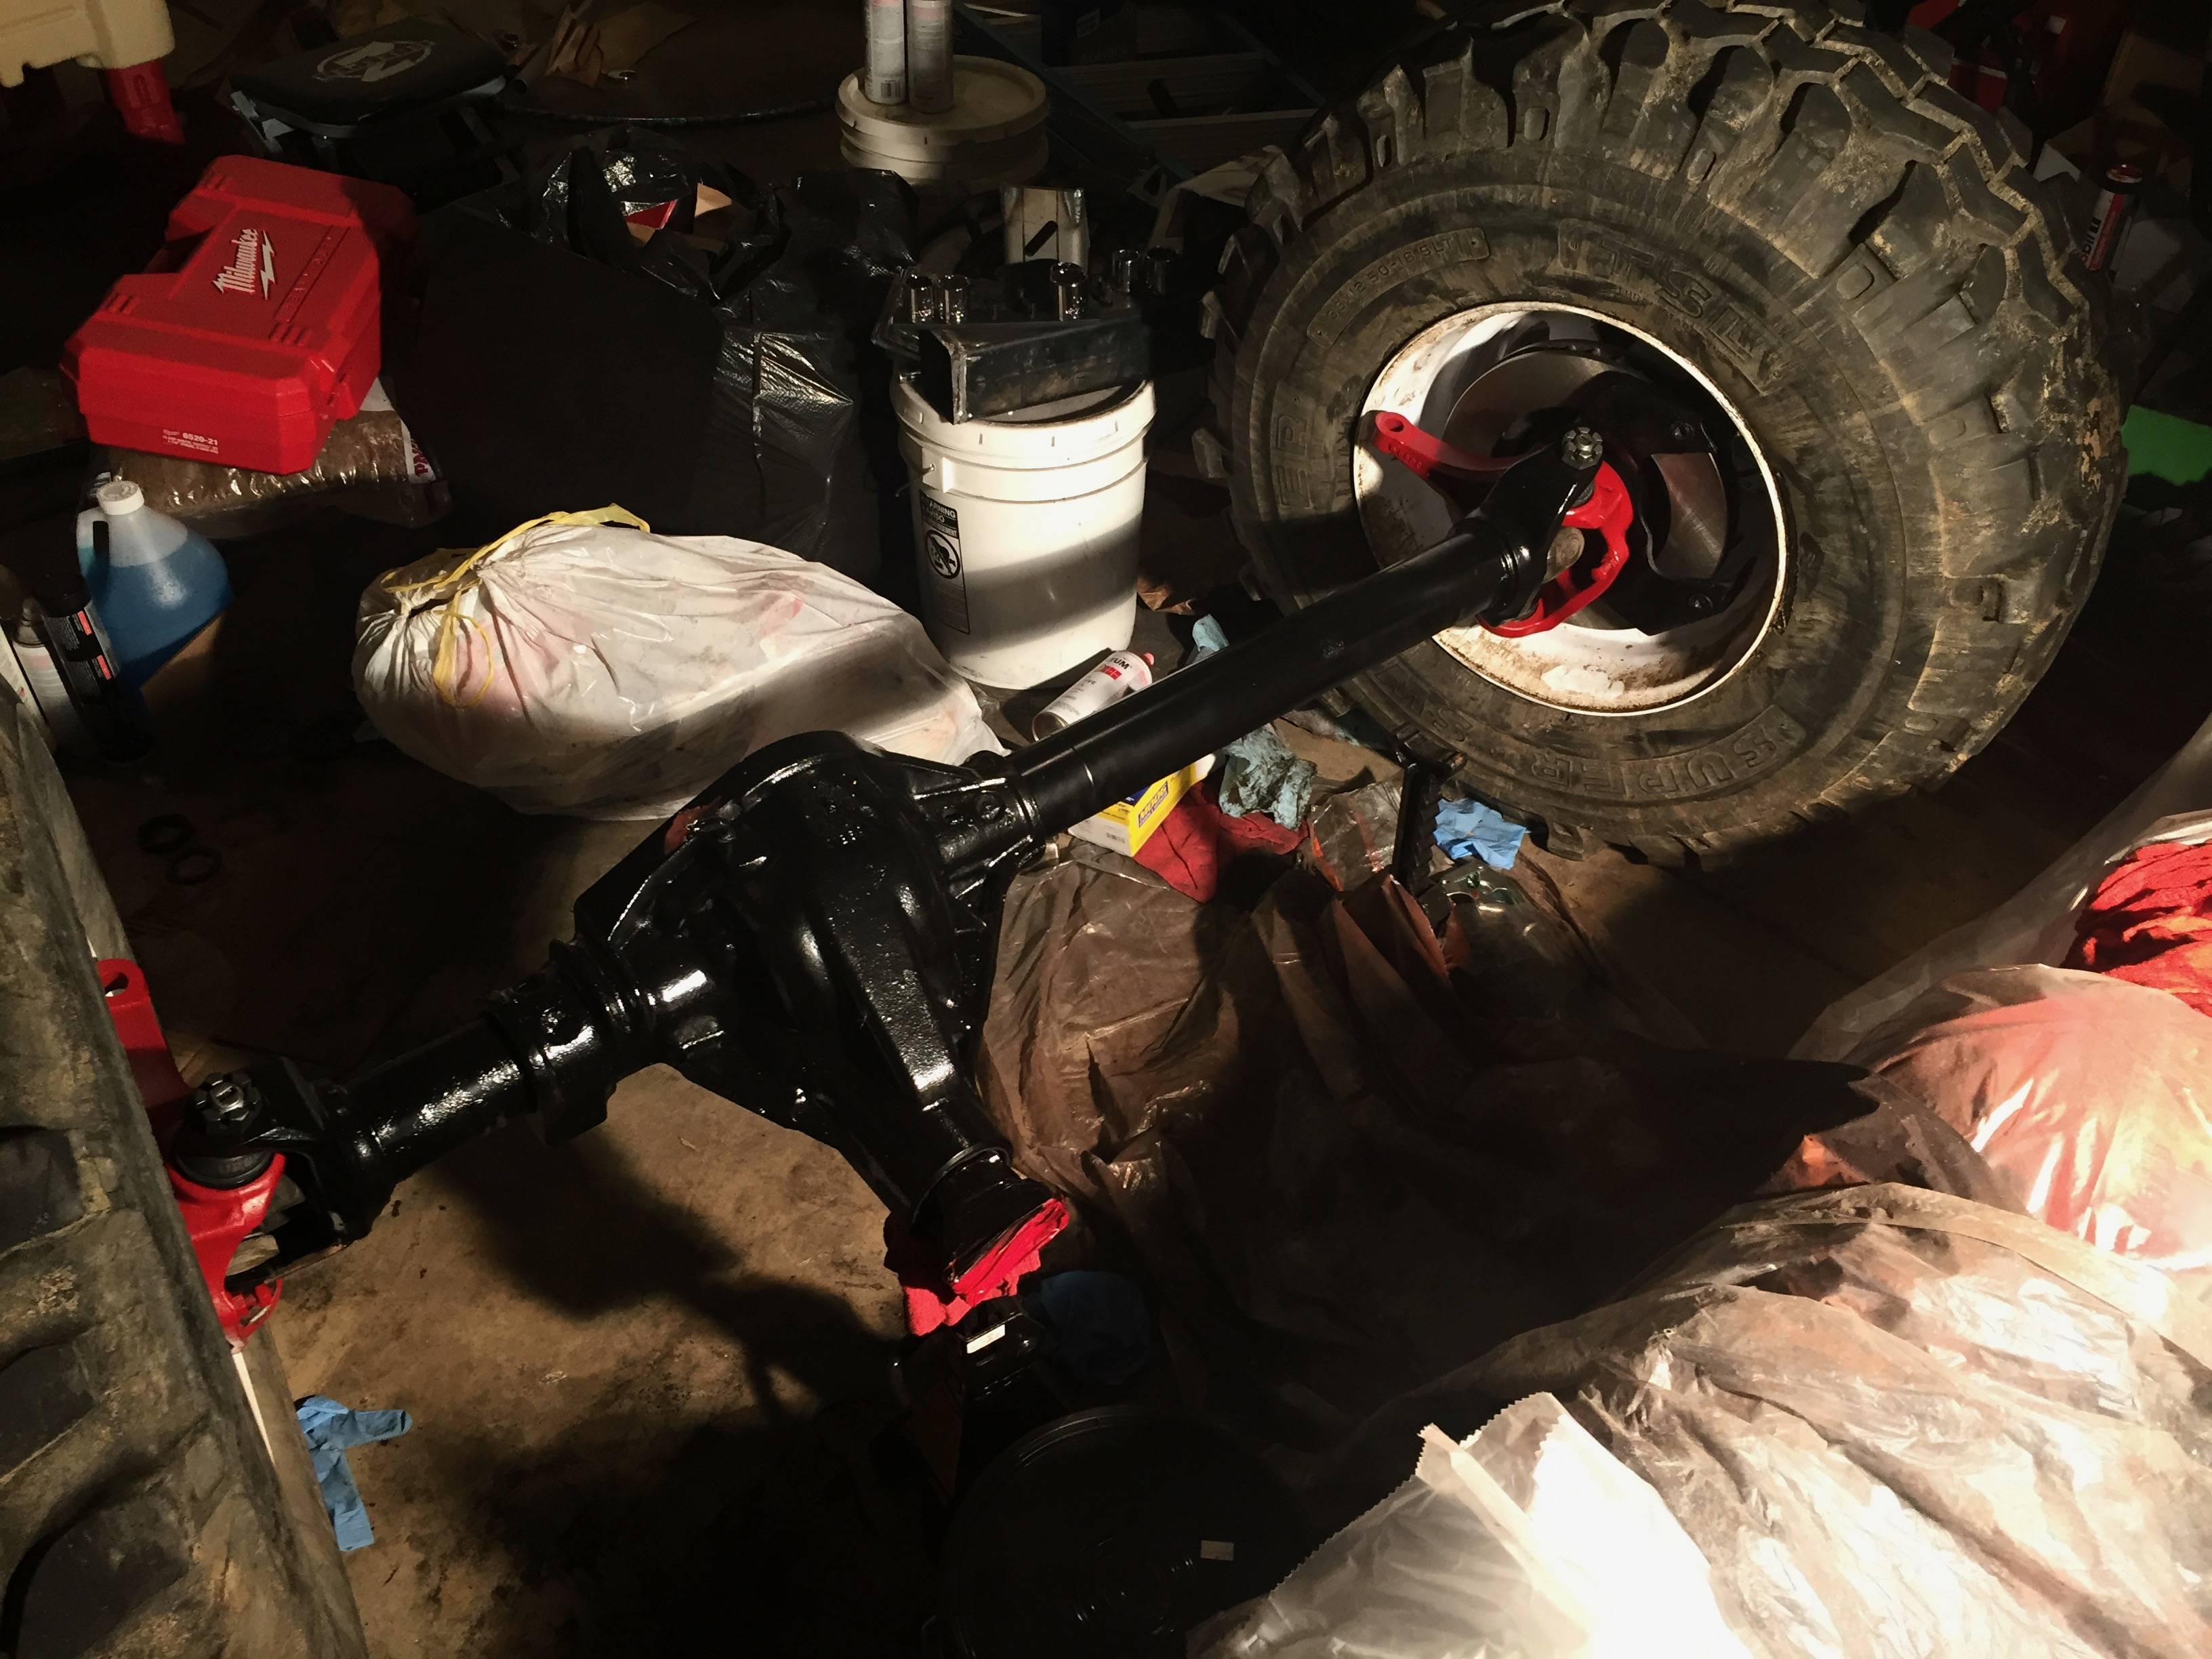
Pressed the old ball joints out of the steering knuckles and put some greasable moogs in. Having them tapped for hi-steer crossed my mind at this point but my time has been so limited I didn't want to wait.. I'm kicking myself now
I heard that gloss is easier to wash mud off of
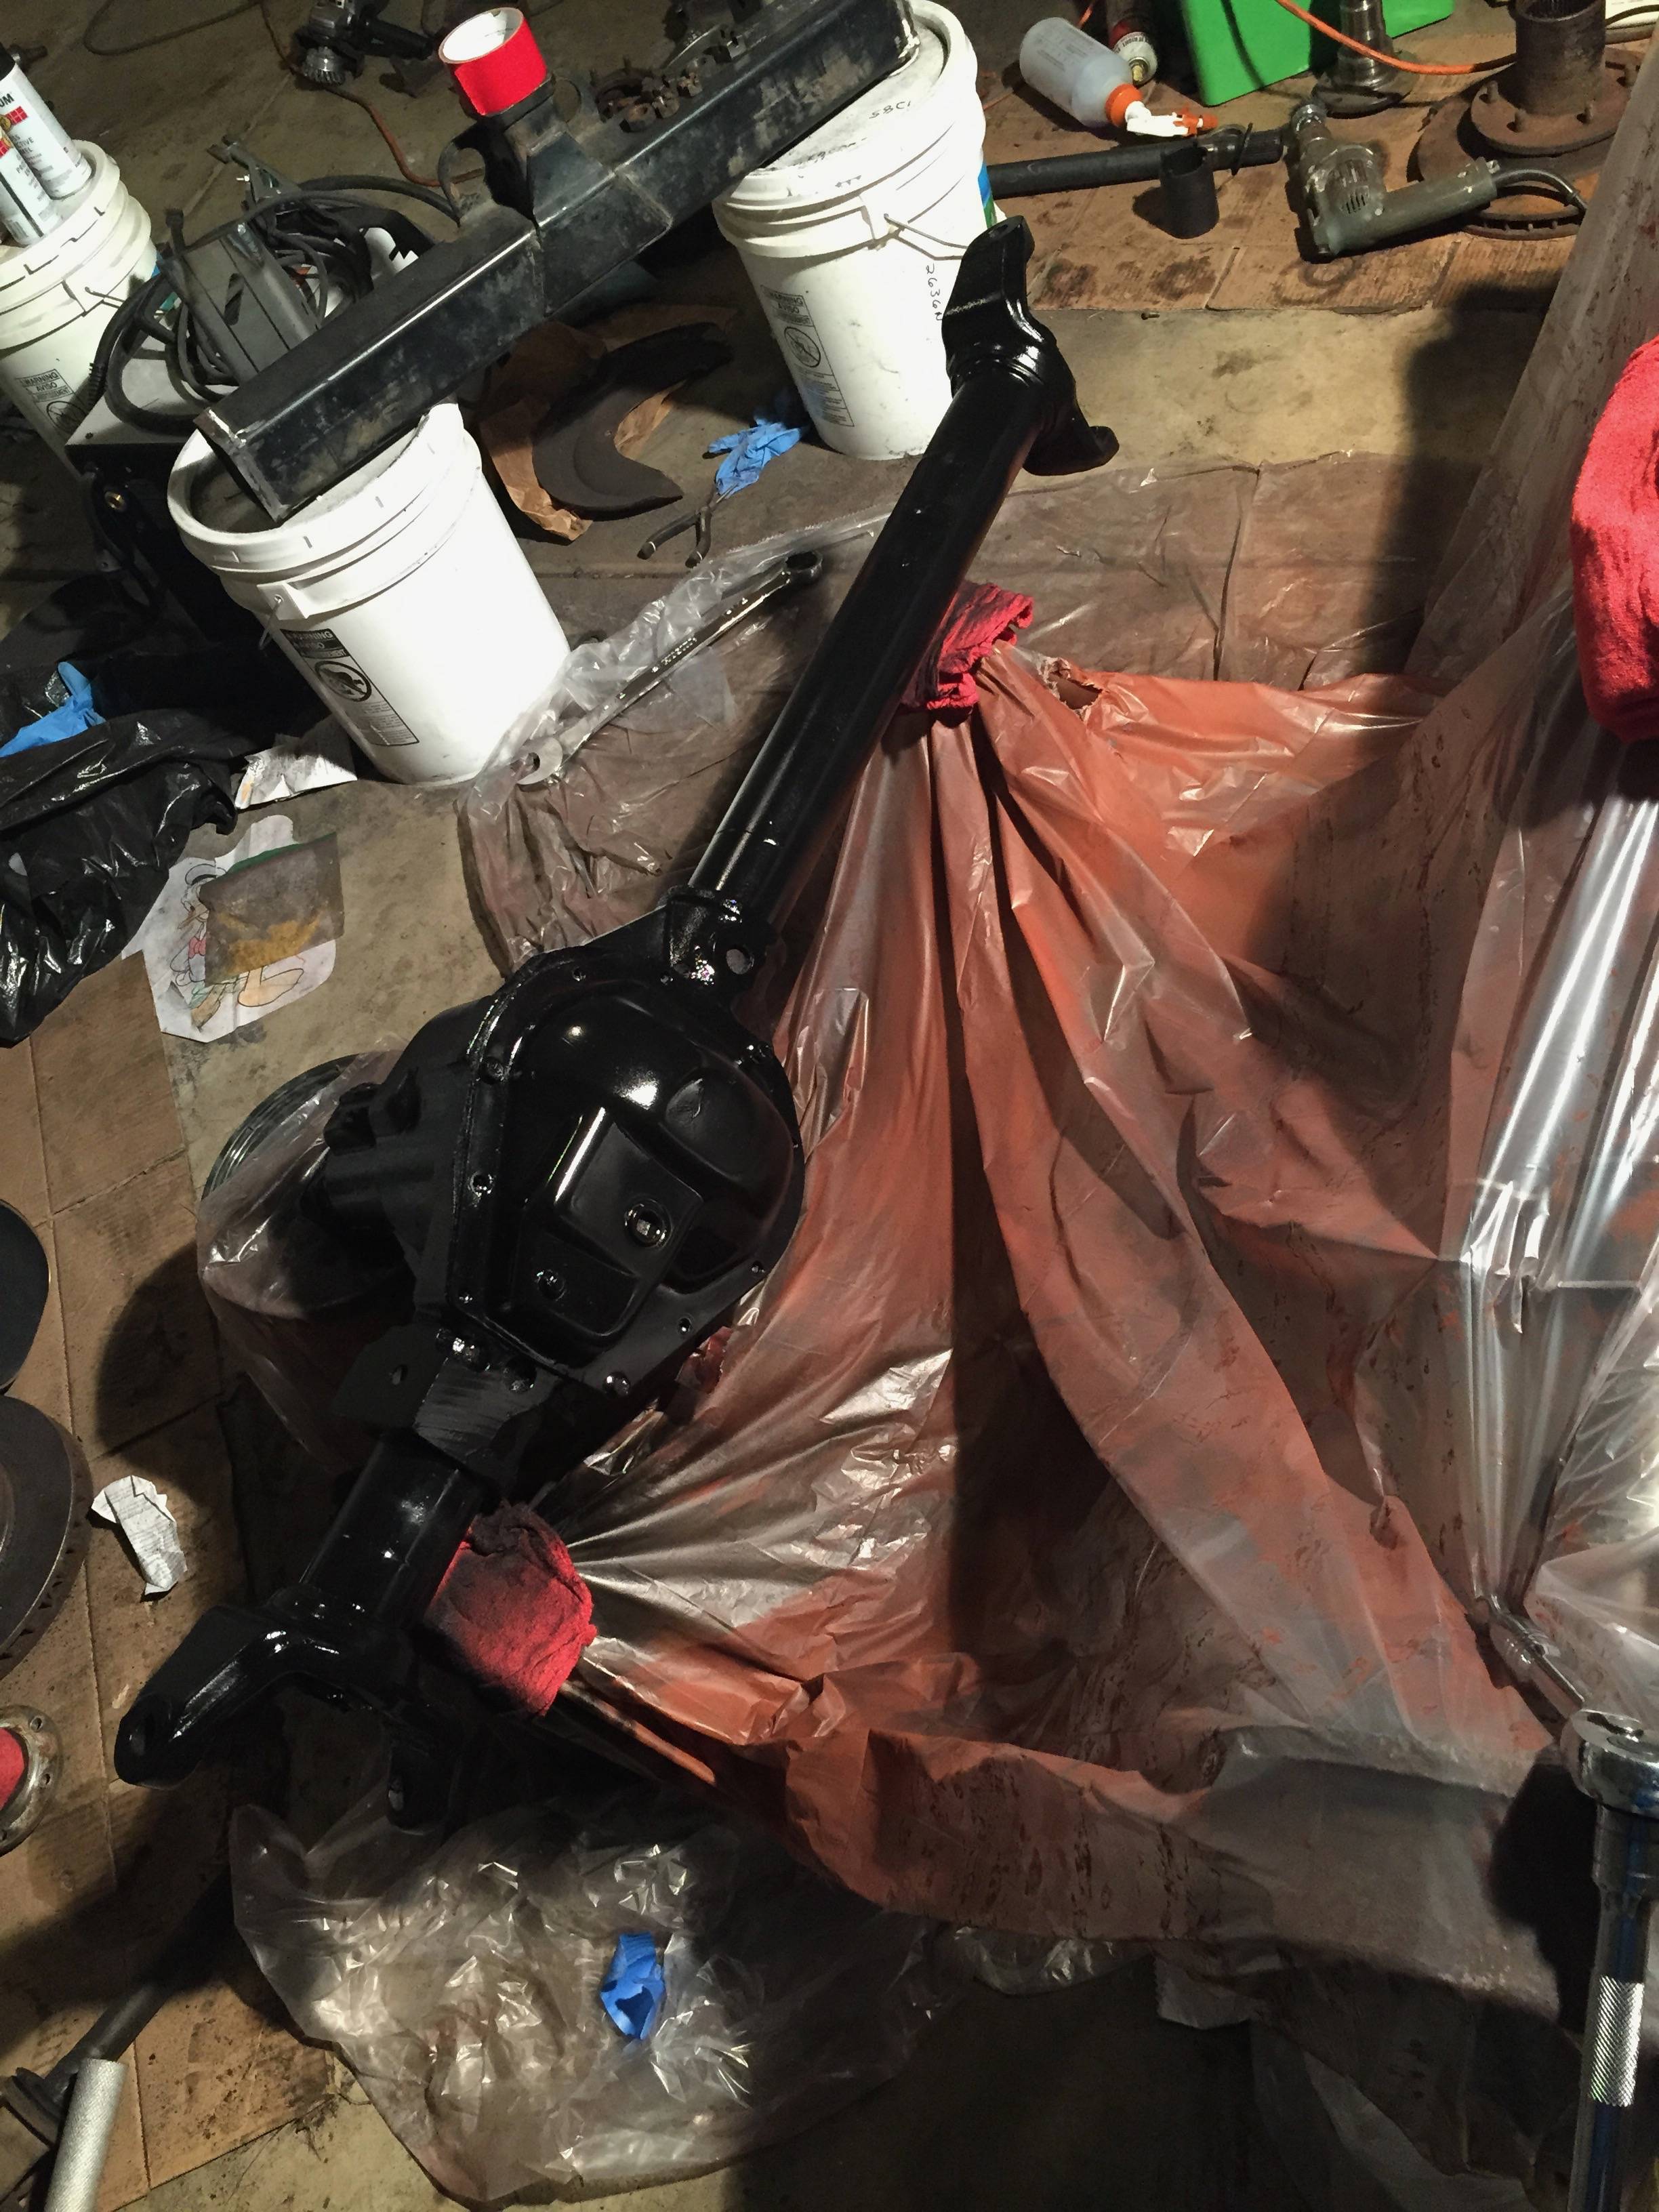
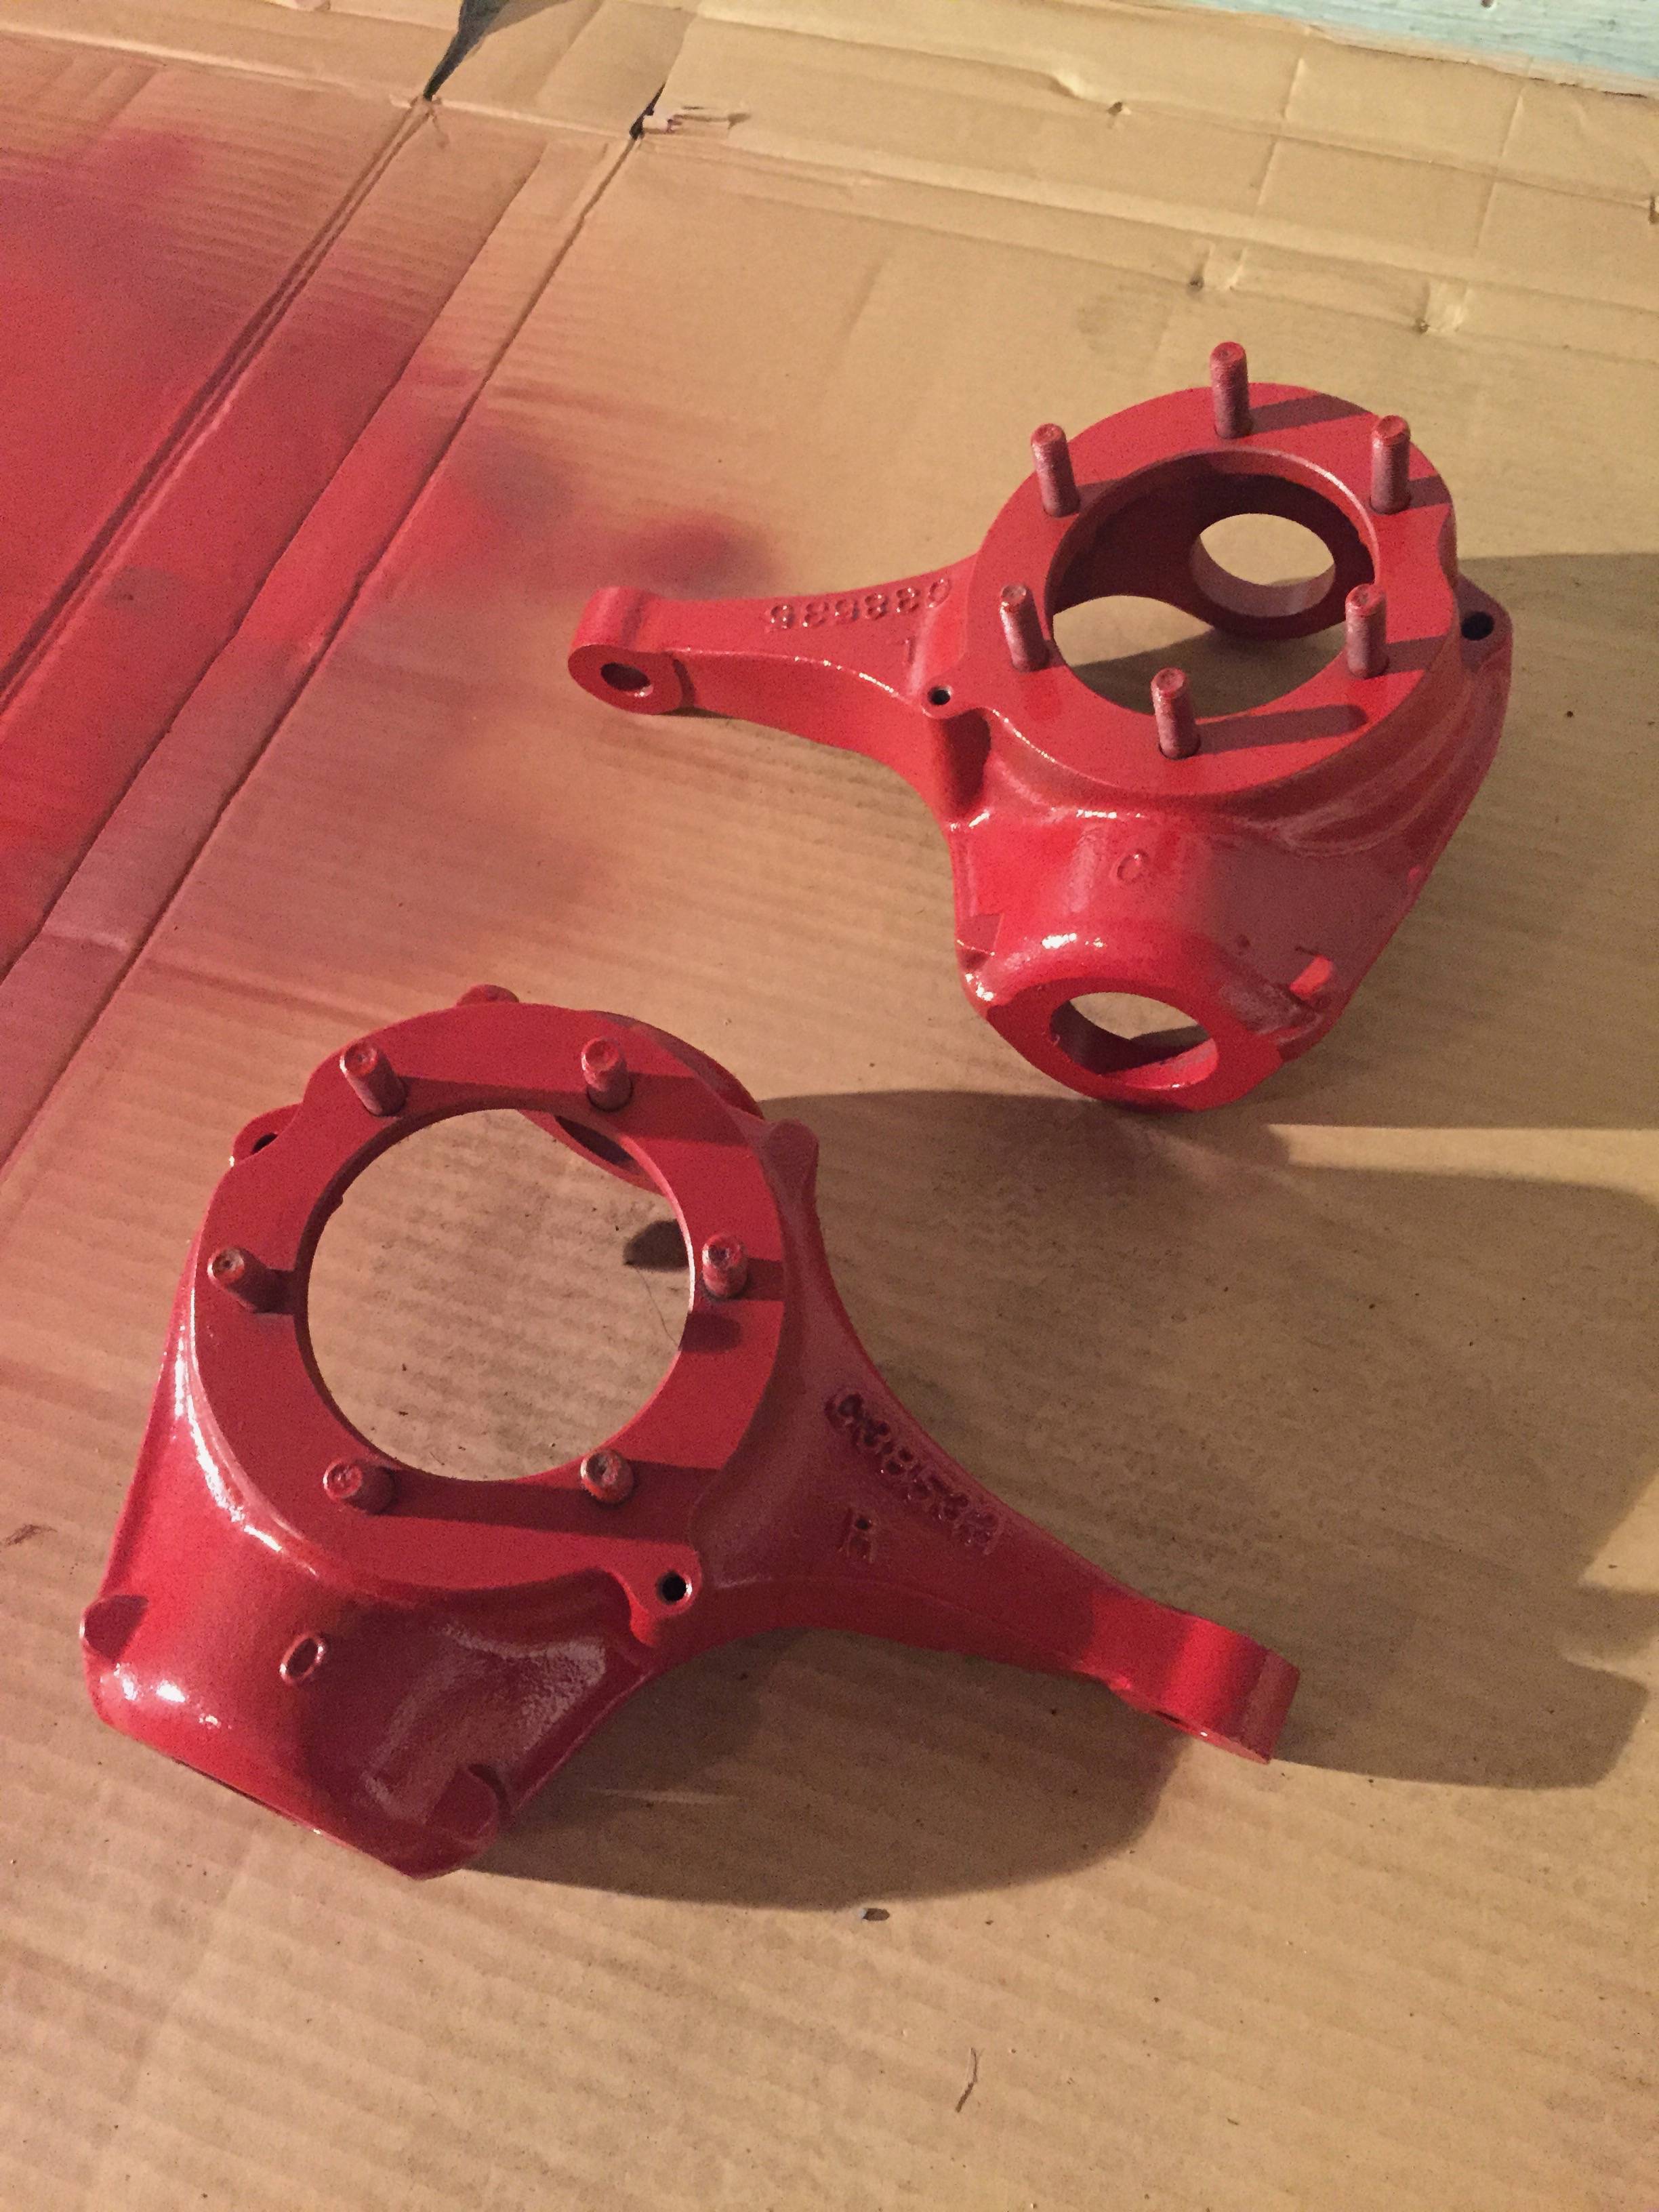

Put back together with new parts and fresh paint
Picked these rollers up for a couple hundred, go CL!
I heard that gloss is easier to wash mud off of
Put back together with new parts and fresh paint
Picked these rollers up for a couple hundred, go CL!
Thread Starter
|
Beginning Member
Joined: Jul 2012
Posts: 39
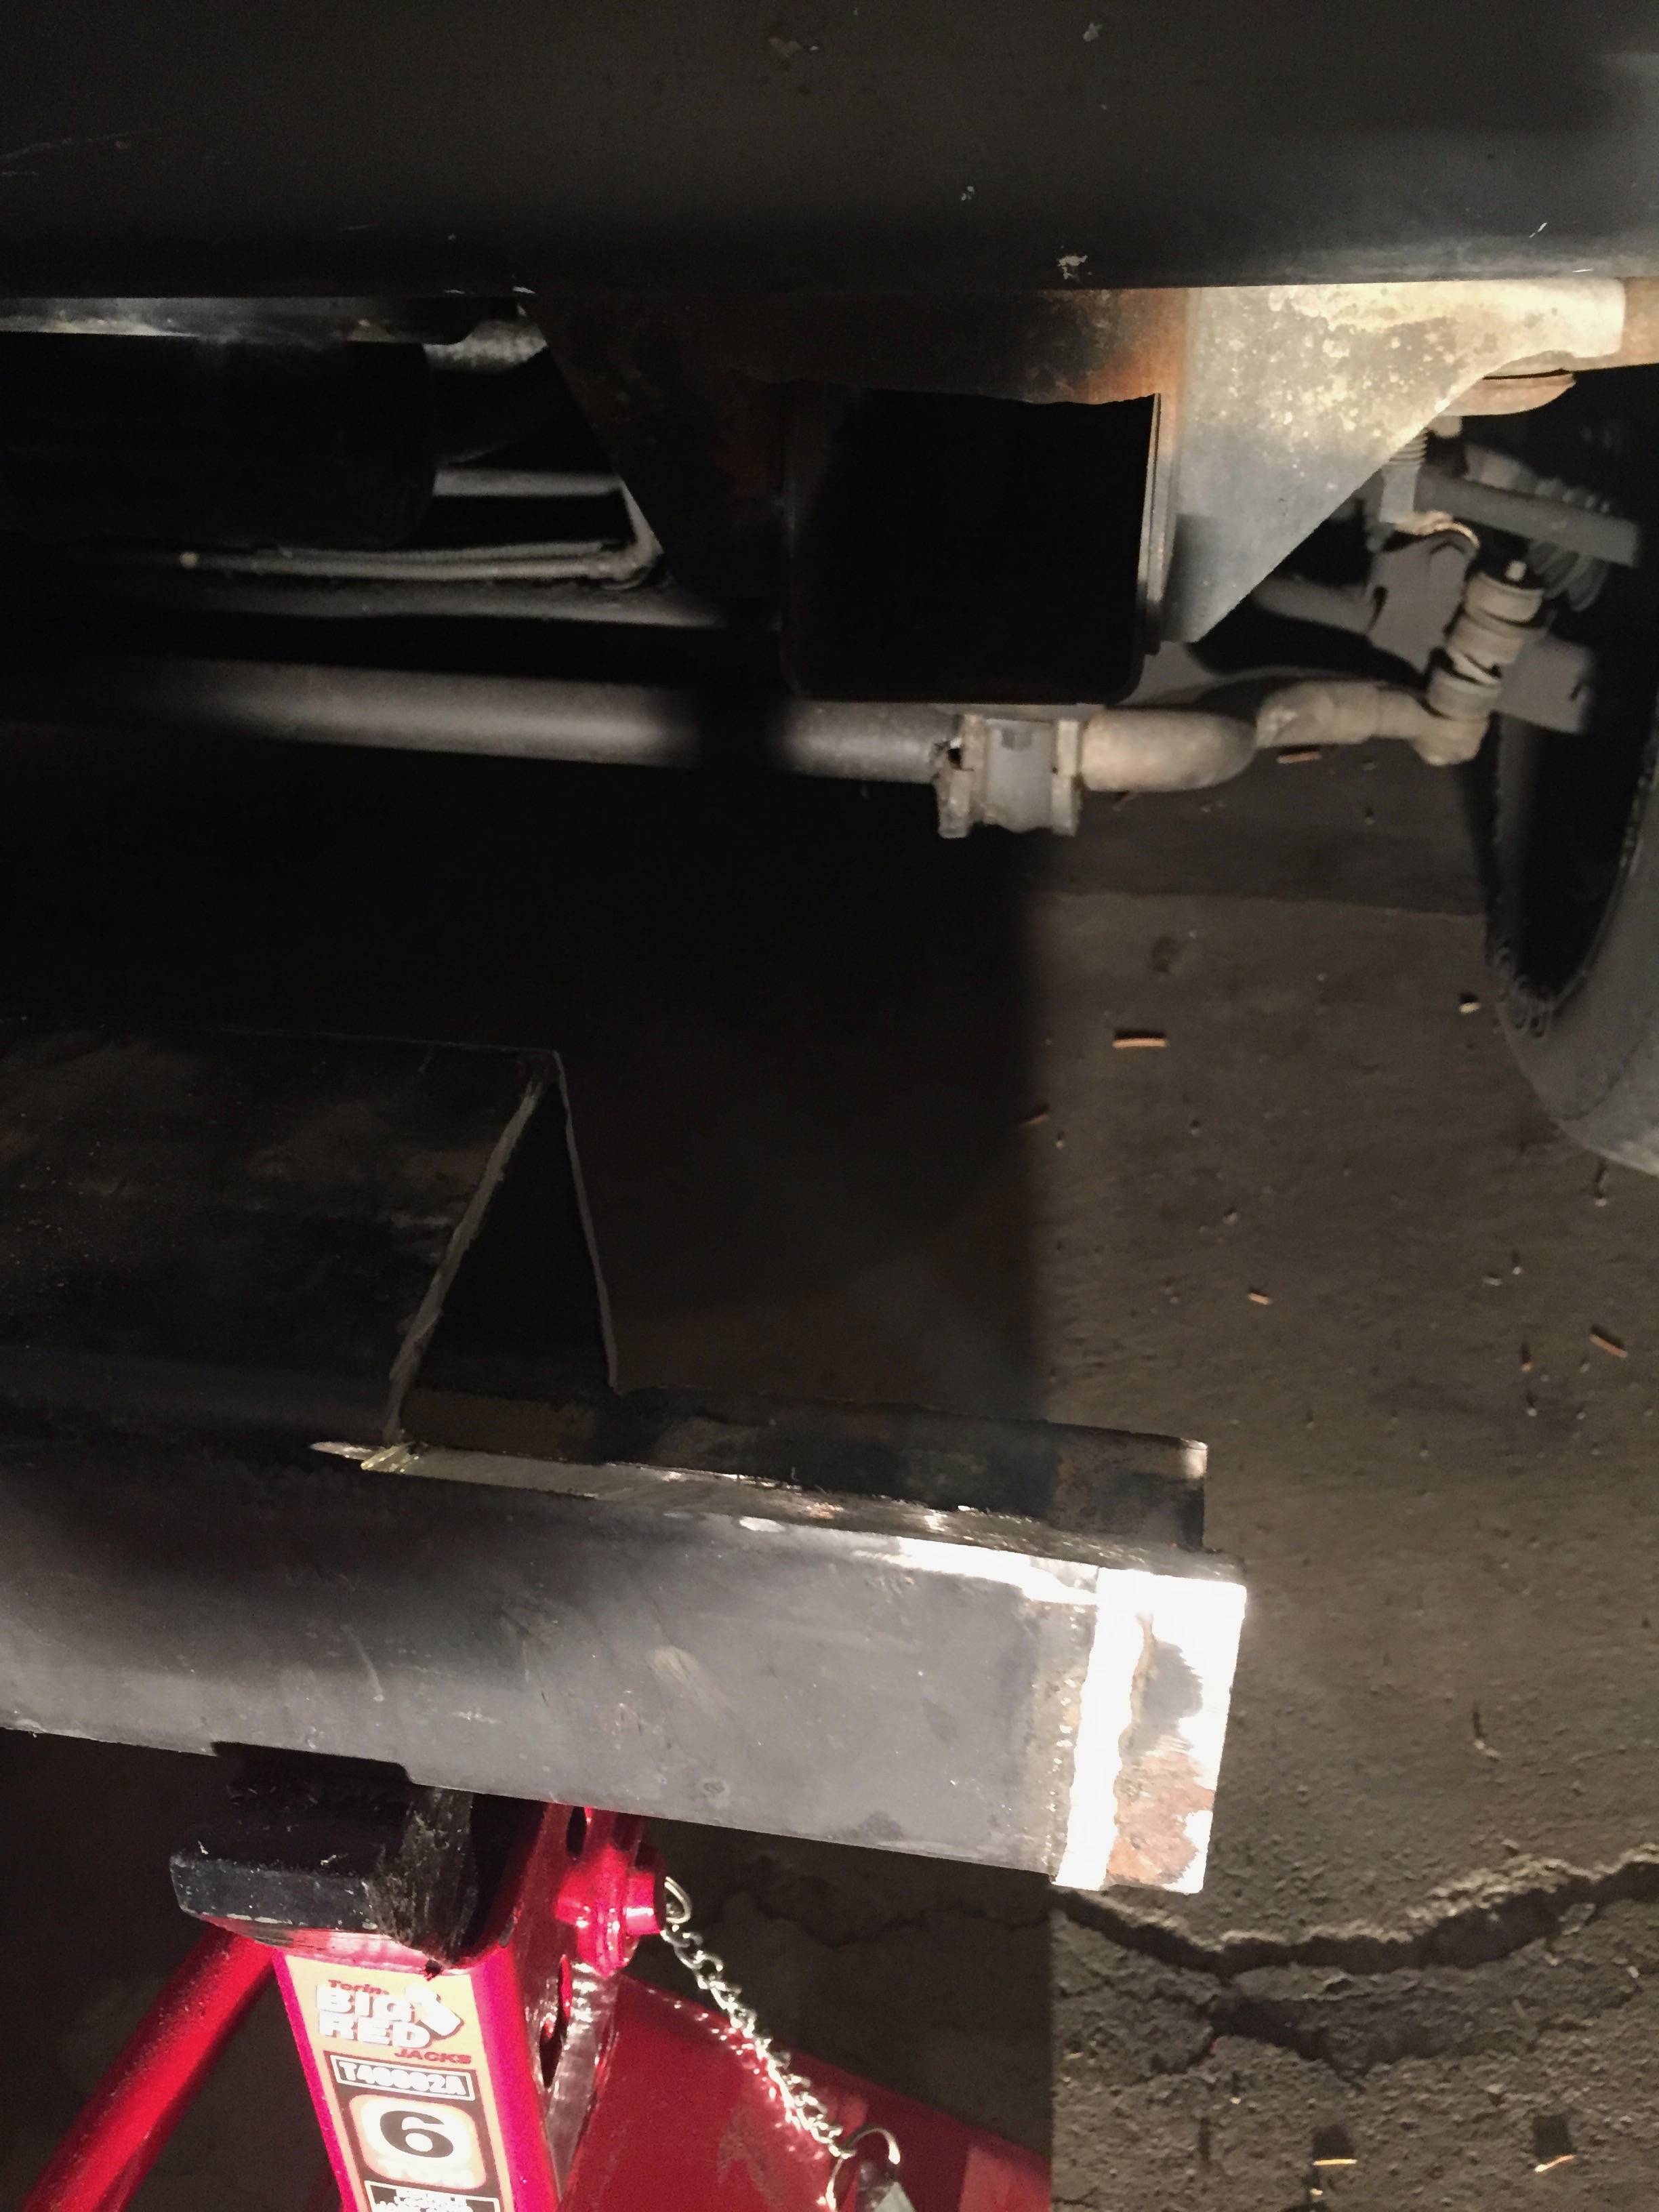
Started lining up the front cross-member
These these things had to go anyways..

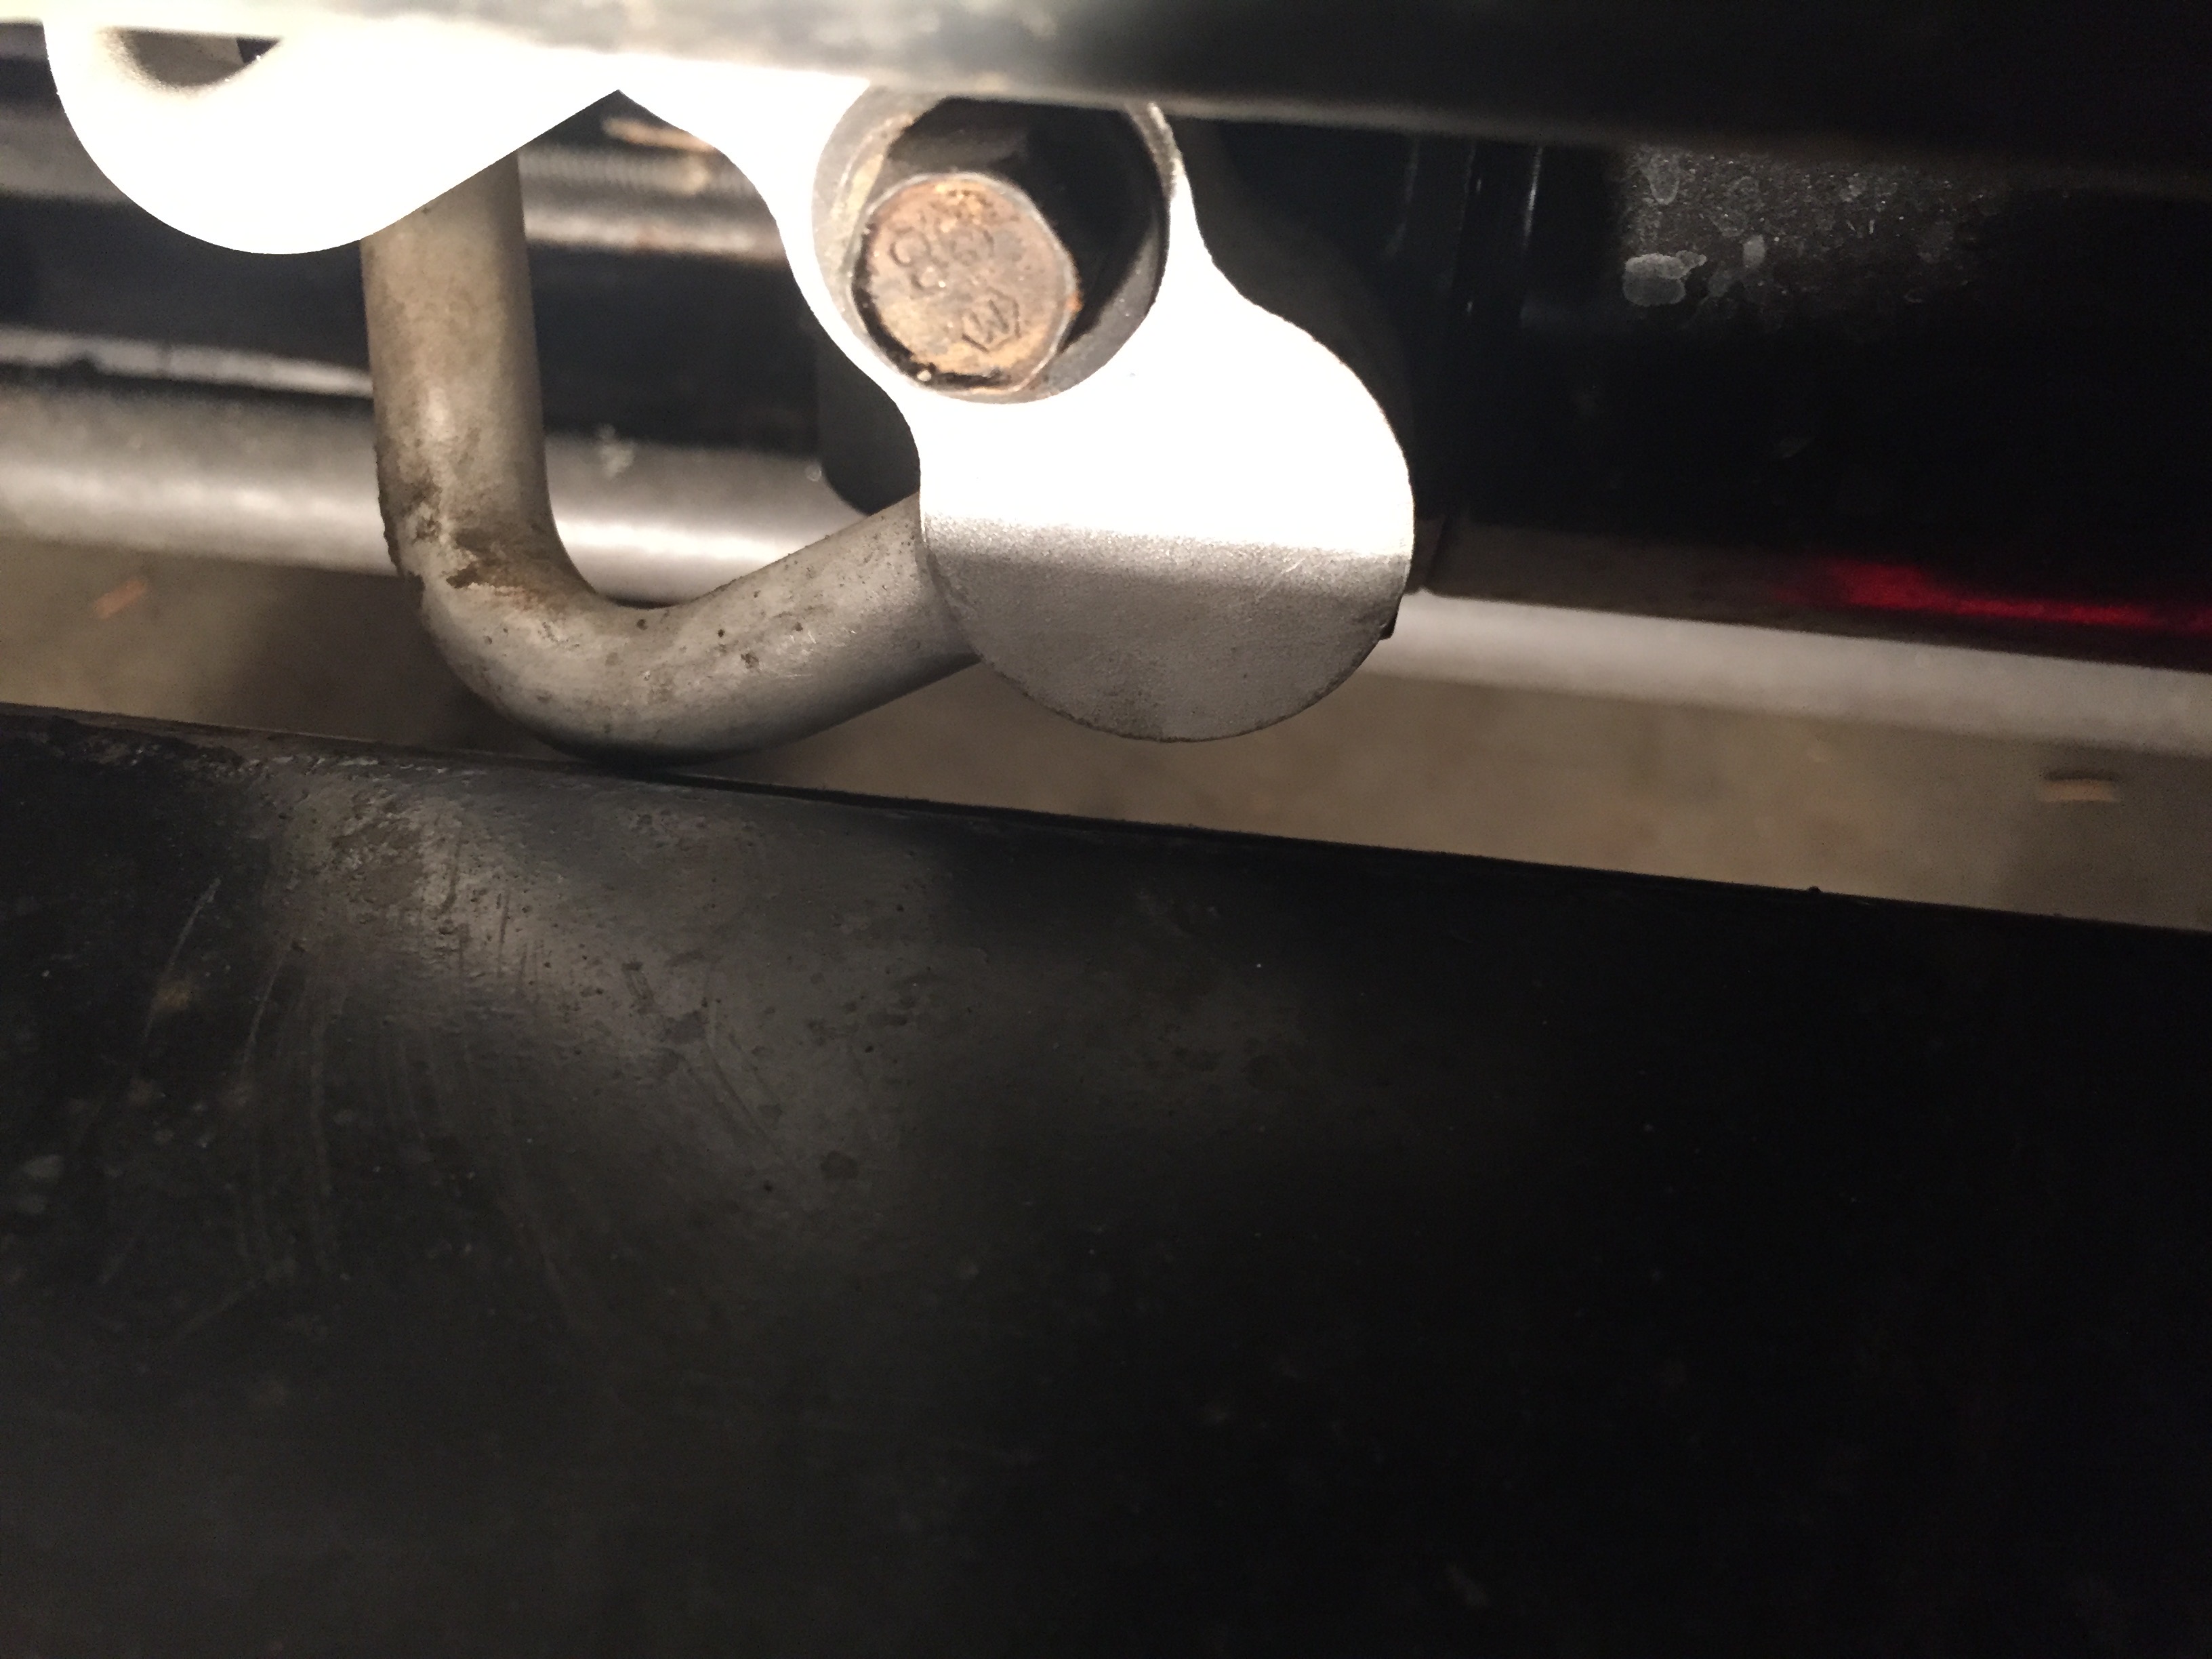
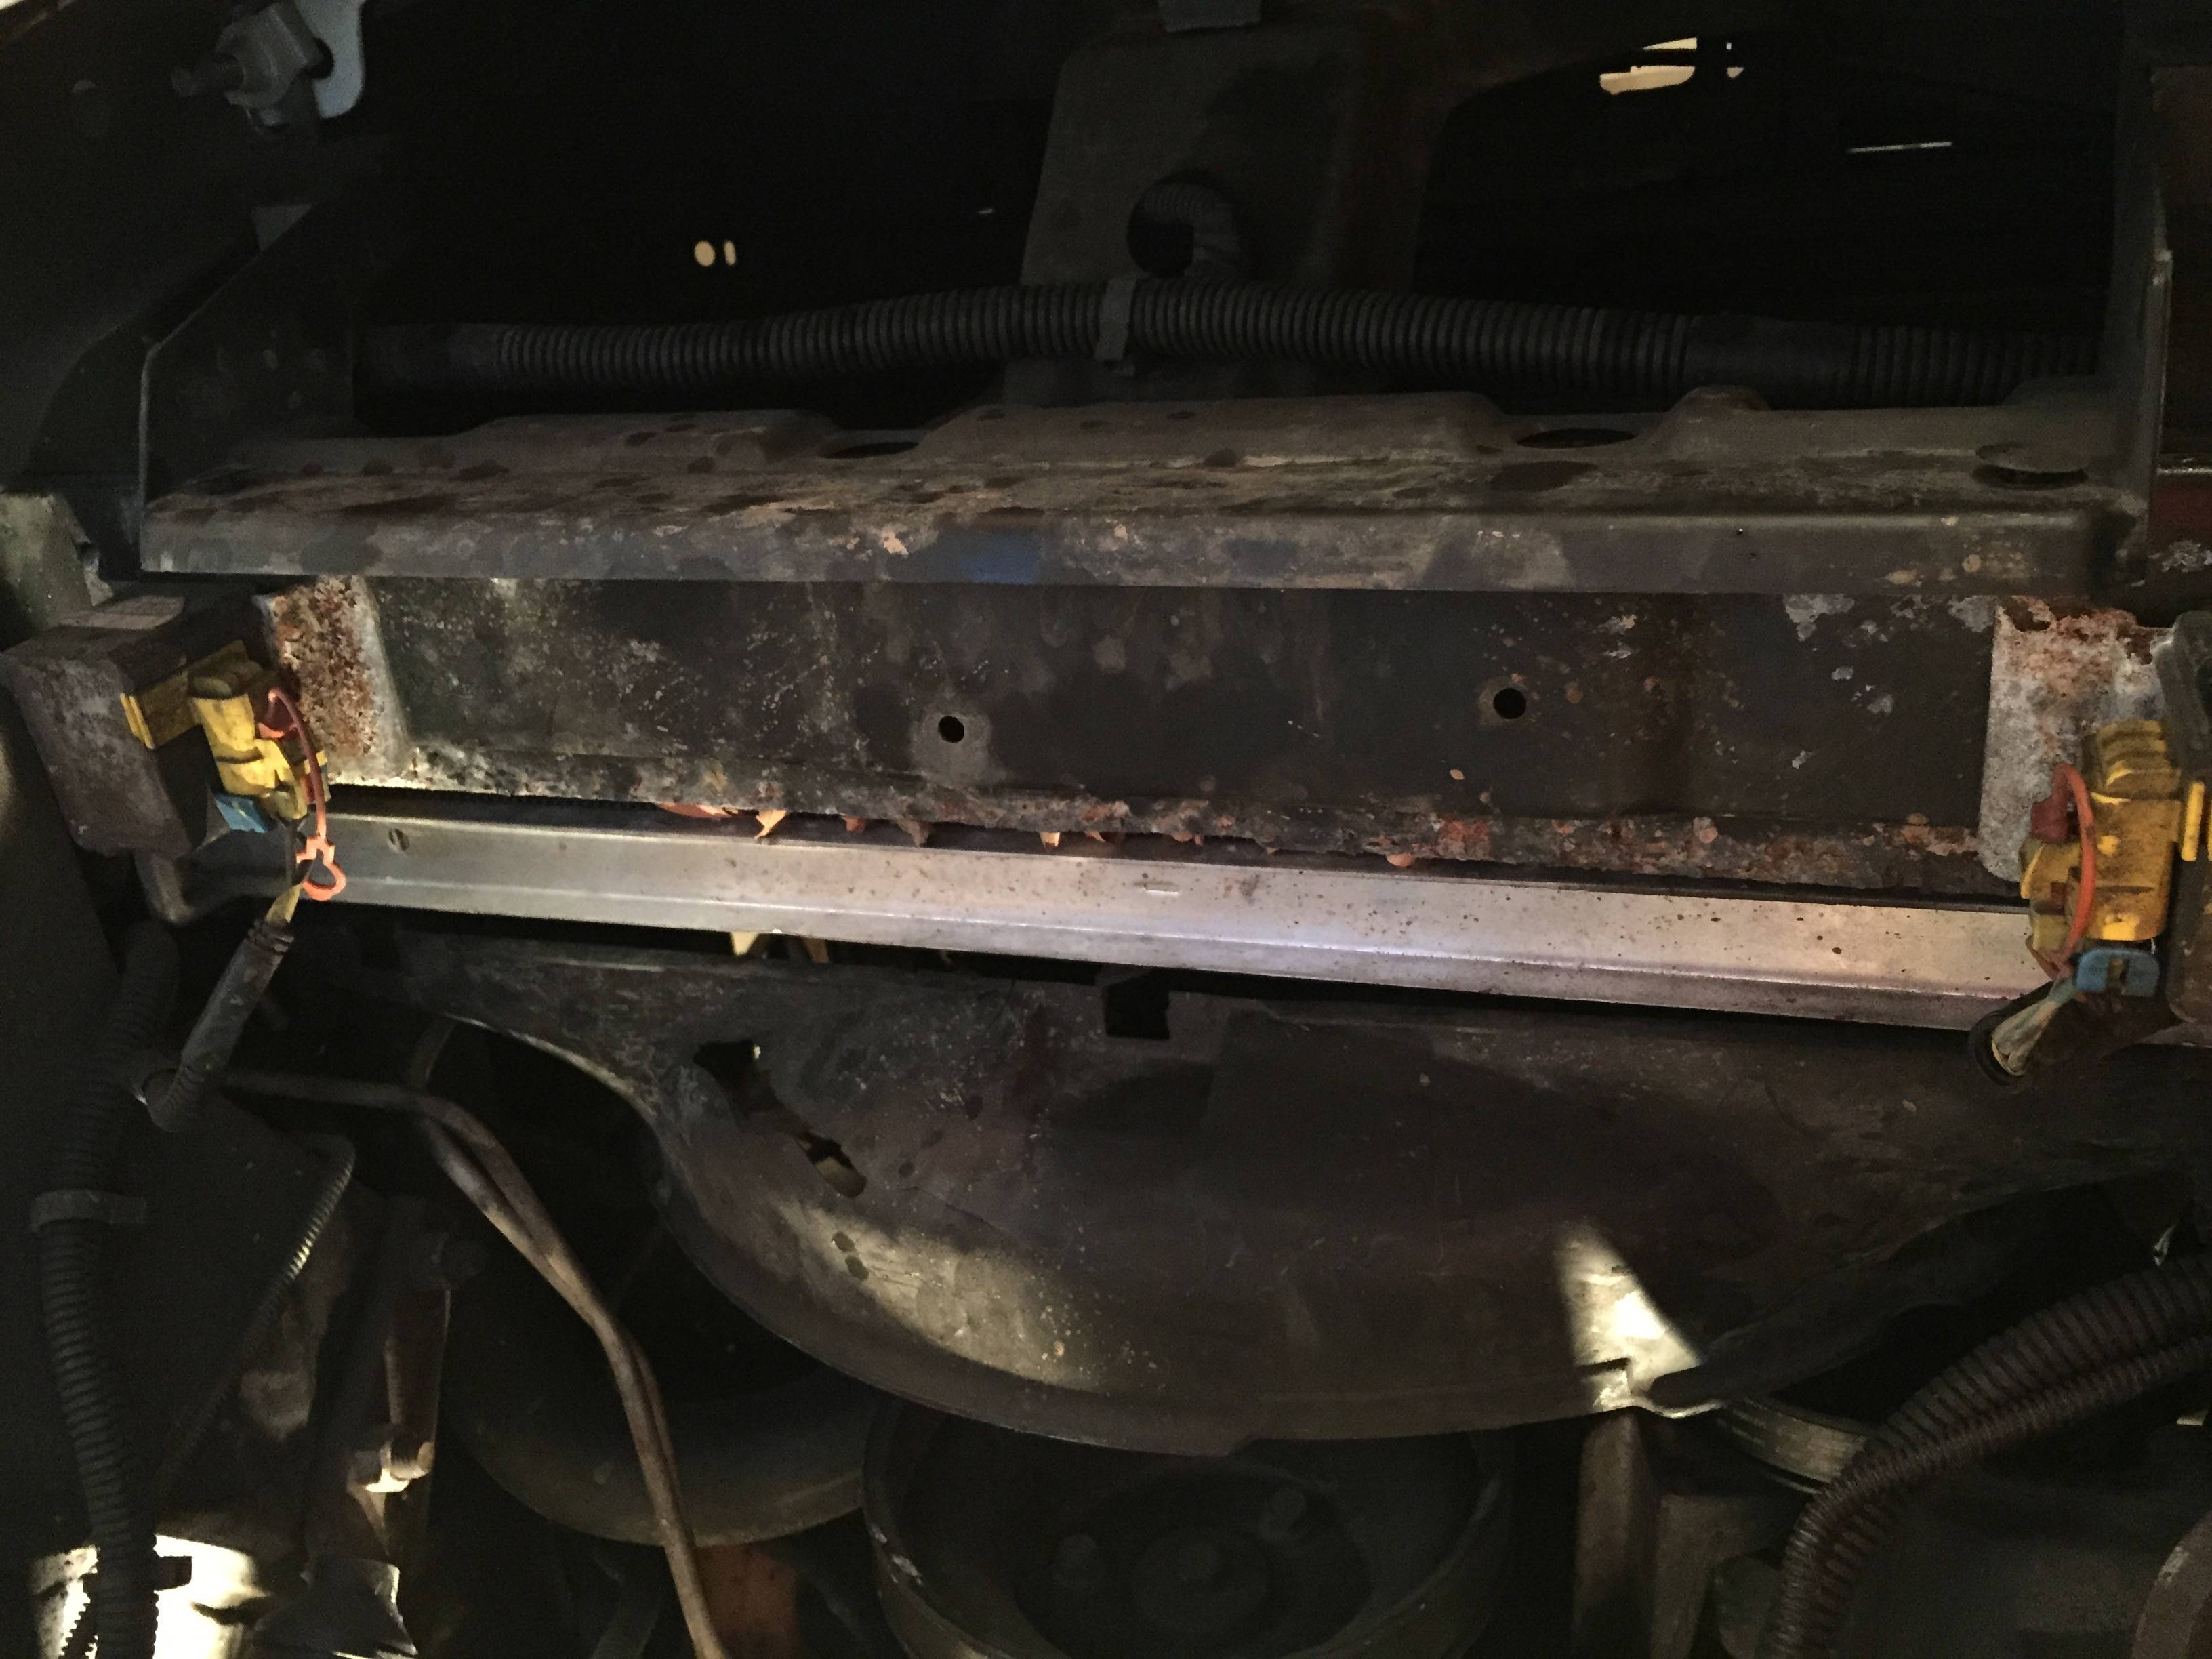
Before relocating the cooler lines and impact sensors that sat on the bottom of the rad black this is as far back as it would go
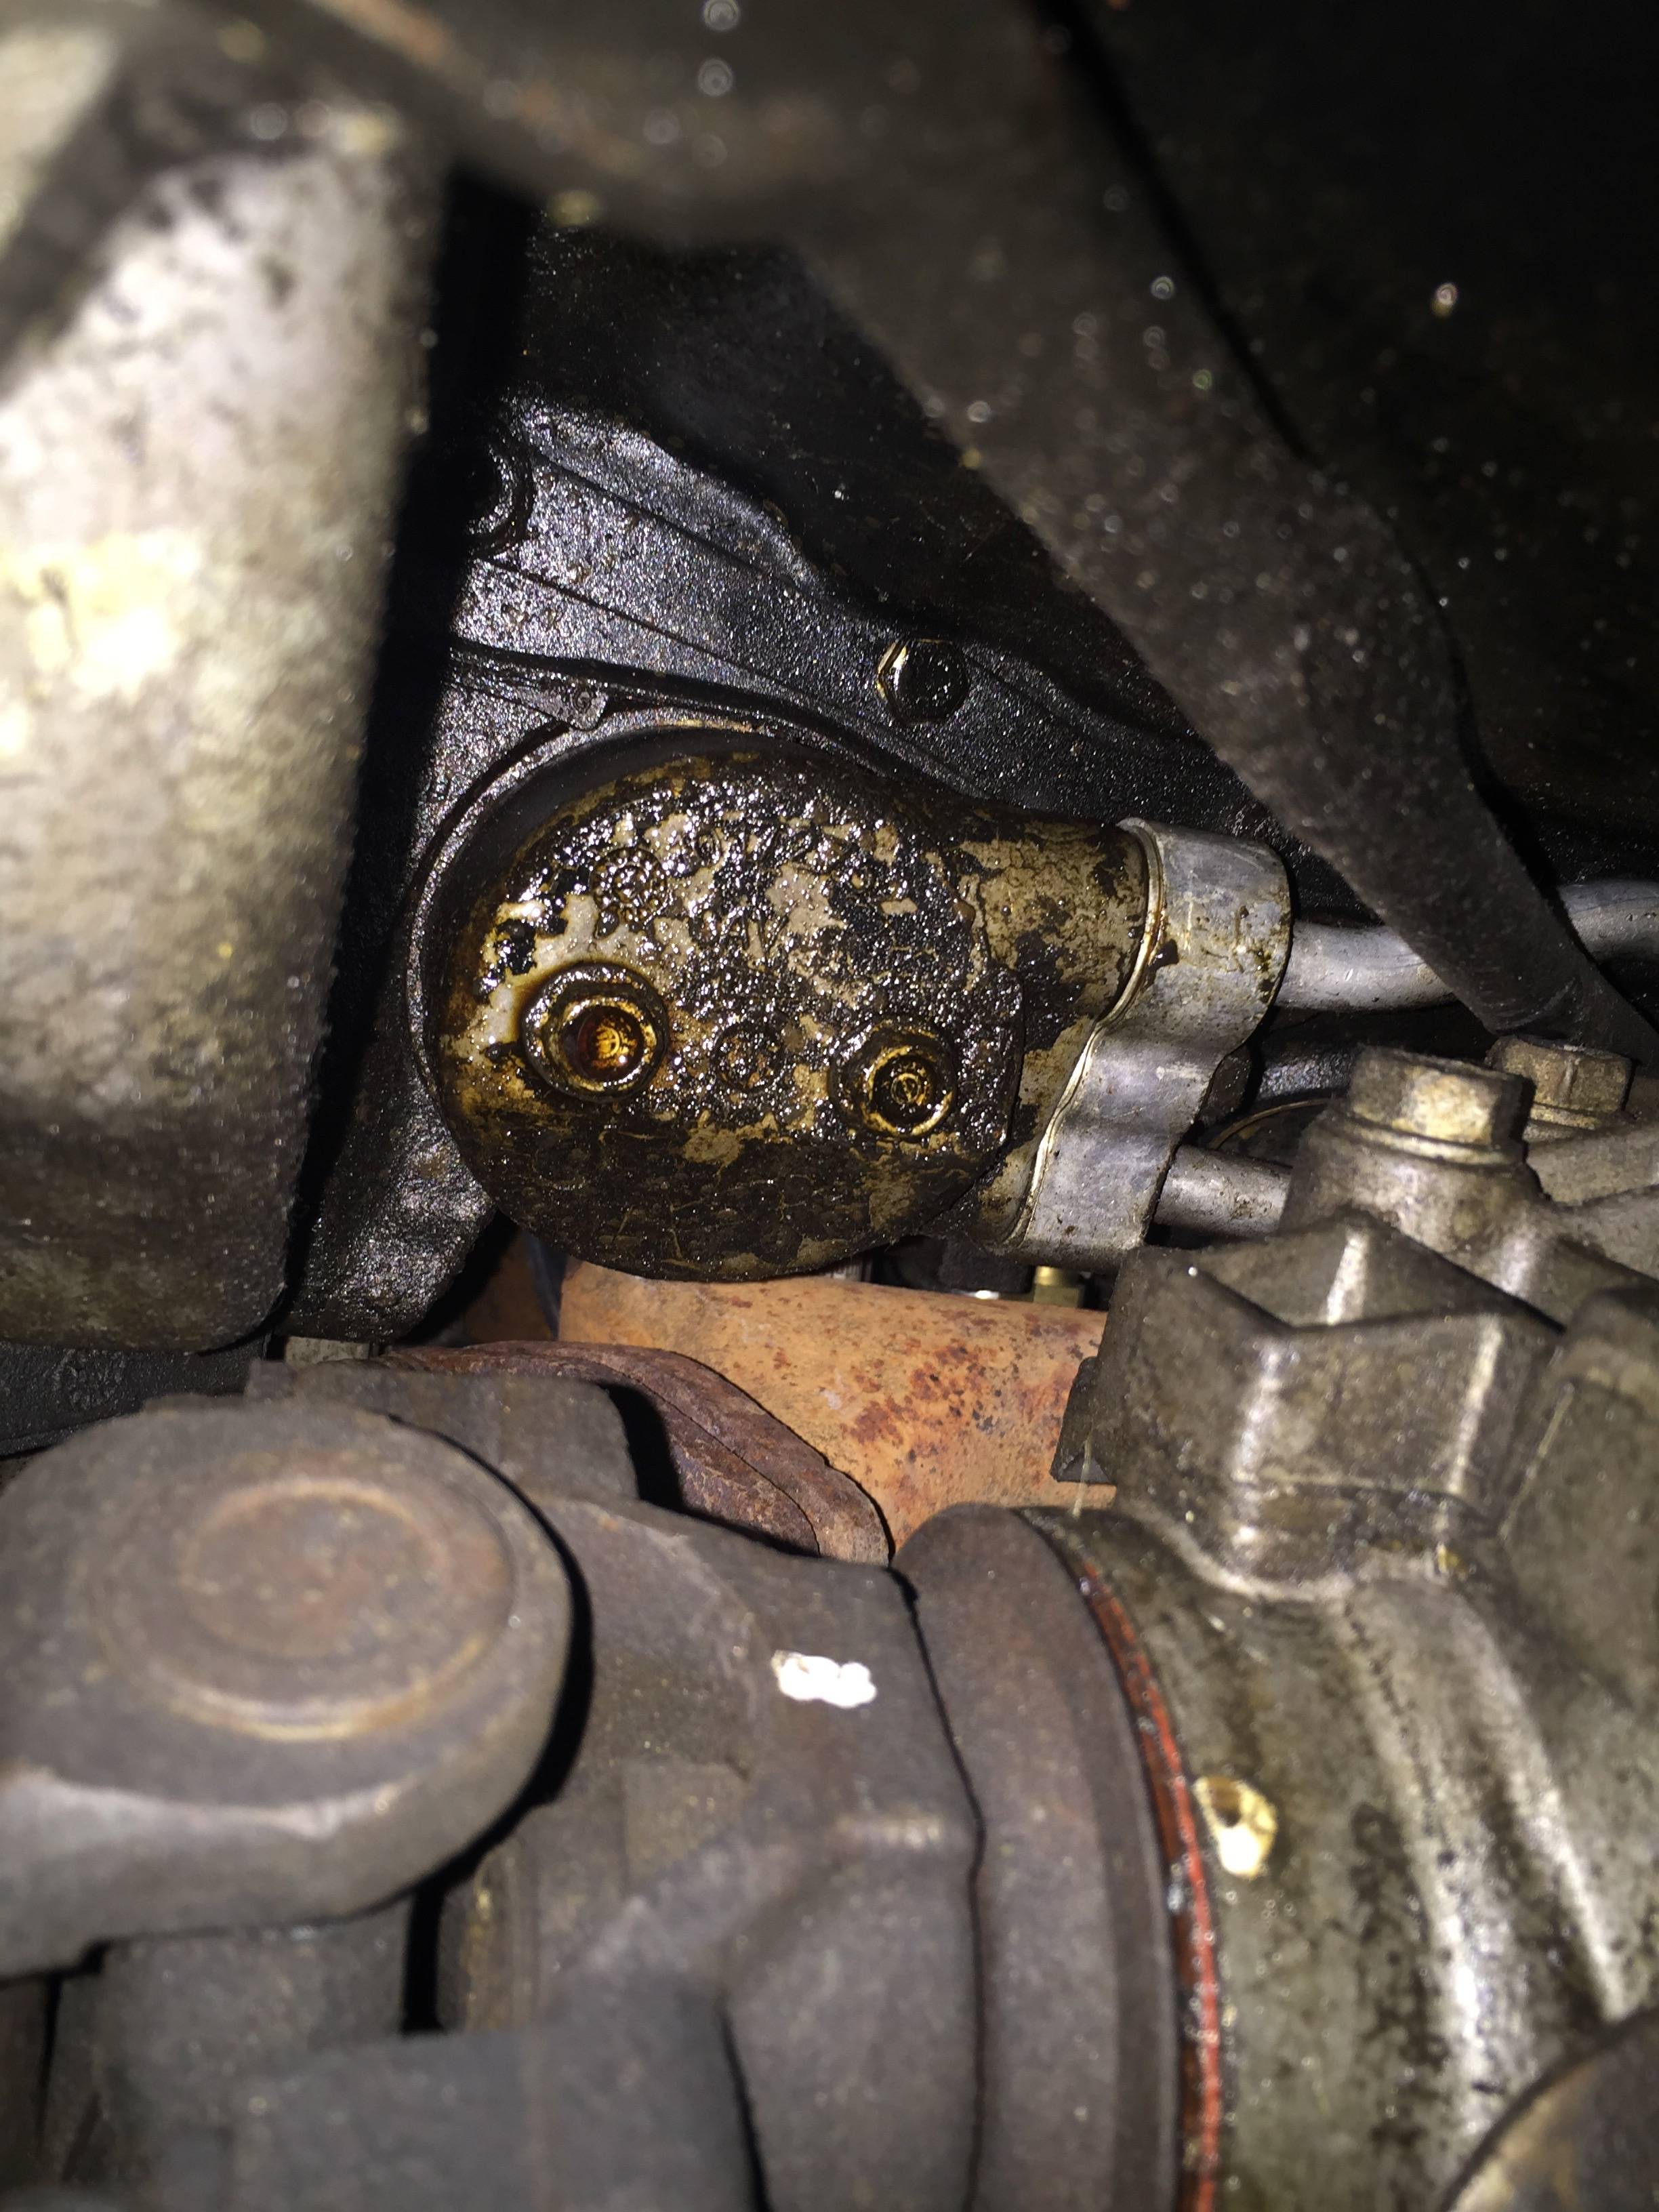
yep.. these things gotta go.. I pulled this and screwed my filter straight into the block. I was still driving it at this point and found a shorter filter that cleared the front drive shaft
impact sensors were in the way
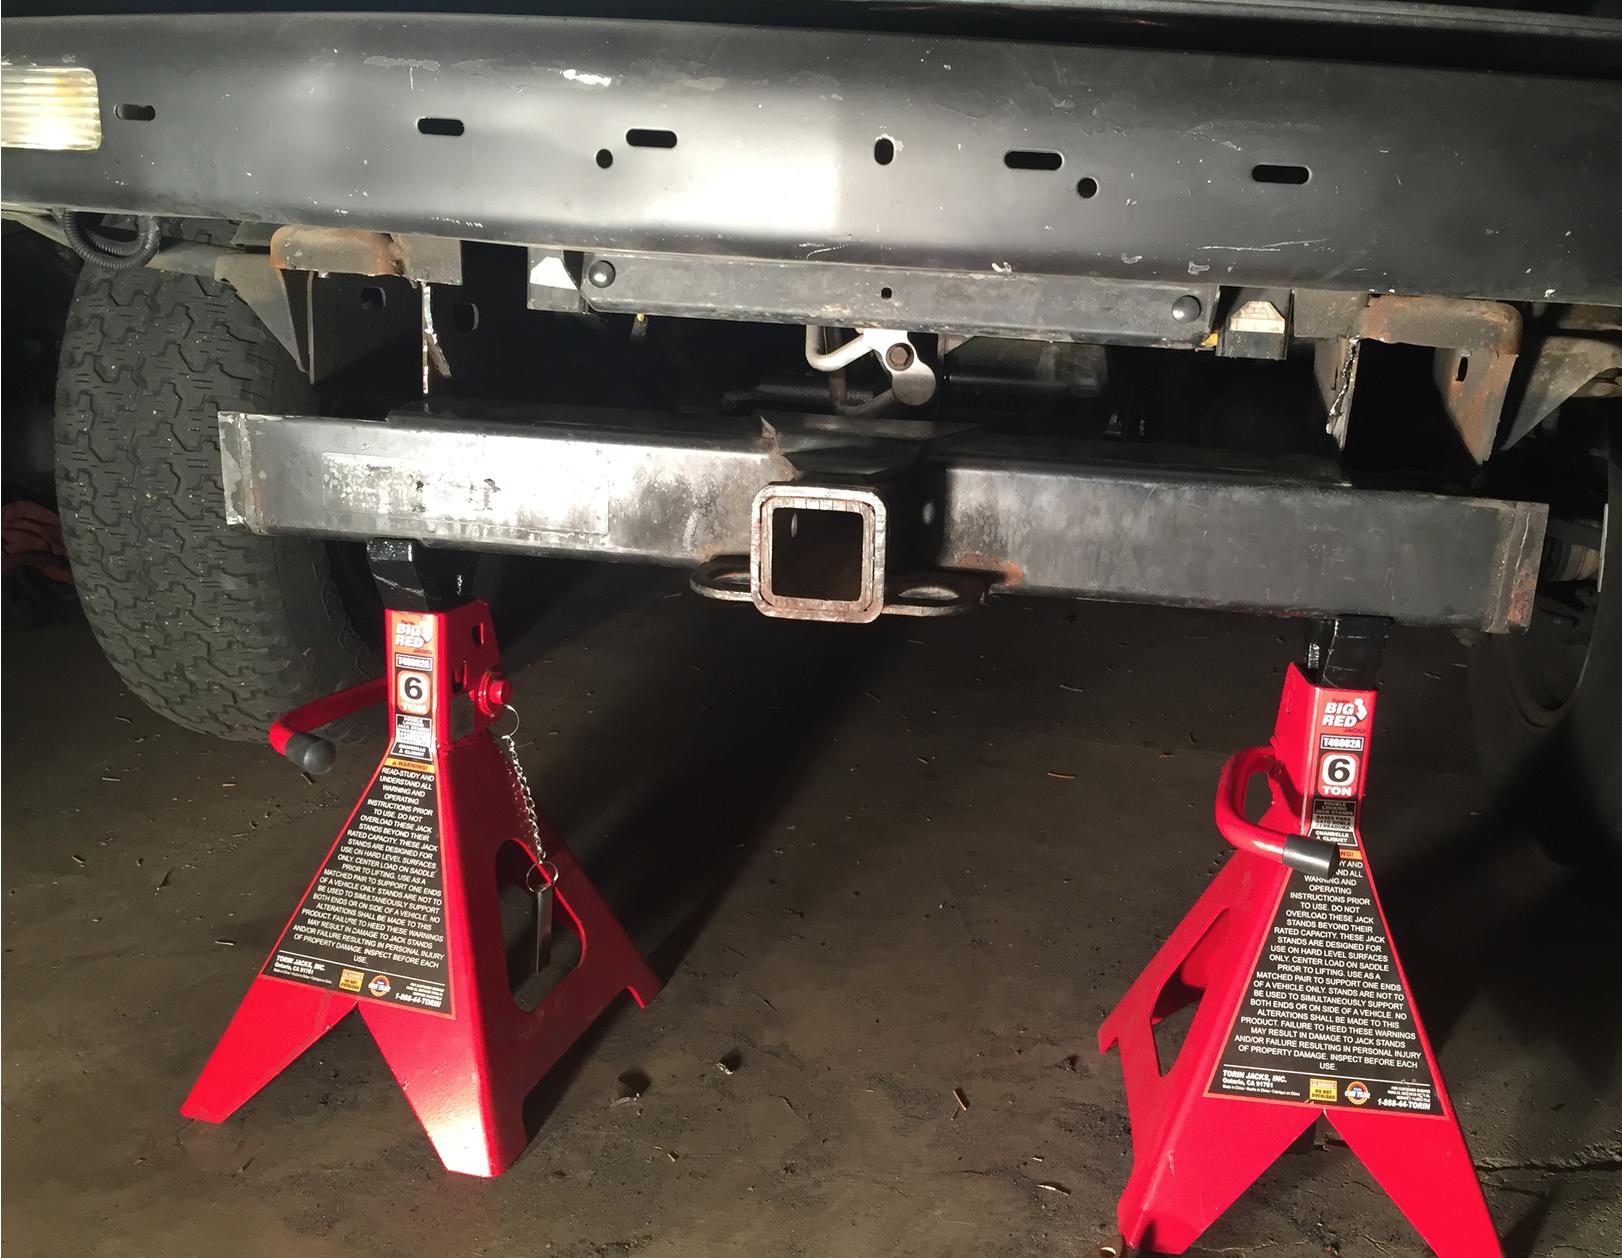
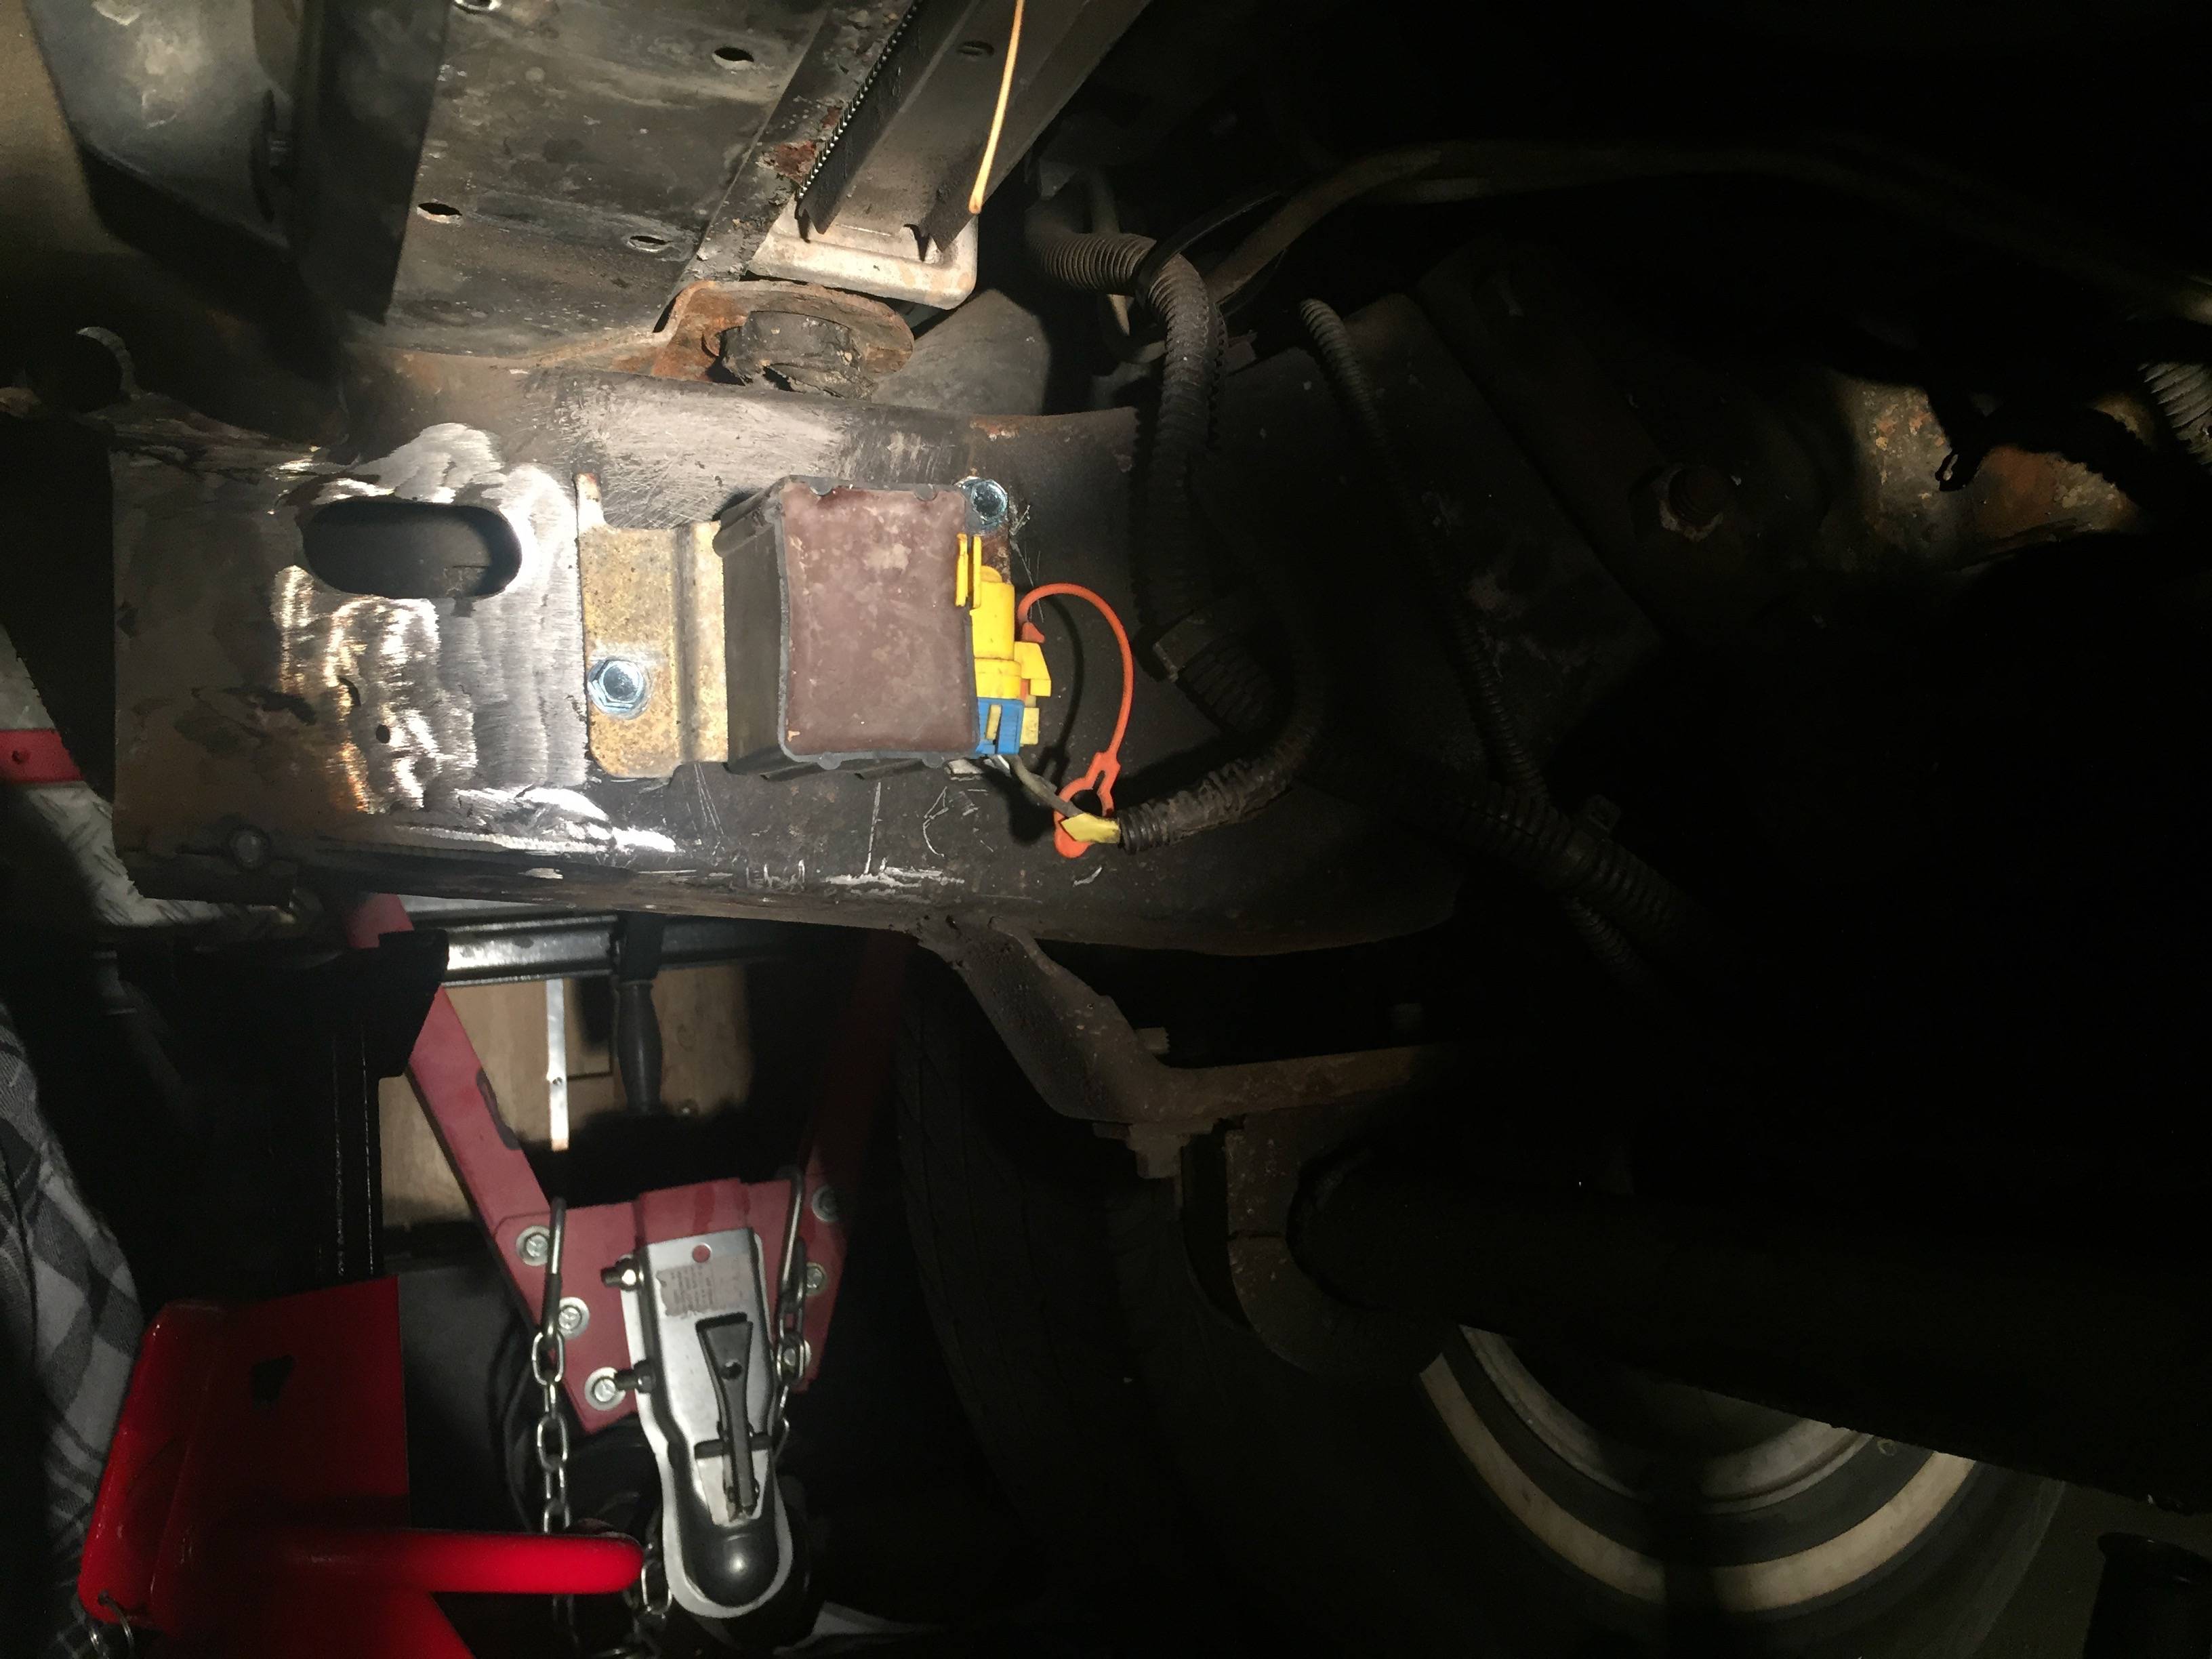
their new home. I flattened the tabs and placed them 1/2" or so behind where the cross-member will wind up
some cutting and notching later

much better fit
These these things had to go anyways..
Before relocating the cooler lines and impact sensors that sat on the bottom of the rad black this is as far back as it would go
yep.. these things gotta go.. I pulled this and screwed my filter straight into the block. I was still driving it at this point and found a shorter filter that cleared the front drive shaft
impact sensors were in the way
their new home. I flattened the tabs and placed them 1/2" or so behind where the cross-member will wind up
some cutting and notching later
much better fit
Thread Starter
|
Beginning Member
Joined: Jul 2012
Posts: 39
No turning back now. I started with just a 4" angle grinder, gave up and rented a plasma cutter
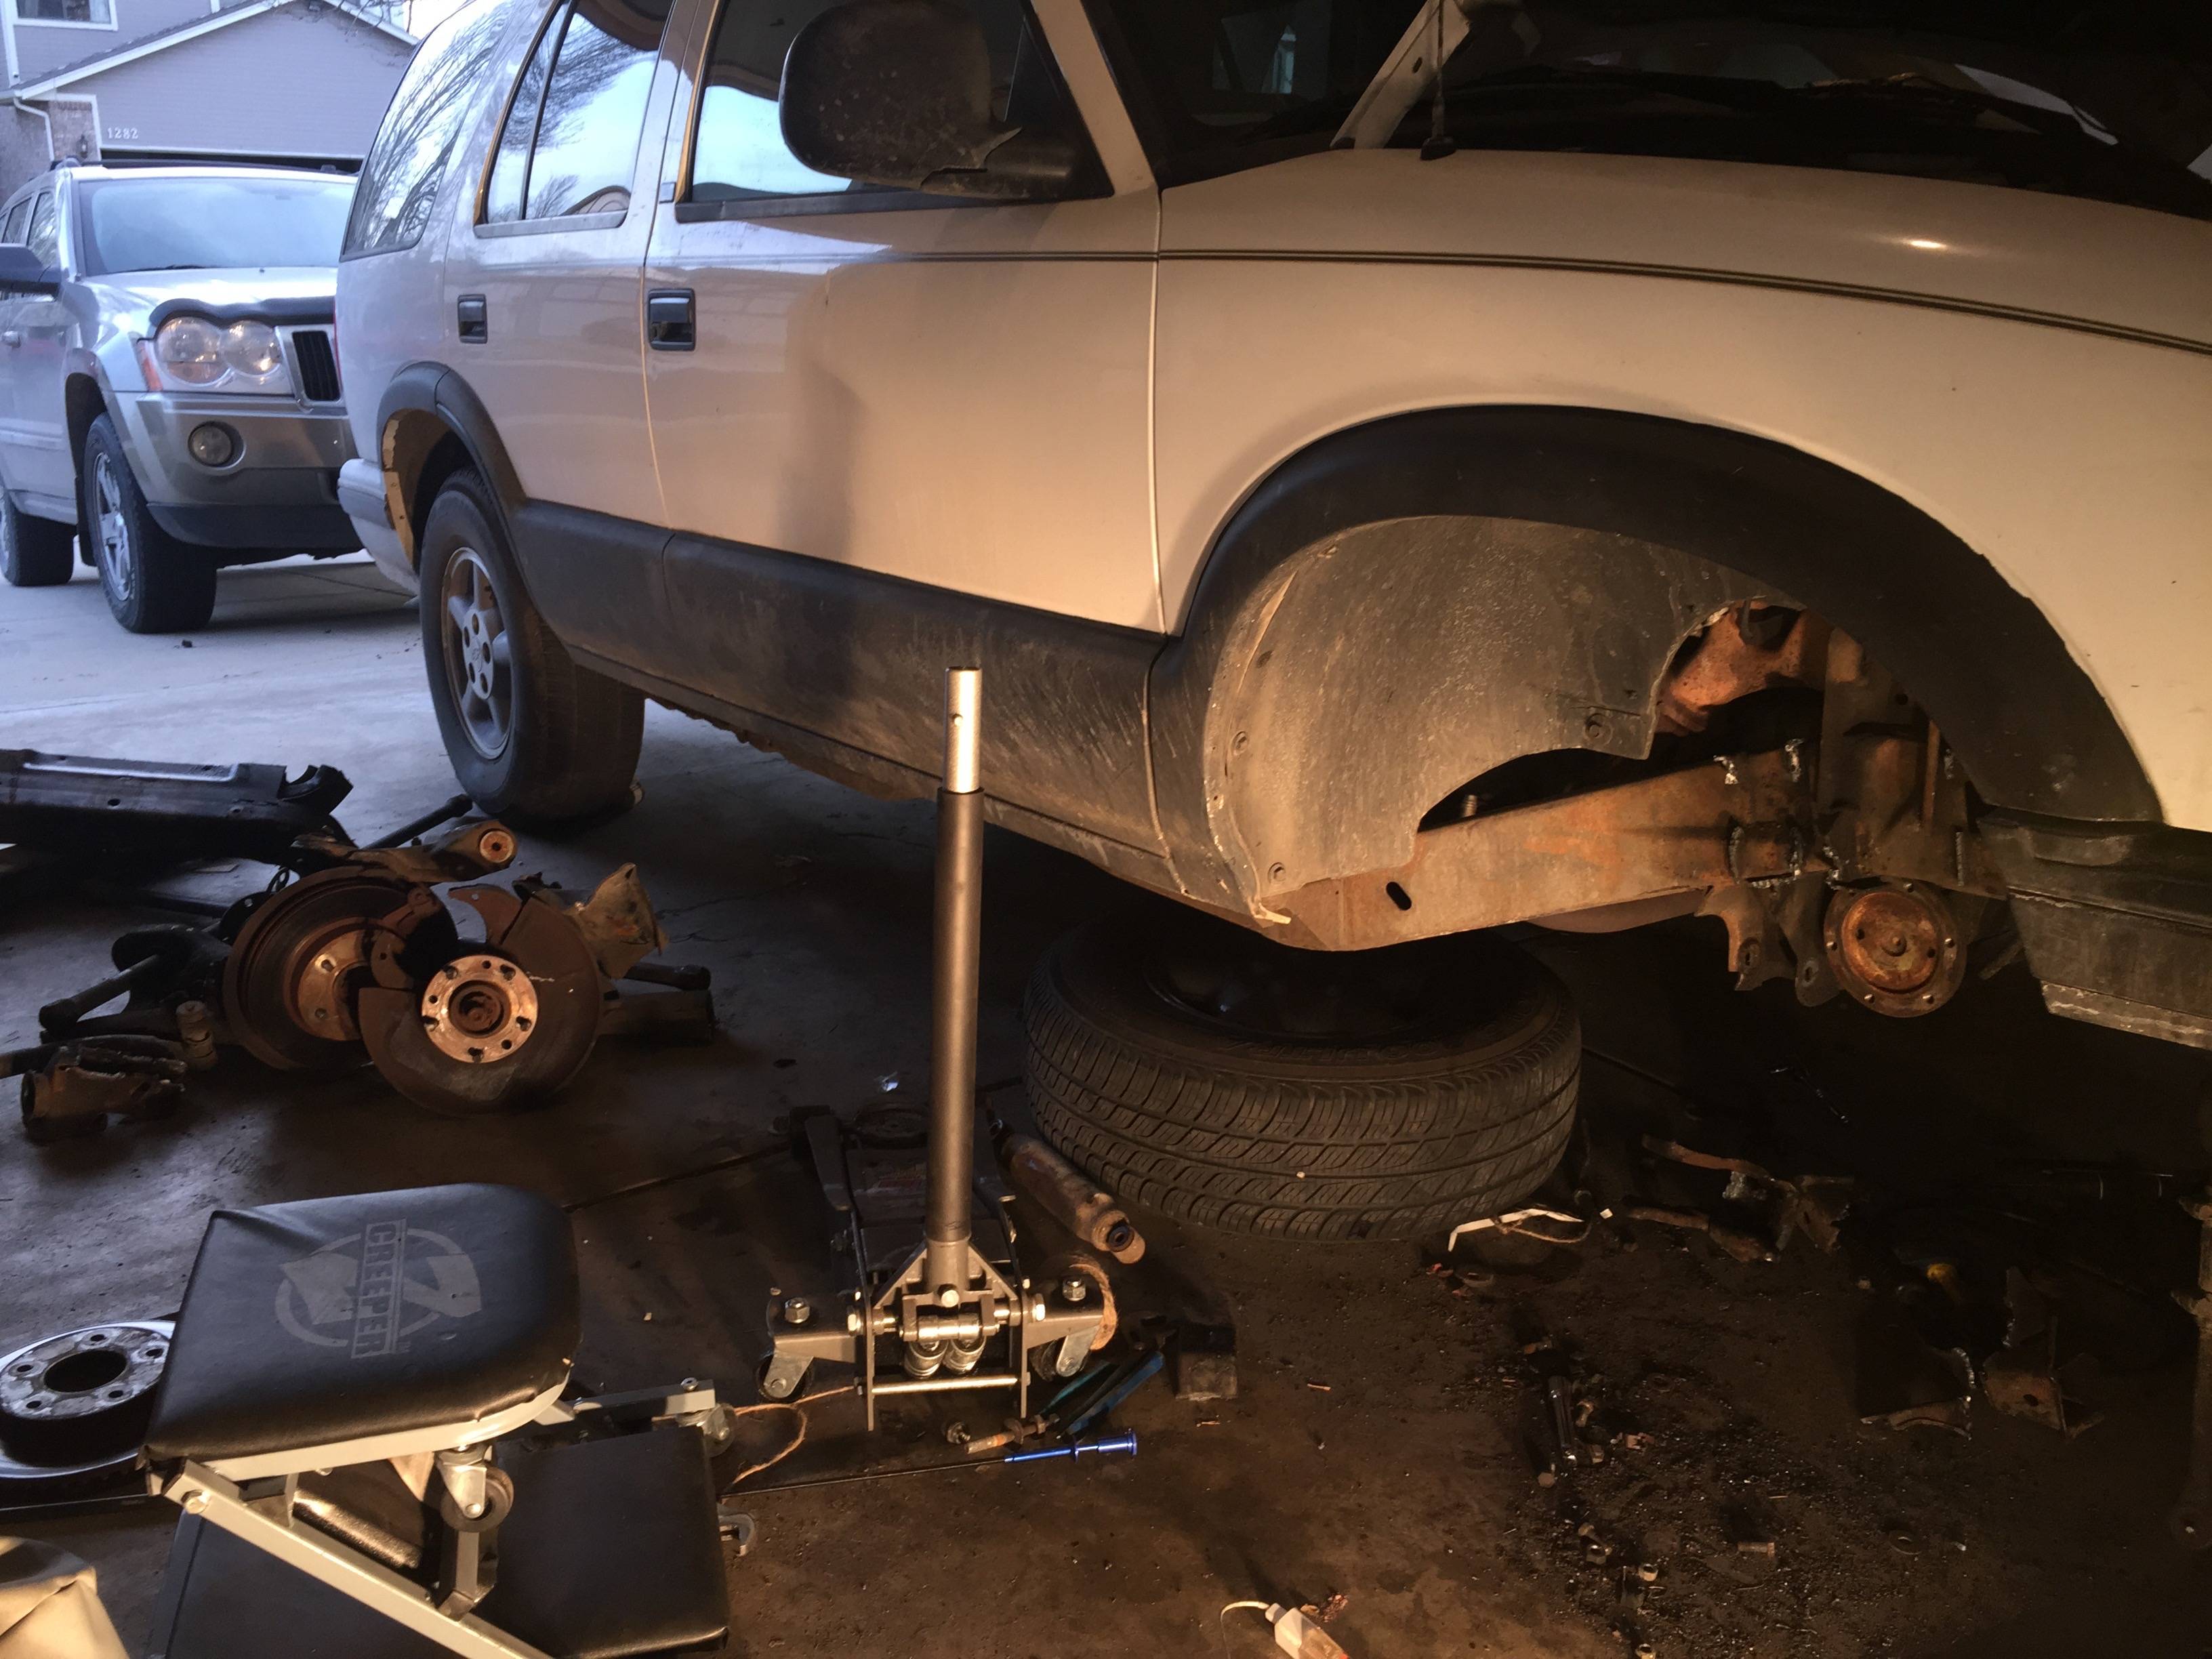
The plasma turned removing the ifs into quick work. I had the spring mounts tacked on but wound up frenching them into the frame more later
junk pile

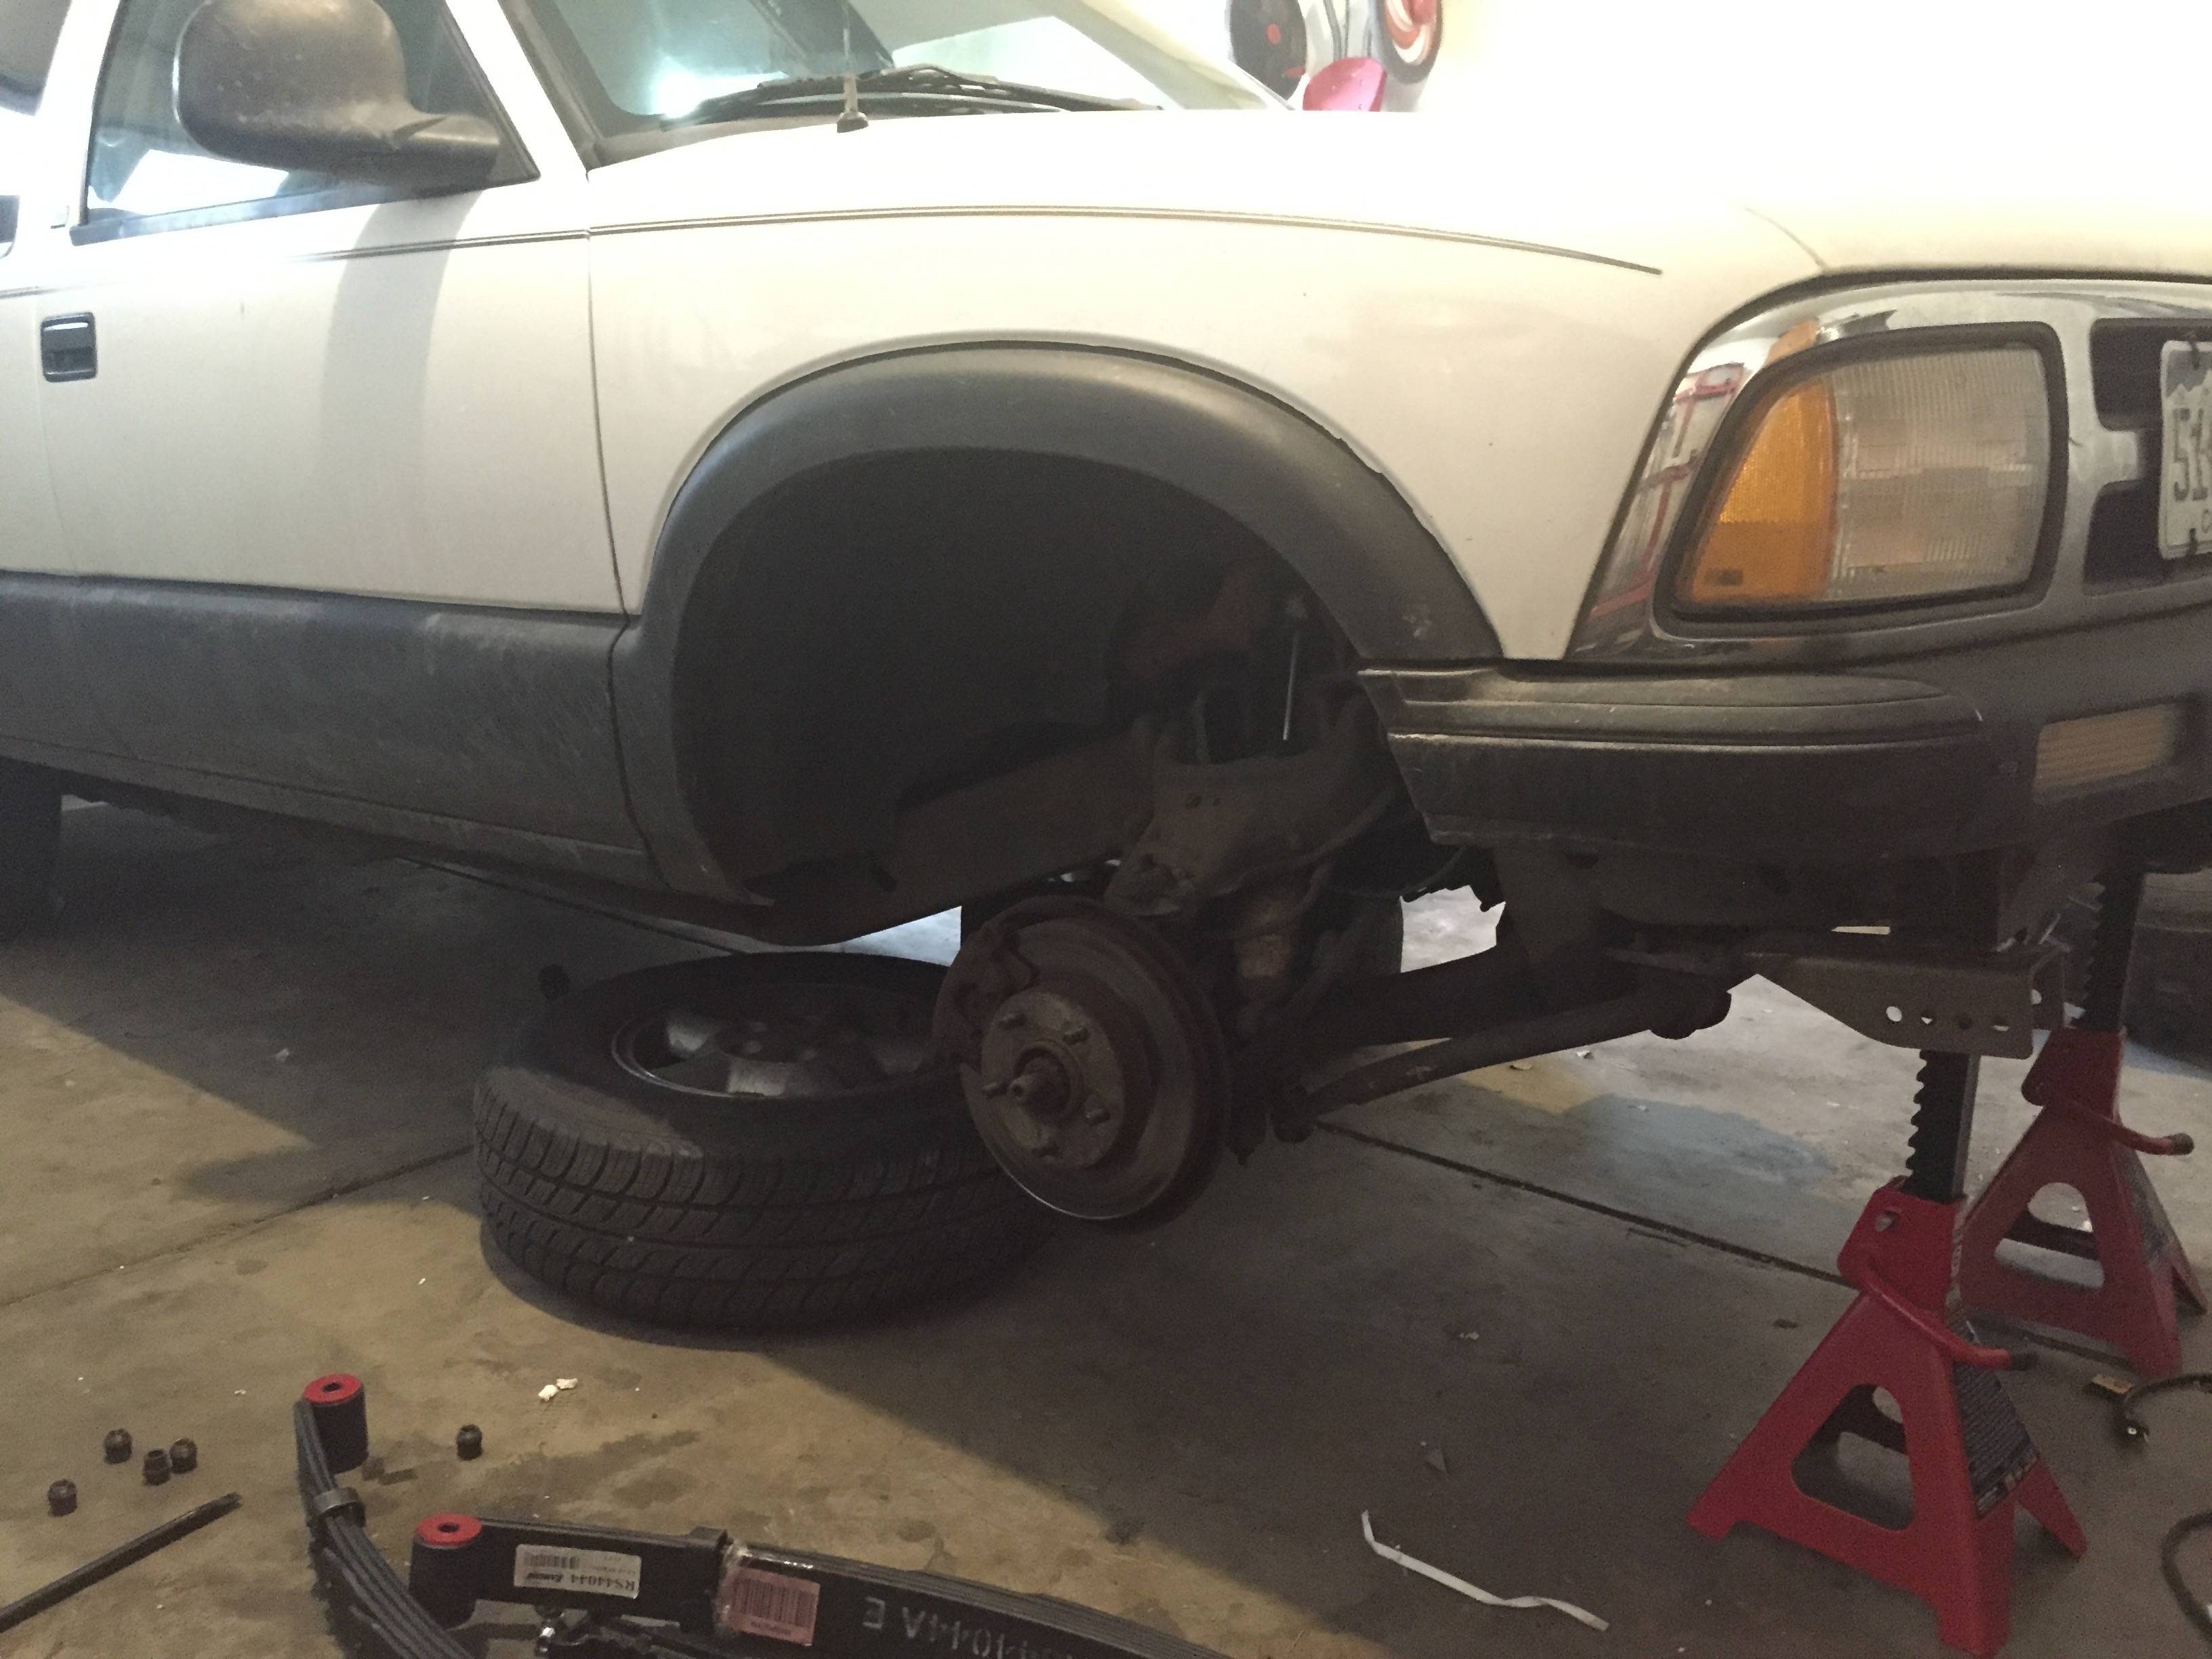
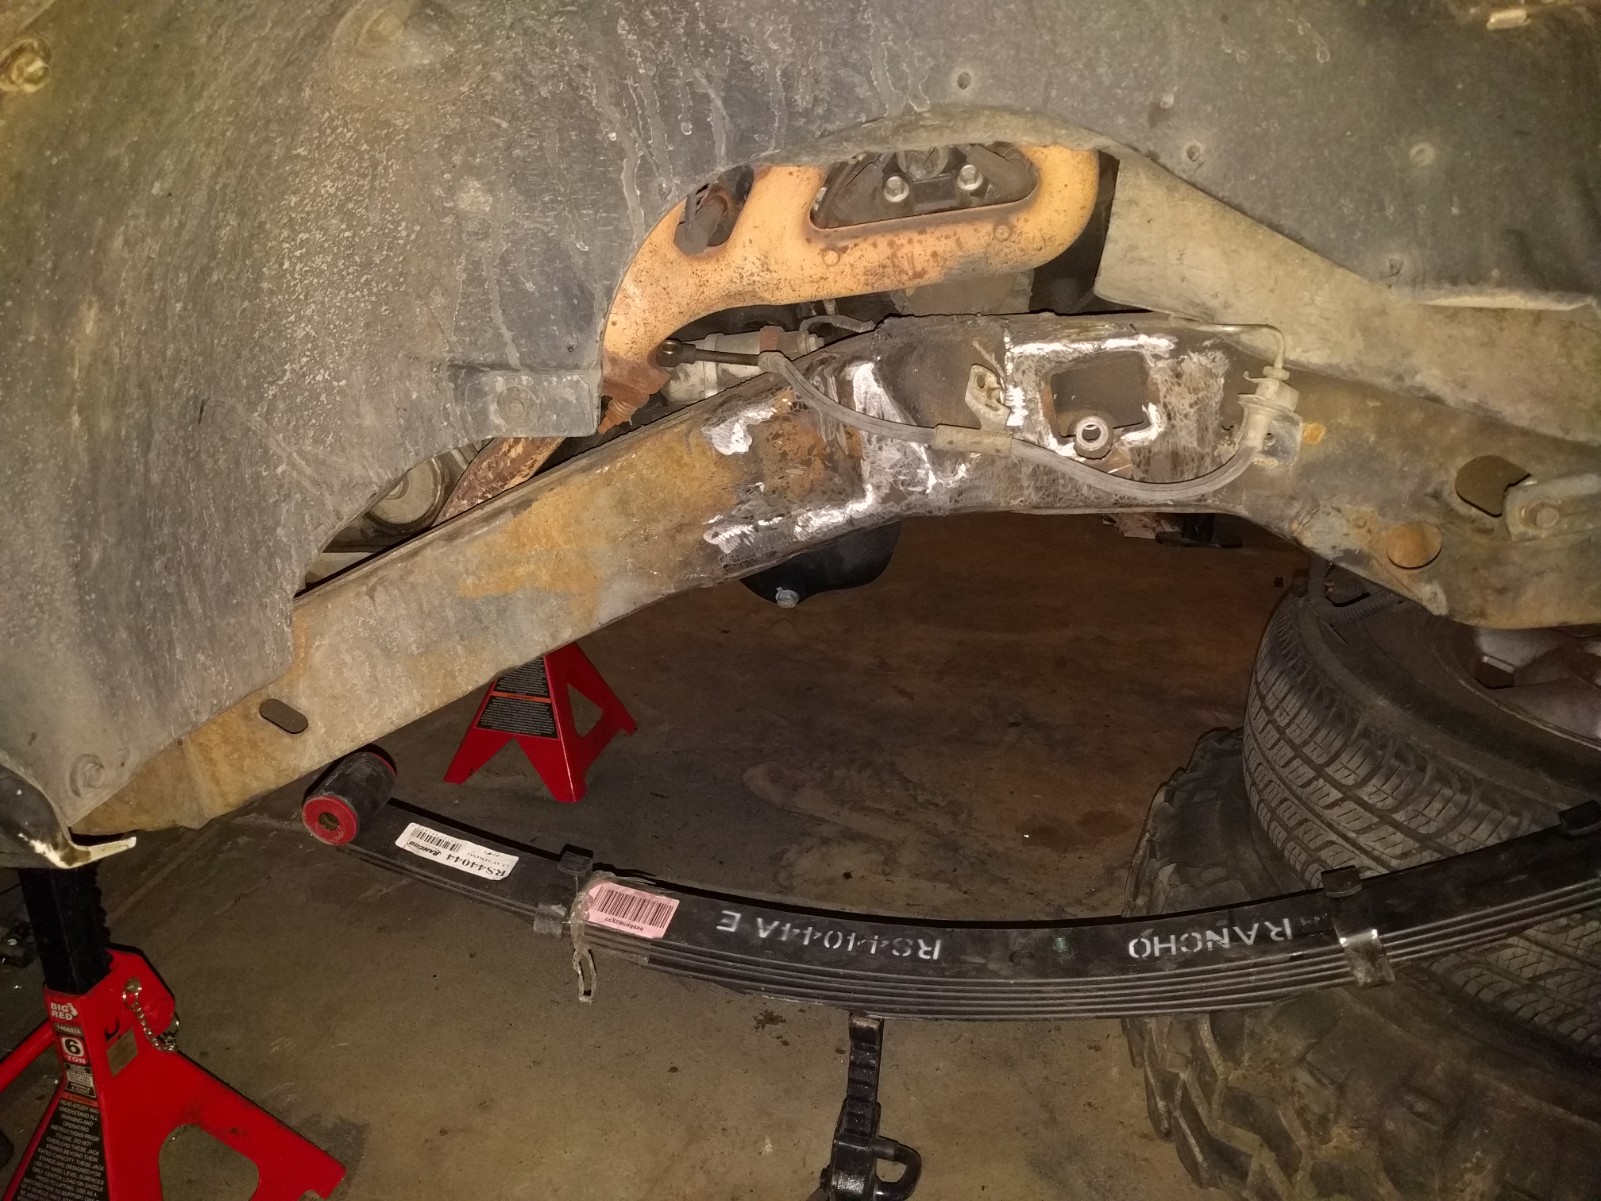
Still on jacks, rolled a tire under it and put a leaf spring on to get an idea of where things will sit
The plasma turned removing the ifs into quick work. I had the spring mounts tacked on but wound up frenching them into the frame more later
junk pile
Still on jacks, rolled a tire under it and put a leaf spring on to get an idea of where things will sit
Thread Starter
|
Beginning Member
Joined: Jul 2012
Posts: 39
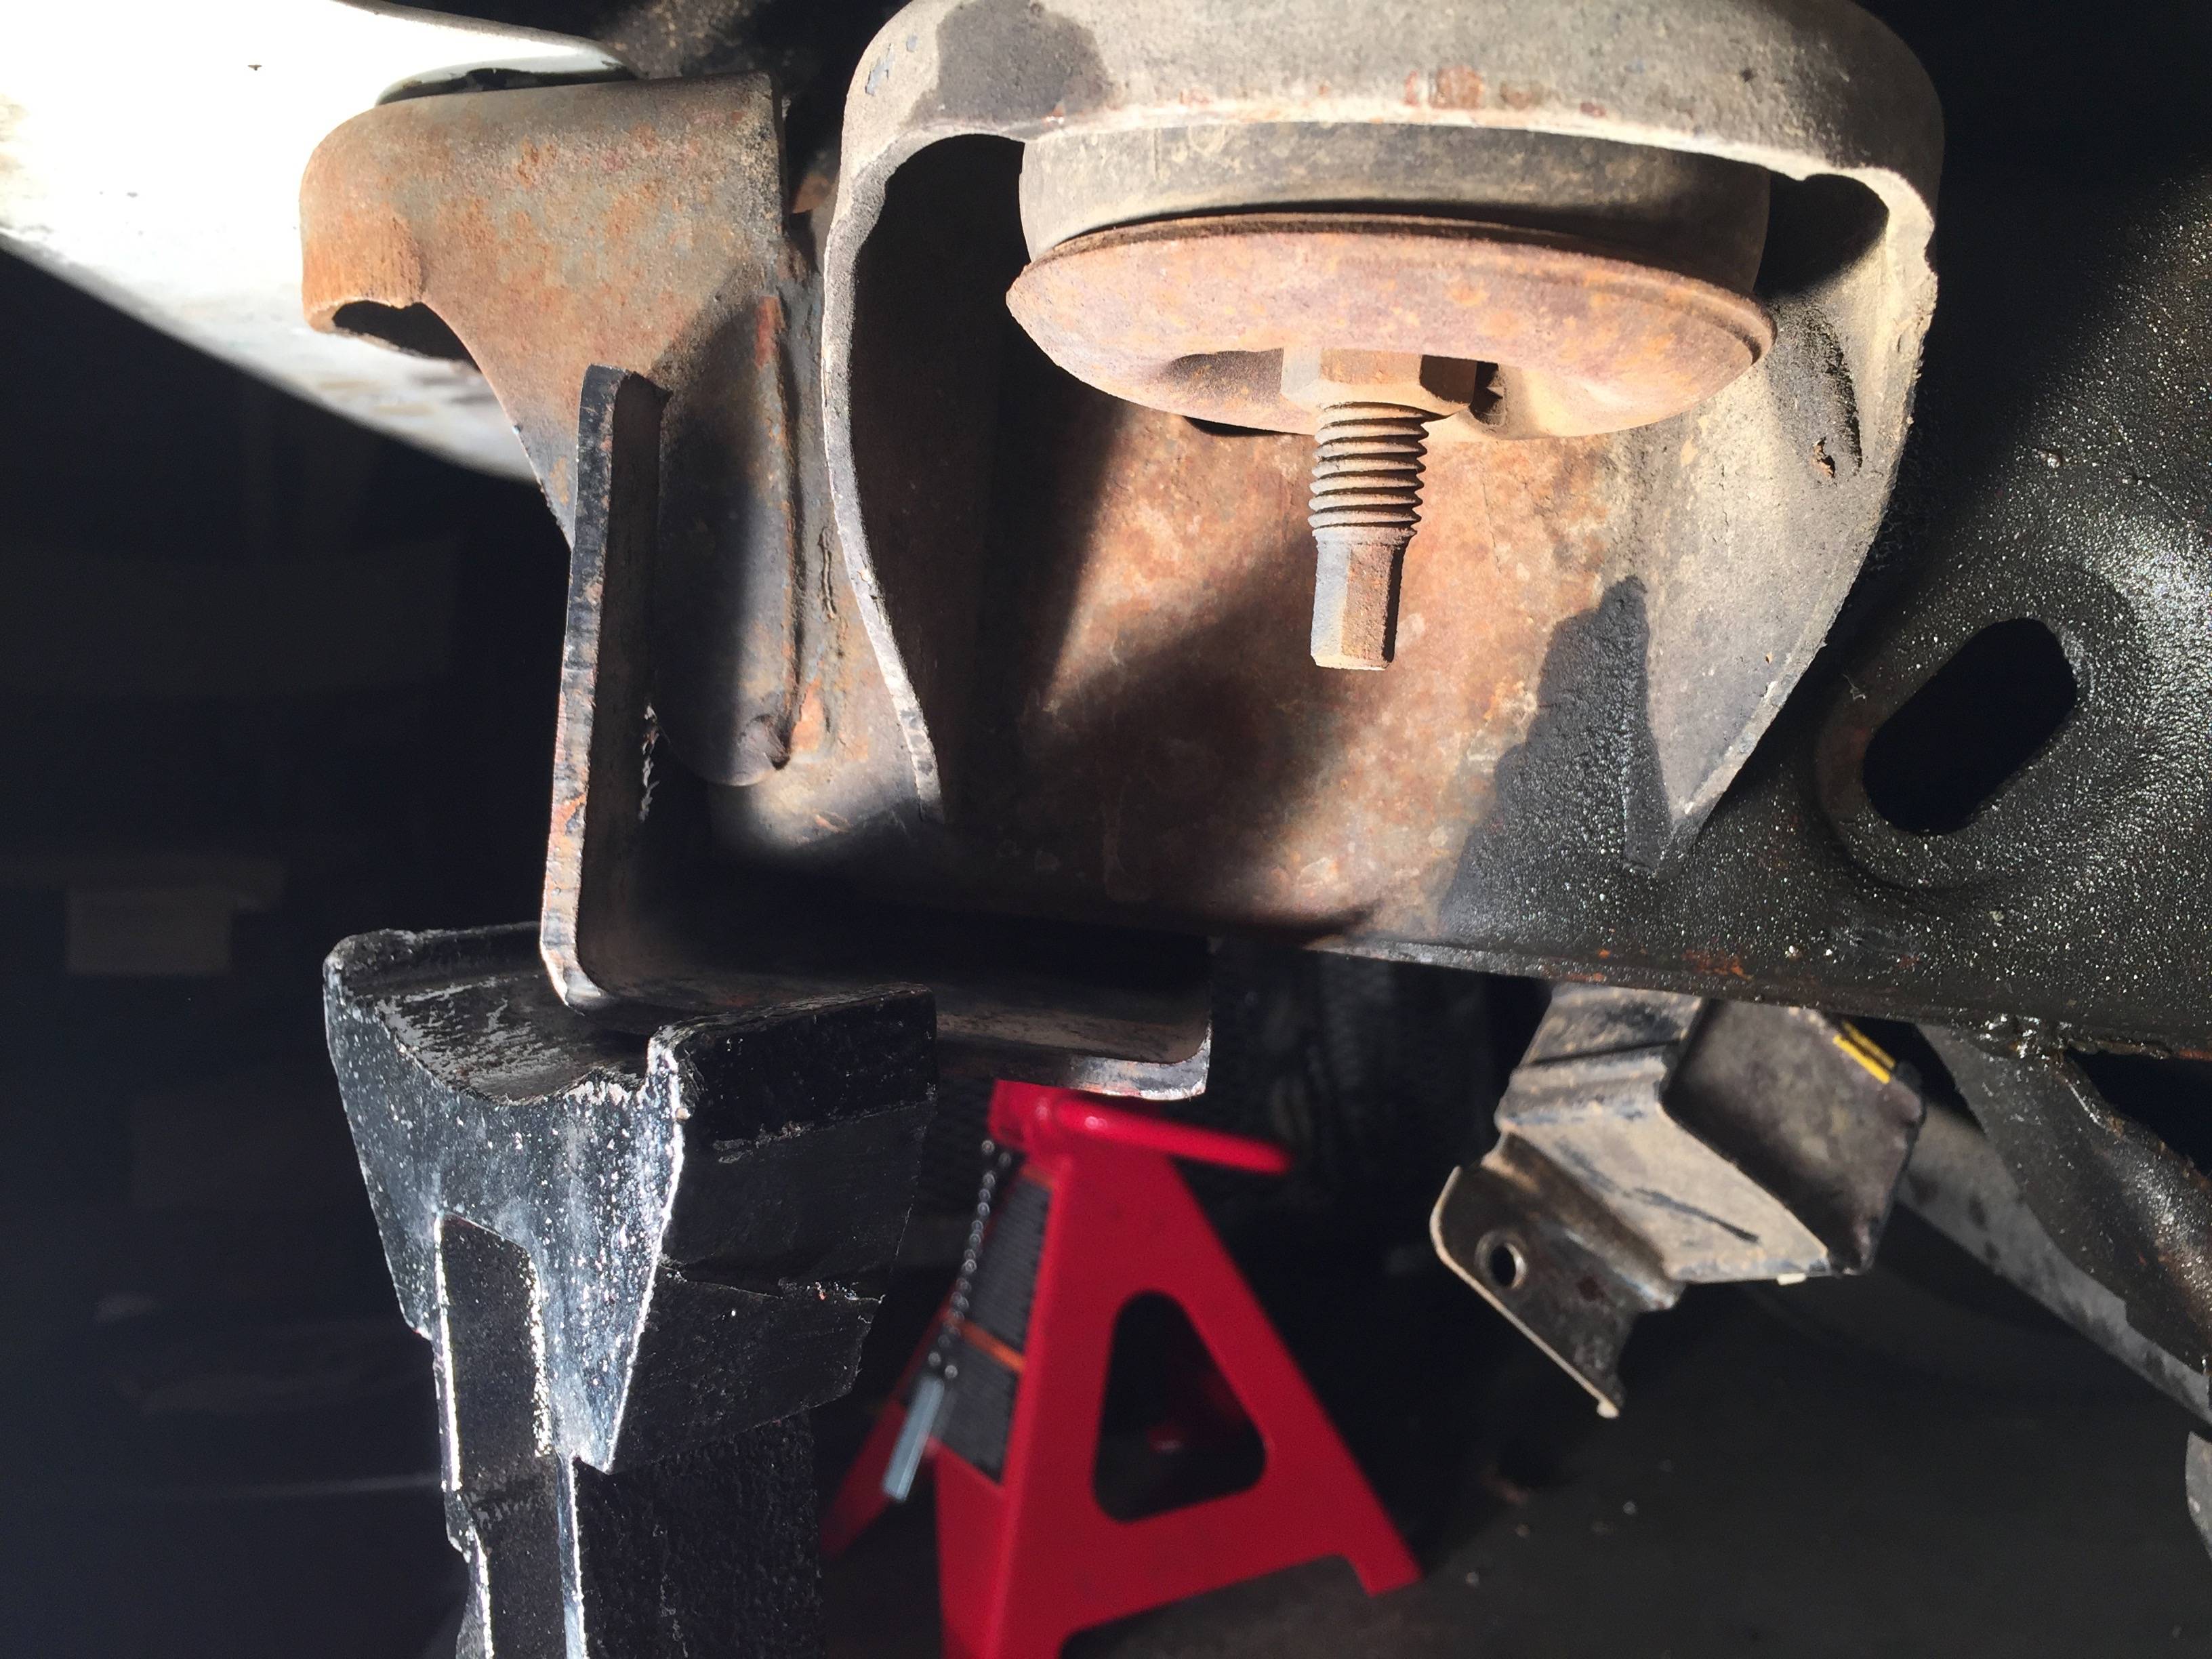
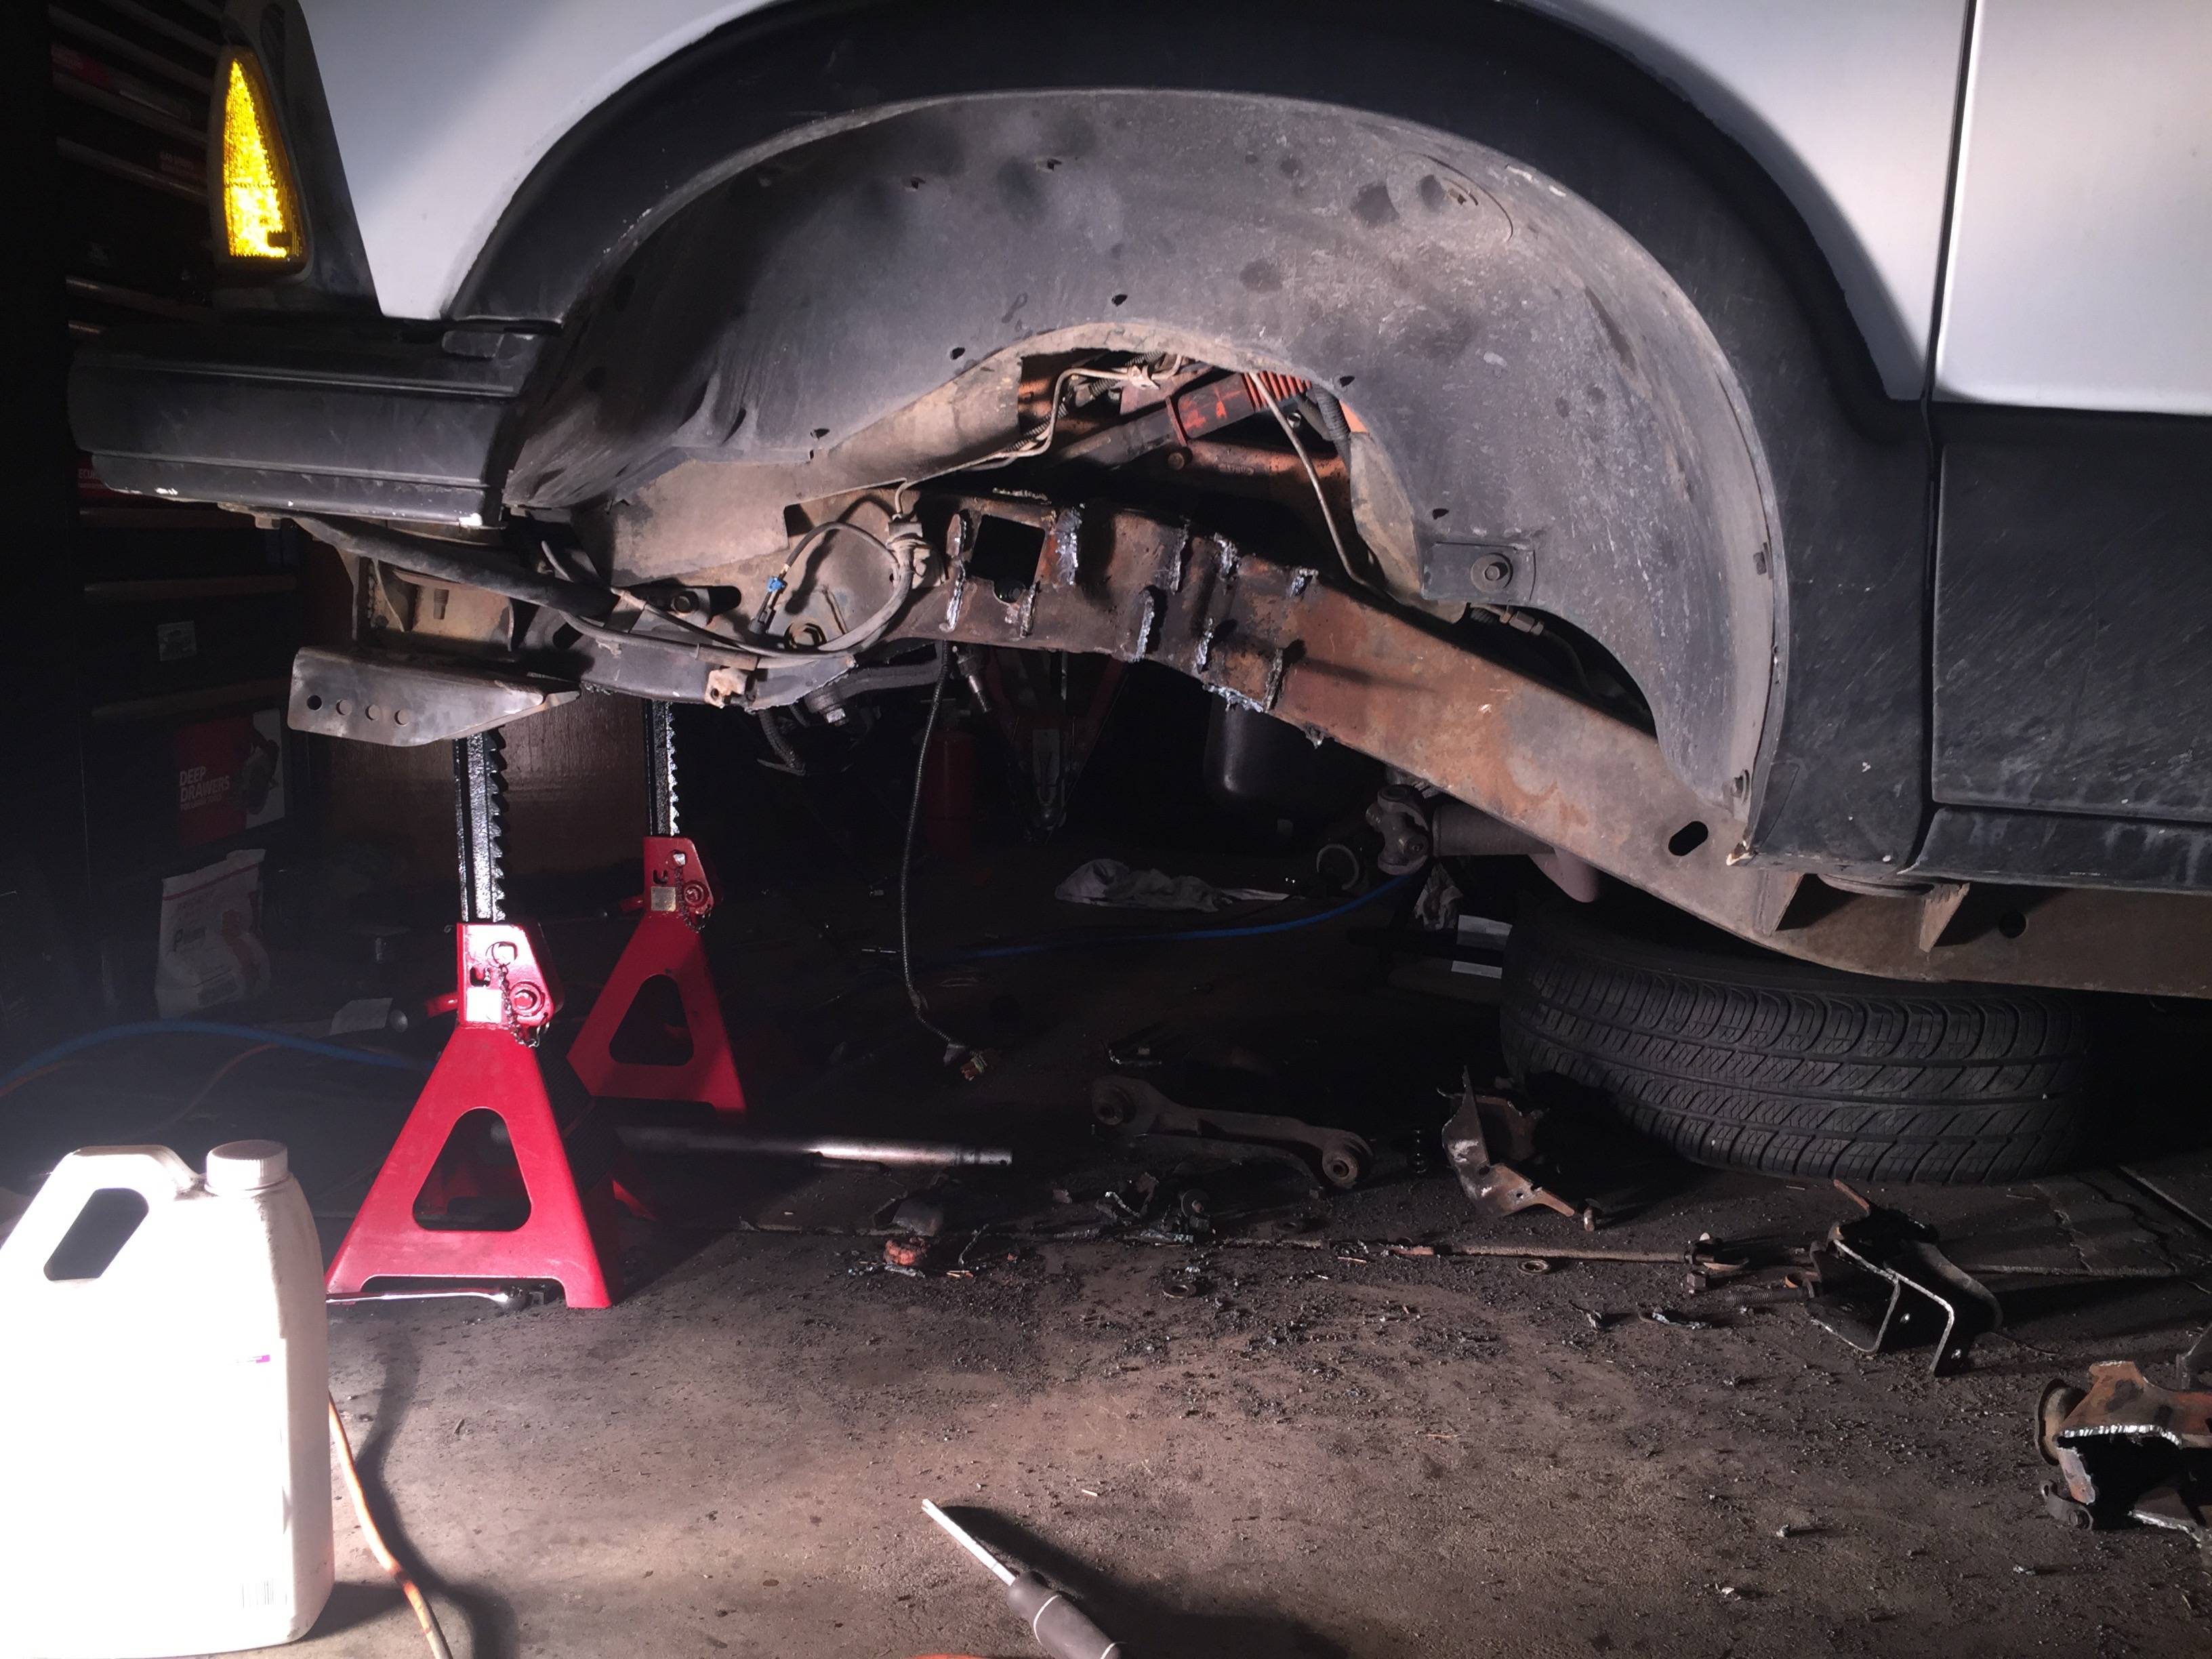
ground off all the old ifs mounts. couldn't for the life of me get a good enough angle on that nut in the frame. I tried wobble joints, extensions, and just wound up making room with the plasma cutter.
Could have done a better job grinding down old mounts on the top of the frame, but I was ready for a break after that long weekend
Could have done a better job grinding down old mounts on the top of the frame, but I was ready for a break after that long weekend
Thread Starter
|
Beginning Member
Joined: Jul 2012
Posts: 39
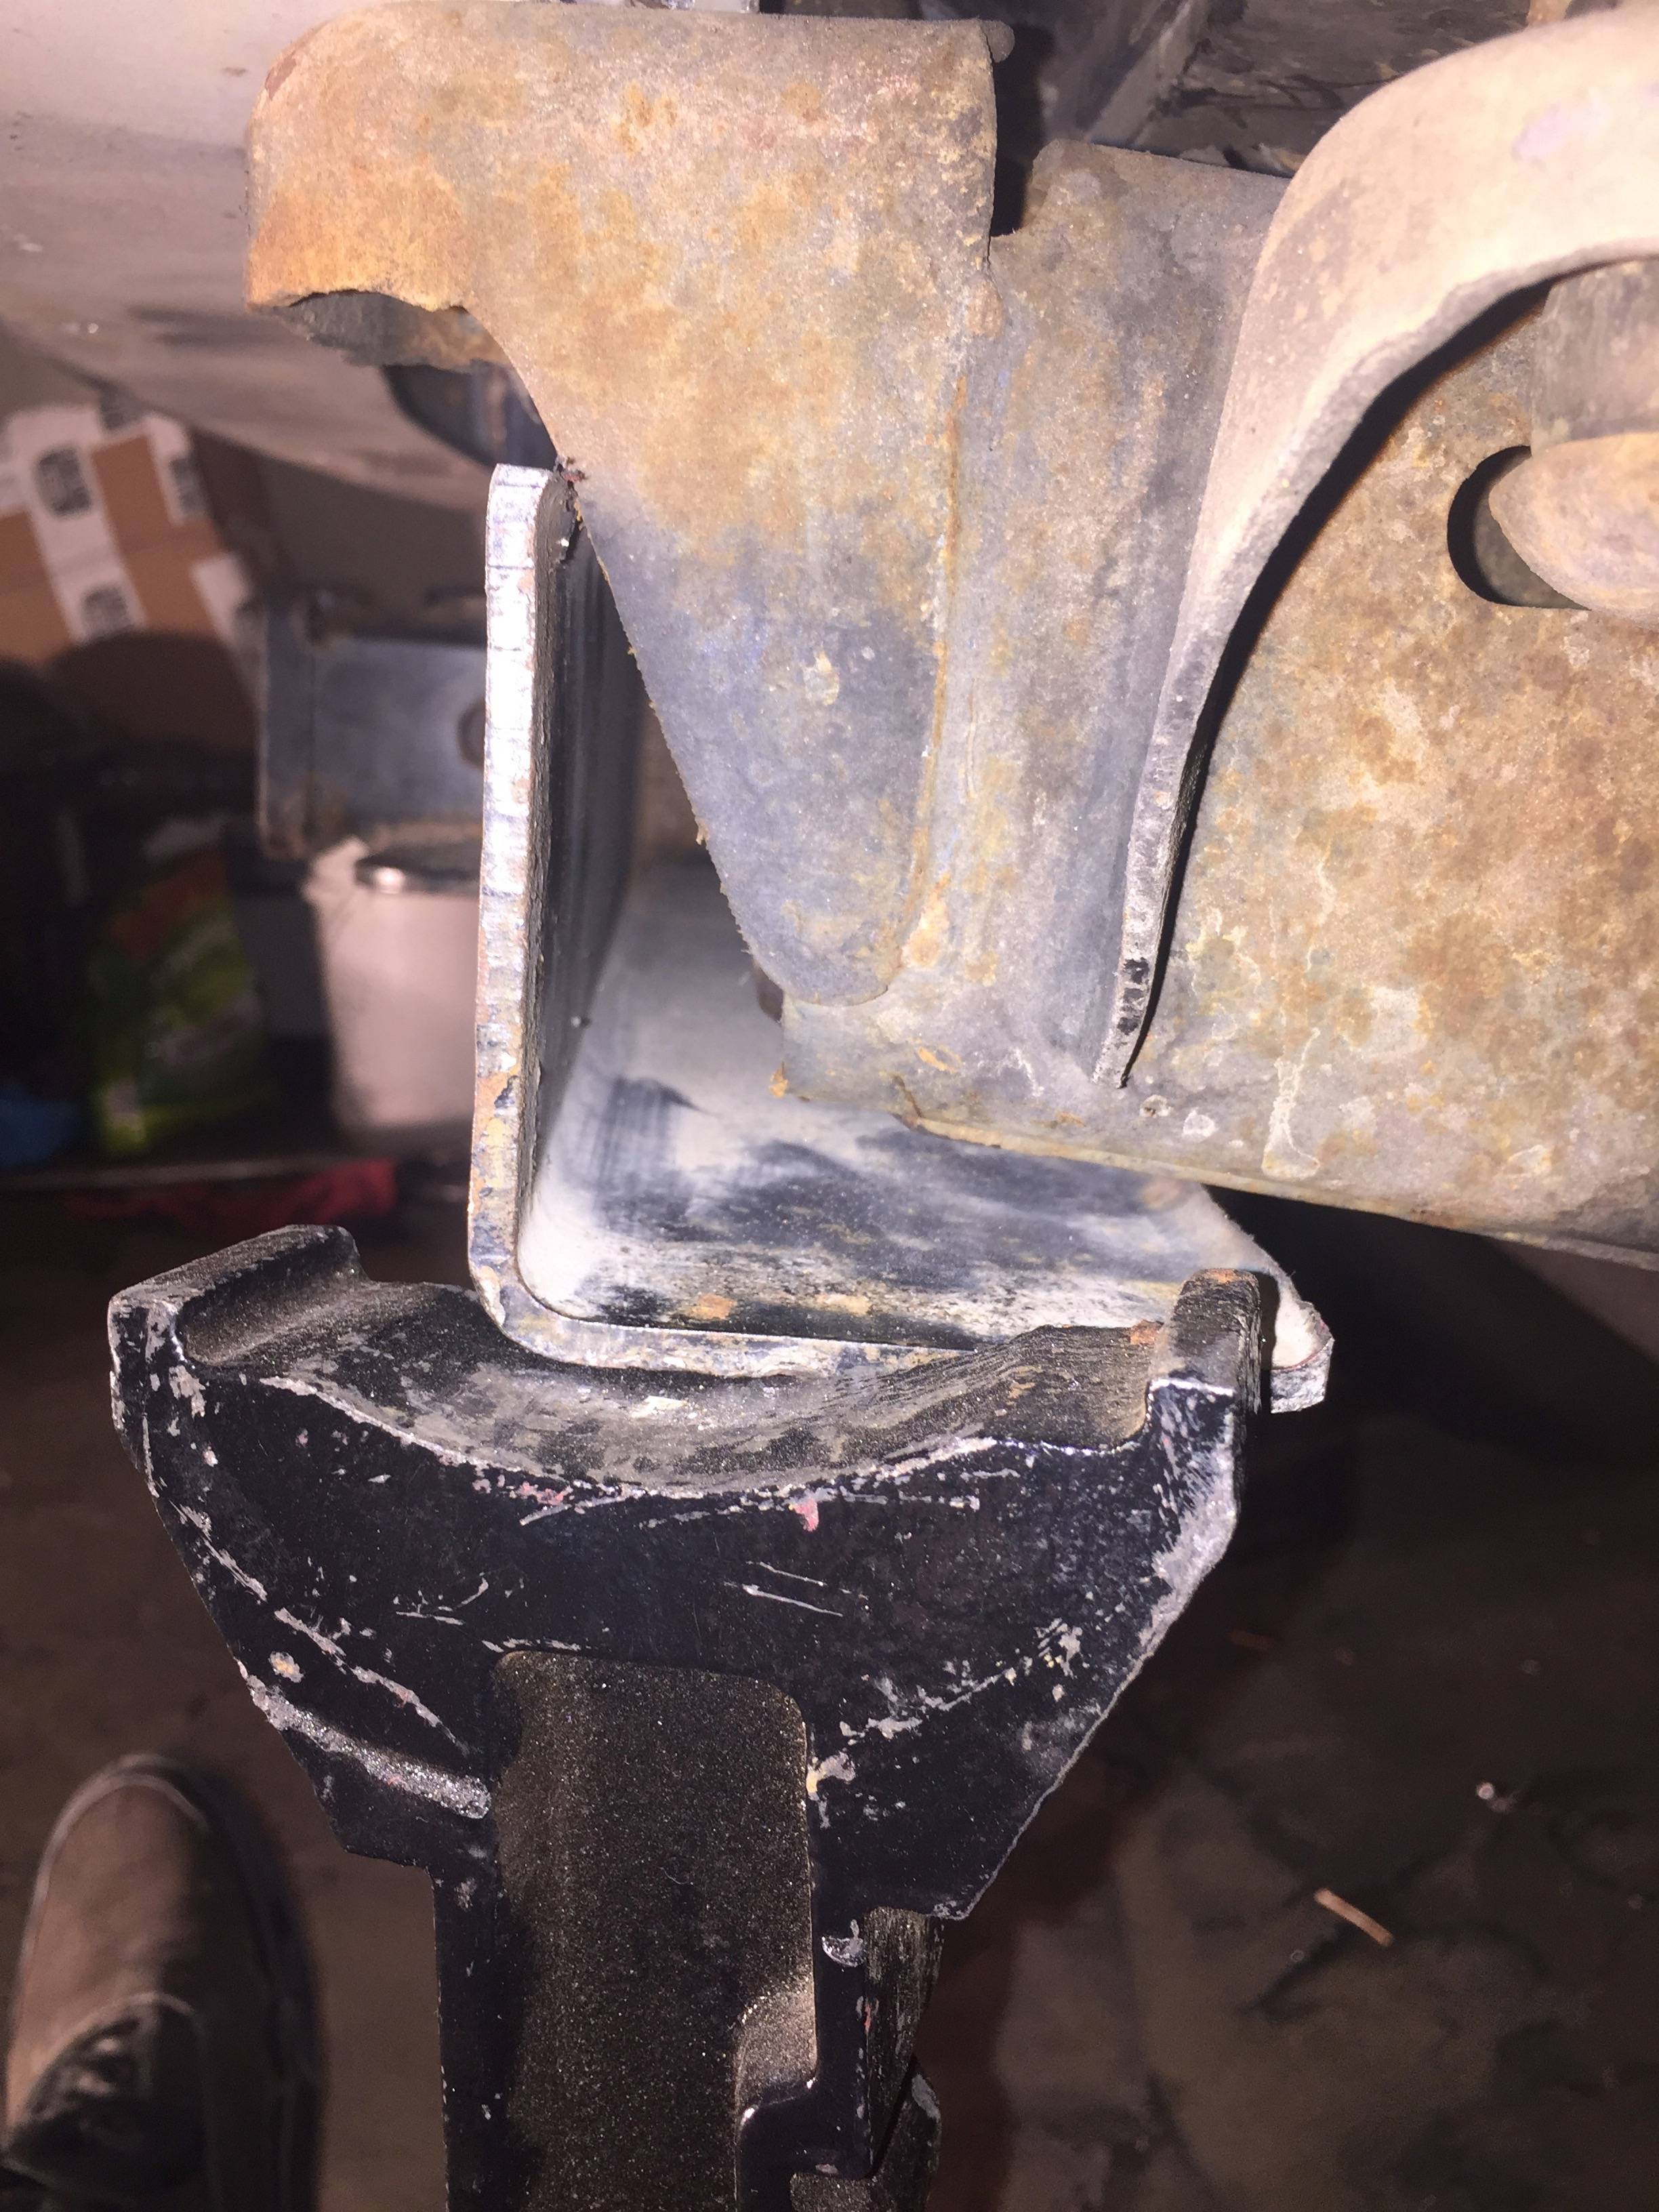
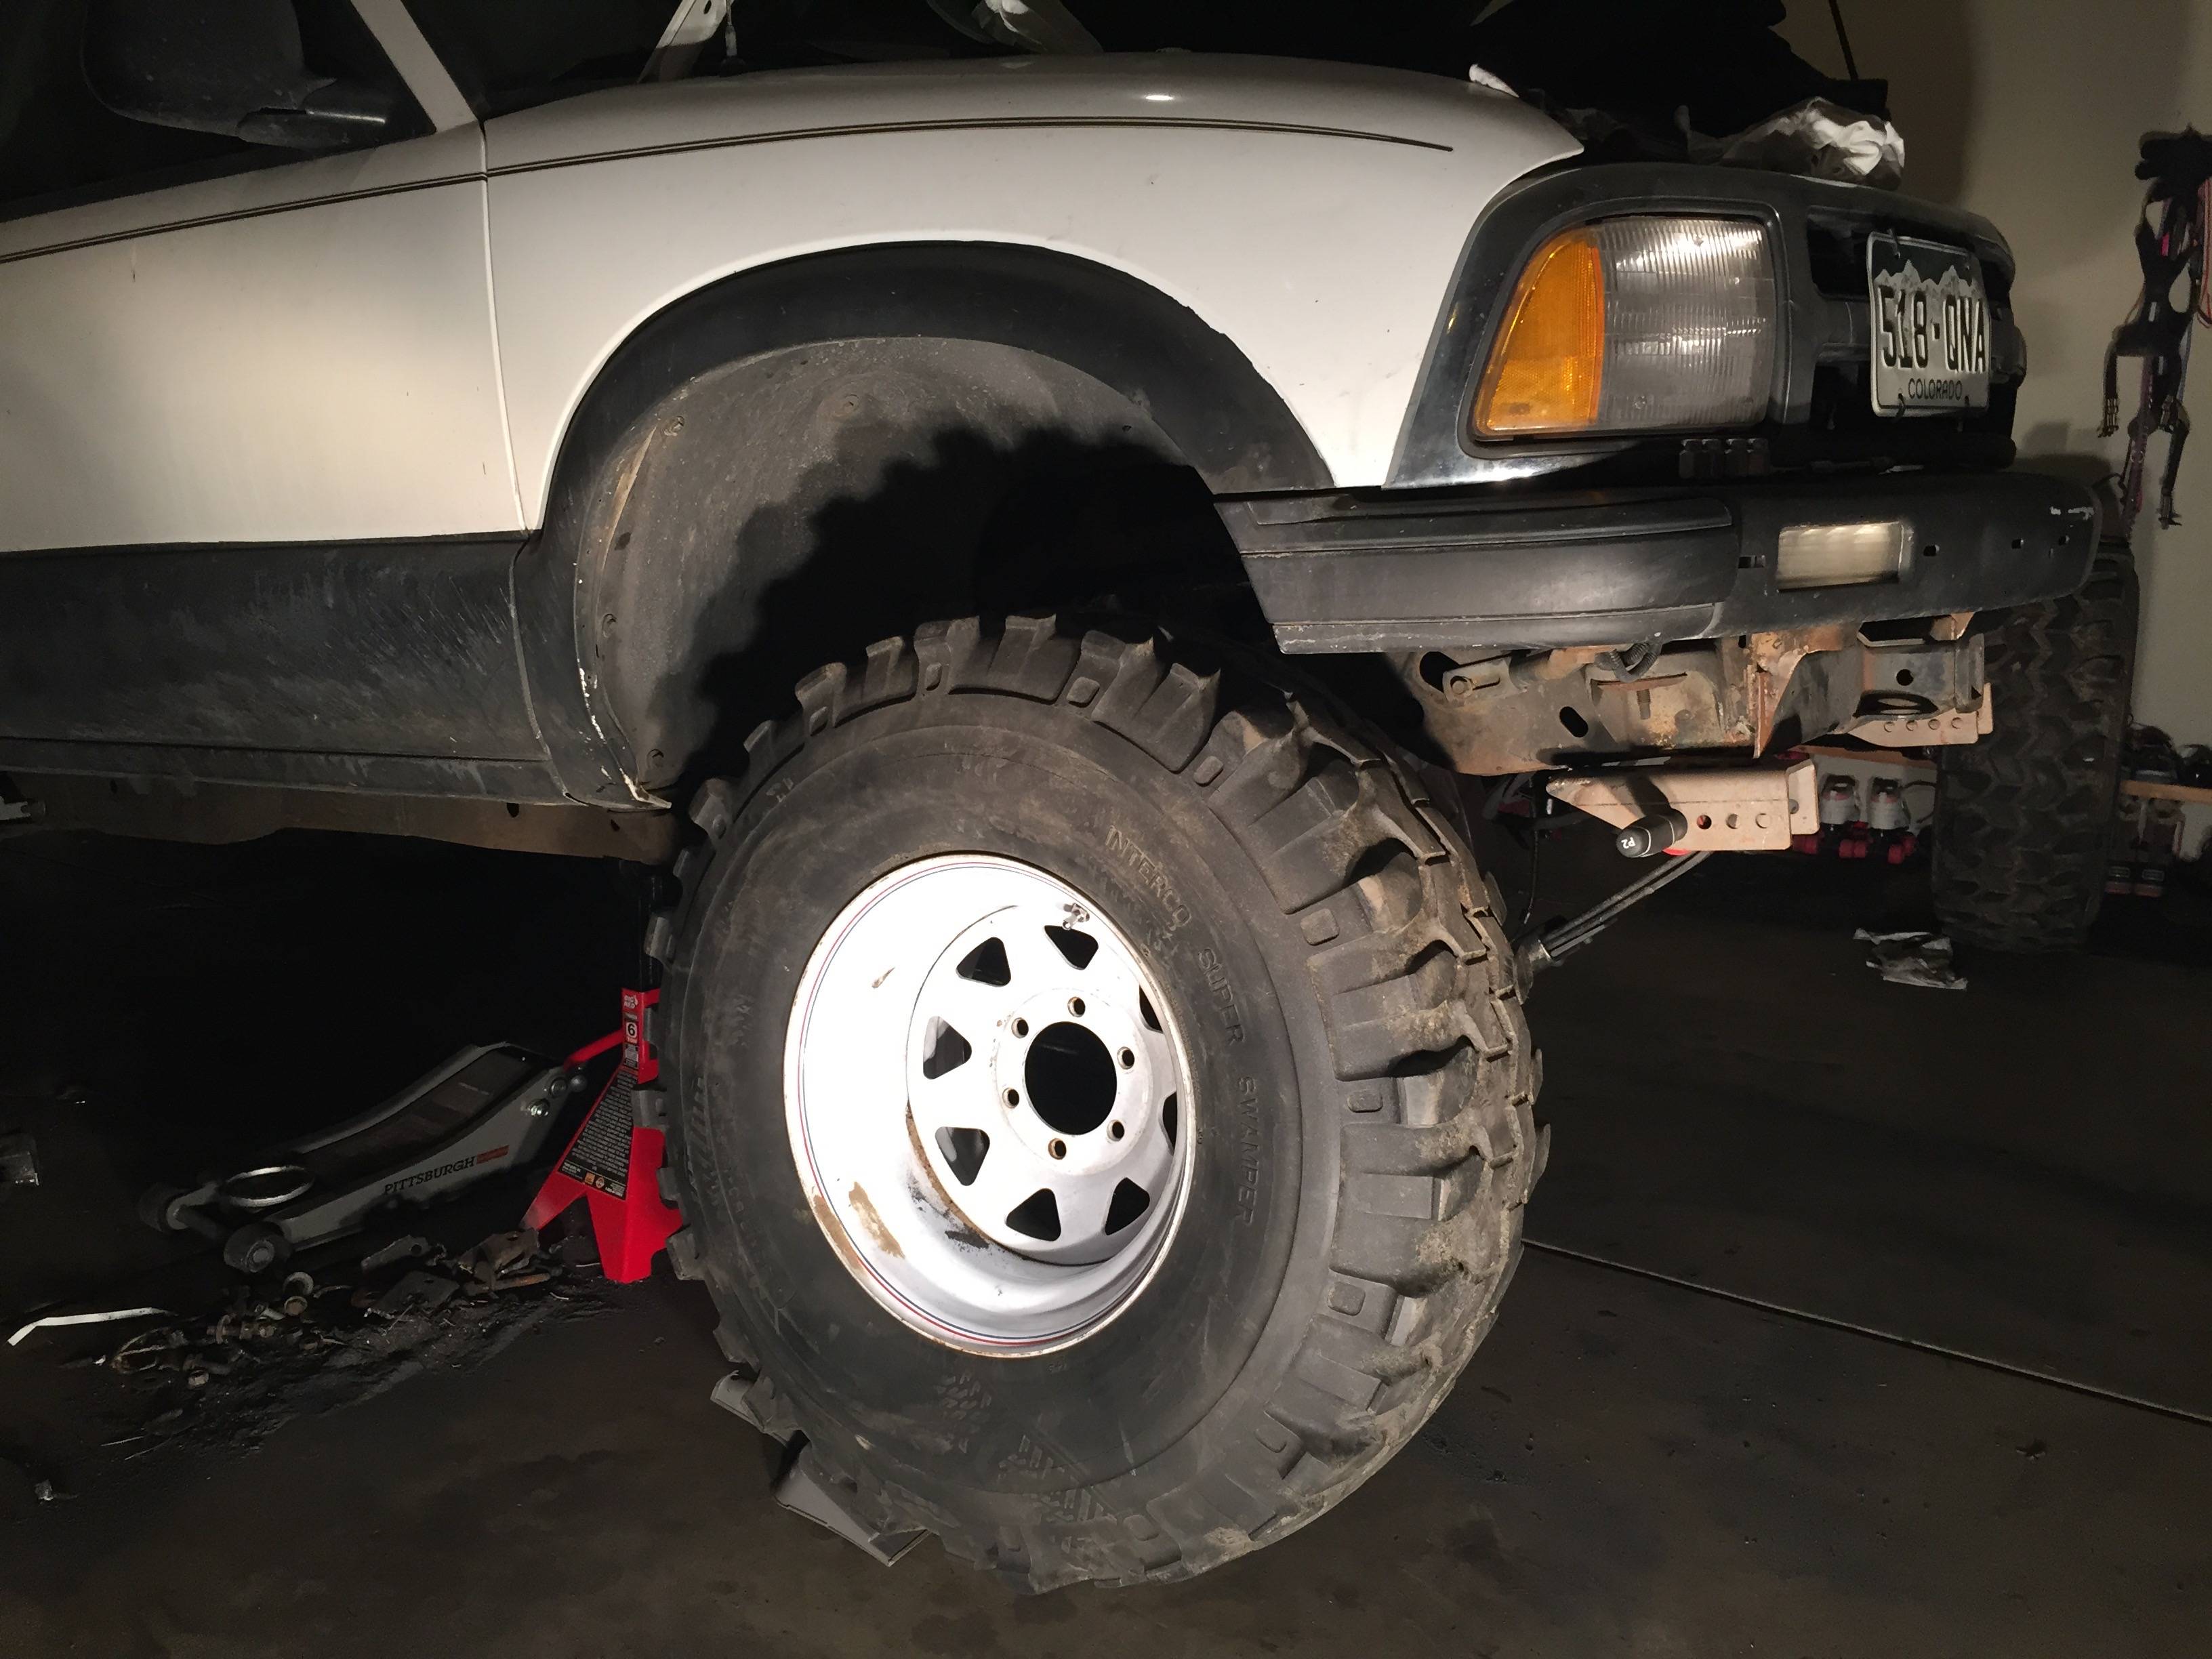
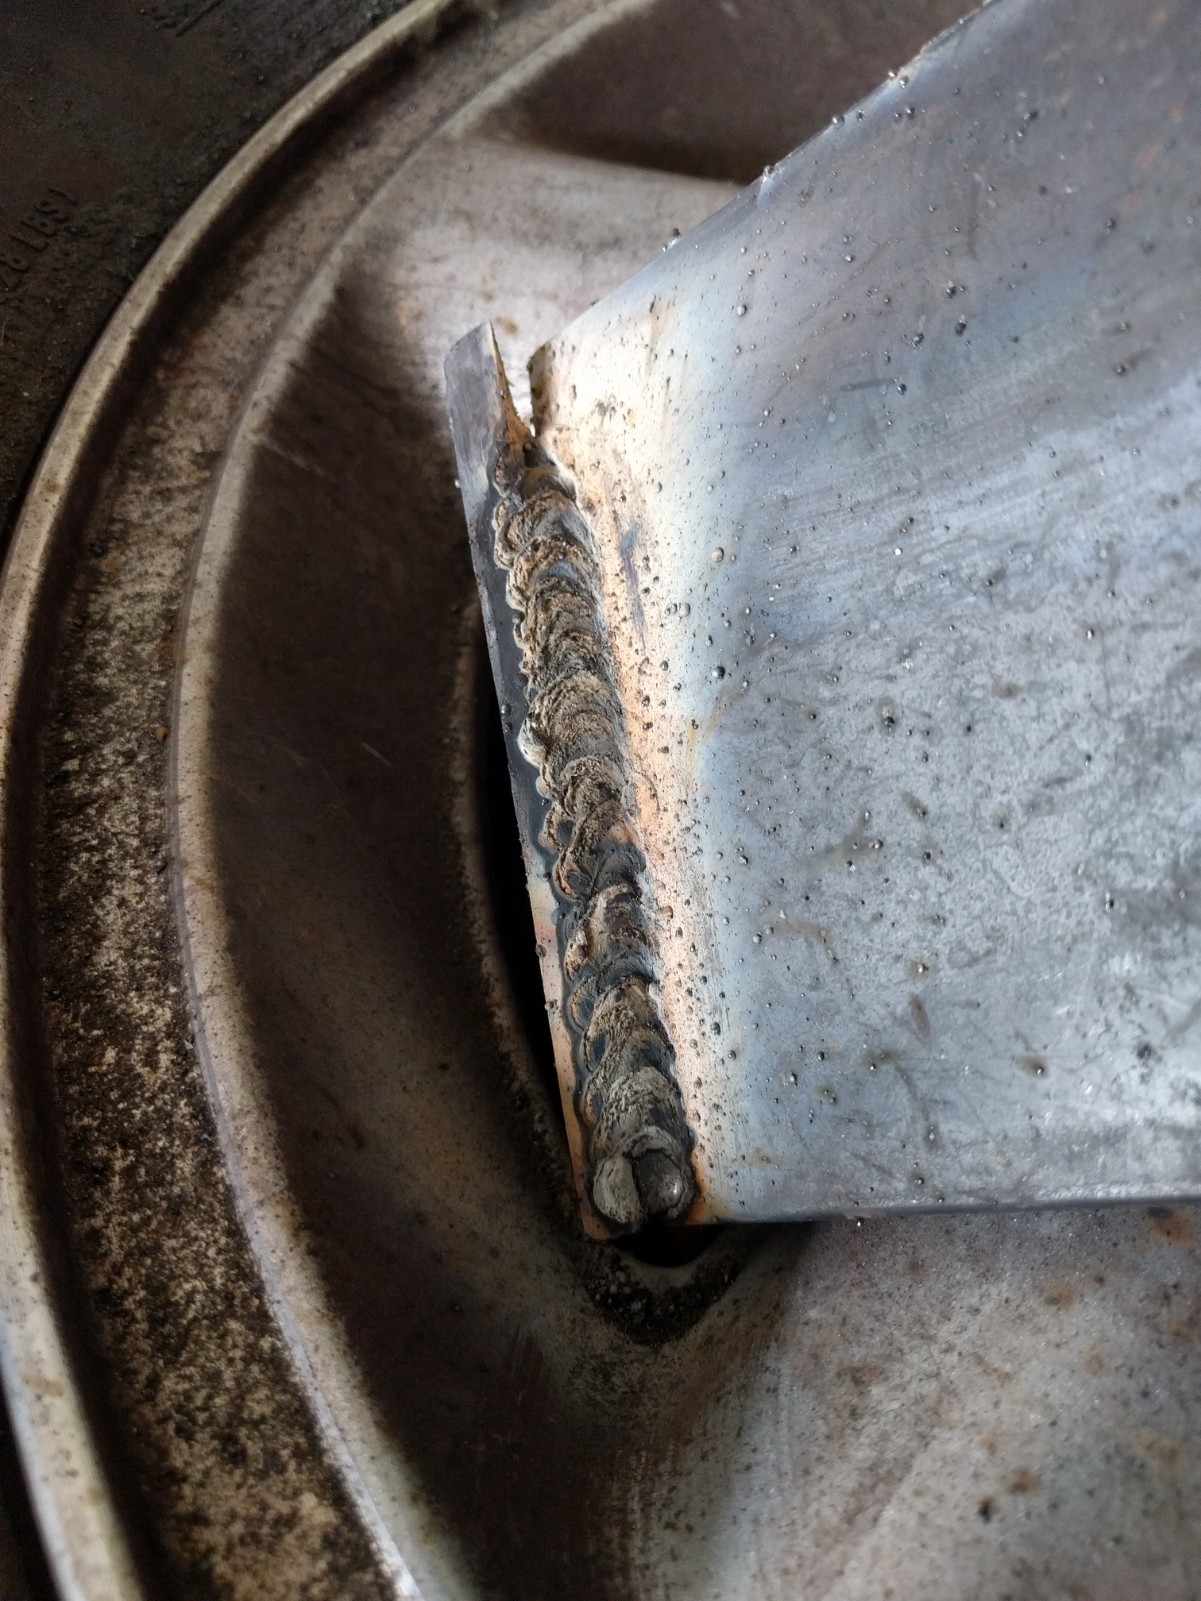
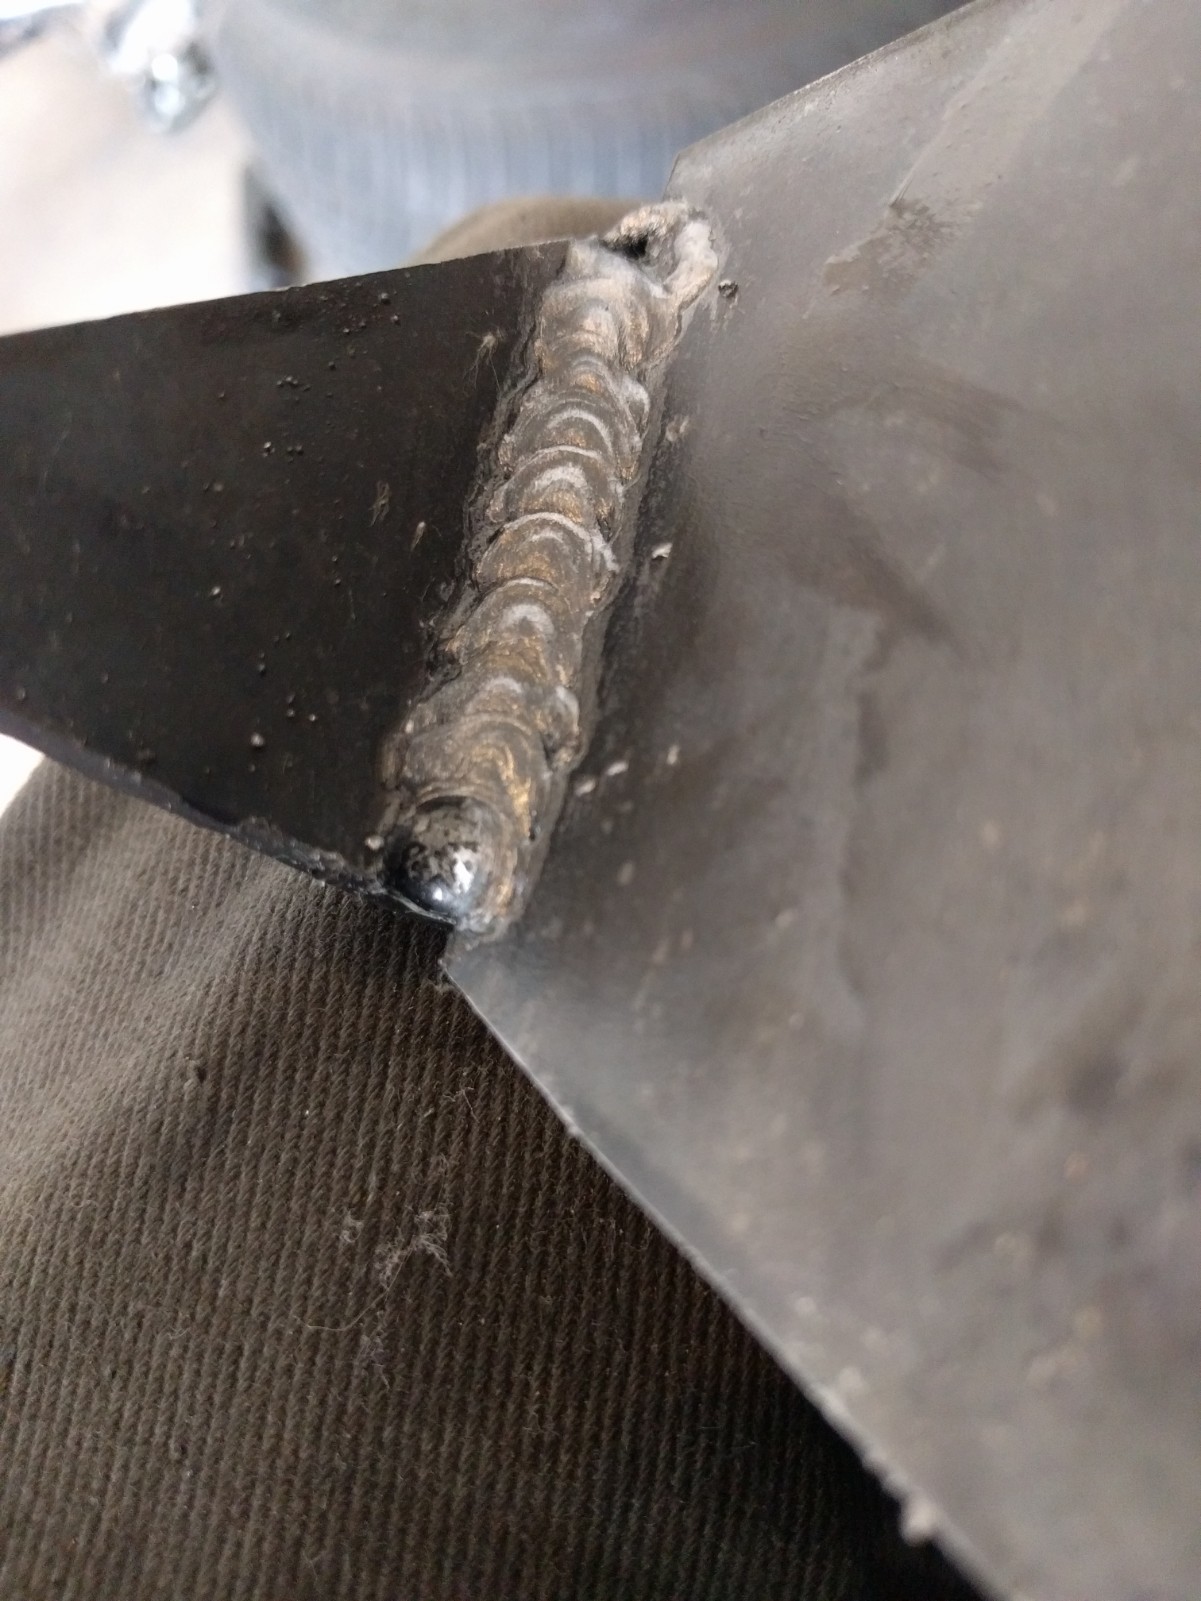
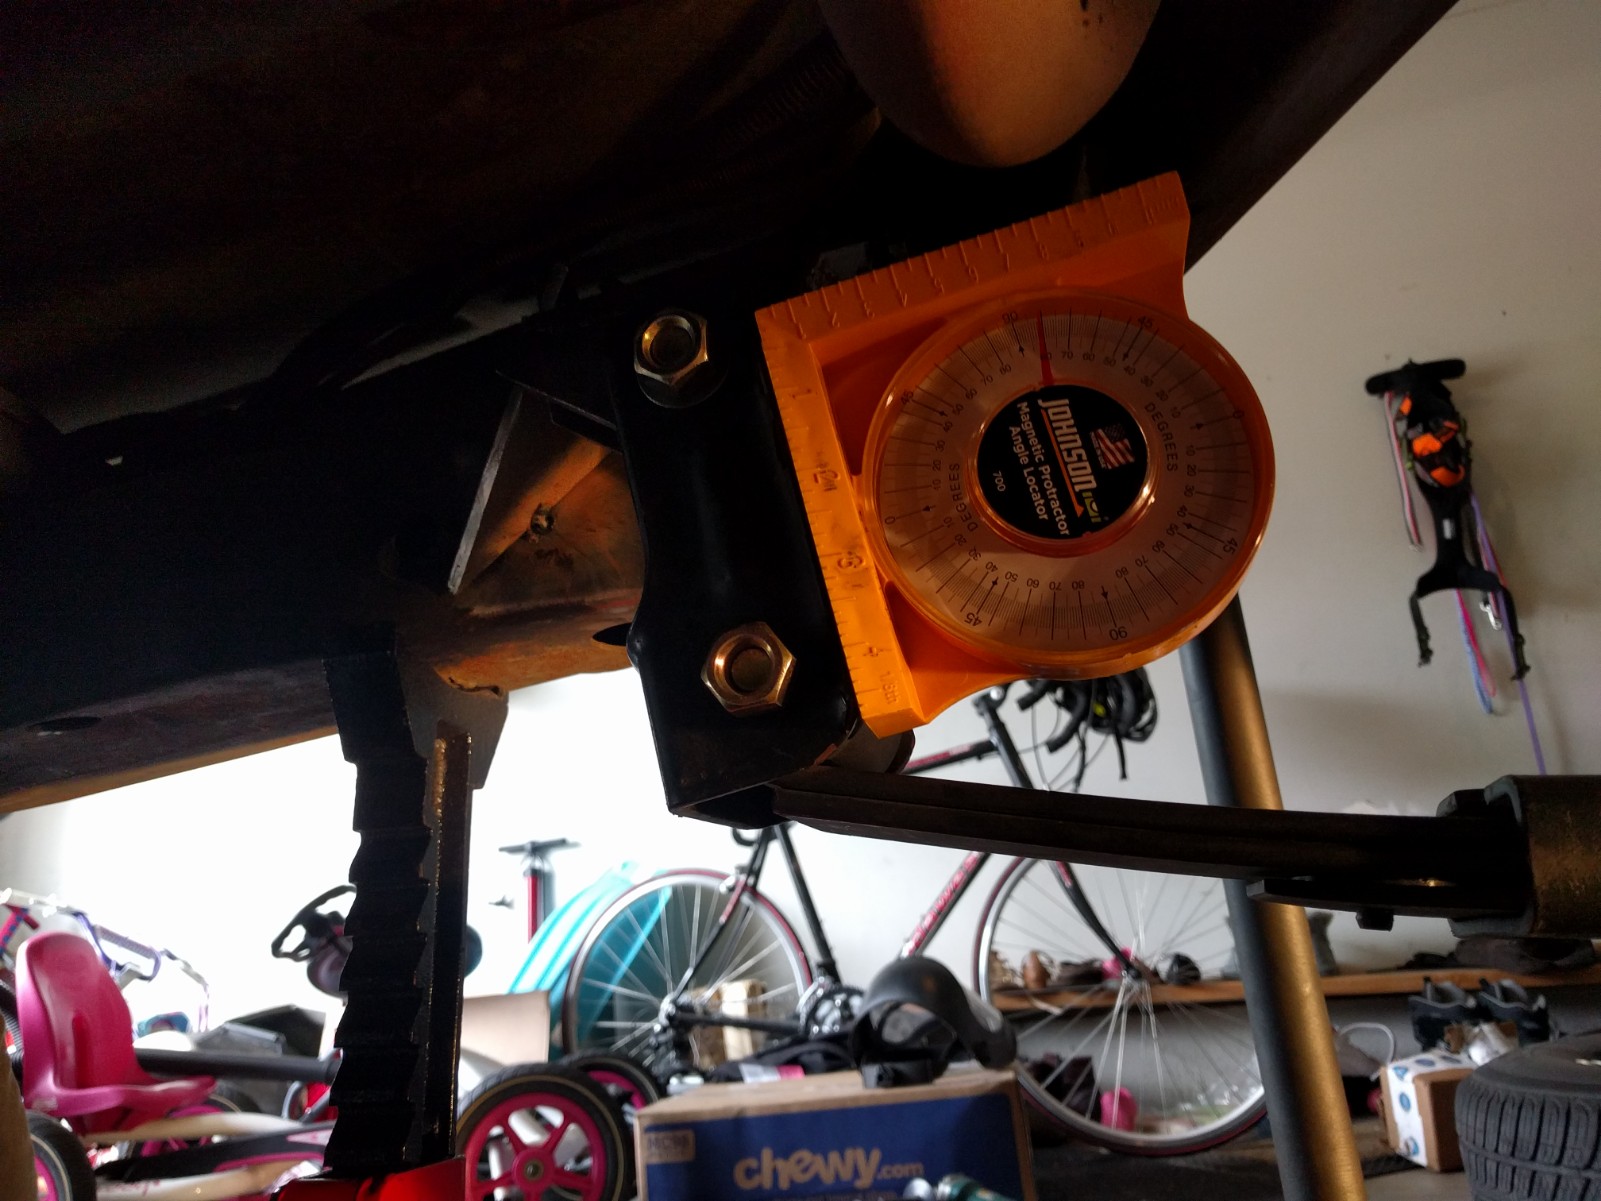
started on my front shackle hangers, here's my crappy booger welds. I did 2 or 3 passes on some parts. I mounted them inboard right where the frame curves in/up.
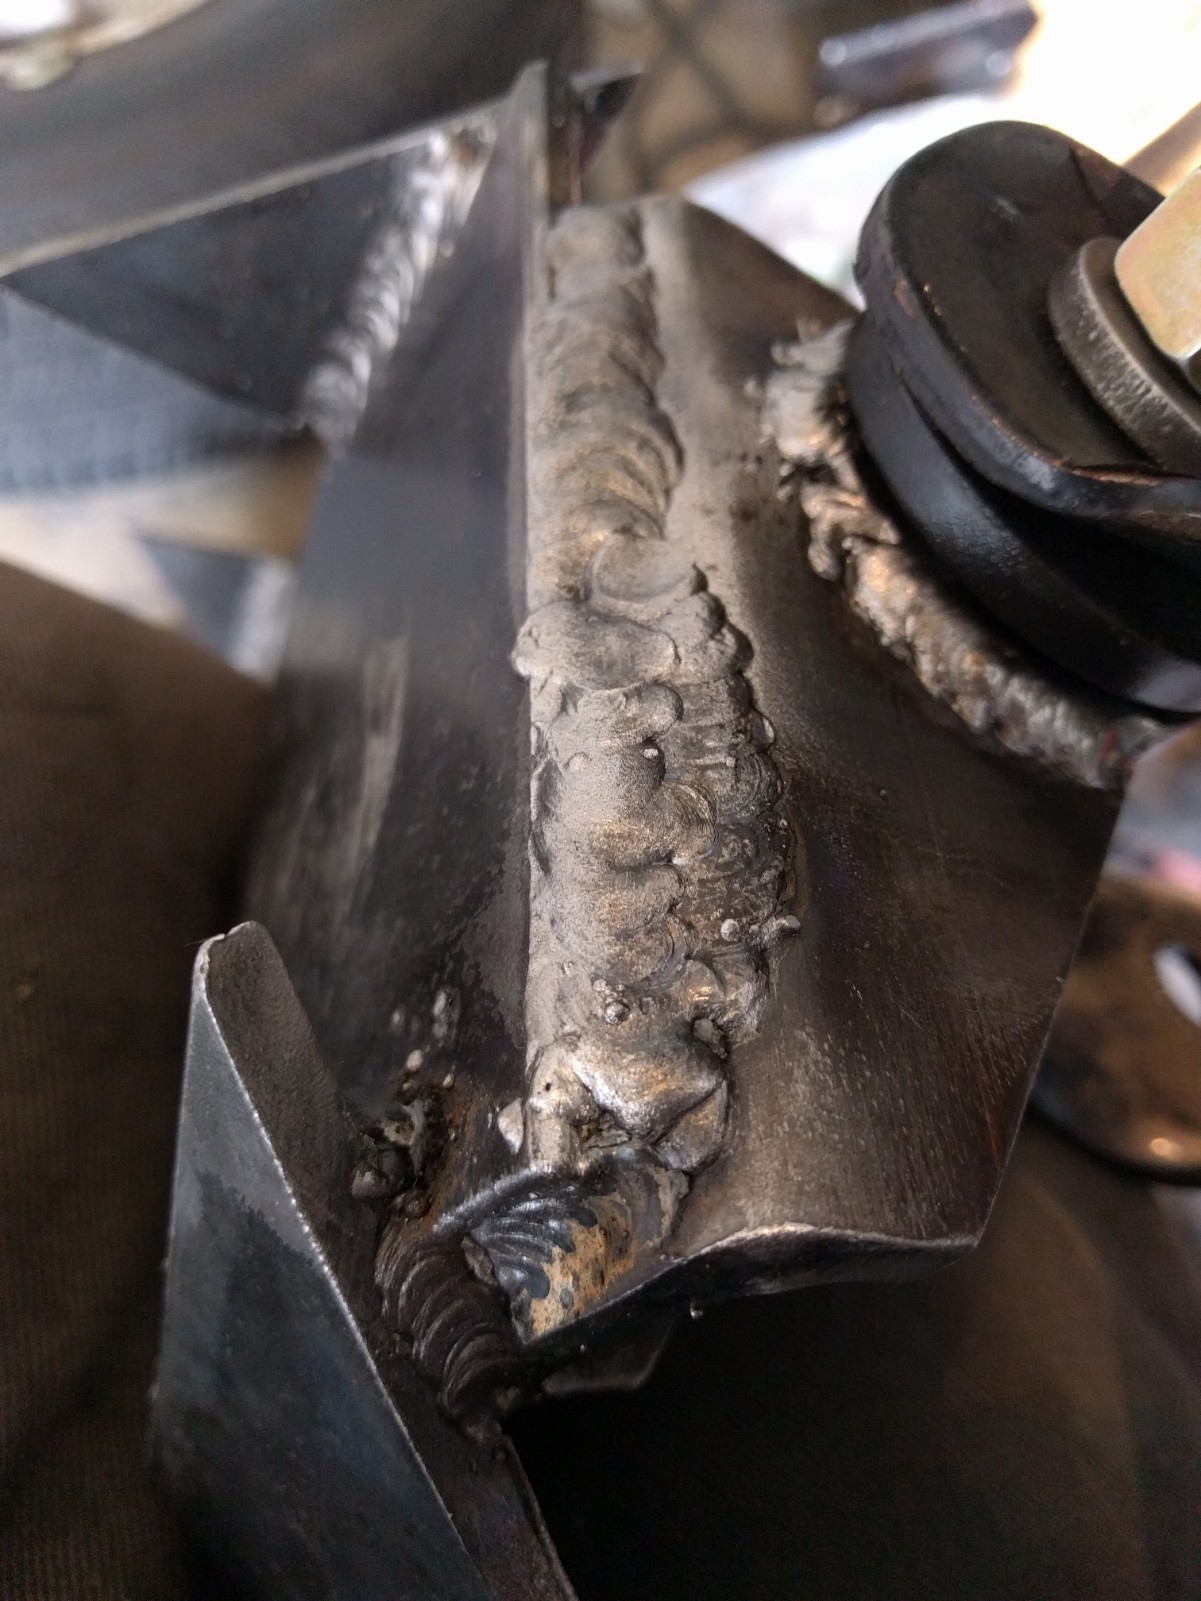
set the shackle angle 7 degrees forward
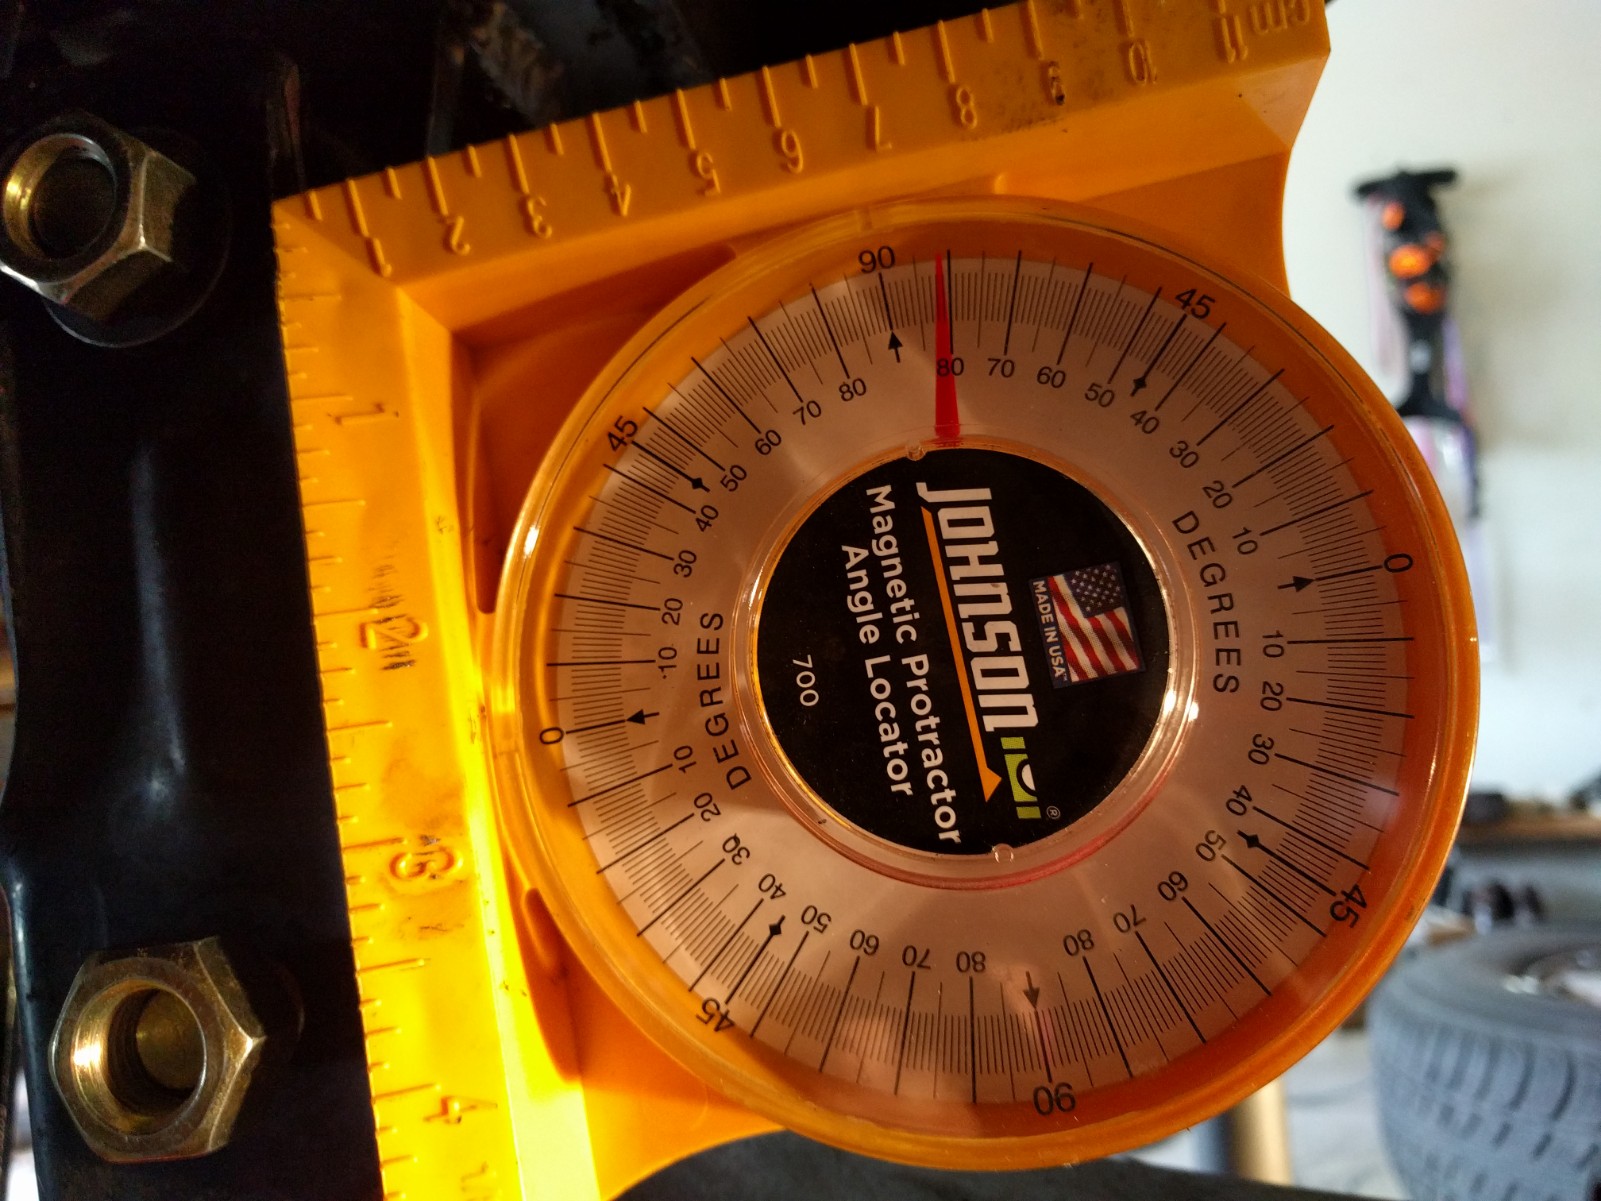
mistakes were made, I'll have to sawzall that bolt off
springs are nice and level across though

set the shackle angle 7 degrees forward
mistakes were made, I'll have to sawzall that bolt off
springs are nice and level across though