
Mike's Green Bean

Junior Member
Joined: Nov 2005
Posts: 274
From: Saginaw, MI

Well today i fixed my parking brake (wouldn't stay depressed) I used a bunch of WD-40 and jammed a long screwdriver in there to free up the pawl or whatever locks it in place. After a bit of work it started working again.
Also replaced my hood release cable, and handle.
And my headlights are driving me nuts, they dont sit quite right and they move around a bit, I think it's the mounts behind the lights themselves aren't made quite right (that's what i get for buying cheap stuff) so I may take the mounts off the factory lights and install them on the aftermarkets. We'll see if/when i have time and i'll post up pics if anyone is interested.
My passenger headlight doesnt sit as straight as the drivers side...I believe KiwiBlazer is his name on here he has the same headlights I do and ran into the same issue..He used a D-seal and mounted it on the underside of his hood and it holds the light straighter and helps compensate the gap also between the hood and top of headlights I also have...If changing out the back mounts from the factory headlights works for you ..I would be interested to do that with mine..Sadly though my passenger headlight was destroyed and tossed out by the dealership when they installed all my new stuff...But Im sure I can get one cheap if it works out..Keep posting on this please...
Thread Starter
|
Senior Member
Joined: Jul 2011
Posts: 658
From: Reading, PA
Well I did do it on the passenger side, and it worked wonderously. I didn't take pics (nobody posted up) but basically all you do is reuse all the adjusters that came on the aftermarket lights and use the mounting screws from the aftermarket lights. The only factory adjuster you need is the vertical one that (top of the headlight) you use the part that attatches TO the mount, but use the adjustment screw and headlight side mount that came with the aftermarket one.
One of the problems with the aftermarket lights is with the projectors the bulb sticks out the back too far. I've had to cut the radiator support for the wires to stick through so that the P/S sits right, I'm thinking i'm going to do the same (and swap the mount) on the driver side my next day off work.
One of the problems with the aftermarket lights is with the projectors the bulb sticks out the back too far. I've had to cut the radiator support for the wires to stick through so that the P/S sits right, I'm thinking i'm going to do the same (and swap the mount) on the driver side my next day off work.
Junior Member
Joined: Nov 2005
Posts: 274
From: Saginaw, MI
Well I did do it on the passenger side, and it worked wonderously. I didn't take pics (nobody posted up) but basically all you do is reuse all the adjusters that came on the aftermarket lights and use the mounting screws from the aftermarket lights. The only factory adjuster you need is the vertical one that (top of the headlight) you use the part that attatches TO the mount, but use the adjustment screw and headlight side mount that came with the aftermarket one.
One of the problems with the aftermarket lights is with the projectors the bulb sticks out the back too far. I've had to cut the radiator support for the wires to stick through so that the P/S sits right, I'm thinking i'm going to do the same (and swap the mount) on the driver side my next day off work.
One of the problems with the aftermarket lights is with the projectors the bulb sticks out the back too far. I've had to cut the radiator support for the wires to stick through so that the P/S sits right, I'm thinking i'm going to do the same (and swap the mount) on the driver side my next day off work.
Thread Starter
|
Senior Member
Joined: Jul 2011
Posts: 658
From: Reading, PA
Sure thing, no promises on when I'll get to it. It's really not hard to do, no fabrication needed, just a little ingenuity.
I'll try to get to it tomorrow cause when i put in the hood latch cable i screwed up and wound up threading it between the mount and the headlight Do'h.
I'll try to get to it tomorrow cause when i put in the hood latch cable i screwed up and wound up threading it between the mount and the headlight Do'h.
Thread Starter
|
Senior Member
Joined: Jul 2011
Posts: 658
From: Reading, PA
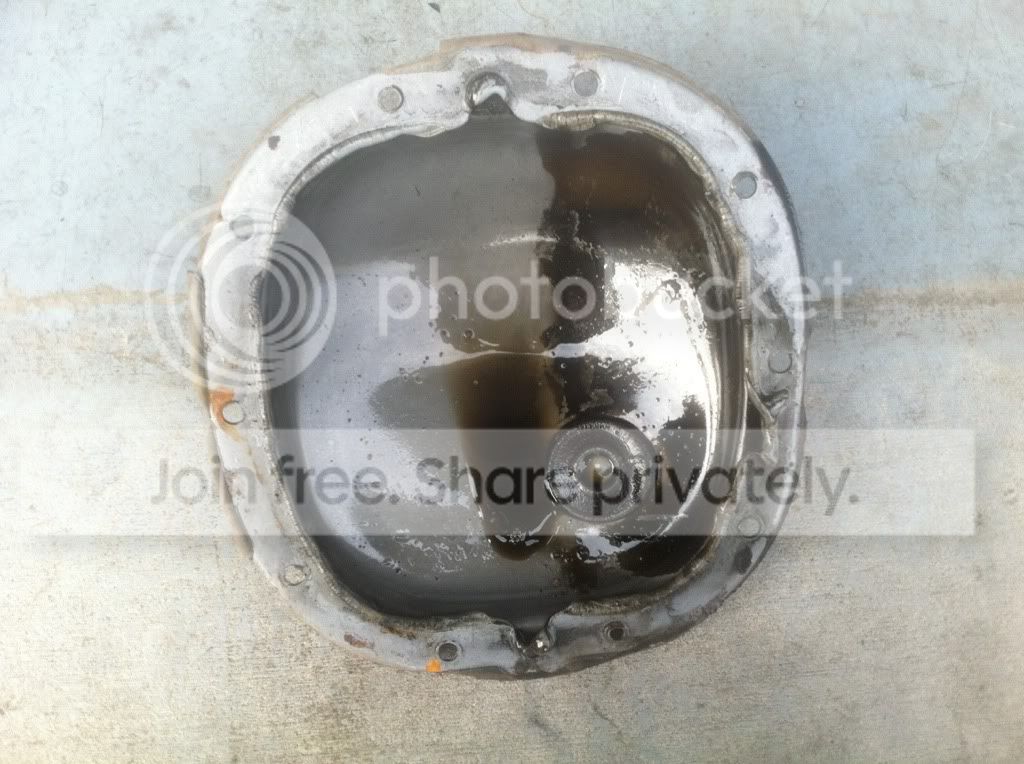
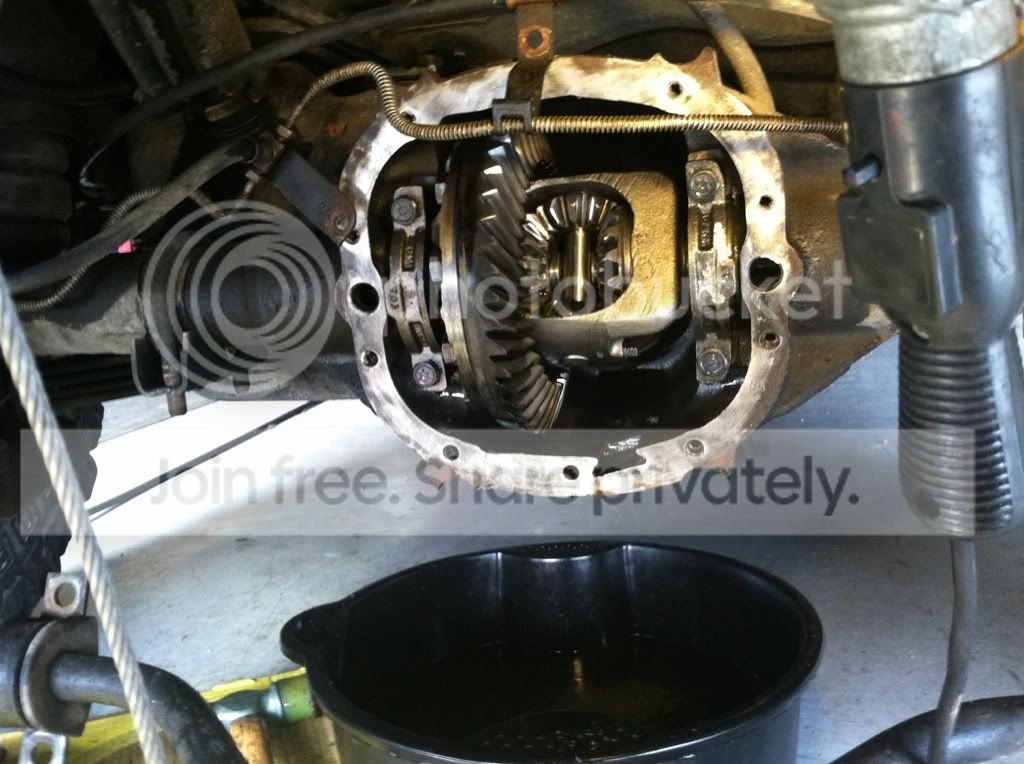
Well it's been a little bit, Haven't done the DS headlight bracket yet but I'll get around to it eventually. Did mess up my rear diff cover on the trails so I replaced that. Got my front diff full of water so I changed the fluid in there as well. Here's some pics of the Diff cover install.
Here's the metal shavings on the old cover

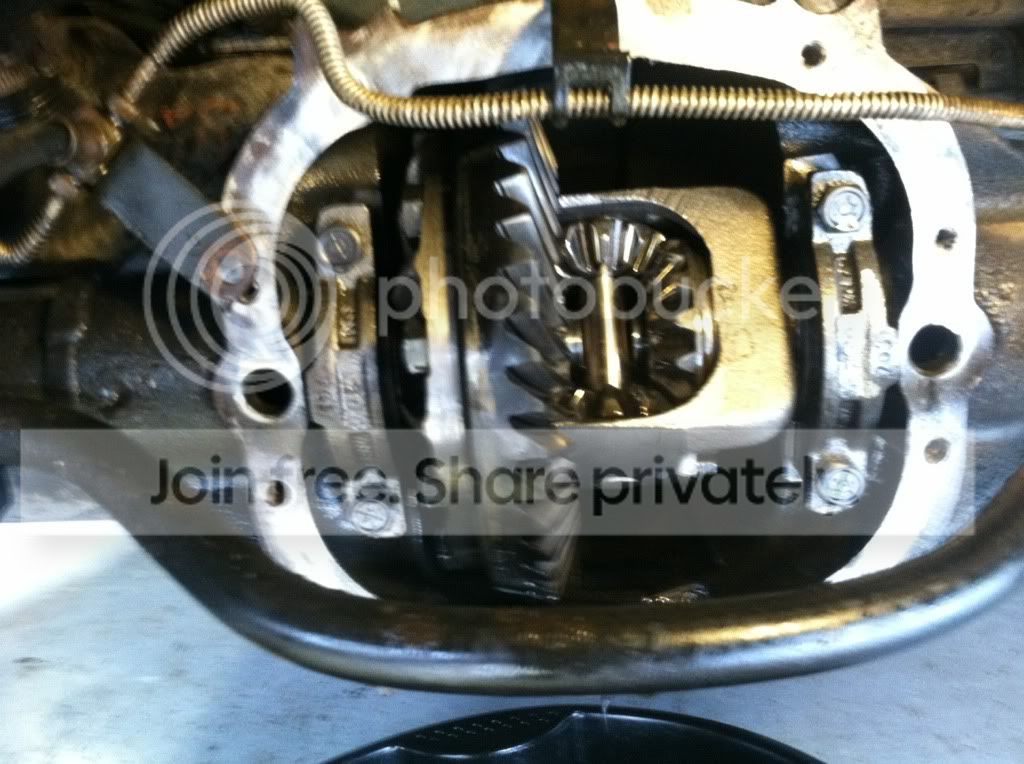
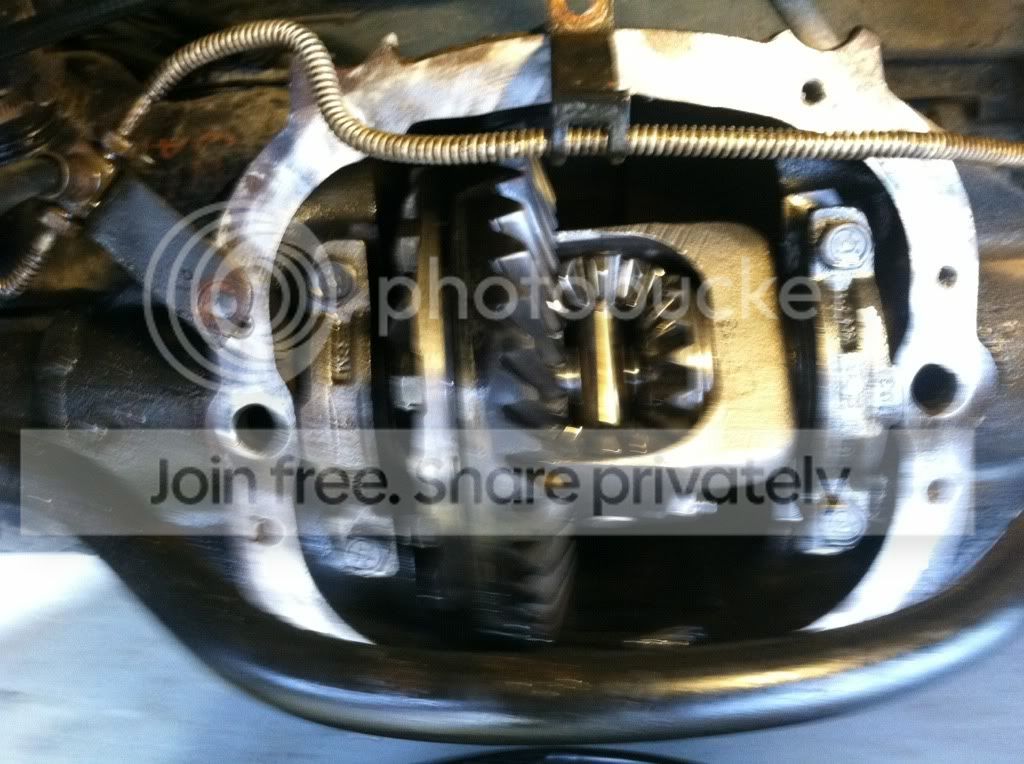
all pulled apart
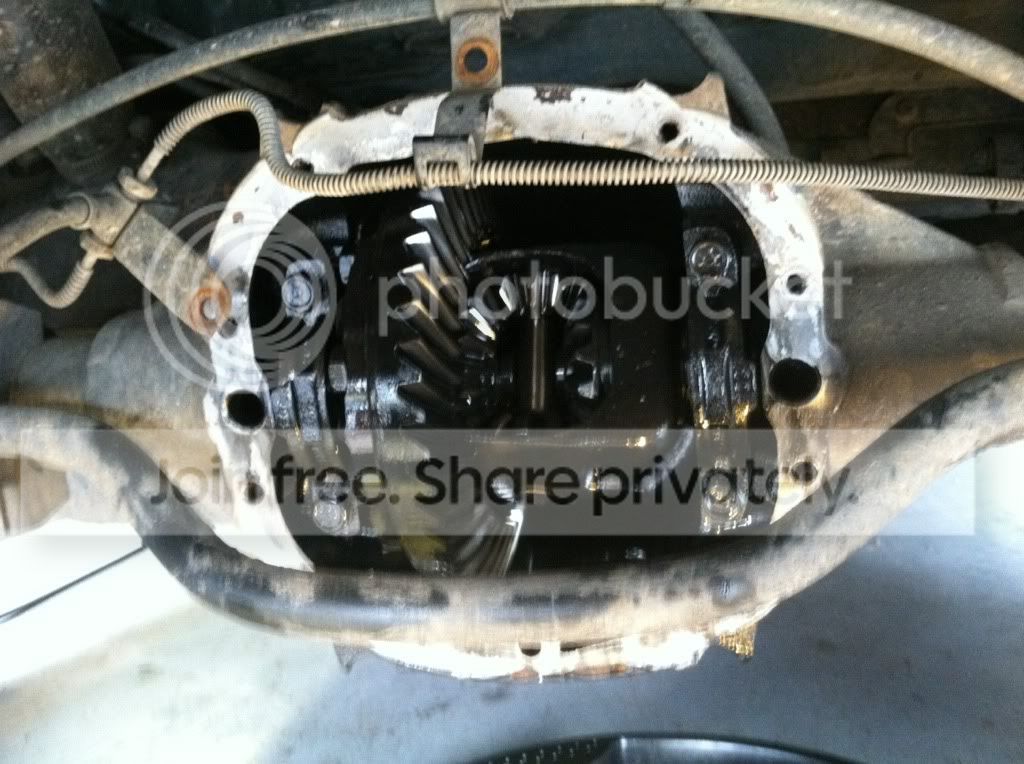
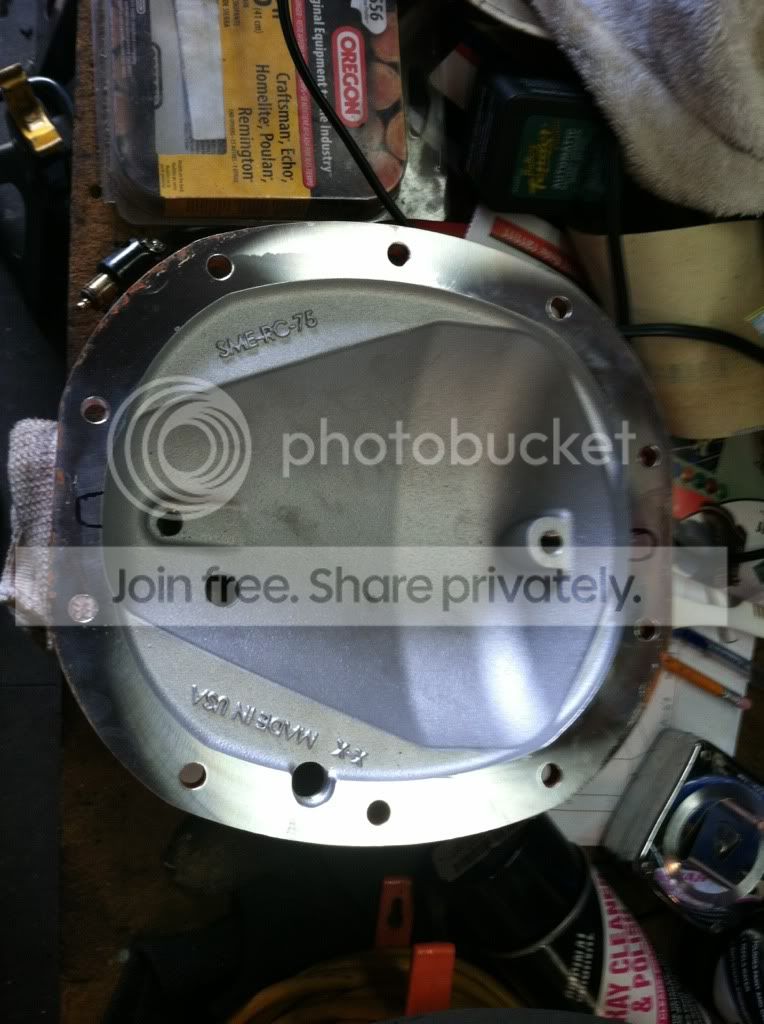
Cleaned up and ready
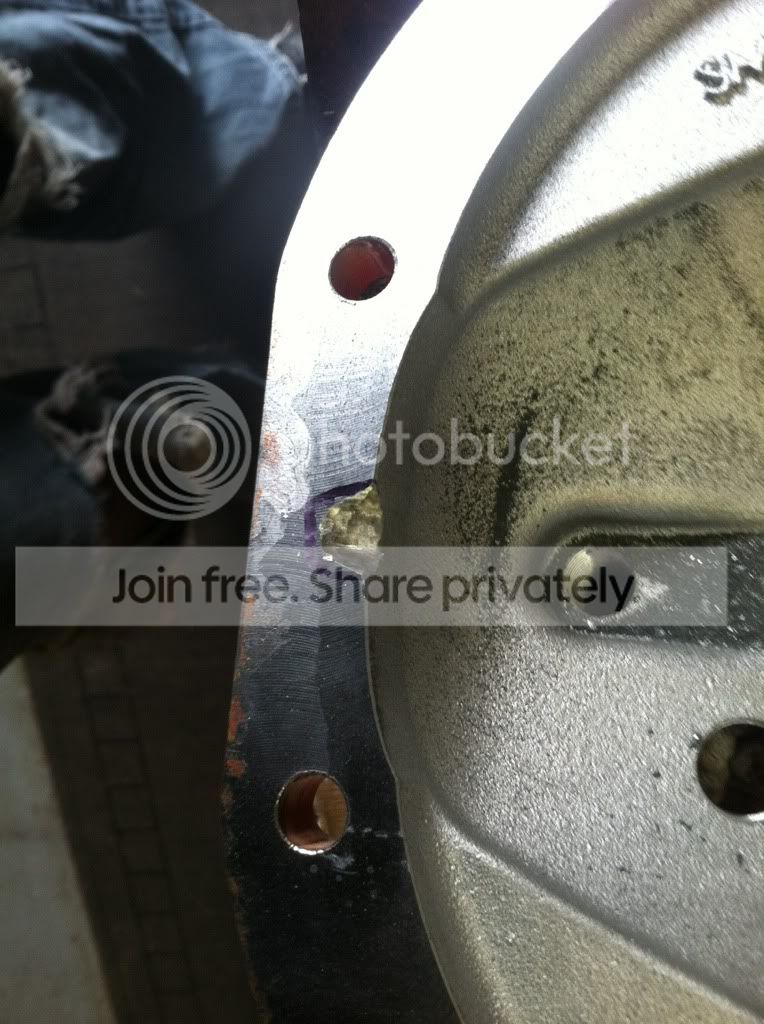
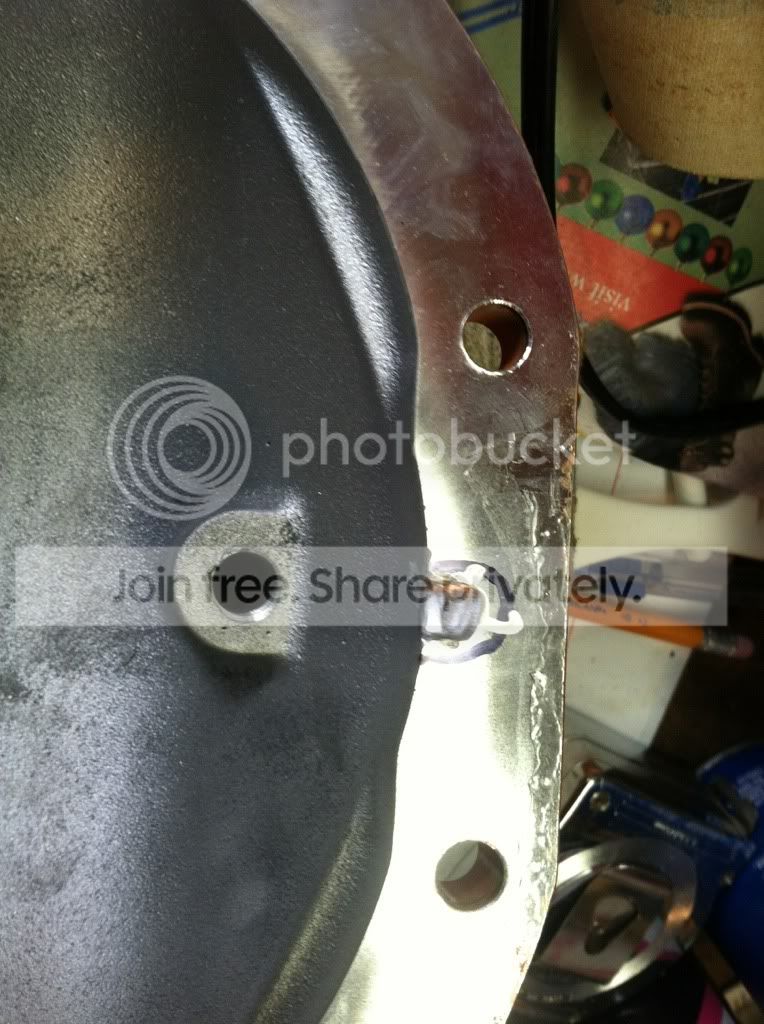
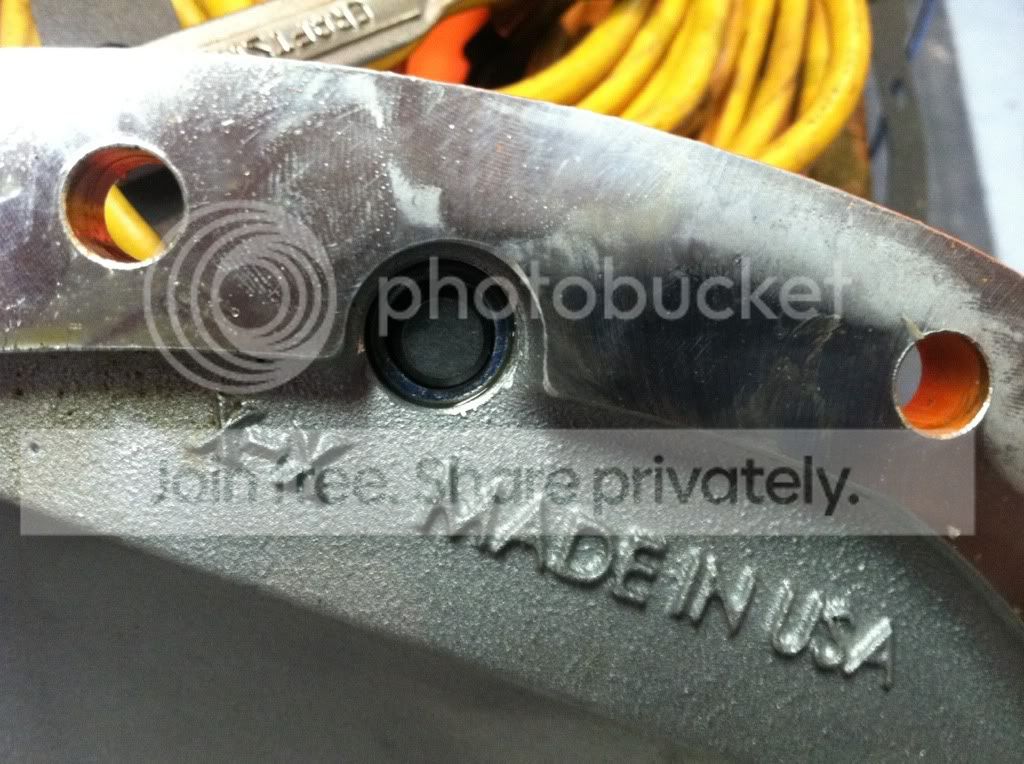
Had to modify the new cover for the bearings to get oil. So i marked the gasket

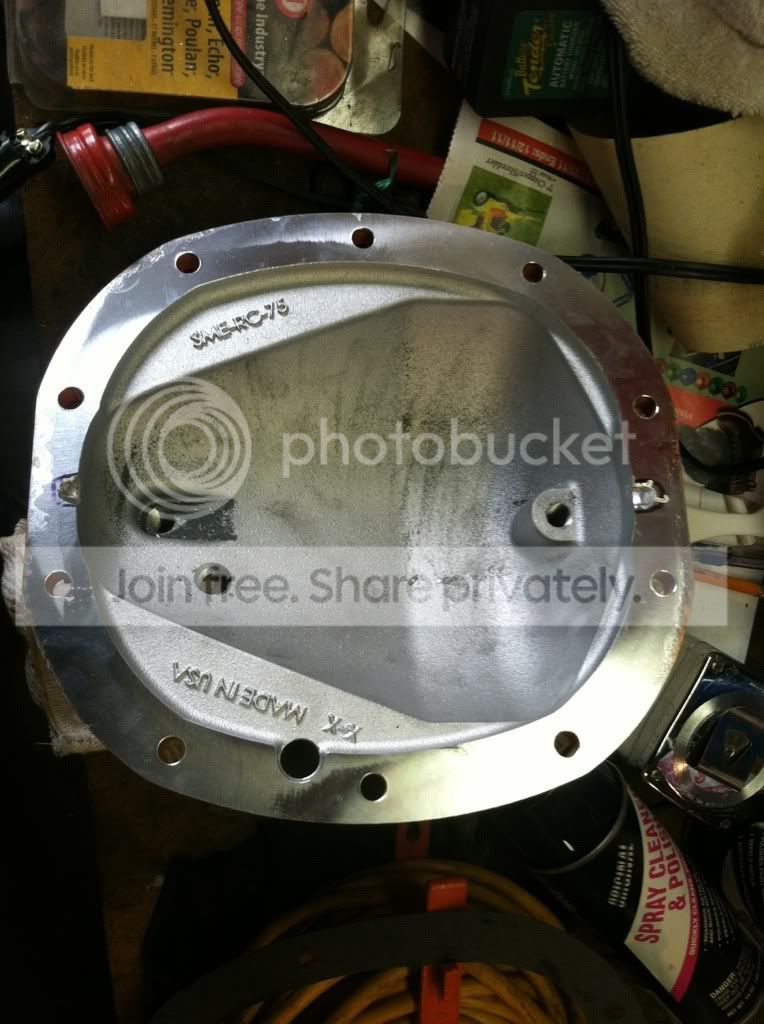
Then used a dremel tool to groove the cover so the oil can flow to the bearings.
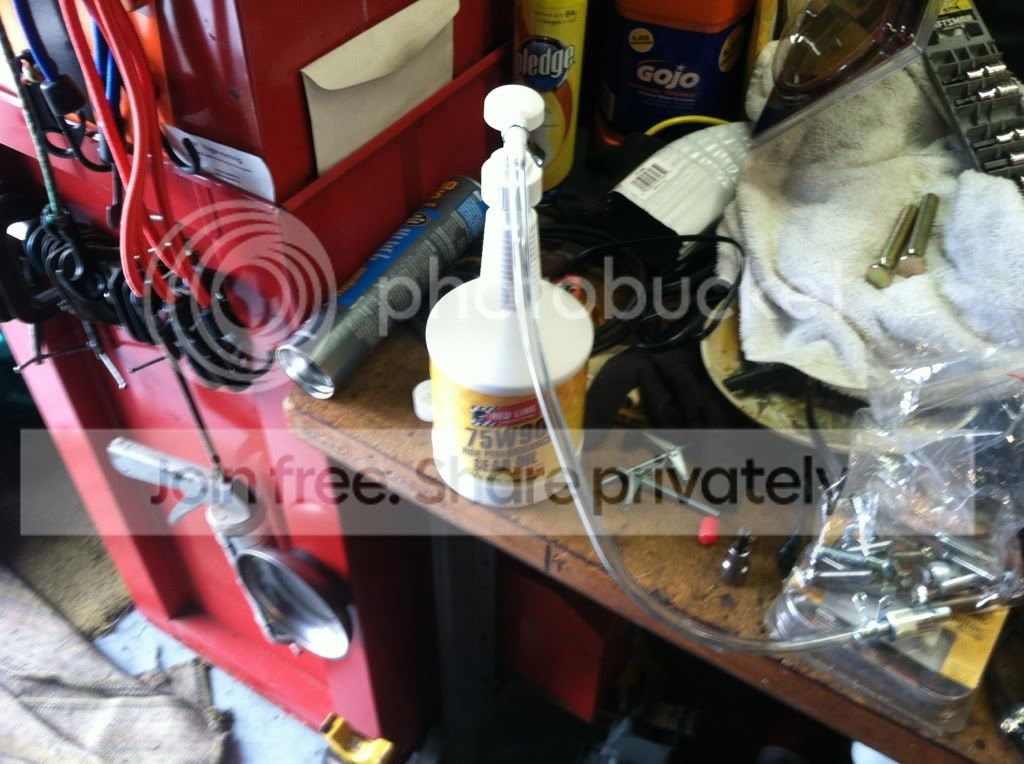
oiled the support rods and put in the fill and drain plugs
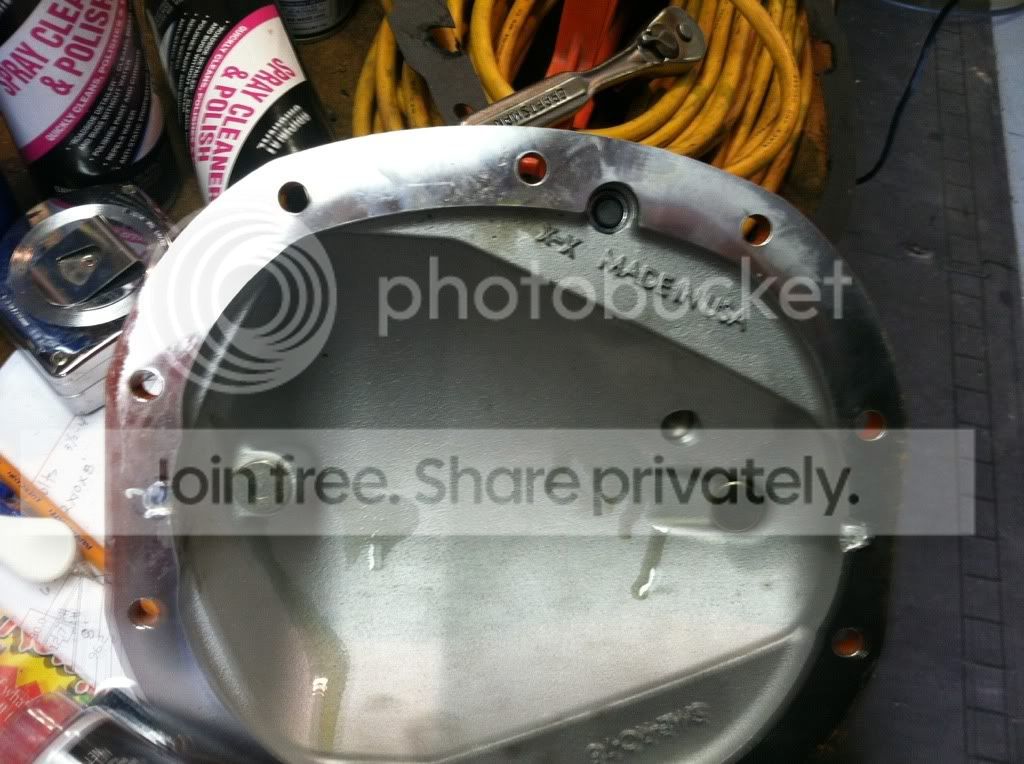
Also (did this yesterday before starting, painted the cover so it doesn't corrode.


and all put together
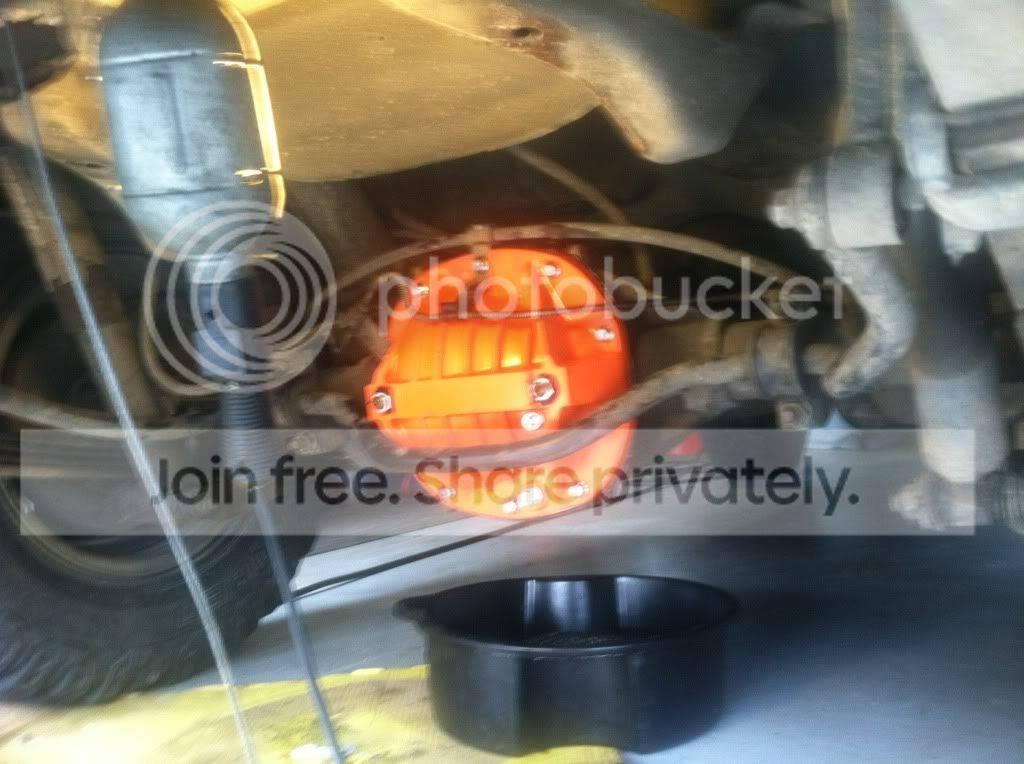
Keep in mind if you do this the new cover won't go on unless you take the rear swaybar off the axle tubes and move it out of the way.
Here's the metal shavings on the old cover
all pulled apart
Cleaned up and ready
Had to modify the new cover for the bearings to get oil. So i marked the gasket
Then used a dremel tool to groove the cover so the oil can flow to the bearings.
oiled the support rods and put in the fill and drain plugs
Also (did this yesterday before starting, painted the cover so it doesn't corrode.
and all put together
Keep in mind if you do this the new cover won't go on unless you take the rear swaybar off the axle tubes and move it out of the way.

Thread
Thread Starter
Forum
Replies
Last Post

