
My small 09 Jetta build


Thread Starter
|
Super Moderator
Joined: Sep 2011
Posts: 4,459
From: Northern VA

I've been collecting a massive pile of audio gear for a couple months now and today I finally started working on a layout for the false floor. This won't be the wood I use when I actually build it since MDF will just die but I wanted something cheap and easy to work with for the design. Here will be the general layout.

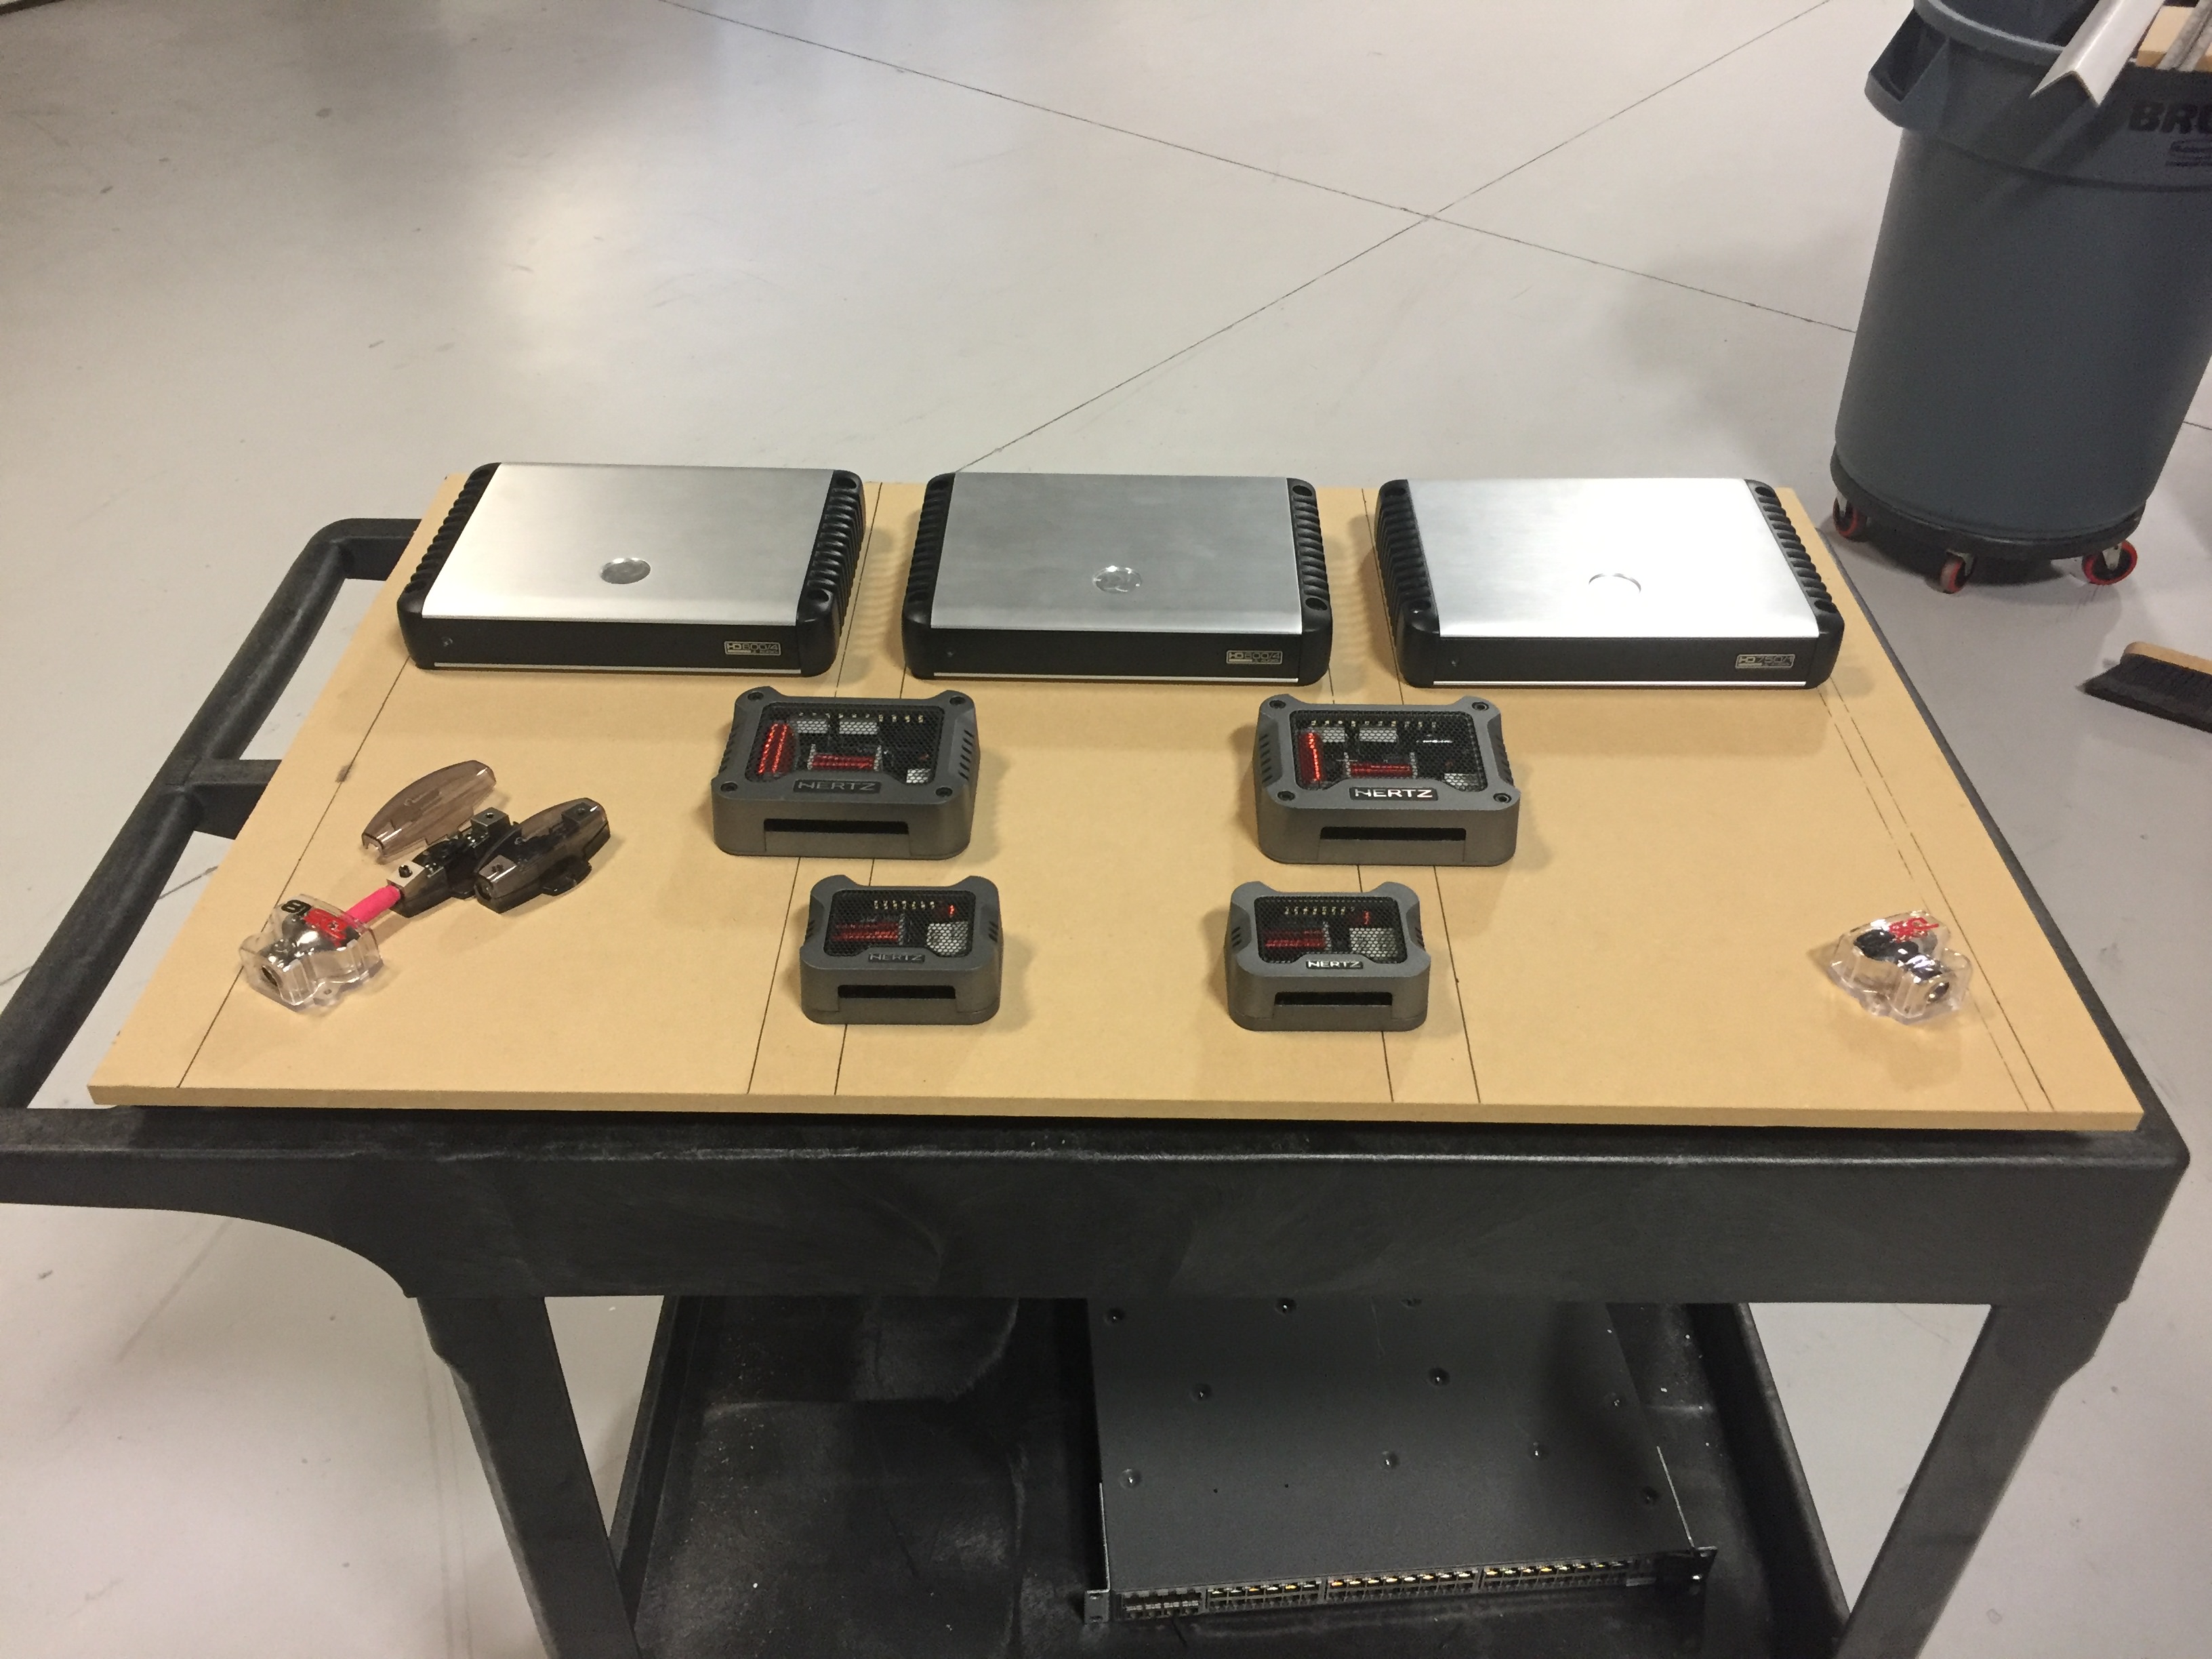
There will be three fuse blocks coming off of the power distribution block so each 4awg amp lead will have a separate fuse as well as the main 0awg line at the battery. I currently have one of the fuses installed in my car so I had to use a lid from one for this visual sorry...
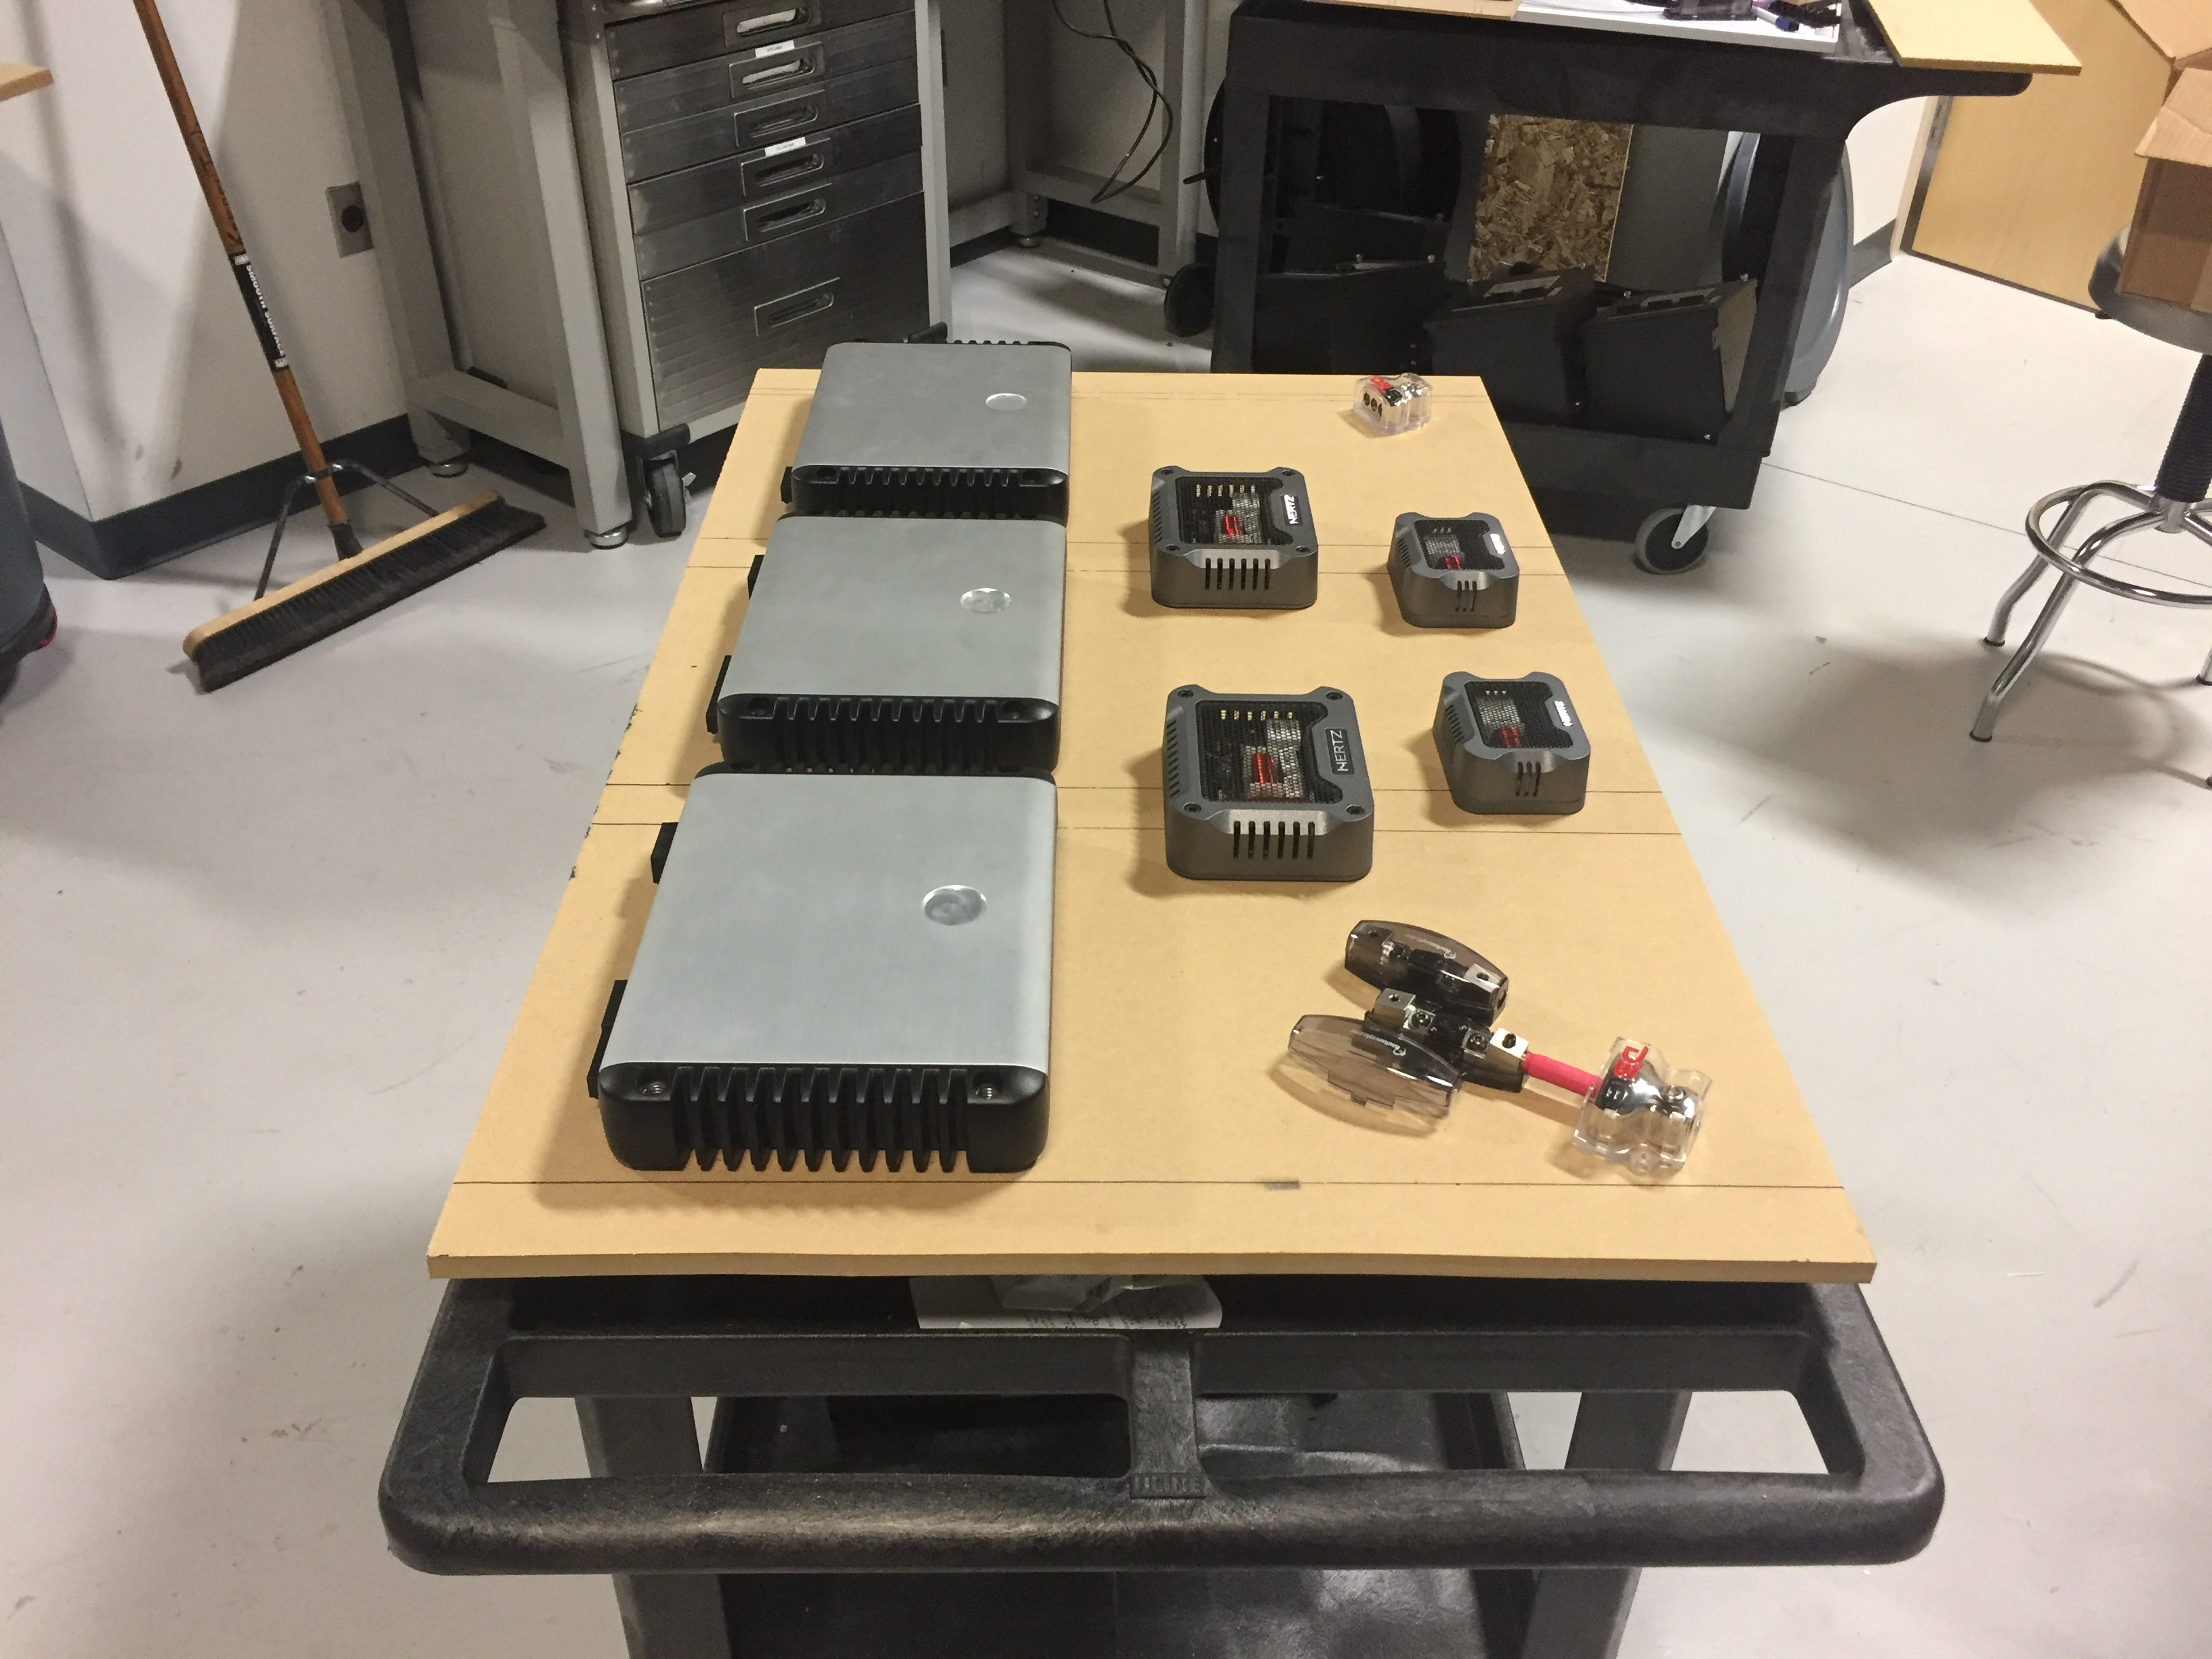
The board will be raised about an inch so I can run all of my wires under it and have them pop out right where they need to at each terminal and then stay nice and hidden and organized underneath as well as having all the speaker wires terminated at distro blocks under the front of the false floor so if I ever need to remove everything it will be a matter of undoing some screws at some terminal blocks and the power wires at the distro blocks for a quick easy removal or install!
And no pics but there will be a floor built above the amps that will be hinged so it can easily lift up to view the amps and things but I will still be able to use my floor as a trunk. I will be building in some venting as probably some fans to help with cooling as well but I don't have those details worked out yet.
There will be three fuse blocks coming off of the power distribution block so each 4awg amp lead will have a separate fuse as well as the main 0awg line at the battery. I currently have one of the fuses installed in my car so I had to use a lid from one for this visual sorry...
The board will be raised about an inch so I can run all of my wires under it and have them pop out right where they need to at each terminal and then stay nice and hidden and organized underneath as well as having all the speaker wires terminated at distro blocks under the front of the false floor so if I ever need to remove everything it will be a matter of undoing some screws at some terminal blocks and the power wires at the distro blocks for a quick easy removal or install!
And no pics but there will be a floor built above the amps that will be hinged so it can easily lift up to view the amps and things but I will still be able to use my floor as a trunk. I will be building in some venting as probably some fans to help with cooling as well but I don't have those details worked out yet.
Last edited by rexmburns; May 18, 2018 at 07:35 PM.
Thread Starter
|
Super Moderator
Joined: Sep 2011
Posts: 4,459
From: Northern VA
Some details of what will be going in...
3 JL HD amps
600/4 bridged for the front 3 ways
600/4 for the rear doors
750/1 for the sub

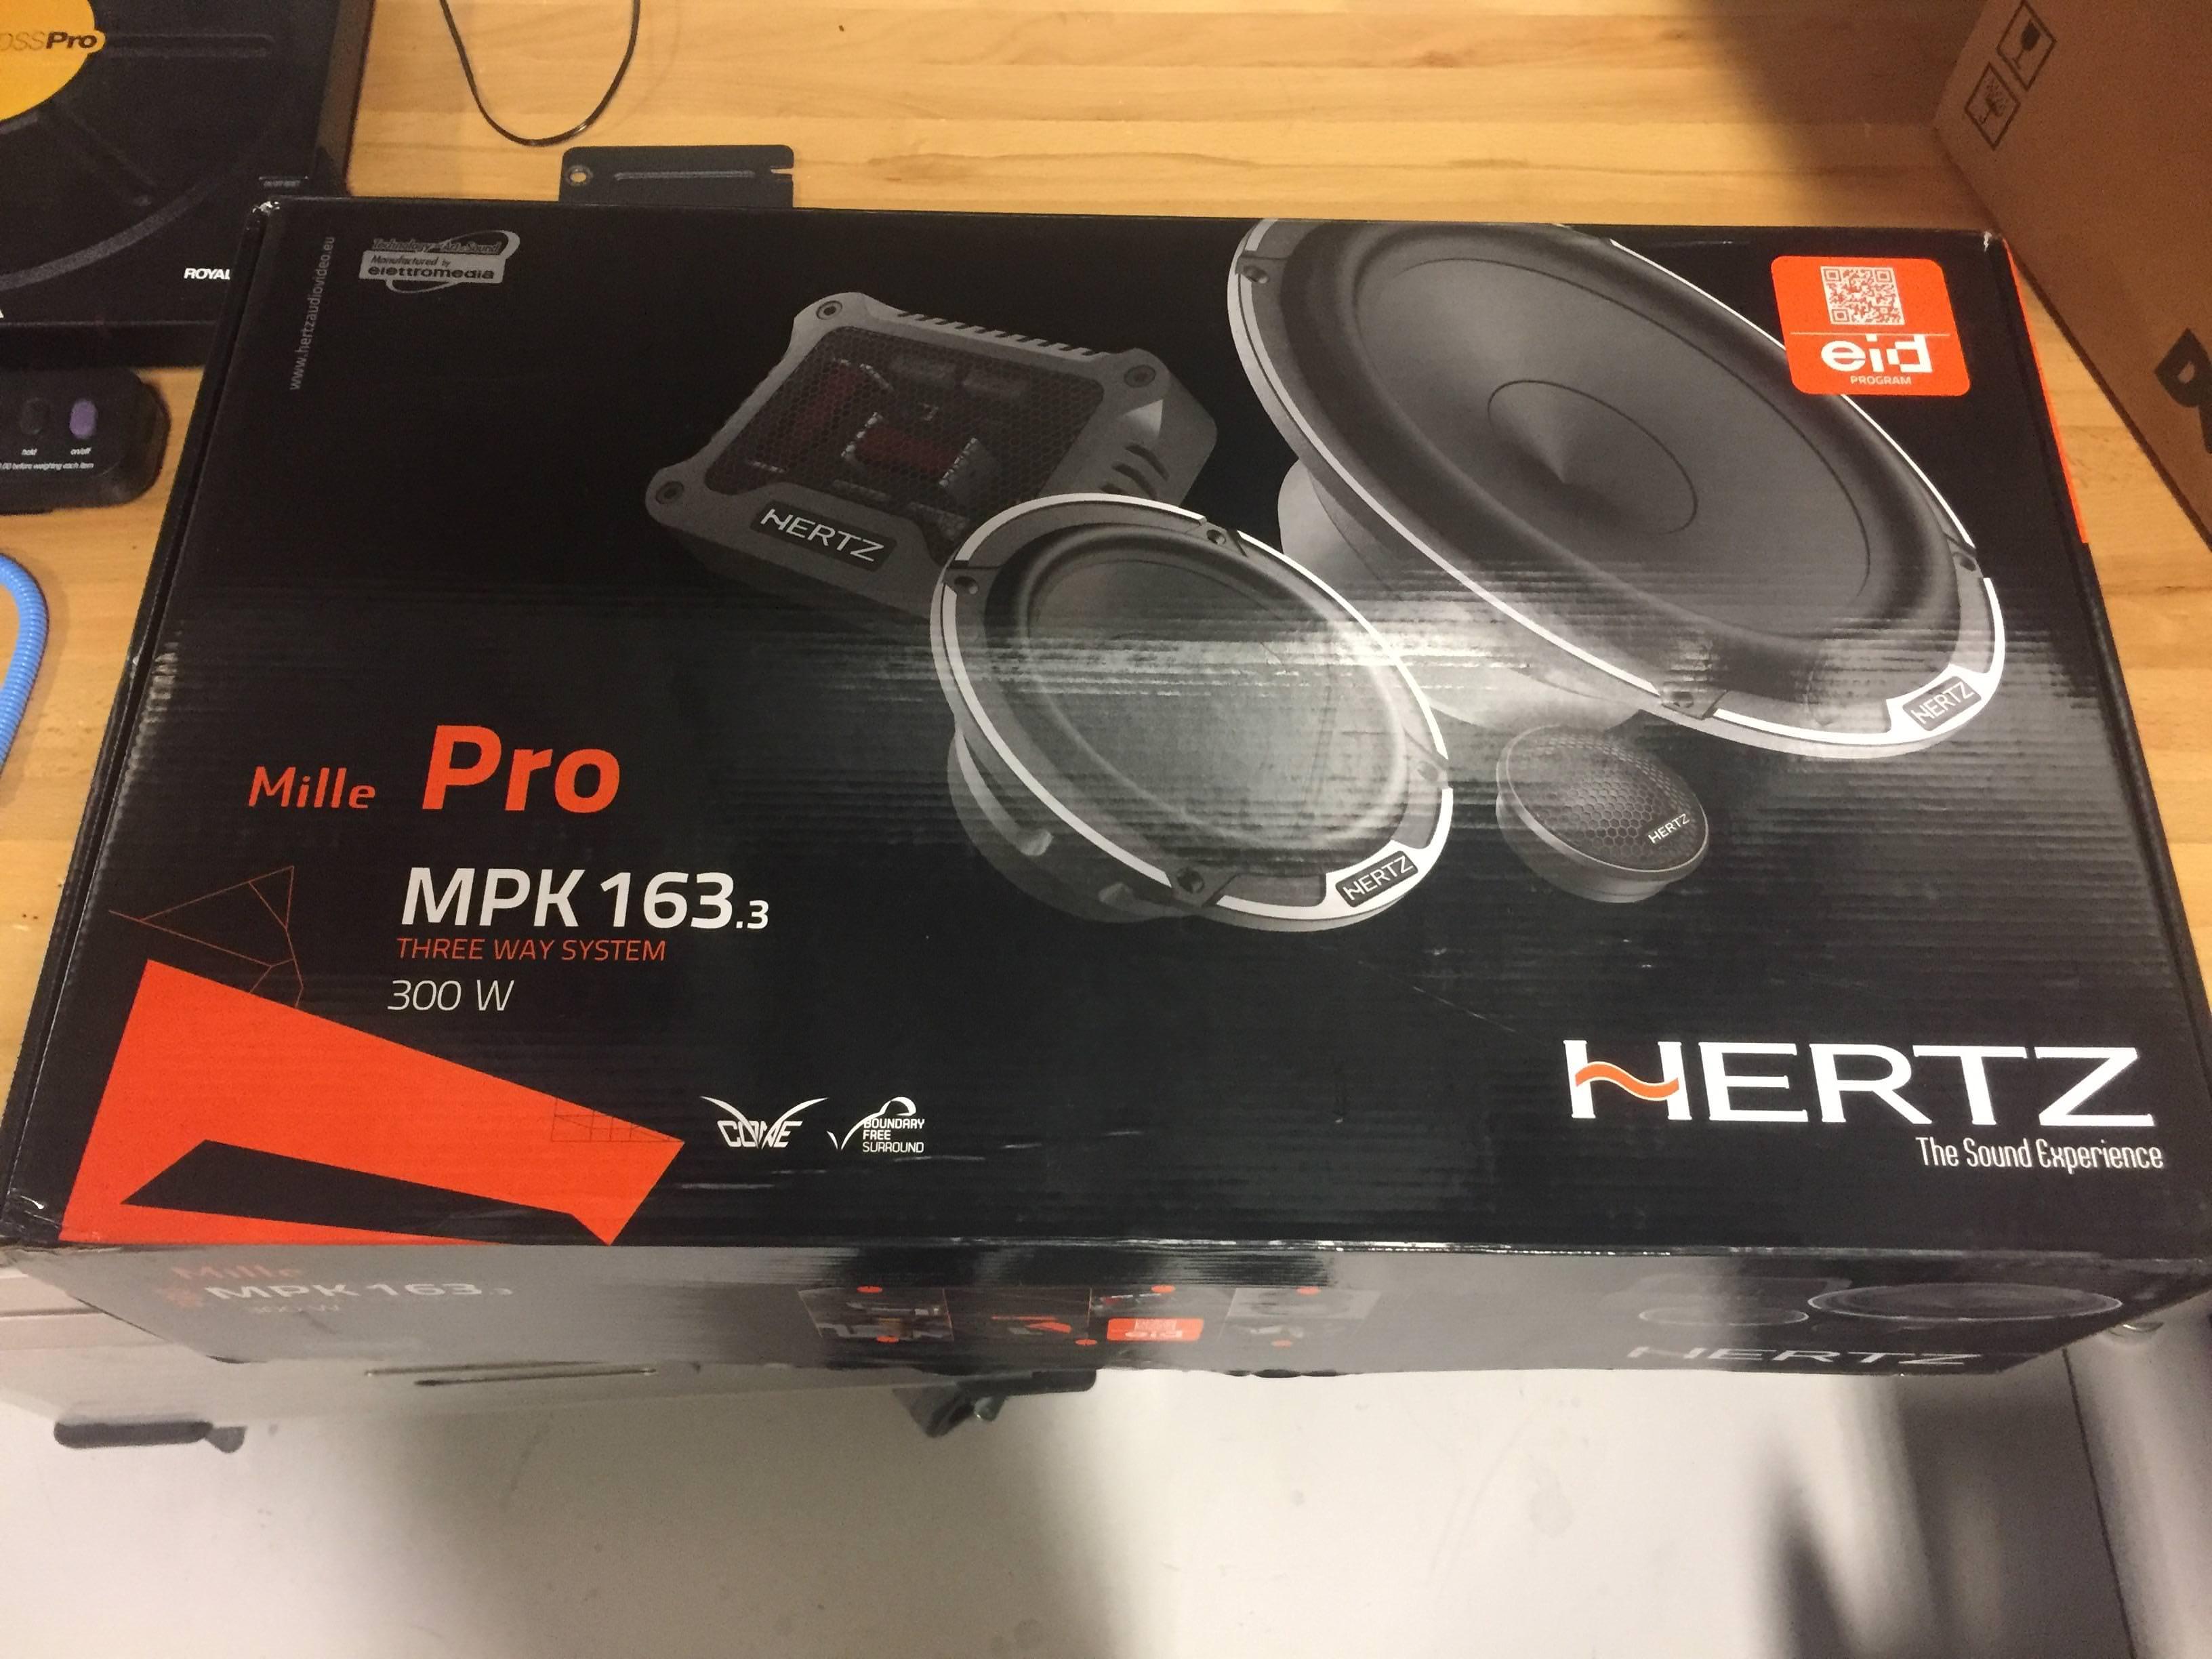
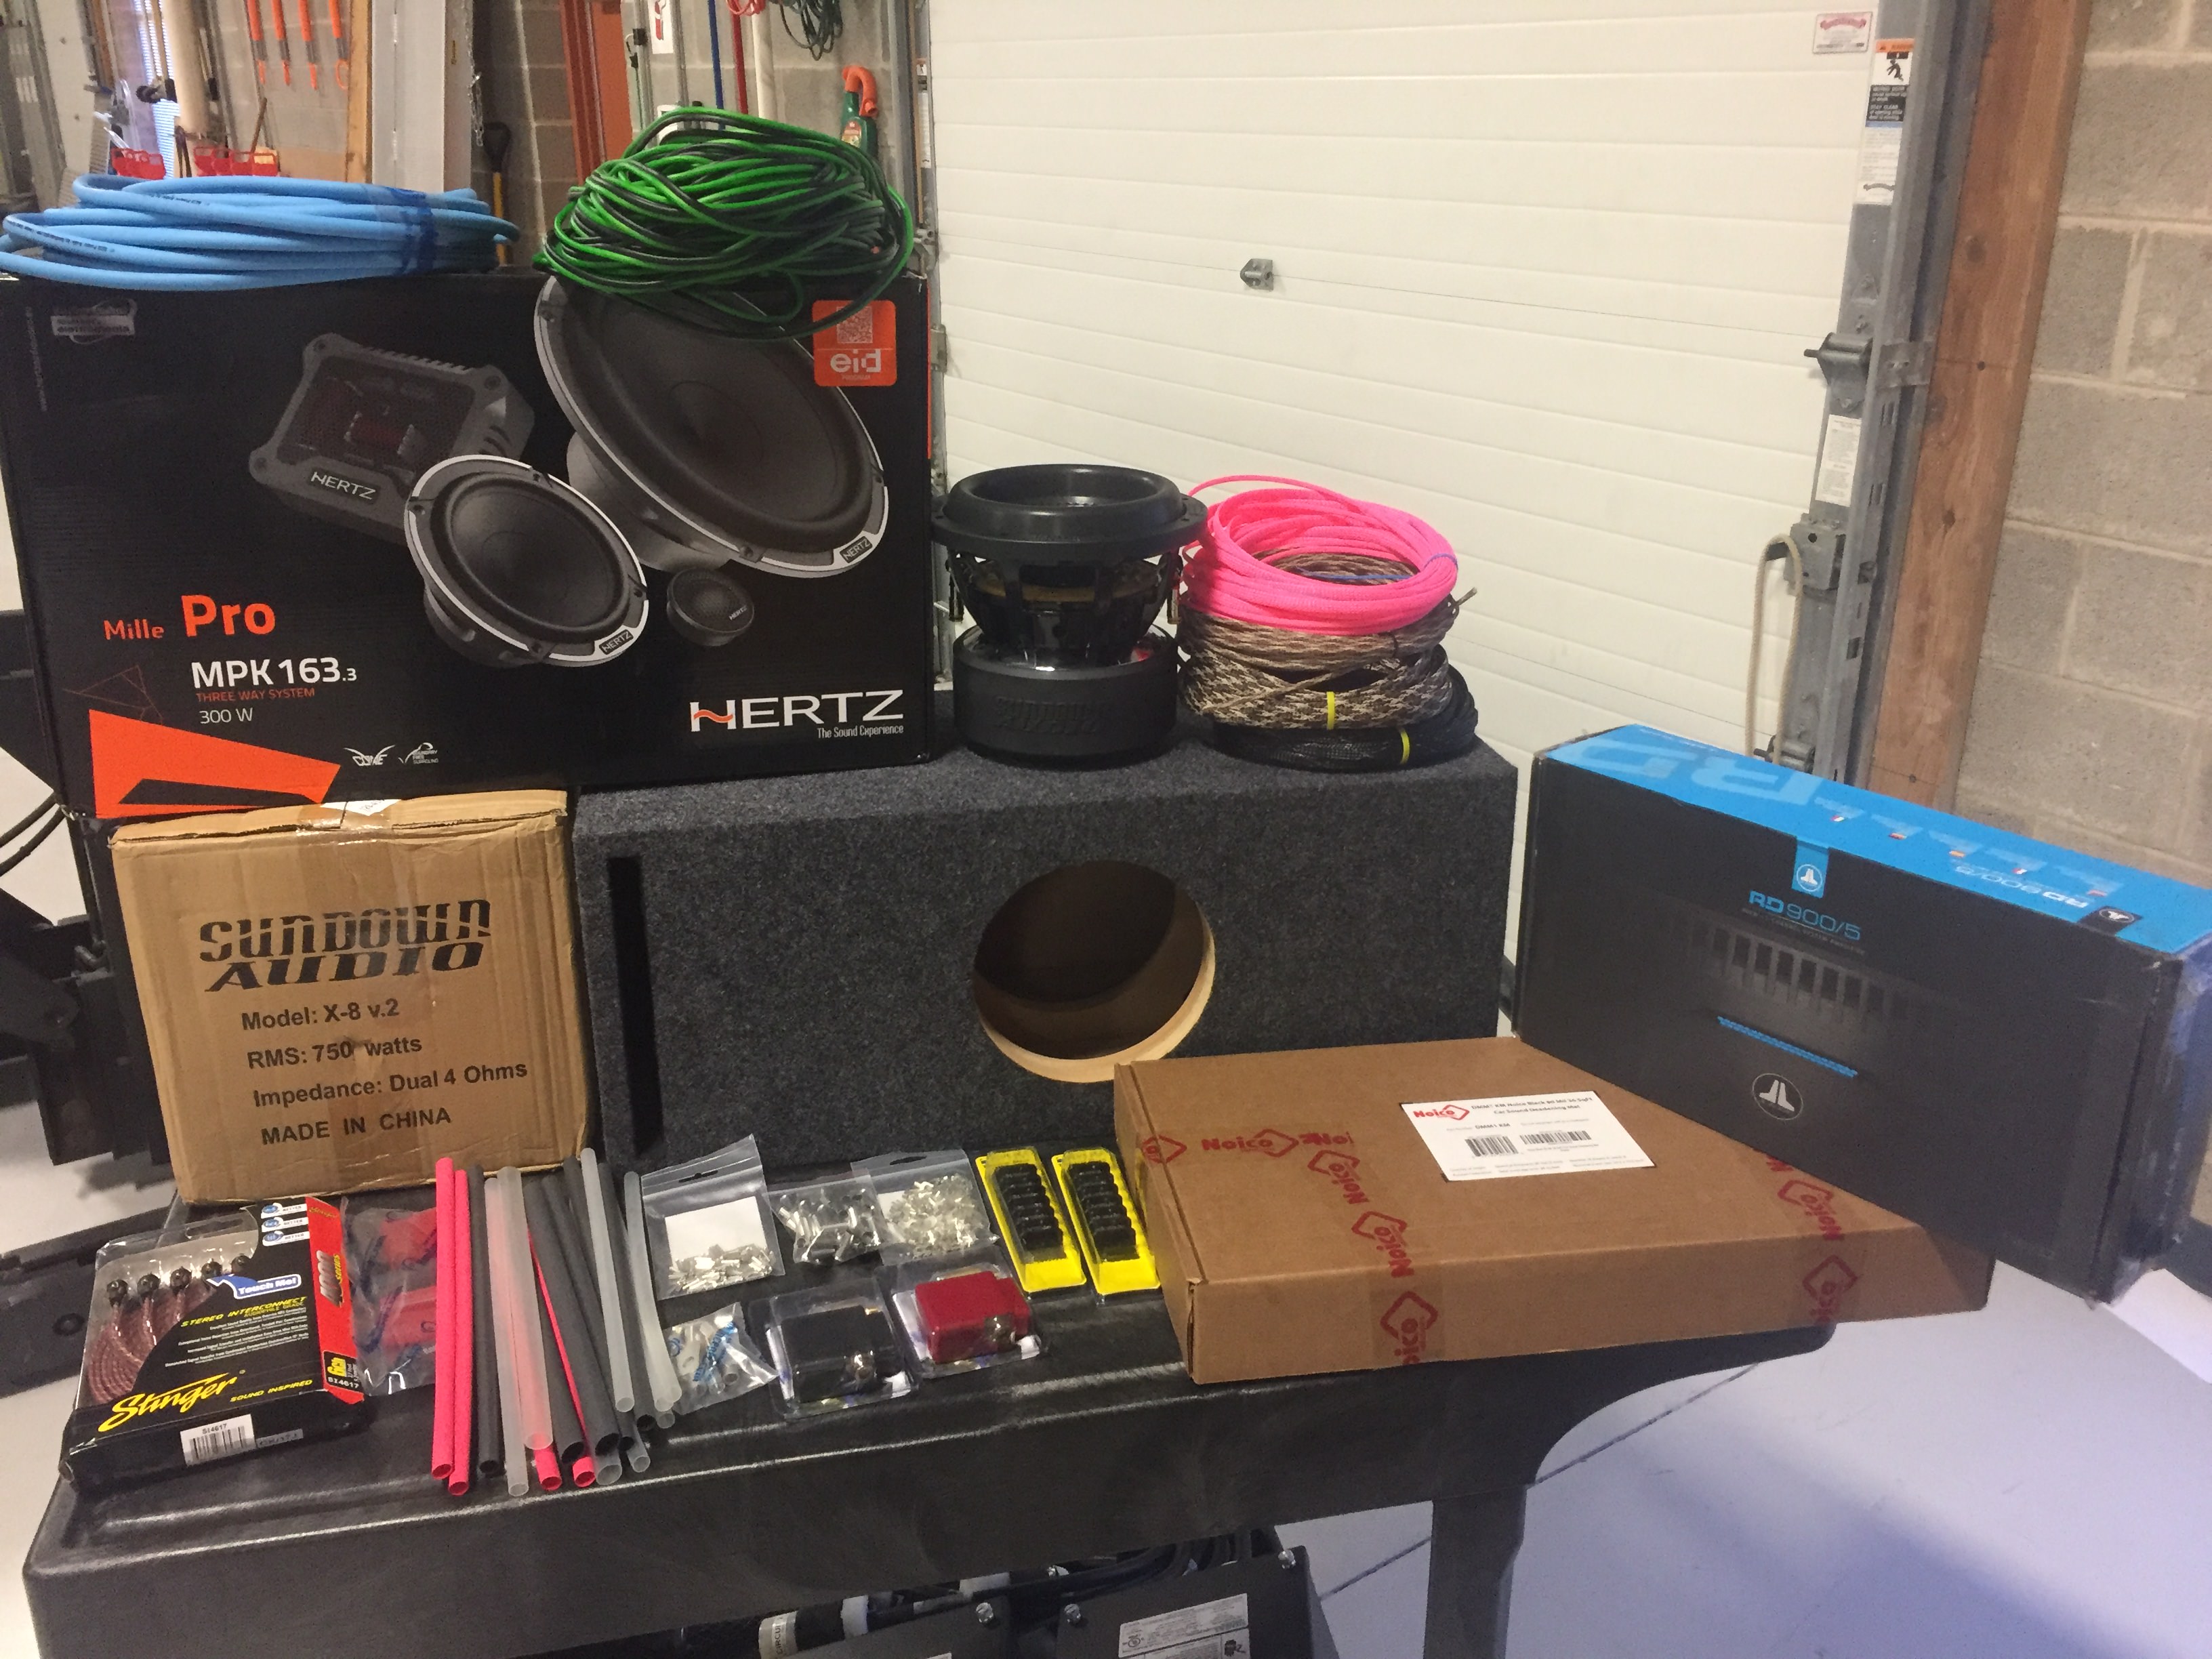
The front doors will get Hertz Mille Pro 6.5", 4" and tweeter 3 ways and the rear doors will get matching Mille Pro 5.25" and tweeter 2 ways (I just got the rears so no pic yet)
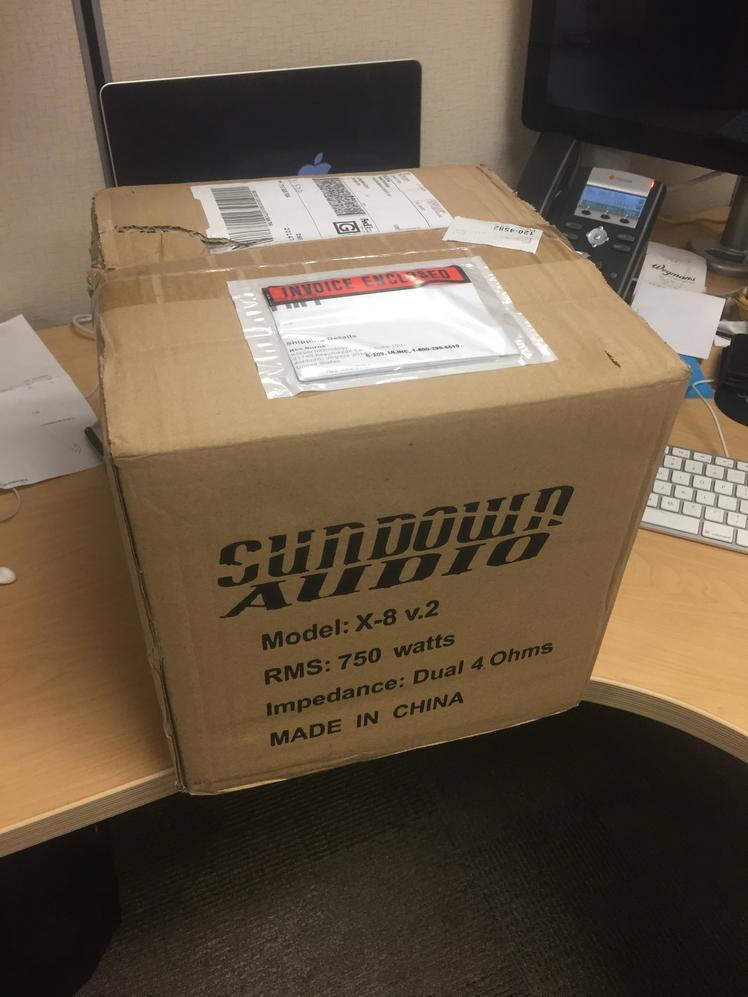
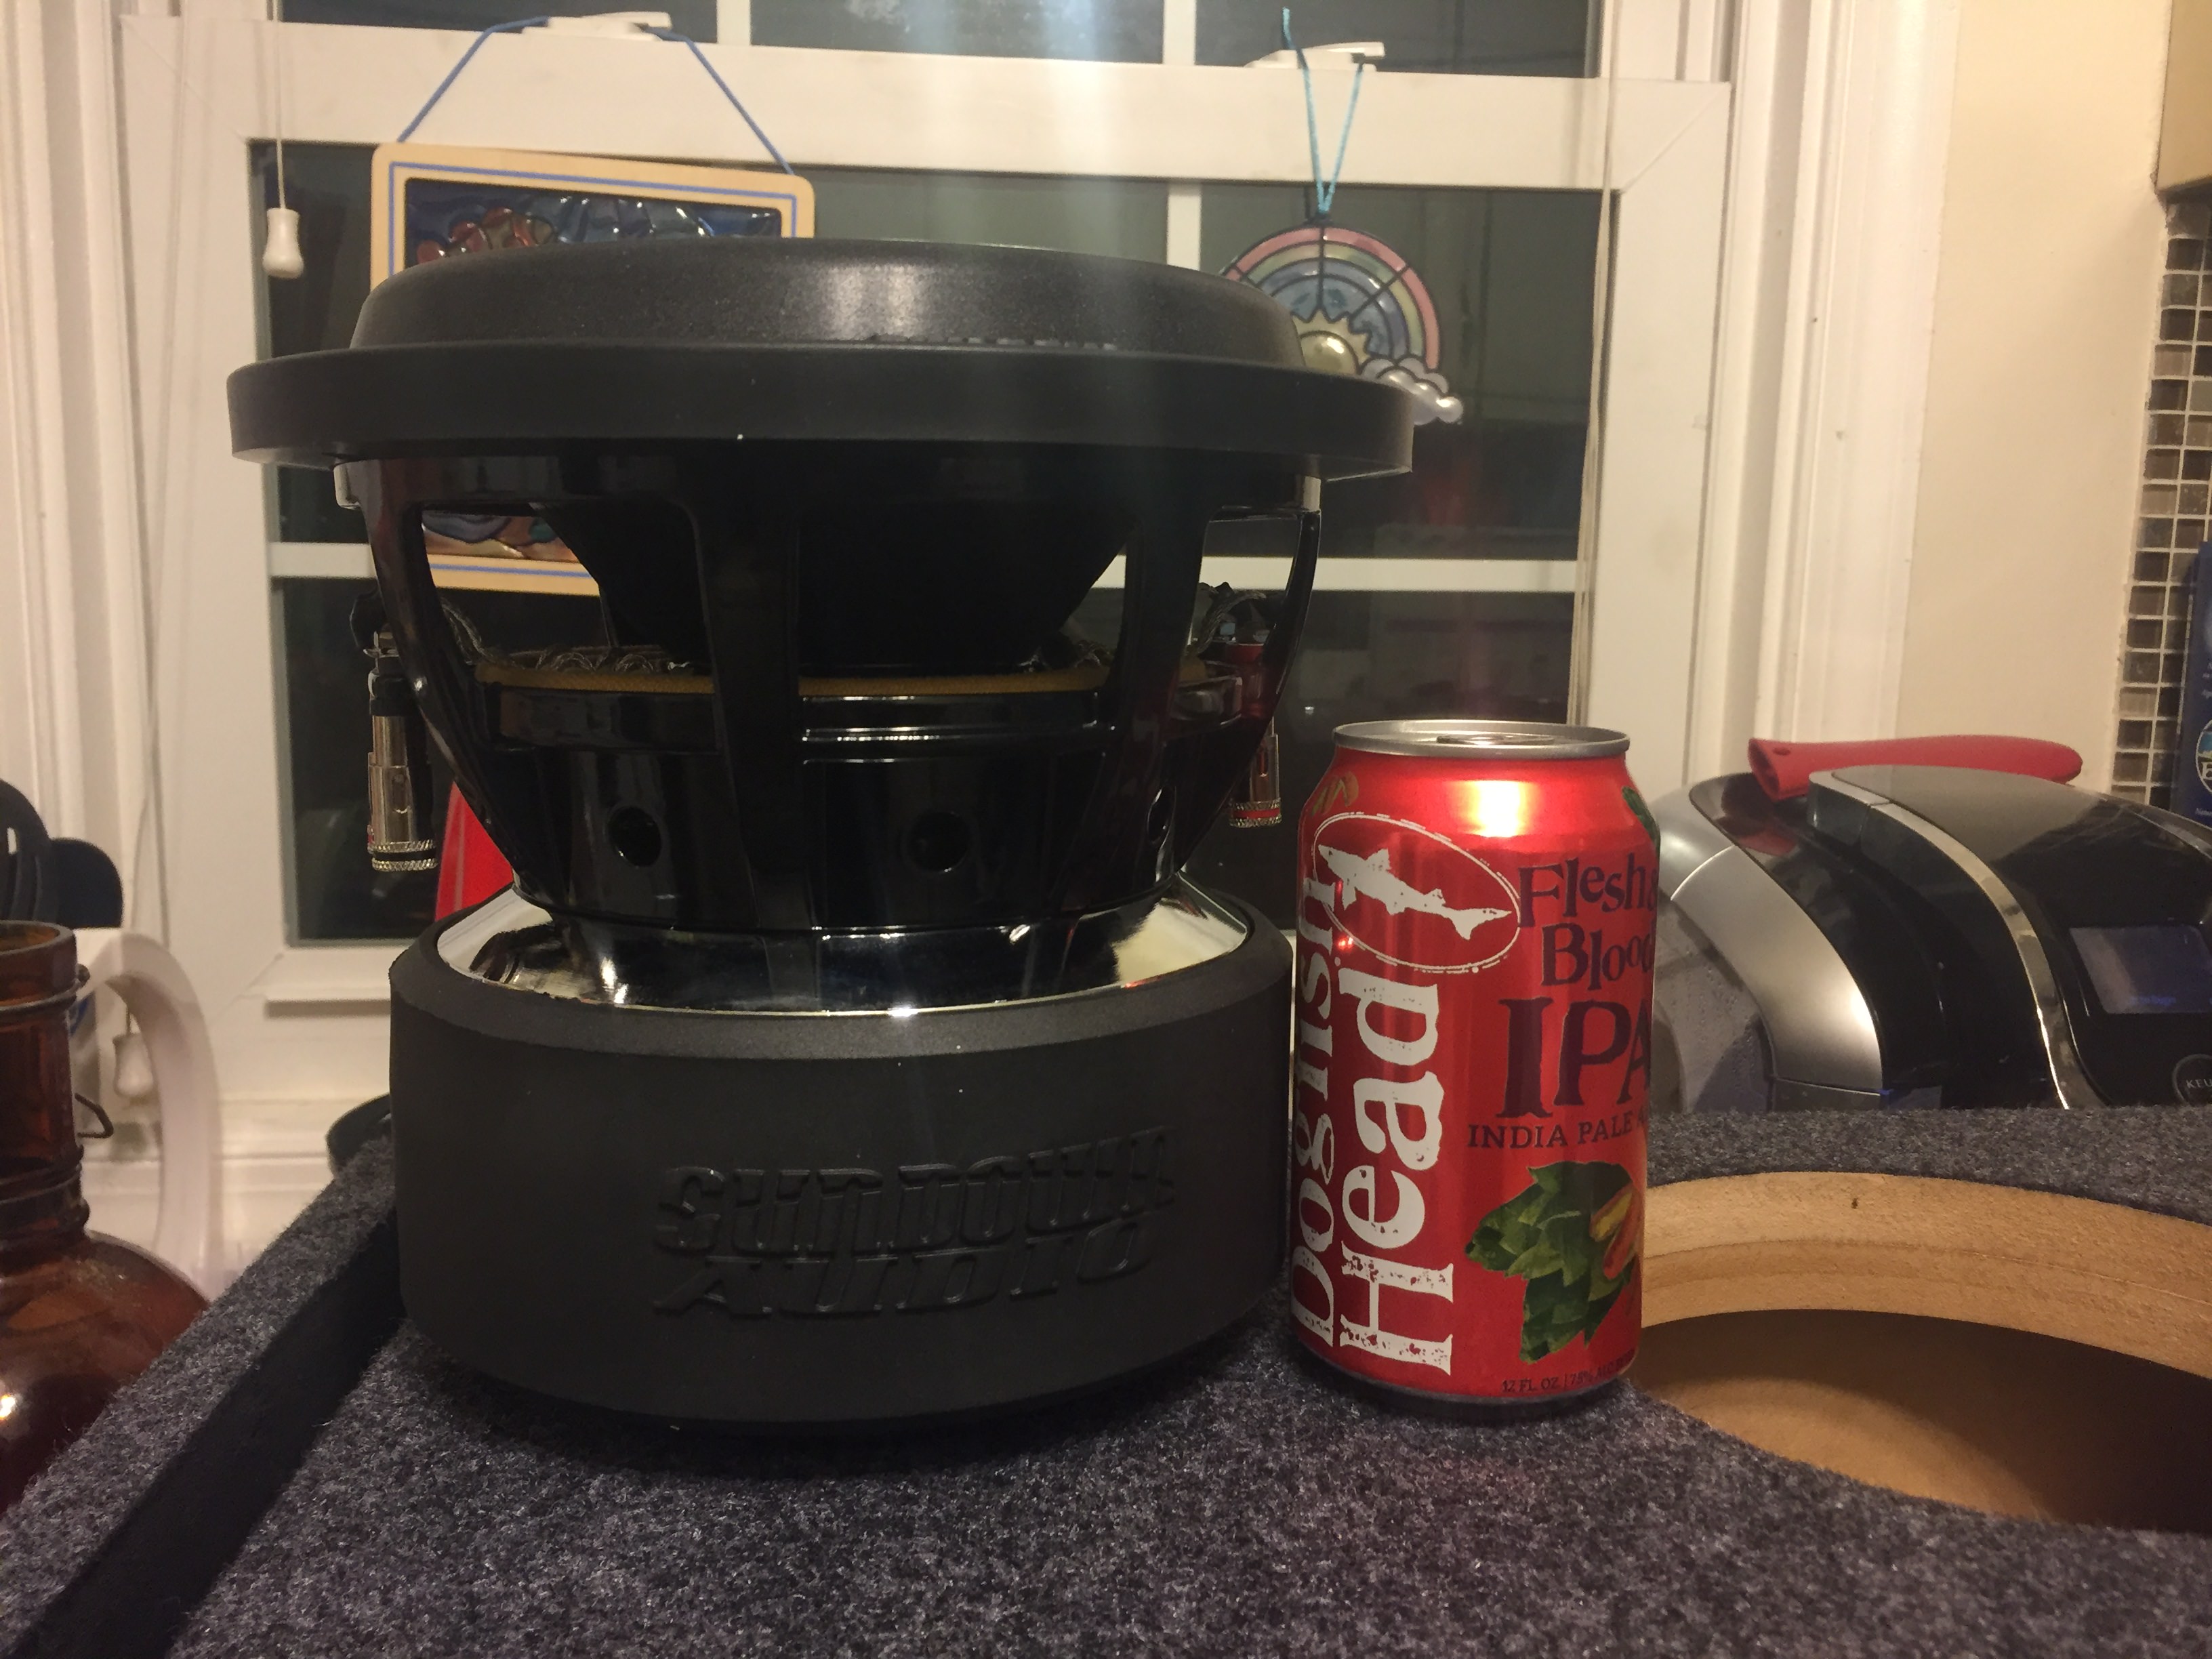
Sub will be a Sundown X-8 in a really nice ported box (this thing is a beast for an 8"!)
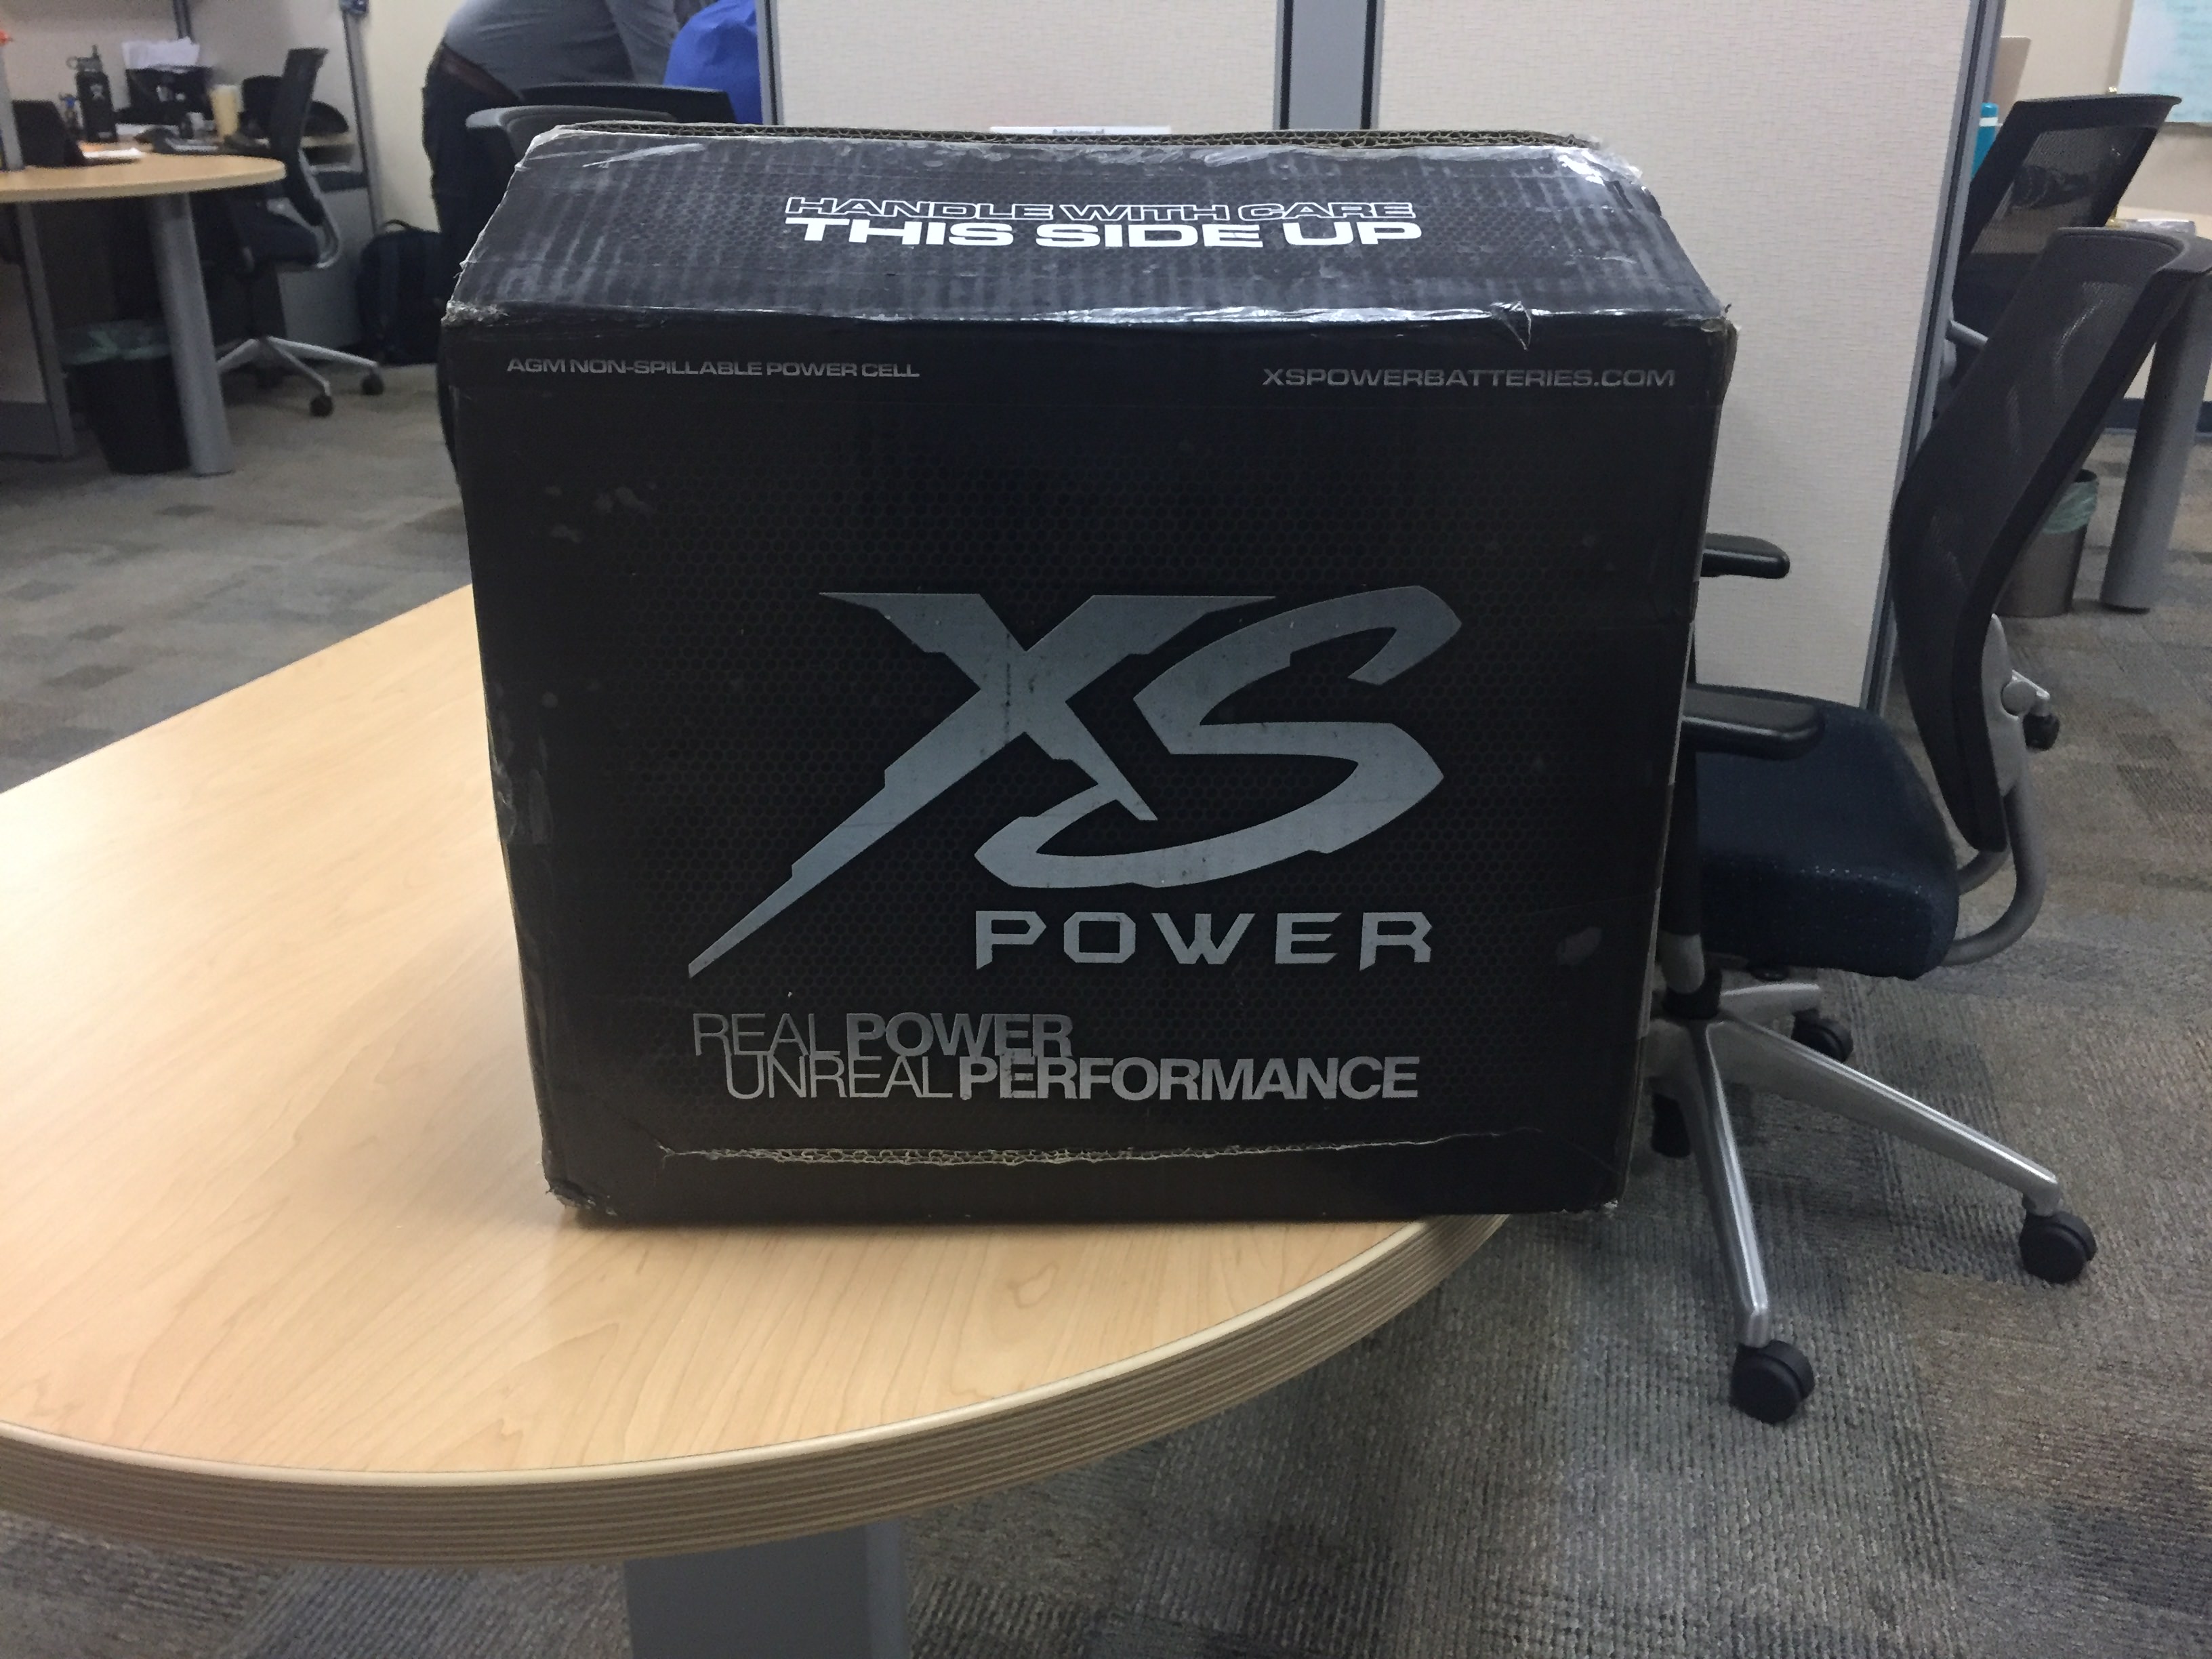
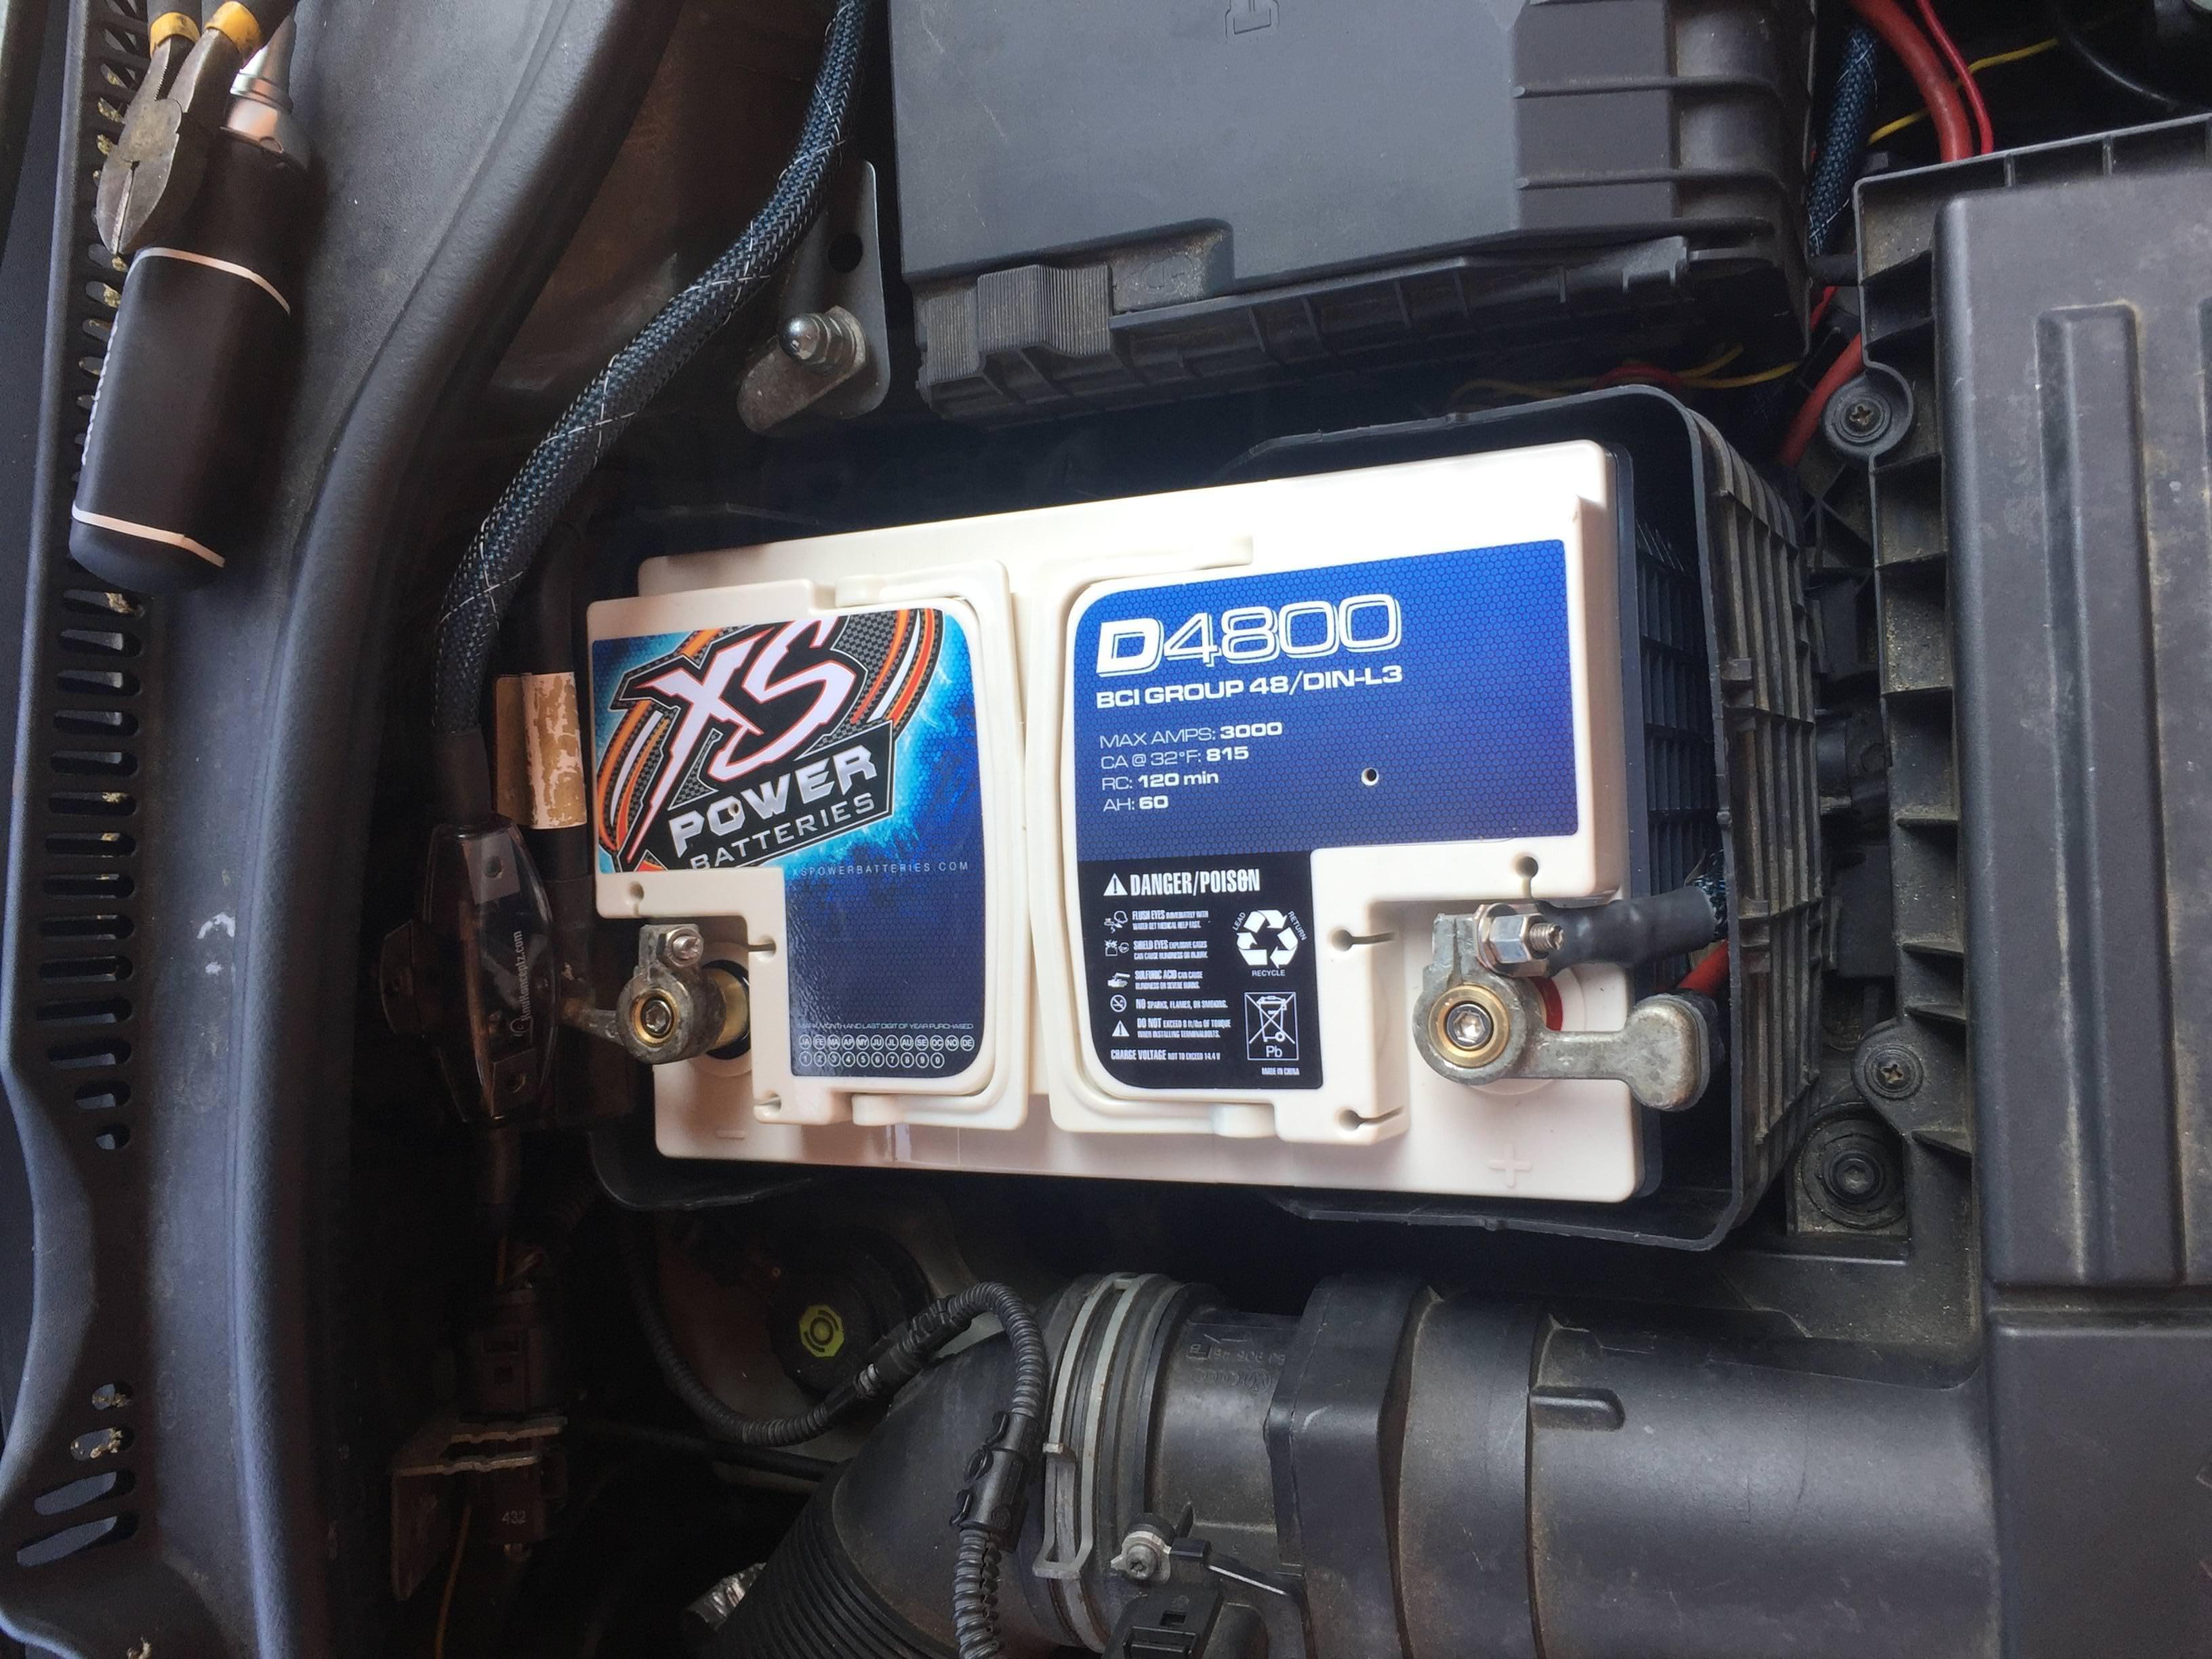
XS Power D4800 battery which is a Group Size up from the factory battery (already installed)
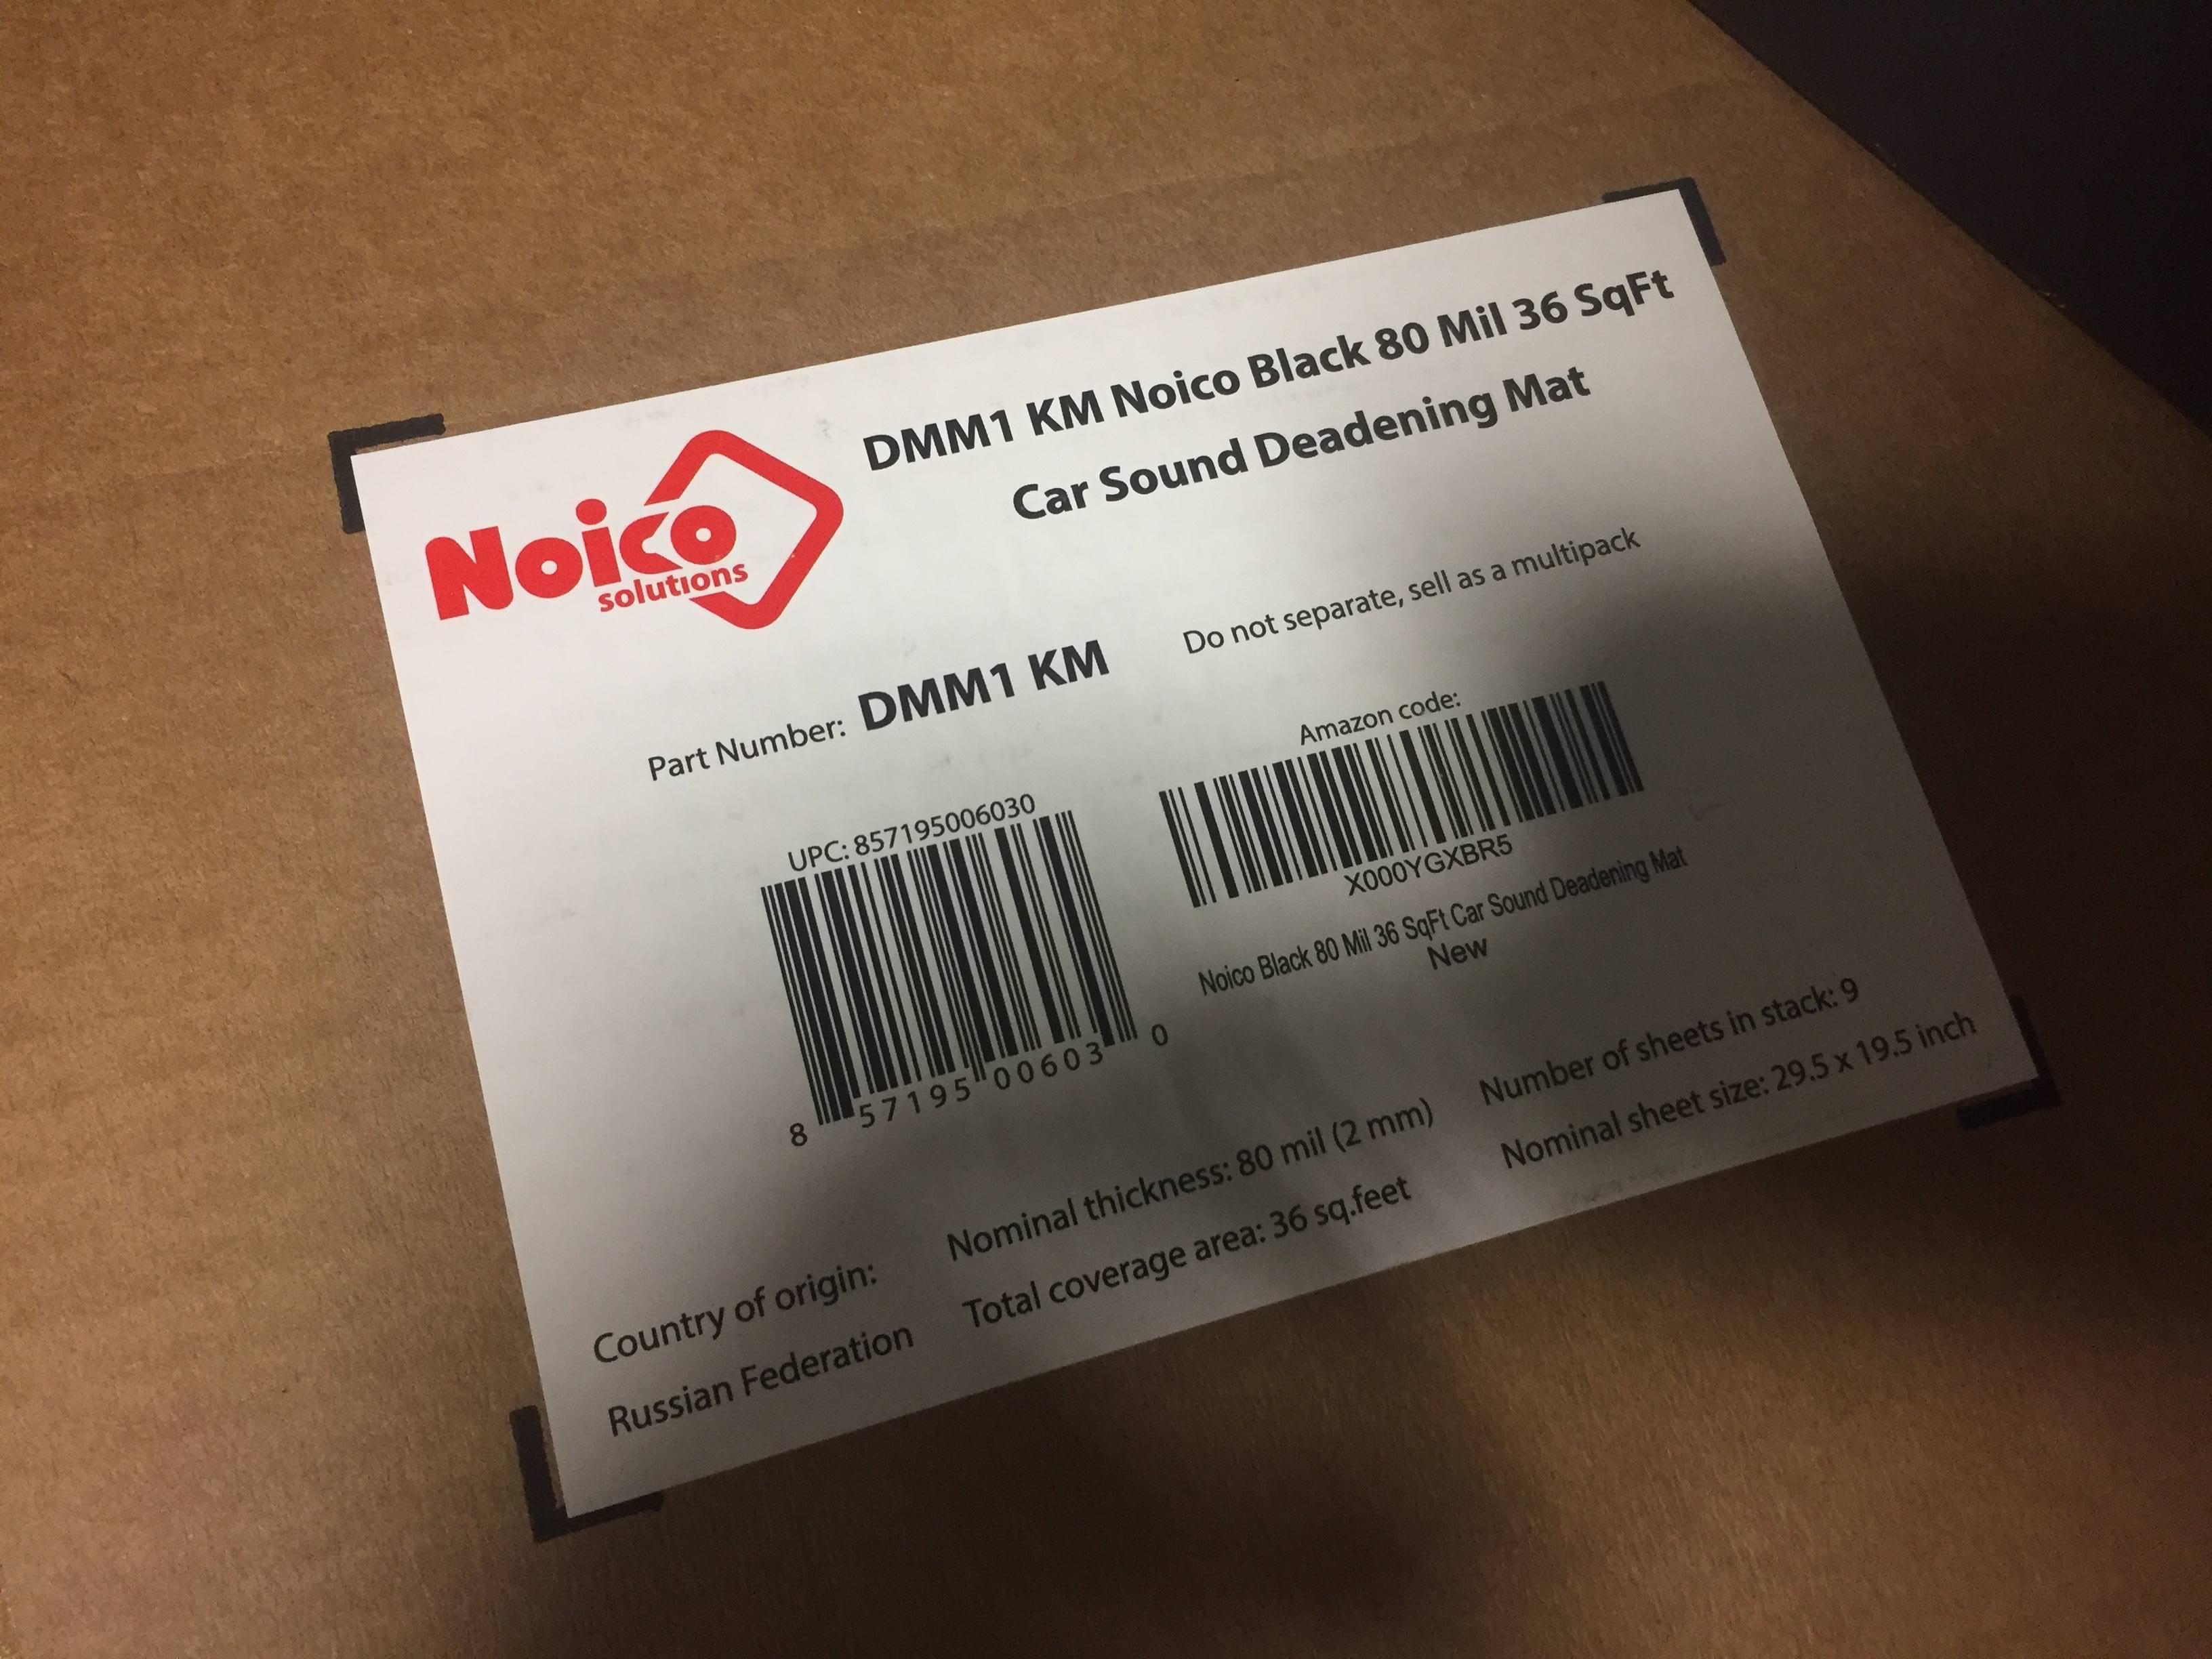
A bunch of sound deadening for the doors, floors and trunk. I have started applying some of this and for half the cost of the big name deadeners I will continue to buy this stuff forever!!
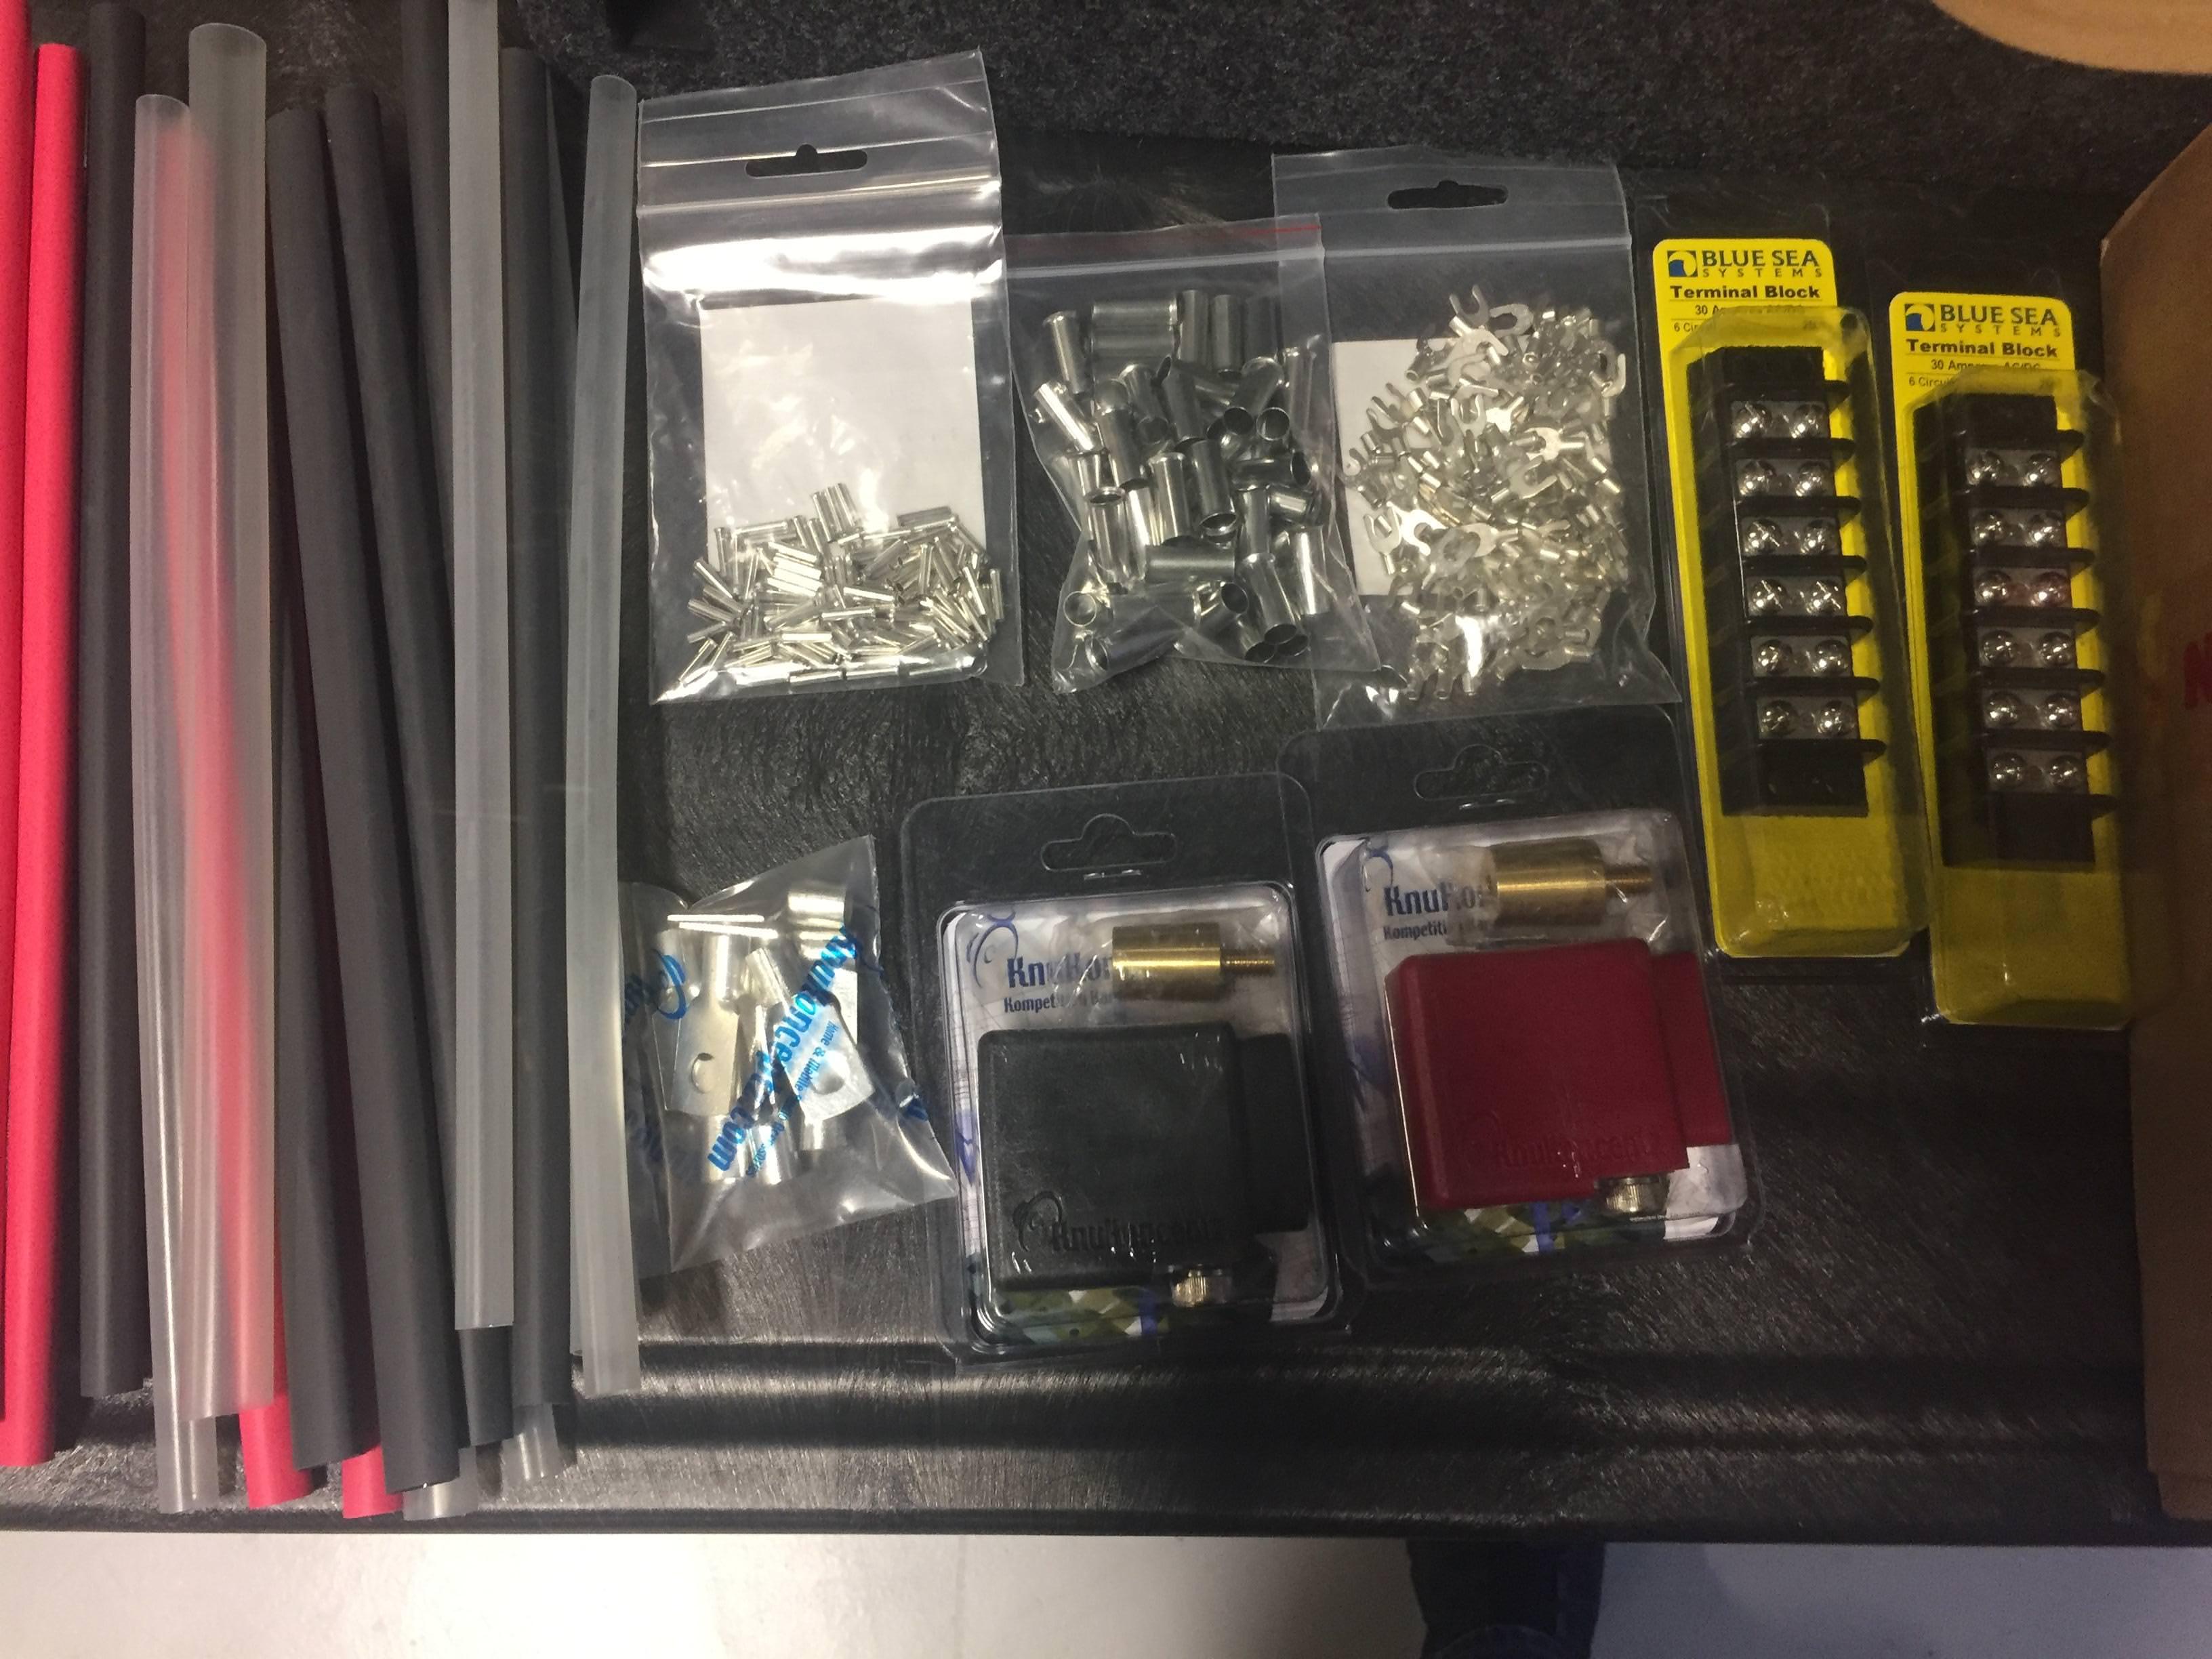
Some of the odds and ends for a clean install including wire ferrules and terminals for all wire ends and lots of TechFlex to wrap all the wires in for protection and clean appearance. I was originally planning on running a single 5 channel JL amp before I got the 3 HD's so I have added a bunch of things since these pics including a bunch of 0awg KnuKoncepts OFC power and ground wire and little odds and ends to go with the new plan.
Also the brand new JL RD900/5 in this pic is for sale if anyone is interested!
3 JL HD amps
600/4 bridged for the front 3 ways
600/4 for the rear doors
750/1 for the sub
The front doors will get Hertz Mille Pro 6.5", 4" and tweeter 3 ways and the rear doors will get matching Mille Pro 5.25" and tweeter 2 ways (I just got the rears so no pic yet)
Sub will be a Sundown X-8 in a really nice ported box (this thing is a beast for an 8"!)
XS Power D4800 battery which is a Group Size up from the factory battery (already installed)
A bunch of sound deadening for the doors, floors and trunk. I have started applying some of this and for half the cost of the big name deadeners I will continue to buy this stuff forever!!
Some of the odds and ends for a clean install including wire ferrules and terminals for all wire ends and lots of TechFlex to wrap all the wires in for protection and clean appearance. I was originally planning on running a single 5 channel JL amp before I got the 3 HD's so I have added a bunch of things since these pics including a bunch of 0awg KnuKoncepts OFC power and ground wire and little odds and ends to go with the new plan.
Also the brand new JL RD900/5 in this pic is for sale if anyone is interested!
Thread Starter
|
Super Moderator
Joined: Sep 2011
Posts: 4,459
From: Northern VA
I've also done some other things over the last year so I will update those now.
I did an projector retrofit along with adding the honeycomb grills and fog lights.


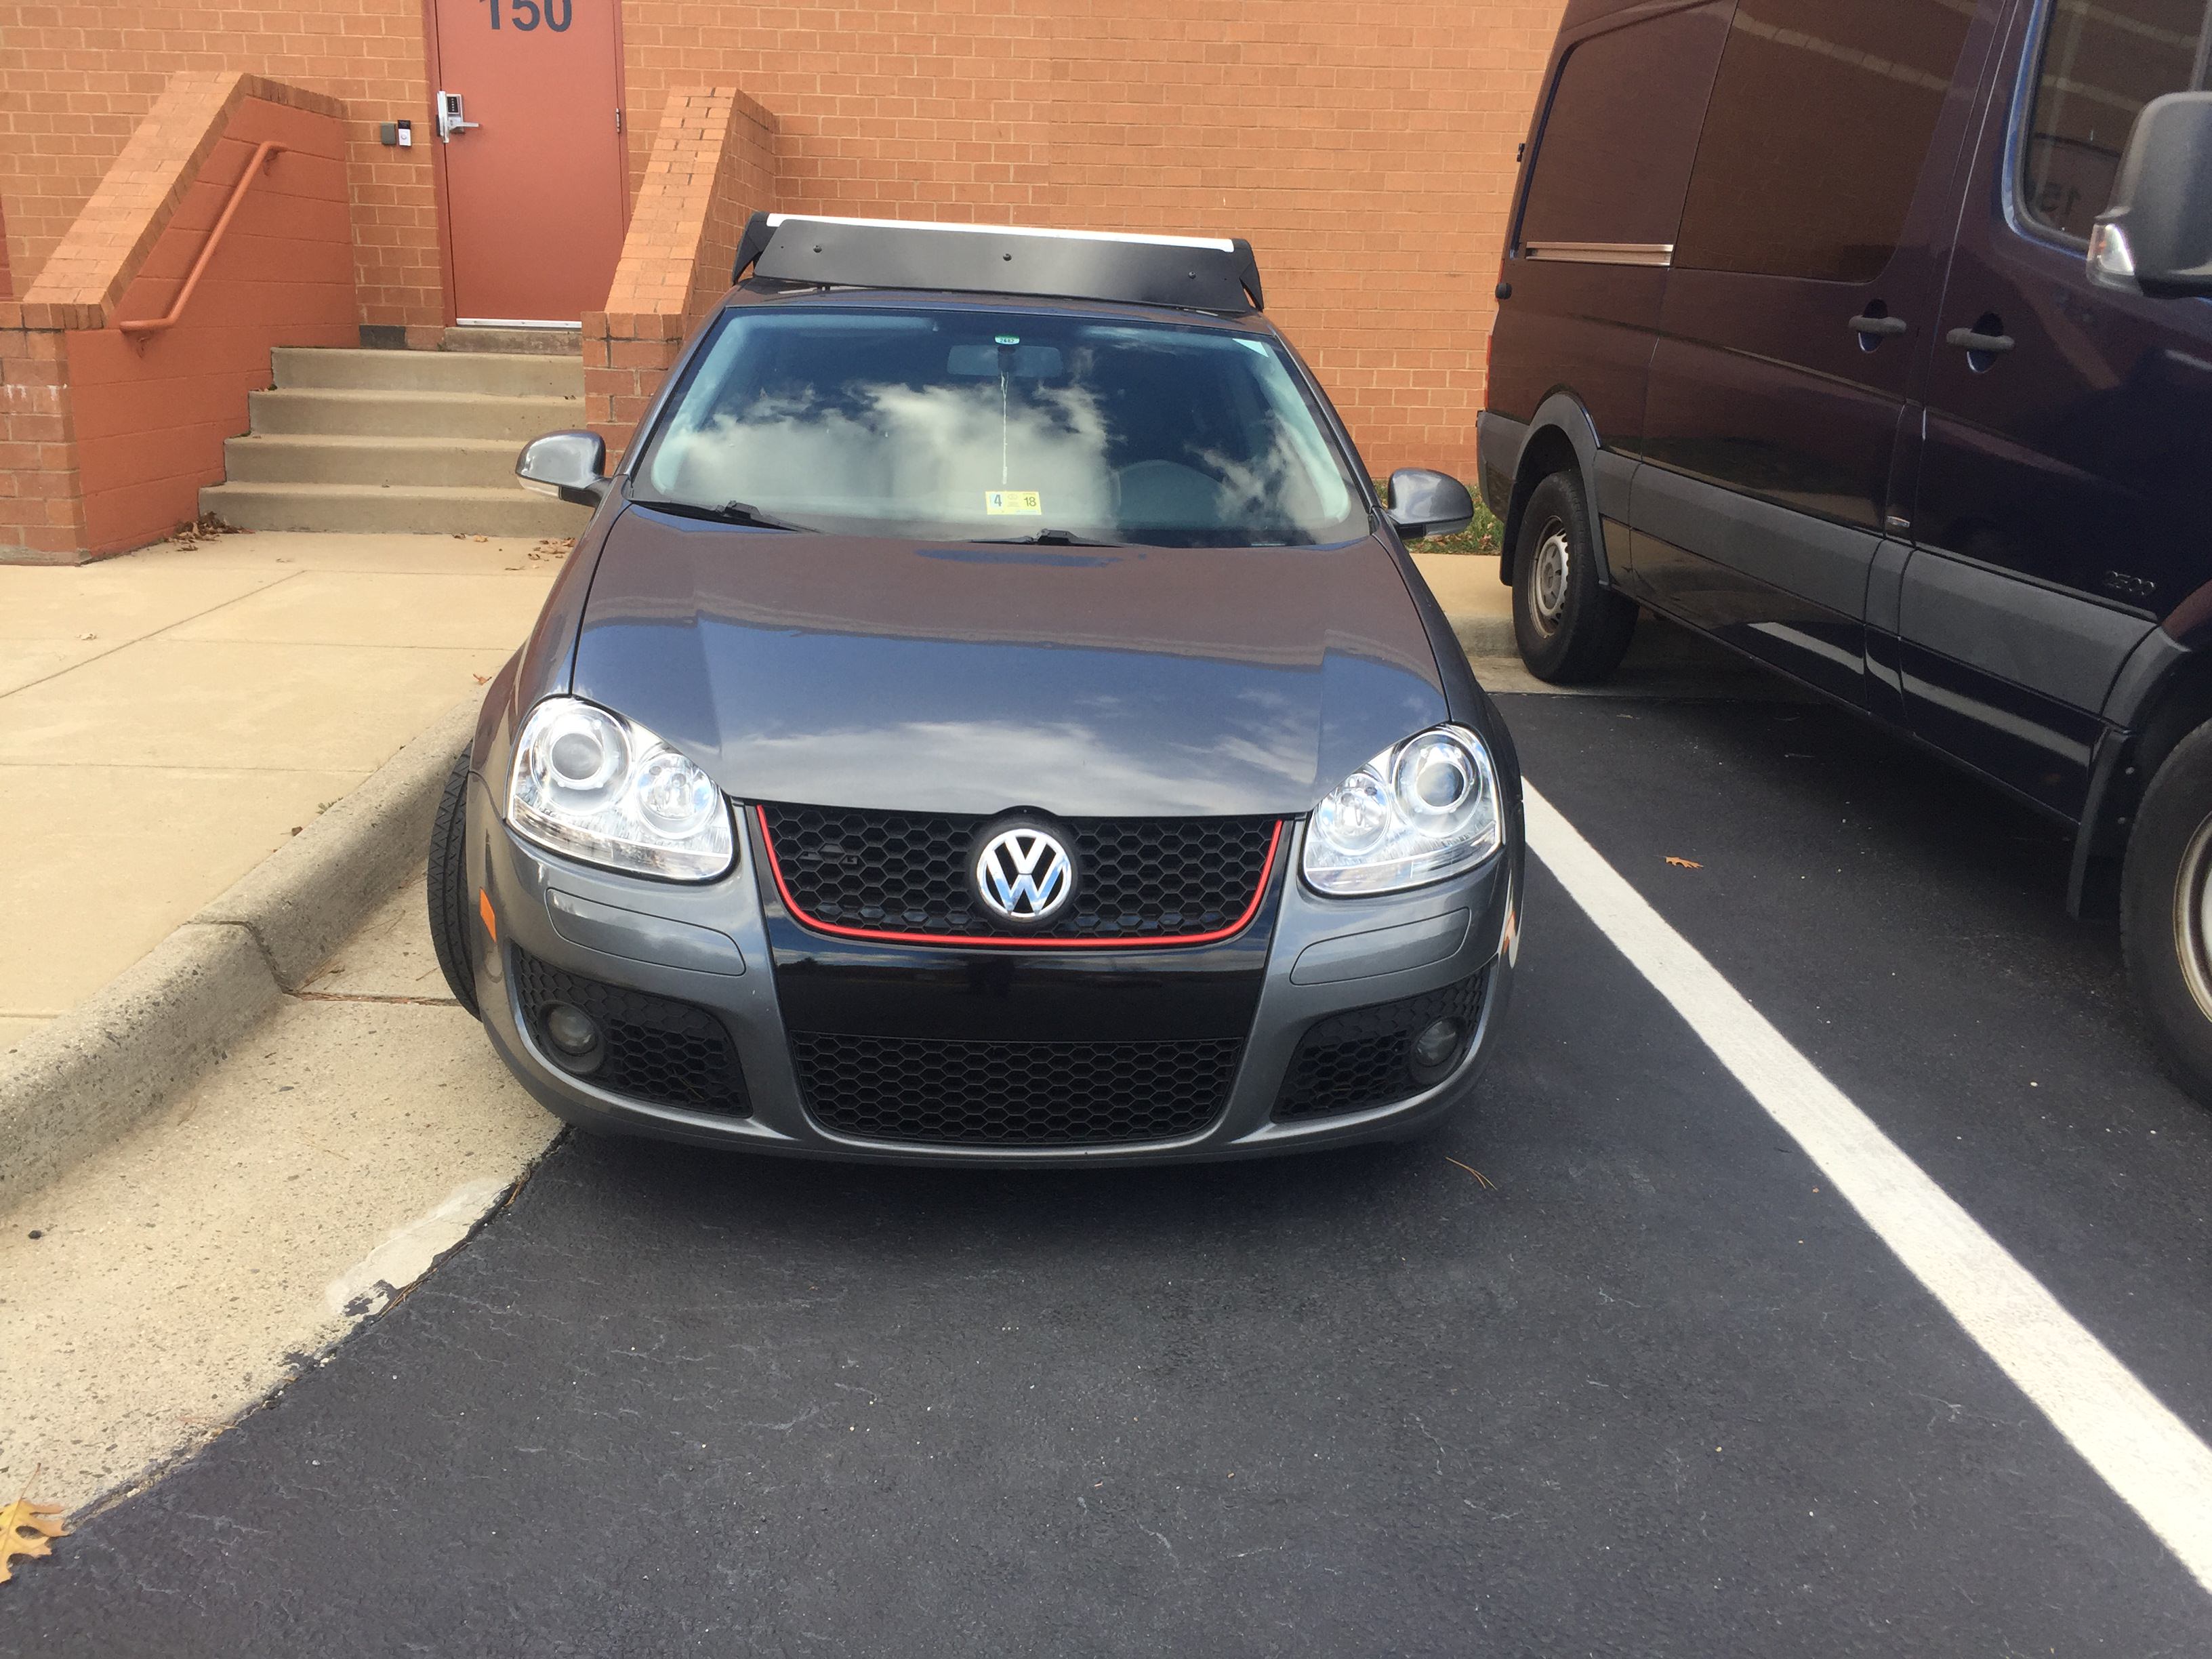
Added a GTI steering wheel since mine was destroyed when I got the car.
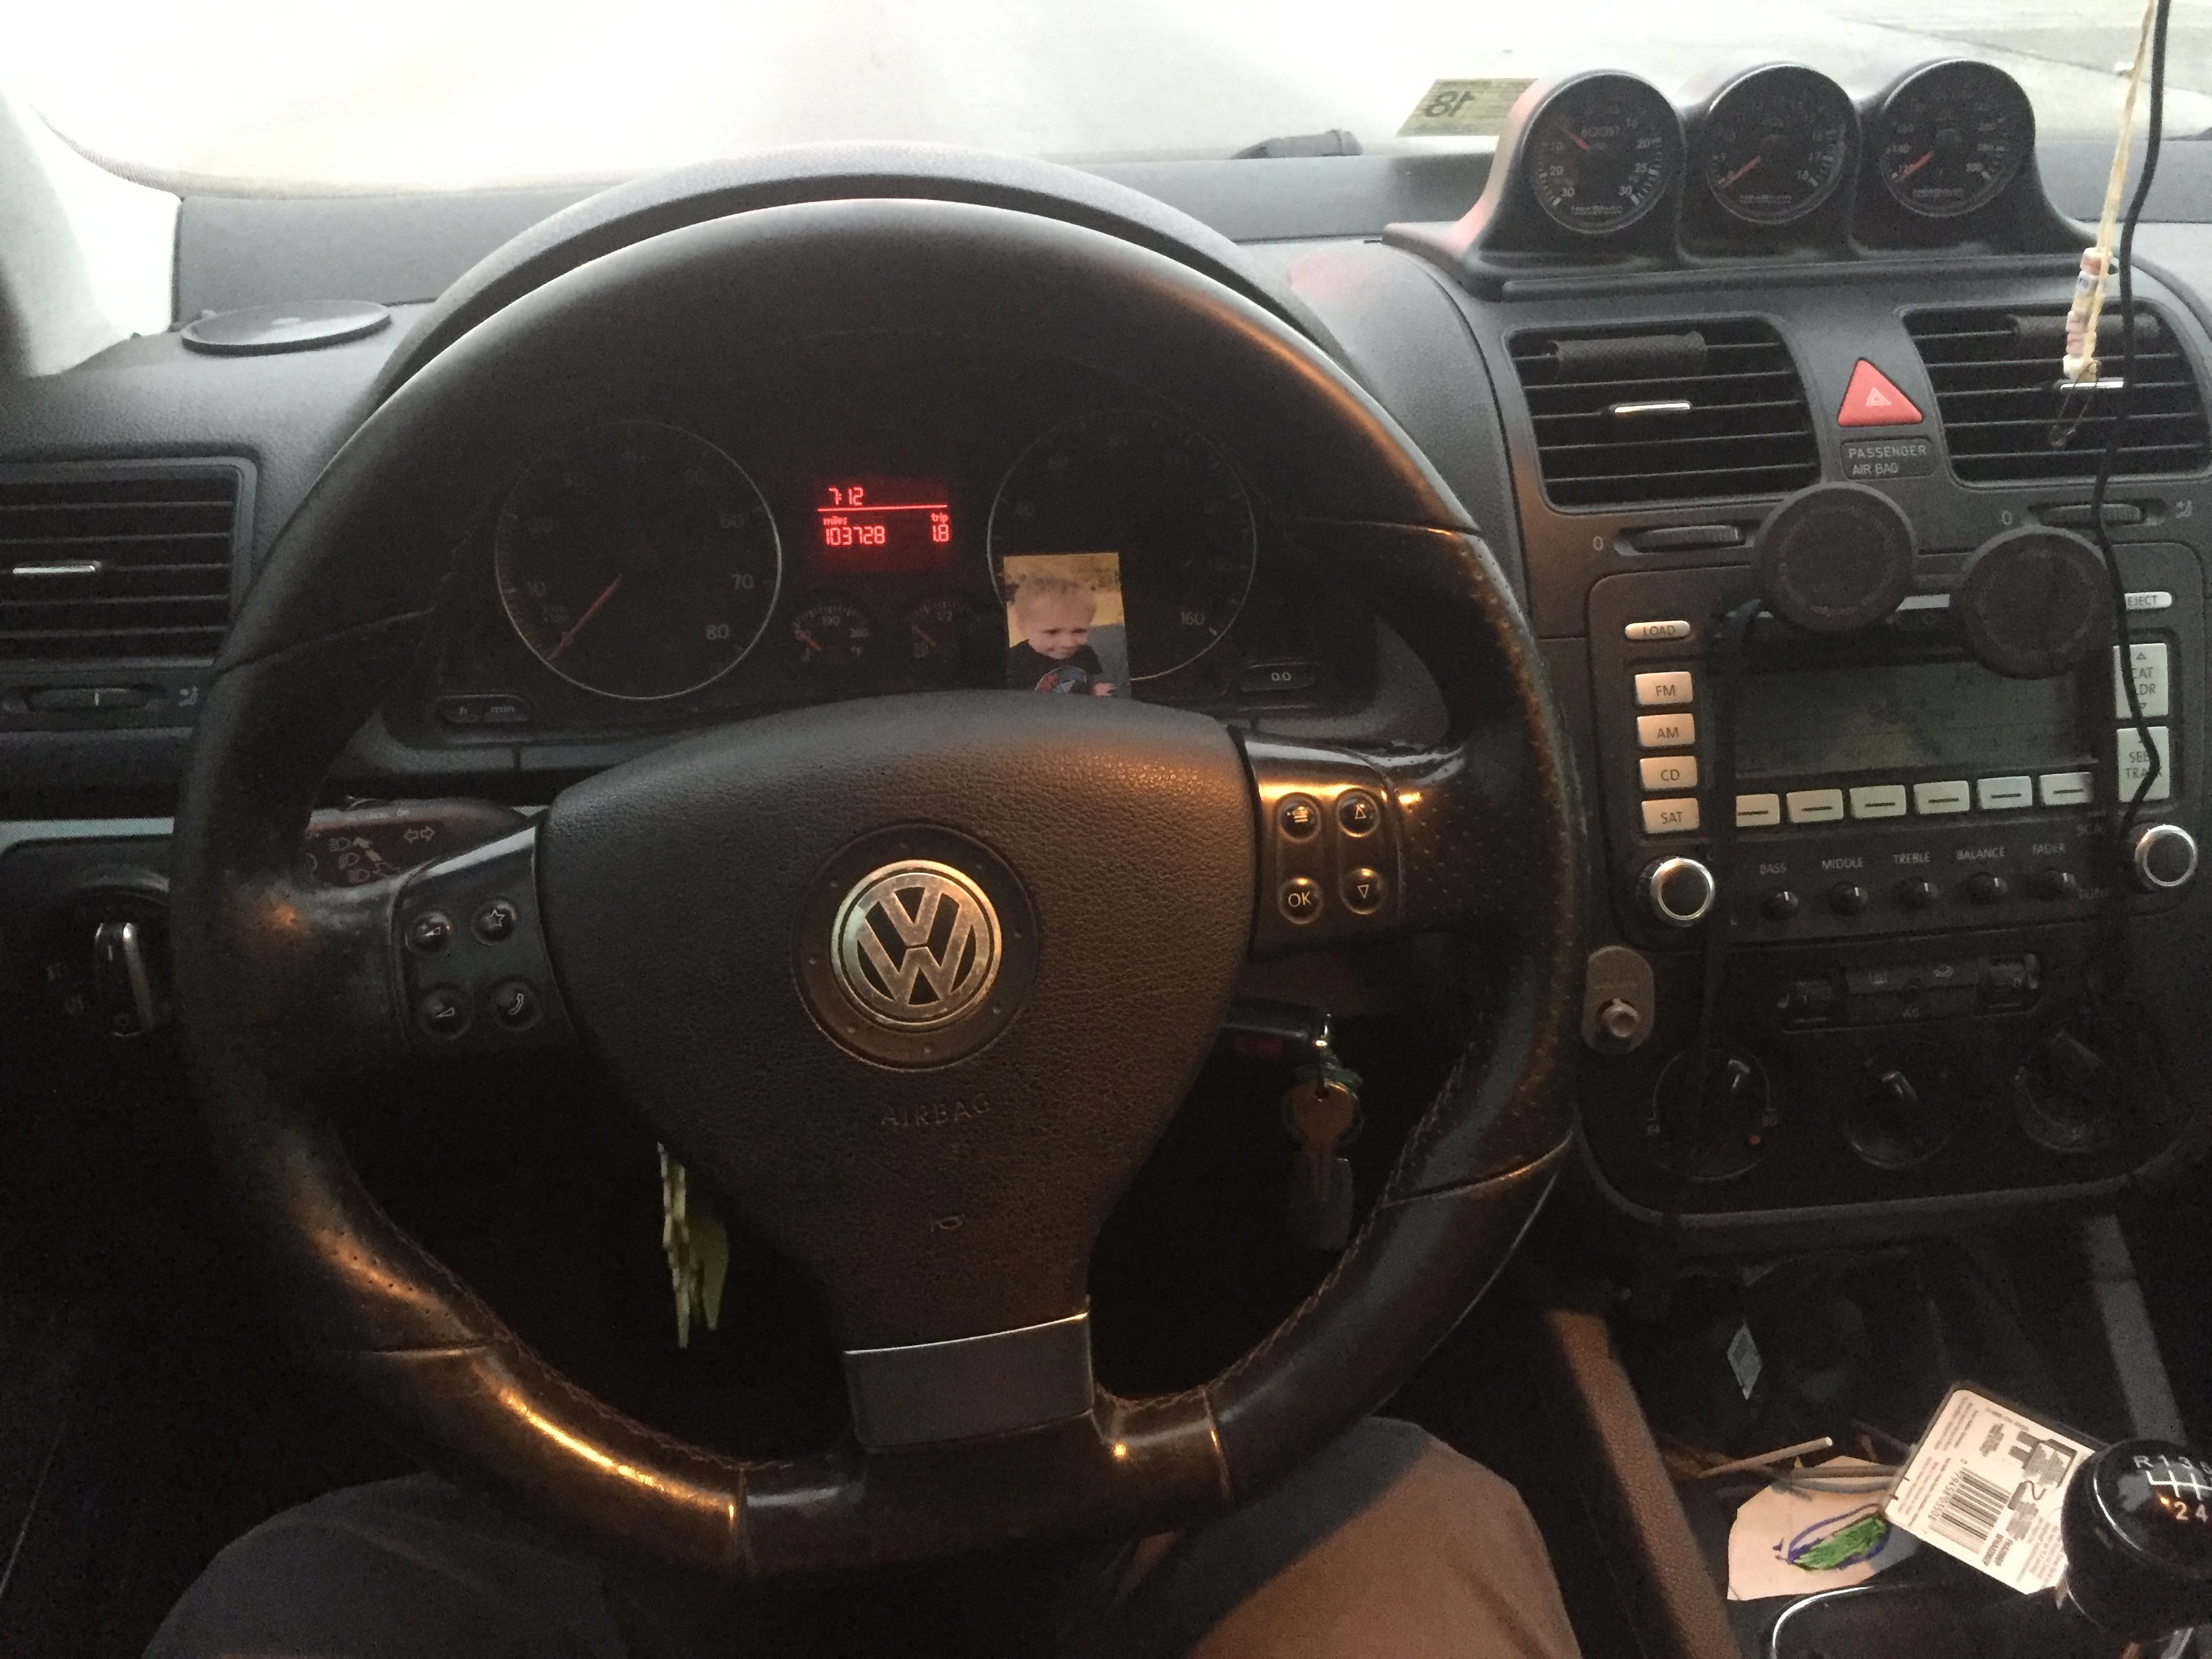
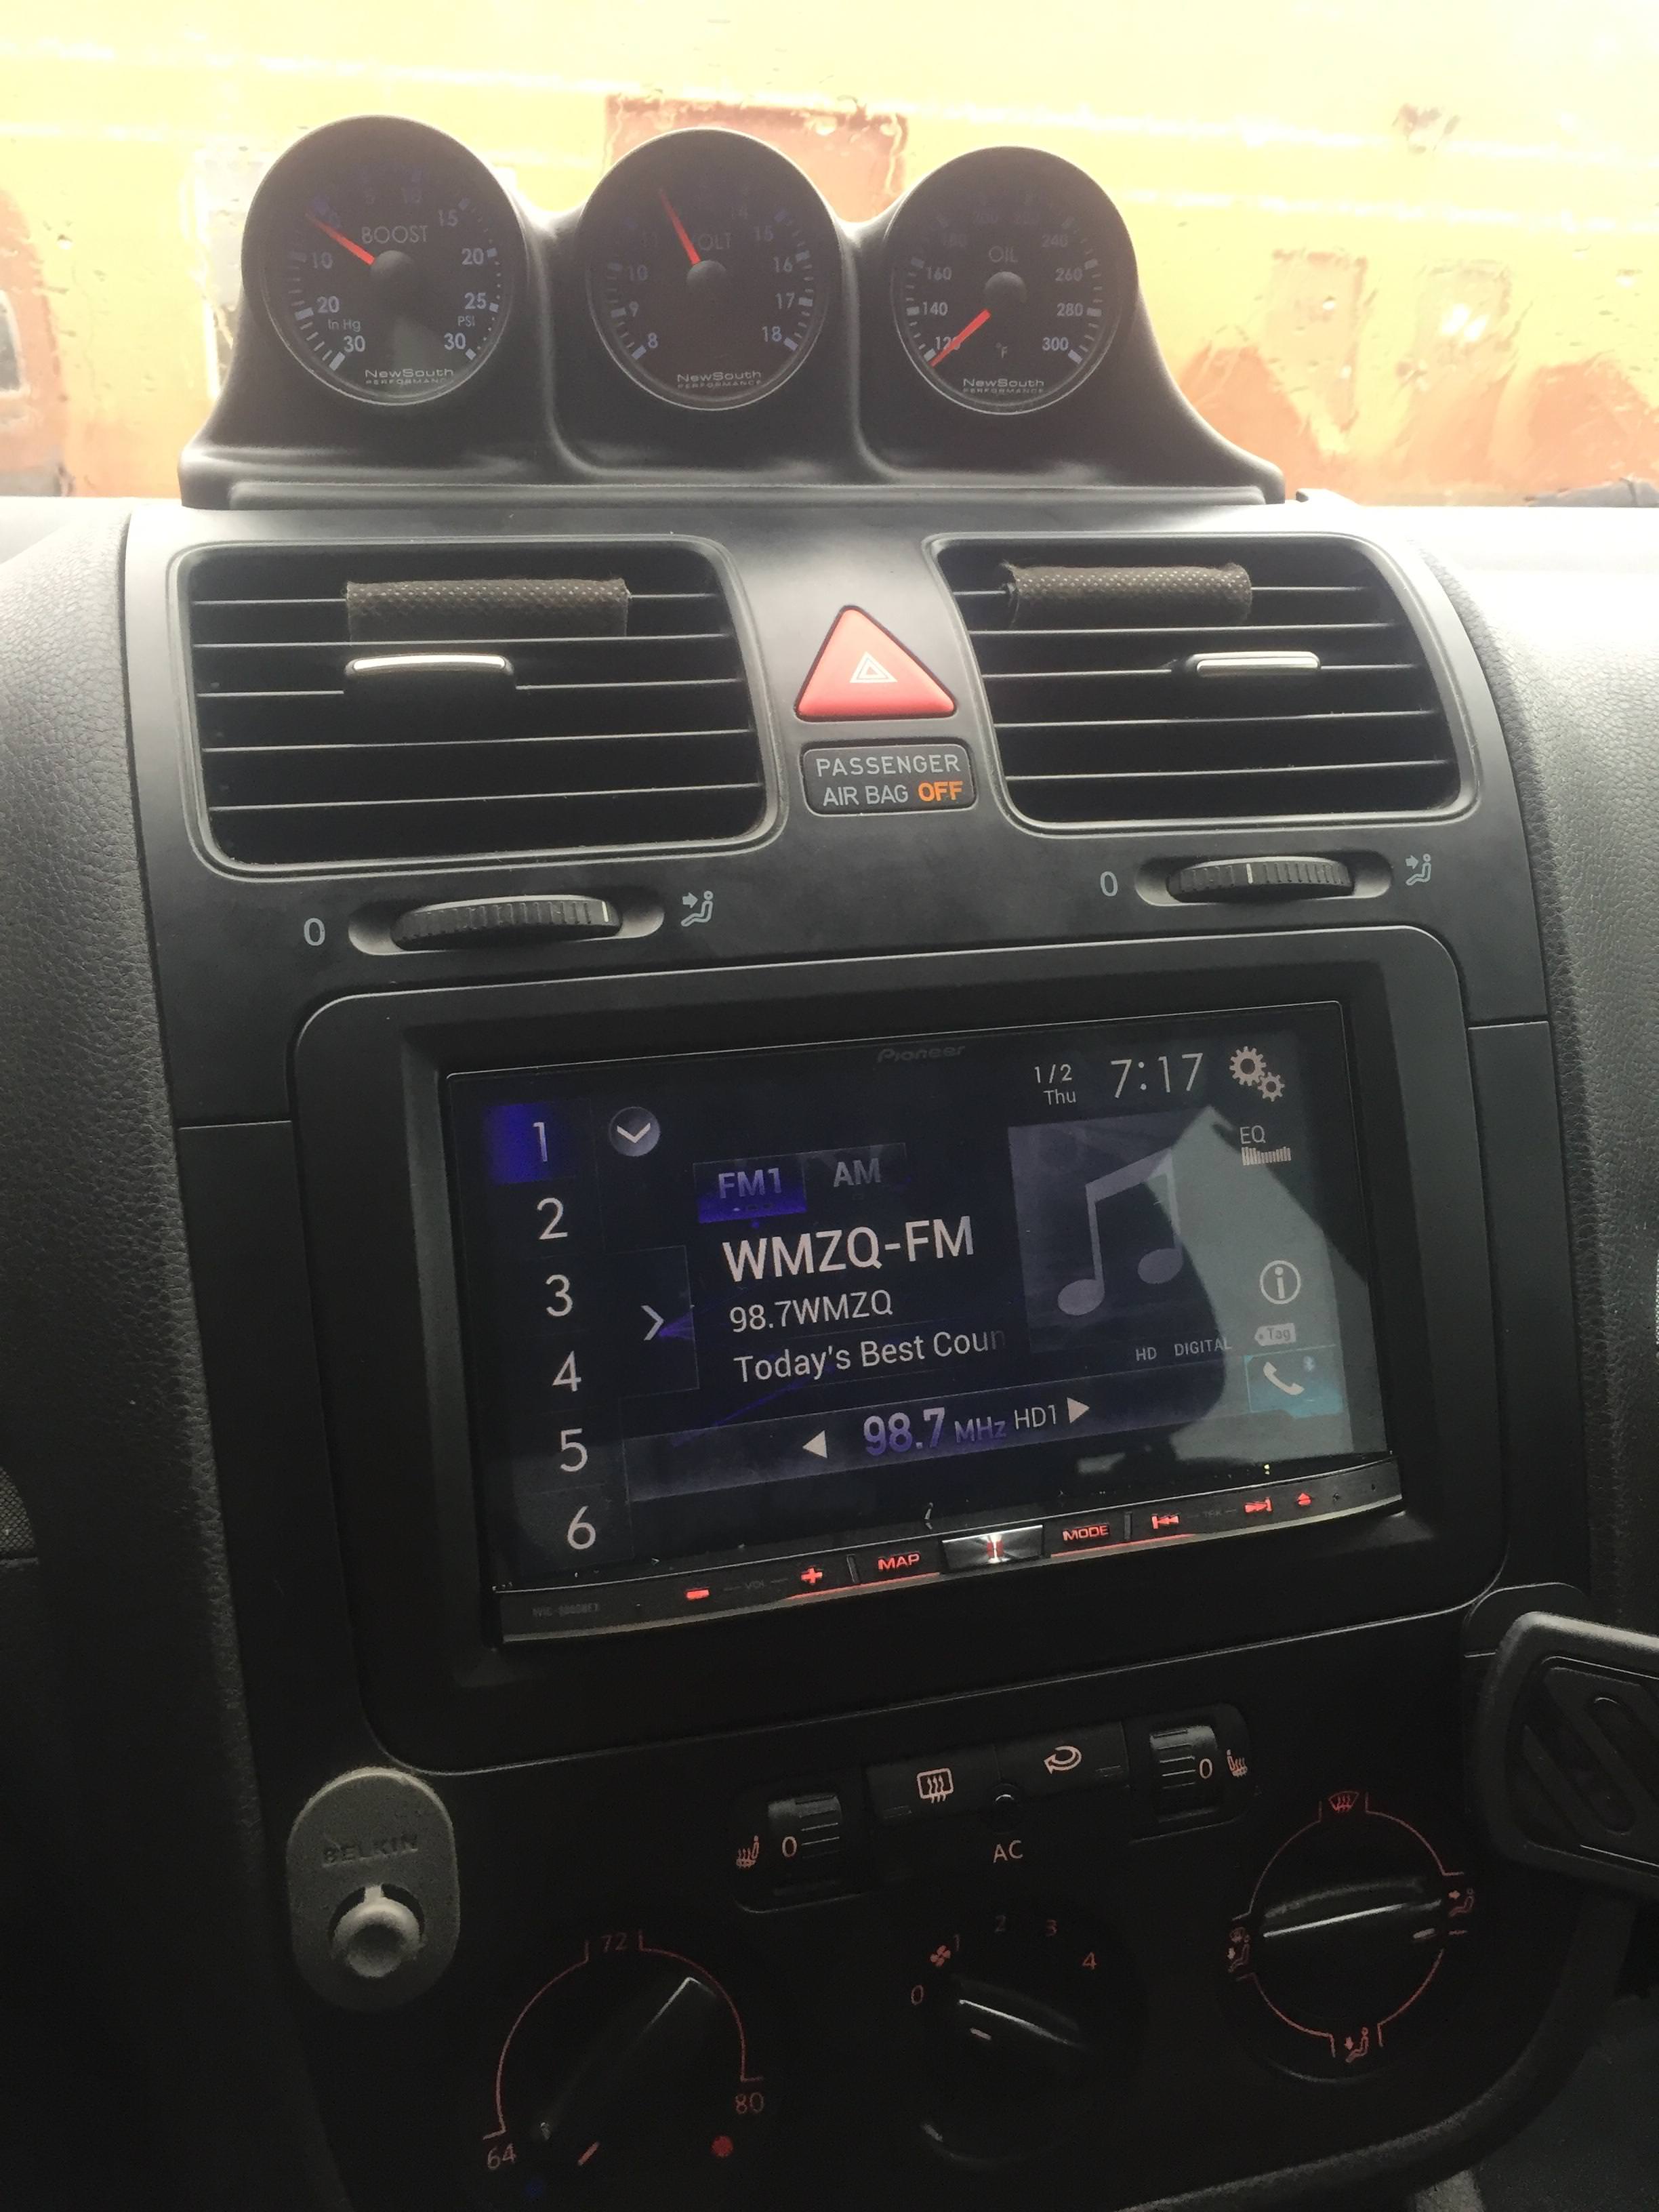
Related to the stereo install I added a new Pioneer Avic-8000Nex headunit. Also in the pic is some gauges I added (boost, volts and oil temp)
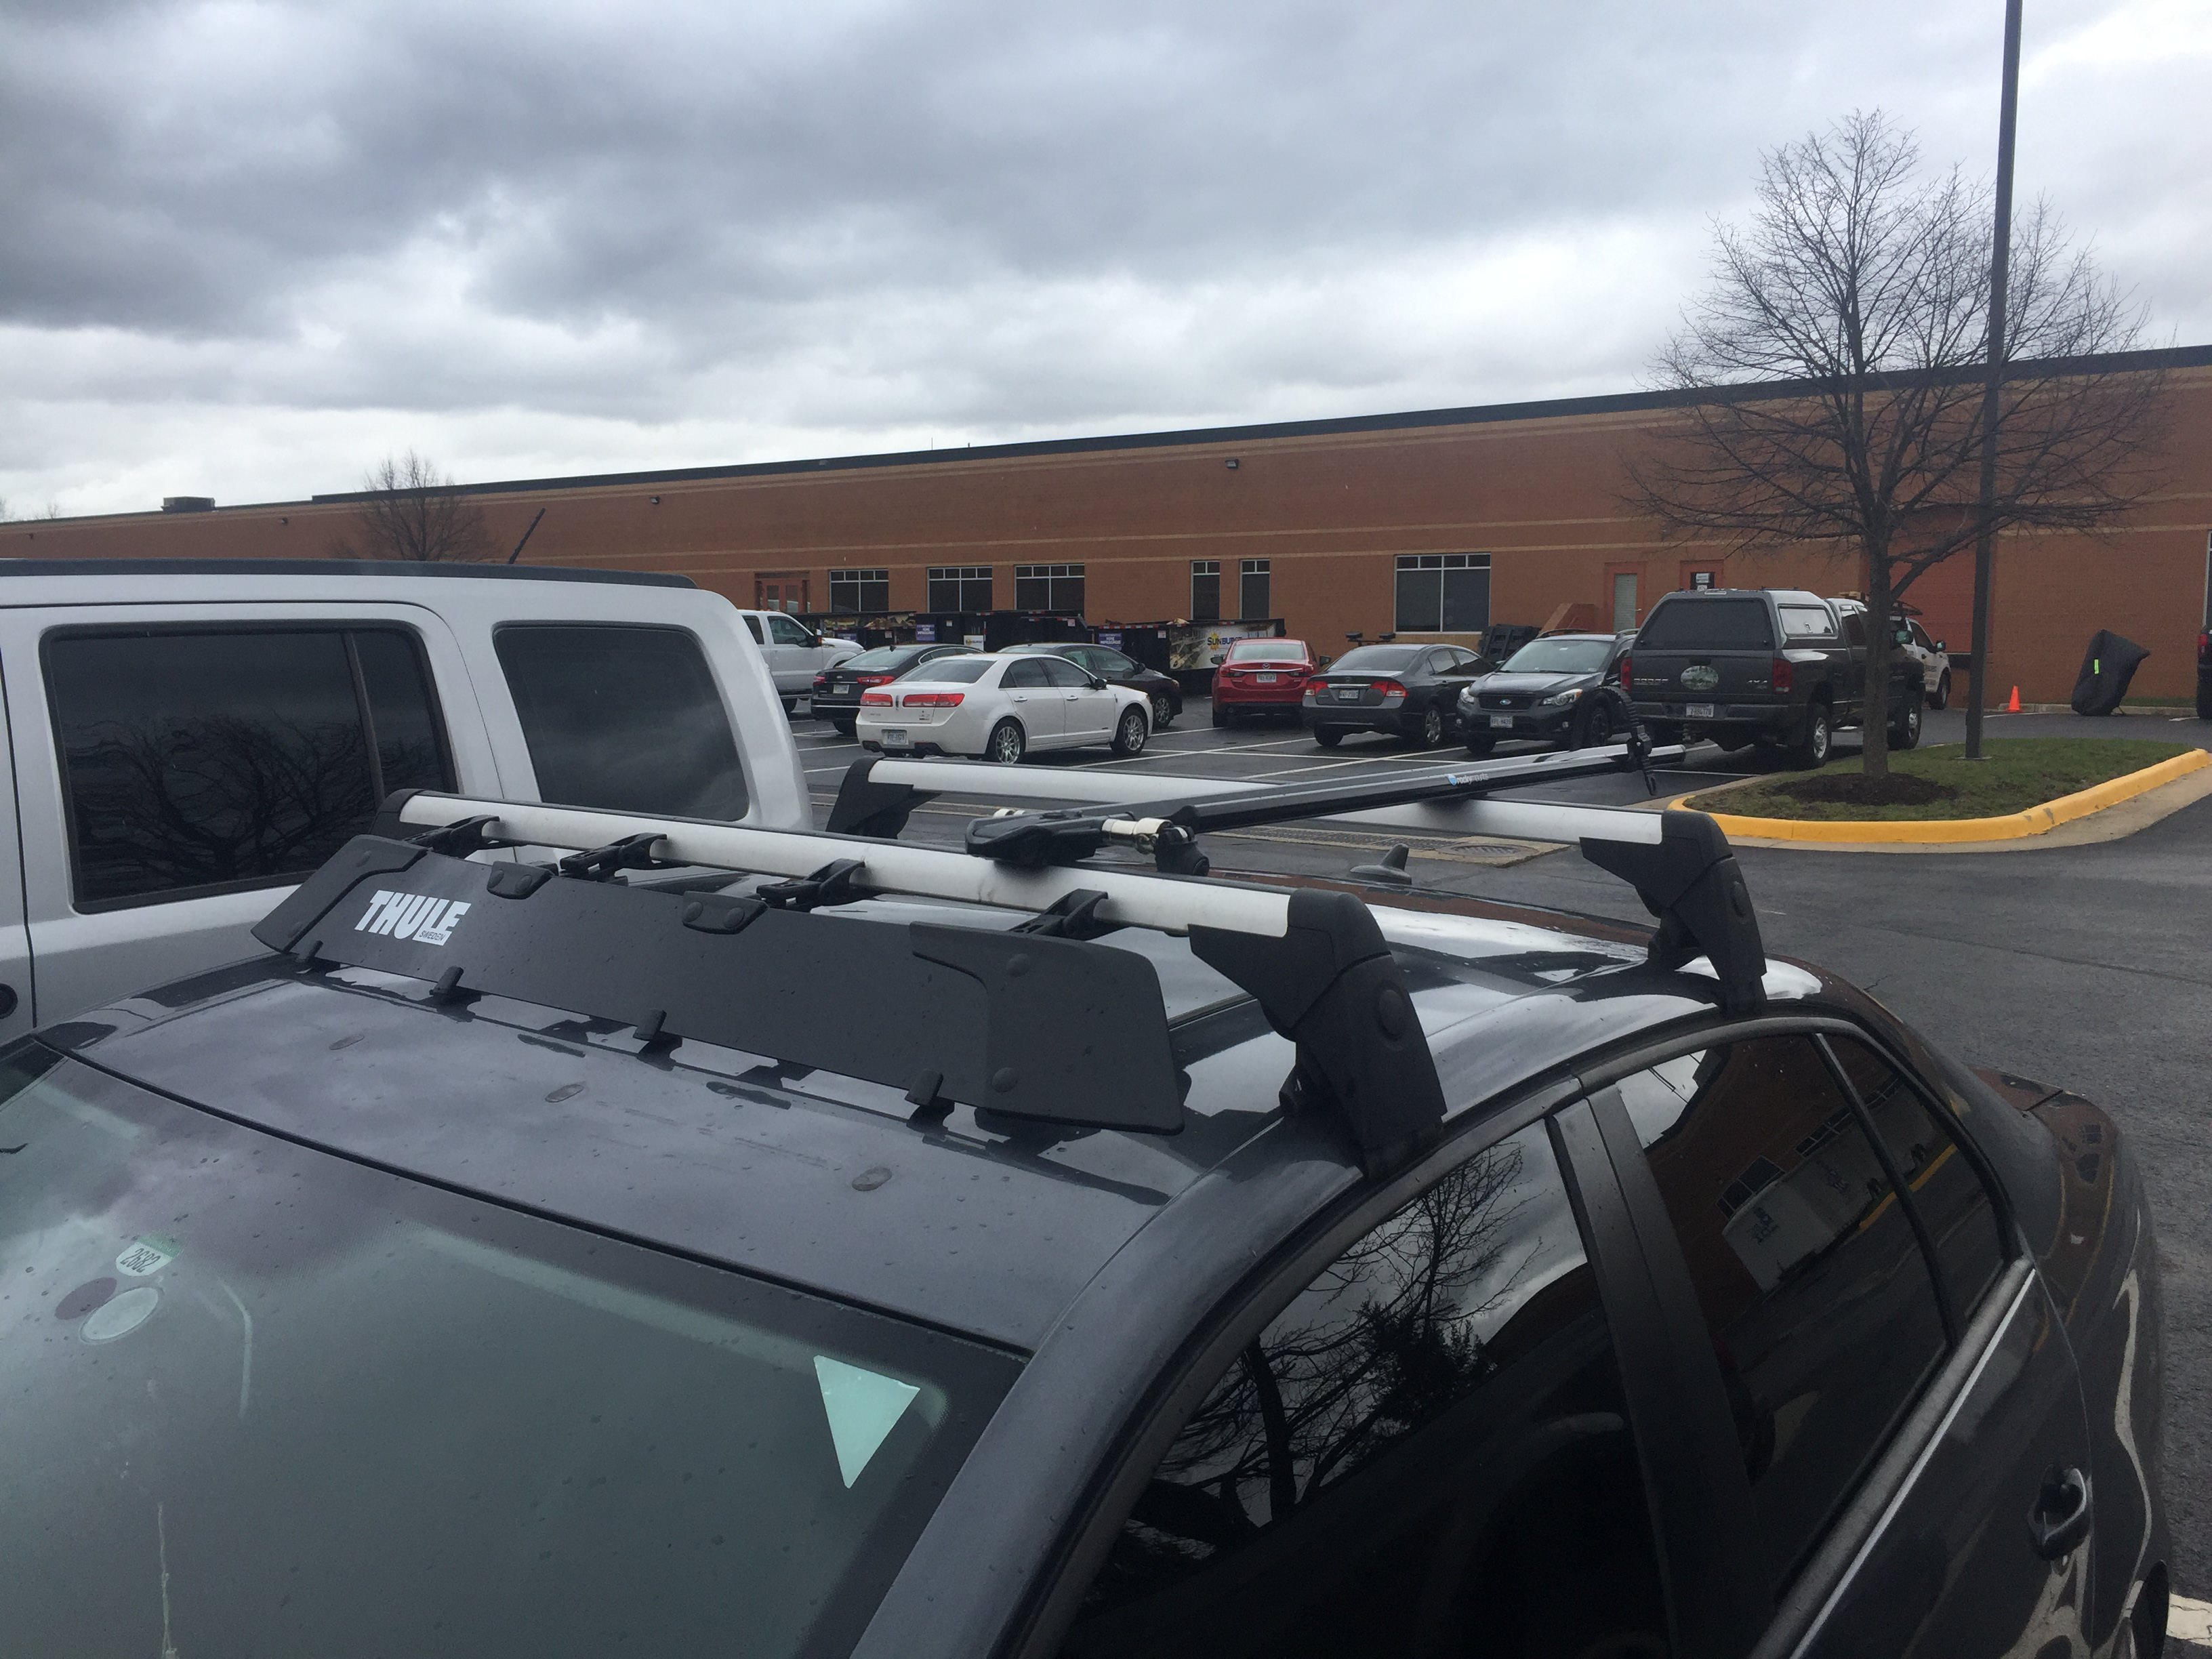
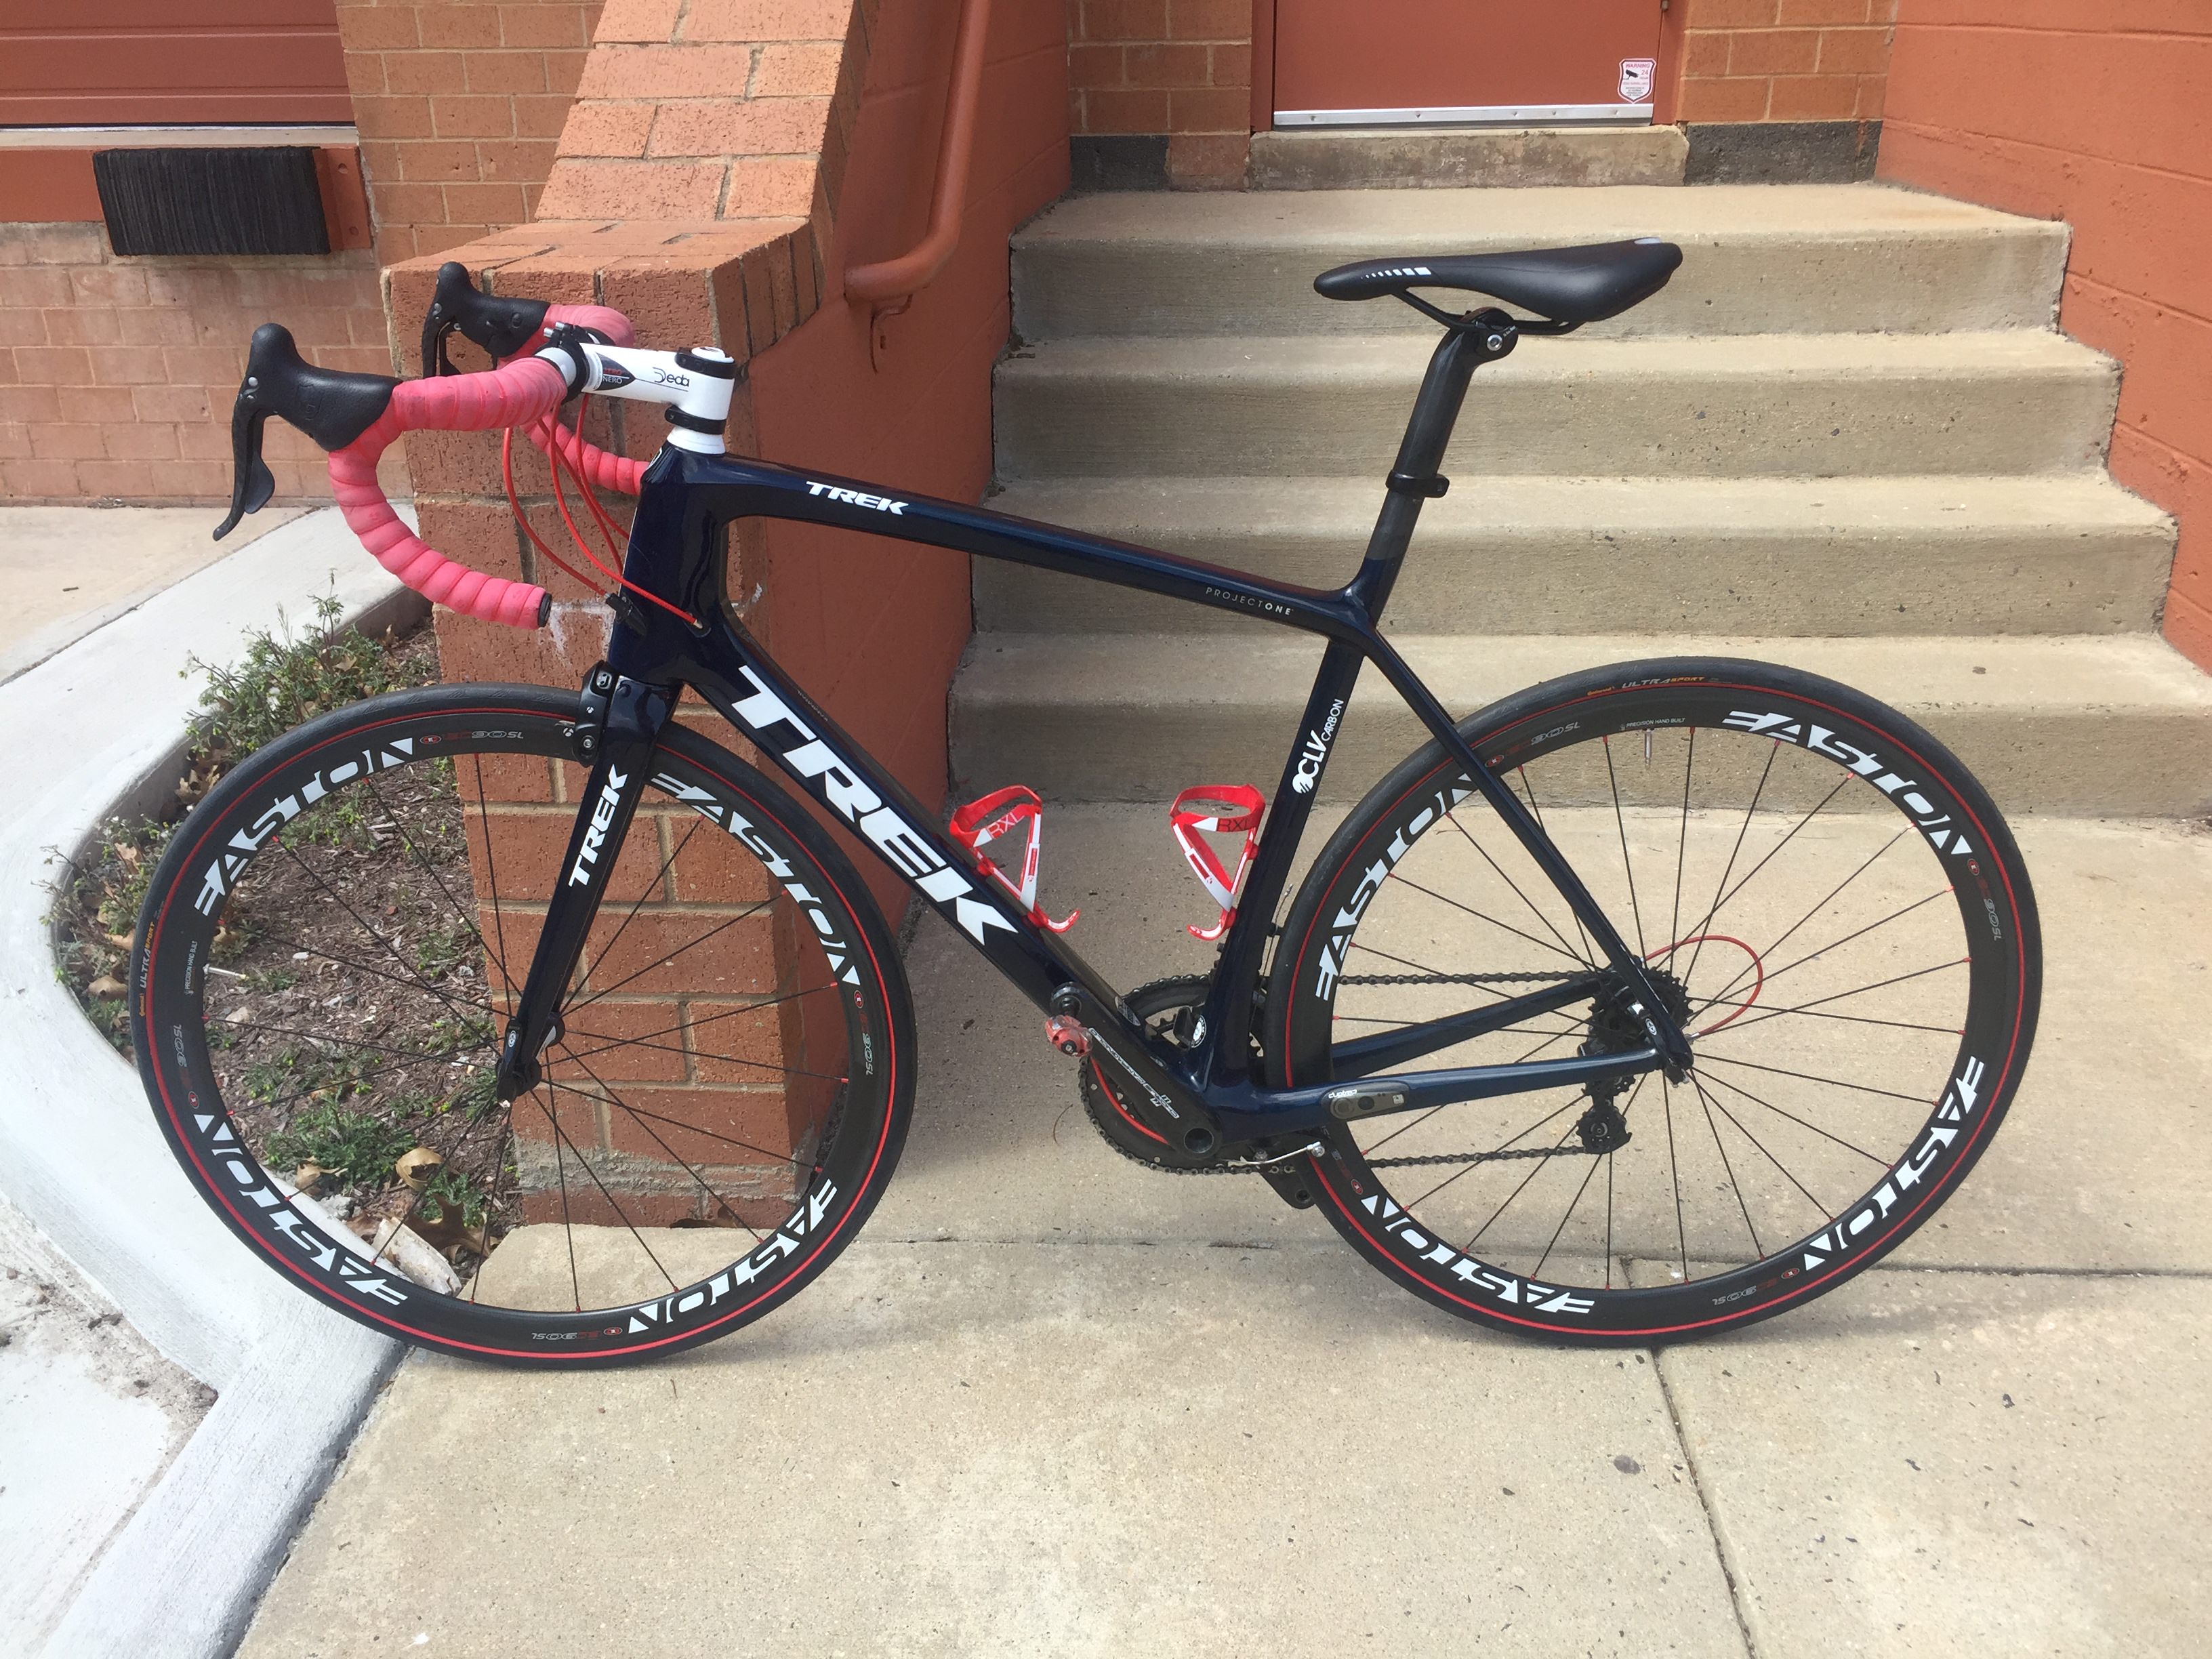
I built myself a really nice full carbon bike so I needed a new fork mount bike rack so I don't damage the frame with my old clamp style racks so I bought those and added a new Thule fairing since I hated the fairing I had in the pic above.
And said bike just because!
And last but not least just because I can't clear speed bumps doesn't mean I don't urban wheel the dang thing!!!

I did an projector retrofit along with adding the honeycomb grills and fog lights.
Added a GTI steering wheel since mine was destroyed when I got the car.
Related to the stereo install I added a new Pioneer Avic-8000Nex headunit. Also in the pic is some gauges I added (boost, volts and oil temp)
I built myself a really nice full carbon bike so I needed a new fork mount bike rack so I don't damage the frame with my old clamp style racks so I bought those and added a new Thule fairing since I hated the fairing I had in the pic above.
And said bike just because!
And last but not least just because I can't clear speed bumps doesn't mean I don't urban wheel the dang thing!!!
Thread Starter
|
Super Moderator
Joined: Sep 2011
Posts: 4,459
From: Northern VA
I am really happy with the bike so far although I have not been able to ride as much as I would like yet with all the rain we've had.
Thread Starter
|
Super Moderator
Joined: Sep 2011
Posts: 4,459
From: Northern VA
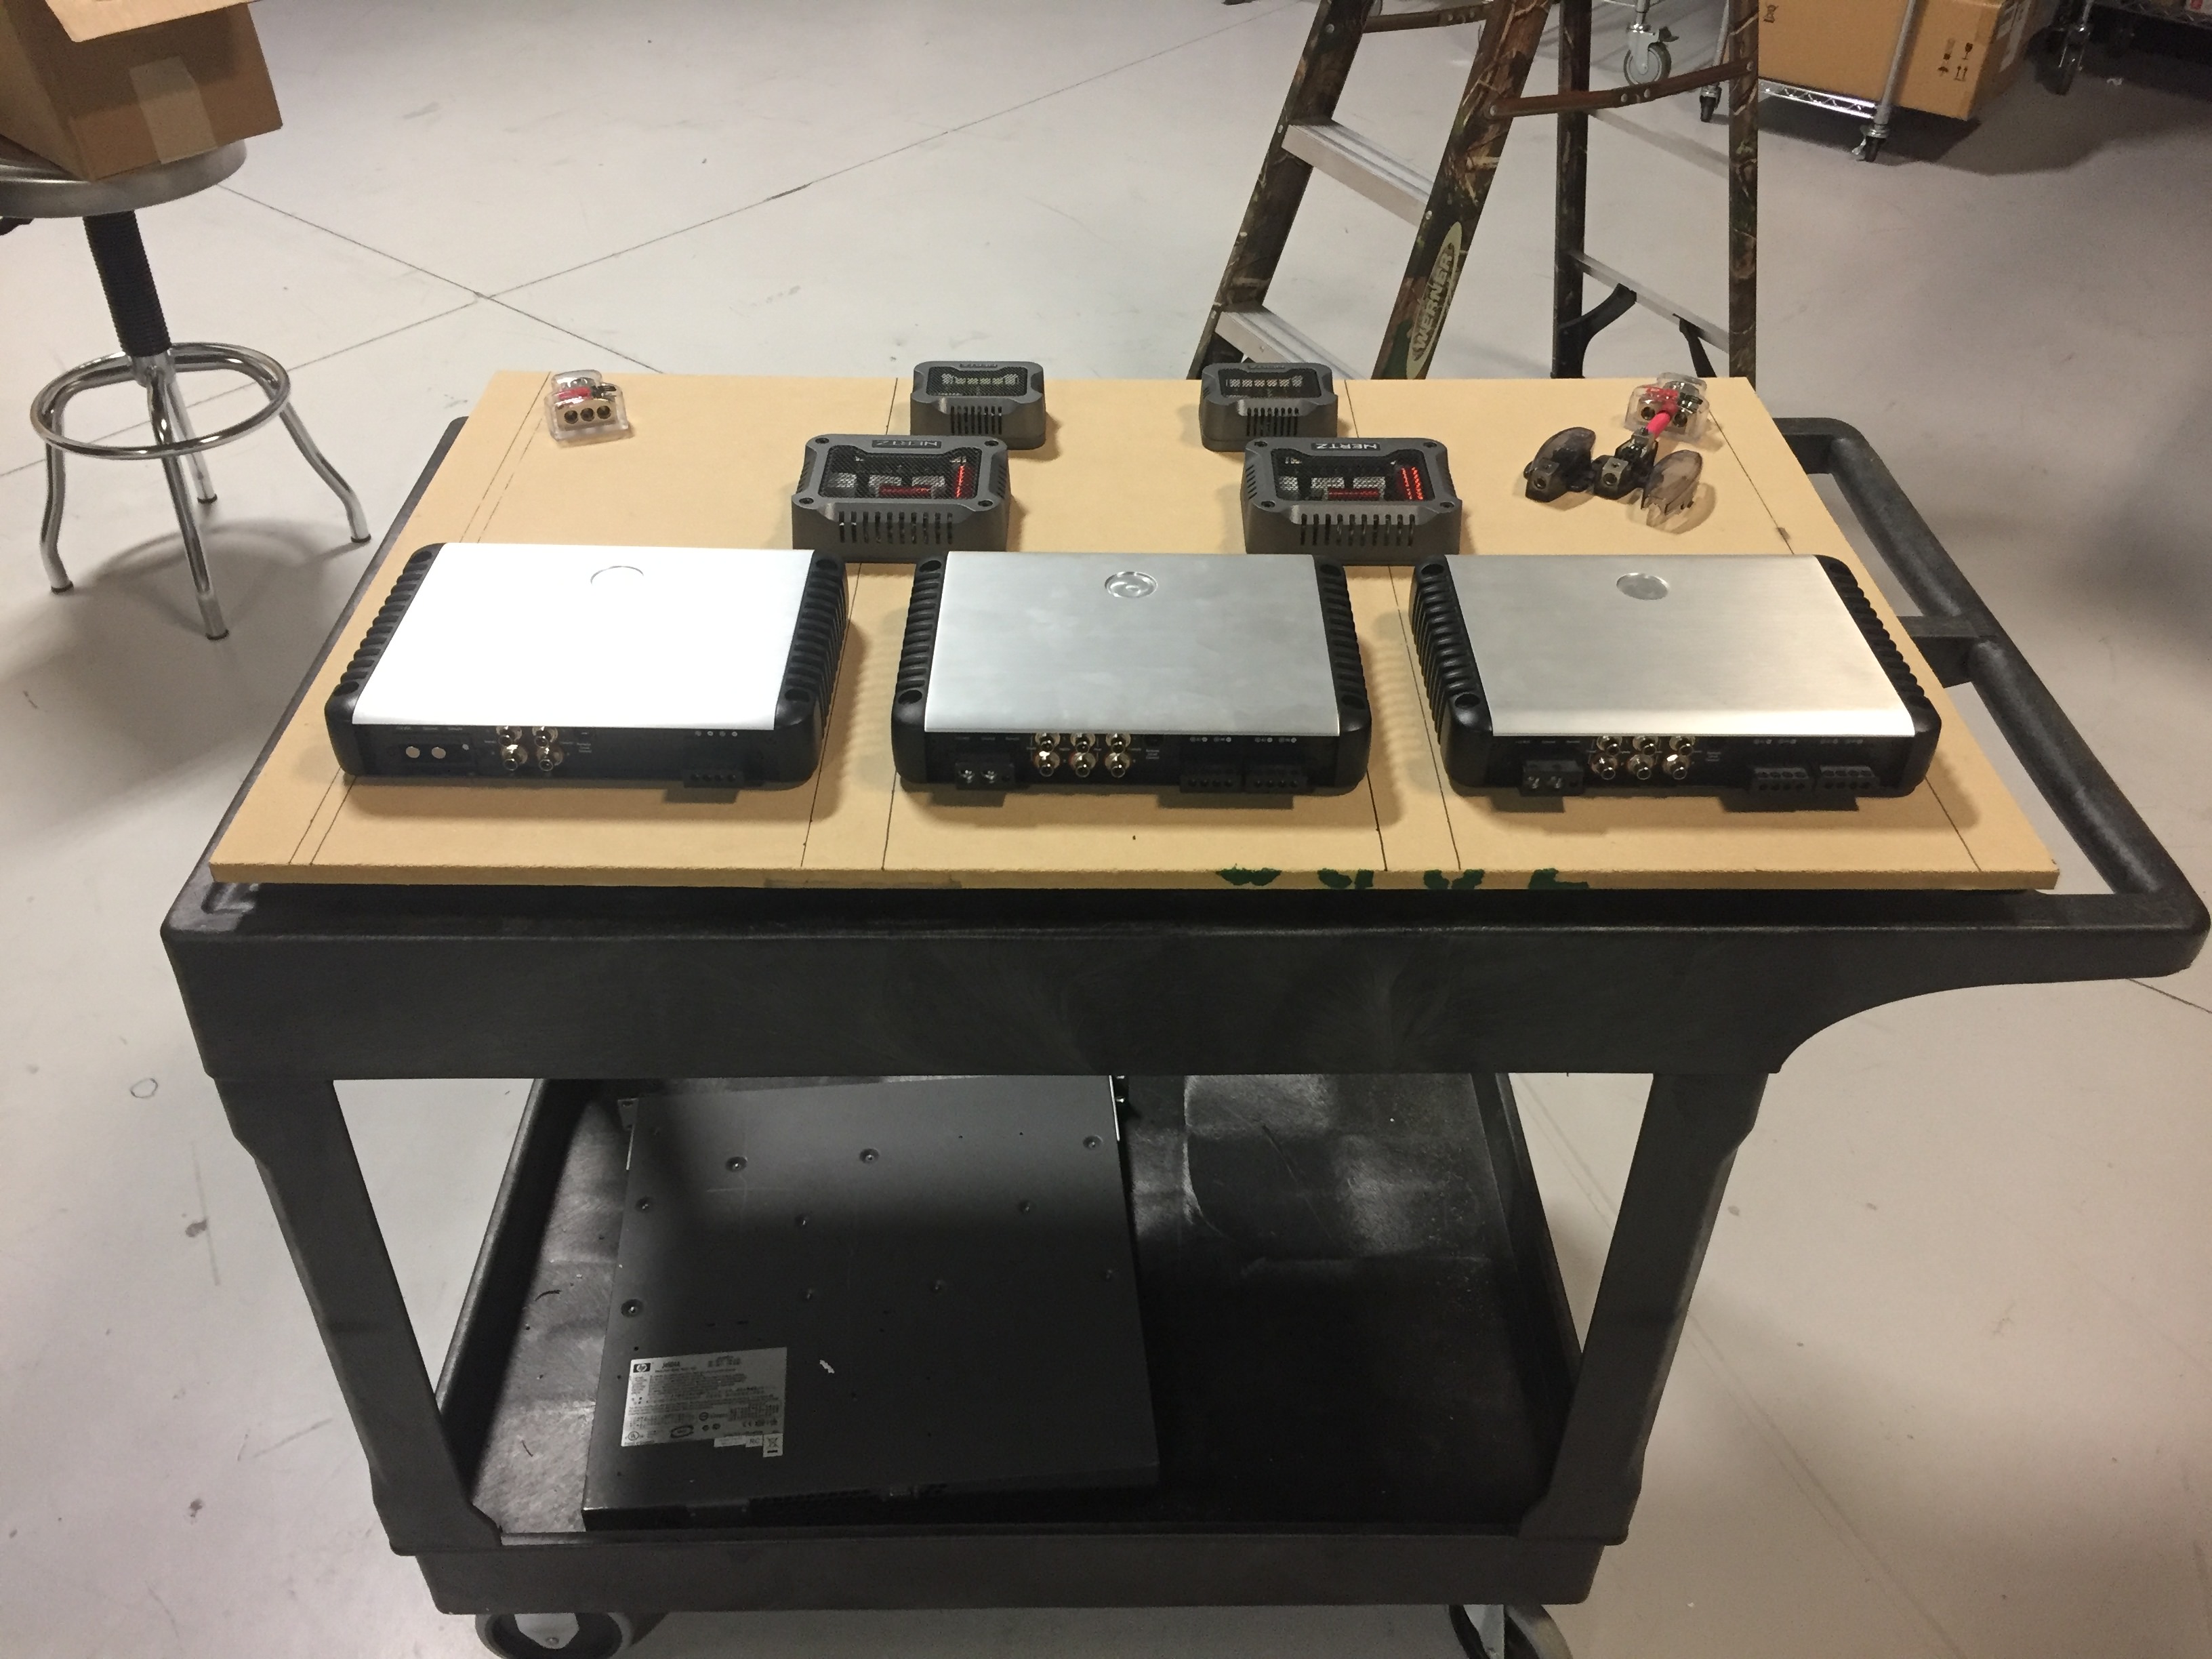
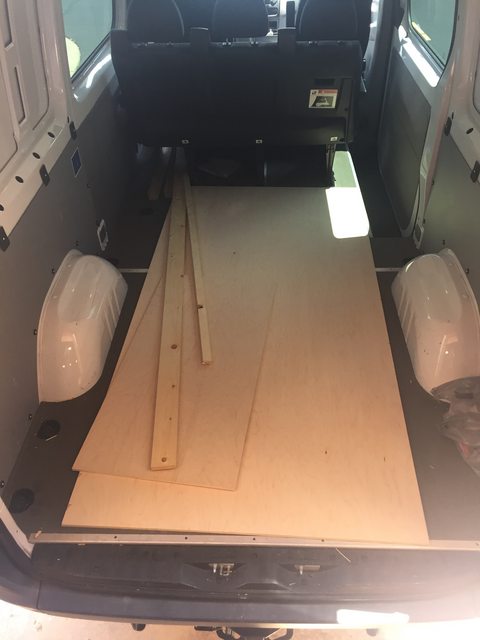
Since I use my trunk I decided a false floor was the best option for the amps and crossovers so I got to work on the design and layout.
I bought some nice birch wood to work with.
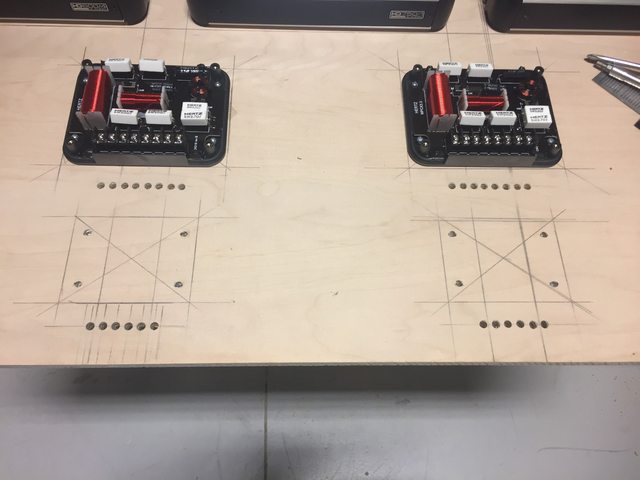
I came up with this as a simple and clean looking layout.
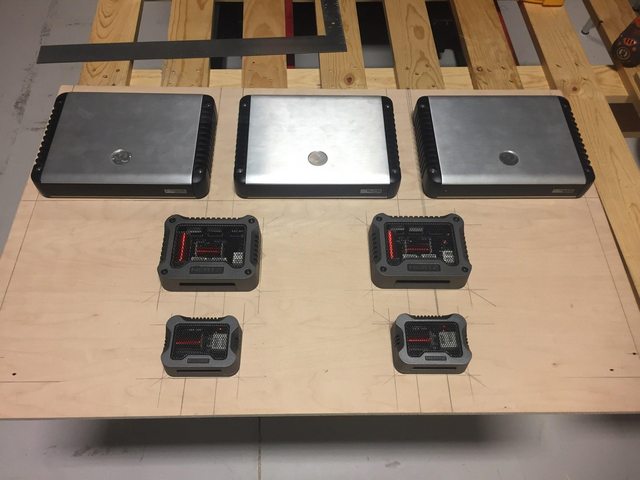
Once I had the layout figured out I attached the amps and crossovers using T-nuts so I can easily R&R them without worry of stripping the wood.
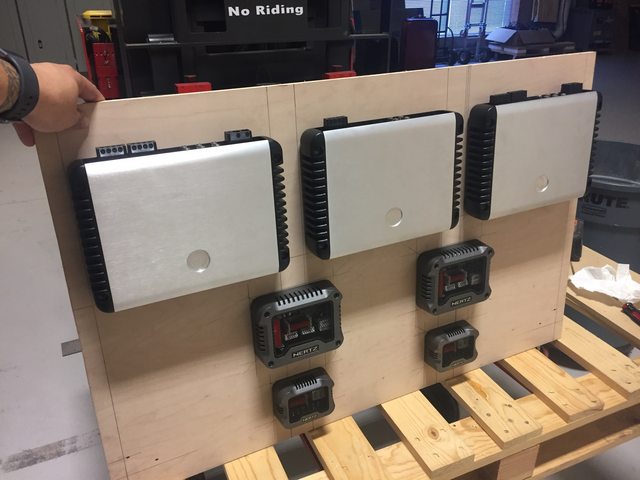
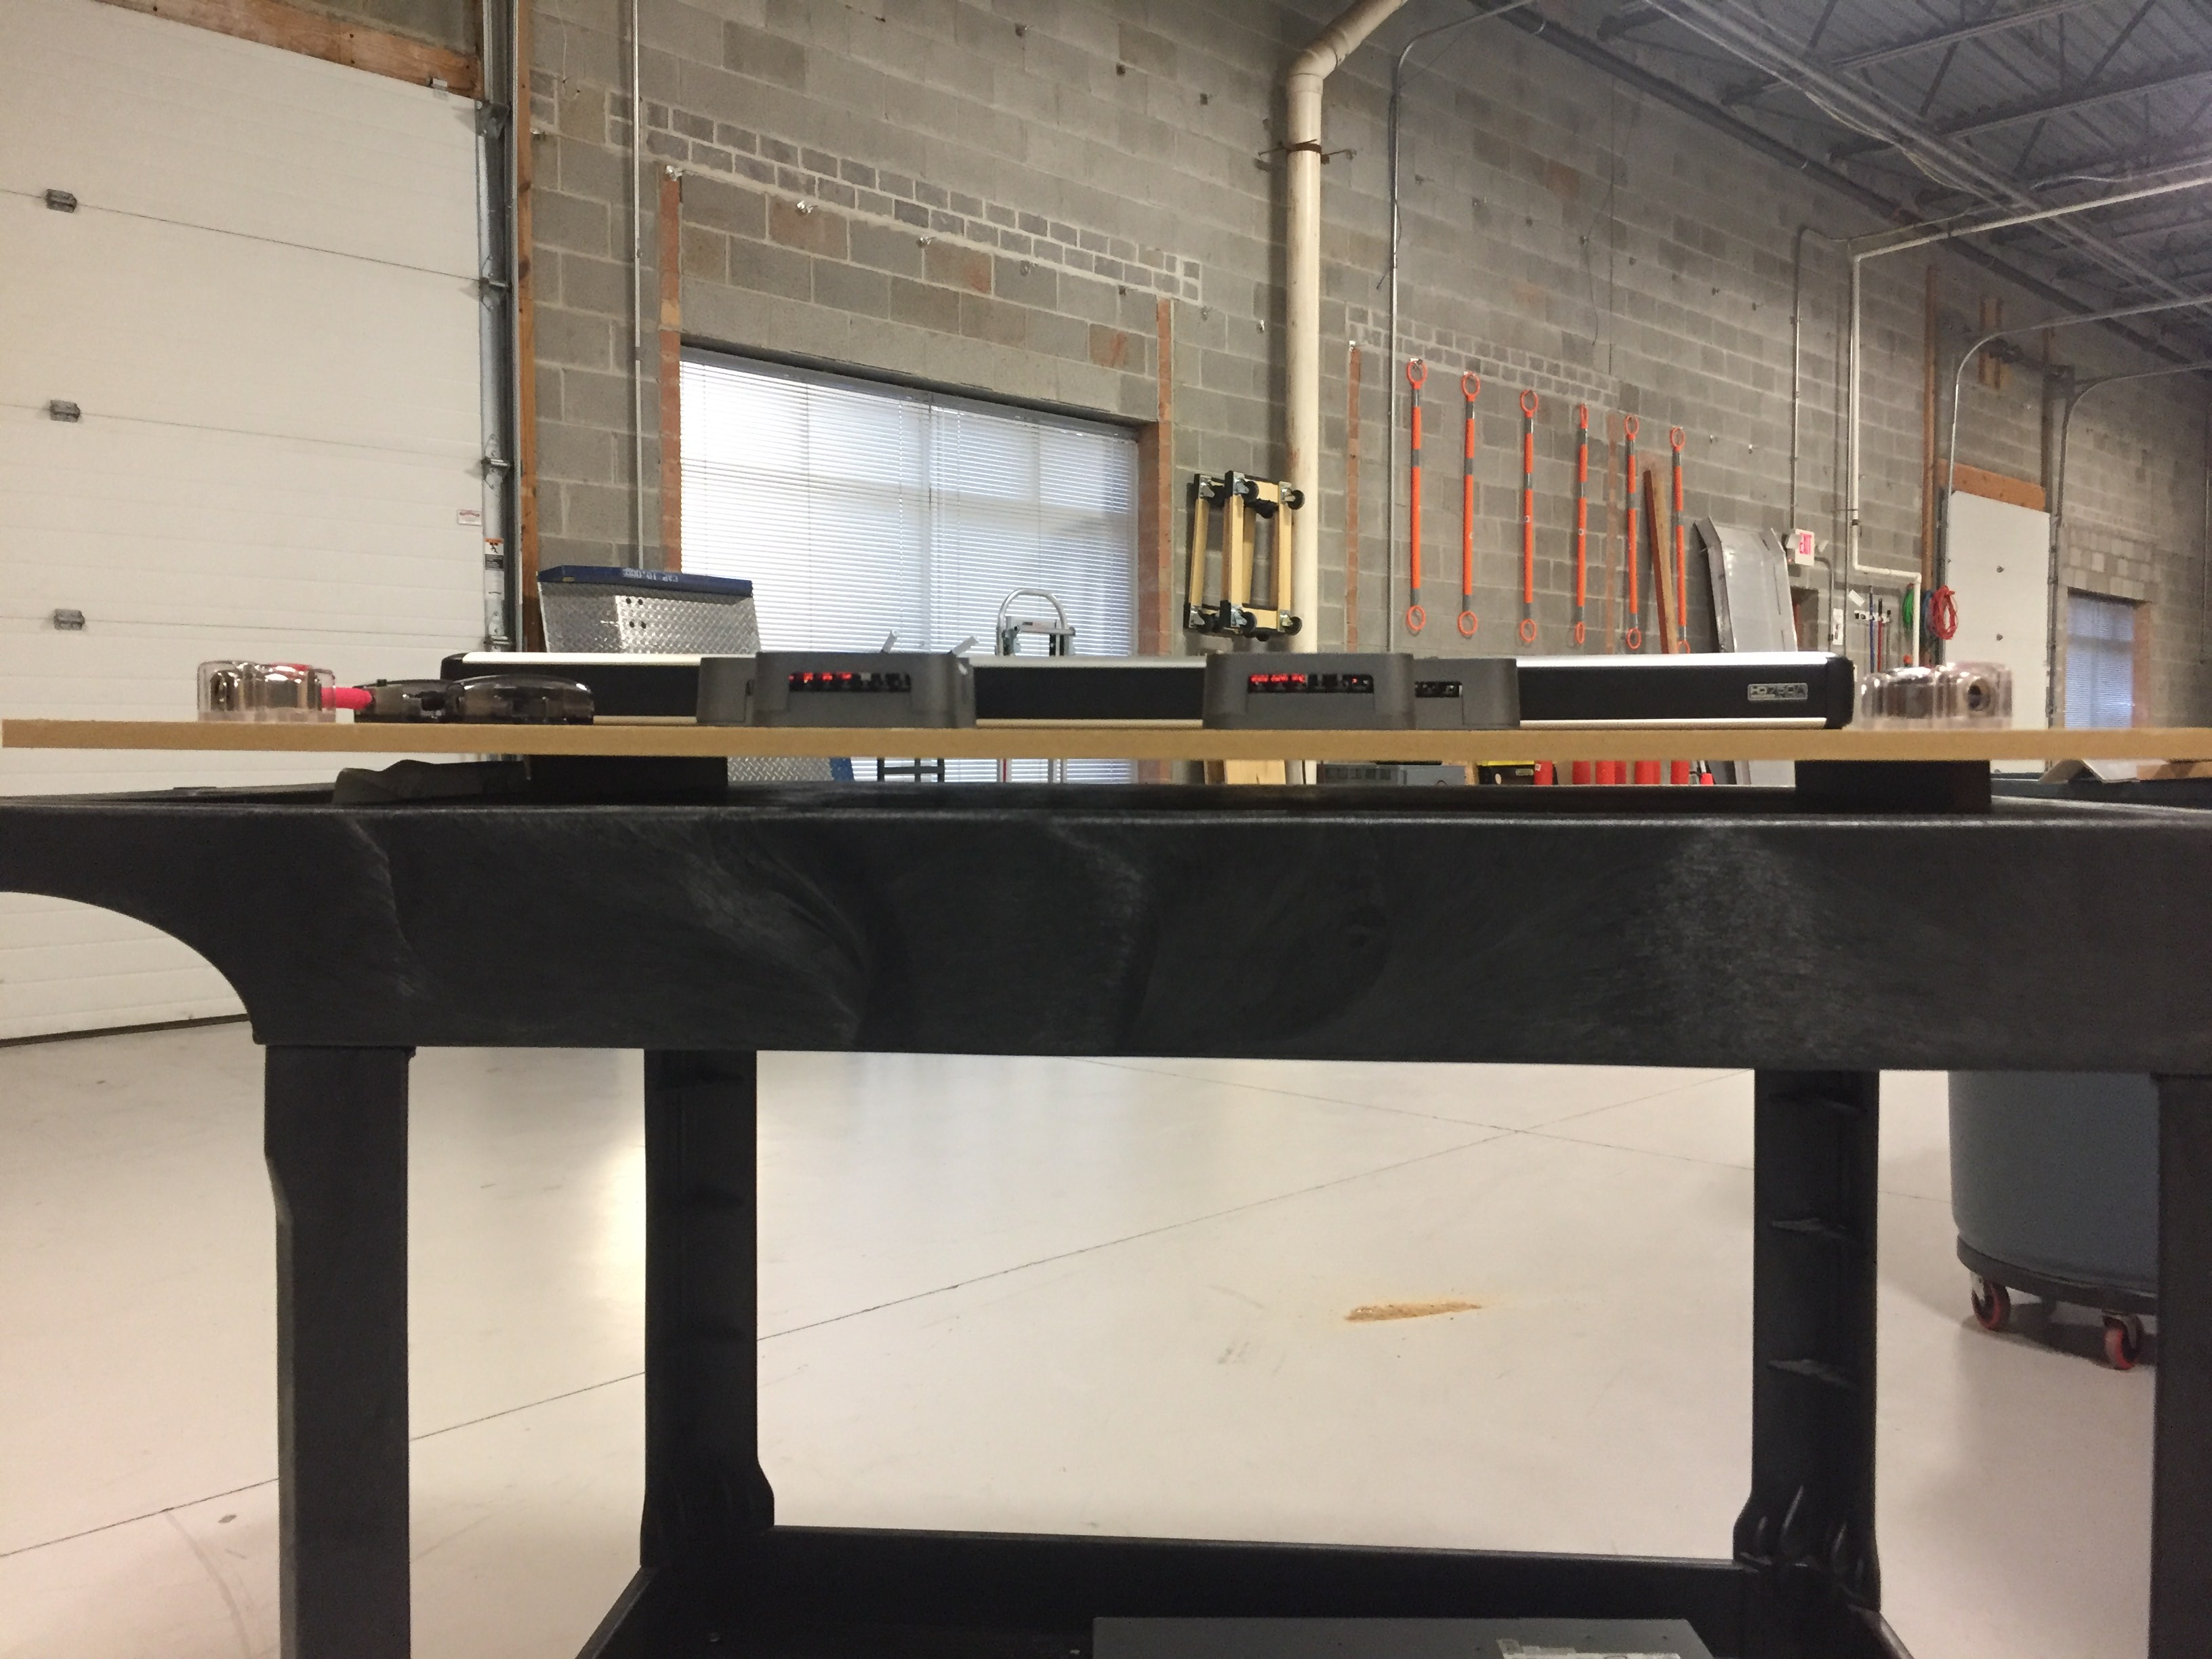
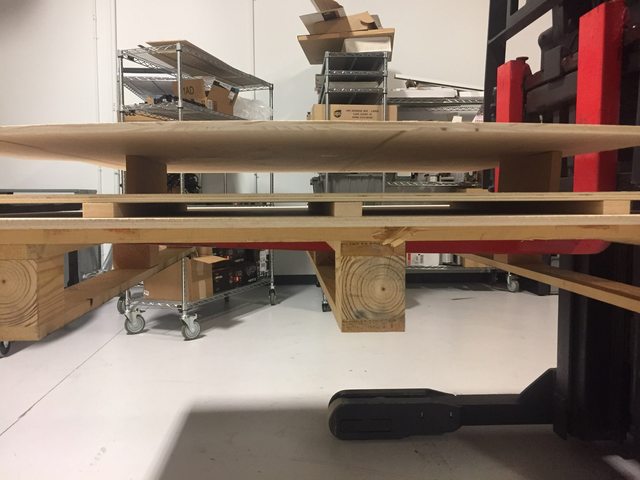
The floor will be three levels. The bottom base layer, a partial raised second layer that for the amps and crossovers which will allow all of the wires to be hidden away nicely and then the top which will serve as my new trunk floor.
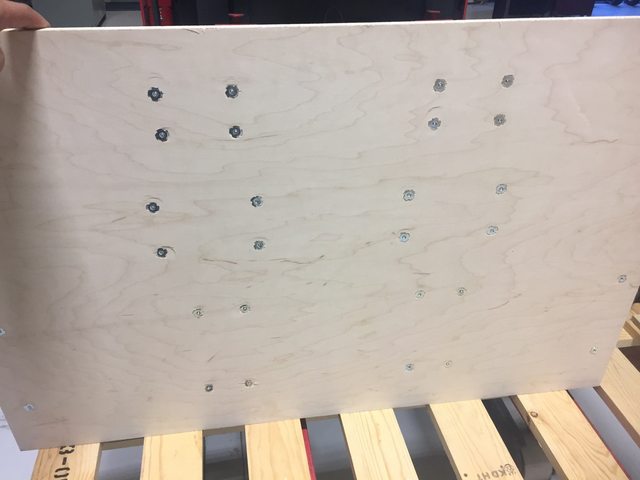
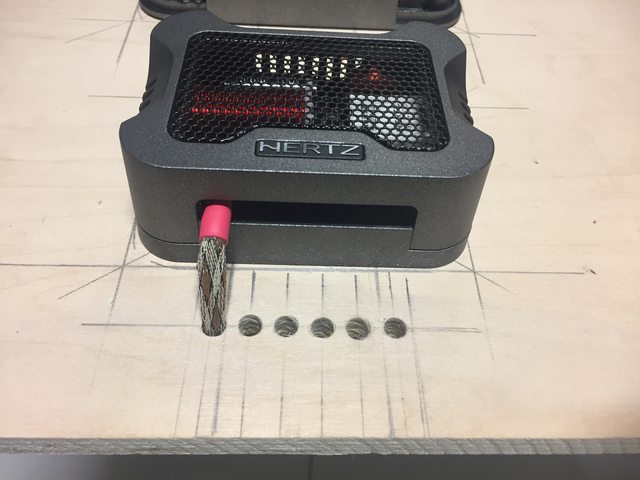
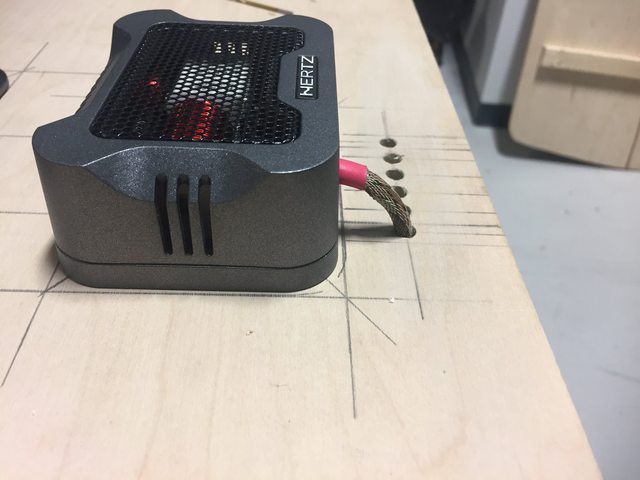
With the ability to hide the wires I drilled a bunch of holes. One for each terminal so a single wire will pass through each hole.
The end result will be something like this but not necessarily this wire combo it was just a small test piece.
That was where I got to on Wednesday.
I bought some nice birch wood to work with.
I came up with this as a simple and clean looking layout.
Once I had the layout figured out I attached the amps and crossovers using T-nuts so I can easily R&R them without worry of stripping the wood.
The floor will be three levels. The bottom base layer, a partial raised second layer that for the amps and crossovers which will allow all of the wires to be hidden away nicely and then the top which will serve as my new trunk floor.
With the ability to hide the wires I drilled a bunch of holes. One for each terminal so a single wire will pass through each hole.
The end result will be something like this but not necessarily this wire combo it was just a small test piece.
That was where I got to on Wednesday.