When you click on links to various merchants on this site and make a purchase, this can result in this site earning a commission. Affiliate programs and affiliations include, but are not limited to, the eBay Partner Network.
Lighting & ElectricalPost your lighting and chassis/engine electrical questions here. Any audio/video questions should be posted in the 'Audio/Video Electronics' section.
Has anyone here any experience with replacing the leds that illuminate the remote radio controls mounted on a 1999 (or similar) steering wheel? I ask as the ones on the left side are out.
I'm good with a soldering iron and have worked on small components on PCBs so I'm not afraid of having to do that to fix mine.
According to my GM manual these are LEDs and not incandescent bulbs.
My questions are:
Can you confirm they are LEDs?
Are they surface mount or "bulb" like?
What are their sizes?
What are their color?
Getting the answers to these questions will save me the time of opening up the steering wheel so that I can identify the parts I need to order.
Thanks,
Christine
My steering wheel controls for reference.
UPDATE: Jan. 30, 2018
I thought I'd post here the details of the answers I worked out to the questions posted above so that no-one has to scroll through the whole thread to find it all:
-----------------
Although indicated in the electrical schematic as LEDs, they are not. They are incandescent bulbs.
Replacement Bulbs used:
size: T-1, 14 V, 40 mA, 0.15 MSCP, Filament type C-2F, average life hours rating: 16,000, Mouser.com part number 560-23. Note that not all bulbs are rated for the same life time. I tested one of the ones that was still working and at 14V the current draw was about 40 mA.
Removal and Replacement:
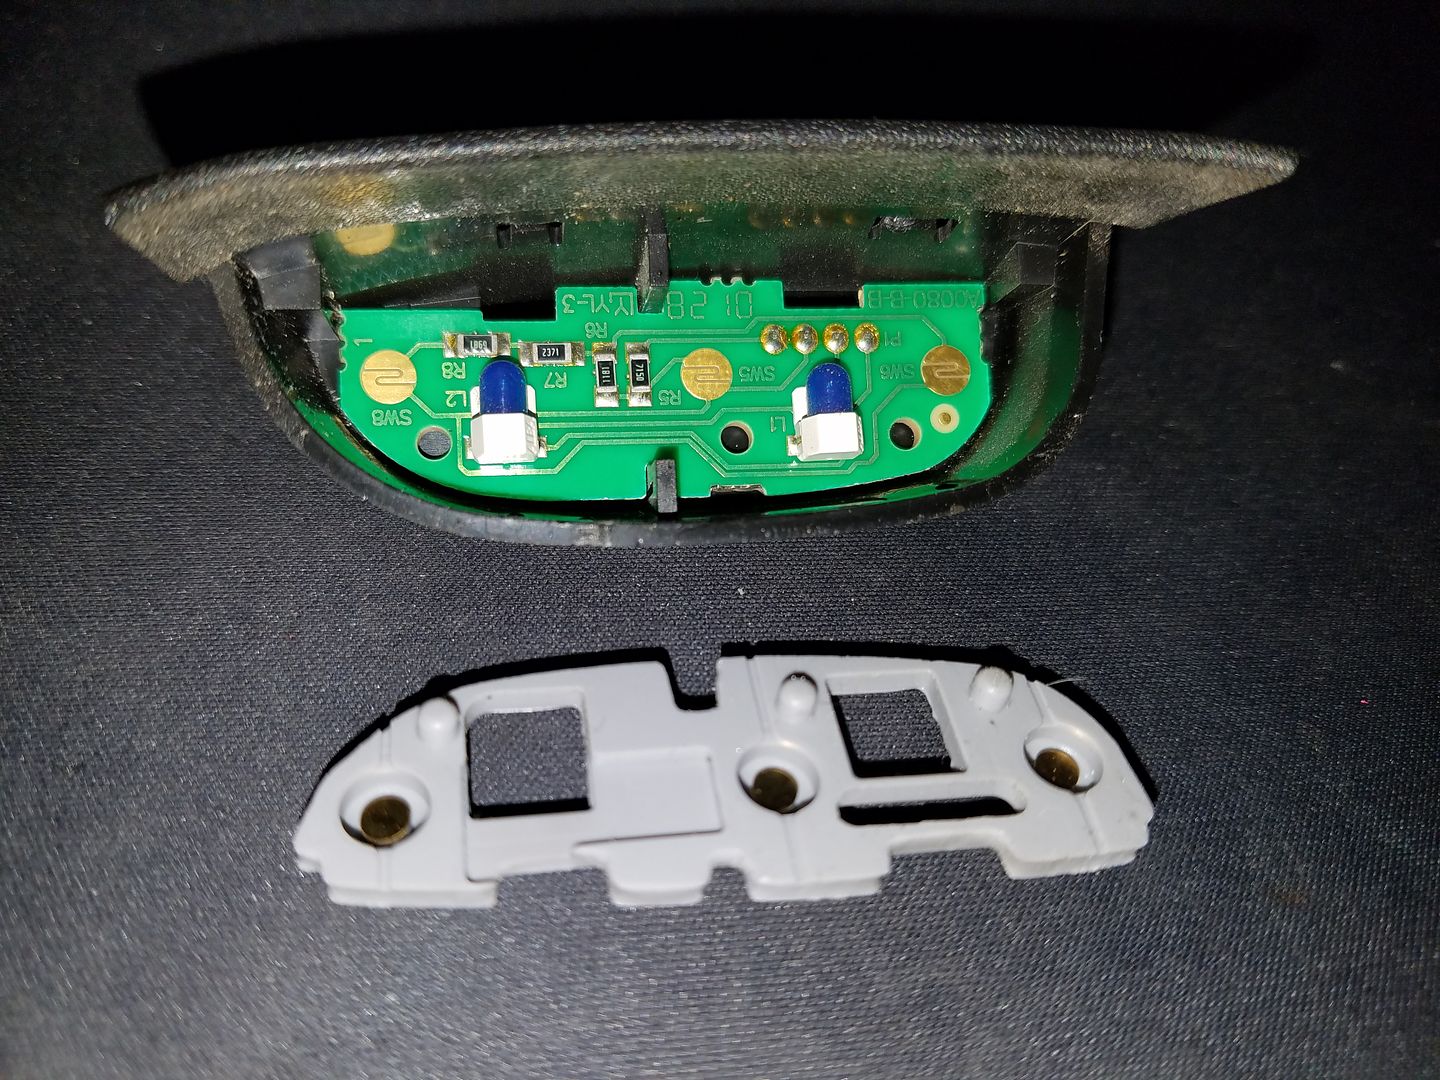
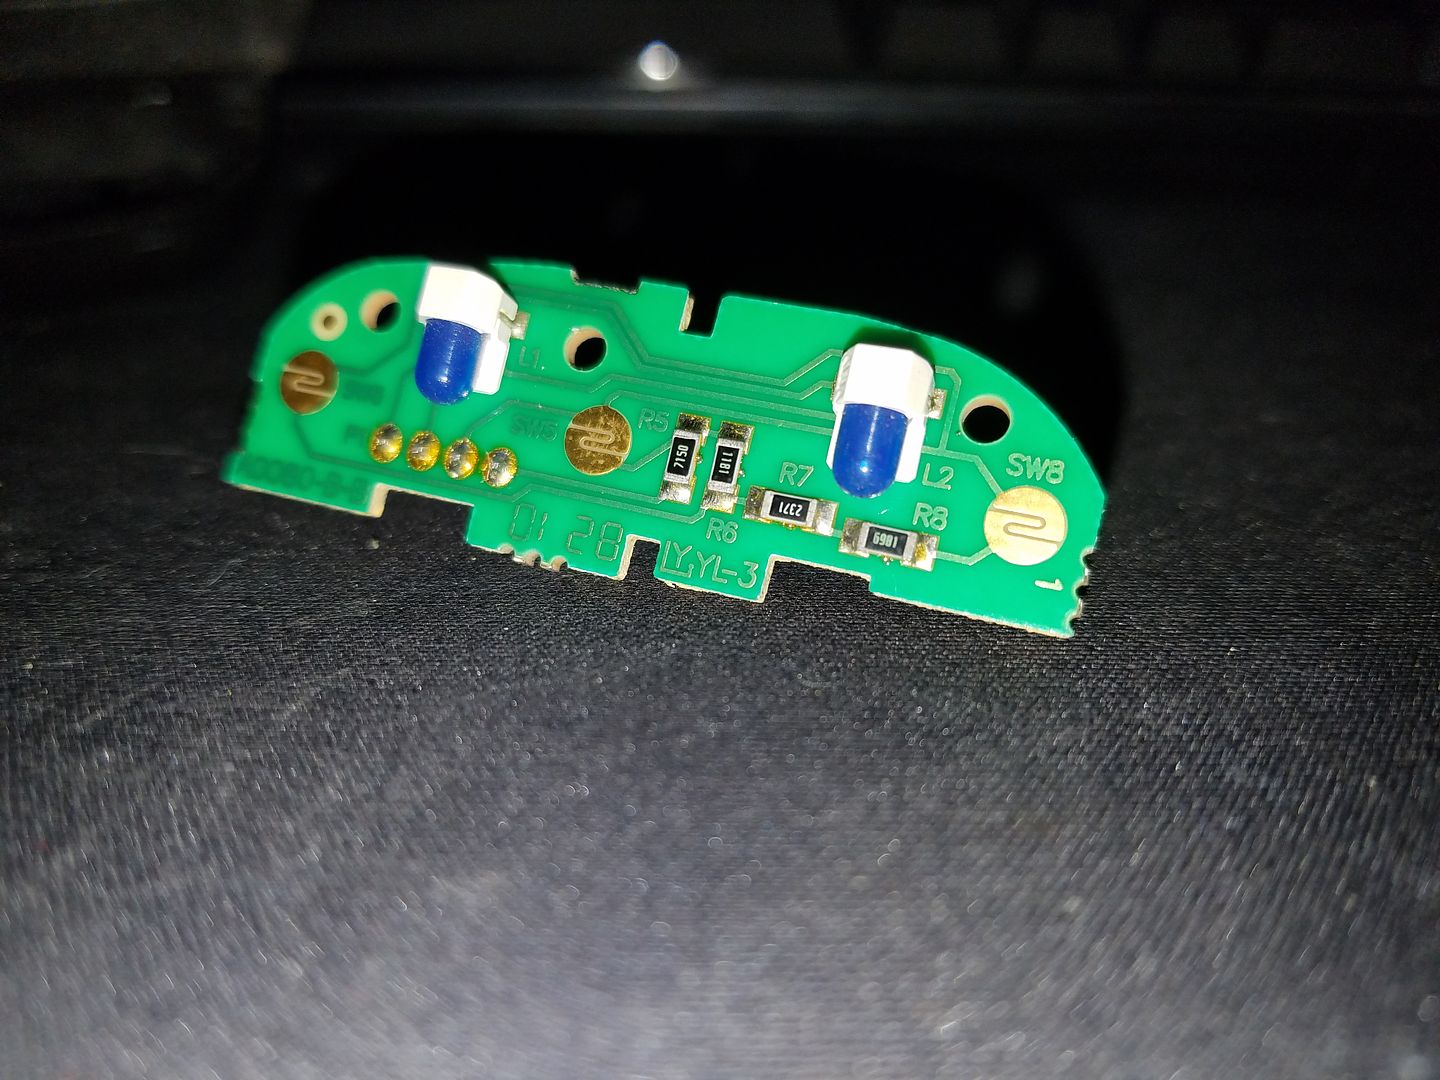
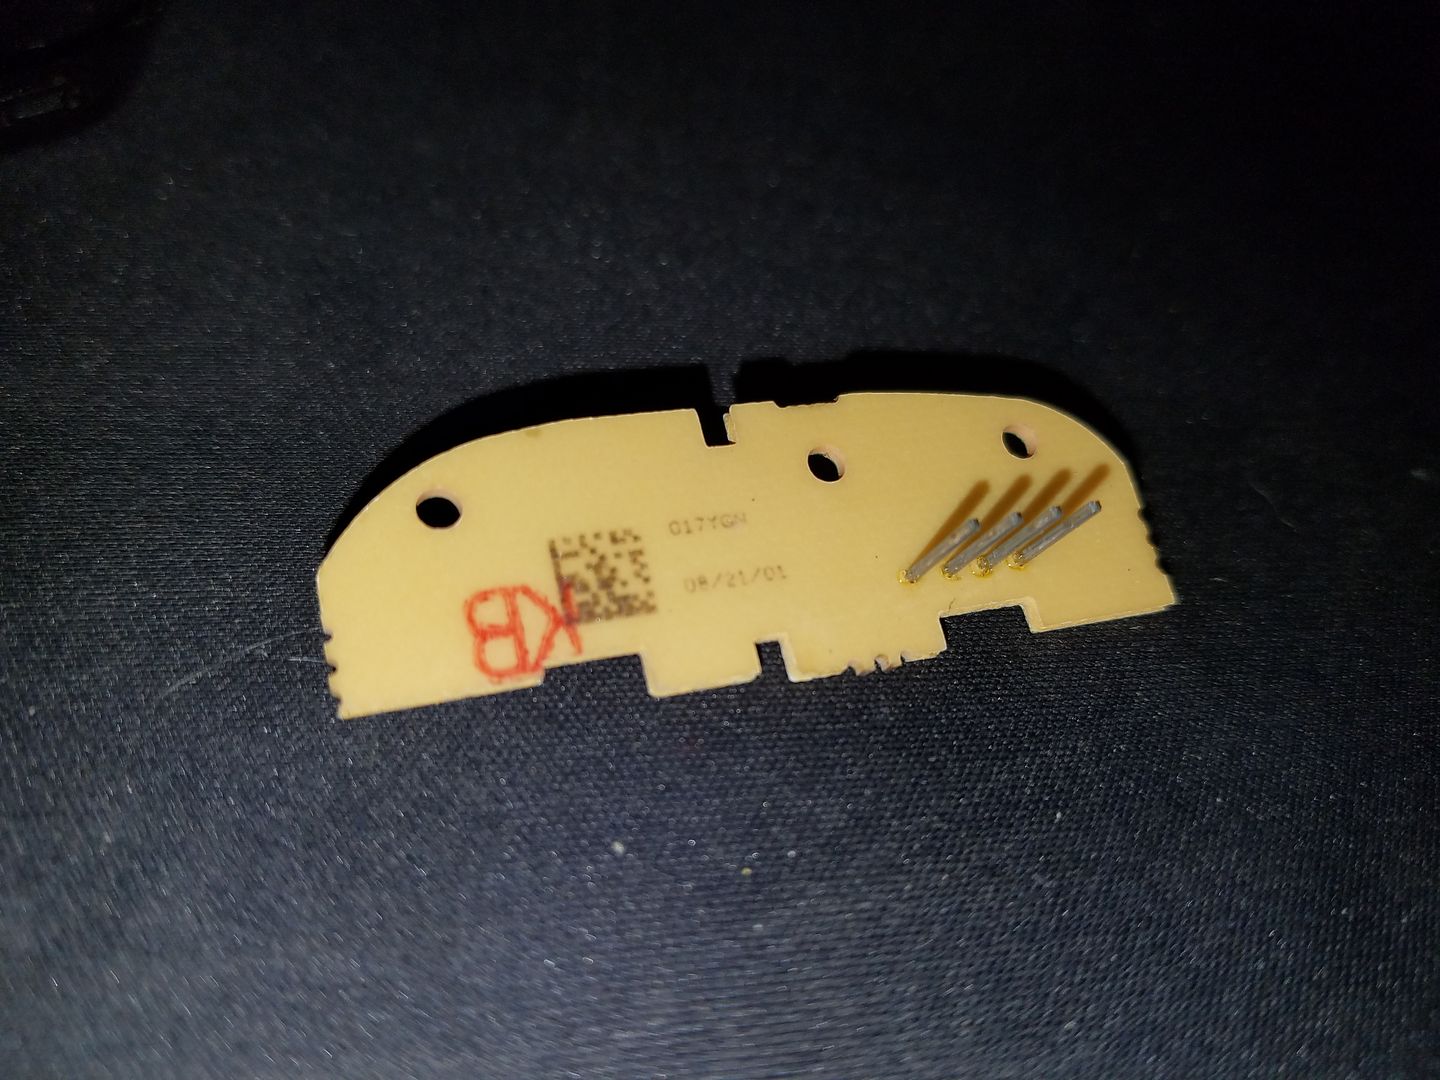
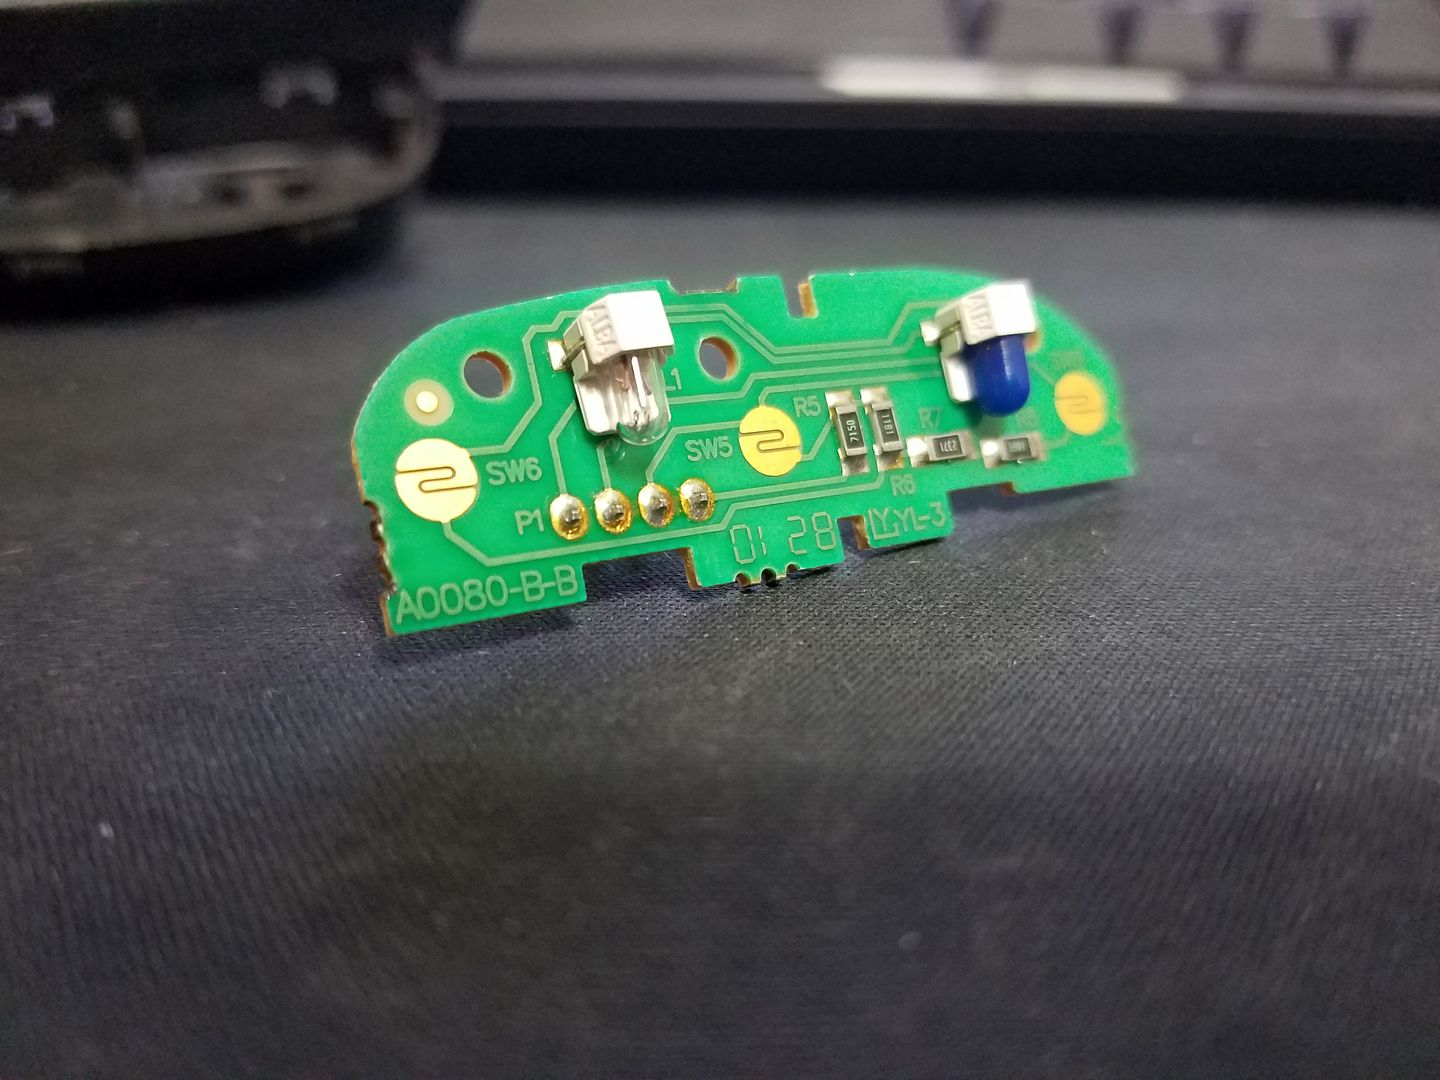
To remove the bulbs from the small circuit boards, just apply heat from the tip of a soldering iron to the solder pads on either side of the bulb base/holder. Once removed from the PCB, the bulbs pull out of their little off-white plastic holders. Then you peel off the blue silicone bulb cover and transfer it to a new bulb.
(scroll down the thread to pictures of the PCBs)
To solder back in place, hold bulb and holder in place with a finger so that the leads are over the solder pads and heat the solder exposed on either side of the bulb holder. This melts the solder and it will bond with the leads.
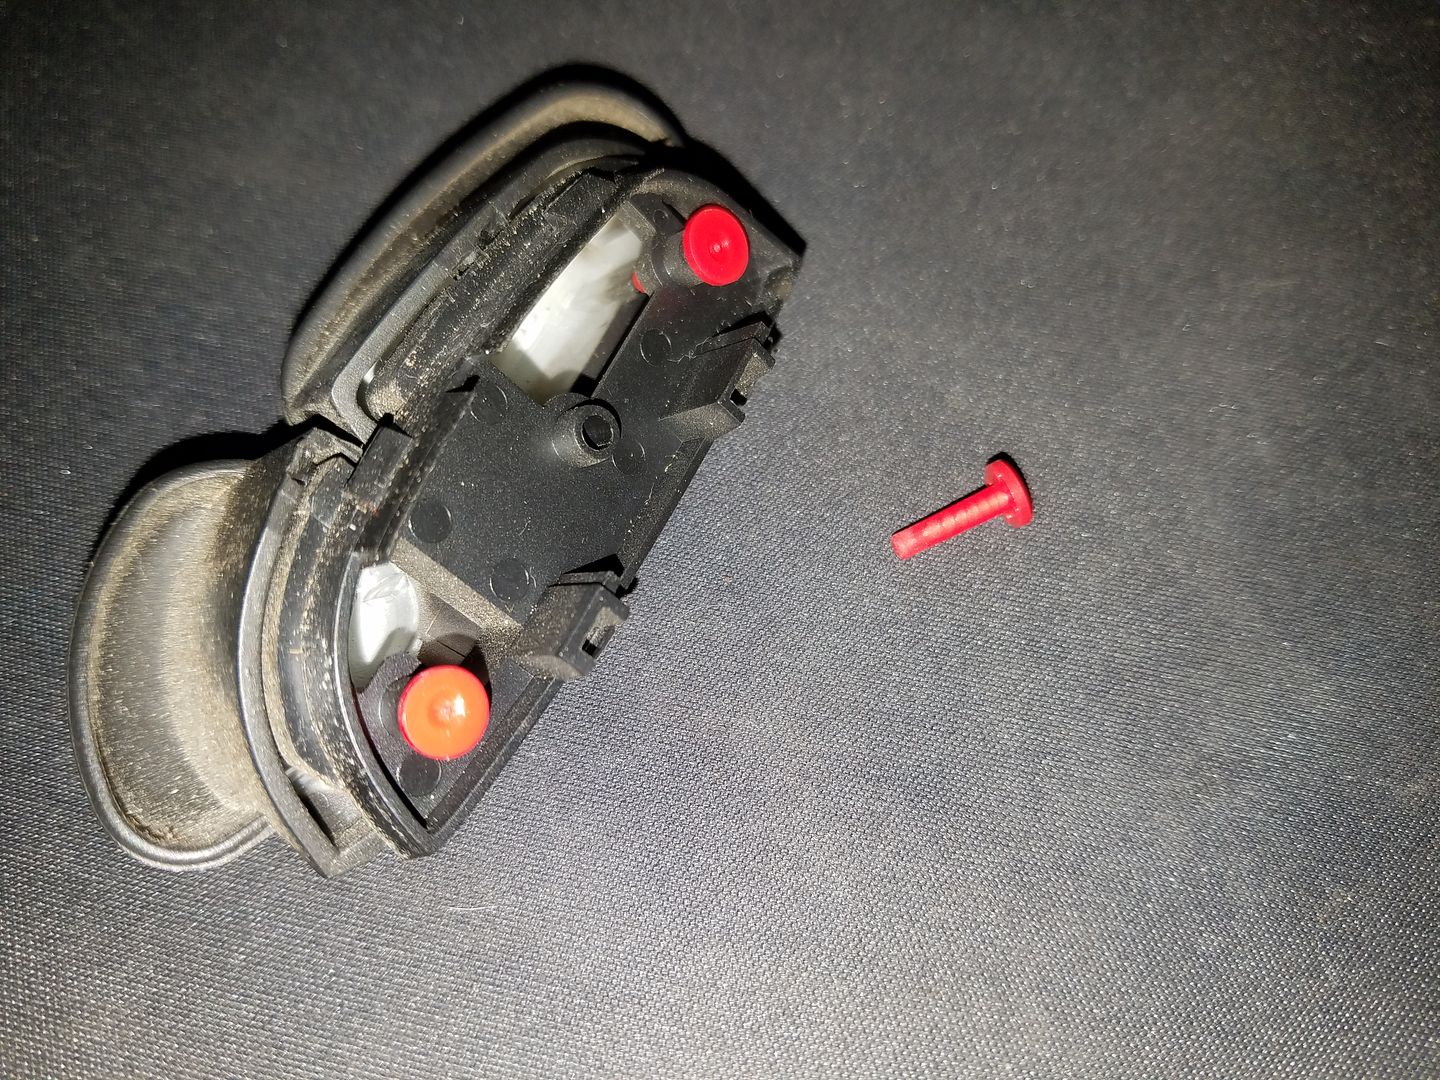
The plastic body that contains the PCBs can be difficult to pry open. Be careful and don't rush. These were never intended to be serviced but they do come apart and can be snapped back together. I tested the bulbs before I reassembled mine because I did not want to have to reopen the switch bodies.
Last edited by christine_208; Jan 31, 2018 at 12:44 AM.
Reason: Update with answers to original post.
So, I haven't gotten any replies on this. If I can, this weekend I'll go out and remove the offending switch and see what it going on. I'll do my best to take lots of pictures and report back for anyone who might have a similar issue in the future.
I got the GM manual so I think I'll be ok taking the airbag out.
Christine , leave it to you to post a topic that has never ever been discussed anywhere on the internet, and probably no where on this planet... lol..I found plenty for the Tahoe , Silverado and Avalanche , but not one discussion about a Blazer...
If you post what you find , then you have posted this information for the first time ever in internet forum-land...
Believe it or not, you're NOT the only one who's looked into this lol. All but the "PROG" light has burnt out on mine so I grabbed a second set and have been looking into fixing/modifying them (with red LED's) and had discovered a few things that may answer some of your questions.
For starters, they're NOT LED's, but in fact just small incandescent bulbs in a little holder surface soldered to the single-sided PCB in the button modules.
They run off full 12v, so if you make the change to LED you'll either have to solder in resistors along with each LED, OR step the voltage down in some way in the column before it ever gets to the steering wheel (which honestly may be easier considering the space inside the button assemblies).
However I cannot comment on this as I have yet to try either... but it's on my ever growing to-do list for the Blazer...
Last edited by blazen_red_4x4; Jan 12, 2018 at 06:58 PM.
Do those bulbs twist out of those plastic sockets or are they just hard soldered in? And where on earth can ya find a bulb that size..? I think all Radio Shacks are gone now..
They are indeed soldered into place, no easy popping them out.
Full size GM trucks (03-06 mainly) use the same style in their speedo clusters. GM liked to use the same setup in numerous places (window switches, 4wd switches, ac controls, etc...) in the 98-06 years...
Last edited by blazen_red_4x4; Jan 12, 2018 at 08:46 PM.
You know, they look quite a bit like the ones in the front panel of my remote cassette player. It has two, one clear and one with a blue elastic cover I was able to peel back.
What is are the physical dimensions of the bulbs in the radio switches?
The diameters of the ones in my cassette player are ~4mm which I'm pretty sure maps onto the industry standard size T-1 1/4 (1 1/4 = 1.25*1/8" = 0.156". They are also both about 1cm tall
Last edited by christine_208; Jan 13, 2018 at 02:41 AM.
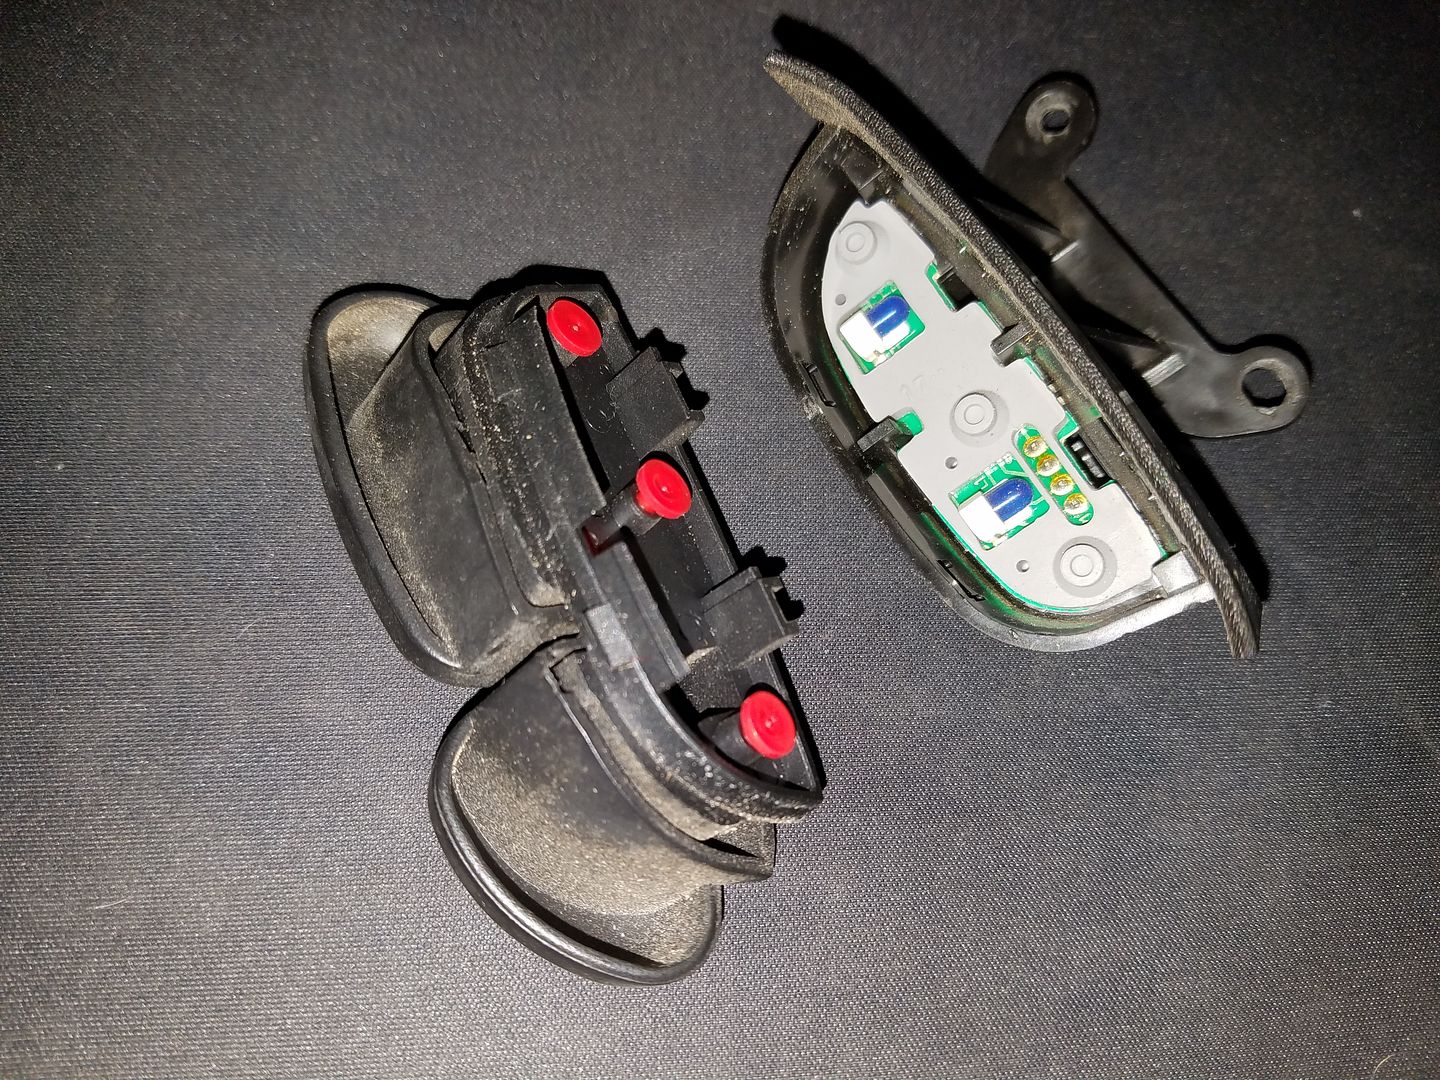
Also just a tip, once you pop the assemblies apart and open them up, be ready for these little red nubs to fall out and bounce under furniture in your house...
Also just a tip, once you pop the assemblies apart and open them up, be ready for these little red nubs to fall out and bounce under furniture in your house...
Thanks for this heads-up and confirmation on the size.
Doing some research online I've discovered that not all T-1 1/4 incandescent bulbs are created equal. From what I've gathered, the bulbs used by GM tend to be rated for 12 V to 14 V, run at about 80 mA, and have long life span of up to 20,000 hours. Some bulbs are listed for live-spans as short as 1,000 hours.
Regarding lifetimes, of course LEDs are the best but you need to add a resistor so that the current through the LED is correct.
Also, I've discovered that it is possible to track down the silicone colored caps for the incandescent bulbs. Of course, that is not necessary if you go with colored LEDs.