When you click on links to various merchants on this site and make a purchase, this can result in this site earning a commission. Affiliate programs and affiliations include, but are not limited to, the eBay Partner Network.
Lighting & ElectricalPost your lighting and chassis/engine electrical questions here. Any audio/video questions should be posted in the 'Audio/Video Electronics' section.
So, this is a post that I hope will help others avoid my mistakes.
Very short version: I did not follow my own adage of "A well understood problem is a problem half-solved" and suffered the consequences.
The problem:
The divers door electric lock stopped working. For the last 6 months it had not always worked when I used the remote lock transmitter and I figured (assumed) that the solenoid on the lock was going bad with some small short making it less effective. Astute readers will remember what happens when you assume; "You make an *** out of U and Me." This time it was all on me.
The (expected) solution:
So I felt fortunate when I was able to find a NOS lock mechanism at a GM dealer. I purchased a few months ago with the idea that I'll have find some time to install it soon.
The repair:
A couple Fridays ago I thought, "Hey, I bet I could replace the lock this afternoon!" (Sounds like famous last words, right?")
Well, first-off, there are three electrical plugs to the lock and four mechanical linkages. Most of these are behind the track for the window so that unless you have super small hands, it is a bear to get in there and get everything disconnected. This took me into the following Saturday to get the lock mechanism out. Then I had to get the new one in. All along I'm worried about getting the linkages back in the correct places and not bending them. I had read that bending the linkages could mess up some internal switches that told the BCM if the door was locked or not.
So, I get it all in and hooked up and nothing.. Ugh.
I start to really second-guess myself at this point. I start looking at the old lock mechanism and then digging into the schematics to see how to test if the internal switches on the new lock are working or not.
In the process of looking for the schematics I find the troubleshooting tables in the GM manual. This directs me to check the relays on the Body Relay Block. The BRB is a pain to get out and one silver lining is that I was able to figure out an easier way to get it out. (see below)
Well, the troubleshooting table told me that one of the relays was bad. So off to the auto parts store! I get the relay and install it and nothing. Double Ugh.
Now I'm getting desperate. This is when I made my first tentative step out of the hole I'm in. I decided to try trace the circuit to the unlock mechanism. I'm tracing wires from the door to the BRB and back again and what do I find? A broken wire in the door jamb!
Turns out the previous owner or someone they hired (over ten years ago) used a knife to break into the wire bundle to tap into the wire that tells the Body Control Module (BCM) that the door is closed. In the process one of the wires that supplies power to the door unlock solenoid had broken. Grrrr!
So I fixed this wire and went to test the truck locks. Using the button on the door to lock and unlock the door worked but now the remote lock transmitter didn't work and there was a new Security system problem. Triple Ugh.
Now I'm really pulling my hair out!!!
Next I'm looking at the remote transmitter and security system schematics and troubleshooting tables in my manuals.
OK, so remember when I said I had to remove the BRB to replace a relay (that was likely just fine)? Well, to be able to get at it I had to move the plastic panel out of the way that covers the wiring under the steering wheel. And guess what is on that panel that I unplugged? You guessed it, it was the receiver box for the remote lock transmitter. Quadruple Ugh!
So, I'm making progress but because I'm working outside and it is hot, I'm in a pretty bad mood but I still have one more system to fix.
Now I'm doubling-down on understanding the Security systems by looking at the schematics and what inputs it might need so I can trace those wires. In the back of my head I'm wondering what other wires might have been cut and my biggest fear was that if I messed up the BCM somehow.
So now I'm checking the door lock switches that tell the BCM if the door is locked or not, if the door handle is down or not, and the door jamb switch. It all checks out. What the hell?
I think I'm now on day four of this while during the day doing my "day-job".
I don't even know what got me to do it but I thought to check the door and switches again but this time with the door open so I can get to the wiring of the BRB and the door jamb with my multimeter. To do this I had to throw the door lock latch and hold in the door jamb switch manually. Low and behold it all worked!!!! But why??
Then I realized that with the door panel off so that I could check the wiring, there was no surface to push against the pin of the door jamb switch to tell the BCM that the door was closed properly and to arm the Security system. Quintuple Ugh.
The upshot?All of this could have been avoided if I had spent some time on my own to properly diagnose the problem to begin with. If I had, I would have found the broken wire and understood what it was I had had disconnected on the plastic panel and that door jamb switches do not work so well when there is nothing to push against them.
I hope this at least was entertaining and also served as a cautionary tale!!!
The over ten-year old mystery splice.
The broken wire
The light blue plug is the one I disconnected so to get the plastic panel out of the way. Unfortunately for me, this disabled the remote transmitter.
The old, and likely perfectly fine door lock mechanism. I took this picture so that I could remember how the linkages to the door handle and to the door lock attached.
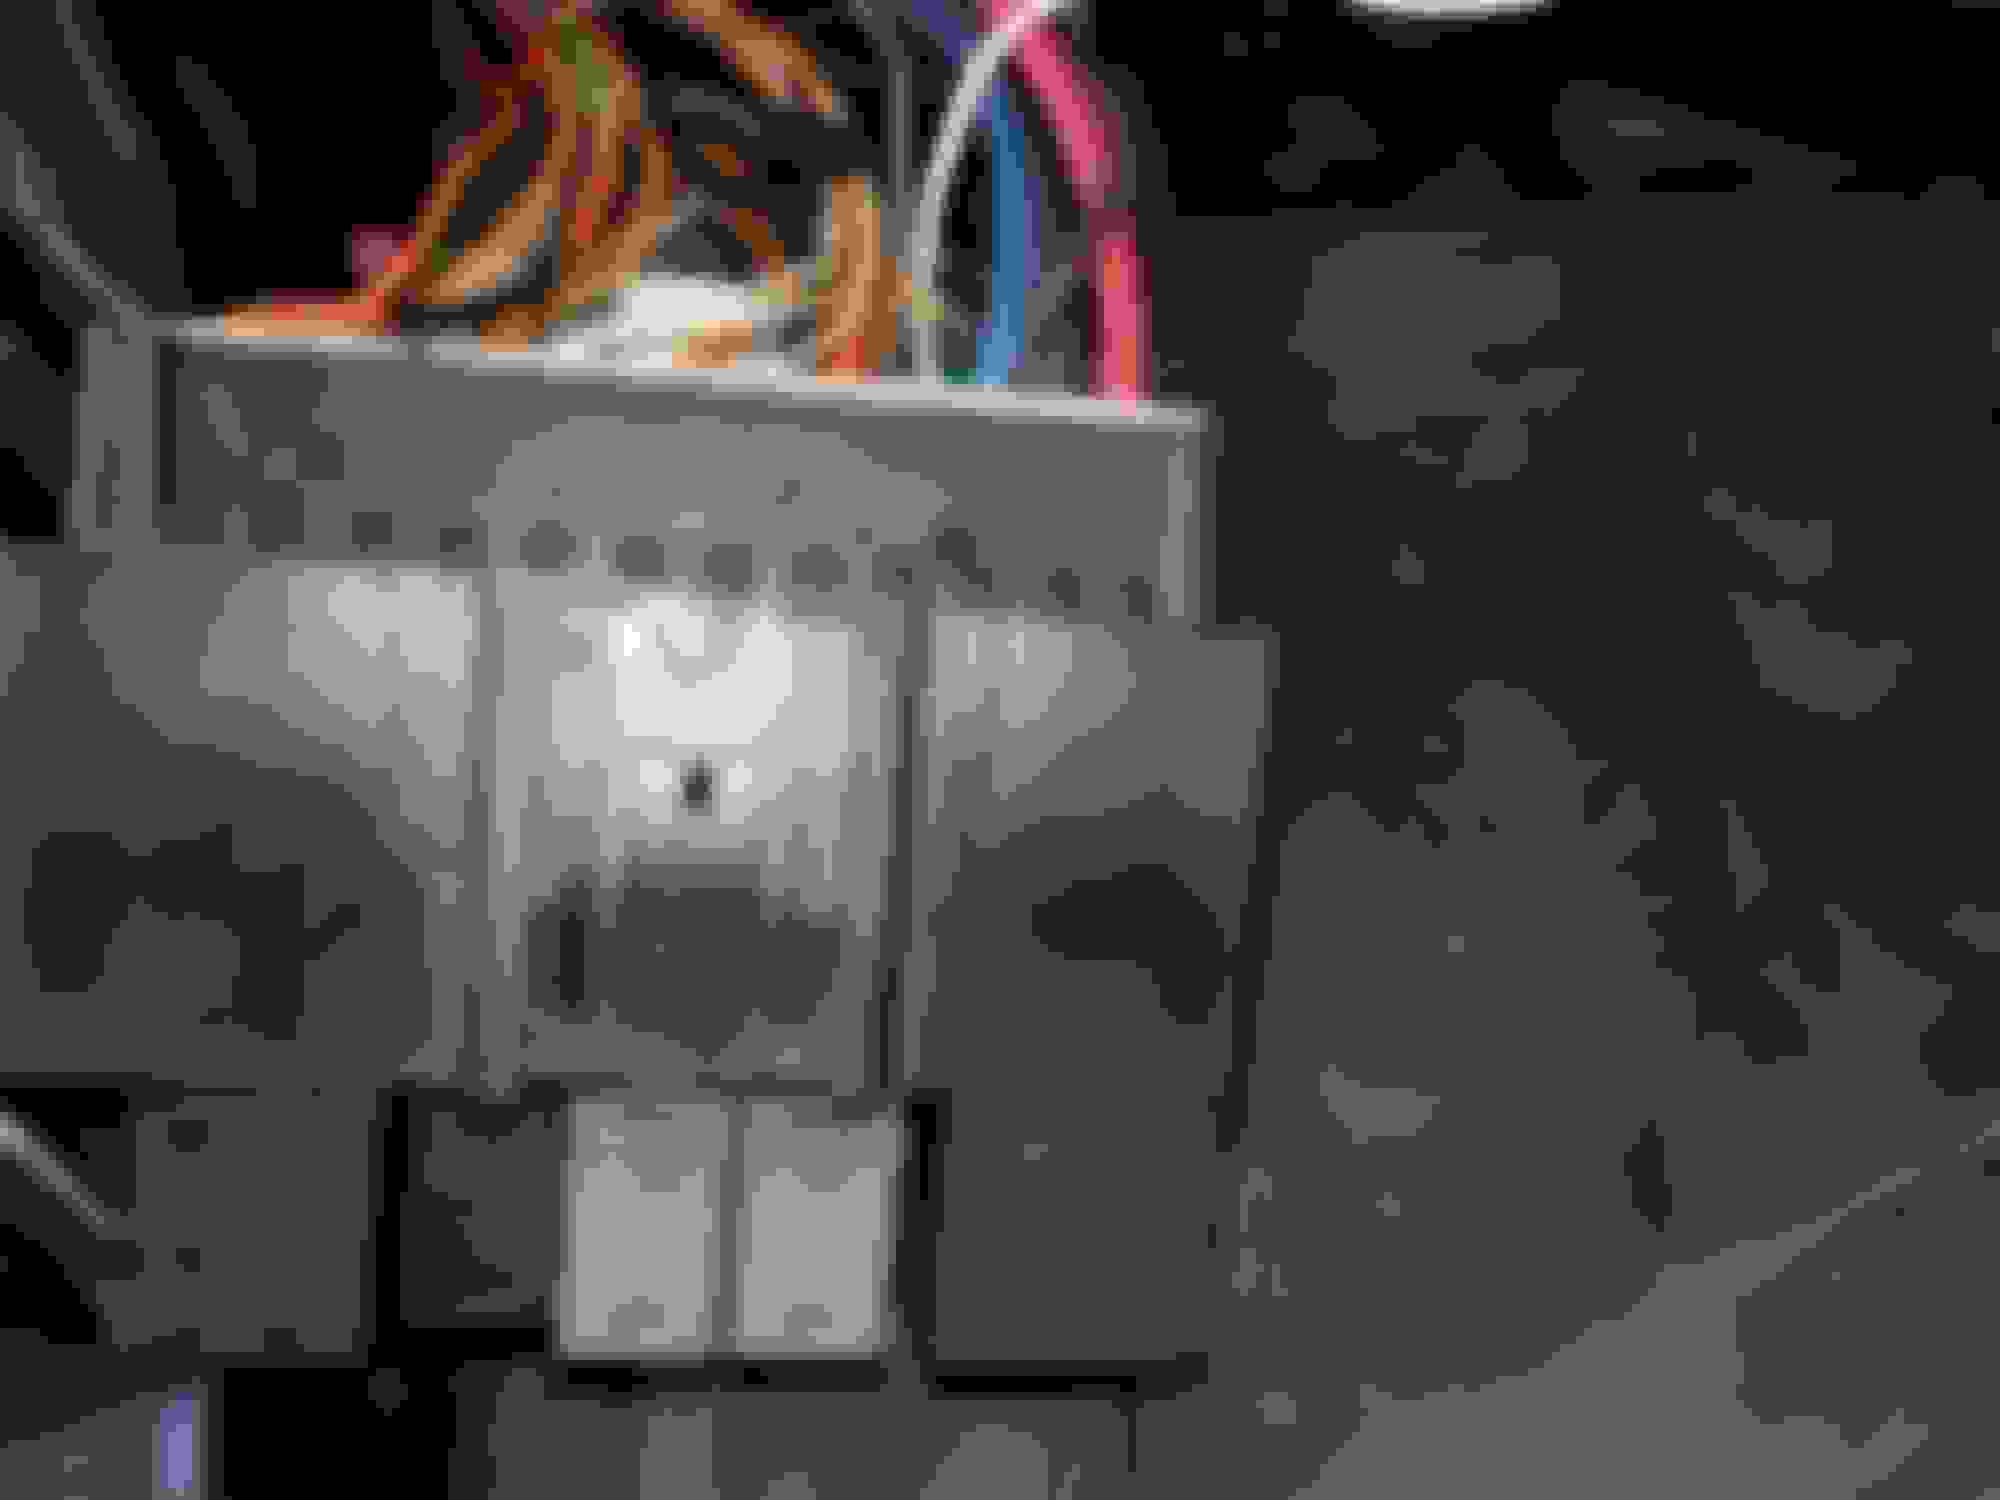
The bracket to which the BRB attaches. A tooth on the side of the BRB catches the opening.
The BRB bracket, from below.
The BRB. The bracket engages the center-slot. Note that the BRB in this picture is upside down.
Good writeup for the door locking system. At least you now can specialize in that system and probably take it apart in less than 2 hours.
Reminds me of the car I'm assembling just now. Came in and one cylinder bank of the V8 running extremely rich.
Turns out somebody even pulled the two wiring harnesses so he could erroneously plug together 4 connectors which should not go together. Fried the IAT sensors and sent a signal for -30 �C to one and +98 �C to the other banks ECU.
Congratulations on fixing it - but I didn't expect anything else from you
Oh I hope to never have to get into the door lock system ever again!!! LOL
But I will be very glad to share what I learned about the whole system if ever anyone else here needs the help. Some lessons are definitely learned the hard way, eh? LOL
Always cool to see how you go to the bottom of a problem and then fix it the proper way.
Well it started with somebody not paying attention when cutting that insulation in the door-jamb.
One of the issues I always address when talking about intermittent electrical issues. I always fire the questions about:
- have any repairs been made?
- any damage to the outer insulation?
- burn marks, blackened wires?
- anything that does not look factory?
- any additional wiring tapped into the OEM wiring?
I see so many of these issues. Just now working on one of these. The previous mechanic even had to unbolt several clamps to pull the wiring harness so he could erroneously put together two connectors which should never go together. Fried a pair of IAT sensors and messed up the engine. V8 running on 5 sometimes 6 cylinders. Leaning out one bank and pouring fuel into the other so much that the CAT got melted away. Two CAT's, several sensors, several not working boost protection issues just because of a repair not properly made.
Had to pull the whole engine harness and re-route it. Redo about 8 wires insulation (heat shrink). Repair a couple of the rubber protections on the connectors. Solder a couple of wires. Make adjustments to the routing of the wiring for the A/C compressor and add 10 inches of wire with respective connectors to properly route that wire. Finally next week I should be able to hook up the battery and plug in the tester to see what we get. Then we should be able to start it up.
Yikes! What you described was so much worse than my problem!
As you pointed out, it really does pay to properly diagnose the problem first! When I described what I went through to a friend she said it reminded her of what happens when we make assumptions about anything; we start shutting off considering other evidence and get tunnel-visioned. I realized that this advice is good for car repair to politics! LOL


 Most of these are behind the track for the window so that unless you have super small hands, it is a bear to get in there and get everything disconnected. This took me into the following Saturday to get the lock mechanism out. Then I had to get the new one in. All along I'm worried about getting the linkages back in the correct places and not bending them. I had read that bending the linkages could mess up some internal switches that told the BCM if the door was locked or not.