When you click on links to various merchants on this site and make a purchase, this can result in this site earning a commission. Affiliate programs and affiliations include, but are not limited to, the eBay Partner Network.
Lighting & ElectricalPost your lighting and chassis/engine electrical questions here. Any audio/video questions should be posted in the 'Audio/Video Electronics' section.
I thought I'd report what I did today to access the Retained Accessory Power (RAP). I'm doing this so that I can create a Power Accessory Outlet that turns off with the RAP. The RAP voltage will control a new relay that will control the power to one of the the accessory outlets. I did not want to splice into any other wire and instead set myself the challenge of doing a clean install.
The key to what I did was tap into an unused pin on the Body Relay Block (BRB). I only have the manual for the 1999 Blazers and I can only confirm that what I did works on 4dr models.
The attached pdfs show the pin-out and wiring schematic for the BRB. For me I added a new Metri-Pack 280 series female terminal to the plug that goes into the socket at the bottom side of the BRB. For the 4dr 1999 Blazer, this is at location C3. However, for a 2dr Blazer (and perhaps the pickups too) the pin I think would work is D3 if there is no sunroof. (See the schematic.)
BTW, although the regular Metri-pack 280 female terminal works (which is what I used), the more proper one to use would have been the "tangless" or Flex Lock version. https://www.delcity.net/store/Metri-...97719.h_804293
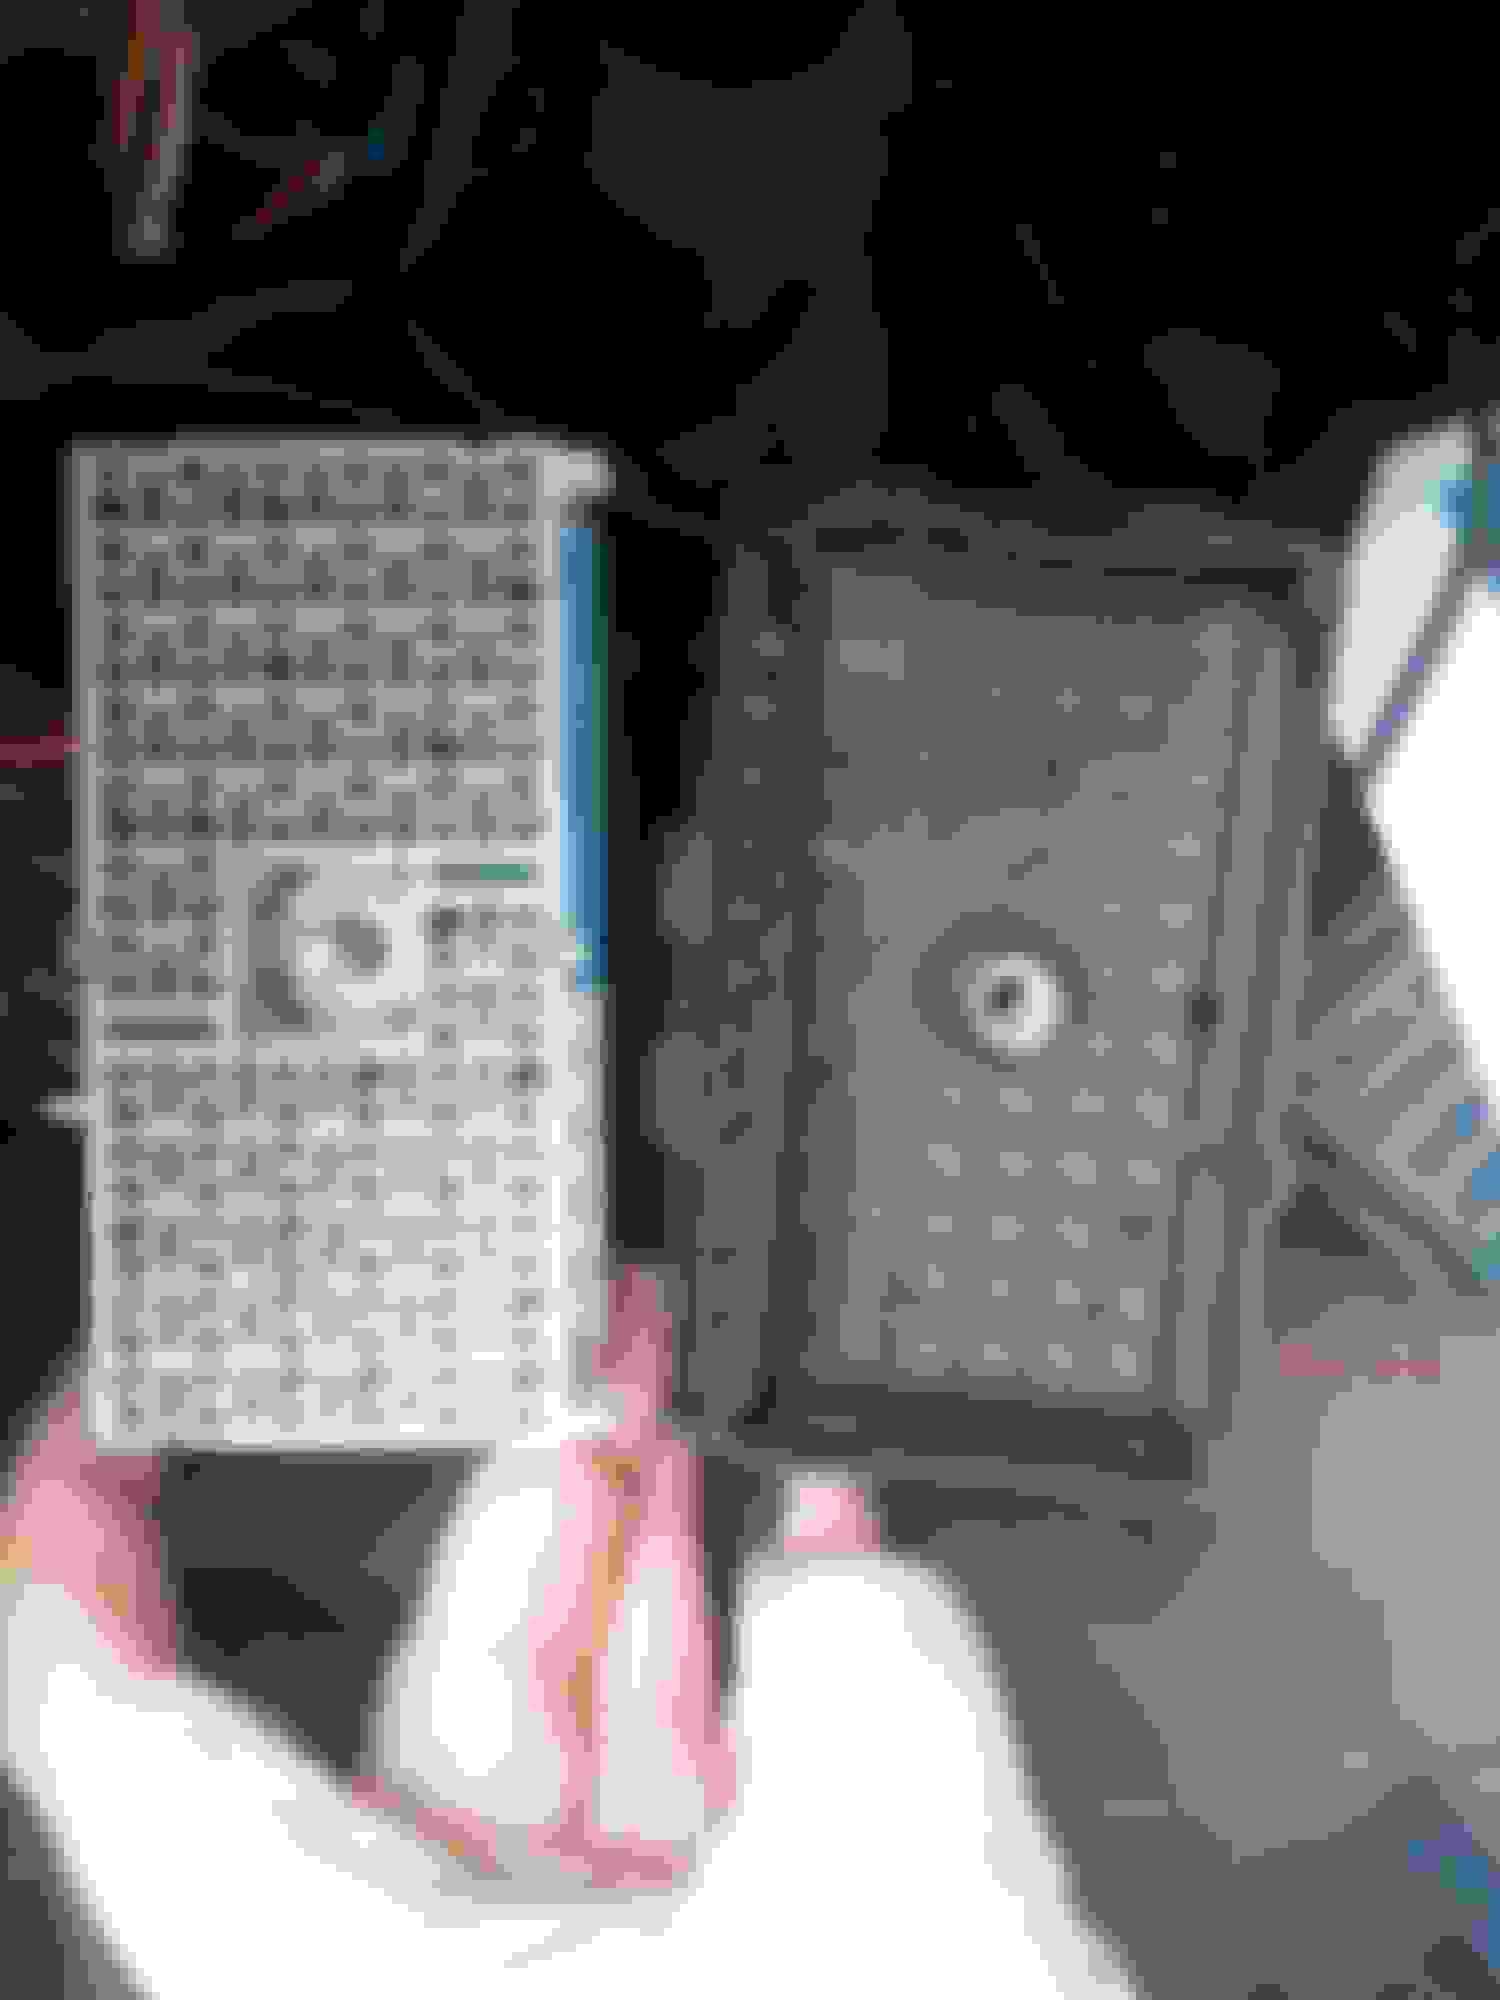
The pictures below show the BRB plug removed from the BRB. The BRB doesn't have to be removed but I did it because I initially put the new female terminal into the wrong unused location and removed the BRB to confirm which one was the correct pin and that pins B3, C3 and D3 were all electrically connected.
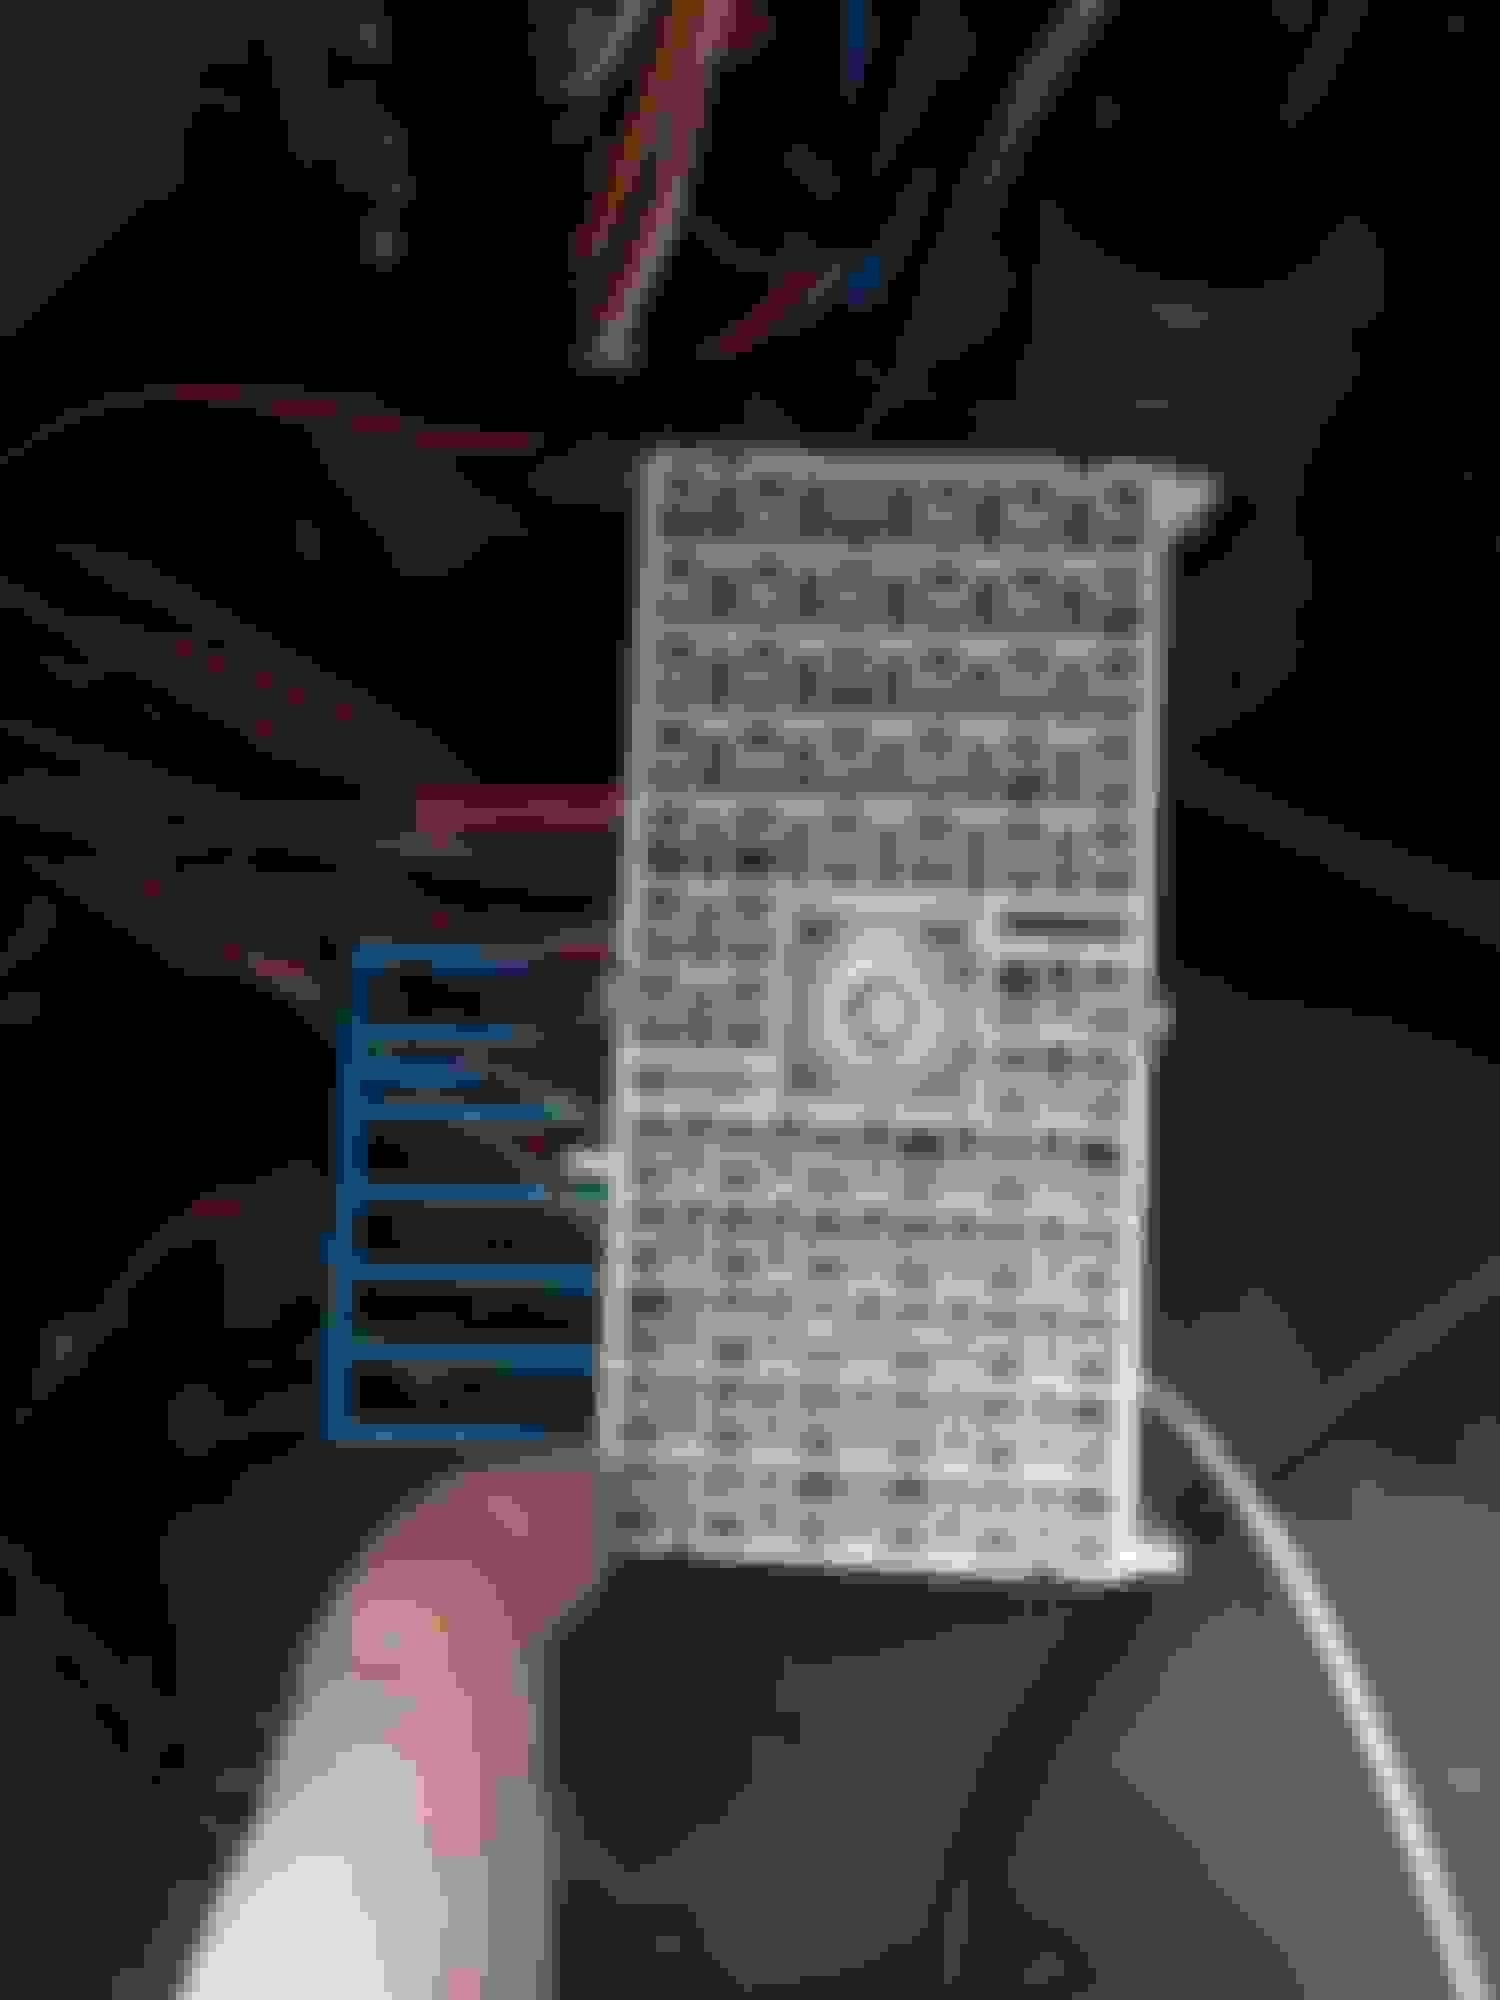
The wire I used to access the RAP pin C3. I was able to purchase GM "Packard" style plugs and sockets to do the rest of the install from Dell City.
Closeup of the female Metri-pack 280 terminal.
Plug and socket on the bottom of the BRB into which it goes. The pin C3 and on the BRB and the corresponding location on the plug.
Putting back in the retaining device for the terminals in the socket.
The new extra wire coming out (white foreground) for powering something new by the RAP circuit.
Sweet info Christine .....I think you should be called Wonder Woman.....I don't know any woman personally who will tackle the stuff you take on.....your awesome !
Sweet info Christine .....I think you should be called Wonder Woman.....I don't know any woman personally who will tackle the stuff you take on.....your awesome !
Thanks. I don't know if anyone has called me Wonder Woman before but I'll take it. But a more accurate label would likely be Nerd Girl! LOL
Nice work. Just a tip for next time you drop the BRB. If you use something that stays flat at the head for about an inch or so (unlike a regular flat head screw driver) the BRB while slide down off the bracket your photo is showing as still attached. It's easier and faster (only one detent and it's down). I find the four hooks on the bracket are hard and fairly stiff. Busting one of those hooks would really suck. .
Nice work. Just a tip for next time you drop the BRB. If you use something that stays flat at the head for about an inch or so (unlike a regular flat head screw driver) the BRB while slide down off the bracket your photo is showing as still attached. It's easier and faster (only one detent and it's down). I find the four hooks on the bracket are hard and fairly stiff. Busting one of those hooks would really suck. .
Thanks for the hint.
Just to clarify, you are referring to the attachment of the BRB to the four-hook bracket that attaches to the metal frame?
I think I did discover that only AFTER I took out the whole combined BRB/bracket. LOL
Is to what you are referring what I circled in the picture below?
Release mechanism between BRB and its mounting bracket?
Correct Christine. If I remember correctly a regular screwdriver won't work. Either because it's too tight or there was too much of risk of deforming the locking tab. I use a tool meant for taking rubber O rings off because there is no taper and it is flat enough and small enough. Work that up there to release the locking tab while at the same time jiggling the BRB and the whole thing will slide right down.
Correct Christine. If I remember correctly a regular screwdriver won't work. Either because it's too tight or there was too much of risk of deforming the locking tab. I use a tool meant for taking rubber O rings off because there is no taper and it is flat enough and small enough. Work that up there to release the locking tab while at the same time jiggling the BRB and the whole thing will slide right down.
Thanks.
IF I ever have to get to it again, (and I really hope I don't) I'll give that a try and then take even better pictures so I can remember how to do it. :-)
IF I ever have to get to it again, (and I really hope I don't) I'll give that a try and then take even better pictures so I can remember how to do it. :-)
Yeah, it is a bit of a contortionist act to access that, isn't it. Don't worry, as much as you do to your truck you'll be doing it again. :d


 .
.

