'97 Blazer Work In Progress


#42
 09-27-2016, 06:41 PM

It looks as if to me someone didn't have the tool to accurately replace the door striker so they just cut the body open, peeled it back like a Ravioli can, and just folded it back in with the new one.
#43
09-29-2016, 08:54 PM
So the check engine light came on today. A bunch of tranny codes (torque converter clutch solenoid, shift solenoid A, shift solenoid B, shift timing malfunction). So, I figured it was a little weird all of those showed up at one time. Of course my first thought was where the previous owner rewired the #24 tranny fuse into another. Also read up on how it could be the ign. switch. So..
After I get my front end rebuilt, hopefully I'll get a chance to get to it soon, I will be taking the entire dash out and repairing every bit of the harness. Any wires I find that need to be tended to underneath will also be repaired.
I am also going to go ahead and make up a list of the styles of switches and gauge of wire I will need to go ahead and pre-run it all for future accessories that I have plans of adding on. Figured might as well go ahead and do it, cap off the wires, that way future installs will be quick and easy (so I say.)
I know I haven't done a lot of "modding" as I planned so far. But bare with me on this "restoration" project. Lol. We're getting there.
#44
09-29-2016, 09:04 PM
This is on my wish list.
6 Gang Waterproof Car Marine Boat Circuit Green LED Rocker Switch Panel Breaker | eBay
6 Gang Waterproof Car Marine Boat Circuit Green LED Rocker Switch Panel Breaker | eBay
#45
10-04-2016, 12:43 PM
Well the front end is tore down and ready to go back together tonight when I get off. I'm going to clean up the gear box and probably paint my sway bar while I'm at it.
Then it will be rear shoes and shocks. I'm going to get some LED lights and a couple other goodies before I pull the dash. I have a couple ideas up my sleeve I personally haven't seen done before.
For the record, the engine mounts were a PITA! Tranny not so bad. Looks like I will need a rear tranny seal and pinion seal now however.
#46
10-07-2016, 08:25 AM
To start I hope all of you are safe that are in the path of this hurricane. My father is in it right now on the coast of GA, Darien to be exact. He was too stubborn to come stay with me and decided to tough it out.
In ladder news. I have finally rebuilt my front end! I will get some pics up of the install later today after I get my alignment. Next step is repairing my center console, rerunning the wires to my sub and amp, and doing a little clean up and cosmetic repairs inside and out.
Also, I did a little paint work that may or may not be frowned up, lol, but I quite like the look, so I will post it up as soon as she gets a bath.
#47
10-09-2016, 01:01 PM
It sucks that all I lack is getting the sway bar on to get it to the alignment shop. Previous owner put way too small of frame mount bushings on and deformed the brackets.
So I put a 1 1/4" ball hitch against the open end, put her in the vise with a socket against the ball and pressed it in. Perfect fit. Hopefully today it will finally get done and I will be getting it aligned tomorrow.
So I put a 1 1/4" ball hitch against the open end, put her in the vise with a socket against the ball and pressed it in. Perfect fit. Hopefully today it will finally get done and I will be getting it aligned tomorrow.
#48
10-09-2016, 09:07 PM
Replacing the pitman arm. Remove all other steering components first along with the drag link. Disconnect the intermediate shaft on the gear box, both metal lines going in (make sure to place a drain pan, it will get messy), and there are three bolts on the side of the frame next to the bumper mount, 19mm. It will be heavy and the only way to slide it out is through the front. Make sure to be careful of the wire harness there and brake lines. It will be a PITA to get out and back in. The new pitman arm has 2 notches at 90 degree angles from each other. They have to line up properly. You will need a vise for sure and the removal tool from your local parts store. Once you get ready to set it back in make sure the gear box is centered. Otherwise you will be able to turn more one way than the other. Give yourself at least 2-3 hours to do the job. Unfortunately I couldn't get any clear pictures man because I was doing it at night and my phone sucks, lol.

#49
10-09-2016, 09:11 PM
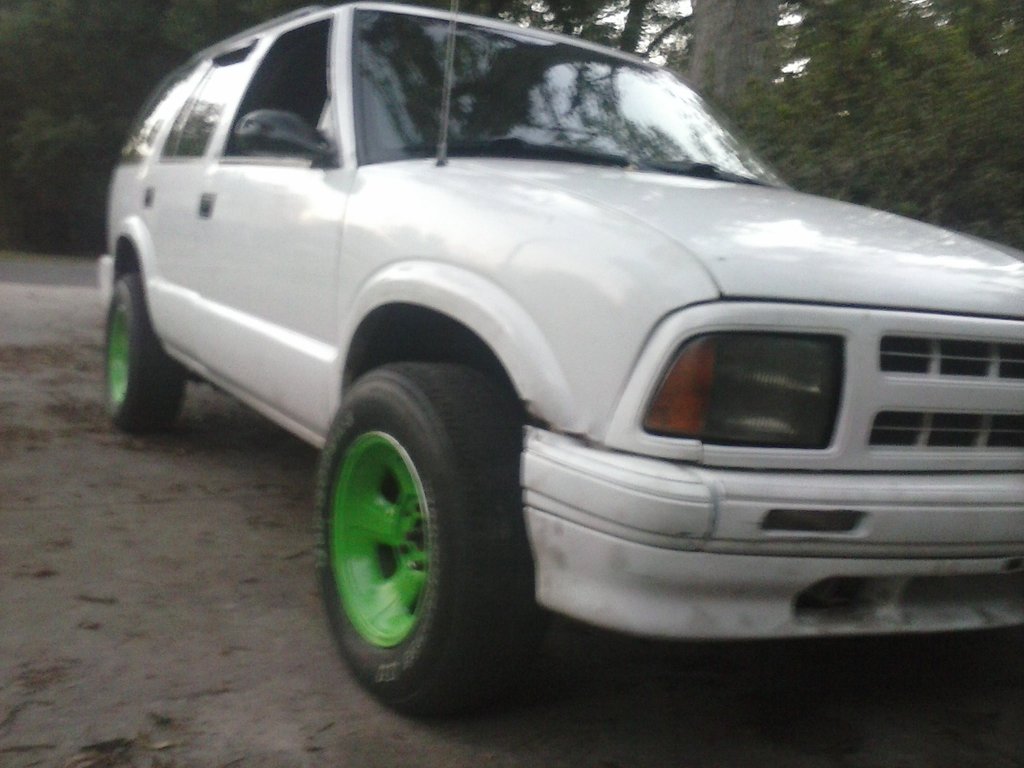
So they came out a little blurry, need to invest in a new phone next. But, here is the paint work I was talking about. Not very traditional, then again I've never been either. I like the look a lot, while I know that others may not, it's fine. That's the joy of it, everyone has their taste. Next up, interior modifications.

#50
10-09-2016, 09:13 PM
I will try to get some no blurry ones tomorrow when it's cleaned up and aligned. You can tell the caster is way off.

