
Recessed sub box - DISCUSSION THREAD


so you love bumps but hate that you have no room in the back after you put your system in huh? I might have the solution for you. Beware, this mod takes patience and time to make sure you dont mess anything up, if you do it can be a really bad thing so remember that.
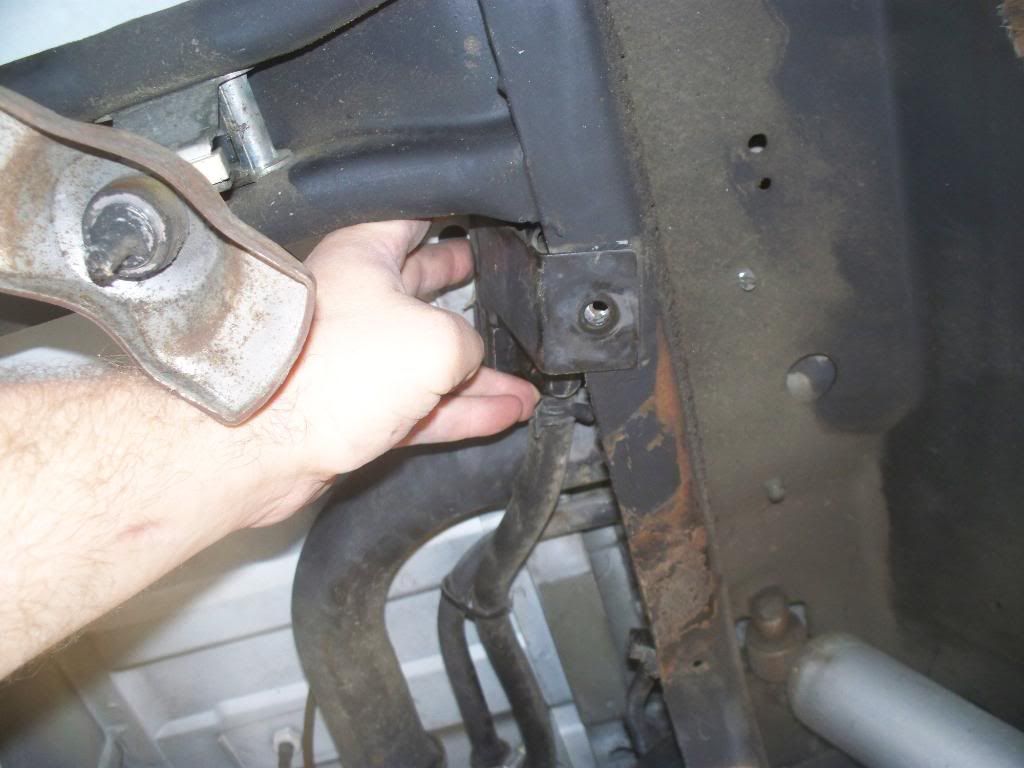
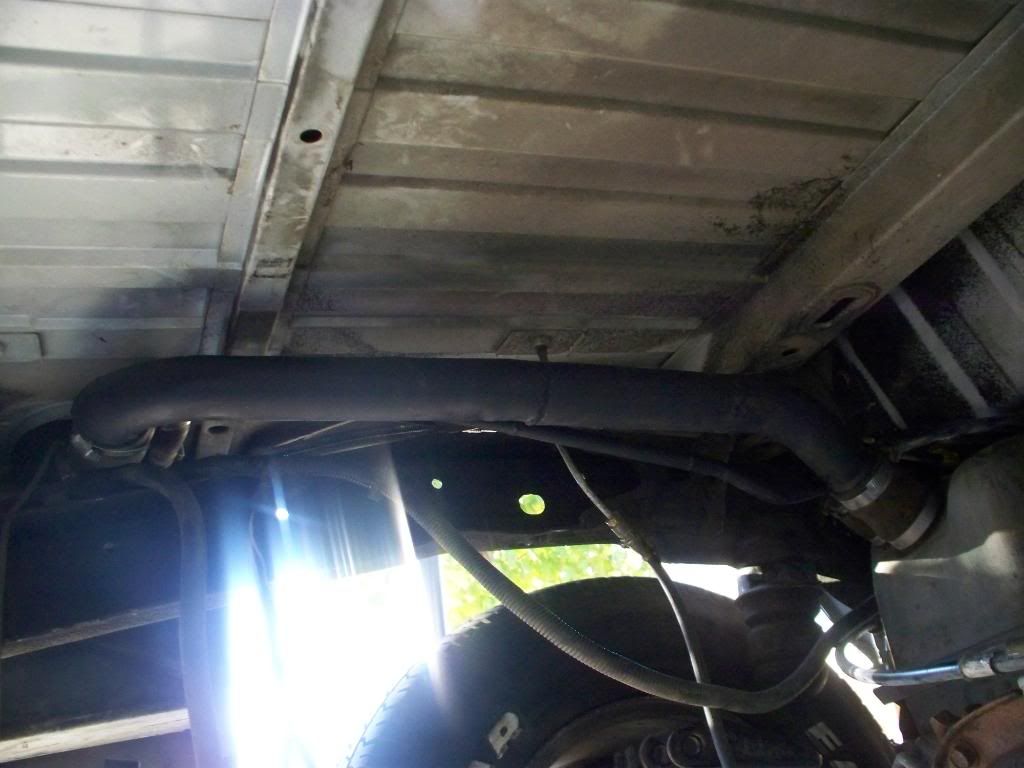
First step was to remove anything in my way under the blazer. I unbloted this first so that I didnt harm anything fuel related.
Then I made the first cut and then continued on and cut the rest of the spare tire contraption out.
next was time to remove the shocks and the sway bar. I would think there is no need top post pics of that because if you cant do that then you shouldnt be trying this mod anyways....LOL
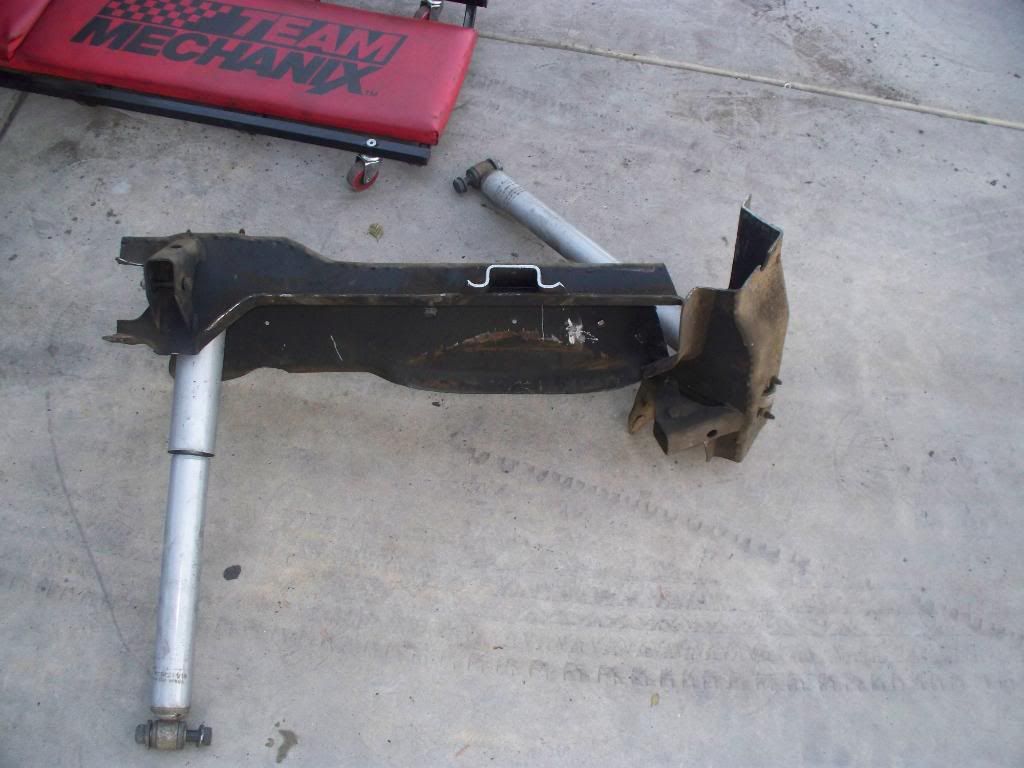
After those were removed it was time to remove that crossmember. I know, I know "what, your removing the crossmember?" I have bagged many mini trucks so I am certain there is till enough frame rigidness that I dont need to worry, but if you are worried about it then just weld in a 2x2 or whatever size tubing you think you "need" and put it in just in front of the axle and you will still have room.
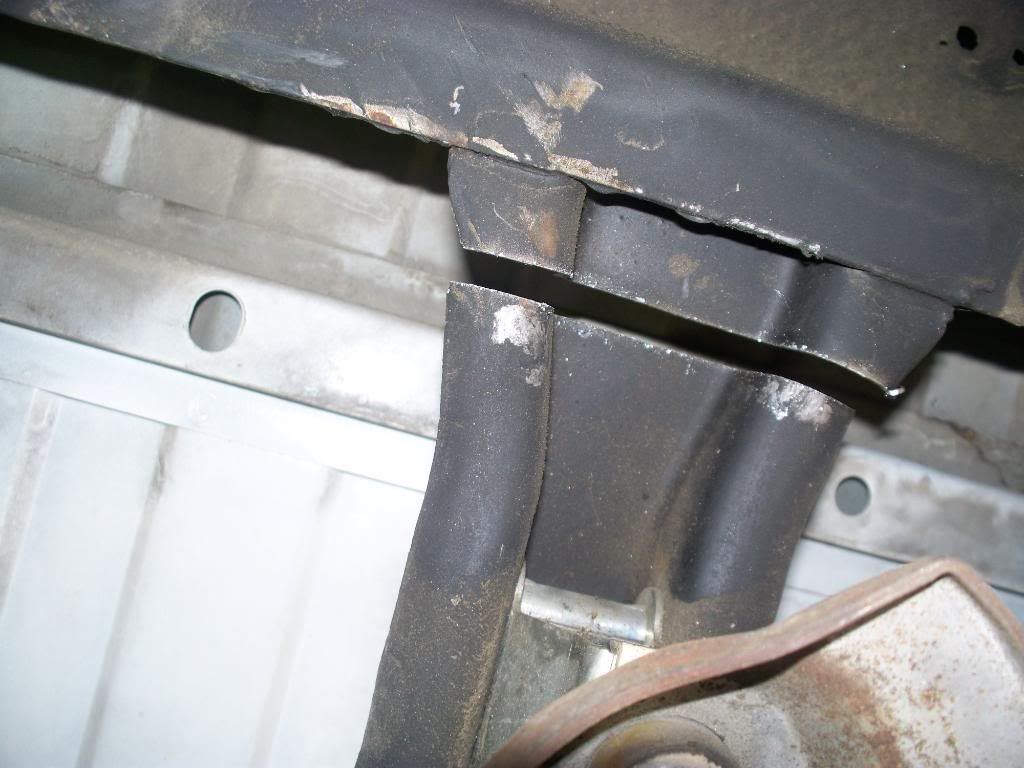
Instead of just hacking away to remove the crossmember I decided I wanted a cleaner look and took the time to use a chizel to break the spot welds. It was a pain in the a** but it came out much cleaner.
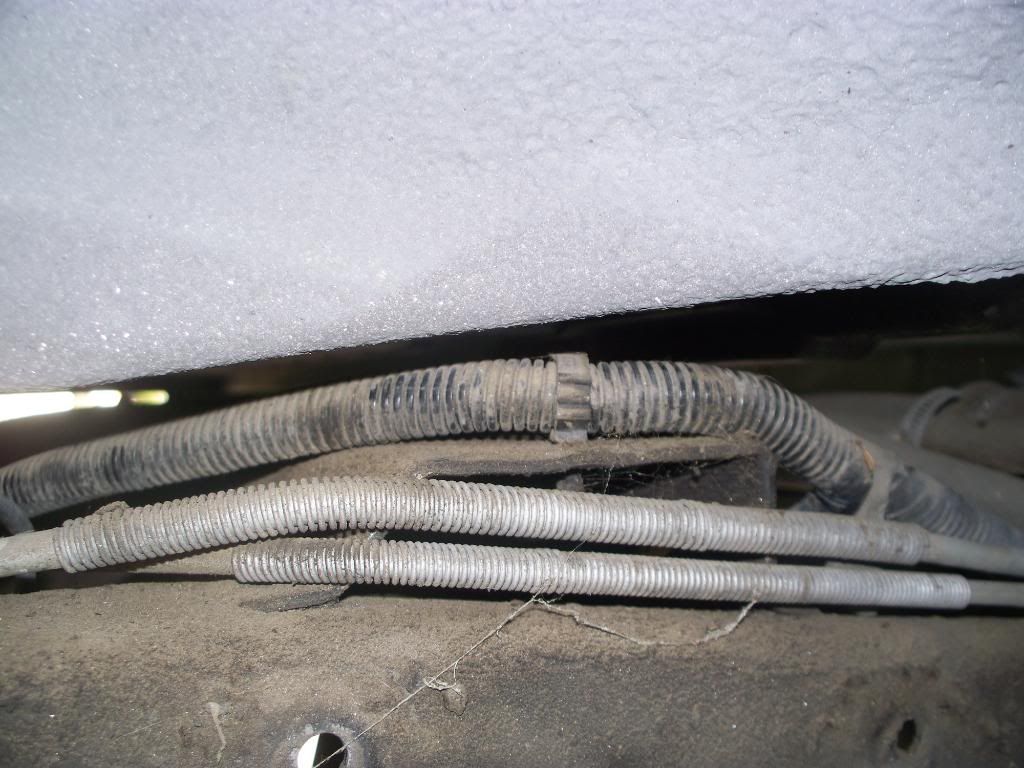
on the opposite side there are fuel lines that you dont wanna flex to much so be careful when breaking those spot welds if you chose my same method instead of hacking it out.
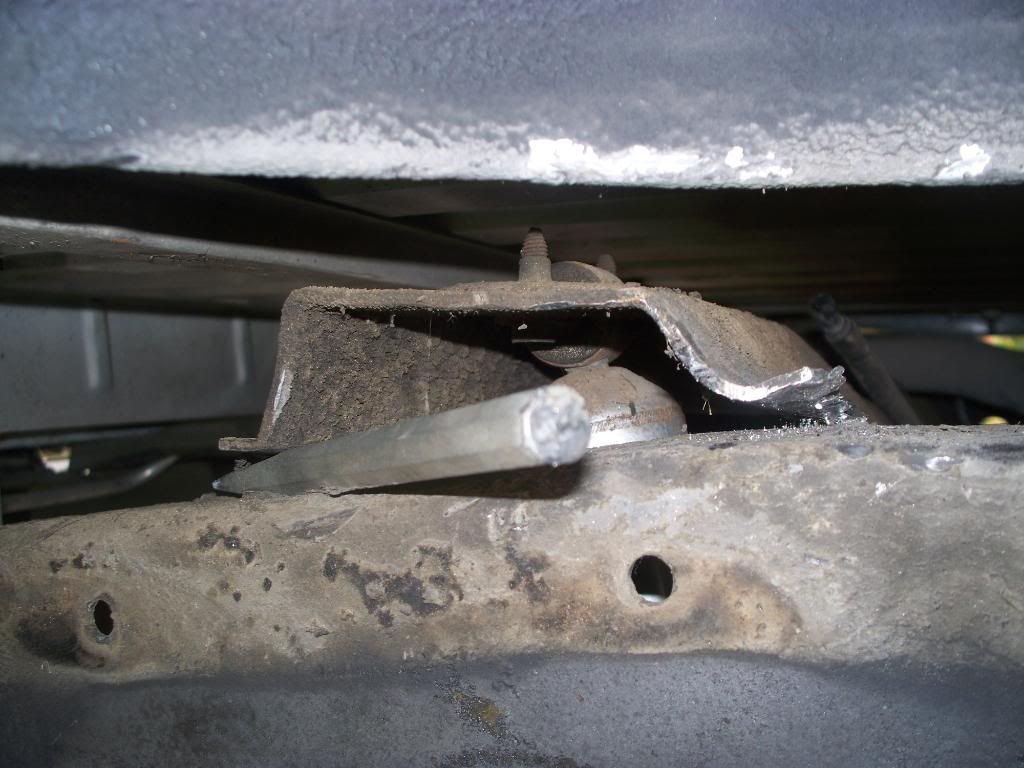
The bottom of the crossmember has some rivets that I ground out and then removed.
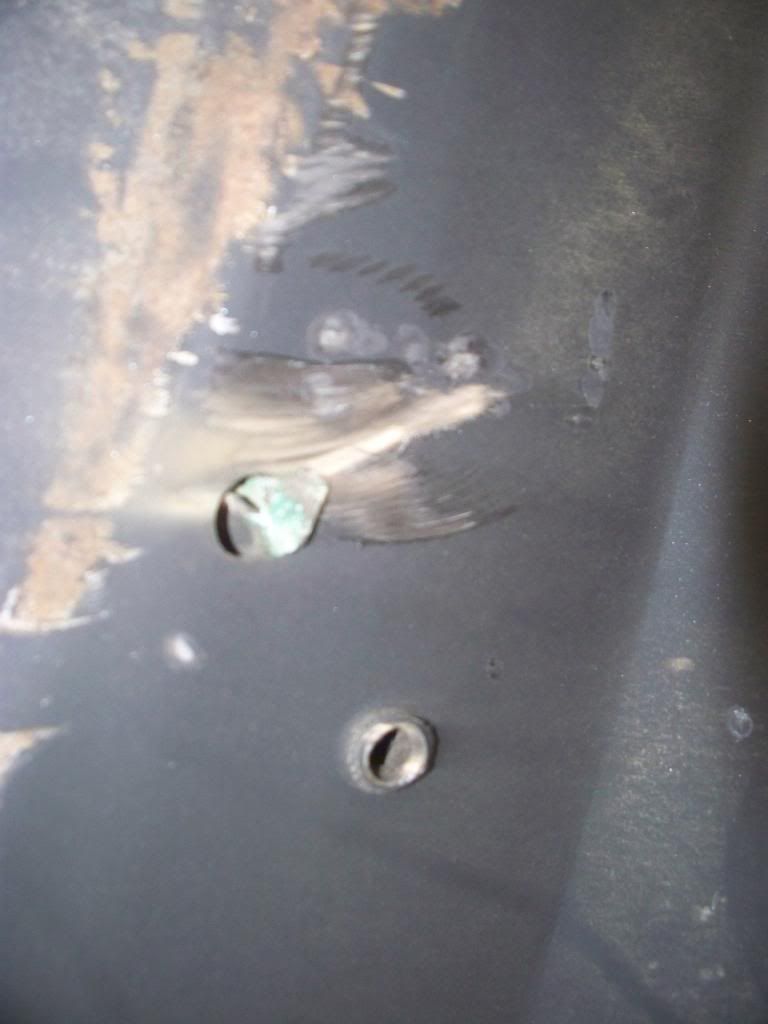
After the spot welds were removed and the rivets i had to cut the crossmember in the middle to get it to be able to wiggle out.
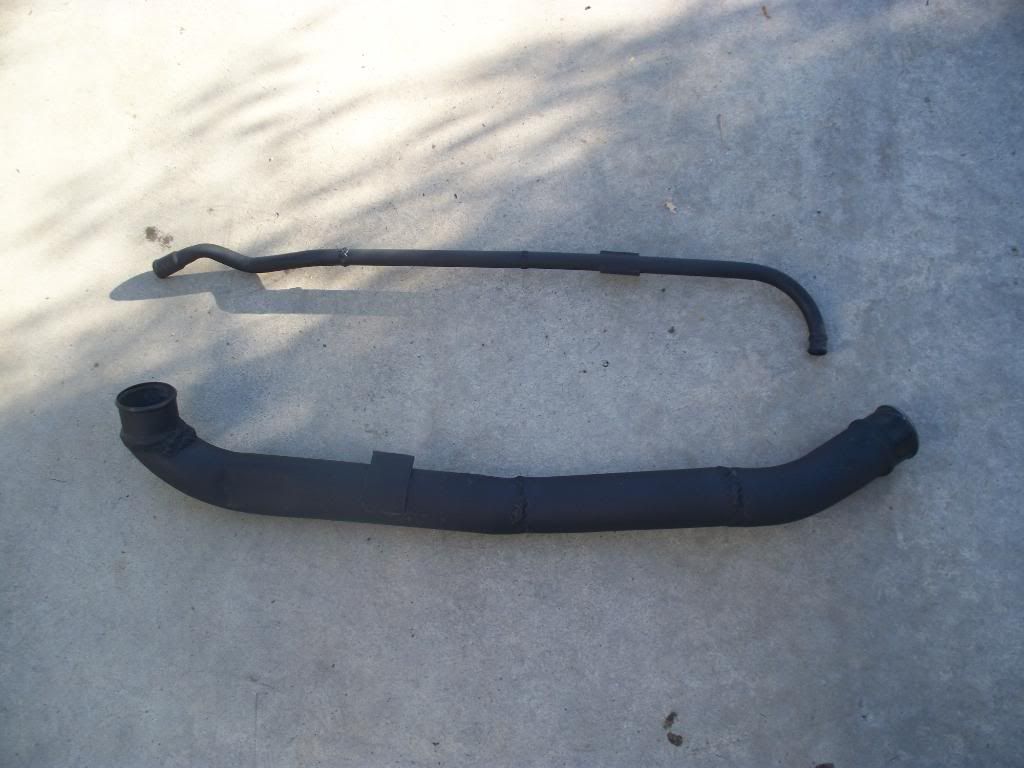
Next I removed the fuel filler and exhaust pipe for the tank because they need to be changed as well.
here is a pic of the tubes after cutting them apart and welding them.
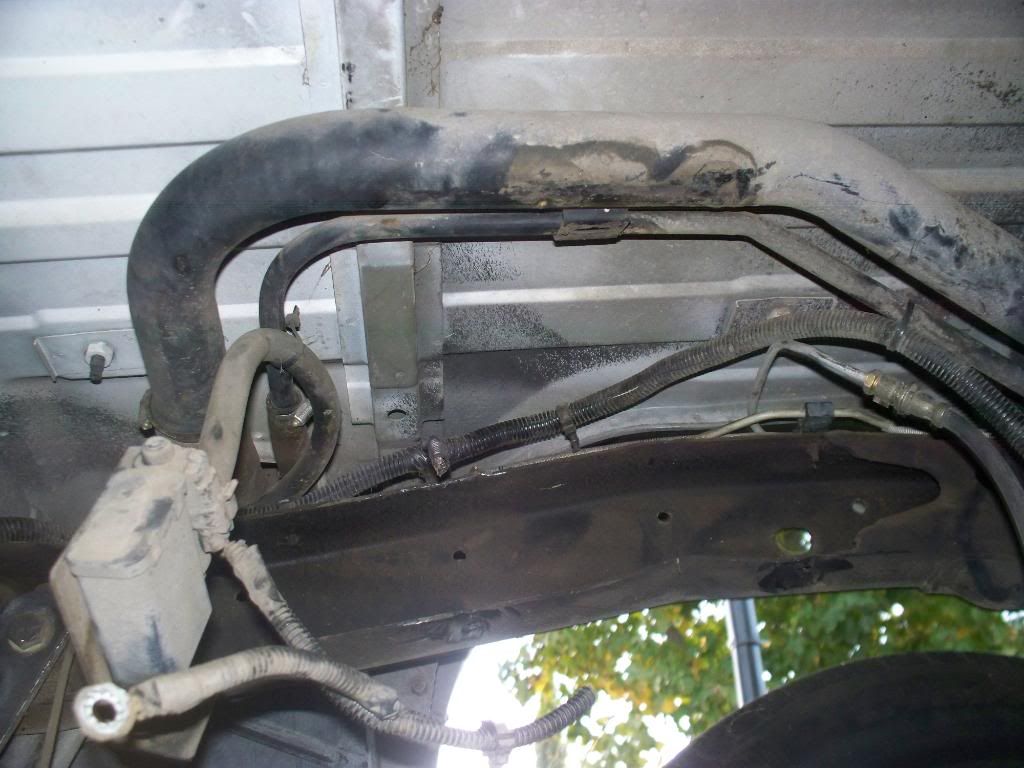
Depending on how big of a box you make you may not even need to mess with the fuel filler and the vent tube but I made a pretty large box so I just did it to make sure there was enough room. Here is another pic of them rewelded but installed. See the difference? I sure do
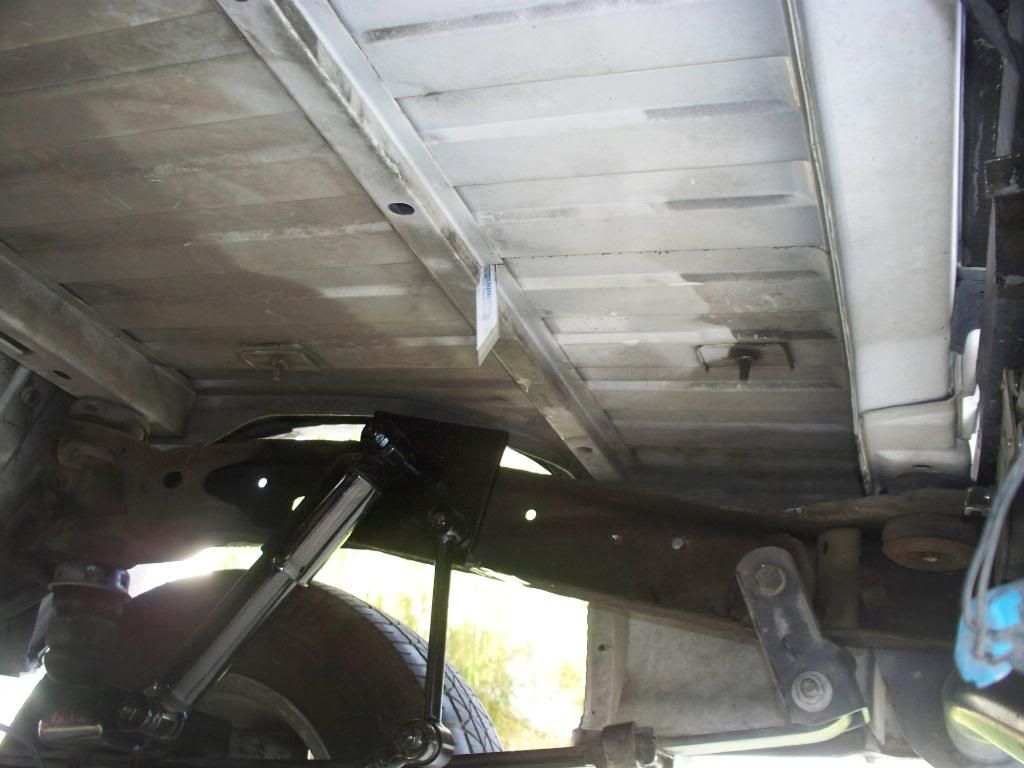
Now for the shocks and the sway bar. I took a piece of flat plate. I think it was like 1/4" "probably over kill but it was laying around in my garage anyways" and welded it to the frame to create a boxed frame. After I drilled holes I used that to mount the top of the sway bar mount and shock. Notice that the shock is not the same as the factory rear shock. I actually used the factory ones from the front of the blazer before I lifted it because they seemed to be a good length. Notice the sawzall blade coming through the floor. HAHAHA my buddy took this pic once I started cutting the floor out...
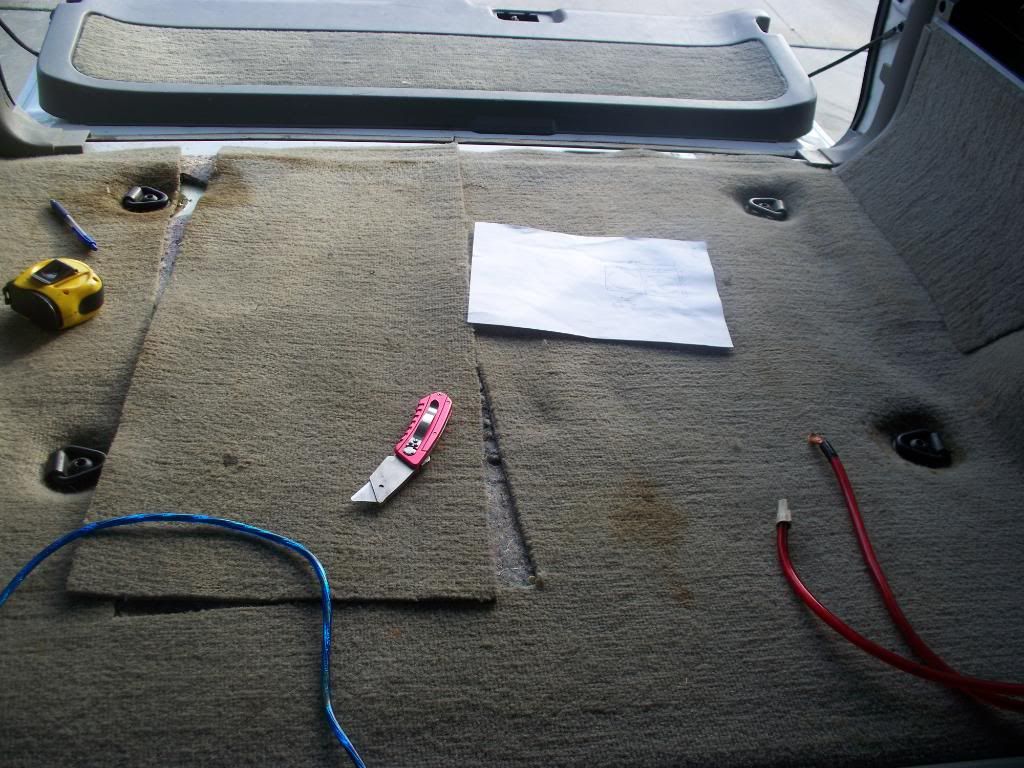
PHEW still with me???? This is only about half way done.... Next was time for the fun part.... Cutting out the carpet and the floor...Do your math to decide how big of a box you are going to make for the subs and center it the best you can on the carpet. then mark with a marker and cut the carpet out. I cut out way larger than my box because of the welding that is needed later, so you might wanna do the same.
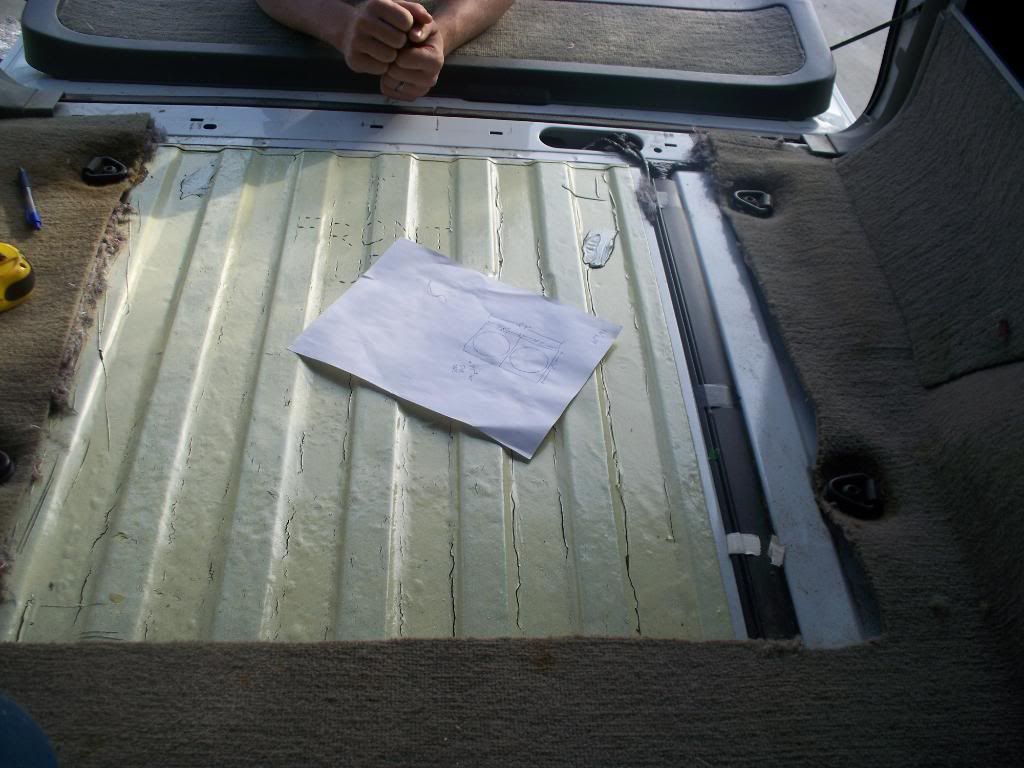
Next is time to bust out the sawzall again...Cut the floor out a little larger than the size of box you are planning on making, dont flip out if you cut a little crooked it will all be okay I promise...
Then remove the piece you cut, I had my buddy do it because I just put the sawzall away so it was my turn to snap a pic...
now sit back drink a brew and realize that you just cut out a perfectly good floor...LOL
Next take your sheet metal and form a new floor. I used 5 pieces but if you have a press brake you can probably do it with one. The bottom is a piece then each side. I made sure to make the new floor an inch or so deeper than I wanted it to be so that i could bend the lip over and the new floor could sit in the back by itself. Get what I mean? I used some hvac pliers to bend the lip, took a while but it got the job done. They looked similar to these
After I welded the floor fully (take your time or you will burn holes) I set it into the truck and let it hang all the way in. Once it was in I proceeded to tack weld it until it was fully welded all the way around. I had some sound dampening stuff back there that I had to grind out first but you might not. Then after it all cooled I covered every single weld in silicone to ensure and airtight and water tight floor. Then came the primer..I know the primer is ugly but it was in my garage already from a different project.
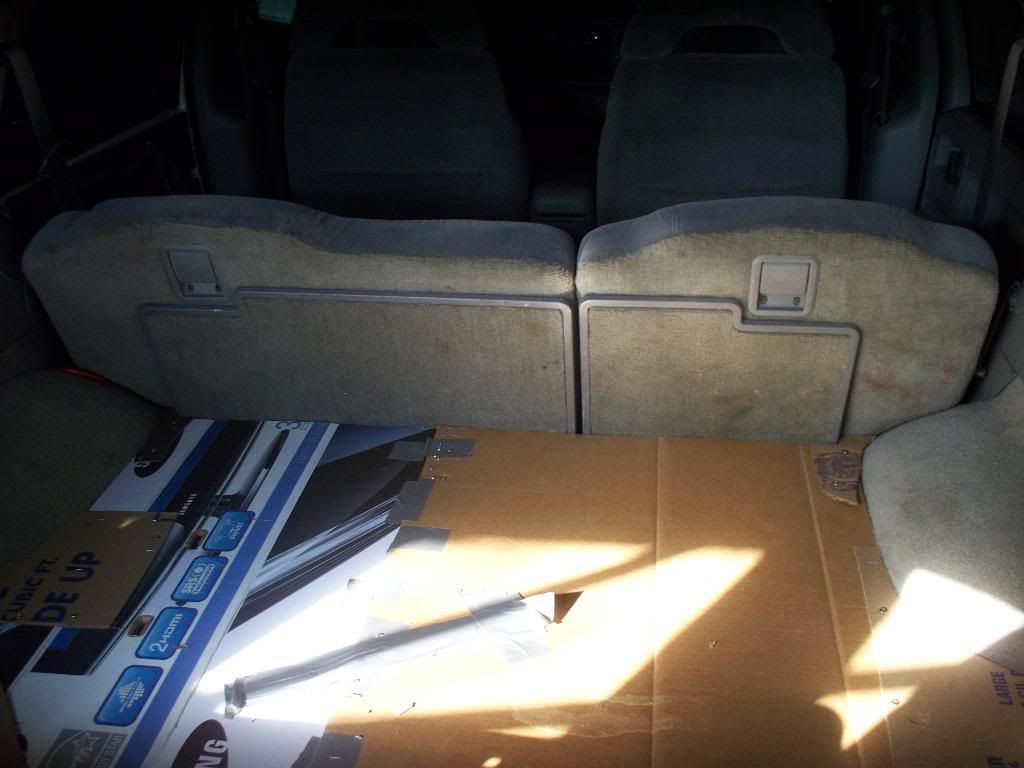
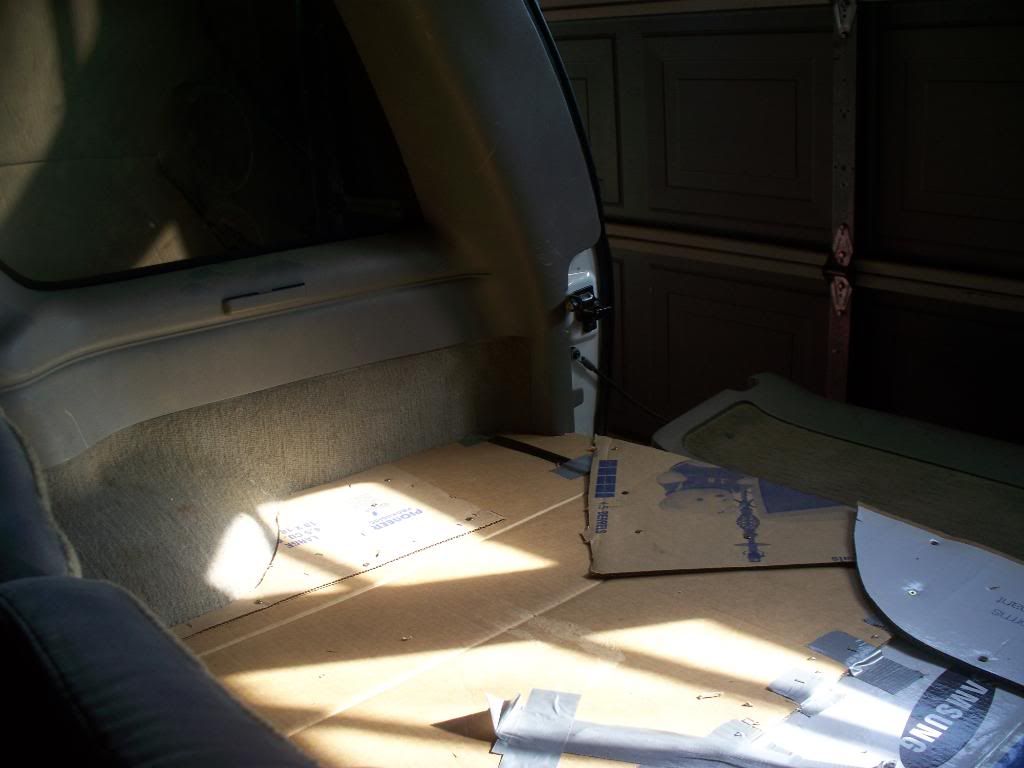
Well looky there, your ride is useable again. Time for the rest of the work, at least you can drive your rig while all this is going on...
First I messured how tall my amps were so that I could figure out how low I could make the mdf floor that would cover everything. I decided to do this because I wanted to hide all the wiring and the amps so I could just throw stuff in the back without the fear of hurting anything. I used cardboard and screws to get the desired shape. It takes some time but be patient and it will turn out great.
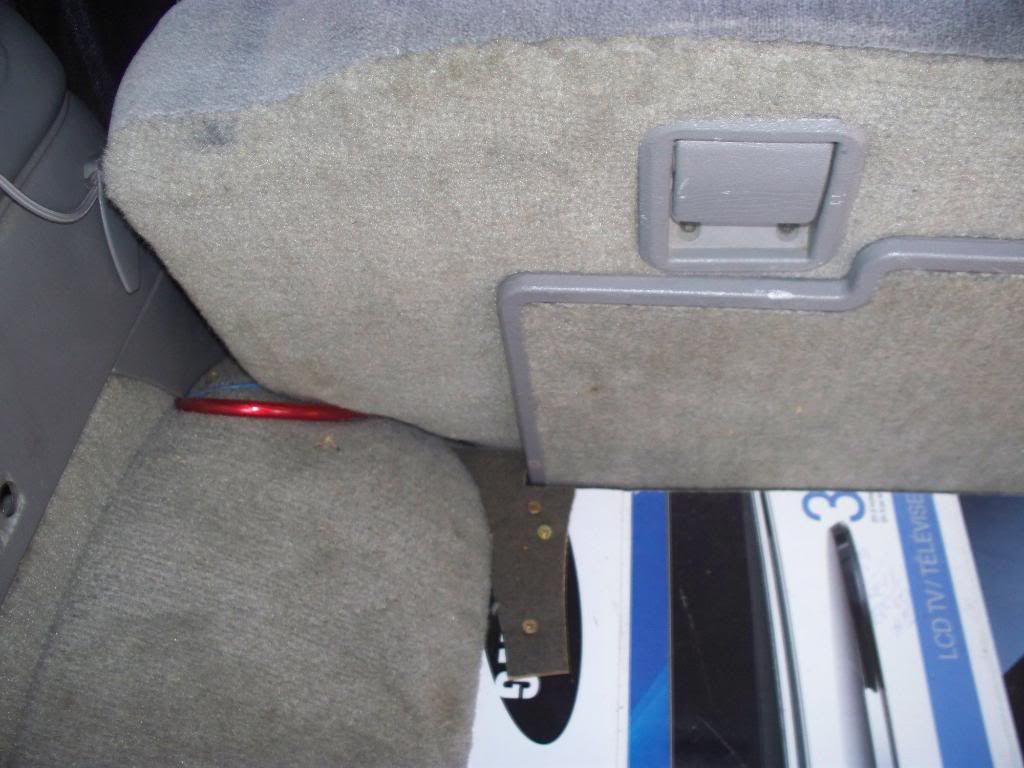
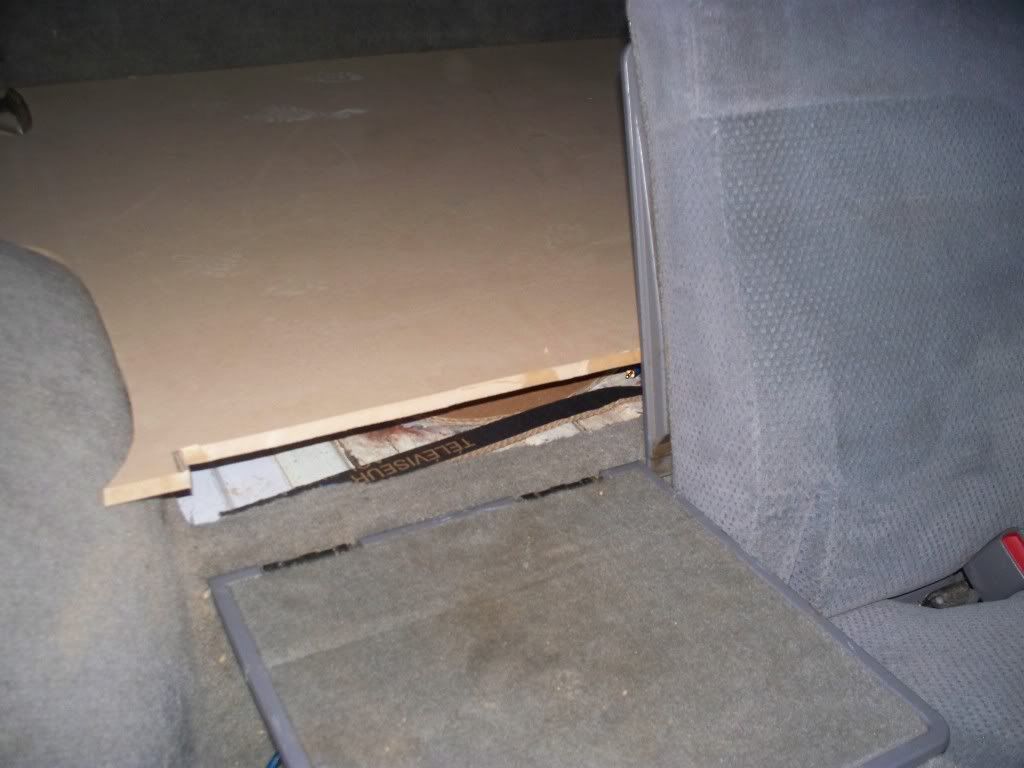
Notice I took the time to go all the way around, I think this helped to make the look cleaner.
After thats all done transfer the shape to a piece of mdf with a marker. I made mine out of 3/4 because I wanted it very sturdy back there but its probably unnecassary to go that thick.
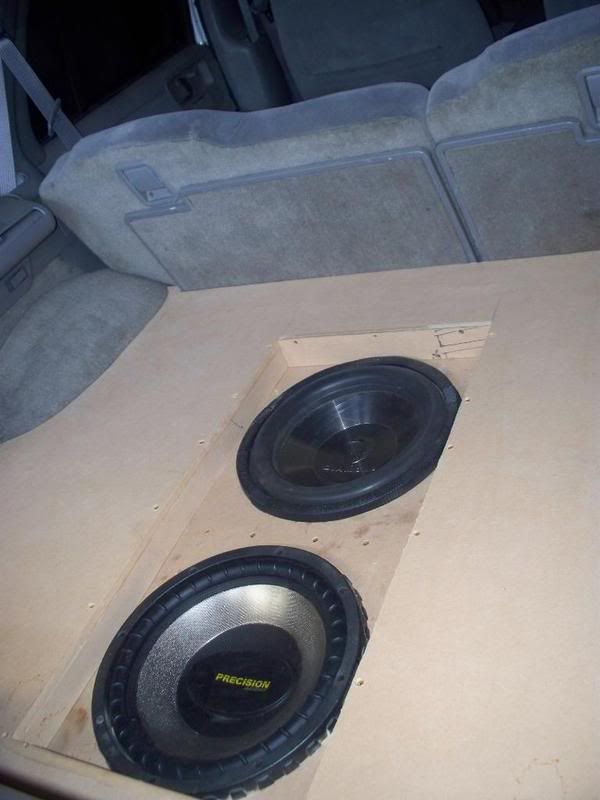
Then after this you want to make your sub enclosure. Or if you are using a premade one then drop it into the floor.
After that measure, measure and measure until you are 1000000000000% your measurements are right and cut out the wood floor just big enough that the subs barely clear the edges. Notice I said the subs not the sub box. this is because the next step is to measure the distance between the mdf floor and the sub box. you need to cut out some pieces of mdf and screw them to the mdf so that you end up creating feet for the floor that will rest ON the box not NEXT TO the box. Use some test subs if you have some as I did so you do not mess up your good ones. If you dont have old subs then be extra careful, that would suck to gete this far and then have to replace your subs already.
After this I measured the size of the hole and cut out a piece of 1/2" mdf so that I could make a sturdy grille that still allowed the sound to travel through it. I proceeded to drill out what seemed like a million damn holes so that the sound could travel through the board undisturbed. I think every 1 inch or so is what it ended up being with one section that was off. OOPS....LOL
Next I used some foam from a fabric store because I wanted it somewhat soft back there like it was before.
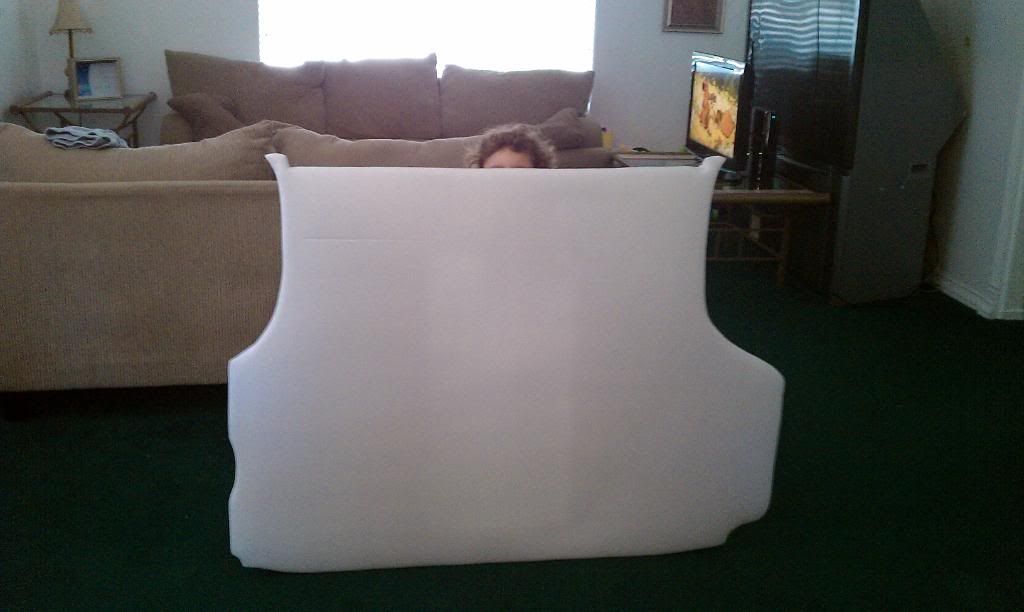
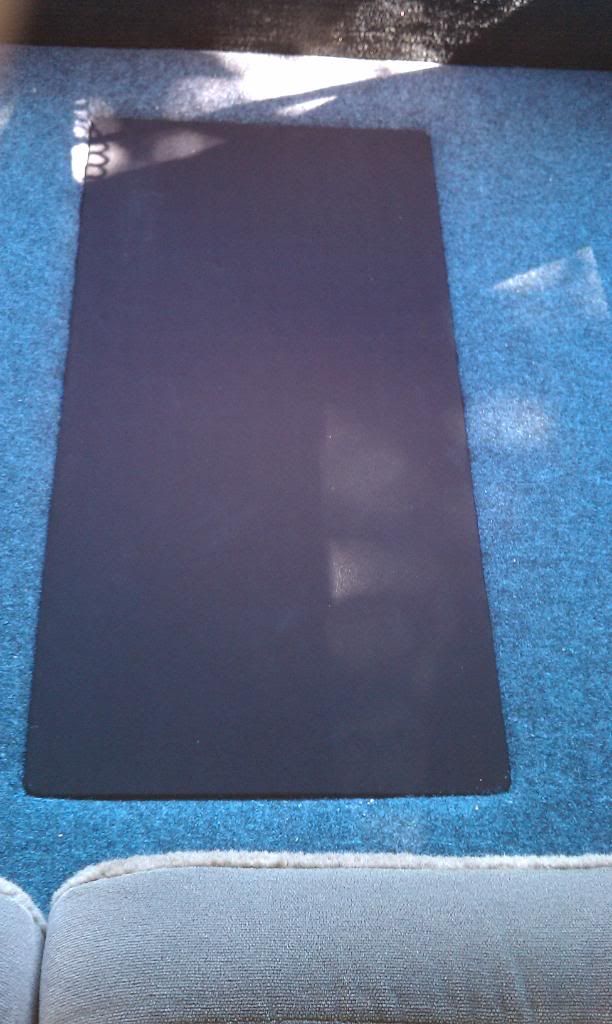
After the foam I wrapped it in what was supposed to be charcoal grey, But like you will see later it kind of looks blue so I still need to rewrap it in a light grey.
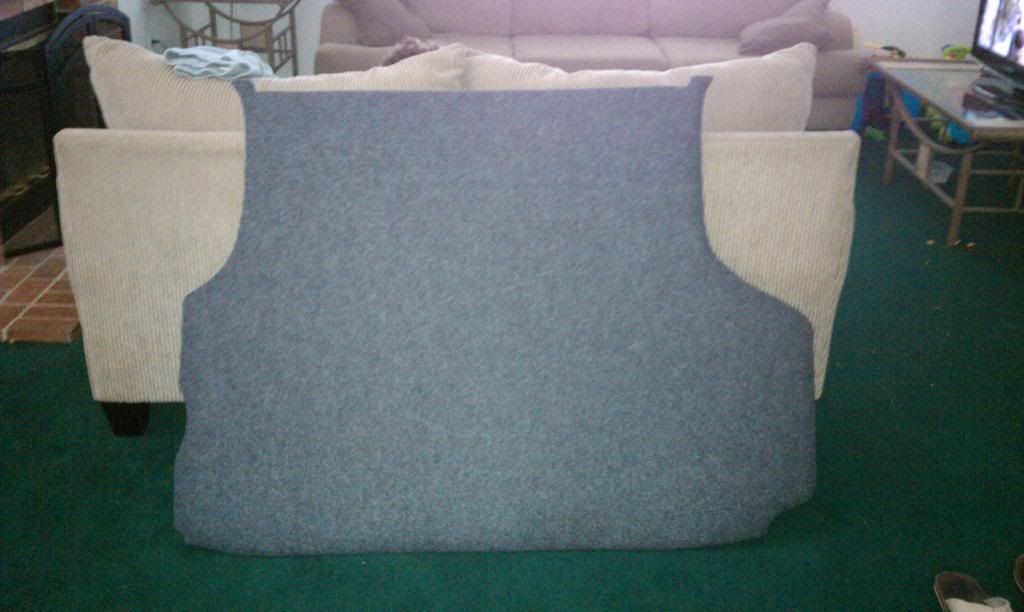
Then I painted the grille in black primer because I decided to use black speaker grille cloth instead of grey for some contrast (I think I might go grey after I redo the floor carpet that looks blue when its in my truck).
I then measured the thickness of the grille and put some scews on the inside of the floor to support the grille once its placed in. After that I wrapped the grille in speaker grille cloth. I forgot to mention earlier make sure you use the good spray adhesive that almost looks dry when it comes out like in the pics above because the cheap crap comes out in more of a liquid form and will stain cloth. I think I used 3M but cant remember for sure. Then after that I installed the amps the wiring etc. I put the wdf floor back in and then the speaker grille...
WAALAA you now have bumps and you only lost a couple of inches of space.....
If you have questions just ask and I will try to help you if you can. If you have no questions then awesome but I would love it if you sent me pics of yours once you do it.
First step was to remove anything in my way under the blazer. I unbloted this first so that I didnt harm anything fuel related.
Then I made the first cut and then continued on and cut the rest of the spare tire contraption out.
next was time to remove the shocks and the sway bar. I would think there is no need top post pics of that because if you cant do that then you shouldnt be trying this mod anyways....LOL
After those were removed it was time to remove that crossmember. I know, I know "what, your removing the crossmember?" I have bagged many mini trucks so I am certain there is till enough frame rigidness that I dont need to worry, but if you are worried about it then just weld in a 2x2 or whatever size tubing you think you "need" and put it in just in front of the axle and you will still have room.
Instead of just hacking away to remove the crossmember I decided I wanted a cleaner look and took the time to use a chizel to break the spot welds. It was a pain in the a** but it came out much cleaner.
on the opposite side there are fuel lines that you dont wanna flex to much so be careful when breaking those spot welds if you chose my same method instead of hacking it out.
The bottom of the crossmember has some rivets that I ground out and then removed.
After the spot welds were removed and the rivets i had to cut the crossmember in the middle to get it to be able to wiggle out.
Next I removed the fuel filler and exhaust pipe for the tank because they need to be changed as well.
here is a pic of the tubes after cutting them apart and welding them.
Depending on how big of a box you make you may not even need to mess with the fuel filler and the vent tube but I made a pretty large box so I just did it to make sure there was enough room. Here is another pic of them rewelded but installed. See the difference? I sure do
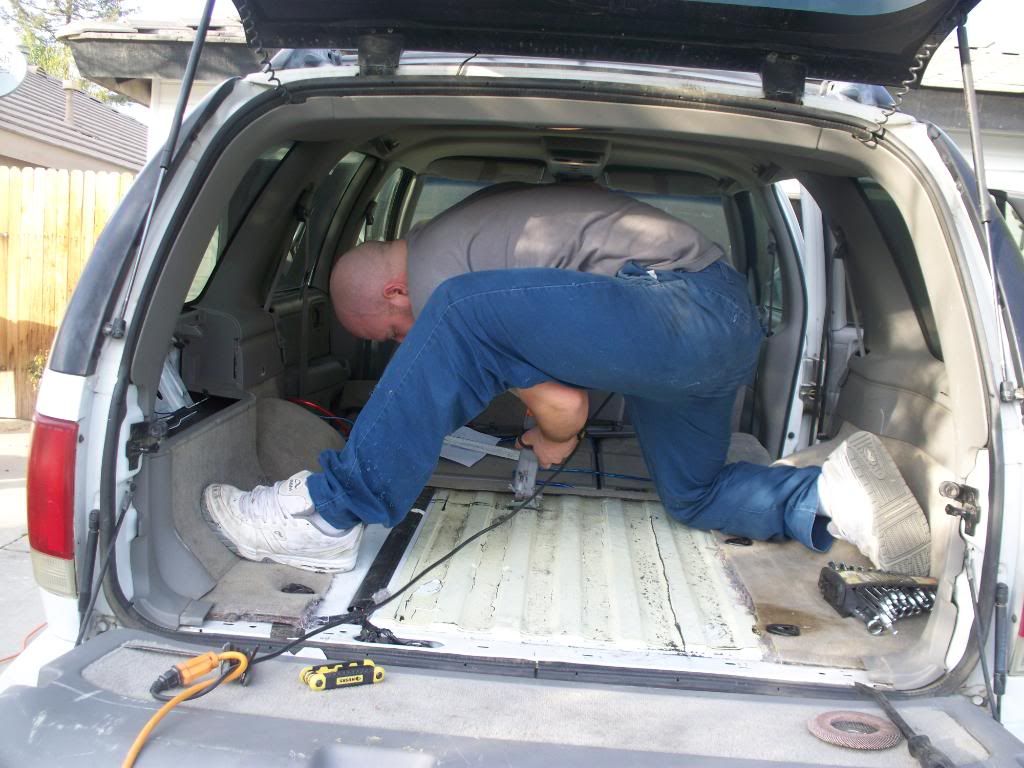
Now for the shocks and the sway bar. I took a piece of flat plate. I think it was like 1/4" "probably over kill but it was laying around in my garage anyways" and welded it to the frame to create a boxed frame. After I drilled holes I used that to mount the top of the sway bar mount and shock. Notice that the shock is not the same as the factory rear shock. I actually used the factory ones from the front of the blazer before I lifted it because they seemed to be a good length. Notice the sawzall blade coming through the floor. HAHAHA my buddy took this pic once I started cutting the floor out...
PHEW still with me???? This is only about half way done.... Next was time for the fun part.... Cutting out the carpet and the floor...Do your math to decide how big of a box you are going to make for the subs and center it the best you can on the carpet. then mark with a marker and cut the carpet out. I cut out way larger than my box because of the welding that is needed later, so you might wanna do the same.
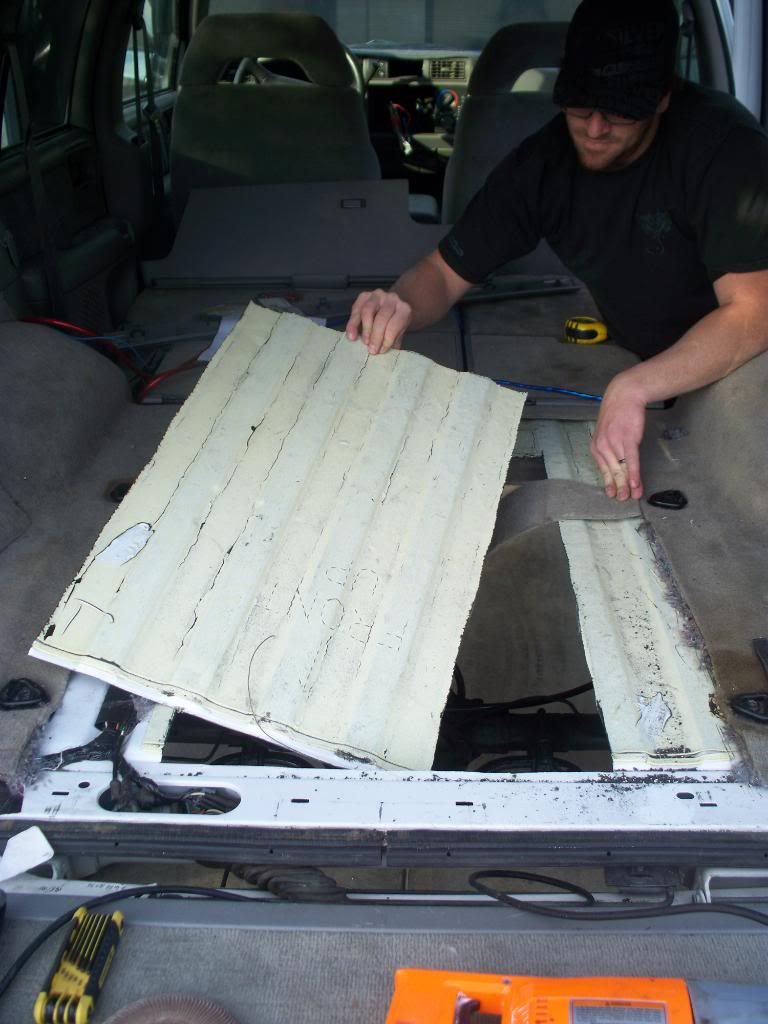
Next is time to bust out the sawzall again...Cut the floor out a little larger than the size of box you are planning on making, dont flip out if you cut a little crooked it will all be okay I promise...
Then remove the piece you cut, I had my buddy do it because I just put the sawzall away so it was my turn to snap a pic...
now sit back drink a brew and realize that you just cut out a perfectly good floor...LOL
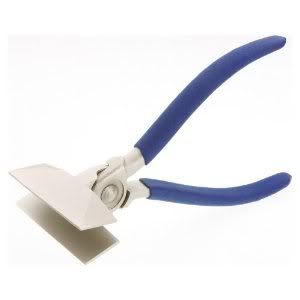
Next take your sheet metal and form a new floor. I used 5 pieces but if you have a press brake you can probably do it with one. The bottom is a piece then each side. I made sure to make the new floor an inch or so deeper than I wanted it to be so that i could bend the lip over and the new floor could sit in the back by itself. Get what I mean? I used some hvac pliers to bend the lip, took a while but it got the job done. They looked similar to these
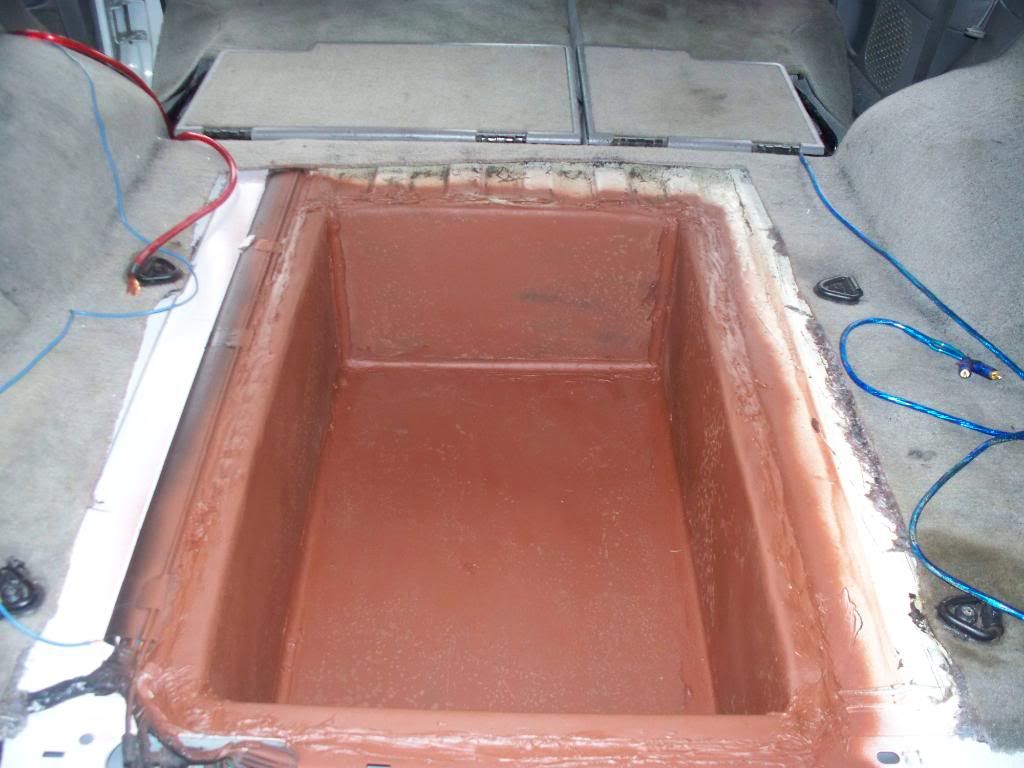
After I welded the floor fully (take your time or you will burn holes) I set it into the truck and let it hang all the way in. Once it was in I proceeded to tack weld it until it was fully welded all the way around. I had some sound dampening stuff back there that I had to grind out first but you might not. Then after it all cooled I covered every single weld in silicone to ensure and airtight and water tight floor. Then came the primer..I know the primer is ugly but it was in my garage already from a different project.
Well looky there, your ride is useable again. Time for the rest of the work, at least you can drive your rig while all this is going on...
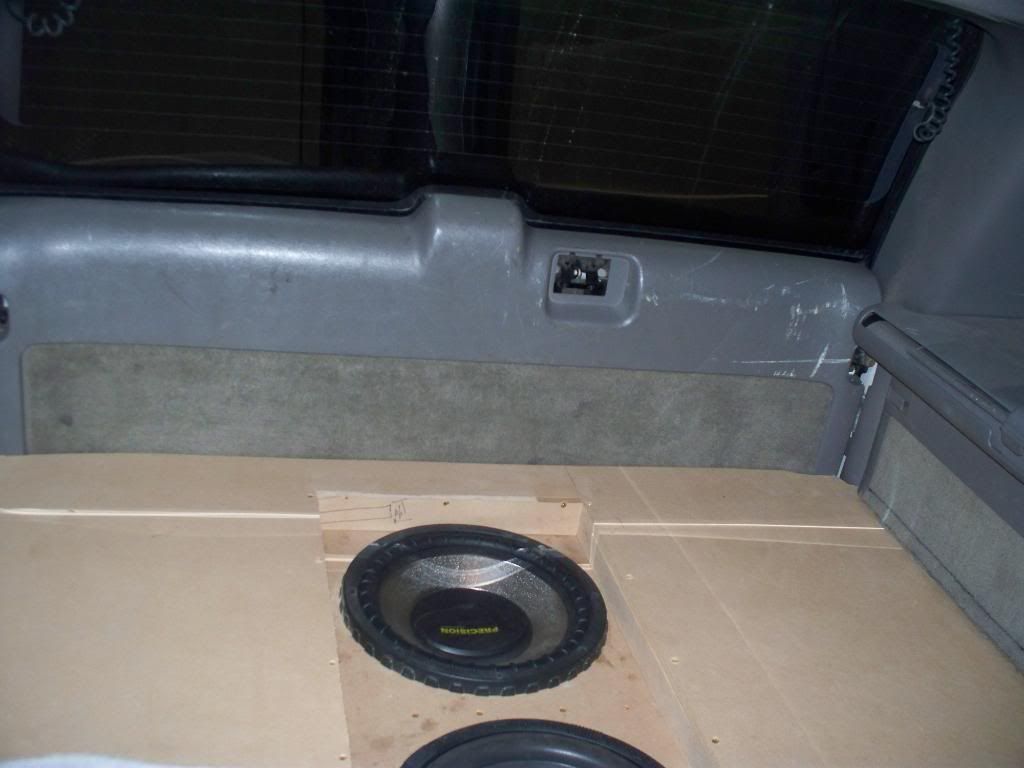
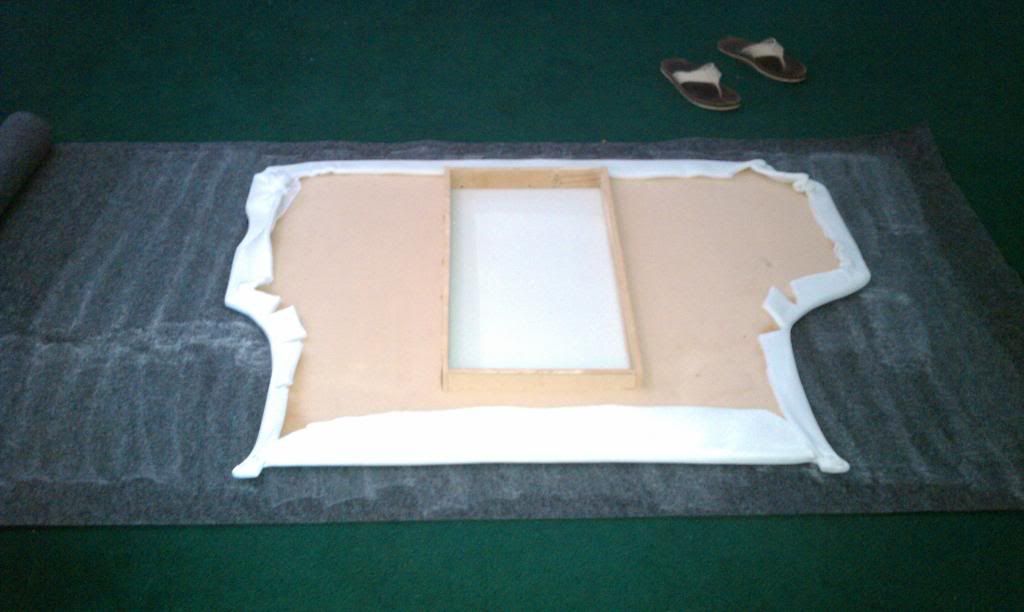
First I messured how tall my amps were so that I could figure out how low I could make the mdf floor that would cover everything. I decided to do this because I wanted to hide all the wiring and the amps so I could just throw stuff in the back without the fear of hurting anything. I used cardboard and screws to get the desired shape. It takes some time but be patient and it will turn out great.
Notice I took the time to go all the way around, I think this helped to make the look cleaner.
After thats all done transfer the shape to a piece of mdf with a marker. I made mine out of 3/4 because I wanted it very sturdy back there but its probably unnecassary to go that thick.
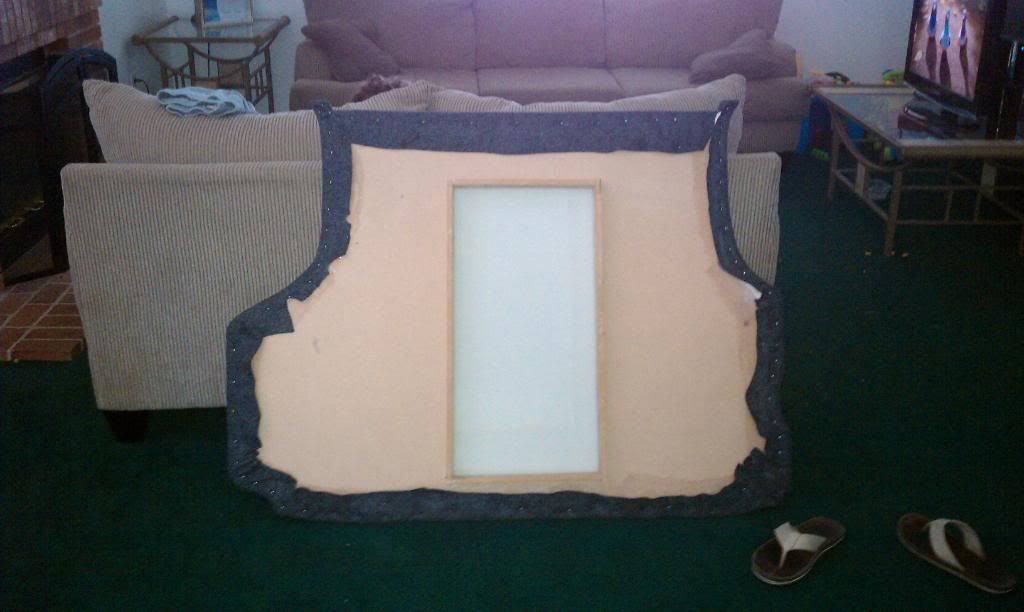
Then after this you want to make your sub enclosure. Or if you are using a premade one then drop it into the floor.
After that measure, measure and measure until you are 1000000000000% your measurements are right and cut out the wood floor just big enough that the subs barely clear the edges. Notice I said the subs not the sub box. this is because the next step is to measure the distance between the mdf floor and the sub box. you need to cut out some pieces of mdf and screw them to the mdf so that you end up creating feet for the floor that will rest ON the box not NEXT TO the box. Use some test subs if you have some as I did so you do not mess up your good ones. If you dont have old subs then be extra careful, that would suck to gete this far and then have to replace your subs already.
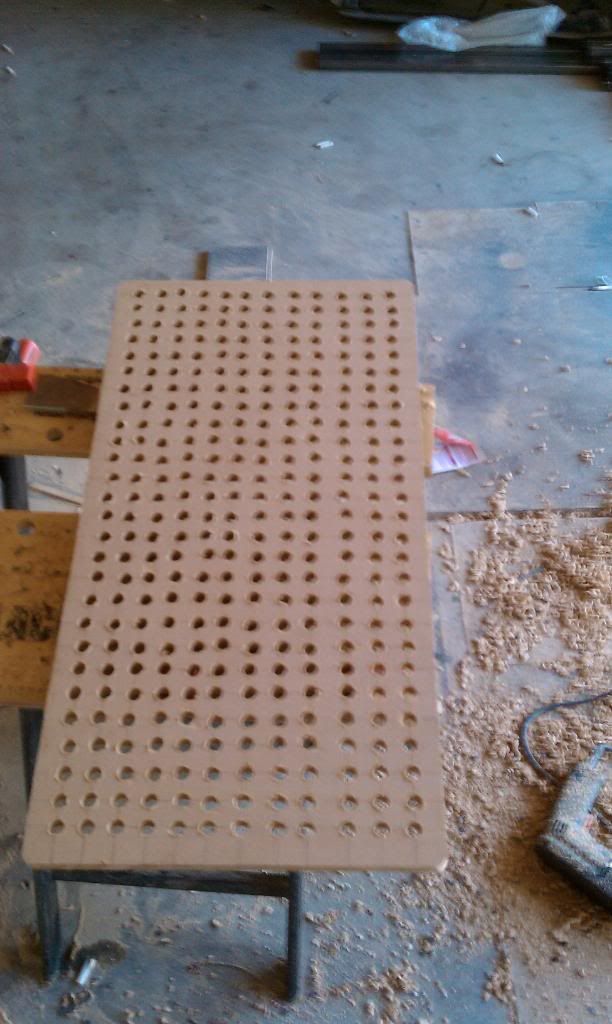
After this I measured the size of the hole and cut out a piece of 1/2" mdf so that I could make a sturdy grille that still allowed the sound to travel through it. I proceeded to drill out what seemed like a million damn holes so that the sound could travel through the board undisturbed. I think every 1 inch or so is what it ended up being with one section that was off. OOPS....LOL
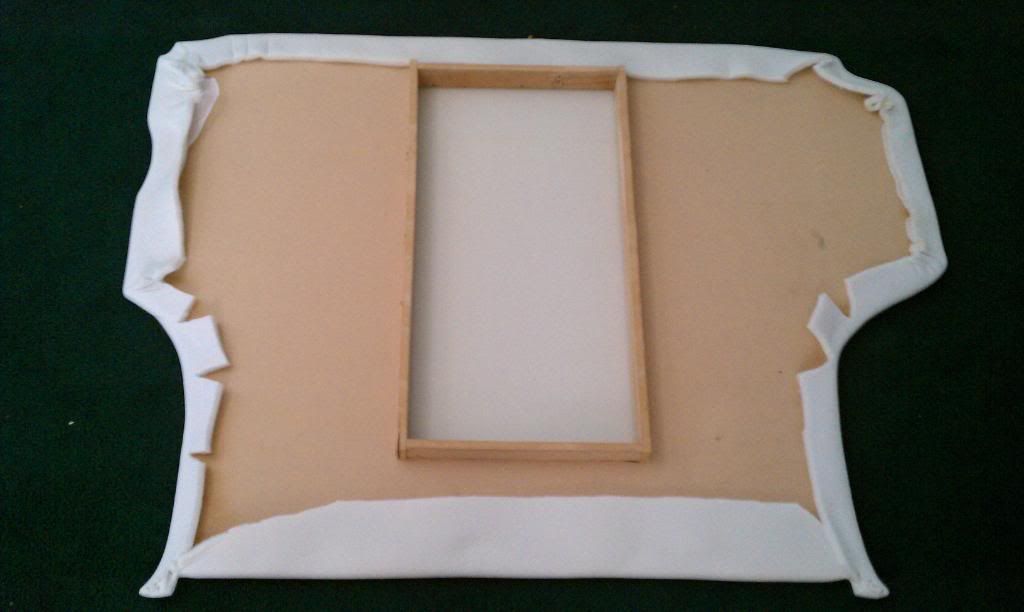
Next I used some foam from a fabric store because I wanted it somewhat soft back there like it was before.
After the foam I wrapped it in what was supposed to be charcoal grey, But like you will see later it kind of looks blue so I still need to rewrap it in a light grey.
Then I painted the grille in black primer because I decided to use black speaker grille cloth instead of grey for some contrast (I think I might go grey after I redo the floor carpet that looks blue when its in my truck).
I then measured the thickness of the grille and put some scews on the inside of the floor to support the grille once its placed in. After that I wrapped the grille in speaker grille cloth. I forgot to mention earlier make sure you use the good spray adhesive that almost looks dry when it comes out like in the pics above because the cheap crap comes out in more of a liquid form and will stain cloth. I think I used 3M but cant remember for sure. Then after that I installed the amps the wiring etc. I put the wdf floor back in and then the speaker grille...
WAALAA you now have bumps and you only lost a couple of inches of space.....
If you have questions just ask and I will try to help you if you can. If you have no questions then awesome but I would love it if you sent me pics of yours once you do it.
Last edited by dimone545; Mar 30, 2011 at 12:30 AM.
That's awesome! I've been thinking about doing that sort of thing once the funds roll in, but is there any way to keep the "spar tire contraption" intact? Maybe if only one sub was used? That's the only thing holding me back from this fun little project. Thanks!
No because you have to remove the stock crossmember and that is what the spare tire carrier is connected to. You could always mount the tire on the back with the swing out carrier. Thats what I am planning on doing since my spare is a 33" tire...
hey admin, can u guys move this to the how to area. Im sure not many people will try this but i was asked by a few to make a how to on my sub set up. It took me a while to make it so I would appreciate it if you could move it.....Thanks guys.


Thread
Thread Starter
Forum
Replies
Last Post
lennyblazer
Article Submissions/Discussions
53
Feb 3, 2016 01:54 PM
TripleBlackBlazer
Article Submissions/Discussions
68
Jun 26, 2012 11:49 PM
dj00140
2nd Generation S-series (1995-2005) Tech
2
Feb 5, 2011 06:06 PM
swartlkk
Article Submissions/Discussions
39
Feb 20, 2010 09:39 PM