When you click on links to various merchants on this site and make a purchase, this can result in this site earning a commission. Affiliate programs and affiliations include, but are not limited to, the eBay Partner Network.
Day 3 - Snuck out of work by 1pm and got started around 2pm. Got the front all done in about another 4 hours. Lots of bolts to tighten and fidly bits to put back together. Started on the rears and smoked my 5 year old Harbor Freight impact wrench - yikes... I'll give the $45 impact credit - it's done 5 1/2 suspension jobs and has had the crap knocked out of it - got my money's worth...
Got the shocks out and worked on the rear stabilizer bar with a breaker bar for about 40 minutes before calling it. By this time HF is closed and I need suspension parts so bagged it and placed the order.
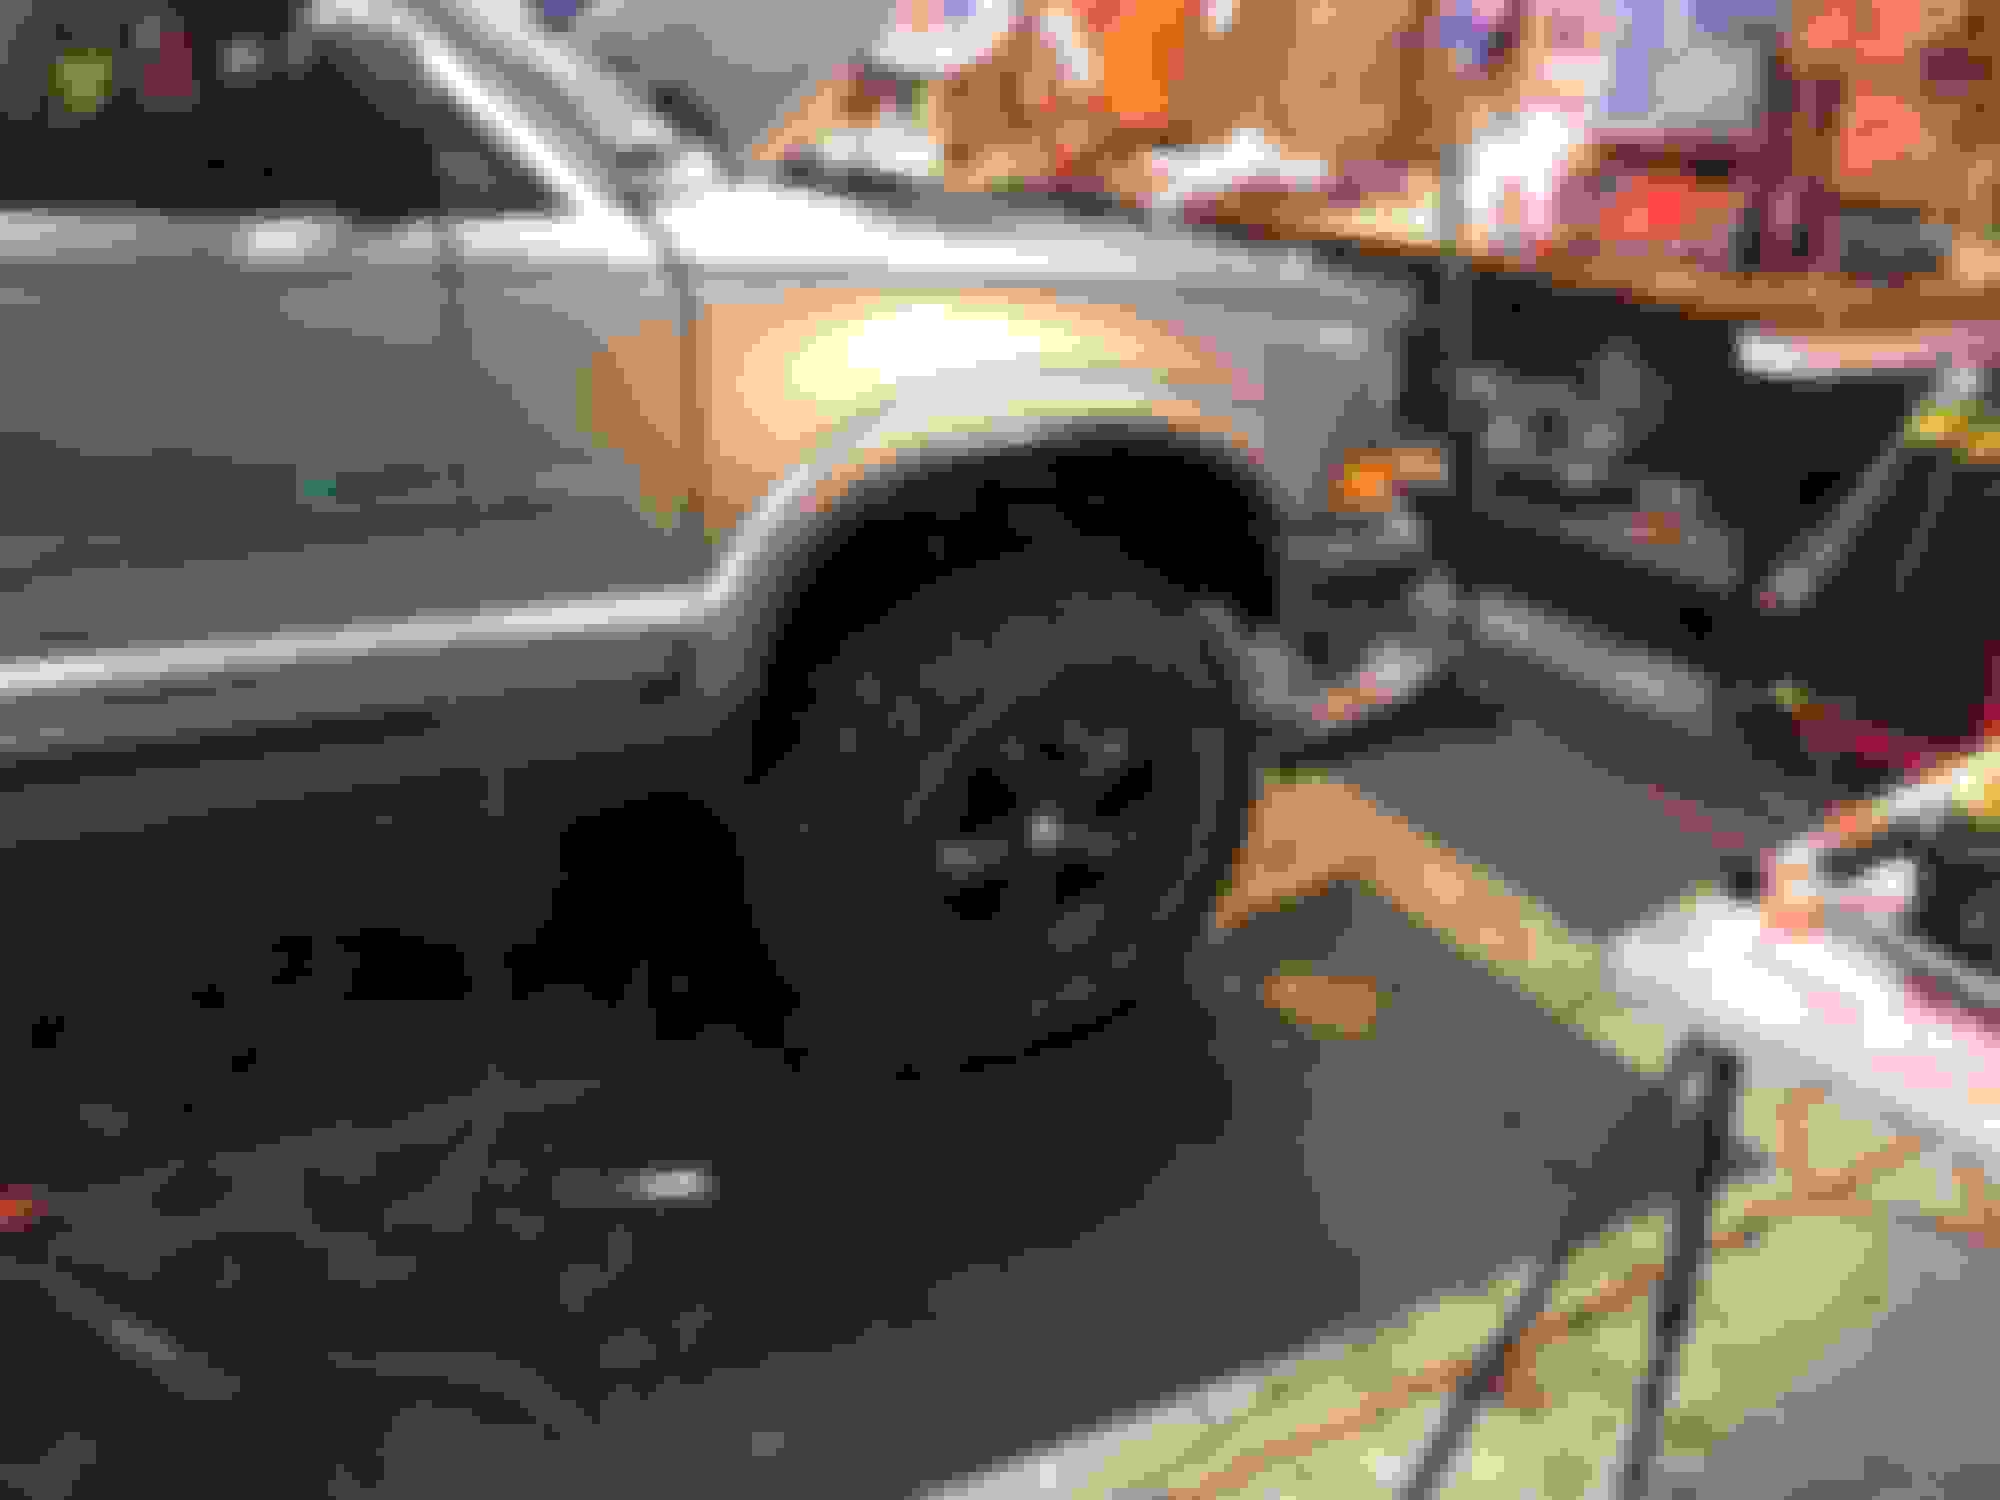
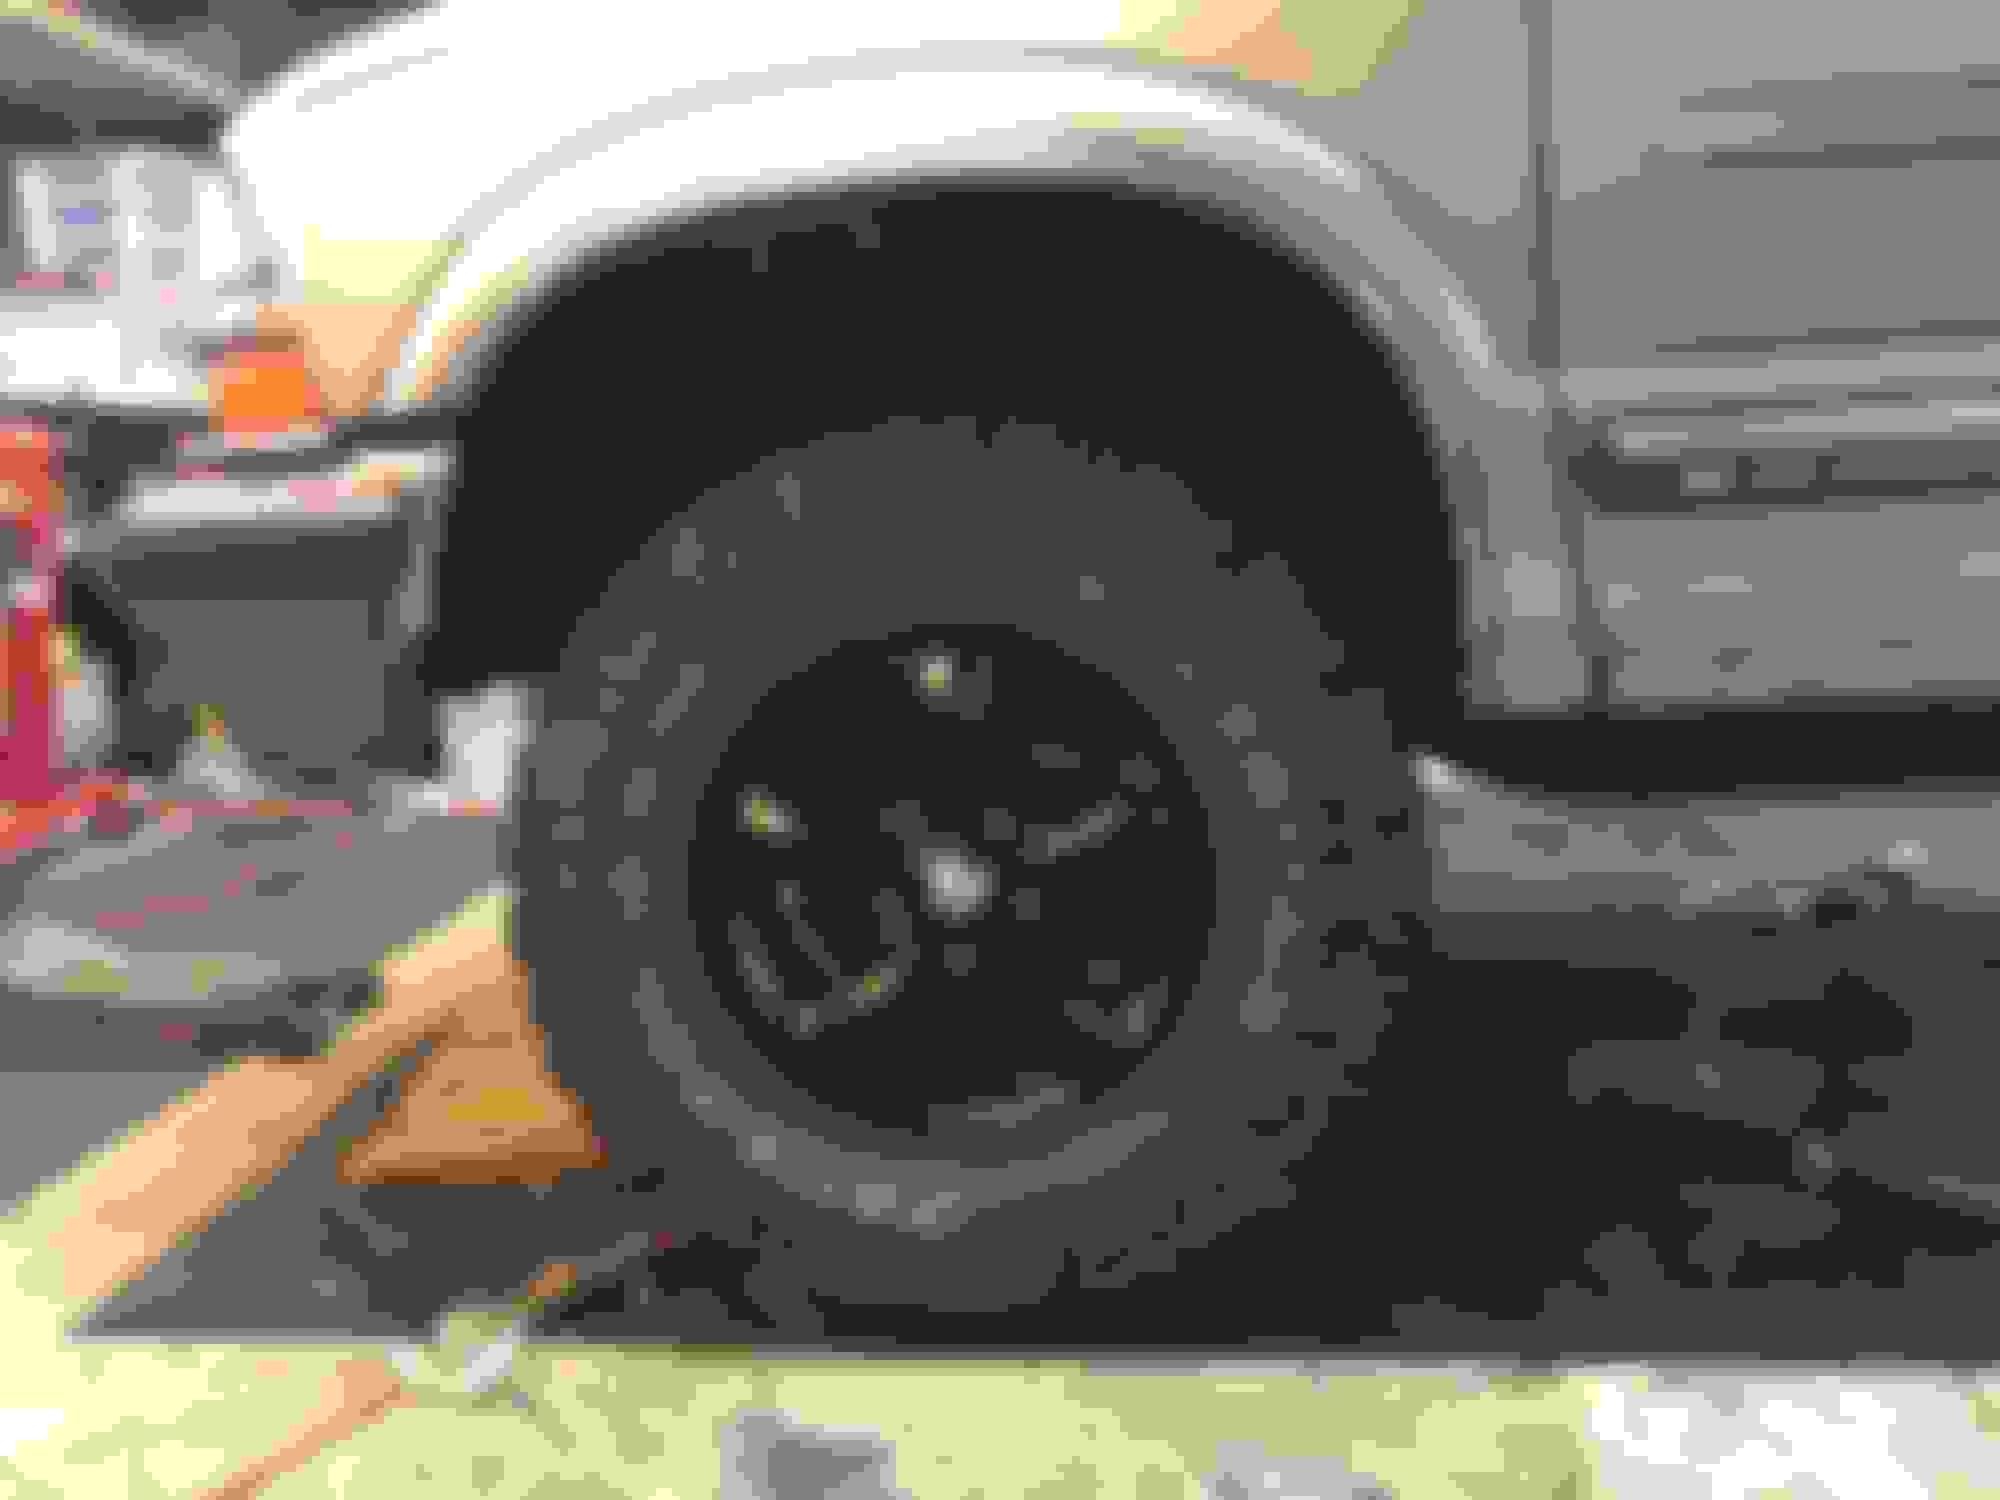
Pax side - looks like enough clearance. The slight damage on the bumper was already there. My kid is gonna trim this smooth later. 37 inches to the top of the wheel well.
I lost track of the cam plate angle so the camber and alignment is gonna be way off. We'll schedule an alignment once we have line of sight to the finish line.
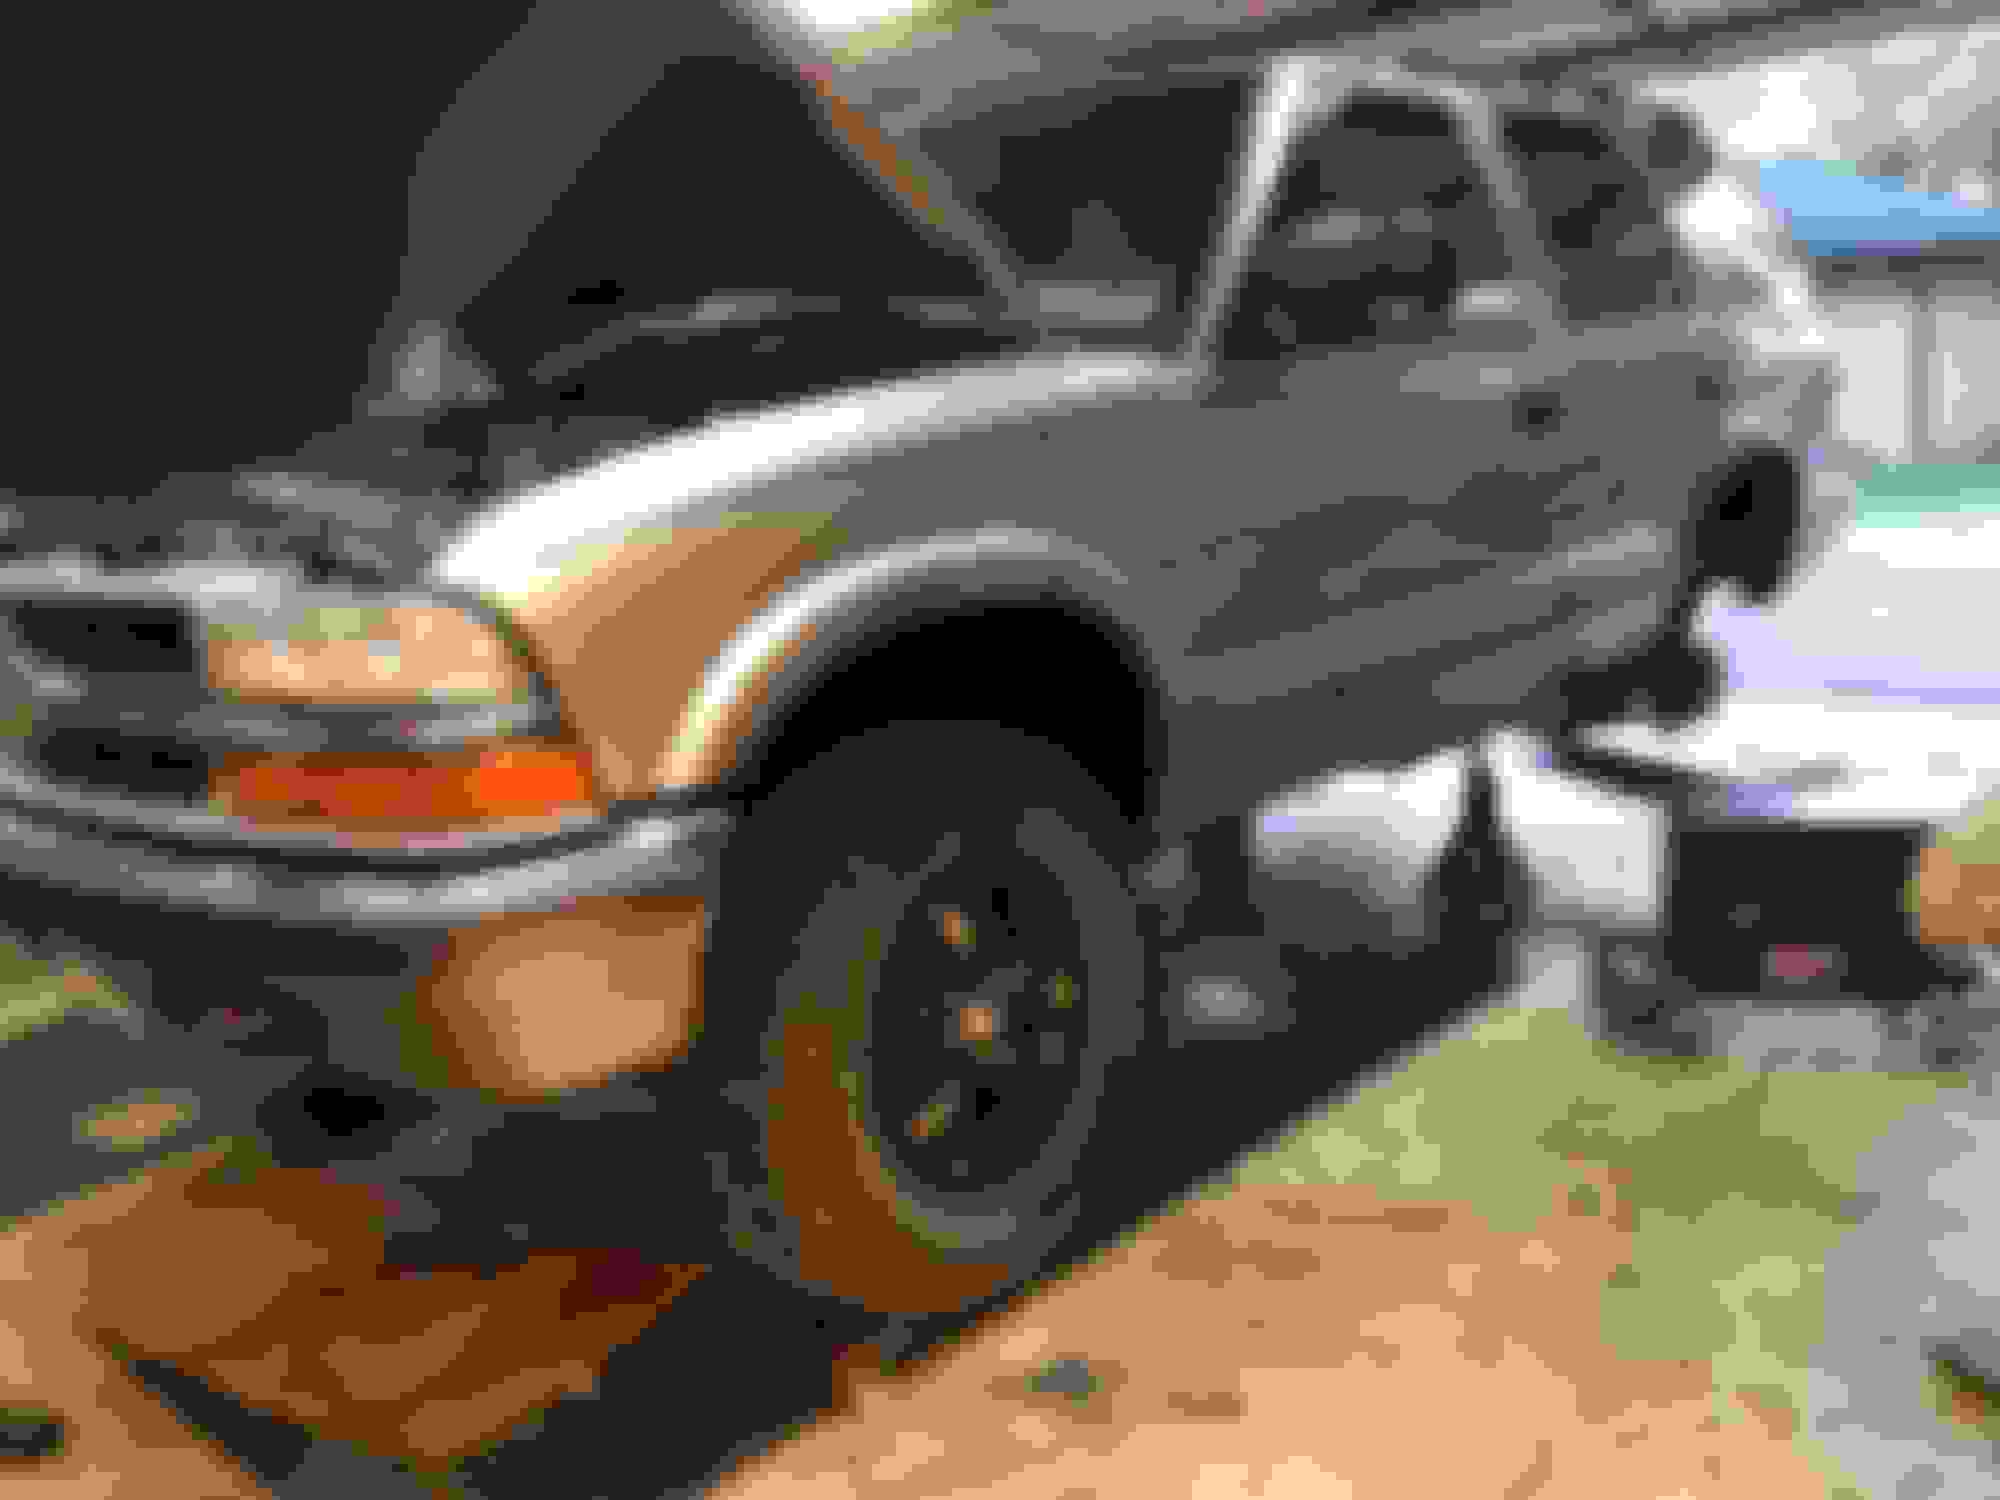
Didn't check the lock to lock clearance yet as I don't wanna grind up my floor mat - driver's side clearance.
Initial impression is that it's very stiff. I bounced up and down on the fender and it only moved like 2 inches and I'm not a slim Jim. I reckon the torsion bars will be backed off a bit to level with the rears once we get it back on the ground. I have them cranked a little more than half way.
Really glad we decided to do this immediately rather than drive it for a winter... This is a total failure waiting to happen. The shock mount is rusted a bit but not too bad. Once I get it all out I will wire brush and paint everything. The pivot bolts are frozen solid so I am just gonna cut it all out. I have a new polyurethane bushing kit ordered and will pick up some new bolts.
Driver's side isn't any better. Damn I hate rust - LOL... Of course the lift kit comes with drop shackles so cutting this crap out is not a big deal... Kit should arrive Thursday so I may get after it on Friday afternoon or Saturday morning.
I think if you drop the whole lower a-arm you can deal with it on the bench. Biggest sledge I could swing was a 3 pounder. Big sledge will make them move.
In fact if I did this again I would pull both lowers. It�only two more bolts and easy access for the impact gun.
Day 3 - Snuck out of work by 1pm and got started around 2pm. Got the front all done in about another 4 hours. Lots of bolts to tighten and fidly bits to put back together. Started on the rears and smoked my 5 year old Harbor Freight impact wrench - yikes... I'll give the $45 impact credit - it's done 5 1/2 suspension jobs and has had the crap knocked out of it - got my money's worth...
Got the shocks out and worked on the rear stabilizer bar with a breaker bar for about 40 minutes before calling it. By this time HF is closed and I need suspension parts so bagged it and placed the order.
Pax side - looks like enough clearance. The slight damage on the bumper was already there. My kid is gonna trim this smooth later. 37 inches to the top of the wheel well.
I lost track of the cam plate angle so the camber and alignment is gonna be way off. We'll schedule an alignment once we have line of sight to the finish line.
Didn't check the lock to lock clearance yet as I don't wanna grind up my floor mat - driver's side clearance.
Initial impression is that it's very stiff. I bounced up and down on the fender and it only moved like 2 inches and I'm not a slim Jim. I reckon the torsion bars will be backed off a bit to level with the rears once we get it back on the ground. I have them cranked a little more than half way.
Really glad we decided to do this immediately rather than drive it for a winter... This is a total failure waiting to happen. The shock mount is rusted a bit but not too bad. Once I get it all out I will wire brush and paint everything. The pivot bolts are frozen solid so I am just gonna cut it all out. I have a new polyurethane bushing kit ordered and will pick up some new bolts.
Driver's side isn't any better. Damn I hate rust - LOL... Of course the lift kit comes with drop shackles so cutting this crap out is not a big deal... Kit should arrive Thursday so I may get after it on Friday afternoon or Saturday morning.
If you are installing rear Poly bushings you may need to order a set for a 1/2 ton truck as well depending on your leaf spring code. So far every 4 door I�ve seen has a 1/2 ton main leaf. If you do you will also need to order the front 1/2 ton bolt and nut for bushing. If you do you�ll also have to drill the holes in eye of the front spring perch larger.
If you leave front one alone you won�t have to but I wouldn�t do that myself.
Thanks for the heads up - My kid is antsy to get back on the road so I hope what shows up fits...
Originally Posted by hurleyii
If you are installing rear Poly bushings you may need to order a set for a 1/2 ton truck as well depending on your leaf spring code. So far every 4 door I�ve seen has a 1/2 ton main leaf. If you do you will also need to order the front 1/2 ton bolt and nut for bushing. If you do you�ll also have to drill the holes in eye of the front spring perch larger.
If you leave front one alone you won�t have to but I wouldn�t do that myself.
Just a quick update... I have cut out the rear suspension but getting the old bushing out of the spring eye has been a real byatch... The new bushing kit arrived, I bought a replacement impact wrench and got teh sway bar ready to build and I bought new grade 8 bolts for all the rear end stuff but the spring eyes won't give up. I have drilled out the old rubber and centerpiece and cleared out the frame eyes. I am at the point of cutting out the outer bushings of the spring eyes.
Today I took a break from it and will give it another go tomorrow. Haven't taken any photos, yet but will snap a few tomorrow and update the build...
Love the RC lift & Tires. . I'm definitely jealous. I did the poly bushings all around on my 1st gen. I ended up having to cut the bushing sleeves in the spring eyes, then beat the crap out of them with a sledge and chisel. If you have an air-hammer that should work too. I tried to buy one for the job but my Harbor Freight never had them in stock.
Love the RC lift & Tires. . I'm definitely jealous. I did the poly bushings all around on my 1st gen. I ended up having to cut the bushing sleeves in the spring eyes, then beat the crap out of them with a sledge and chisel. If you have an air-hammer that should work too. I tried to buy one for the job but my Harbor Freight never had them in stock.
Did your front eye bushing match or did you have to order the 1/2 ton kit to.
I'm pretty sure they were the same. . I know I just used what was in the kit. Idk if the size issue was present on the 1st gens. Other than getting the sleeves out I didn't have any issues.
Just went back and checked. . .I used "Energy Suspension 3.2129G S-10/Blazer 2wd/4wd Spring Bush Set Black" got them off ebay.
Well - She's back on her feet but there is work to be done...
Here's the passenger side completed - Getting the spring eye bushing out finally took a sawzall to spit the bushing and then chiseling it out. We used a professional grade pusher and that worked on the drivers side but it wasn't easy. Splitting the bushing and chiseling it was the way to go. Tractor supply only had 4" X 9/16 bolts so the hanger bolts are short. I have longer ones on order from Grainger. The bushing kit as mentioned by someone here was the wrong size so we ended up putting in factory rear bushings for now. I will likely order the correct poly ones later.
The rear steel brake lines were brittle and toast - After we dropped the rear and stepped on the brakes the fluid squirted out. The right rear failed completely at the fitting when I put a wrench on to loosen it. Installed the right rear replacement line and bleed the right rear so we could get it out of the shop. We are gonna pull it back in Sunday (my kid's next day off) and redo some of the work and he is gonna clean up an paint the underbody.
37" to the wheel well lip (same as the front) - No clearance issues anywhere based on the test drive last night.
Back on 4 feet for now - Kid is gonna get the alignment done today. Road test was good with a bit stiffer ride but without the poly not as stiff as we'd like. Drove straight but the steering wheel clearly shows the misalignment. Other glitches that need correcting - There is a gearbox weep from the front diff on the driver's side where we installed a new half shaft - I considered the seal replacement and shoulda done it as it didn't look the greatest. The ABS light is on and I suspect we damaged a front wheel sensor. And finally it appears the hubs are not locking so I suspect the shift linkage may have popped loose or we damaged the vacuum can somehow - was working fine prior to the lift. Damn - doesn't make me proud to have all these glitches and not have it come out "perfect" but my kid is poor and I am not fronting the bills for all new stuf - LOL... On my classics everything would be new - LOL... Garage looks like a bomb hit it... Cleanup on Saturday...
Looking good. Sorry to hear you ran into more issues, but we all know that feeling. 31s look great! Are you going to do the Poly sway bar bushings too?
It wouldn't make the ride any stiffer, but you might consider the jeep steering shaft upgrade to improve road manners more. For me that was the single best upgrade I've made to the Blazer so far.

 10-29-2019, 04:20 AM