When you click on links to various merchants on this site and make a purchase, this can result in this site earning a commission. Affiliate programs and affiliations include, but are not limited to, the eBay Partner Network.
Congrats on installing the 1-ton idler arm. I still haven't gotten around to installing mine.
When I tried installing it last year, the bracket didn't fit and then I saw that the nut for the stud that attaches to the center link was a nylok nut and not a castle nut. I couldn't get it on! Besides, I didn't like the design and had to reinstall the old stuff.
Okay so I pulled one of the longer tubes with a real dipstick from the junkyard, and unfortunately it does not fit. I jb welded the cap back together and it seems to not be leaking anymore, the question still goes without answer though as to why this even happened!
I have taken the blazer for countless test drives making that popping noise and I still can't figure out where it's coming from, if I had to say, it sounds like it's coming from just behind the door to the rear tire area under the truck. I also had someone beside it while I did the pop and they confirmed it sounded like it was coming from the rear. I jacked up the rear and found I was missing a few leaf spring isolators so the leafs were clanging on each other, put some on and it still pops! I have been through and through on this thing and cannot figure this out, it's driving me nuts.
At least I have some good news here, I put the 1 ton idler on yesterday and my steering feels insane now! I love it. Just needs and alignment and my new tires put on this week and she will be ready for the trip (and maybe figure out this popping sound).
Glad to hear you are progressing. Sorry but I have no idea about your popping noise. I'm sure you will figure it out.
Thanks Les and Christine. For the idler arm, I would say just go with the Moog parts as they come with the castle nut for the center link. Now for the bracket not fitting, I had to take off the bolt holding the brake line on the other side of the frame and bend the line a bit, once it was installed I bent the line some more and got that bolt to fit again. The bracket is tight with that brake line and the tranny lines but it seems to be ok for now, I may add some sort of cushioning tomorrow if I get around to it. Other than that it was just putting the bottom bolt in and pushing the bracket all the way up then drilling out the other two holes in the frame, I will say I took off the oil cooler and let it hang so I could get in straight with my drill. Let me know if you have any other questions!
I got the alignment and new tires on today, the toe was out a good amount as I suspected. It now seems pretty dialed for the trip! I need to trim some more fender because the tires are rubbing but that's nothing a few minutes with the grinder won't fix...
Well again the blazer made me very proud trekking 2000km this weekend!! It didn't skip a beat the whole way and the suspension is dialed right now, it felt great. It feels much better than last trip with the new idler arm and new tires, I think my tires were quite a bit out of balance before as it felt like the front end was going to fall apart when I would touch 120 km/h. This trip I was going the fastest I have ever gone in her, she was flying past people the whole way. I got her up to 150 km/h on some parts, and she's mint drives absolutely mint finally no shaking in the steering wheel and it drives nice and straight.
Now it's time I tell you guys about this popping. The driver side right above the mount has a fairly large crack in the support, my guess is from too much frame flexing? I have seen people reinforce these with plate around the mount area, I'm thinking about trying something like that as I have a spare rad support sitting inside. A major thing to note here, the rad supports I got after the crash were VERY weak compared to the original support. I could bend the new rad support all around and bend the rad mounts easily with my hands, where the original I couldn't. I'm sure this would never happen with the original rad support. First I need a way to 100% confirm this is the popping before I start ripping in and reinforcing things, all I know right now is I've been through and through the whole truck and the shop had a look at it before the trip as well and said all looked good, there's nothing else it could be! But I can't get it to make the popping when I push in and out on the body mount area.
Well I've done some more work so I thought I'd post an update, I've got a lot in the works right now. I fixed up my pitman arm that was allowing the inner tie rod to hit the front axle, I noticed there was a problem when the tie rod would hit the axle when turning to the right, but have room when coming back left. With the new pitman arm all is well again, I did have to get a whole new torque wrench for this job though, 185 ft-lbs on the steering box nut! I ended up getting it done without pulling the steering box out at least, just moved it around so I could get to that steering box nut.
Now I want to talk about what I'm doing now, I had some paint peel off and start rusting under the passenger side door. I'm getting to it now and have sanded off all the rust but I'm not sure how I will paint it to get the best results with blending it into the surrounding area. The same thing is also happening on the driver's side in the same place, but it's not as bad, I think if I have decent results here I will do the other side as well. Les if you or anyone else have any tips for blending the paint in that would be much appreciated! Using duplicolor paint matched spray paint, pictures of the area below.
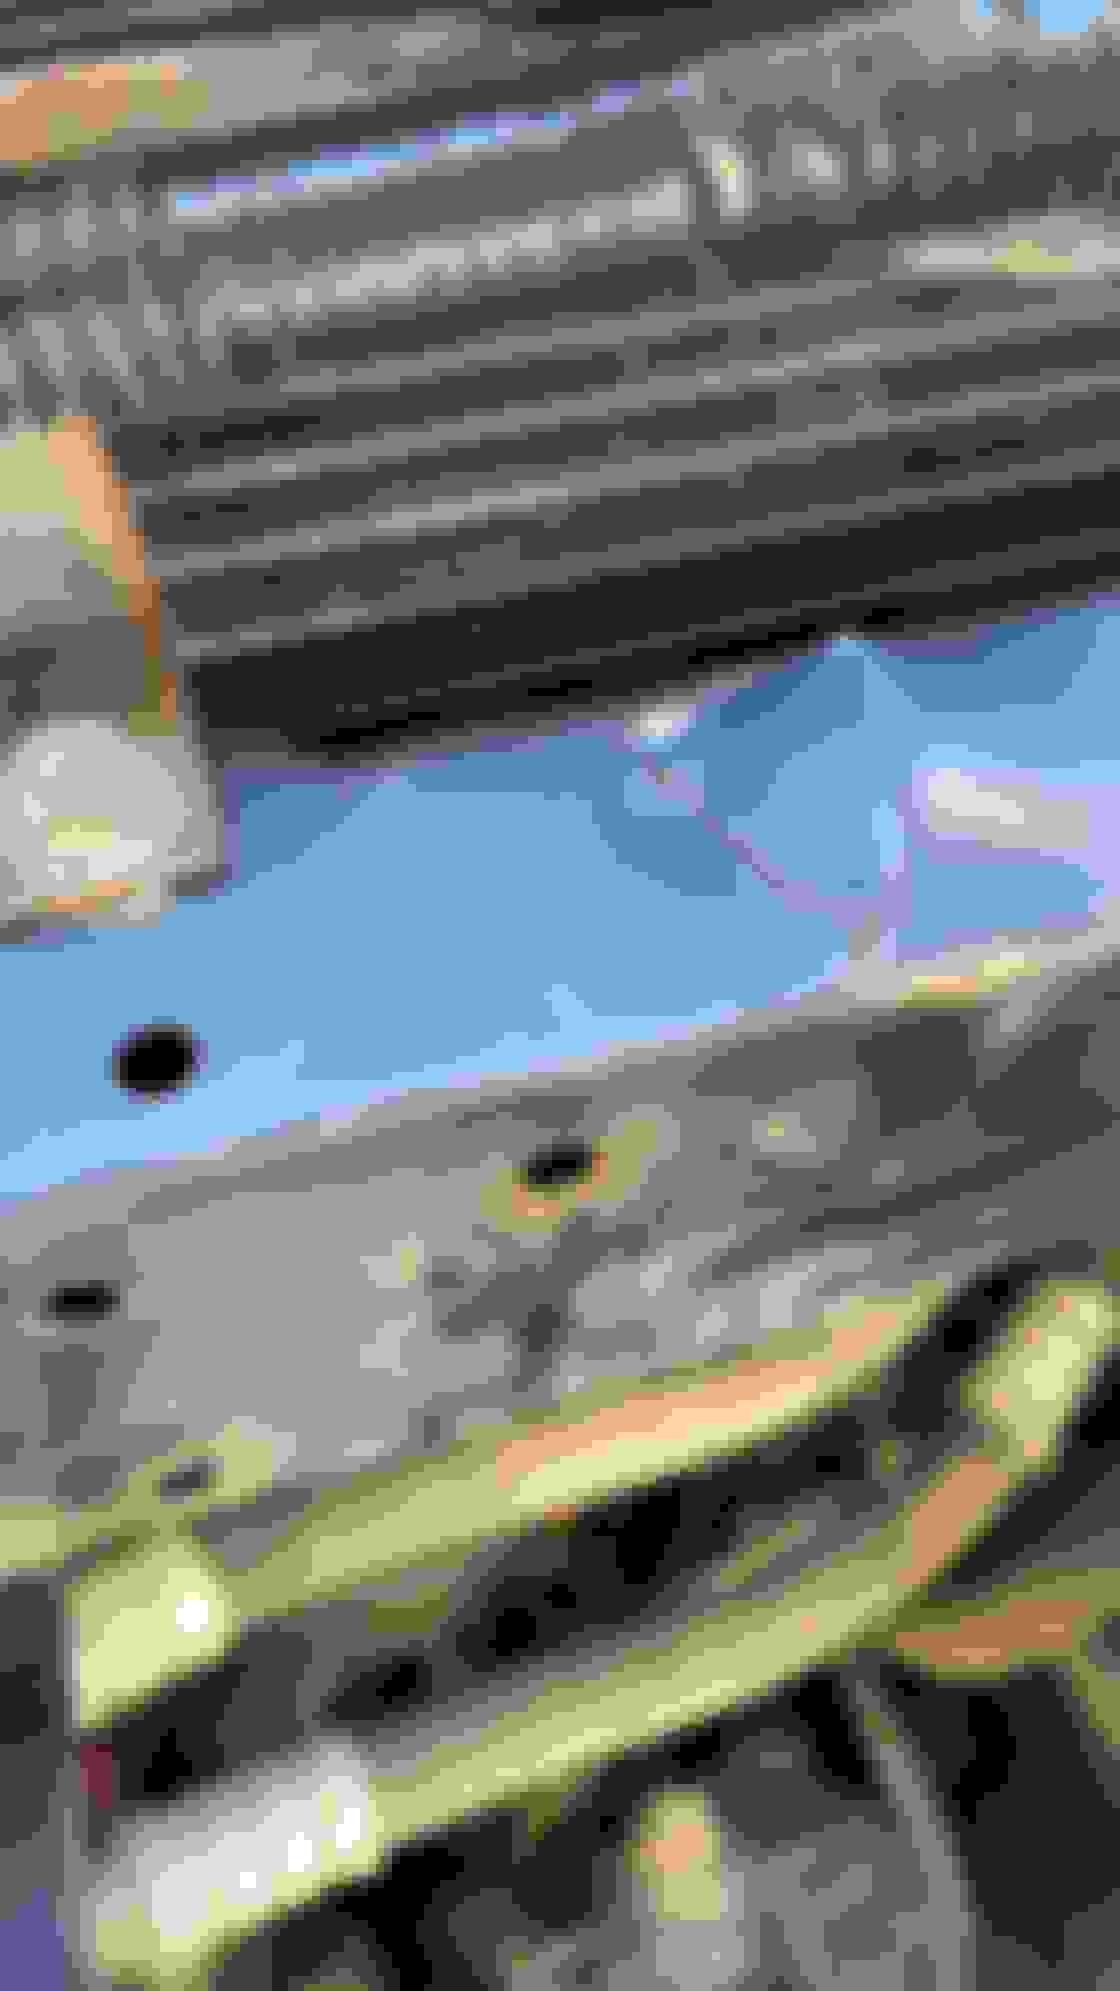
It's also worth mentioning that my rad support is tearing itself apart and I will need to do something soon about this! Pictures below of the cracking in the support, it's cracked in the same place on both sides.
Last thing for now, it seems my driver-side axle is clicking and popping while I turn so I'll be replacing that next weekend. I think I will hardly drive the blazer this week and save the alignment for after I replace this axle, and I'll be able to lift up the front a bit and level it out again. I will also look at my battery this week as it's 4 years old and I think it's on its last leg, haven't decided if I will get a load tester or not yet but we will see.
That radiator support is really odd. Can you patch it with an angle iron bolted across the front? Looks like it was flexing back and forth until it cracked in those two places. Maybe this might have happened when big tires were out of balance and shaking on your trip? Either that or maybe you ran over something that pushed up hard enough on it to tear the metal?
Sorry, but I'm not a good body-man for blending paint. If it was mine I would cover the bottom of the sides (up to maybe 1.5" above the door bottom) in spray can black rock guard and then add a pinstripe above that. Any future problems, just paint over with rock guard (which blends totally with old rock guard). I've done this on two vehicles before and also got my son to do it on his wife's car. Always looks amazing to me. This is the job that my son did to cover something similar to yours. If you look carefully under the driver's door on the rocker panel, you can see a couple of the places he was covering up.
Thanks Les! I think the radiator support is the result of driving baja style (80-100 km/h) down bumpy, washboard forest service roads. Could I go a bit slower? Probably, but what's the fun in that when I have put all of this work into the suspension LOL. I have thought about welding the cracks up, if I did this I could also weld along the top of those two pieces to make it much stronger instead of the single spot weld on both sides. I have thought about doing something similar on the outer sides too. Some metal bolted across the front would probably also work, but I already have a welder and feel pretty confident to weld something like that, the only thing is all the wiring and rad, ac condenser that may have to be removed before welding in that area. I have seen some Toyotas (4runners and tacomas) that have this same issue with a cracking rad support from hard off-roading, and some of them weld in a whole custom rad support, pictured below, don't know how they have headlight and grille mounts after though.
Now I have thought about painting the whole rocker panel black too, it would definitely be easier, and my rocker panels are pretty covered in rock chips on both sides. Did you use spray on bed liner or paint? I have had some problems with the spray-on bed liner on my front bumper. I'm assuming you just lightly sanded the area first and primer where bare metal was showing before spraying? Since I have already got the color-matched paint and clear coat I will go through and try this, I think I will lightly sand a bit more then primer overlapping a small amount of the good paint, then paint overlapping the good paint a little bit more so I can hopefully get a good blend. I plan to spray it today assuming all goes well, will report back how it turns out.
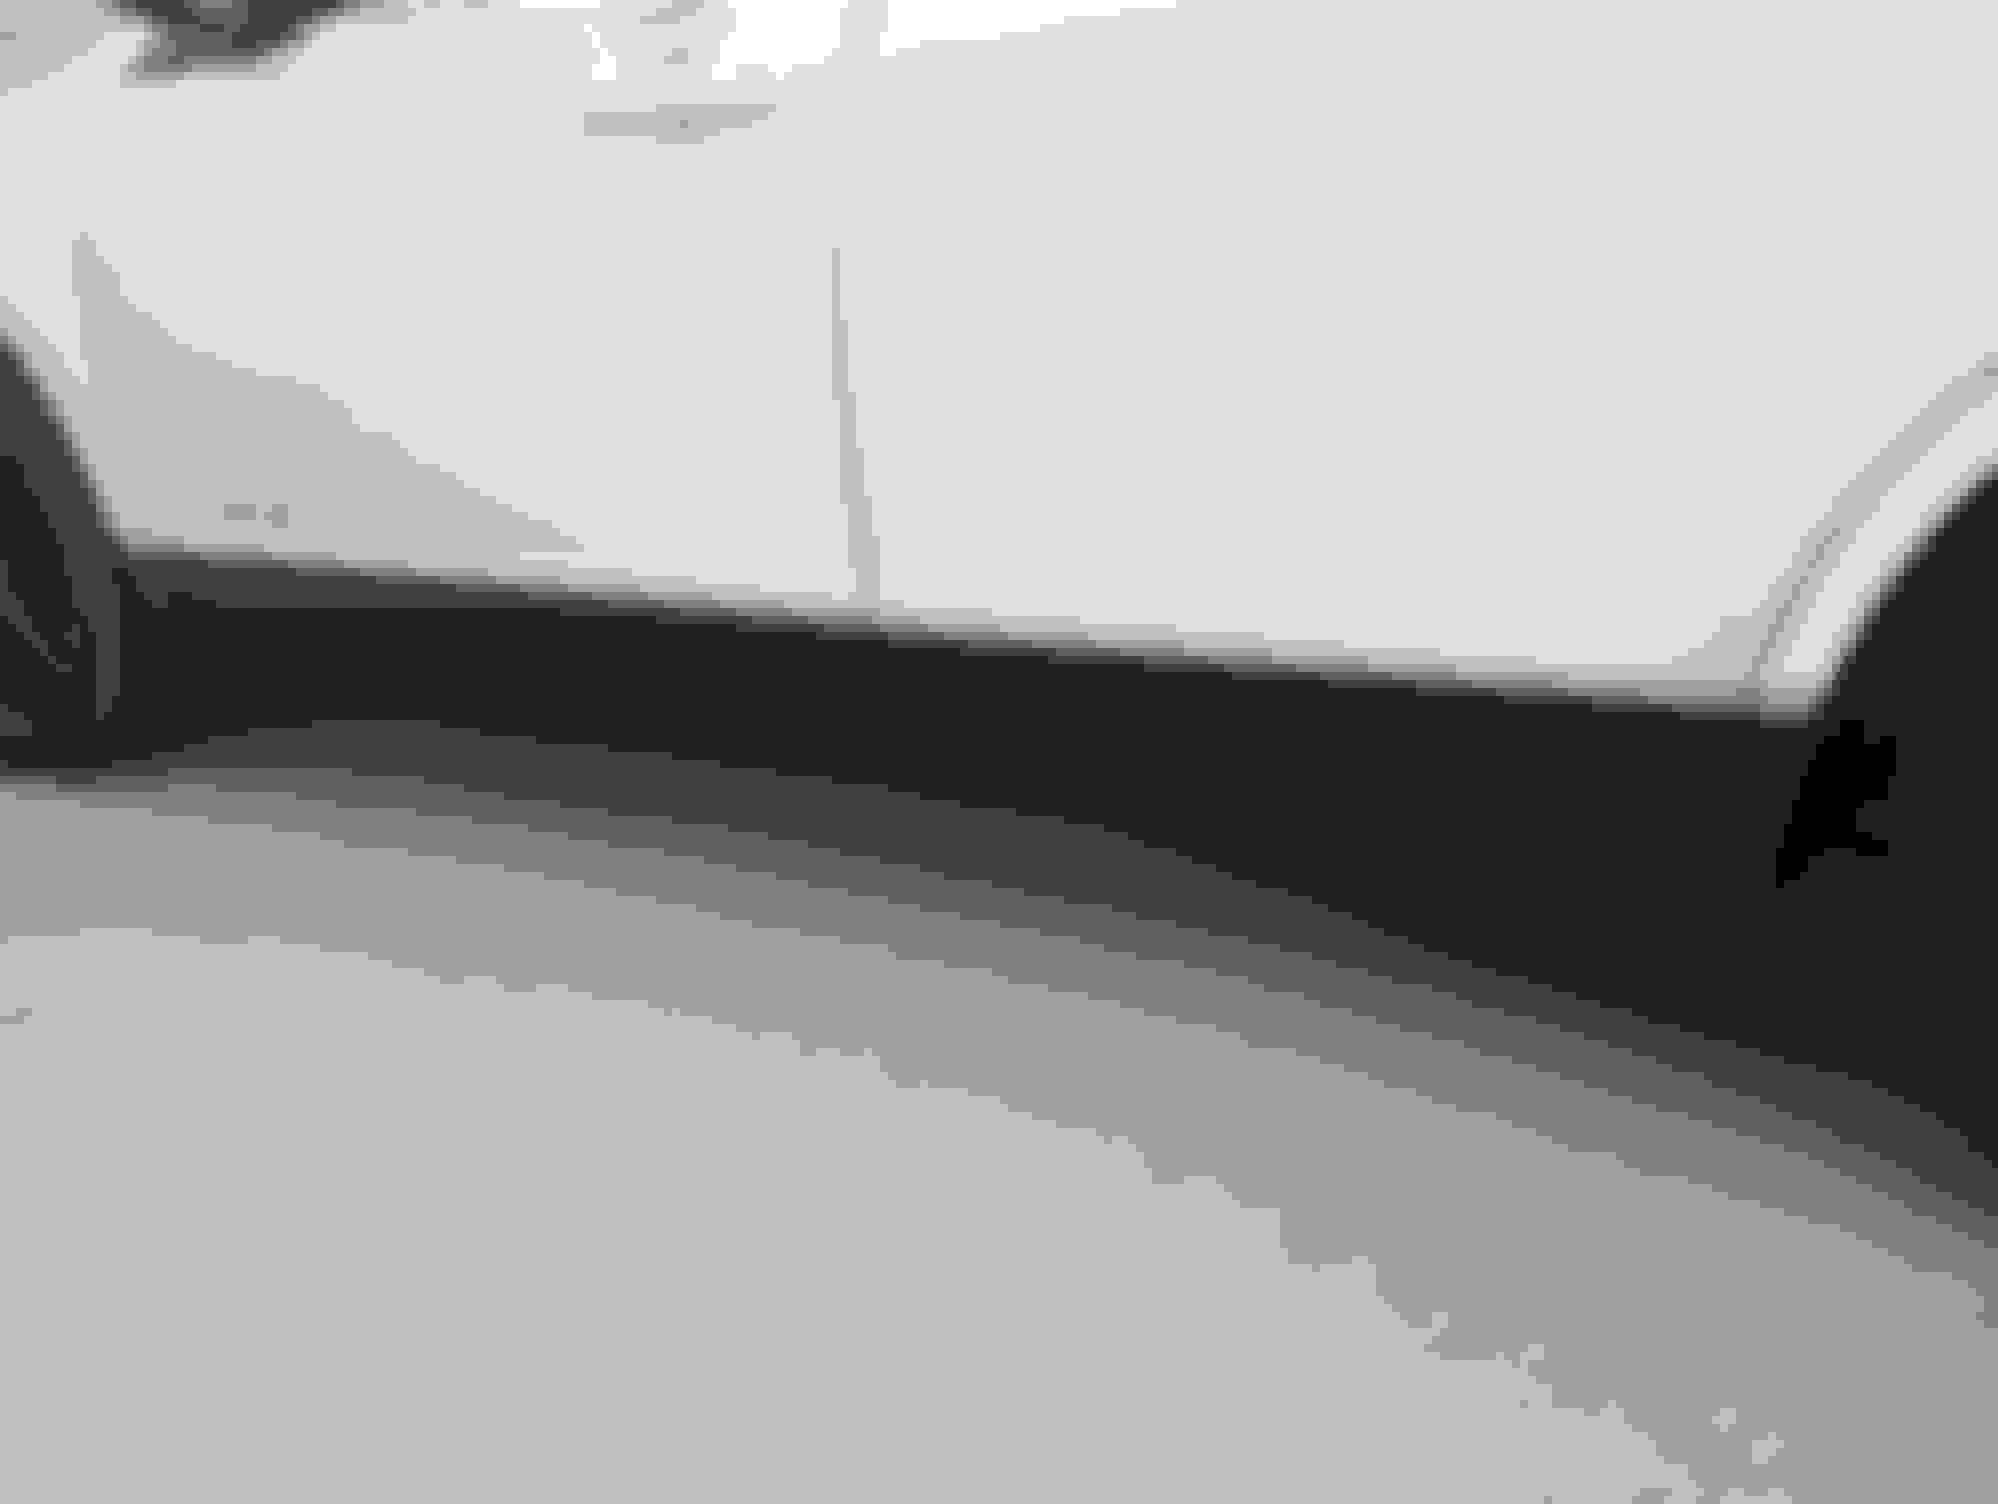
Wow thanks Christine, sounds like you did a good job on that! I'm not sure how much sanding I will do now that it's all painted, I'll see tomorrow how it looks when I take the tape off. Anyway, I painted the area today, I think it turned out pretty fair but I'm sure there will be a good line where the tape is, it will still be better than before though! Picture of the paint job below.
 08-28-2023, 11:05 AM


 I still haven't gotten around to installing mine.


 I will also look at my battery this week as it's 4 years old and I think it's on its last leg, haven't decided if I will get a load tester or not yet but we will see.