
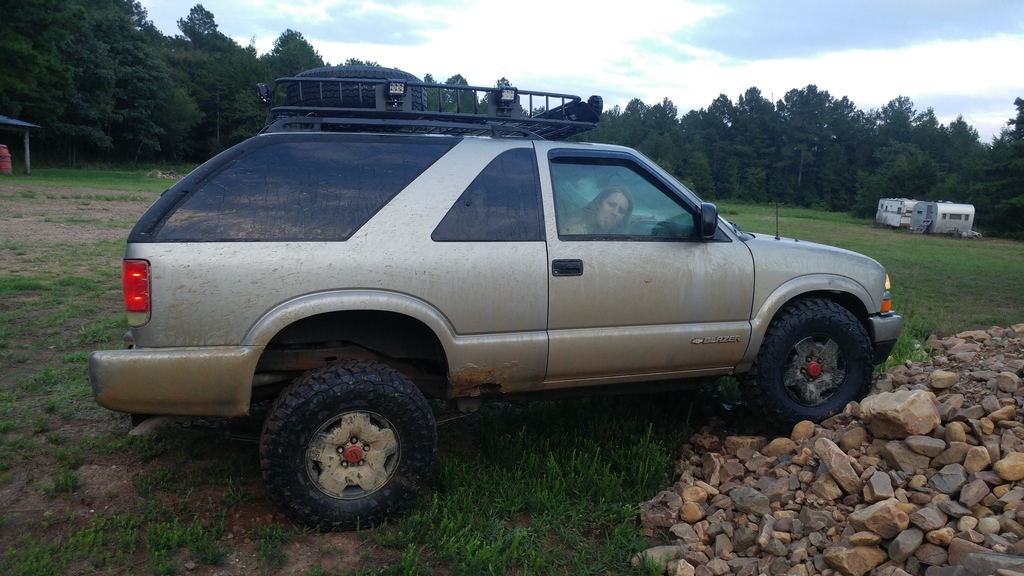
2004 Blazer LS Build "Deuce"

Starting Member
Joined: Aug 2015
Posts: 216
From: Mt Vernon/Fort Hunt, Virginia

Nice mods. I like your earlier wheels over 04's. One of the reasons I swapped 18's, the stockers are now winter/off road wheels. Consider an LSD in the future,You wont regret it ! I lost front wheel 4x4 and got stuck once with one spinner.
Last edited by 2004 Blazer; Aug 27, 2016 at 01:55 AM.
Thread Starter
|
Beginning Member
Joined: May 2016
Posts: 26
From: Conway, AR
Finally got some time to sit down again. Anyone who likes it, feel more than free to use the ashtray idea.... and by all means message if you have any questions!
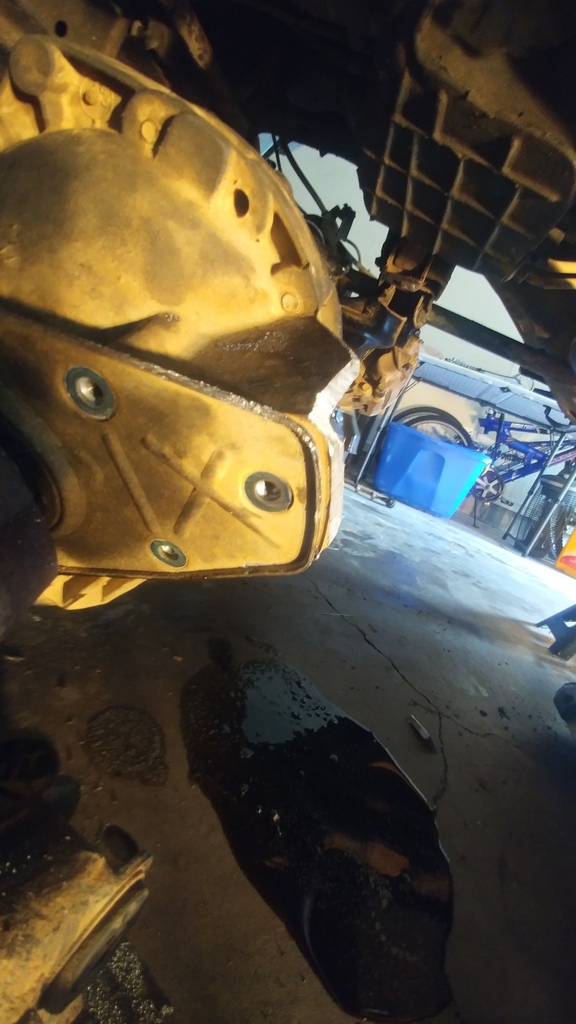
Been looking and just realized that I didn't get very many pics during the install on the RC 2.5" kit, but got a few. The front went surprisingly well for the amount of salt this truck has seen. I started about a month early hitting everything I could that I knew I would be turning with some PB Blaster, and I think htat had a LOT to do with the ease of the front end. front end went fairly smooth except the one bolt that holds the transfer case to the front left side of frame.... It was froze up but with a little tweaking and twisting, was able to work a short socket, 2 wobble joints, and an extension out far enough in half inch to get a good impact wrench to it, and we were able to free it up. The cutting of the transfer case bracket we did with a combination of a portaband and sawzall with a 10" blade right there under the truck without having to get it completely out from under it. Went ahaead and replaced the tie rods (inner, outer, and adjusters) on both sides, and the CV axles as well. (wasnt going to do them, but tore the outer boot on passenger side, so decided it had to replace.... and I'm a firm believer in the fact since I had it torn apart and had to do one side.... well, then its time to do both at the same time.)

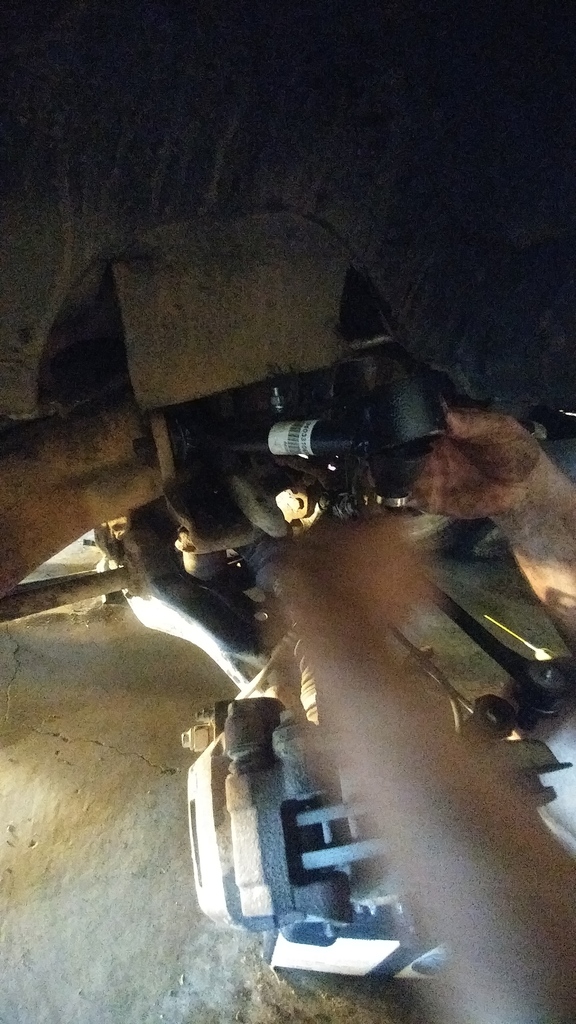
Rear end all went perfectly smooth except for.... you guessed it boys and girls.... seized bolts on the inner sleeves of the bushing on the shackles. The nuts came off all 4 bolts fairly easily, but no matter what I used could not break them free to even turn. So.... I went redneck.
Took the sawzall and cut the old shackles free to give me a decent view from both sides. Once I did this I had an open view of the bushings. I asked some advice from boss, mechanics in our equipment department at work, and a few friends... and they ALL came back with burn them out. So, I borrowed a small oxy/acetylene torch rig from work, and spent about 4 hours burning out the right side, taking breaks to cool the fuel tank because that made me a bit nervous using that much heat there.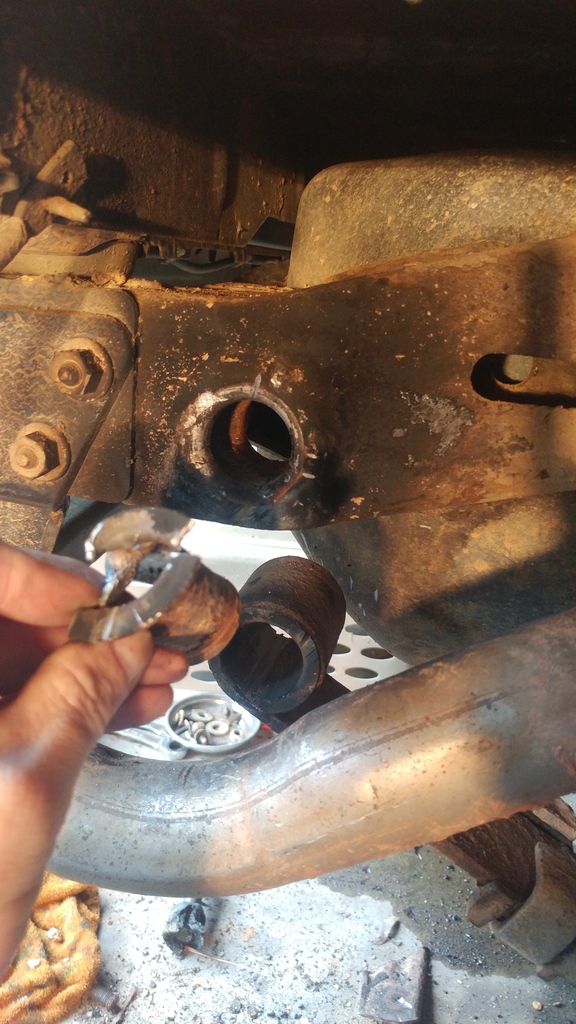
However, when I got up the next day I took a different approach for the left side.... I took my cordless 20v drill with a 1/4" bit, and started drilling. Drilled all the way around the inner sleeve in 12 or 15 places, then used the tip of the drill bit almost like a rotozip to eat away at the rubber. from time of cutting shackles to the bolt knocking out was less than 1 hour for both frame and leaf spring. Thats not counting the time to remove the rear plastic bumper end and fuel send unit there to access it.
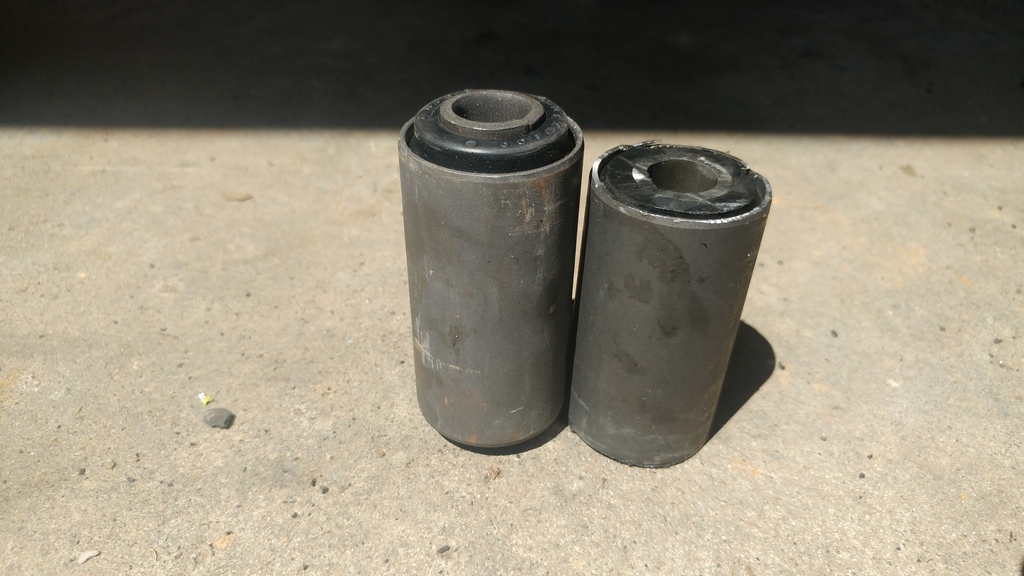
Once I had all 4 bolts out and the rubber cleaned out, I scored the outer sleeve of the bushing with sawzall then collapsed it in upon itself to remove.
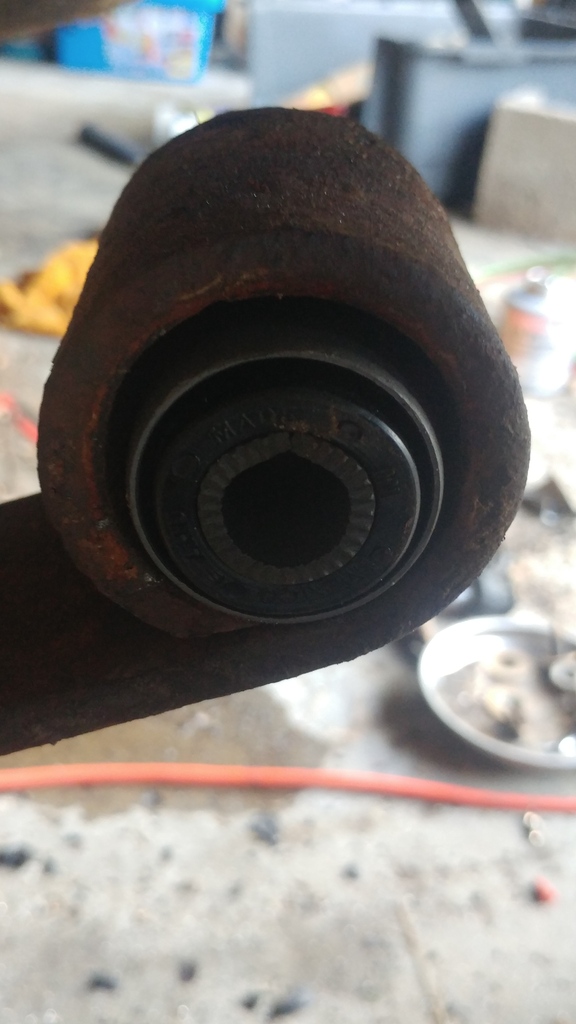
Stock bushing went straight back into the frame, but the bushing were roughly 3/16" in diameter too small for the leaf springs. Did some figuring with the Oriellys guy, and ordered another set of bushings. Those came in, and the diameter was PERFECT...... but they were about an inch too long in length.
A sawzall and a 4 inch cutting disk on grinder with 20 minutes, and I had my leaf spring bushings fabbed up. Installed em, finished up with the rear sway bar brackets, swapped out the shocks, and she was ready to go down on tires to limp in for alignment.
Been looking and just realized that I didn't get very many pics during the install on the RC 2.5" kit, but got a few. The front went surprisingly well for the amount of salt this truck has seen. I started about a month early hitting everything I could that I knew I would be turning with some PB Blaster, and I think htat had a LOT to do with the ease of the front end. front end went fairly smooth except the one bolt that holds the transfer case to the front left side of frame.... It was froze up but with a little tweaking and twisting, was able to work a short socket, 2 wobble joints, and an extension out far enough in half inch to get a good impact wrench to it, and we were able to free it up. The cutting of the transfer case bracket we did with a combination of a portaband and sawzall with a 10" blade right there under the truck without having to get it completely out from under it. Went ahaead and replaced the tie rods (inner, outer, and adjusters) on both sides, and the CV axles as well. (wasnt going to do them, but tore the outer boot on passenger side, so decided it had to replace.... and I'm a firm believer in the fact since I had it torn apart and had to do one side.... well, then its time to do both at the same time.)


Rear end all went perfectly smooth except for.... you guessed it boys and girls.... seized bolts on the inner sleeves of the bushing on the shackles. The nuts came off all 4 bolts fairly easily, but no matter what I used could not break them free to even turn. So.... I went redneck.
Took the sawzall and cut the old shackles free to give me a decent view from both sides. Once I did this I had an open view of the bushings. I asked some advice from boss, mechanics in our equipment department at work, and a few friends... and they ALL came back with burn them out. So, I borrowed a small oxy/acetylene torch rig from work, and spent about 4 hours burning out the right side, taking breaks to cool the fuel tank because that made me a bit nervous using that much heat there.

However, when I got up the next day I took a different approach for the left side.... I took my cordless 20v drill with a 1/4" bit, and started drilling. Drilled all the way around the inner sleeve in 12 or 15 places, then used the tip of the drill bit almost like a rotozip to eat away at the rubber. from time of cutting shackles to the bolt knocking out was less than 1 hour for both frame and leaf spring. Thats not counting the time to remove the rear plastic bumper end and fuel send unit there to access it.
Once I had all 4 bolts out and the rubber cleaned out, I scored the outer sleeve of the bushing with sawzall then collapsed it in upon itself to remove.
Stock bushing went straight back into the frame, but the bushing were roughly 3/16" in diameter too small for the leaf springs. Did some figuring with the Oriellys guy, and ordered another set of bushings. Those came in, and the diameter was PERFECT...... but they were about an inch too long in length.

A sawzall and a 4 inch cutting disk on grinder with 20 minutes, and I had my leaf spring bushings fabbed up. Installed em, finished up with the rear sway bar brackets, swapped out the shocks, and she was ready to go down on tires to limp in for alignment.

Last edited by BowFreak; Aug 28, 2016 at 10:19 PM.
Thread Starter
|
Beginning Member
Joined: May 2016
Posts: 26
From: Conway, AR
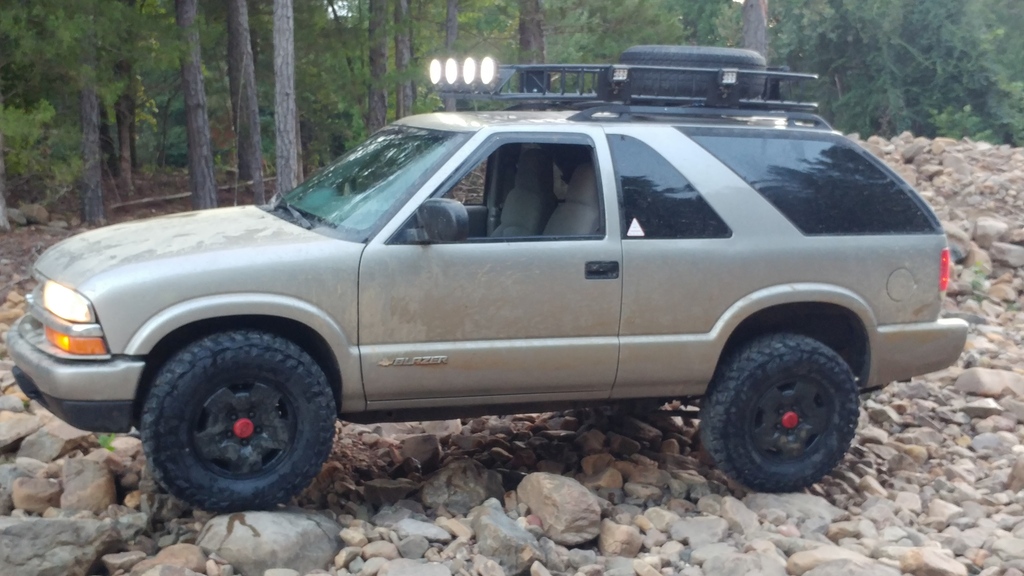
Now, after 04 Blazer complimented the old rims on an 04, I almost hate to post this, but my 02 Blazer had worn these same rims and TBH I was just ready for a different look, but I did want to stay with the stock 6" backspace of factory rims and stay tucked in.
So, I went junkyard digging, and found 5 PA3's from ZR2's, and carried them to a powdercoating guy I've used for work projects from time to time. Swapped a spare set of 5 rims I had at the house that used to be for my 'winter set' on the 02 blazer I used to have, and paid 12 bucks apiece for the 5 PA's after swap. The rims I pulled off I sold through FB for $150, and sold the tires that were on the blazer to a coworker for his dodge dakota for another $150 counting spare.
One of the PA3's at the junkyard before pulling....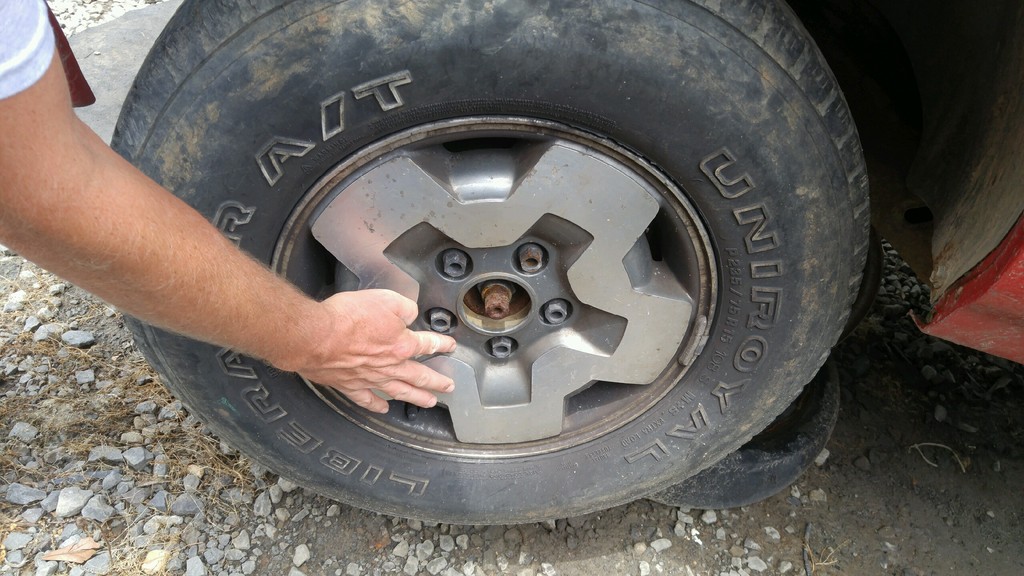
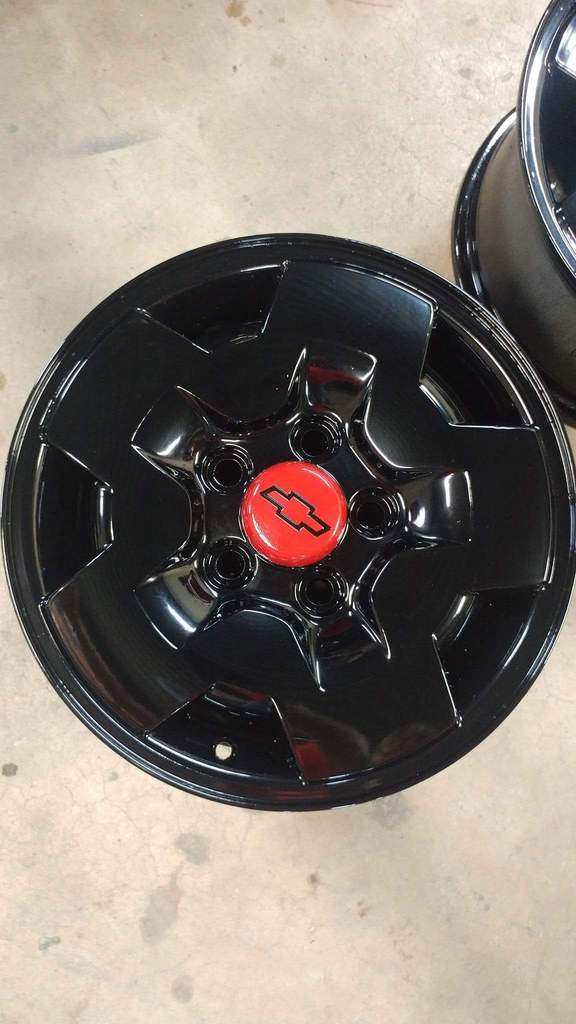
Paid $40 apiece to sandblast and powdercoat the 5 PA3's, then took sandpaper and wire brushes to the centercaps and painted them with and engine paint (enamel with ceramic) in bright red. Lacquer pen to paint the indented bowtie in black, and my wheels were ready for tires.

Rims after powdercoat and painting centercaps....
Went with Mastercraft Courser MXt's. Was originally gonna go with Cooper SST Pros, but the Coursers were EXTREMELY similar, and I was able to get 4 tires for $719 mounted, balanced, with road hazard warranty, which was about $150 cheaper than the coopers I had been quoted. Also gave me an EXCELLENT condition Rodian 31x10.5 with about 75% tread or more to toss on top for a spare for $30 mounted.... Sadly, I've not taken any pics with it on top yet, only pics I have are with the old 235/75/15 AT up there so far.
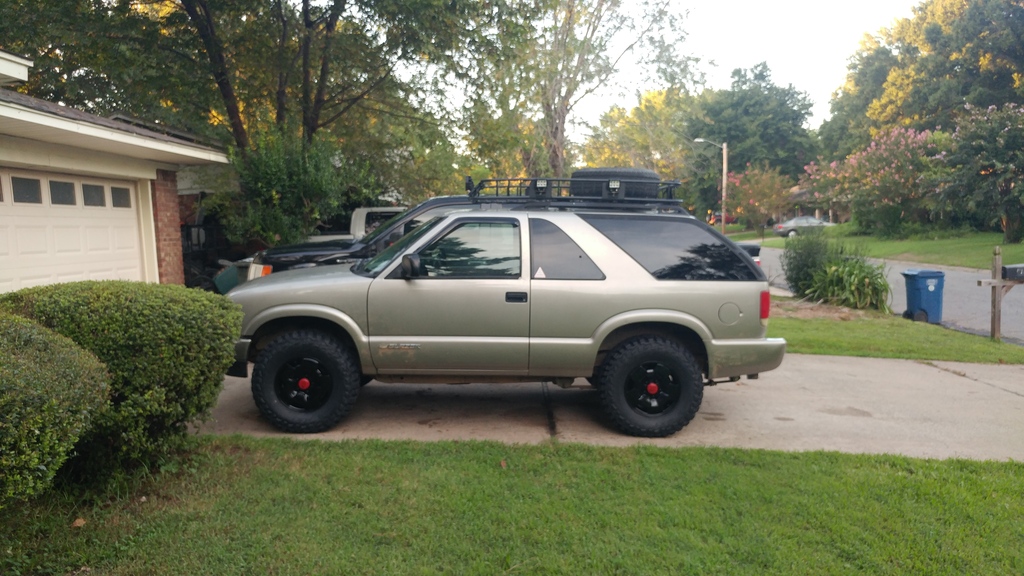
Limped her in for an alignment, and took her out for a run in the mountains to test things out a bit!!
So, I went junkyard digging, and found 5 PA3's from ZR2's, and carried them to a powdercoating guy I've used for work projects from time to time. Swapped a spare set of 5 rims I had at the house that used to be for my 'winter set' on the 02 blazer I used to have, and paid 12 bucks apiece for the 5 PA's after swap. The rims I pulled off I sold through FB for $150, and sold the tires that were on the blazer to a coworker for his dodge dakota for another $150 counting spare.
One of the PA3's at the junkyard before pulling....

Paid $40 apiece to sandblast and powdercoat the 5 PA3's, then took sandpaper and wire brushes to the centercaps and painted them with and engine paint (enamel with ceramic) in bright red. Lacquer pen to paint the indented bowtie in black, and my wheels were ready for tires.

Rims after powdercoat and painting centercaps....

Went with Mastercraft Courser MXt's. Was originally gonna go with Cooper SST Pros, but the Coursers were EXTREMELY similar, and I was able to get 4 tires for $719 mounted, balanced, with road hazard warranty, which was about $150 cheaper than the coopers I had been quoted. Also gave me an EXCELLENT condition Rodian 31x10.5 with about 75% tread or more to toss on top for a spare for $30 mounted.... Sadly, I've not taken any pics with it on top yet, only pics I have are with the old 235/75/15 AT up there so far.

Limped her in for an alignment, and took her out for a run in the mountains to test things out a bit!!


Thread Starter
|
Beginning Member
Joined: May 2016
Posts: 26
From: Conway, AR
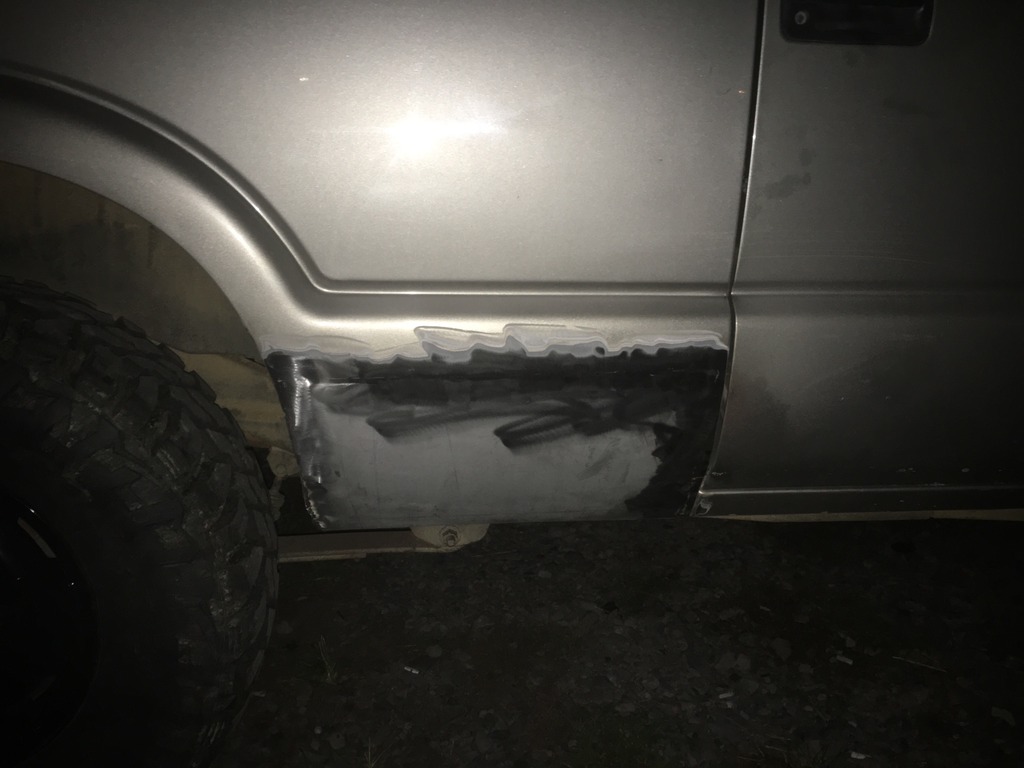
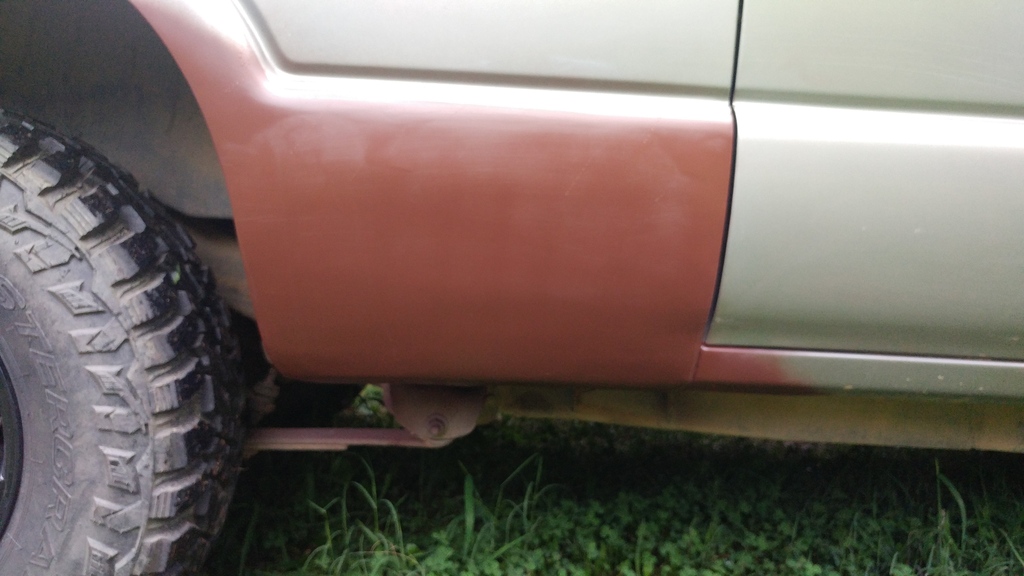
Well, as you can see in the pic, the rust was getting way out of hand, and the cancer had really wanted to start spreading since getting the blazer, so it was definitely time to address it before things got too serious...

This next part I would love to say was me, but it wasn't. My boss at work owns a hot rod shop on the side, and he builds 1/4 mile cars as well as does restorations. I pretty much held for him while he tacked in metal to replace what was rusted out, then I did the rough grinding on each side while he did all the finesse work of matching in the bends, as well as doing the spider hair and bondo work. Finished up with an oxide primer, and she is repaired and able to roll a week or two before I get her Monstalined on the bottom half.
Passenger side cut and replacement welded back in, with my first night of grinding and sanding the welds....
Driver's side...
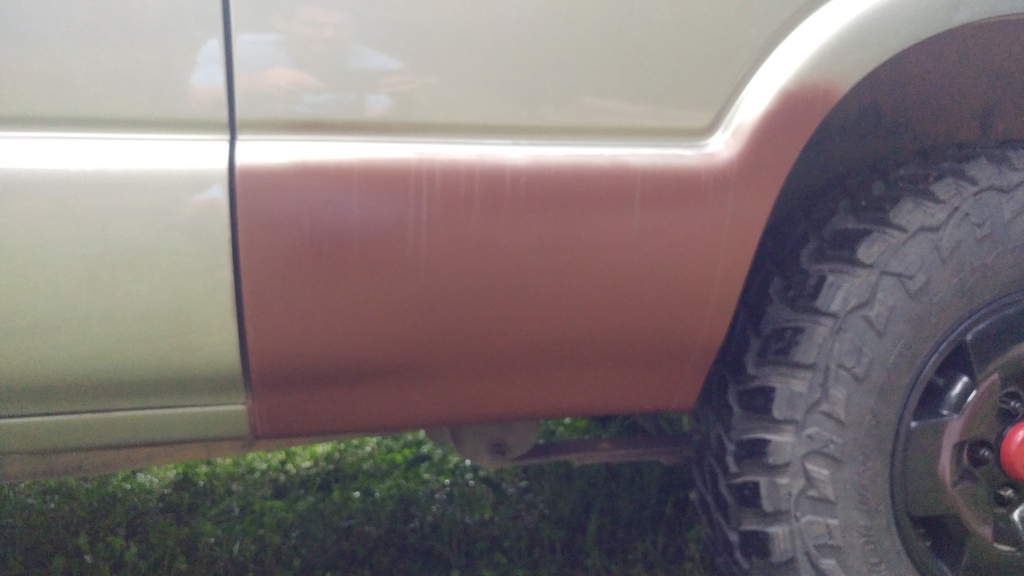
Passenger side was worse with rust, and we didn't get the bodyline perfectly matched with that roll in the body near the back, but I'm more than happy with the fix.
Going with a black monstaliner, and doing the detail line all the way around the blazer below the intent that seems to be where everyone does it on these blazers.
Adding some personal details hopefully if I can get ahold of our CNC waterjet guy in NW Arkansas, I'm hoping to replace the blazer emblems on the doors and rear with "Deuce" done in the same font. It'll depend if I can catch him with some downtime on the machine, and if I can get the time to get some vectored drawings to him in time to cut them before the monstaliner goes on. Either way, the blazer or deuce will be done in the same red as the centercaps, as are the front tow hooks, and the shackle insert for the 2" receiver.
I realize I have to get better at taking pics as I go.... I seem to get into the work and don't think about pics until I get done with a step and wanna show it!

This next part I would love to say was me, but it wasn't. My boss at work owns a hot rod shop on the side, and he builds 1/4 mile cars as well as does restorations. I pretty much held for him while he tacked in metal to replace what was rusted out, then I did the rough grinding on each side while he did all the finesse work of matching in the bends, as well as doing the spider hair and bondo work. Finished up with an oxide primer, and she is repaired and able to roll a week or two before I get her Monstalined on the bottom half.
Passenger side cut and replacement welded back in, with my first night of grinding and sanding the welds....

Driver's side...

Passenger side was worse with rust, and we didn't get the bodyline perfectly matched with that roll in the body near the back, but I'm more than happy with the fix.

Going with a black monstaliner, and doing the detail line all the way around the blazer below the intent that seems to be where everyone does it on these blazers.
Adding some personal details hopefully if I can get ahold of our CNC waterjet guy in NW Arkansas, I'm hoping to replace the blazer emblems on the doors and rear with "Deuce" done in the same font. It'll depend if I can catch him with some downtime on the machine, and if I can get the time to get some vectored drawings to him in time to cut them before the monstaliner goes on. Either way, the blazer or deuce will be done in the same red as the centercaps, as are the front tow hooks, and the shackle insert for the 2" receiver.
I realize I have to get better at taking pics as I go.... I seem to get into the work and don't think about pics until I get done with a step and wanna show it!
Last edited by BowFreak; Aug 28, 2016 at 10:30 PM.


Thread
Thread Starter
Forum
Replies
Last Post
James Mc
2nd Generation S-series (1995-2005) Tech
2
Mar 10, 2014 08:14 PM
Confuused69
Builds
8
Mar 17, 2010 08:14 PM
shibbershabber
1st Generation S-series (1983-1994) Tech
3
Feb 22, 2010 10:07 PM