When you click on links to various merchants on this site and make a purchase, this can result in this site earning a commission. Affiliate programs and affiliations include, but are not limited to, the eBay Partner Network.
Currently gathering information on the best stock parts, tools and information to begin first suspension rebuild. You�re a good mechanic! Appreciating all of the detailed information provided here! Thank you!
You are very welcome! I figure I'm paying it forward for the help I got from others!
So I've been busy also upgrading my supplemental transmission cooler.
I had the original cooler installed when I had my transmission rebuilt. It needed the rebuild after towing my boat on its trailer (2,200 lbs) over up some of our local grades (1,700 ft in 6 miles) and letting it overheat. I also installed a gauge for measuring the temperature of the transmission fluid.
However, I was not happy with the cooling of it and decided to upgrade. The new one has what looks to me to be a better fin arrangement for better airflow and a total surface area that is about 50% larger than the old one. This new cooler, the Hayden 699, also has a thermal by-pass valve built into it so that it will not over cool the transmission on cold days that we can get here in North Idaho.
Below are the pictures of the original cooler and the new one.
Because of the new one being so much larger, I had to get creative with the installation of the hoses. The problem was that the instructions said that no hose should be bent in an arc with a radius smaller than 3". That was going to be hard here. You will notice that I also had to remove the frame that holds the hood latch to get enough room to mount the new cooler.
To solve the problem of the curvature, I found some 90 degree elbows with smooth radiused flow paths at Grainger that I was able to buy through eBay. I used these to route the cooling lines up and over the sheet metal. (DIXON VALVE & COUPLING 1770606SS Hose Fitting, Hose ID 3/8")
To protect the hoses from abrasion, I also used some short sections of larger hose, cut lengthwise and installed over the fluid-filled hoses, to protect them where they passed close to or next to sharp edges. I did this for the hose where it come from the passenger side over the lower edge of the opening for the radiator in the sheet metal and I also did this where the two hoses pass through the plastic air-dam behind the license plate. These are secured with zip-ties to keep them in place. The last thing I want is a transmission fluid leak!!
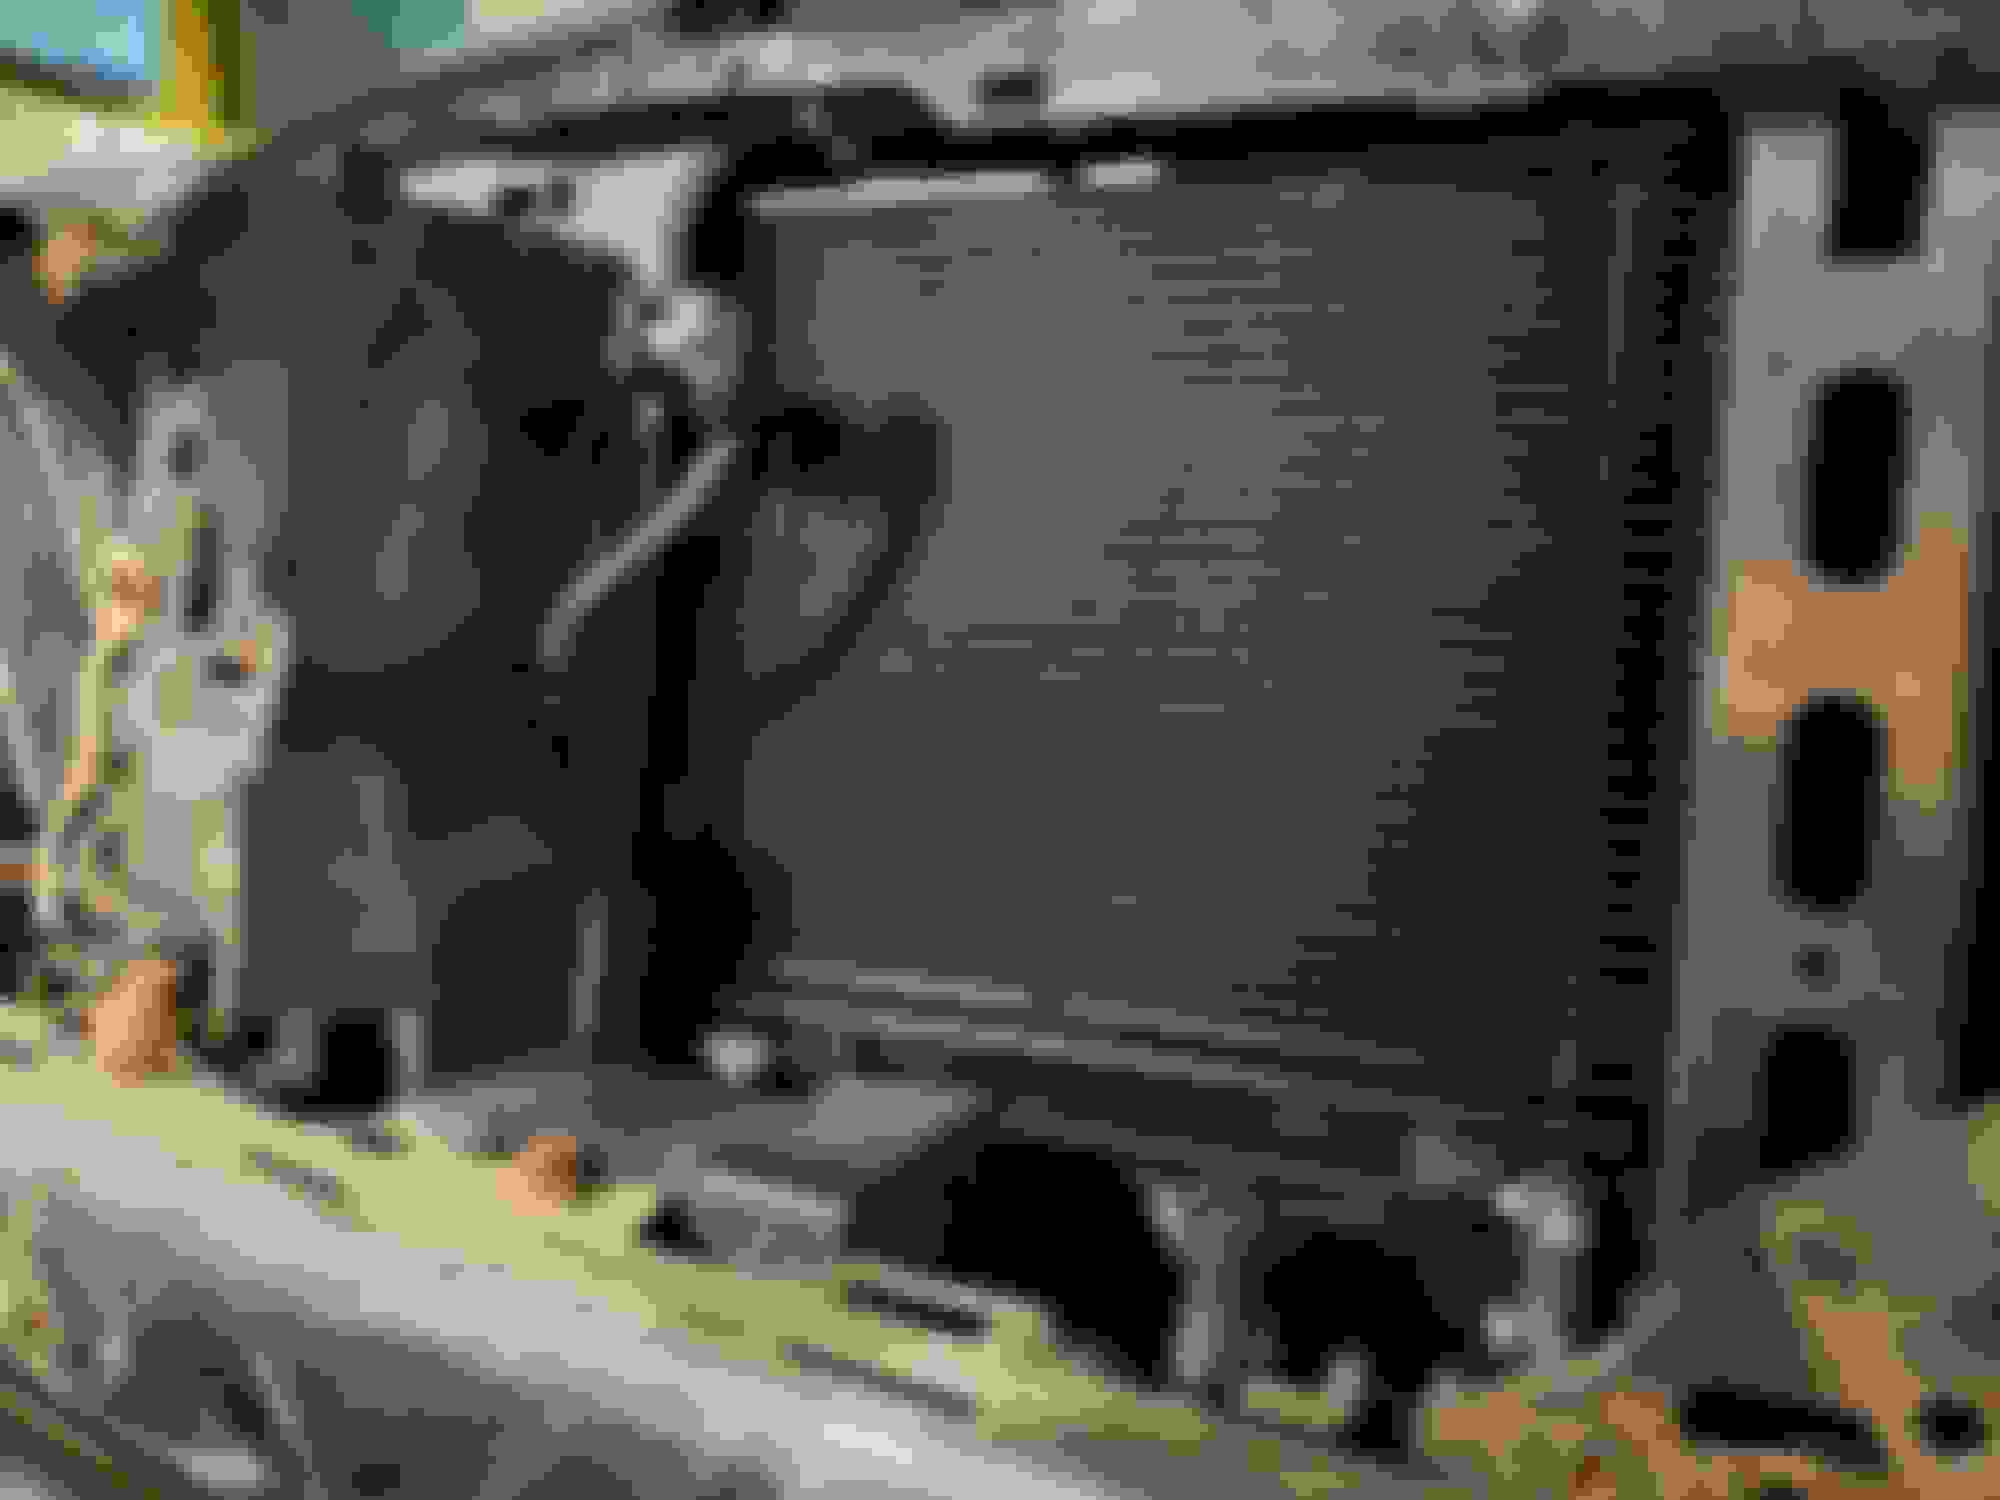
The original supplemental cooler I had installed when I had my transmission rebuilt several years ago.
Another view of the original extra cooler showing the hose routing. This was plumbed in series with the one built into the radiator. You can see where I had used extra short pieces of larger hose to protect the hose with the fluid.
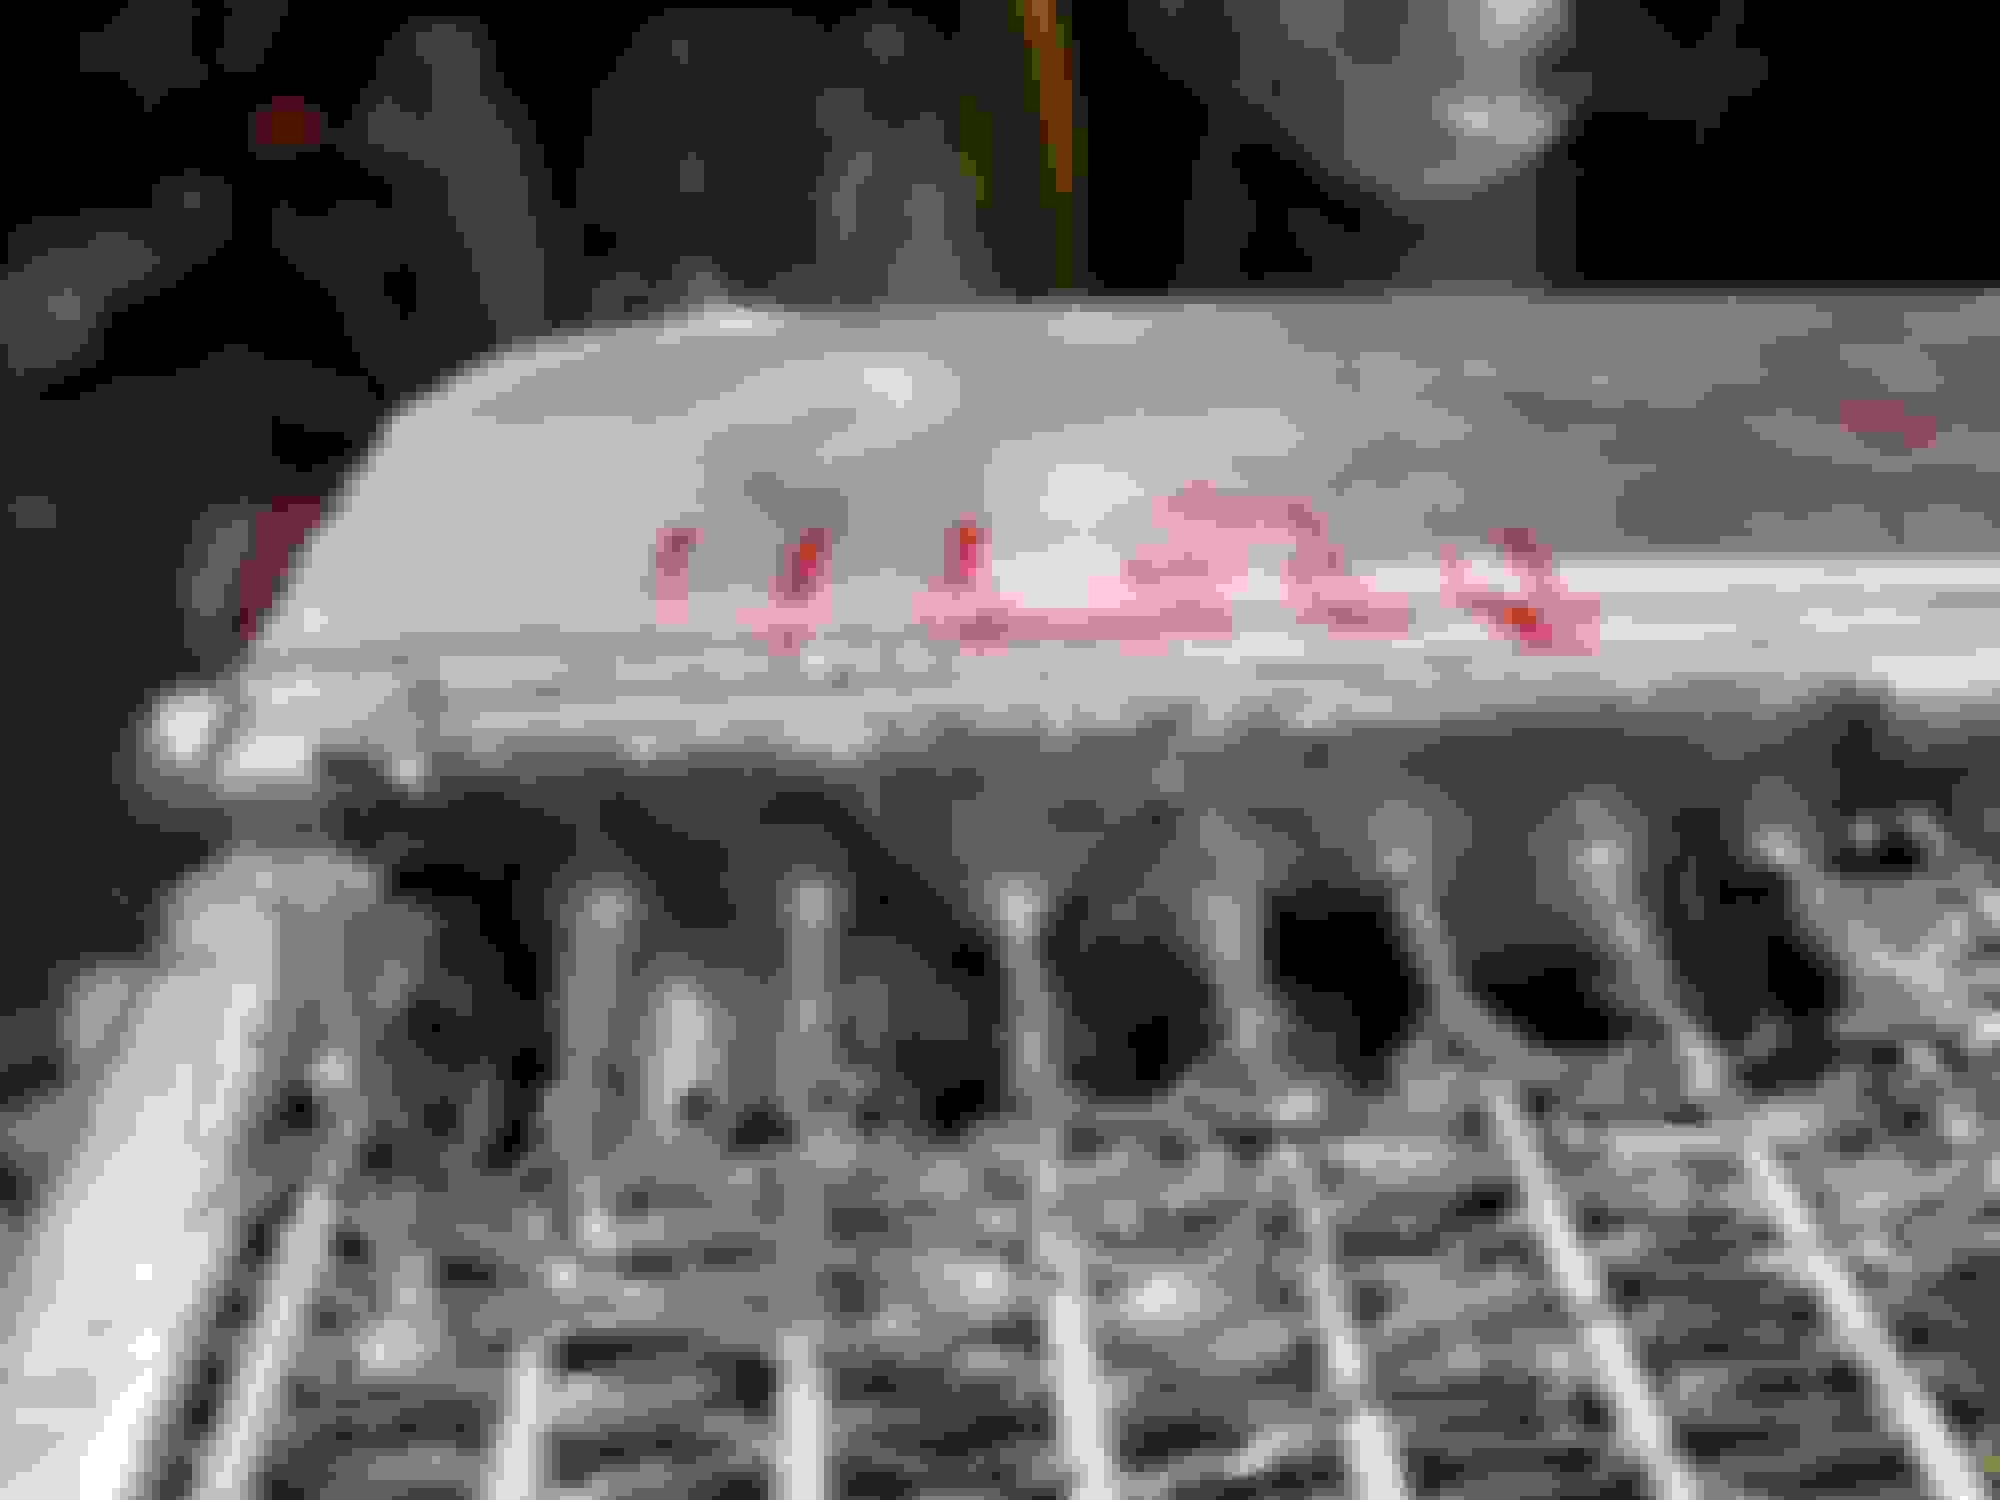
The connections I made to the new cooler. It was so much taller that I had to use them to be able to connect the long hoses without kinking them. The abrasion protection hose pieces have not been installed yet. I used three of the 90-degree elbows on the driver side and one on the passenger side.
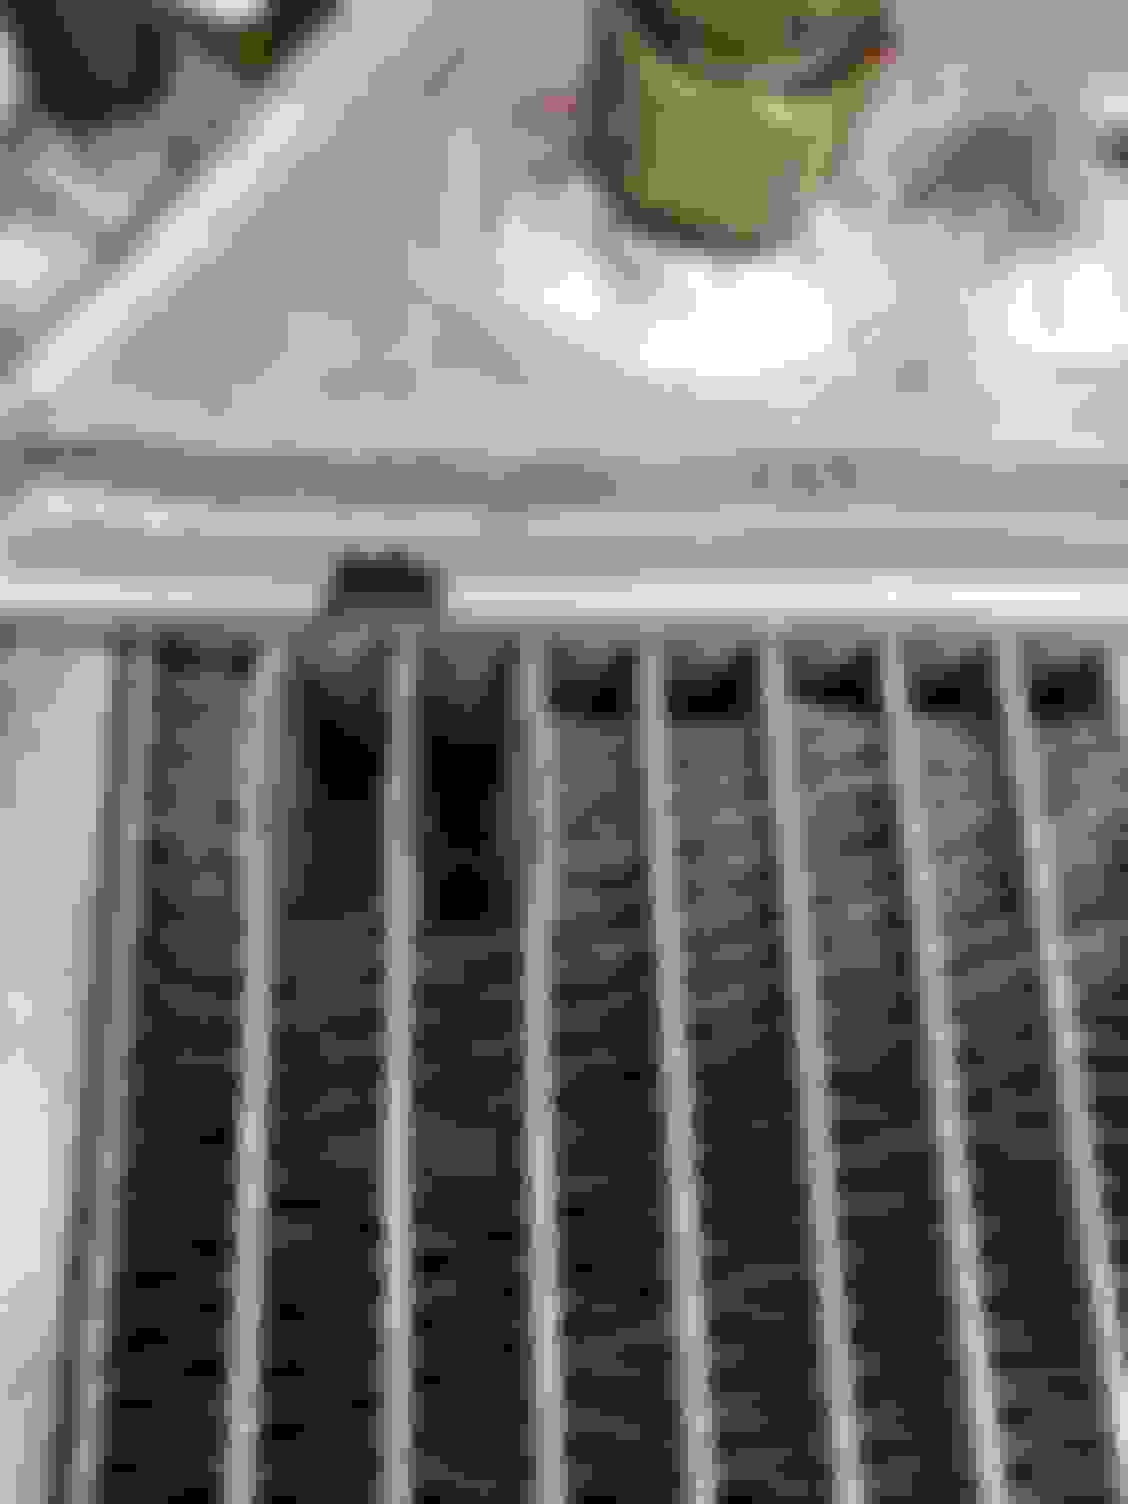
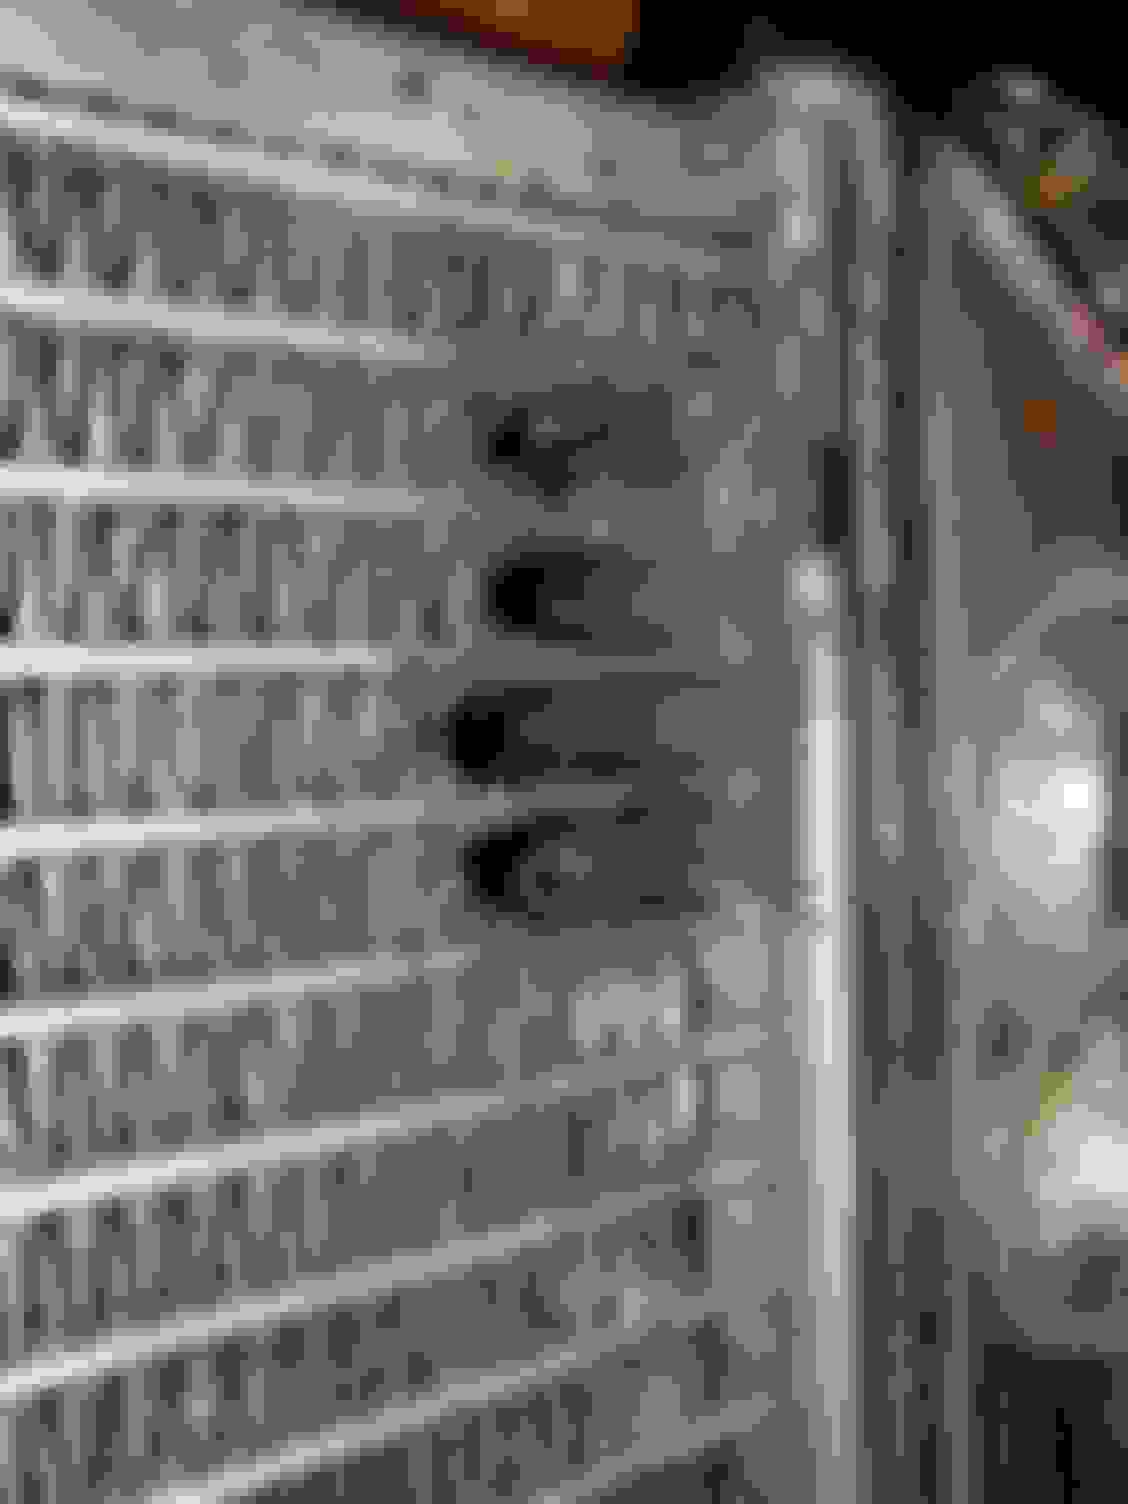
The installed new cooler. It is a Hayden 699. One of their largest. It has a thermal bypass valve in the bottom row so that it won't overcool when it is cold. I also think the fin design will provide better air flow. The Hayden people recommend that it be mounted with the exit and entrance pointed down if possible.
Last edited by christine_208; 06-14-2022 at 12:41 AM.
Nice install. I agree that it should be great for keeping the transmission temps where they belong.
I wish my transmission cooler had a temp bypass. I've had a few times where it takes a long time for the transmission to get up to temp when it's -35*C, and the torque converter doesn't want to lock up. My supplemental cooler is very similar to the one you replaced.
Well, I got the truck back together and finished also repairing the radiator.
I have an Engineered Cooling Products radiator that was the largest I could find. However their radiator does not come with the internal engine oil cooler which meant I had to have it modified. This mod has worked out great. The down-side has been that when I discovered leaks in the radiator where some of the flat tubes enter the side tanks, I learned that not surprisingly that I had voided the warranty by doing my mods.
This left me with having to try to fix it on my own.
The first leak was noticed back in early Dec. of 21 and being winter, I had to get the truck back on the road ASAP. I attempted a fix using JB Weld with the radiator installed. This was partially successful.
However, as part of my installation of a larger transmission fluid cooler, I had to take out the radiator so I thought I should do a better fix.
After several false starts I was able to do what I think is about a good a fix I think possible with JB Weld.
As I relate what I did, recall that I had several false starts so what follows is the abridged edition. LOL
The very first step was to identify the leaks by using a radiator pressure tester and soapy water. To use this with the radiator removed meant somehow blocking off the radiator inlet and outlet. I happened to have caps for these from the original radiator I had in storage. With a couple hose clamps, these worked well. I then used a mixture of water : dish-soap : glycerin 100:5:1 to create a soapy water test liquid. (the glycerin is to help the bubble stay longer) An eyedropper worked great to find the leaks which showed up as bubbles forming at the leak area. Only 5 psi or so was necessary to get bubbles to form. In the process I found that the upper 4-5 rows on the engine-side had leaks where they entered the side tanks and similarly for the driver side on the front. I am super grateful that although I kept the loner radiator pressure test kit for a few weeks, I got a full refund from the O'Reilly's auto parts store.
Next was to prepare for applying the JB Weld. First I had to clean the surfaces and especially the joint where the tubes entered the side-tanks. I removed some of the cooling fin material between the rows in question to make for more room for the epoxy. I did a leak check after I did this to make sure I did not create any more leaks. (I did not.) I then cleaned up the surface best I could with acetone (per directions from JB Weld) and a thin diamond coated grinder tip on my Dremel tool. I used this to increase the surface area and expose fresh aluminum.
Finally, to apply the JB Weld, I knew from previous experience that it could be hard to push into cavities due to its stickiness. Whatever tool you used, tongue depressor or bamboo skewer, would draw out some of the epoxy. I then learned that you can use just a little bit of acetone to thin the JB Weld which turned out to be on their FAQ page. You have to be extremely careful with the amount you add as it will cause the curing time to become quite long. Only 5-10 drops were needed for about 3" long line of both the epoxy and hardener. If you try it, err on the side of fewer drops. You can always add more. I think the ideal consistency would be that of thick ketchup or of mayonnaise. The result is that the epoxy now can flow a bit and conform to the surface to be sealed.
Below are pictures of different stages of the repairs.
This is looking at the coolant slowing coming out of the original fix from December while the radiator was still installed in the truck.
Bubble from a leak I found after an initial repair.
The passenger side leak area. I had to expand the area a bit later. This is an example of how I had to prep area for the JB Weld.
With the acetone thinned JB Weld, I used a heat lamp to help along the curing. This worked great.
Front/driver side repair. Not all of these leaked but most did so I just uniformly coated all well. I also made sure the JB weld covered the whole area where the tubes intersected the side tank even if the leak was only located at the front face. (The hole in the epoxy is of no consequence. There was plenty more inside.)
Might not be pretty but as long as it doesn't leak then all if good! I'm one of the few folks I know that puts function in front of form.
Except for where I messed up a little on part of the original repair from December, it held up quite well. Although the leaks were basically pin-hole sized, I wanted to cover the whole area well to reduce localized thermal expansion differences between the epoxy and the aluminum. Doing this definitely contributed to how large the repairs are. LOL The acetone really worked well for helping get the epoxy to conform to the surface and allow me to work it into the seems and adhere to all the surfaces.
Originally Posted by Hess13x
Another great write up! Jb weld is a life saver lol.. The only thing better would be to braze it or tig weld.
If I had not already gone down the JB Weld route, I would have tried brazing it or taking it to the local shop to be TIG welded. I'll be sure to report on how well these repairs work.
And thanks for the compliment! I hope when I do these that they might help someone in the future.
Update on the cooling system repairs and upgrades:
Yesterday I took my sailboat down to the Snake River to launch it for a quick overnight getaway. It is about a 45 mile drive south that includes a 1,800' drop over 6 miles. (If you want to see the grade look for Lewiston Idaho on Google Maps and then look for US-95 as it heads up north).
The big test was going up this grade pulling my boat and trailer: about 2,200 lbs.
In short, I think it worked great!
The outside temperature was about 76'F and I drove up at 45 mph. At no time did the transmission fluid go above 180'F. In the past, albeit on hotter days (~95) it would get briefly up to 205'F. This was with the AC on too. The starting temp for the transmission at the bottom was 150'F with the engine coolant going up from 190 to 215 at the top.
The real test would be to repeat this on a -95 degree day. However, I'm feeling pretty good about this.
Cooling System Update; Hayden trans cooler + Engineered Cooling Products Radiator
I got back yesterday from a cross state trip from my home in North Idaho to Port Townsend WA. I towed my boat (2,200 lbs total) to go sailing there. This trip involves going over Snoqualmie Pass on I-90 and going up a couple of grades when I cross the Columbia River at Vantage, WA (one going each direction). The pass is not as bad as those grades in and out of Vantage.
I took pictures of the speed, outside temps, and fluid temps of my truck while going up these to record the data. These are summarized below.
In short the JB Weld repairs on the radiator and the upgraded trans cooler seemed to work great. I had no loss of any coolant over a round trip of over 700 miles. The cooler kept the transmission fluid below 185'F even on a day of 106'F!
Performance:
Vantage grade, westbound I-90:
1,900 ft over 10 miles, avg grade 3.6%
Outside temp: 86'F to 78'F
Coolant: 192'F to 199'F
Trans: 149'F to 183'F
Speed: 55-60 mph
HVAC: AC on, Heater off
Vantage grade, eastbound SR-26:
700 ft over 4.5 miles, avg grade 3.2%
Outside temp: 106'F to 108'F
Coolant: 194'F to 214'F
Trans: 162'F to 178'F
Speed: 55 mph
HVAC: AC on, Heater off
Last edited by christine_208; 07-29-2022 at 07:29 PM.

 06-13-2022, 01:12 AM