When you click on links to various merchants on this site and make a purchase, this can result in this site earning a commission. Affiliate programs and affiliations include, but are not limited to, the eBay Partner Network.
Between work and not being able to swap out the cars so I can work on my Blazer, I haven't done much with it lately.
However, I have addressed one item that has been bugging me for quite awhile; my collapsing center console lid. This was motivated by the lack of replacement parts in my color, the difficulty in likely finding an undamaged one at a wrecking yard, and that the one properly colored one I did find on eBay listed at over $200!
Over the weekend I removed the lid to bring inside to see what was going on to see about a repair. What I found was that under the lids inner cover there is no structural support. No wonder it can easily be pushed in a bit with some weight on it.
A bit of online sleuthing had me discover that ABS plastic can be welded using acetone! I thought I'd have to use some plastic epoxy such as the J-B weld PlasticWeld. Then the challenge came to trying to find some ABS plastic to use. I learned that some plumbing parts are of ABS plastic. I thought I found for under $3 a piece of sink ABS pipe but it turned out not to be ABS although it was labeled as such. There is a simple trick for checking if a plastic is ABS or not: its density. ABS will sink in water but float in glycerin. Then I remembered I had an old retractable luggage cover piece (the thing that you pull over to cover what is in your cargo area that when used only invites people to wonder what you are covering). After a quick check I found that yes it was ABS which was to be expected and confirmed that it was marked "ABS" on the underside.
I then cut some pieces with a coping saw and my Dremel tool. I used the shavings from the Dremel cutting wheel to create a slurry with acetone (about 1:1) by volume. I then used a heat gun to bend the plastic parts to shapes that would better conform to the inside surface of the console lid. I used both the slurry and just wetting both surfaces of the ABS with acetone to adhere them in place. I would rough up the mating surfaces and wet them with acetone too before the addition of the slurry.
The repairs I did ended up making the lid noticeably heavier. If I had to do it again, I'd likely find a way to use less extra material; both plastic strips and slurry.
The results are below. I think it is going to work well.
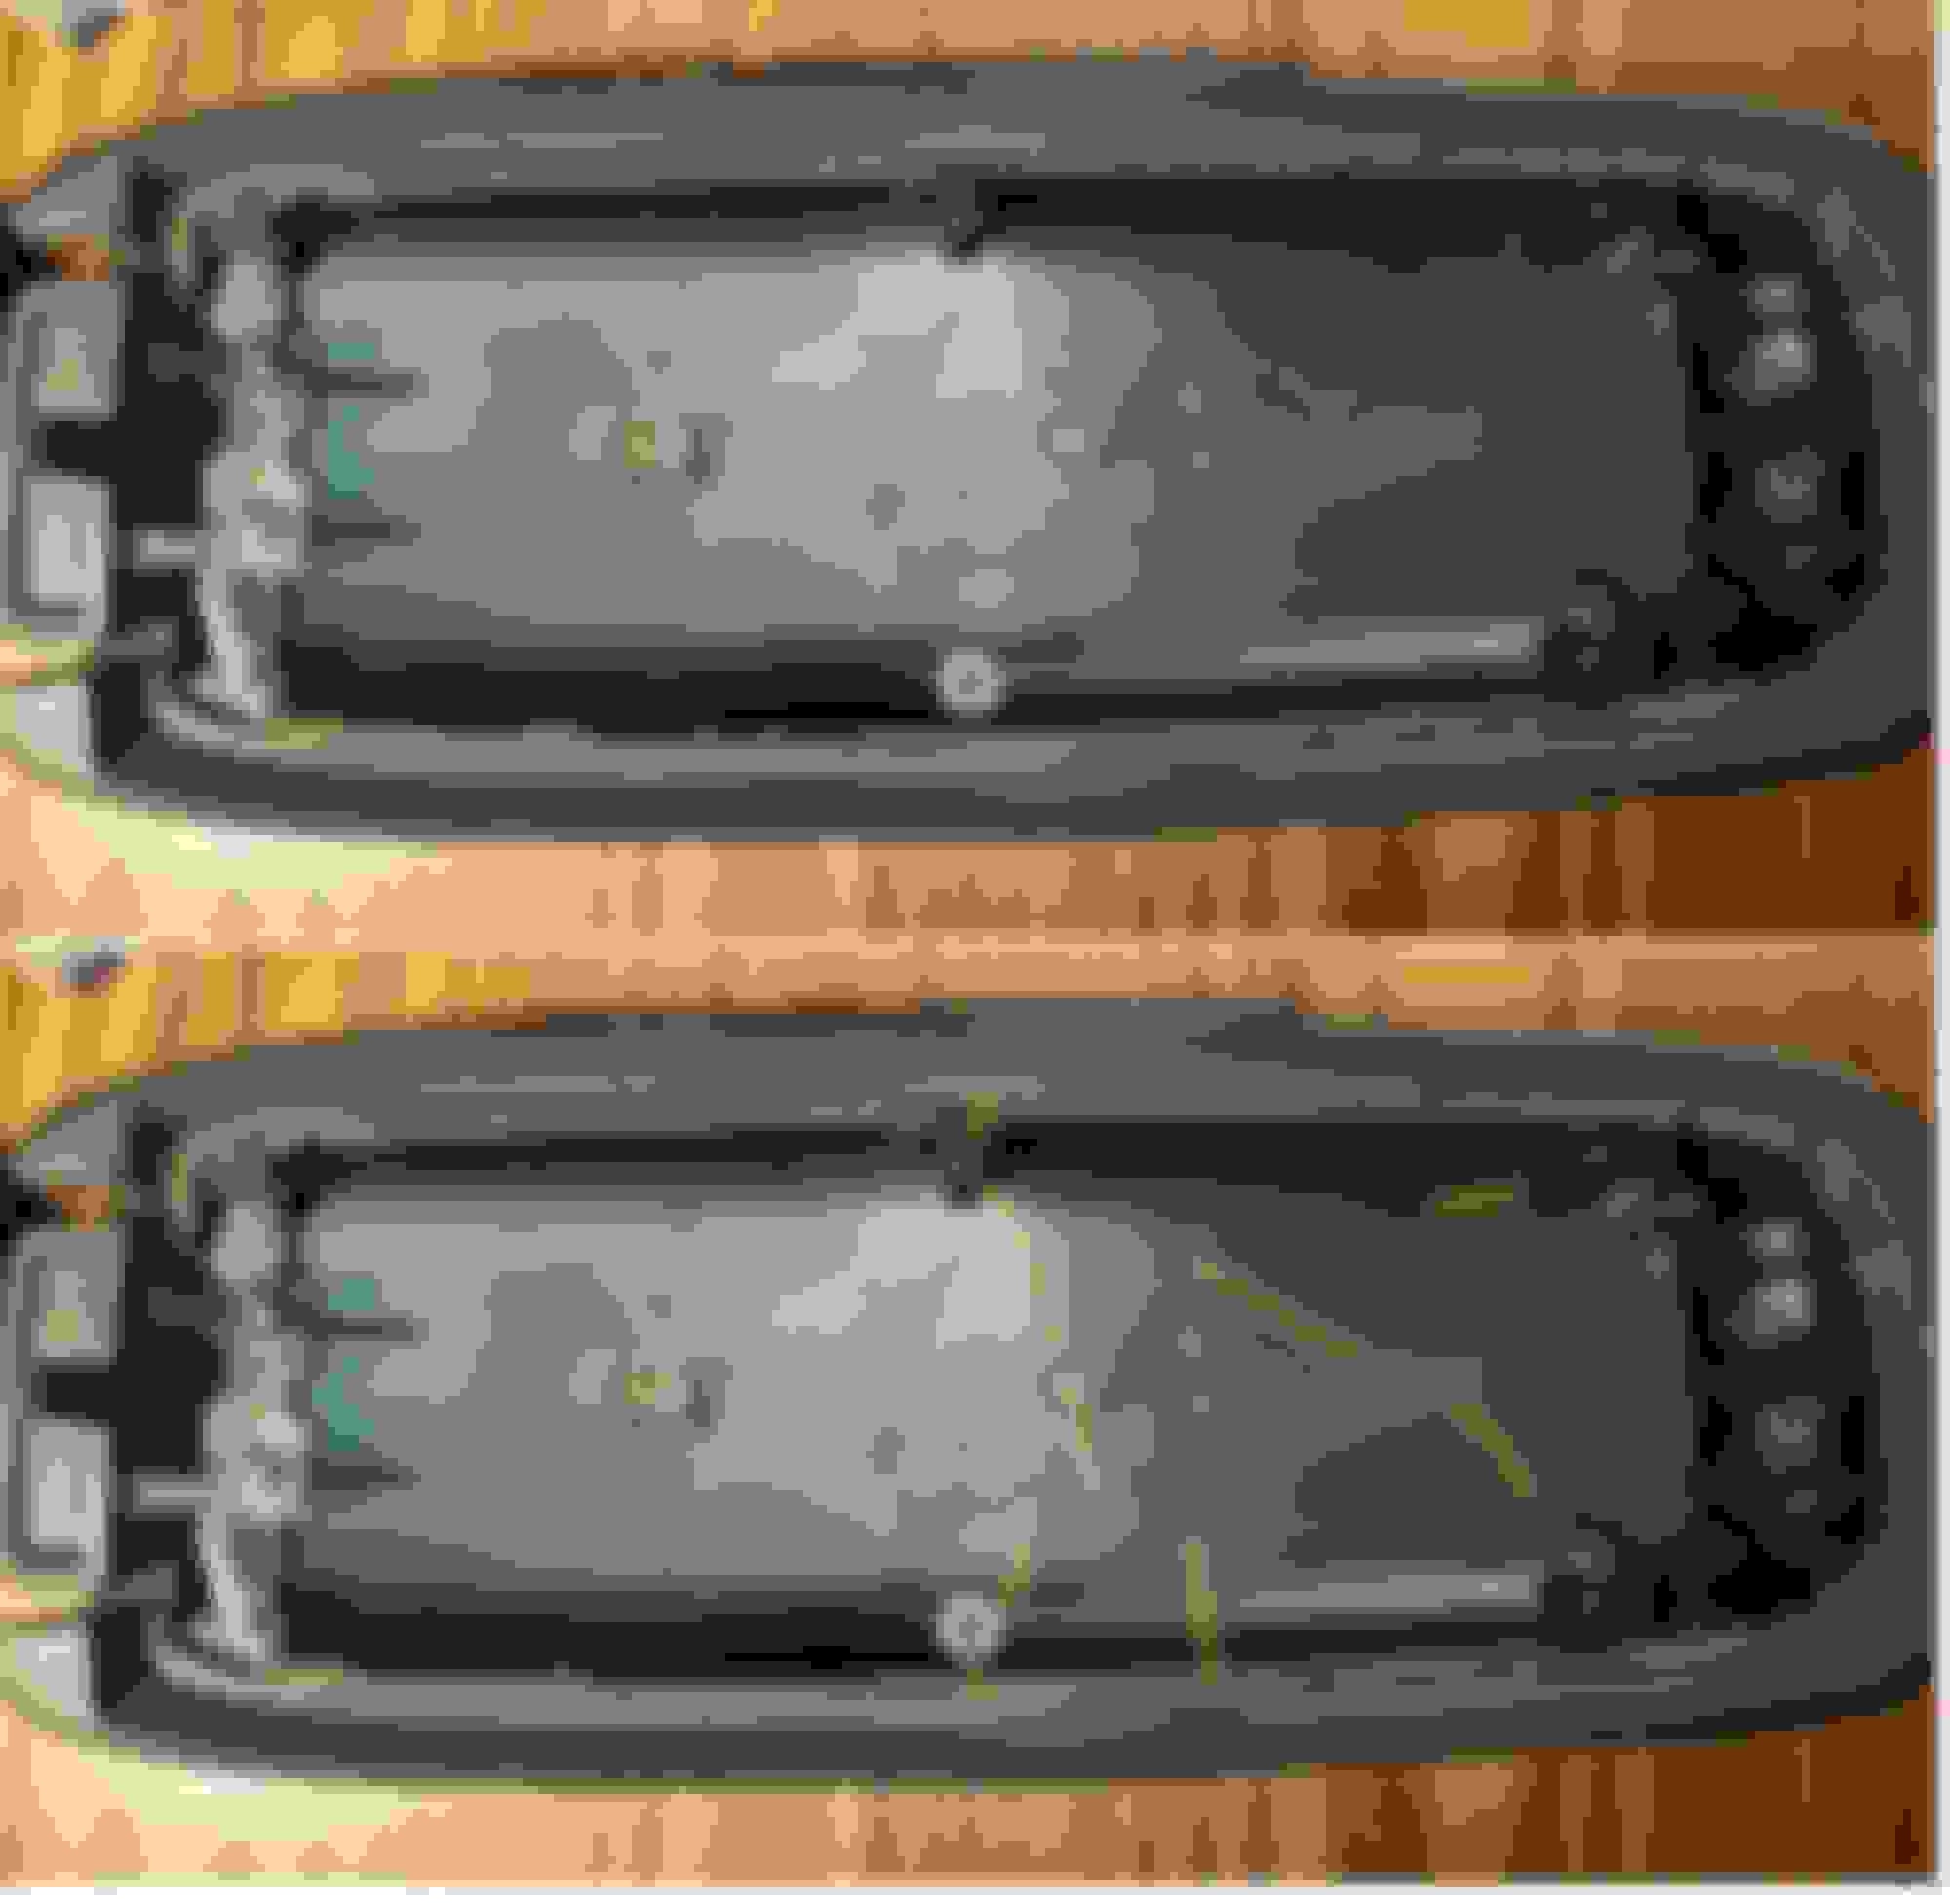
Picture showing the cracks. The bottom one has the cracks highlighted
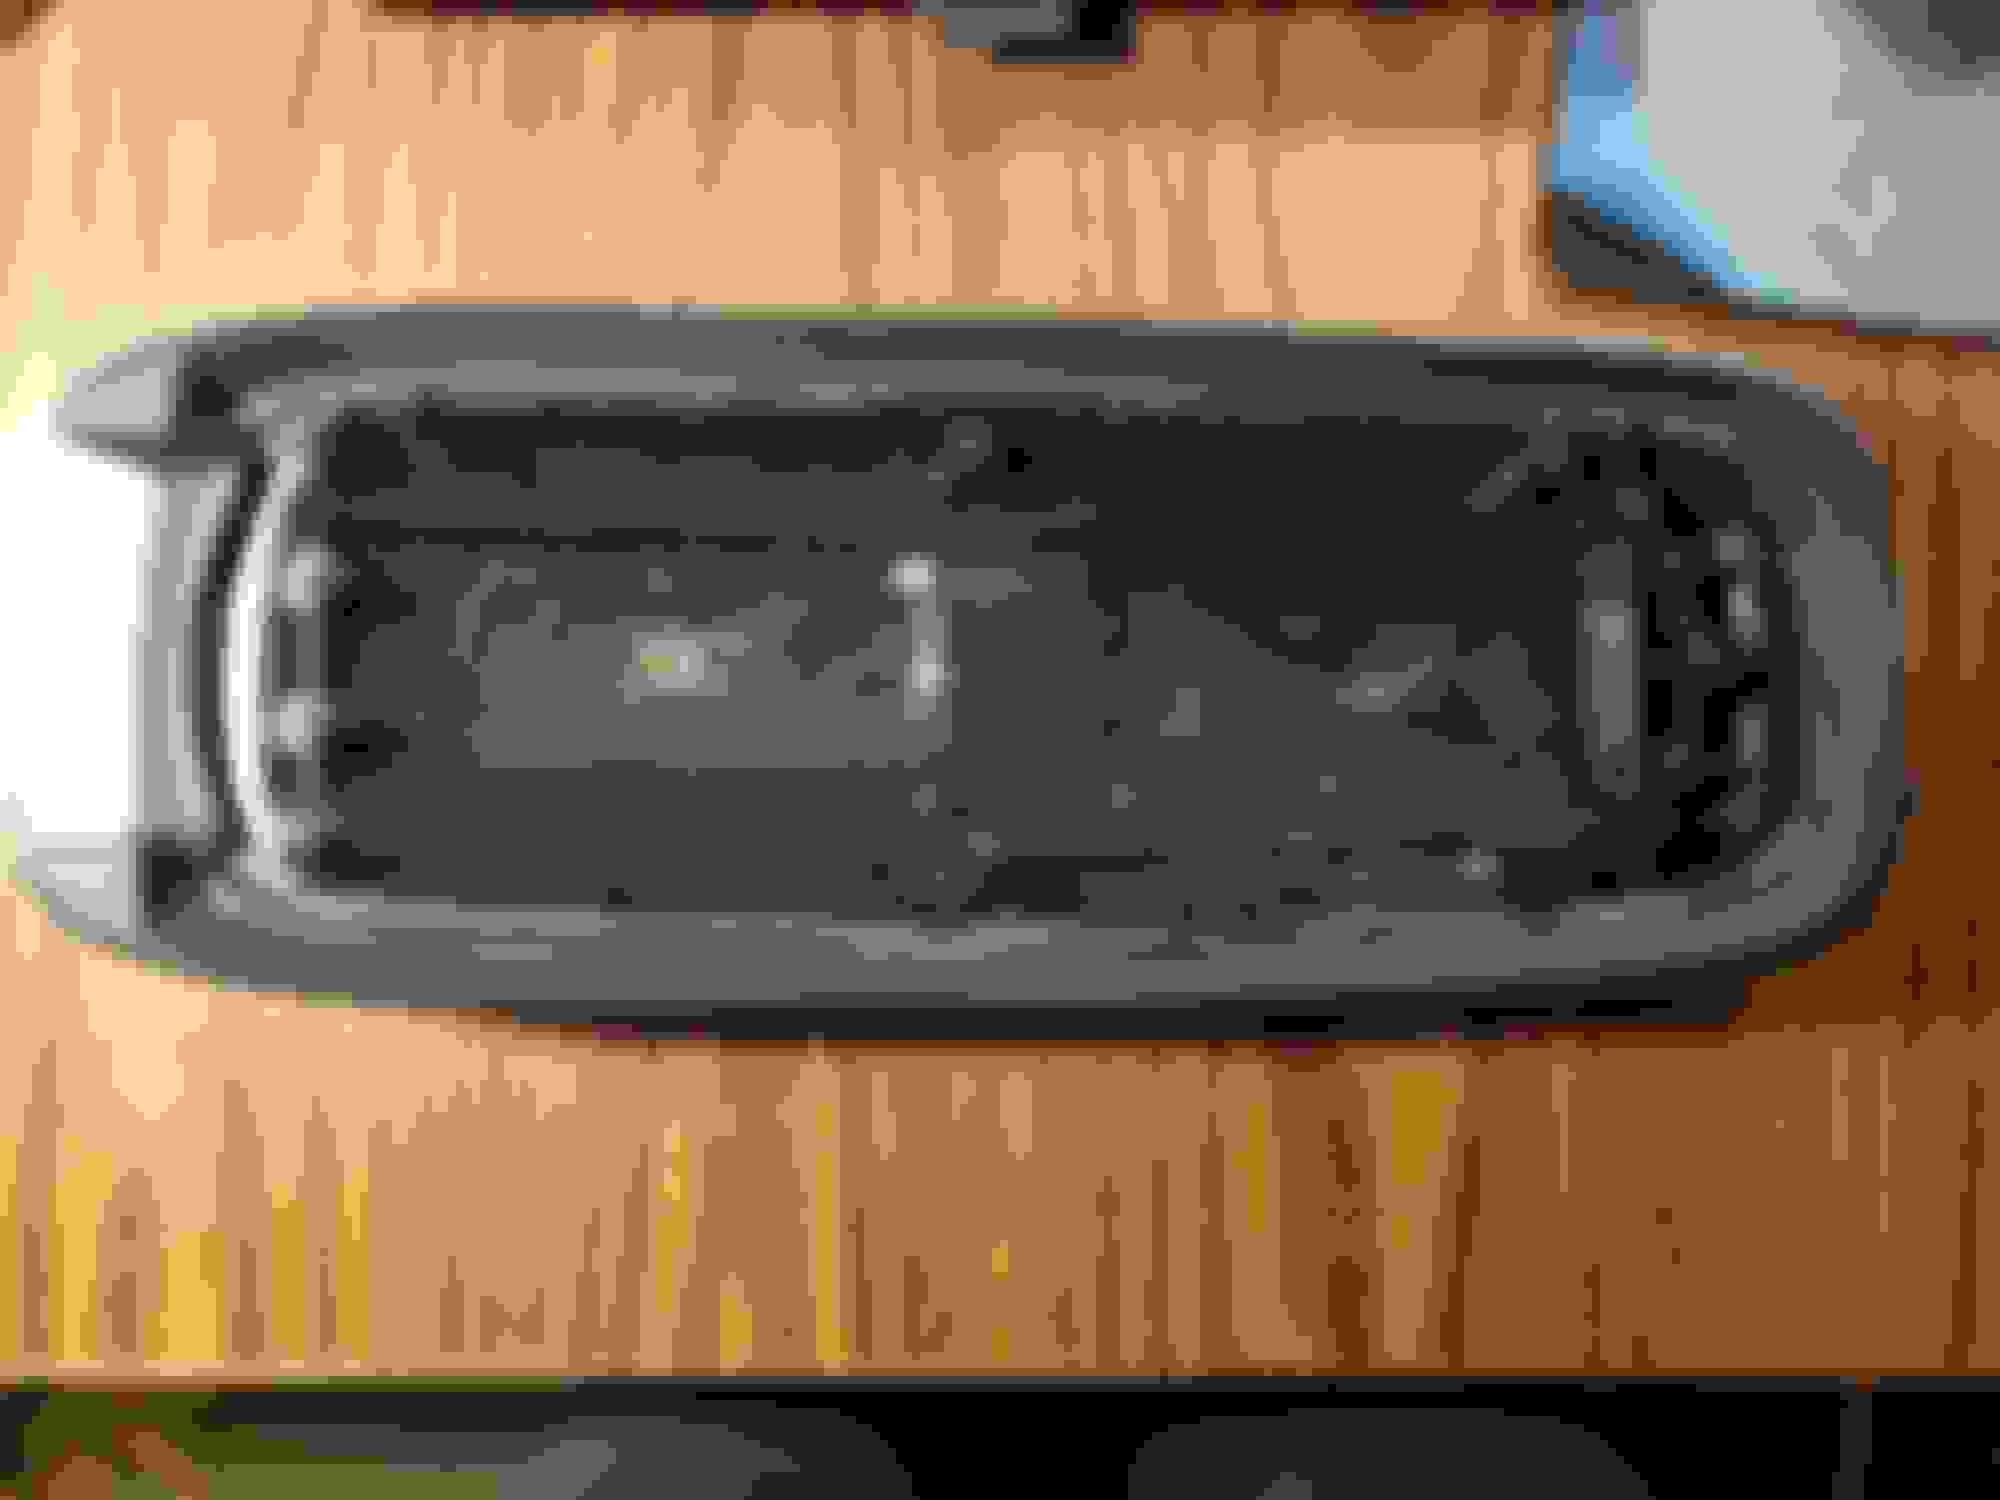
The final product. Before the application of the reinforcement pieces, I bent back the lid to slightly open up the cracks and applied acetone to help weld them closed. I used packing tape to pull the lid into shape to compress the cracks closed. I applied the slurry with a bamboo skewer to dollop it in place. I used a cheap 1/4" wide model paint brush to apply the acetone.
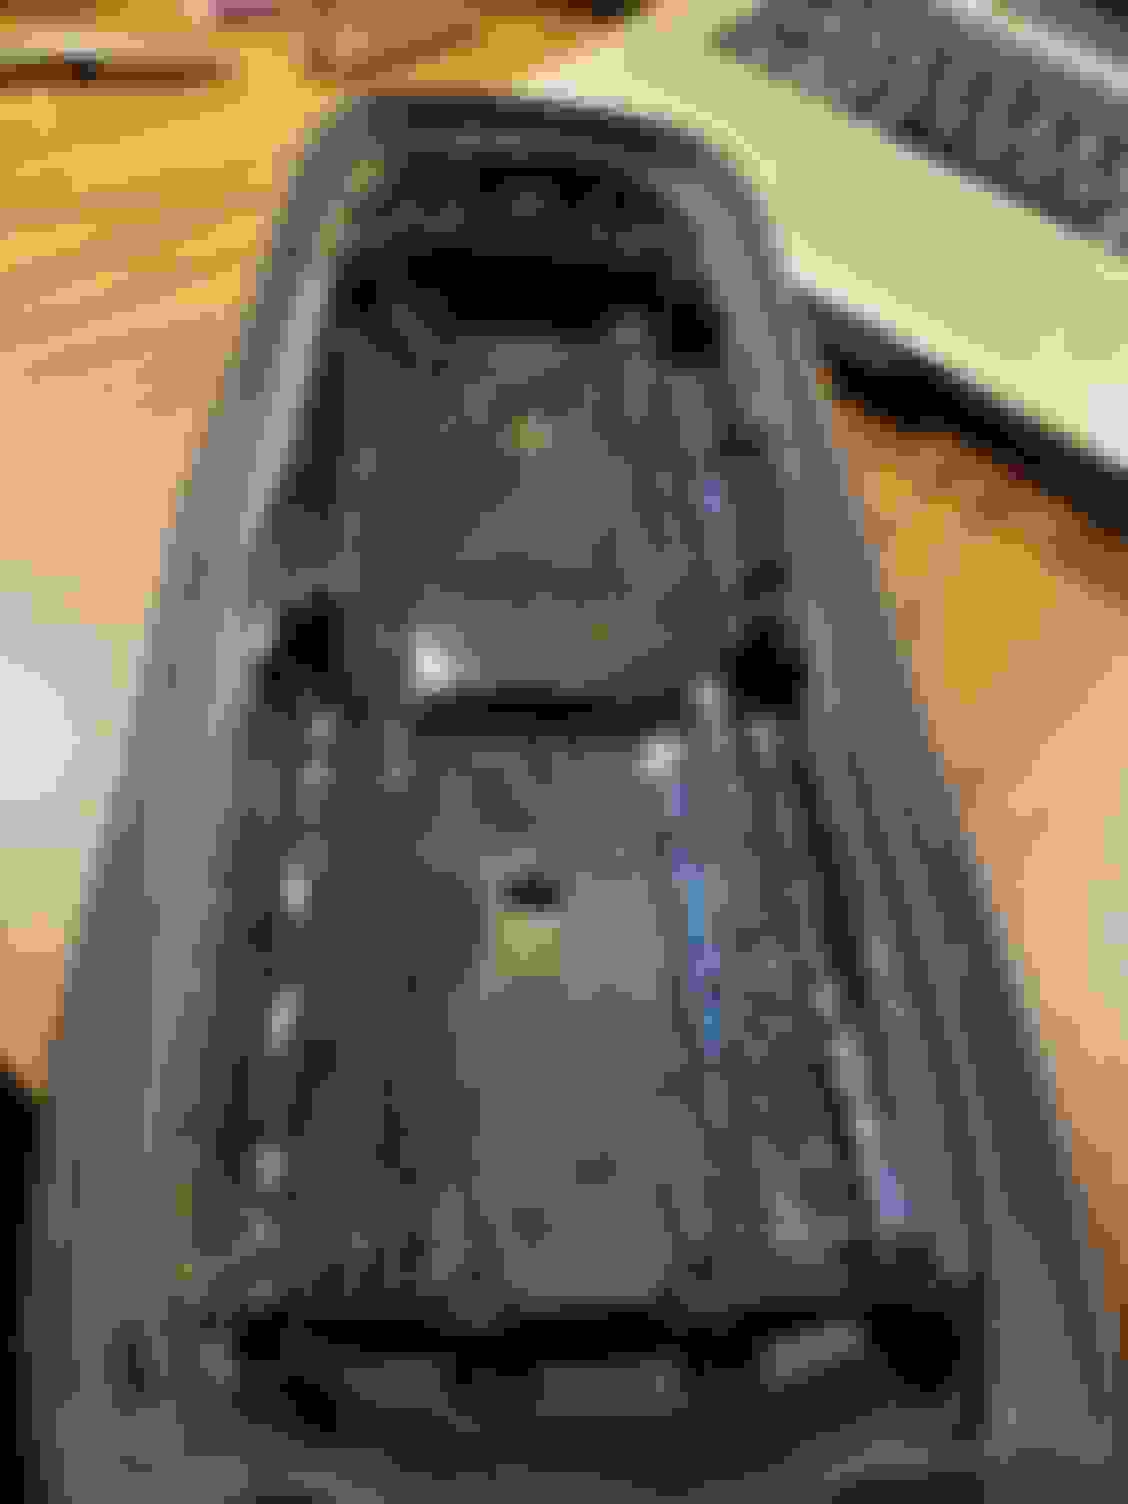
A reinforcement on the outer edge of the middle of the lid where one of the main cracks started. I put a small pieces on the vertical and horizontal surfaces.
The other side where there was a crack in the outer edge. These outer edge repairs were applied only with acetone which worked really well.
Another view of the whole lid. In retrospect I used more of the slurry then needed. For this application the thicker parts took about 24 hours to cure.
Last edited by christine_208; 02-22-2022 at 12:44 PM.
I haven't had many updates of late but I thought I'd post about my experience with replacing my pitman arm using the technique of not removing the steering gear from the truck. The GM Service Manual suggests you remove the steering gear first.
Below will be a link to a useful video but first will be my basic instructions of what (eventually) worked for me. These generally followed the instructions in the video with a few more details that I hope others will find useful. I'll also attach scans from my GM Service manual that might be of use.
Safety warning: Double check all torque specs and double check that your truck has its wheels blocked and the jack-stands are secure. Safety first always!! You are responsible for your own safety!
The tools you will need:
Common/basic tools:
a full set of metric sockets 3/8" and 1/2" drive
standard set of metric combination wrenches
a breaker bar
cheater-bar for breaker bar
a torque wrench
Specialty Tools:
pitman arm puller: J 29107-A or equivalent
tie-rod puller: J 24319-B or equivalent
33 mm, 1/2" drive air socket (The narrator in the video uses a 34 mm socket which doesn't seem right)
air socket 1/2" drive extension
air impact driver
large prybar or crowbar
a short section of 2x4
Safety glasses (for the grime that can get into your eyes and when using the air tools)
Here are the basic steps:
Remove the skid-panels, block the tires, raise the front of the truck, and make it safe with jack-stands.
Remove cotter pin and nut that attaches the pitman arm to the center-link but don't try to separate the pitman arm from the centerlink yet
Loosen all three of the mounting bolts for the power steering gear and remove the top two leaving the lowest so that the gear is loose.
Separate the pitman arm from the centerlink. Tool: J 24319-B or equivalent Note: This supposedly can be done using a pickle-fork and a hammer but I could not, even with my 6-lb hammer. I also tried with a pickle-fork attachment on my air hammer and with a lever-type ball-joint tool. None worked. This when I had to go to Harbor Freight and fork out $90 to get a puller kit that included the equivalent of the tie-rod tool J 24319-B. (MADDOX Front End Service Tool Set, 5 Pc.) This worked great. I might have needed a cheater bar on my ratchet wrench.
Remove last steering gear mounting bolt
Using a prybar, separate the pitman arm from the centerlink Note: This can take a bit of effort as the steering gear is heavy and the whole thing is awkward to move about. The prybar will be useful here.
(If applicable) Remove the driver side mounting bolt for the steering stabilizer shock and move stabilizer out of way, compressing it, to the passenger side to create access to pitman arm to steering gear nut.
Move the steering gear around so that you can get to the pitman arm to steering gear nut. Note: The prybar can be handy here along with the 2x4 to prop the steering gear into a favorable position. It might be necessary to turn the steering wheel to better position the pitman arm to allow repositioning the steering gear.
Remove the pitman arm to steering gear shaft nut and lock washer. Tool: Air impact wrench and 33 mm socket. Note: I did not even try to remove the nut without the air tool. I suppose it could be done with hand tools but because the steering gear is now loose, doing it by hand would be extremely hard unless the steering gear was wedged in place allowing you to apply enough torque. The torque spec for this nut is 180 ft-lbs so be prepared.
Install the pitman arm puller (Tool J 29107-A or equivalent) and remove the pitman arm, noting the orientation of the pitman arm before you remove it. Note: I was able to do this with my 1/2" drive ratchet wrench.
Check threads and splines of steering gear shaft and make sure they are clean. Test the threads by installing the nut by hand. If you cannot install the nut by hand, look for any damage to the threads.
Install the new pitman arm onto the steering gear shaft, checking that you have it in the correct orientation.
Install the washer and pitman arm shaft nut and install to 185 ft-lbs. Note: In the video, the narrator applied some thread locker but I did not as the GM Service manual did not call for it. In retrospect, it would have not hurt anything to apply it though.
Install the pitman arm into the centerlink and then approximately align the steering gear next to its mounting holes and start the threads for the steering gear mounting bolts. Note: This is where the prybar and the 2x4 can again come in very handy! Be mindful of any wiring loom or hoses that might be in the way when doing this step and make sure they are routed as you want before the installation of the pitman arm.
Install the nut for the pitman arm to centerlink stud and tighten to 61 ft-lbs. To install the cotter pin, tighten the nut as necessary to align the crenellations of the castle-nut with the hole. Install the cotter pin. (Never loosen the nut to get nut to align with hole.)
Clean up threads on steering gear mounting bolts and install. Tighten to 55 ft-lbs. Note: The prybar and 2x4 can come in handy here. Using red thread locker on these is worth considering.
(If applicable) Reinstall the steering stabilizer to its bracket and tight the bolt to 40 ft-lbs
Reinstall skid panels
Get an alignment.
Extra advice:
Record the size of the gap between the top of the pitman arm on the steering gear shaft and the body of the steering gear; measure or take a picture. This will provide a reference for knowing when the pitman arm is fully back in place.
Take a picture of the pitman arm just before you remove it so that you get it on at the correct orientation. It is keyed but you could get it off by 90 degrees if you forget.
You might want to mark with a white grease pencil the location of the one of the keys in the splines on the pitman arm and the corresponding keyway on the steering gear shaft to confirm that it is correctly oriented.
The threads for the steering gear shaft should be cleaned and be easy for the nut to screw on. My first attempt at installing the nut seemed to not go well so I removed it. I discovered that a couple of the threads had been damaged, preventing the nut from going on and thus preventing the pitman arm from going on fully. A couple of minutes with my small triangular file fixed the threads
When I went to get a pitman arm puller, I took the replacement pitman arm to the store to make sure that the one I got would fit as they come in different sizes.
Pre-grease the centerlink stud in the pitman arm before installing it.
Pictures! Picture of old pitman arm with tie-rod tool installed with steering gear centered. This did not work so well so I rotated the steering wheel to the left to swing the pitman arm to the driver side.
View looking over lower control arm showing the new position of the steering gear with the removal tool installed.
It broke free!
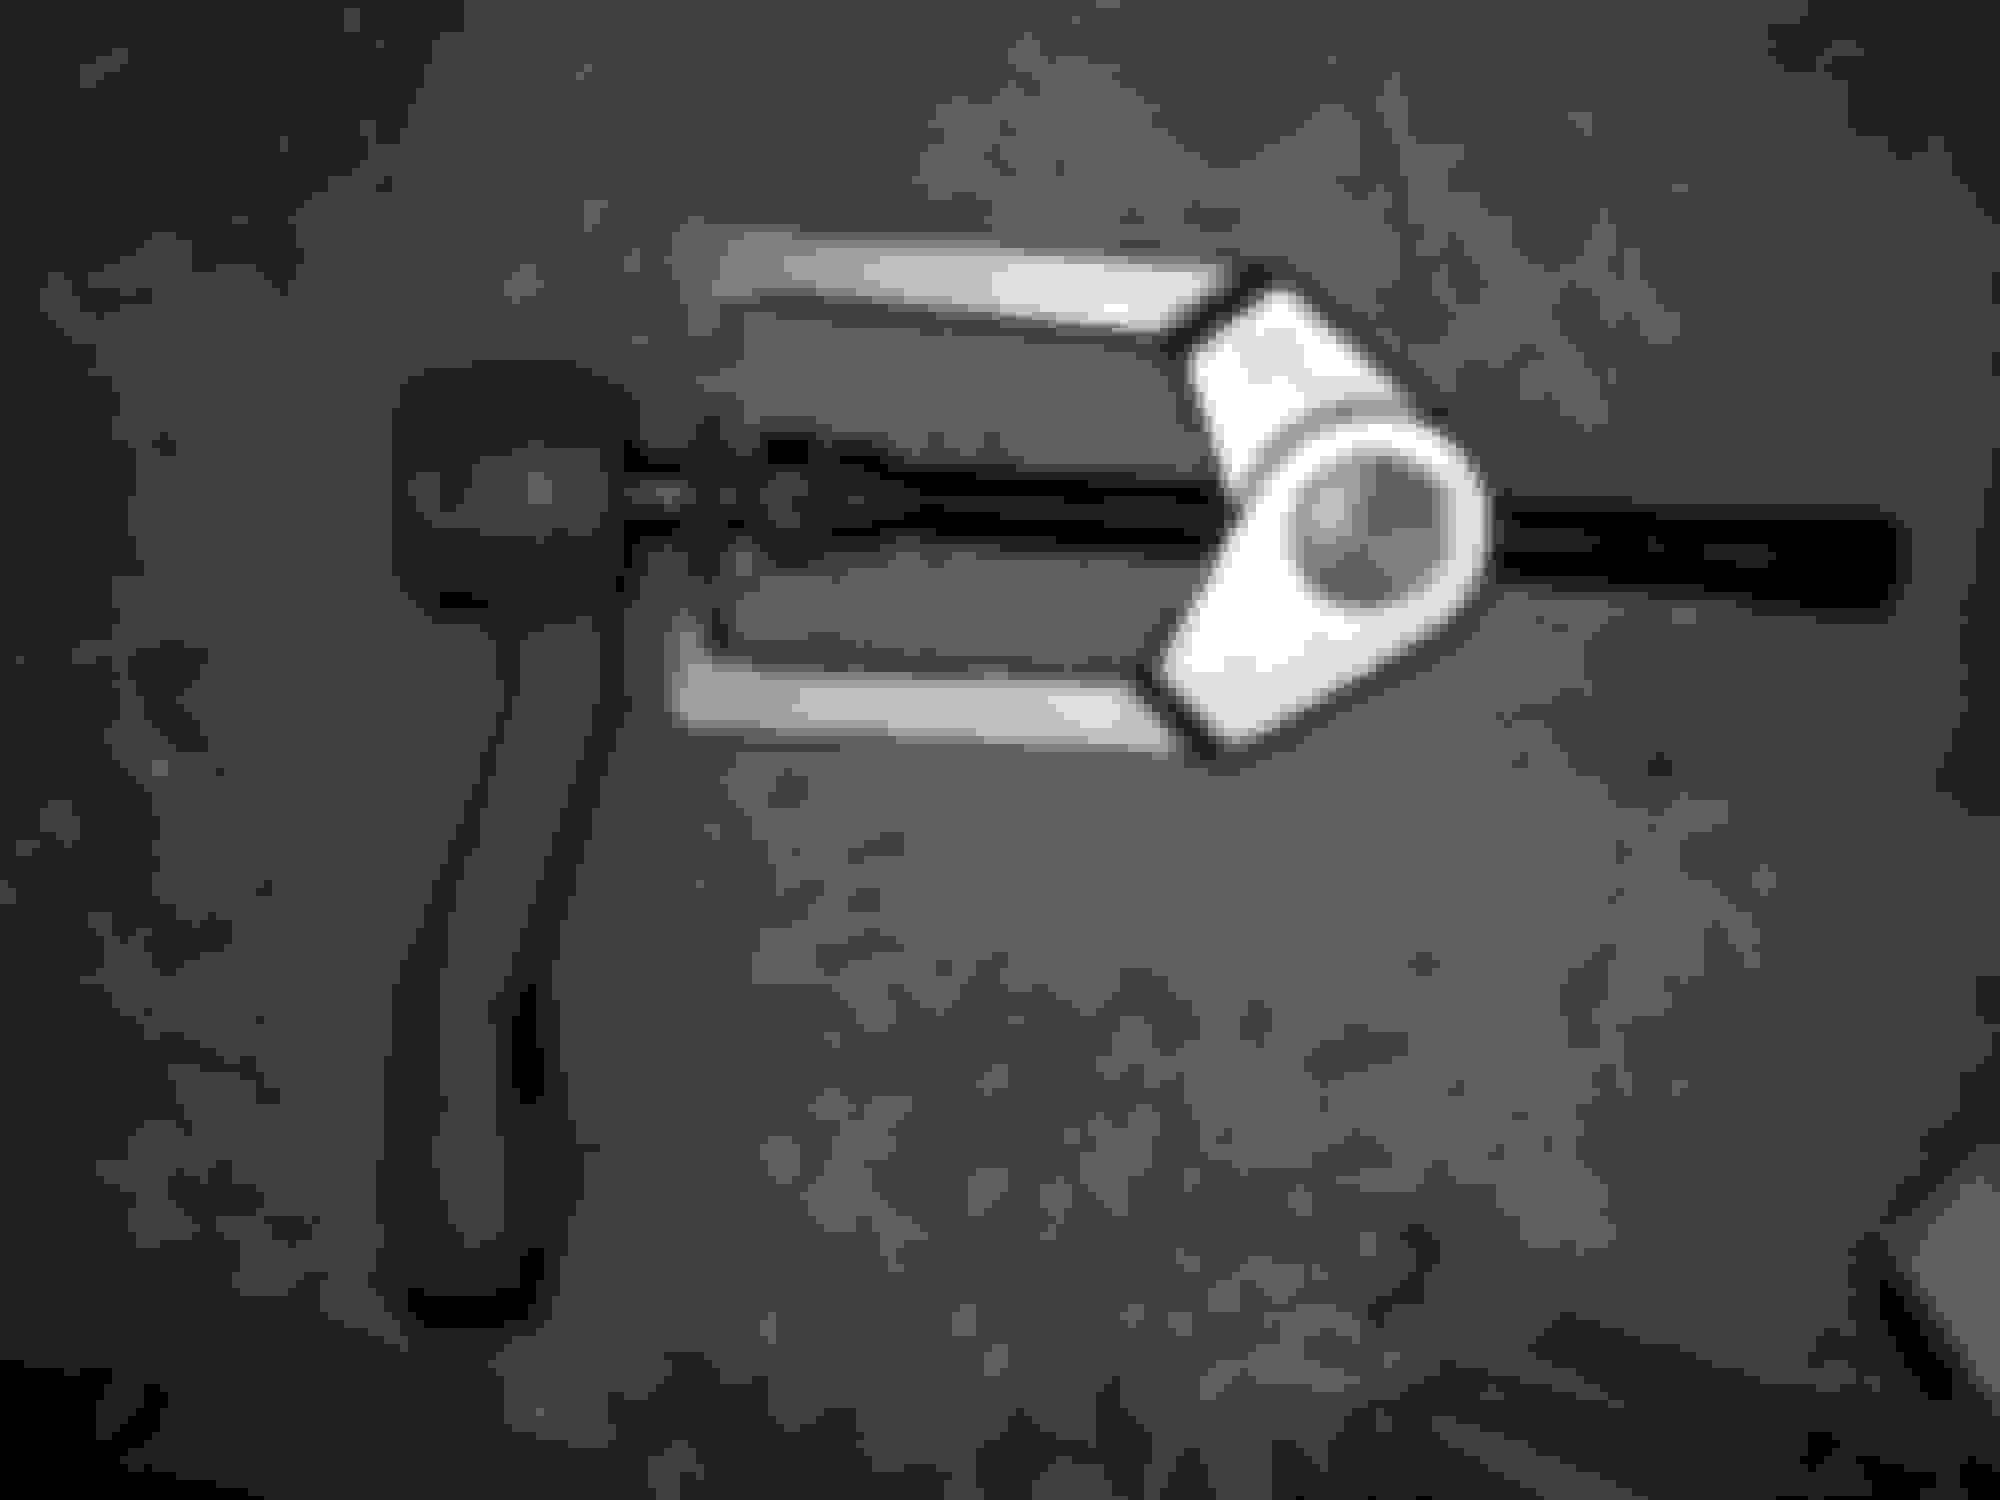
The tie-rod removal tool (J 24319-B equivalent) shown for size and installed orientation. It is a quite substantially built tool. (Yes, most of my hand tools are Craftsman!)
Using the tie-rod puller on the steering gear shaft.
The 33 mm socket for the steering gear nut. I found this at the local Autozone.
The new pitman arm installed on the steering gear and in the centerlink.
Great write up, I know who I'll be calling up when the time to change mine out comes. My body is getting too old to do some things, but my mind is still that of a 17 year old me.
Great write up, I know who I'll be calling up when the time to change mine out comes. My body is getting too old to do some things, but my mind is still that of a 17 year old me.
Thanks Guys! That means a lot.
I hope it save someone else the headaches I had! LOL
It seems about the time you need to change the pitman arm the steering box is shot on these as well. I have found if you need to take out the steering box that a couple of long screwdrivers or alignment tools I have a couple from Sears back when they were a company
Currently gathering information on the best stock parts, tools and information to begin first suspension rebuild. You�re a good mechanic! Appreciating all of the detailed information provided here! Thank you!

 12-18-2021, 10:31 AM