When you click on links to various merchants on this site and make a purchase, this can result in this site earning a commission. Affiliate programs and affiliations include, but are not limited to, the eBay Partner Network.
I feel like I've seen them before in a video somewhere, but never really looked into them.
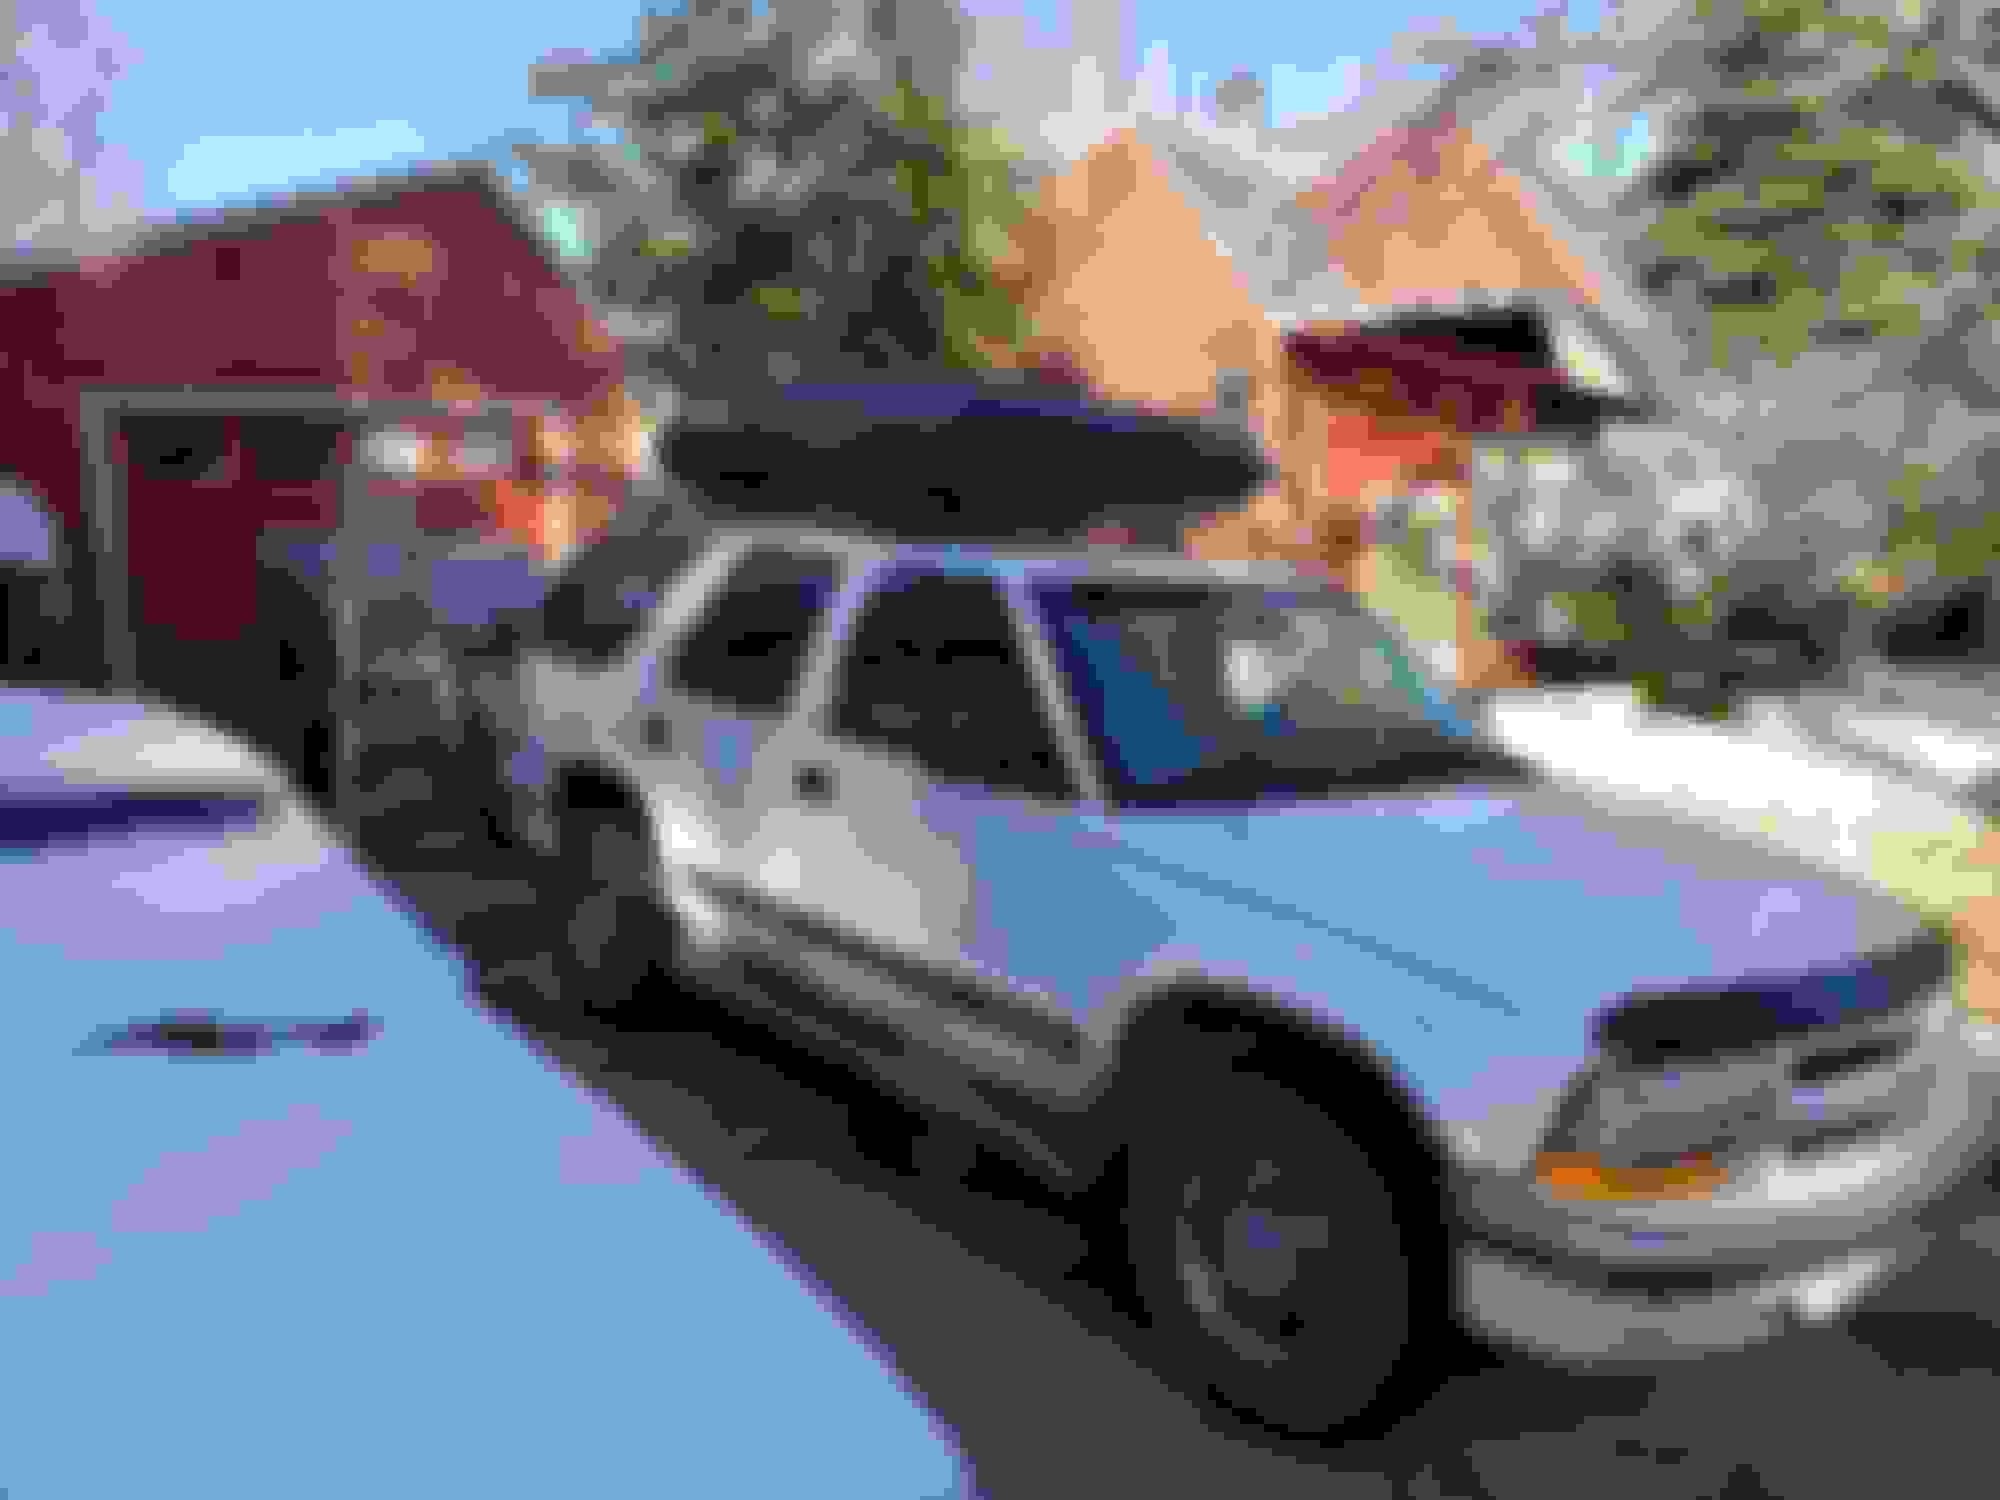
With the terrain around my area, I'm not sure they would help out much if I were to get stuck. Usually around here, when you get stuck, your tire sidewall is buried up to above the center cap, and that would making hooking one of those up a little difficult lol
Old picture of mine, not a Blazer, but you get the idea lol
I feel like I've seen them before in a video somewhere, but never really looked into them.
With the terrain around my area, I'm not sure they would help out much if I were to get stuck. Usually around here, when you get stuck, your tire sidewall is buried up to above the center cap, and that would making hooking one of those up a little difficult lol
Old picture of mine, not a Blazer, but you get the idea lol
Yes, a shovel can be a necessity for using the Bush Winch.
Ah, I did not realize that. It makes much more sense now. If you often go off-roading with a group of the same vehicles (I know YOU don't, but I'm speaking hypothetically), everybody could just install the special lug nuts on their vehicles and you could share a single Bushwinch. That would be pretty cool.
Also, if I get a new rig and what to keep the Bush Winch, all I need to do is get new adapter plates and perhaps new lug nuts.
I also like that the system is small, light and compact.
I know, right? I've seen DIY, hacked-together versions but this one is really well thought out. This is like their version 2.1 so I'm liking that it is an established product. Being from Australia I'm sure the original motivation was for getting unstuck from sand whereas here in North America we are more concerned with mud and snow. However, I'm thinking this could be a really good option for our smaller trucks. I never liked the idea of having to lug a 9,000 lb rated winch from the front to the back to get unstuck.
But, we will all have to wait until I get myself stuck to see how it works for a Blazer. Wish me luck!
In a further attempt to delay having to get a bigger and newer truck, I picked up a used Yakima cargo box for the top of the Blazer so that I can haul around a bit more stuff. I paid $200 and I figured that is hell of a lot less than the $12k I'd need to get a decent preplacement (likely a 4Runner). The box and hardware I think are about 10 years old. I thought I could mount it directly to the cross bars but if I had there is no way I could have opened up the rear hatch. Instead I went ahead and mounted the Yakima cross bars. I gotta hand it to those engineers. The roof brackets fit perfectly and the adjustments were easy. They even hid the correct long handled hex wrench inside the cover for the roof brackets.
At the moment, I have my off-road recovery gear, the Bush Winch, ground anchors, bag of ropes, my new recovery tracks. This will free of lots of space in the back and I can have everything need to get un-stuck.
We'll have to see if I leave it on all year or if it becomes just a winter accessory. I'm sure the mileage will suffer a bit but I have my 82 Prelude for that.
So I finally got around to doing a quick, pretty simple upgrade; replacing the original foglights with stock replacements.
I had noticed that the original lenses were pretty foggy and rather than trying polish them I thought I'd just replace them since I was able to find NOS replacements through a GM parts dealer for about $50.
The general procedure is to remove the headlight assemblies and then remove the grill.
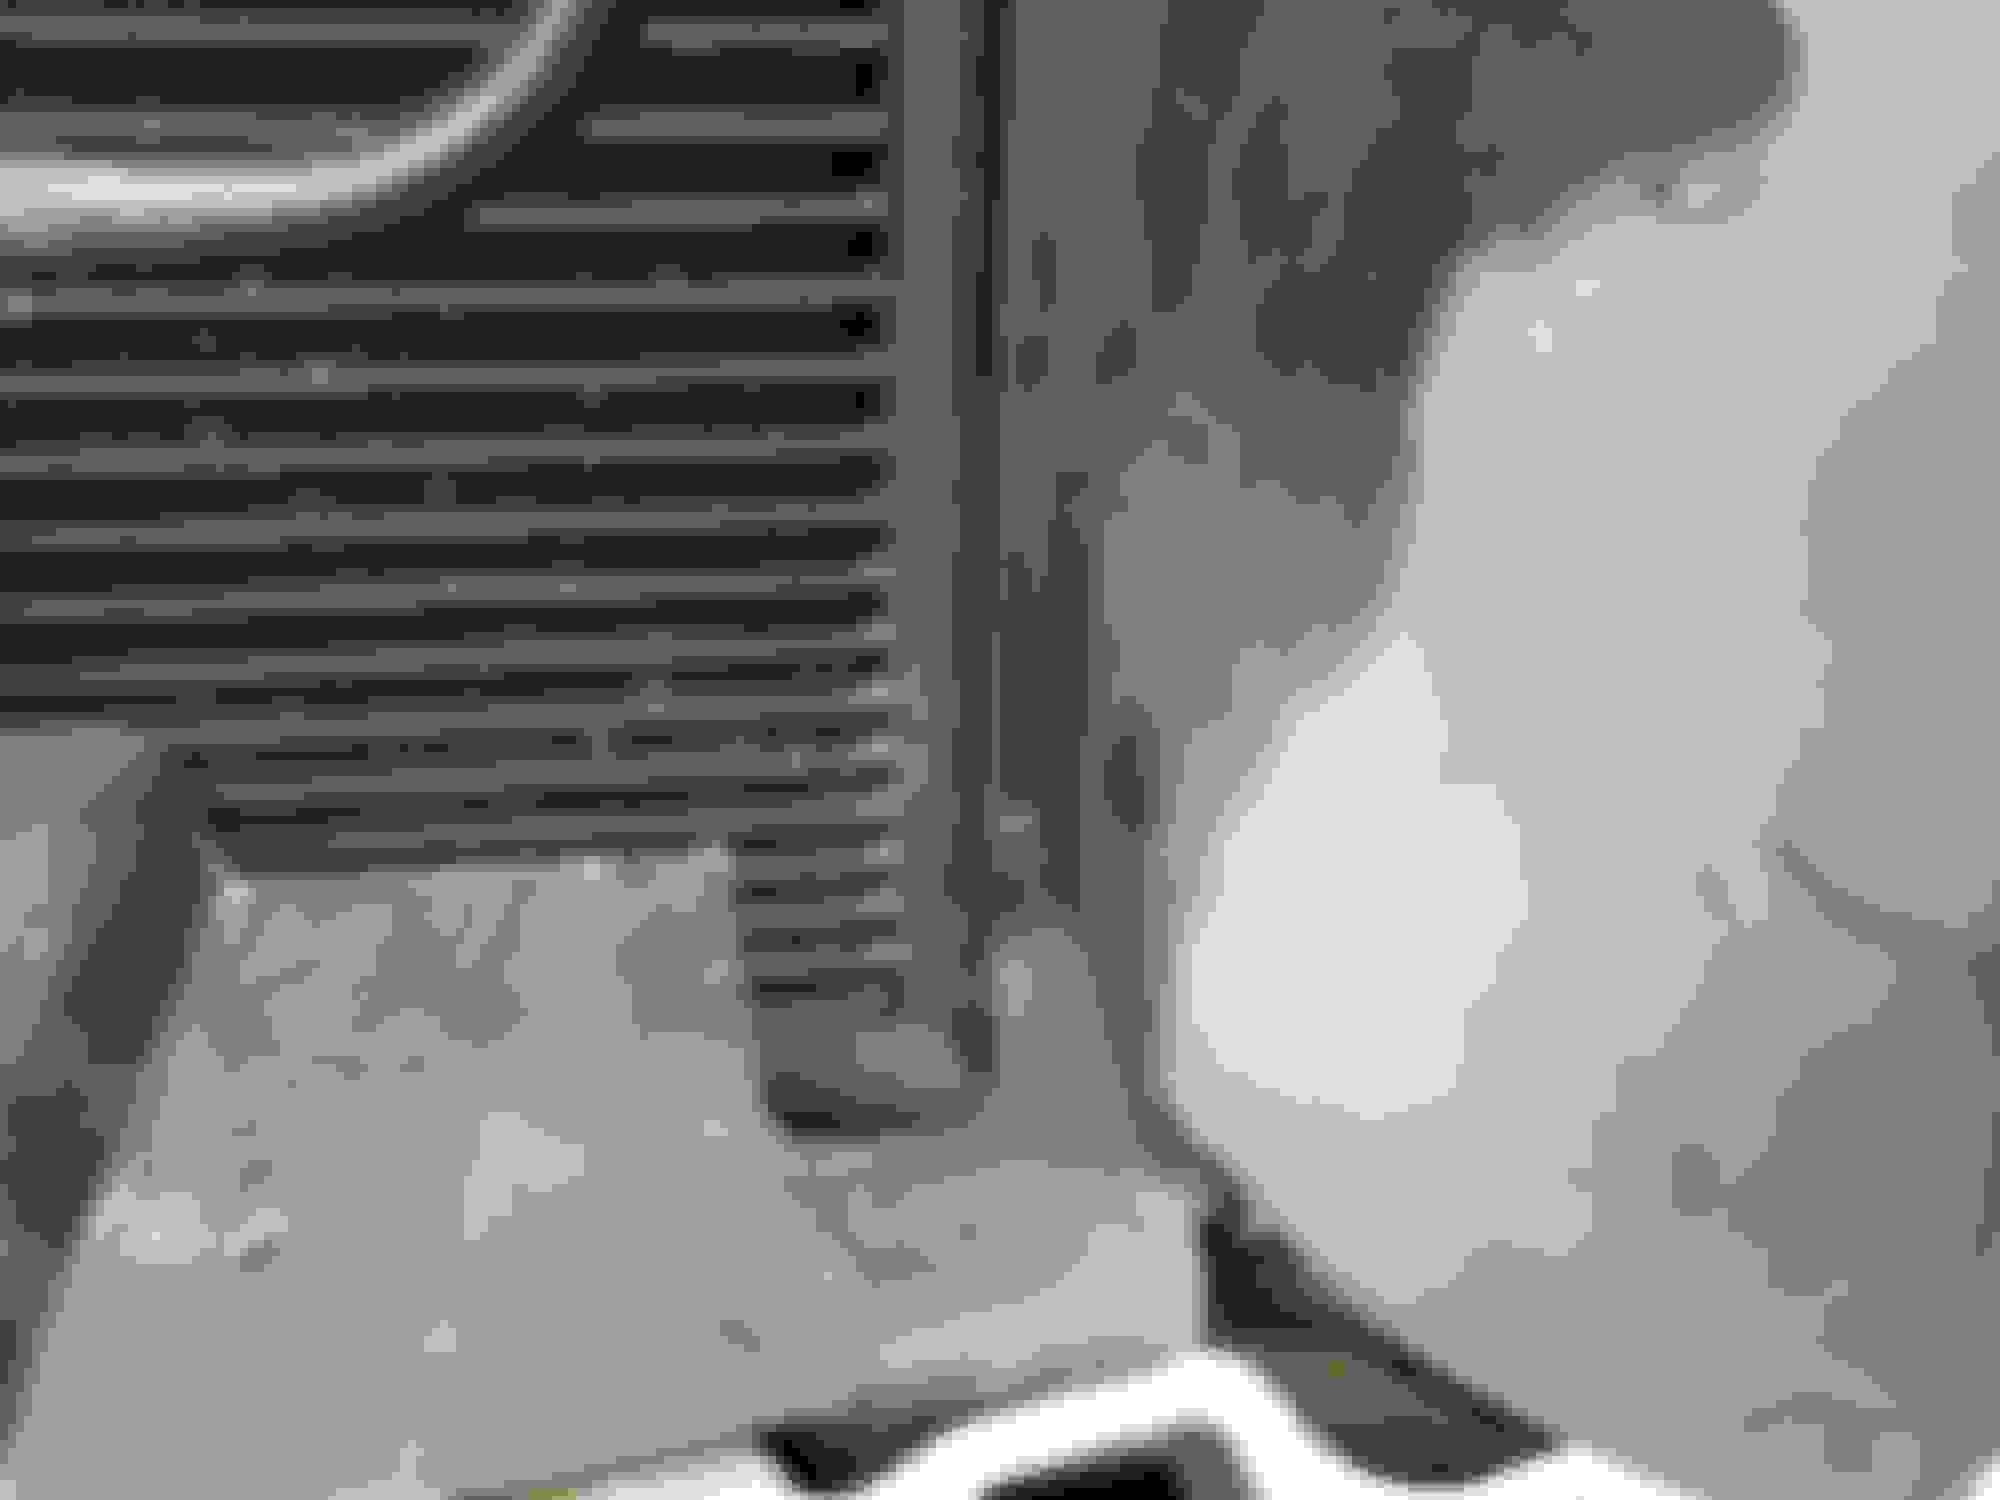
To remove the grill takes pulling it off. Some of the clips between the plastic tabs on the inside of the grill and the metal radiator frame slipped off but others did not. I found it easier instead to use a screw-driver to push on the metal tabs to release them from the metal frame. (see below)
Then came removing the combined turn-signal/fog-light assembly from the grill: This was not too hard. Behind the fog lights is a plastic clip the can be compressed with your fingers to release the inboard end. The outboard end through has a simple tab with a catch that is kept from coming out by the addition of a zip-tie to keep the tab from slipping out. I installed new zip ties when I reassembled it all.
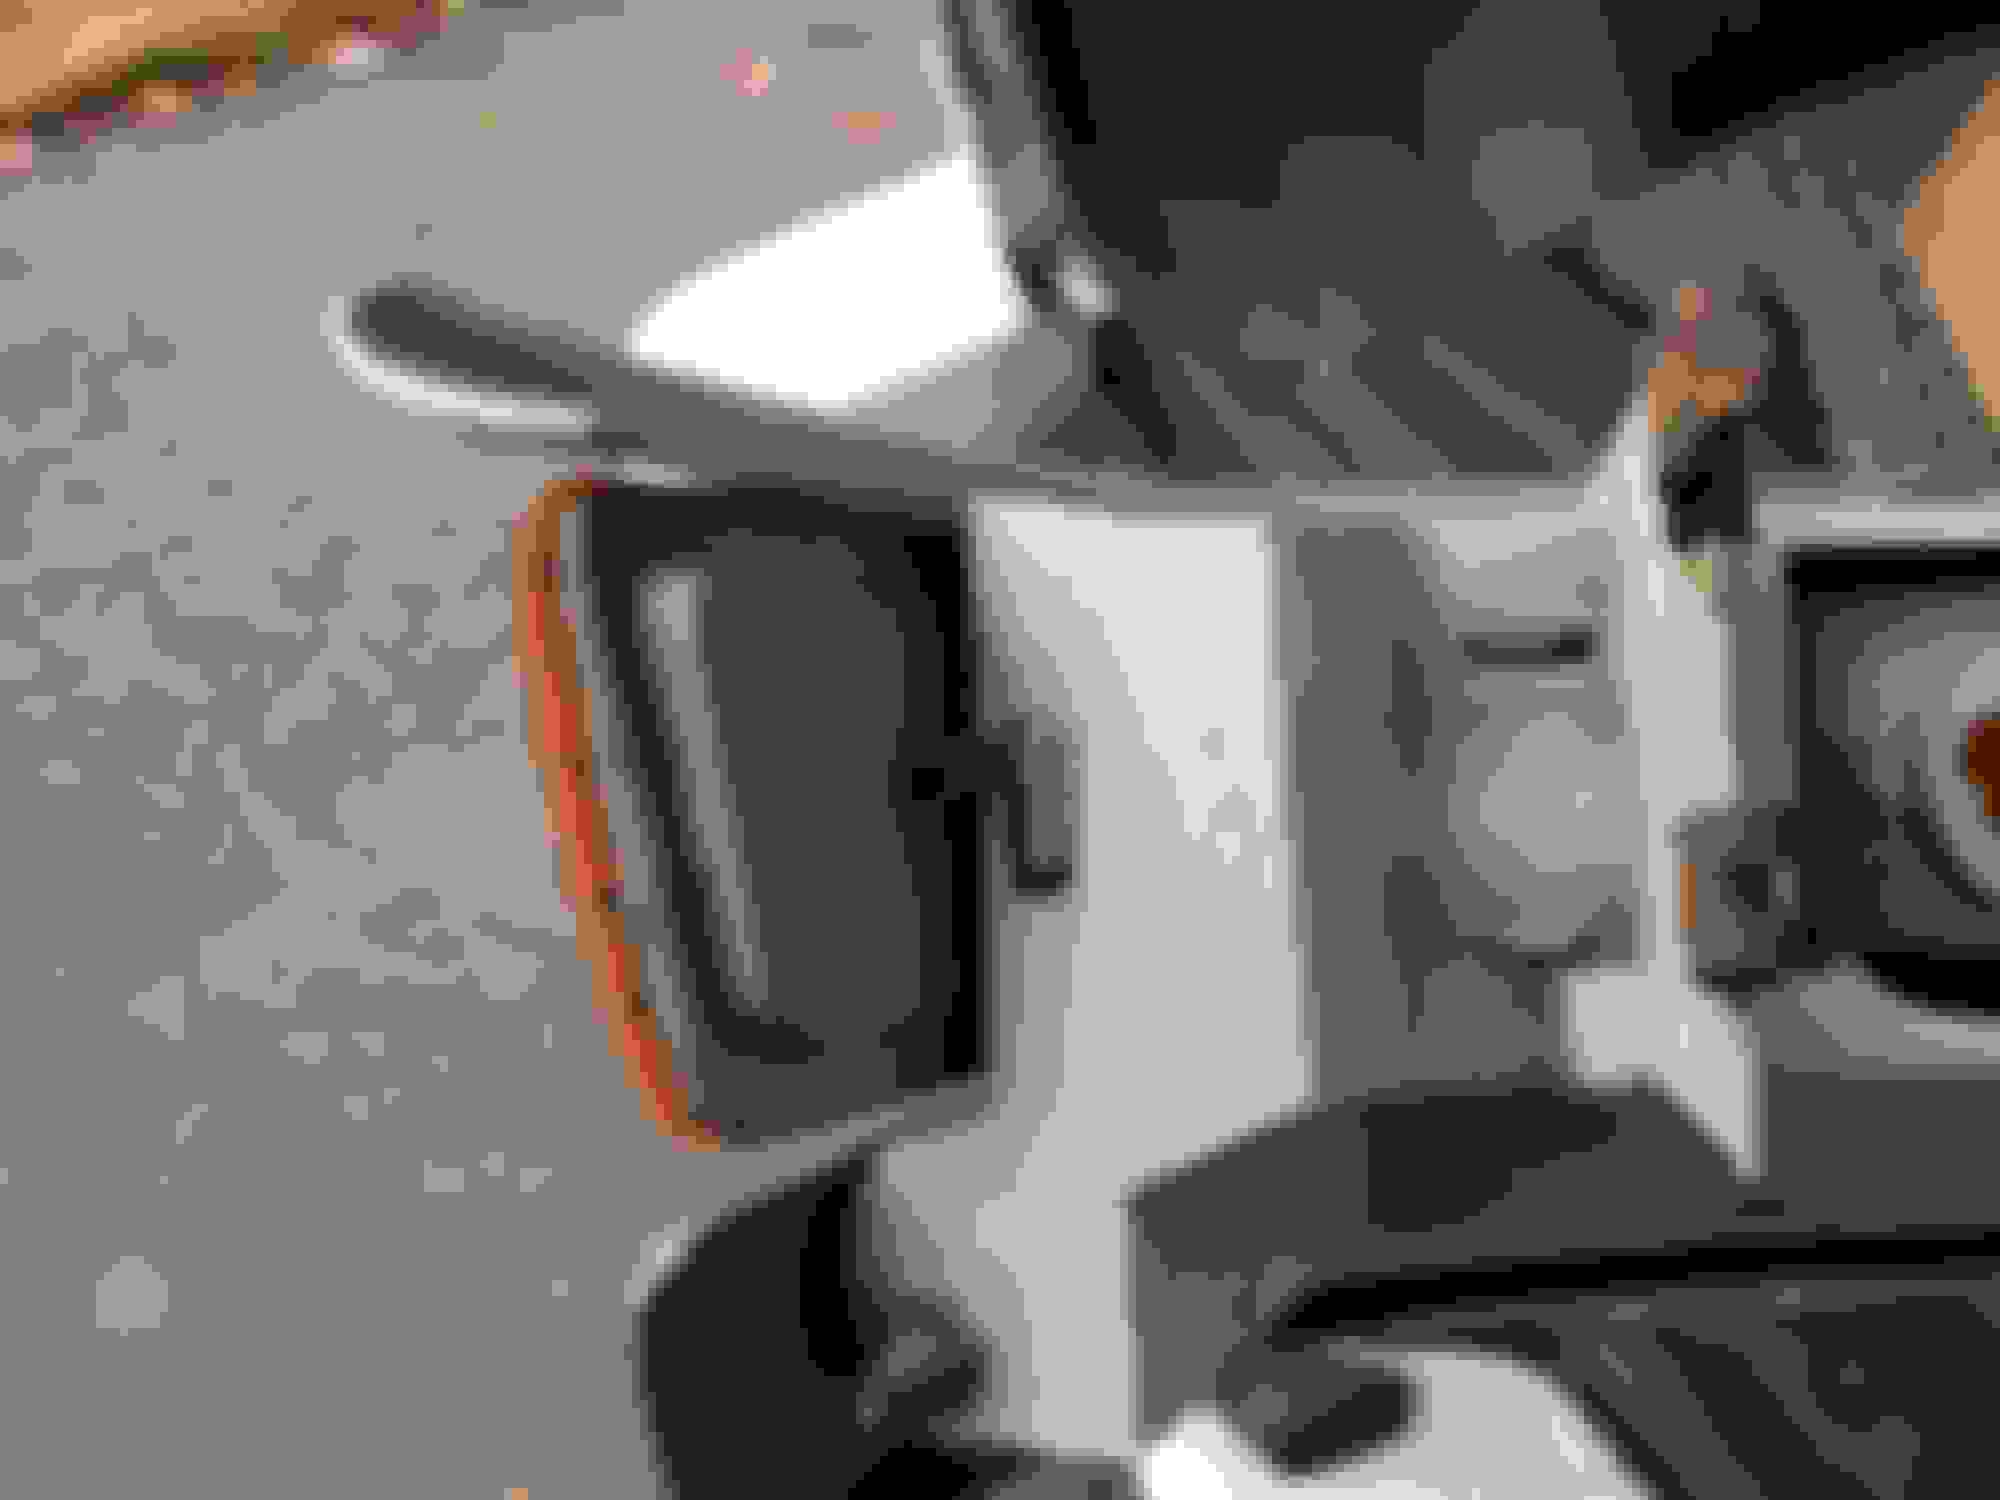
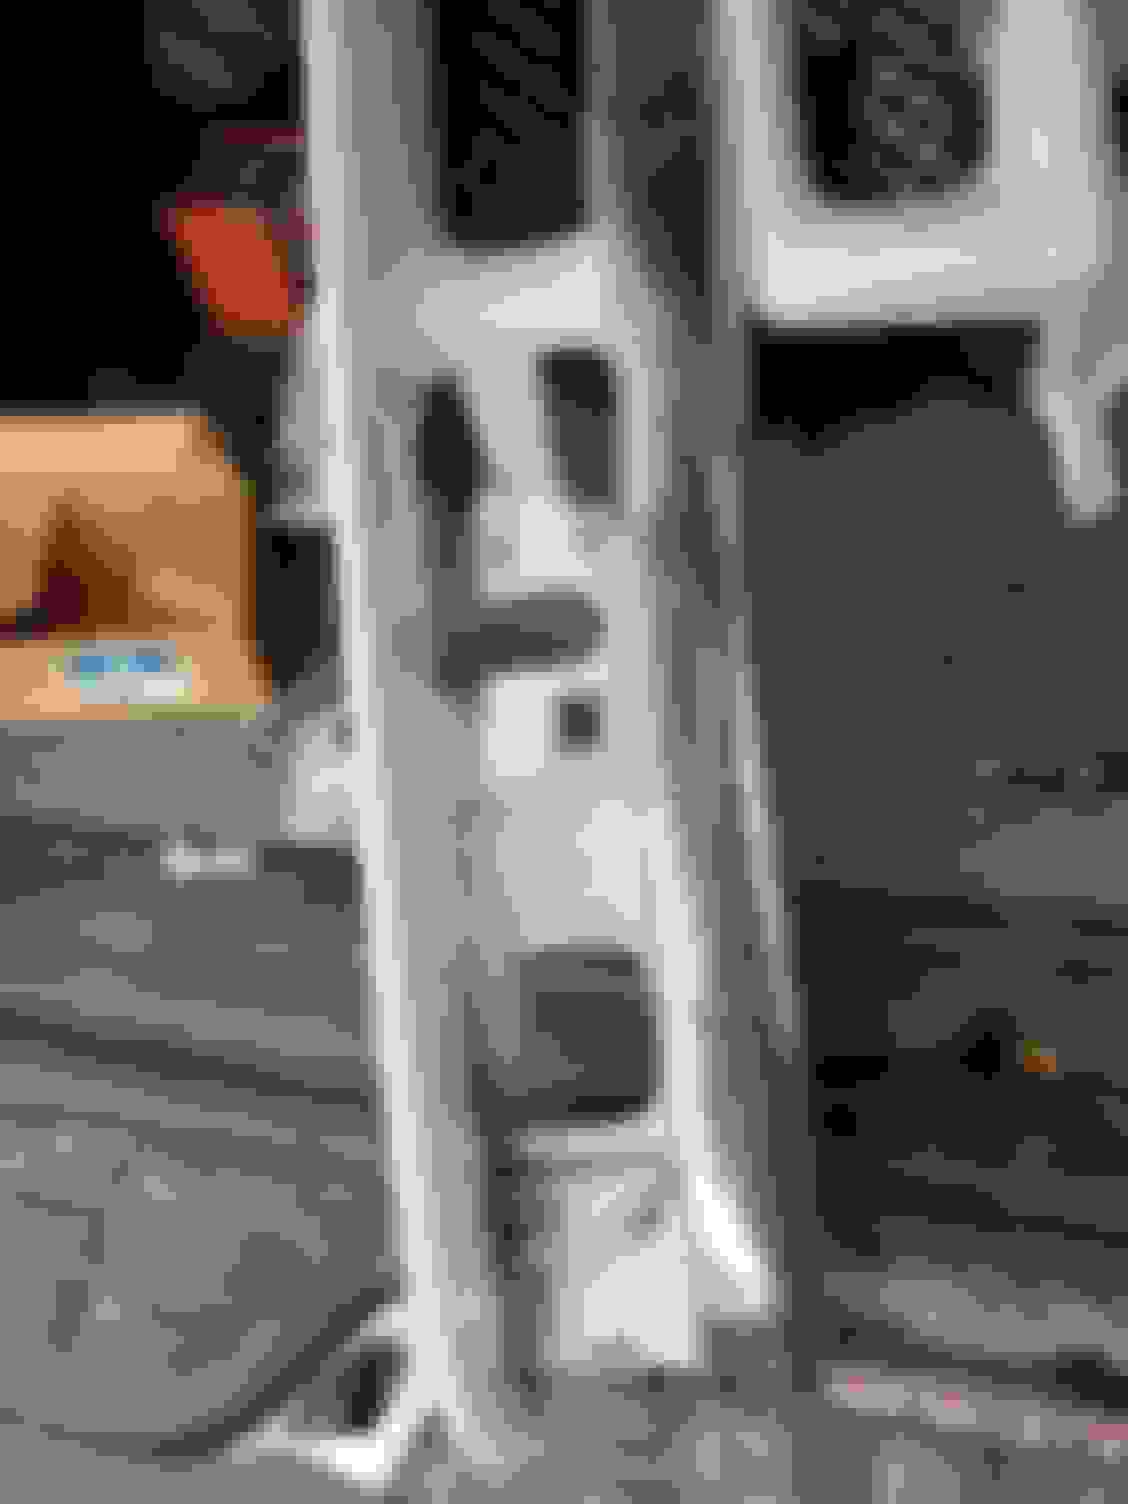
The fog-light body is held in place by the elevation adjustment screw and the to points on which it pivots. These can be removed with gentle pressure to spread the tab with the hole accepts the blunt pin on the fog-light on which it pivots. (see below)
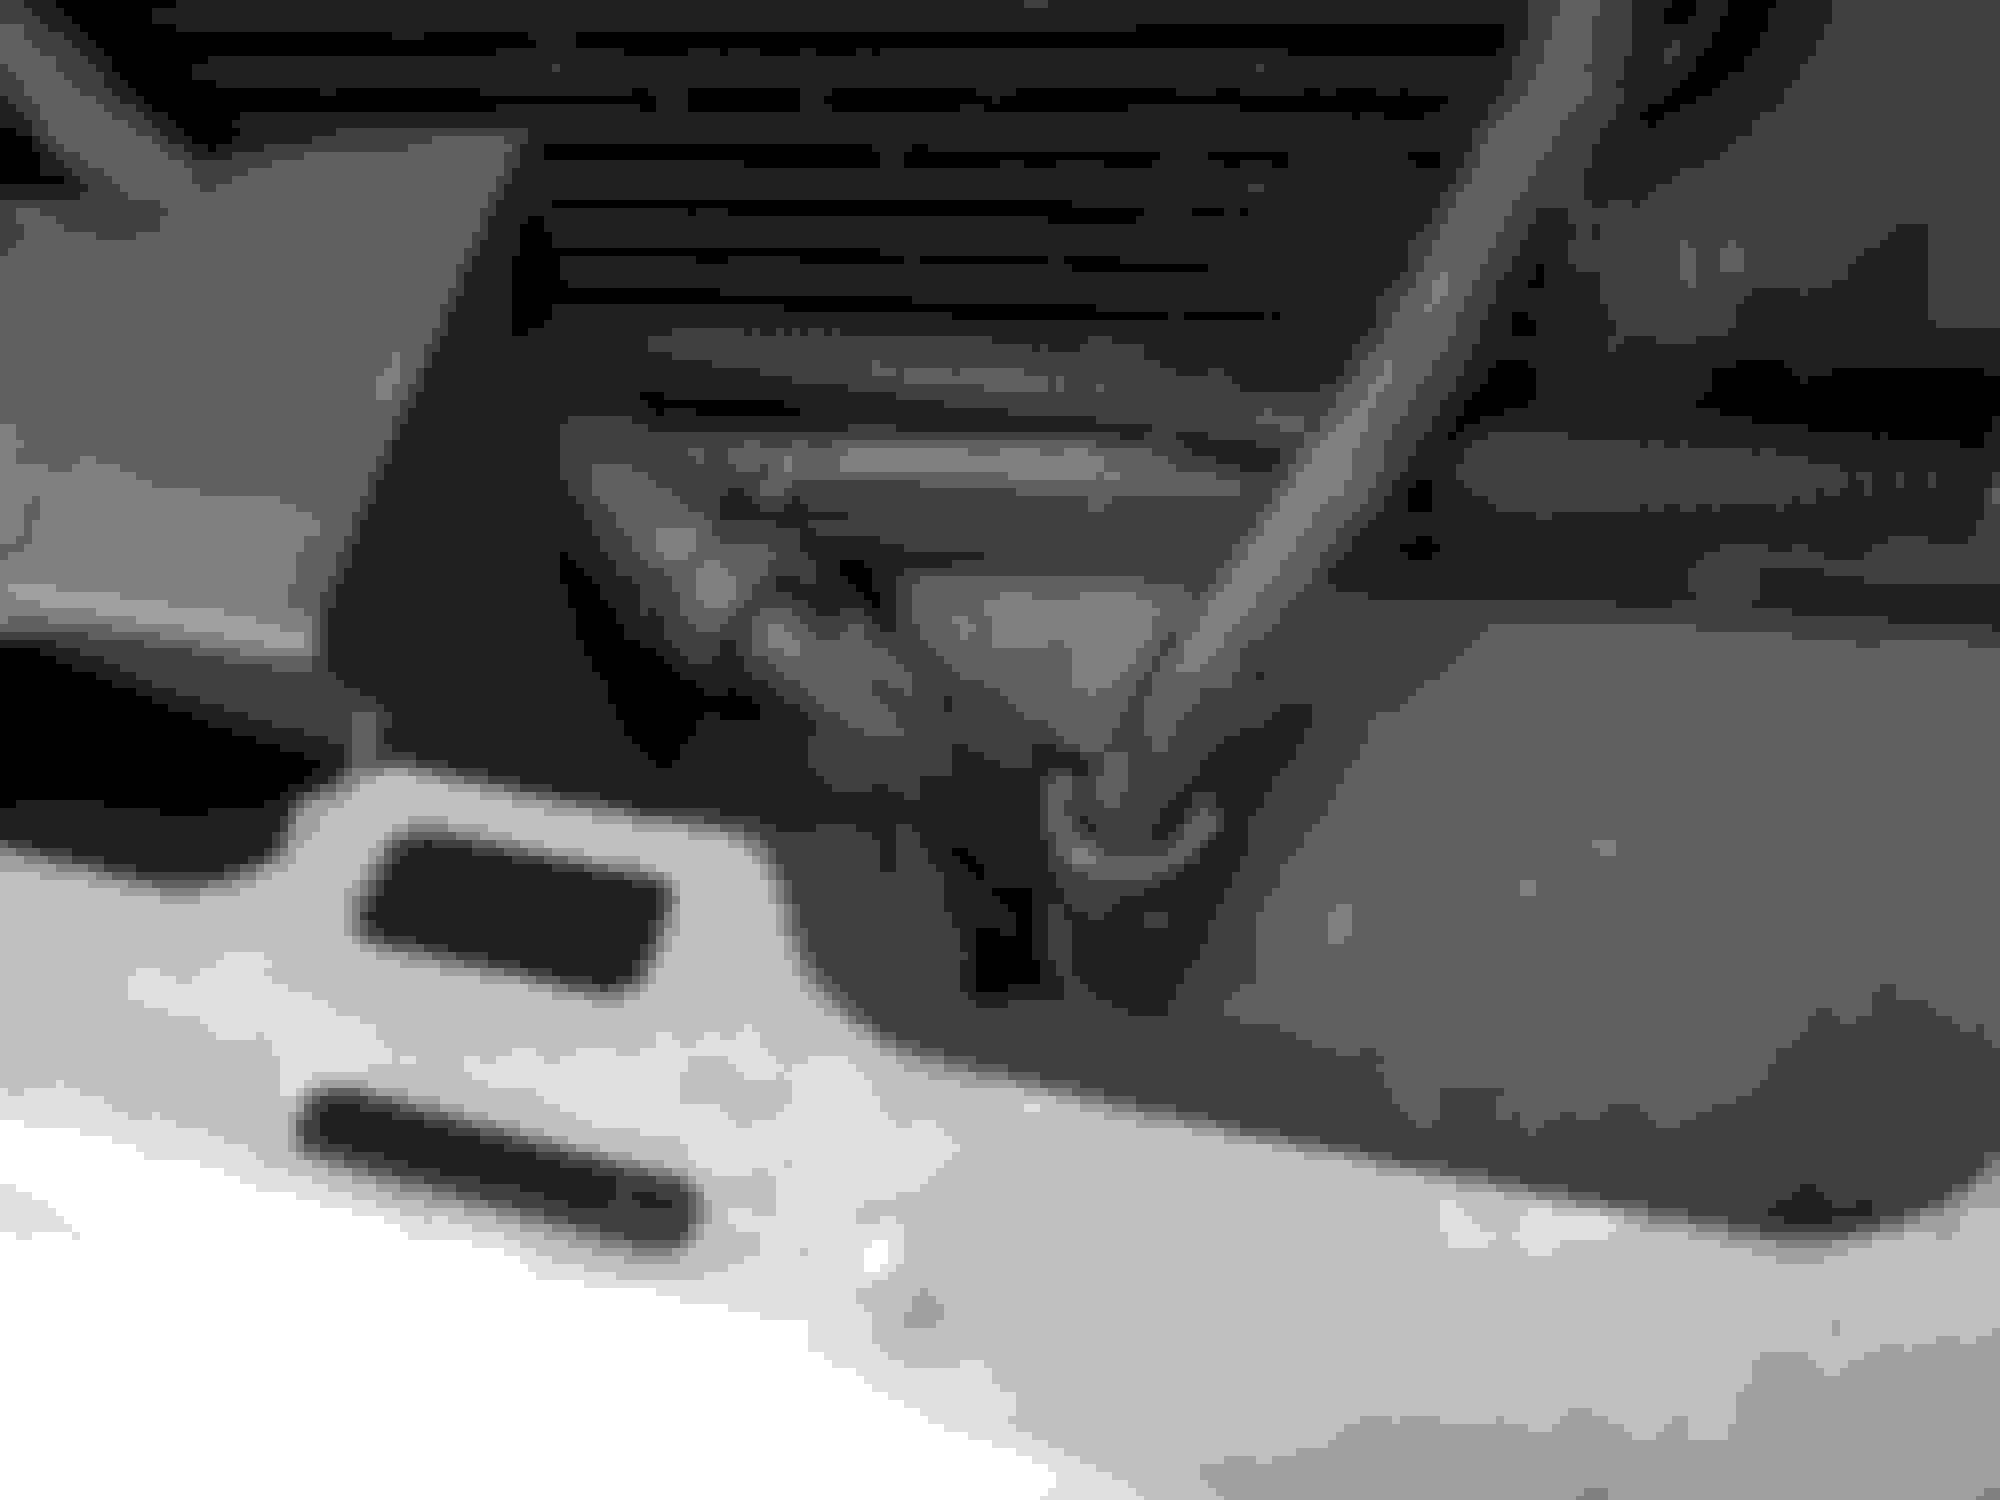
While I was in there I added a couple extra bits of protection to the hose that goes to my transmission cooler by adding some old heater hose around it. I also found where there was some wear on the power steering tubing where it turned a corner near a plastic bracket. I trimmed that away bit for clearance.
Now I have to wait until it gets dark to re-aim the lights I'm hoping it will have been worth the effort.
P.S. Took the truck for a test drive to aim the lights and dang, those fog lights are so much better now! They make the headlights look bad. I might have to look into getting a better pair of them.
Rubbing at the PS cooler hose.
Looking down after creating a gap by whittling away at the plastic to prevent any more rubbing.
The plastic connector that behind the fog-light that holds the assembly to the grill. It is released by pinching the two together with your fingers.
The outboard clip with the black zip-tie that had to be removed to remove the clip. I suspect this zip tie helps prevent this from coming loose on its own. I installed a new zip tie when I reinstalled it.
The backside of the fog-light/turn-signal assembly.
Close up of the underside of the fog light itself and the two points on which it pivots. (Remove the lamp before trying to remove the fog-light assembly.)
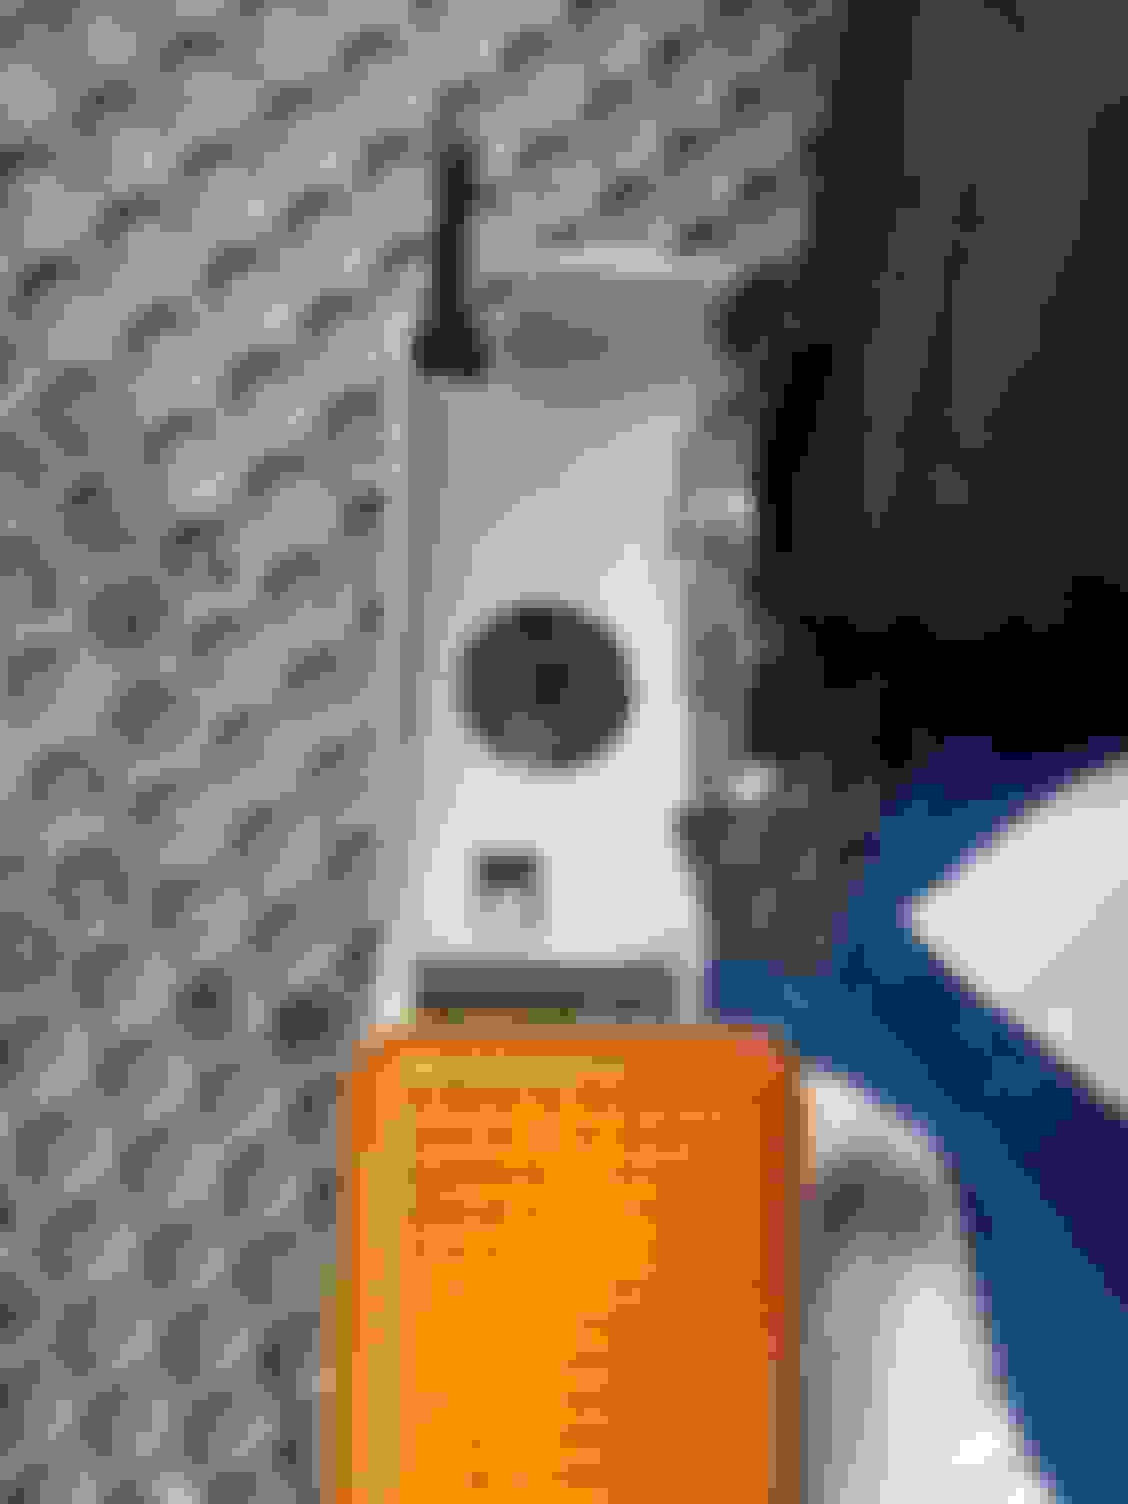
The top-side of the fog light assembly showing the adjustment screw.
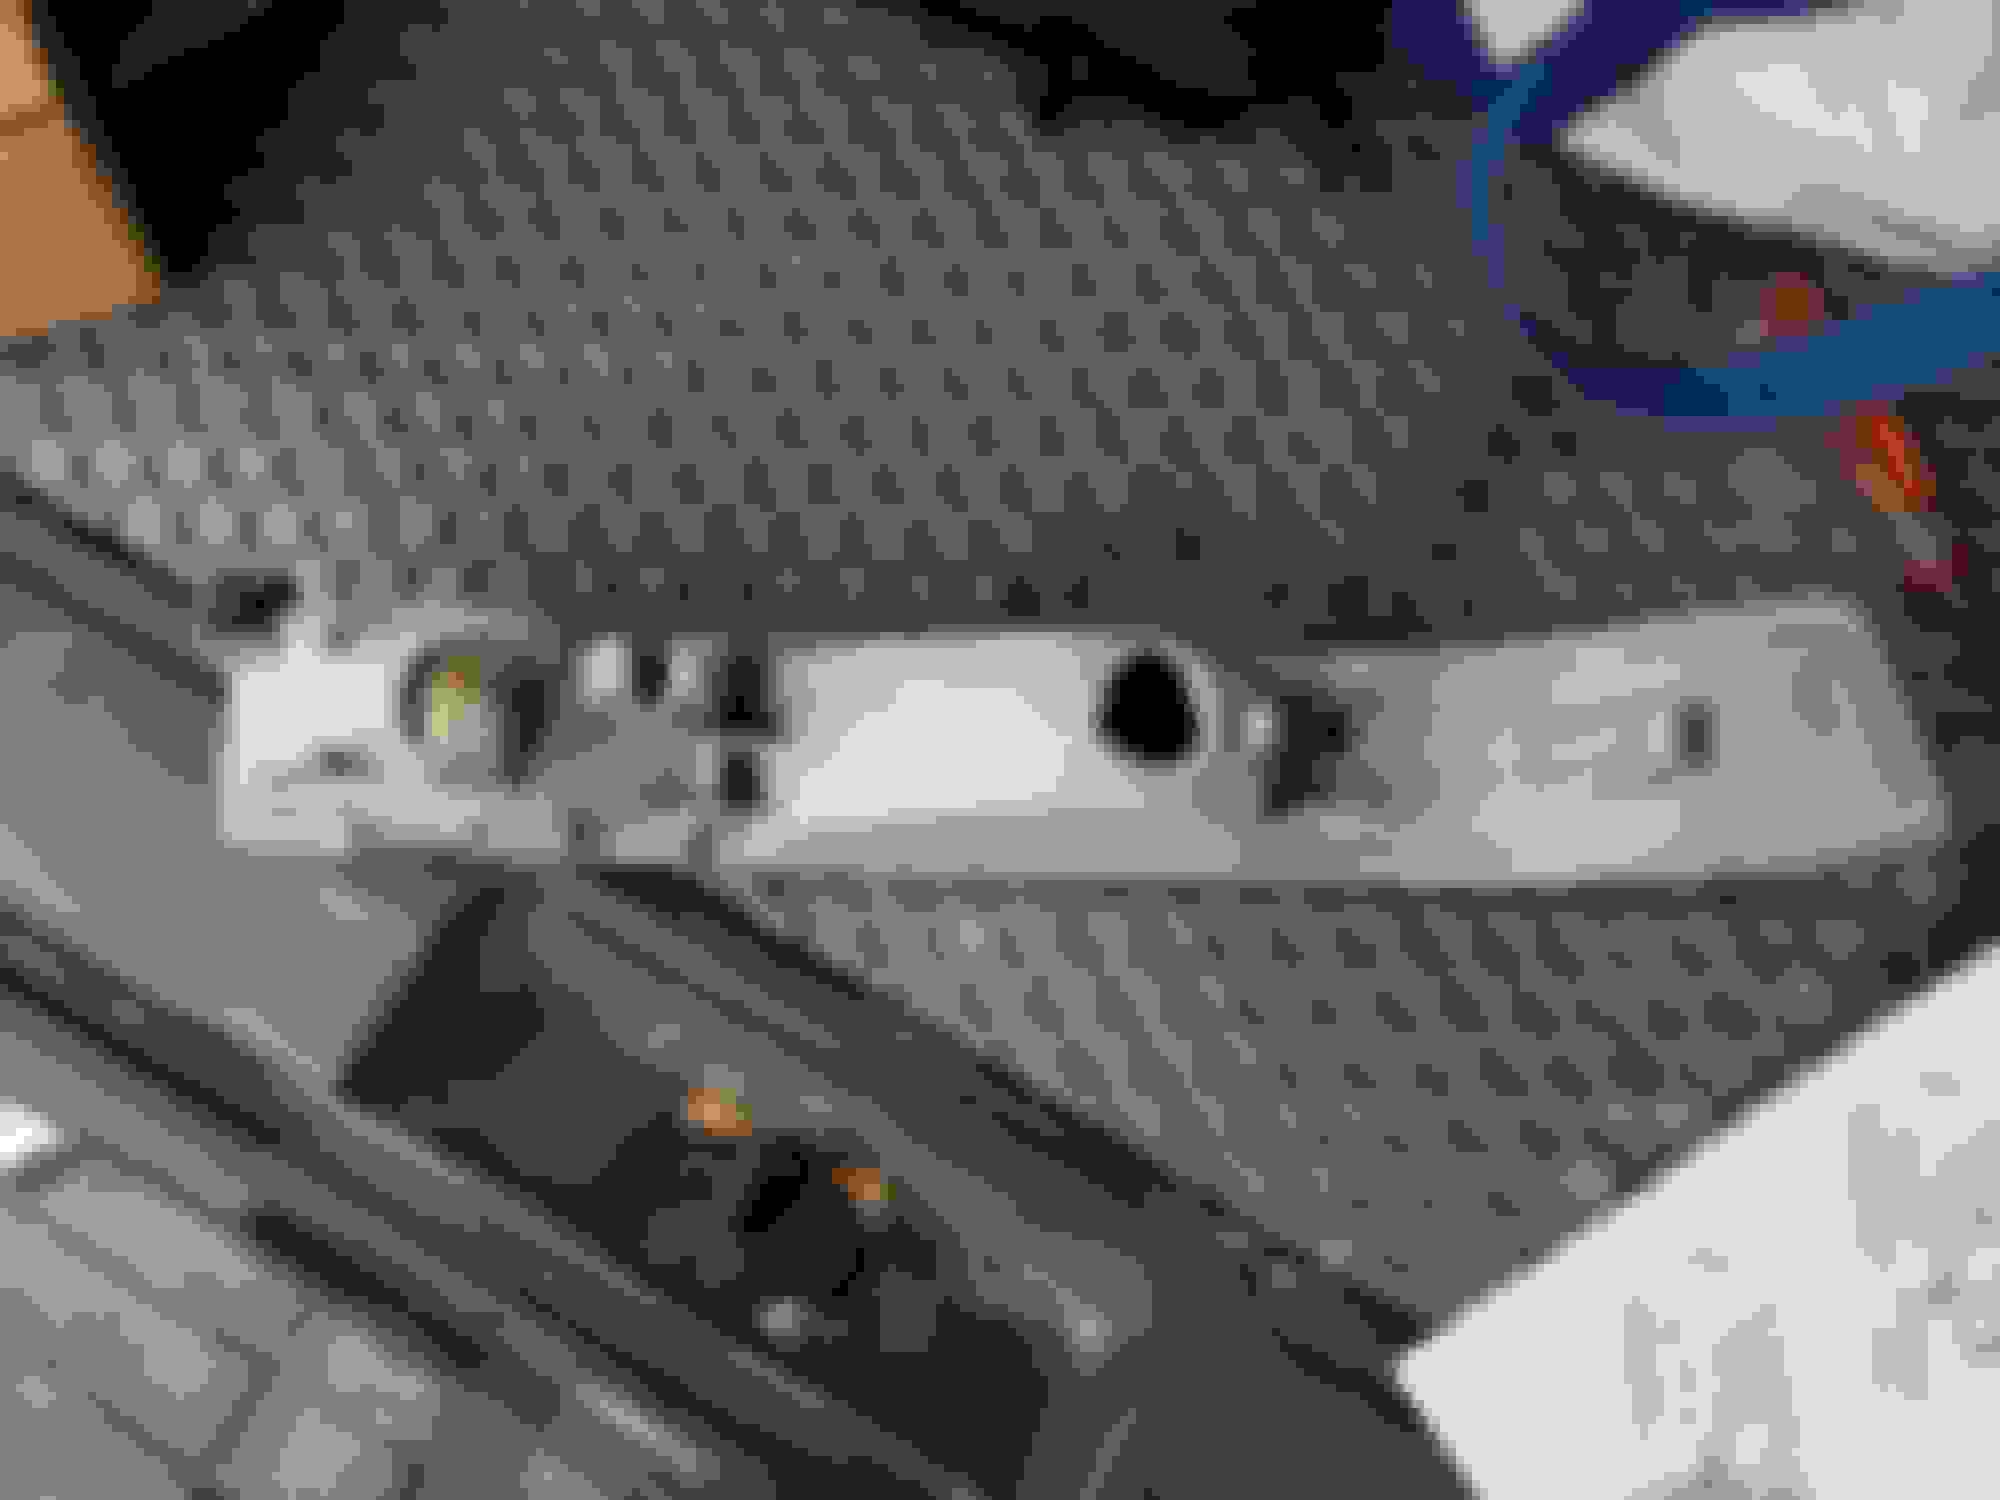
The parking lamp assembly with the fog light removed. For the second lamp, I realized that I did not have to back out the adjustment screw much at all, unlike what I did here.
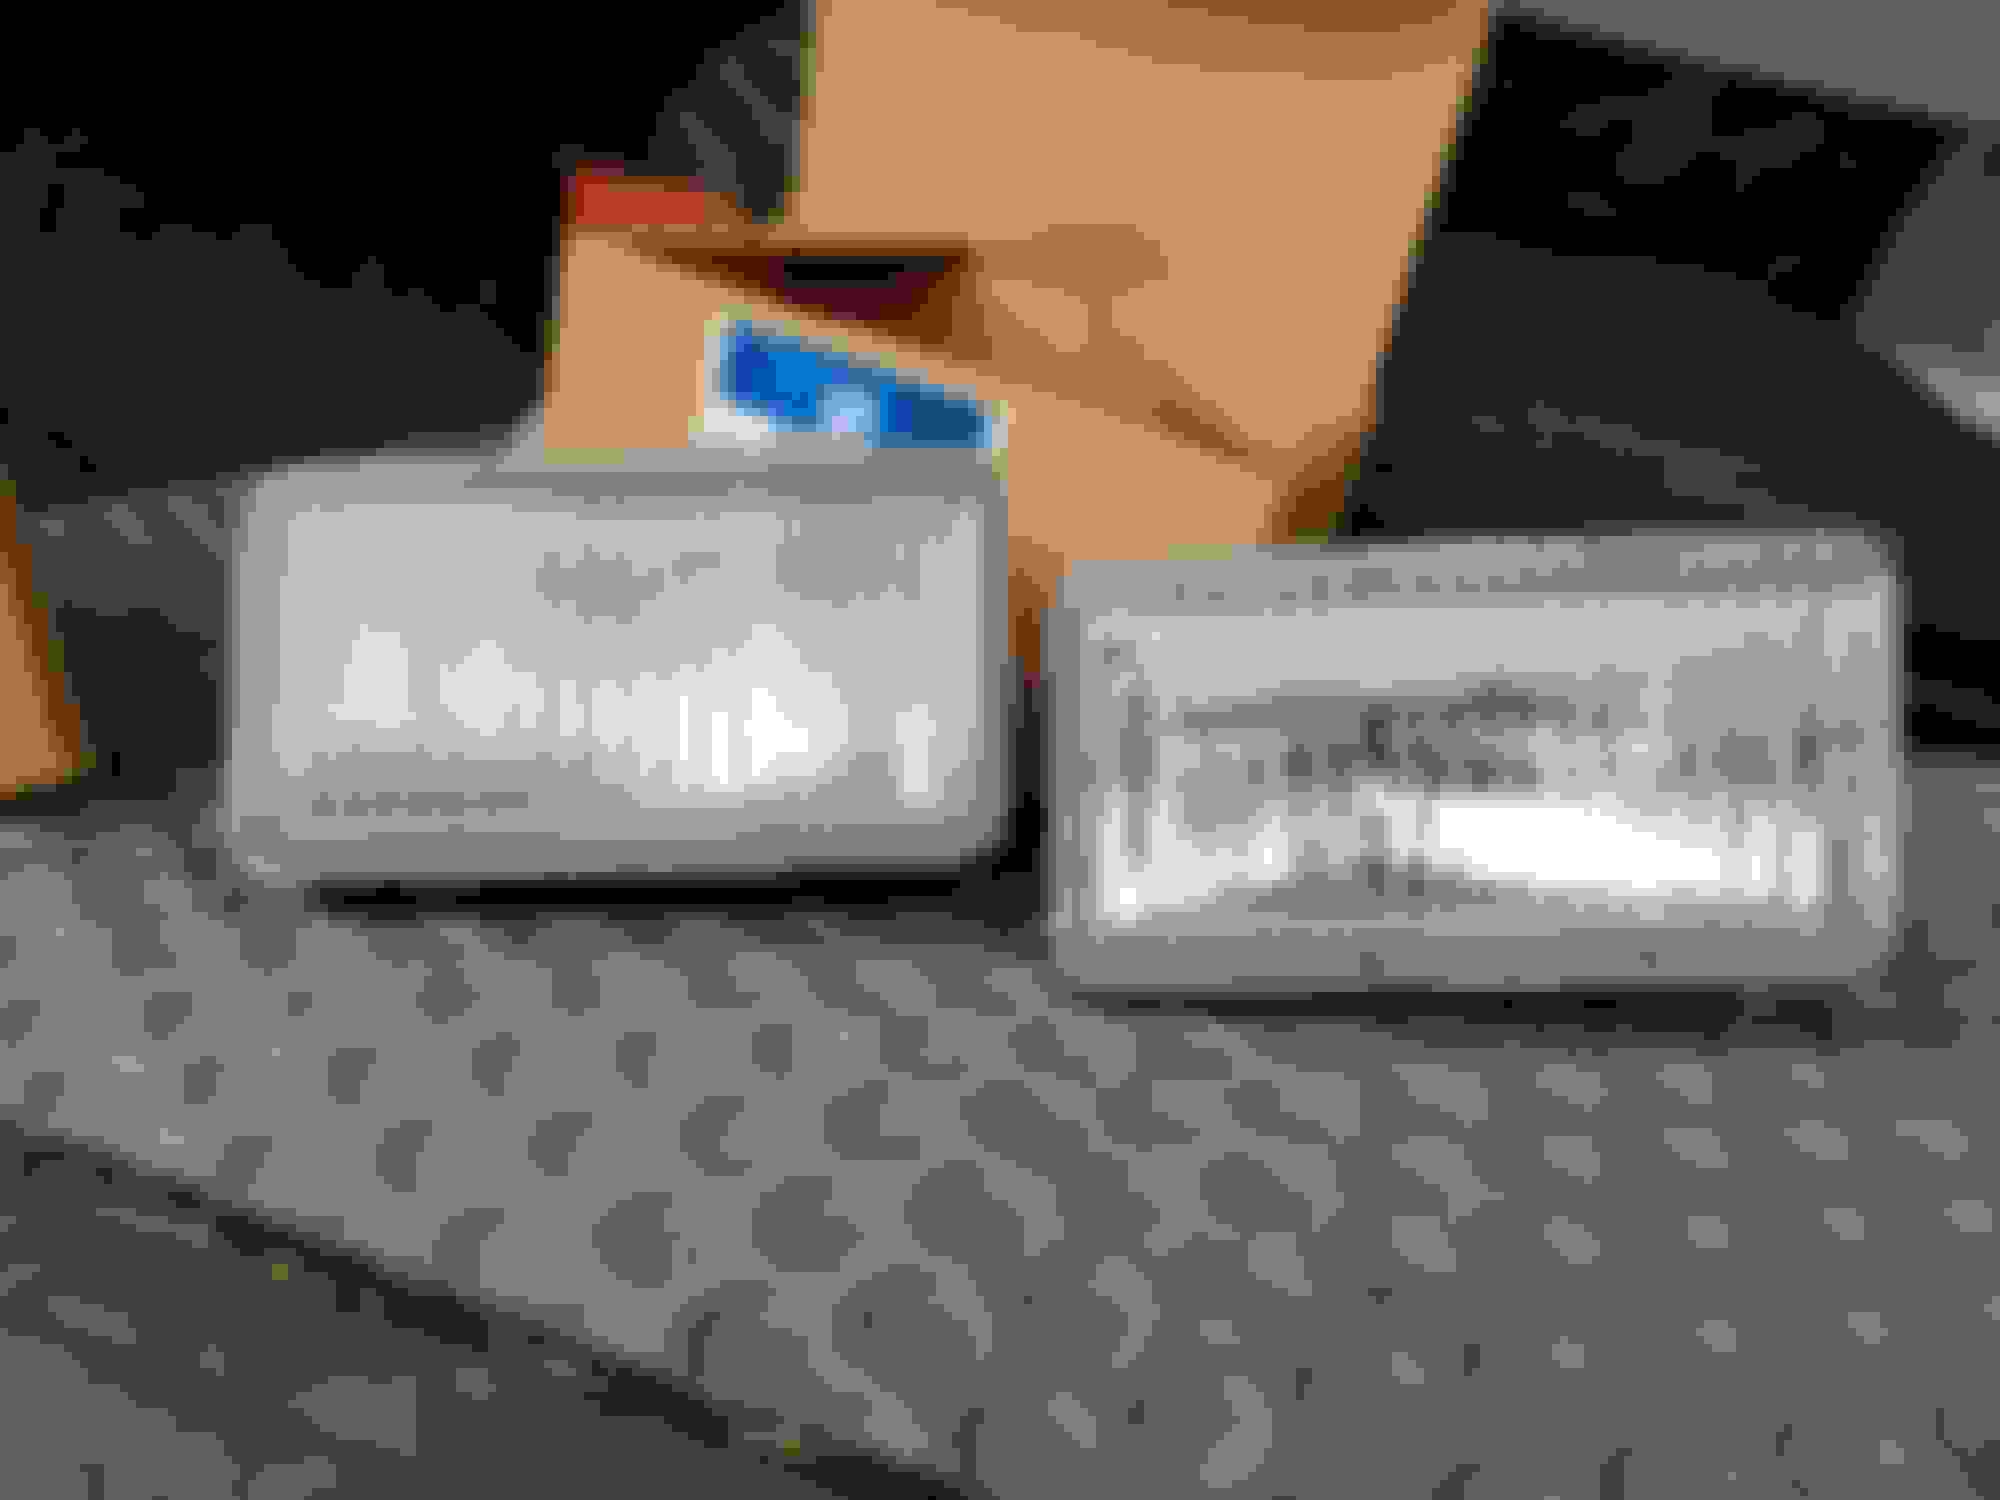
Comparison of the old and new lenses. The casting numbers in the fog-light assemblies were identical including that they were all made in Korea.
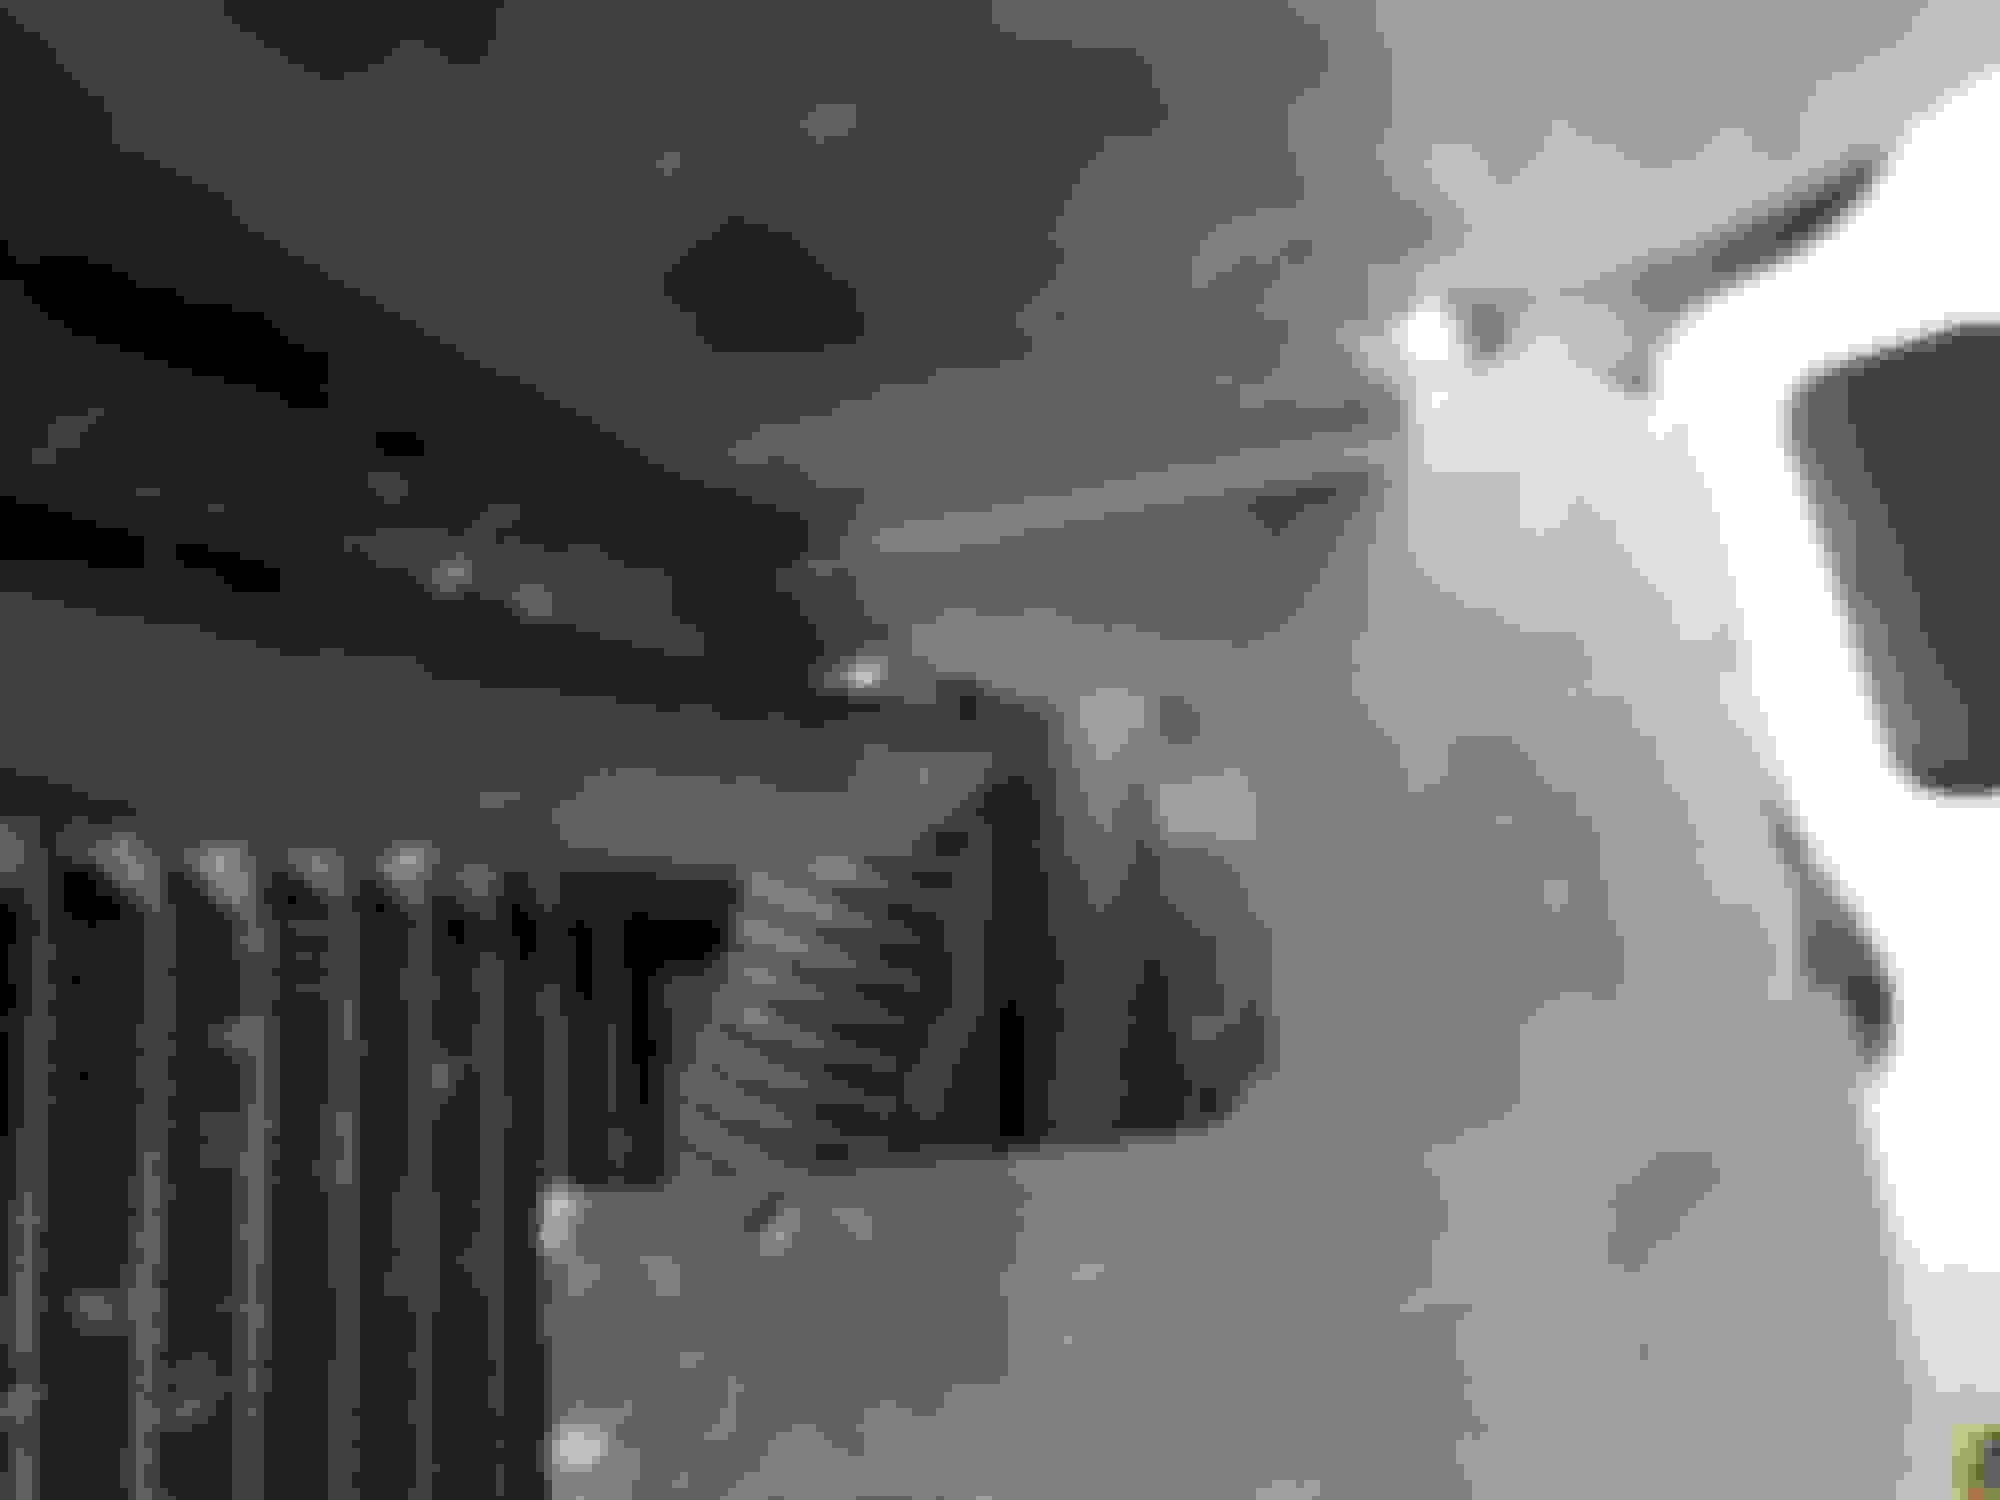
What the grill looks like with the fog-light/parking lamp assembly removed. (left side)
One of the clips that holds the gill in place. I found pushing on the little tab in the middle of the main tab made it easy to remove these from the metal radiator frame. (Yes, that is a bit of blood. I managed to poke my thumb with one of the sharp edges of one of the metal clips. LOL)
I added another old hose (on left) to cover the power steering hose going to my transmission fluid cooler. I already had protected the hoses where they come up through the air dam.
Last edited by christine_208; 12-20-2020 at 10:39 PM.

 09-13-2020, 12:25 PM