
Jamaroon's ZR2


So Paul and I had a long busy day yesterday.
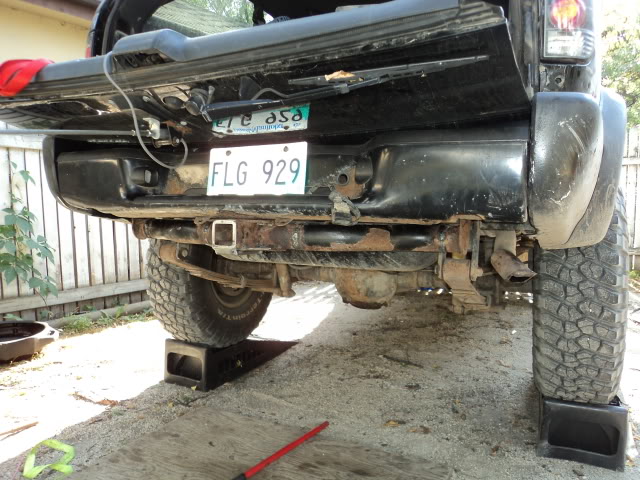
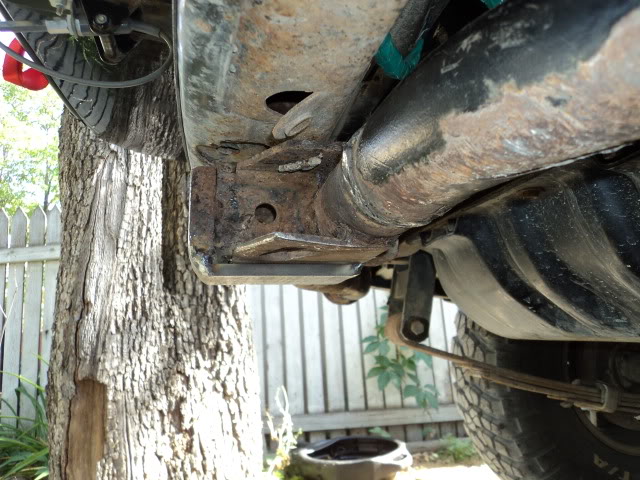
We got my hitch raised up to eliminate the gap caused by the body lift. Paul also built up the receiver where it had been ground away from dragging on the rocks, then added a 3/8" slider onto the bottom.

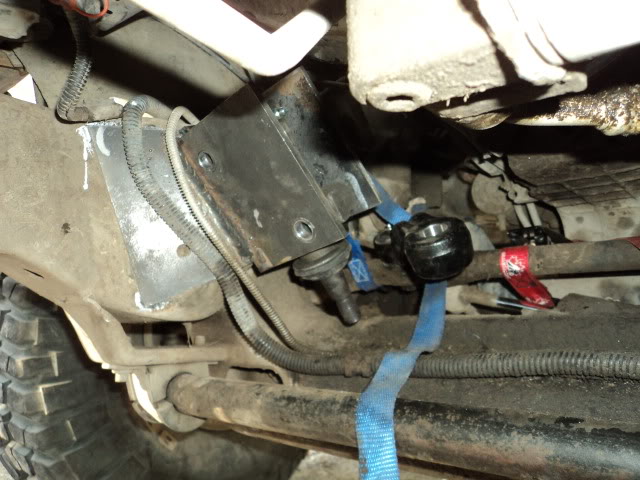
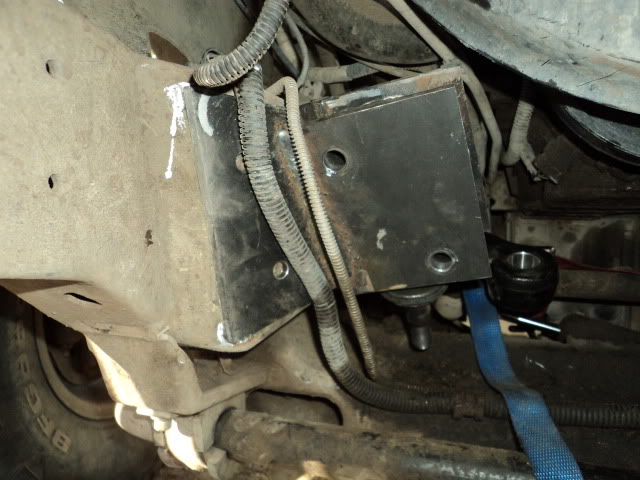
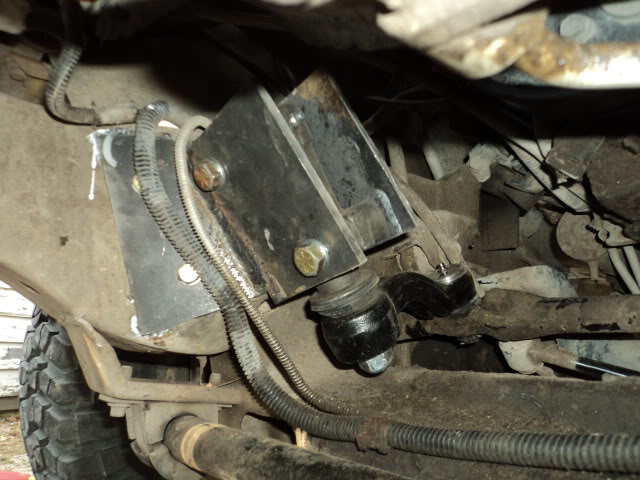
We aslo made up one of the Idler arm adapters and got it installed on the Blazer.
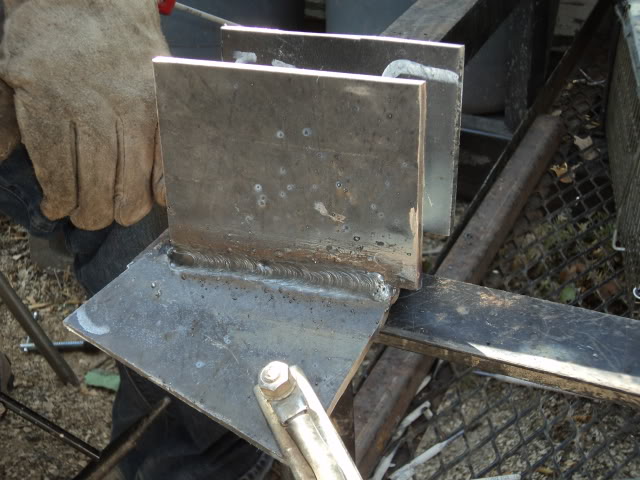
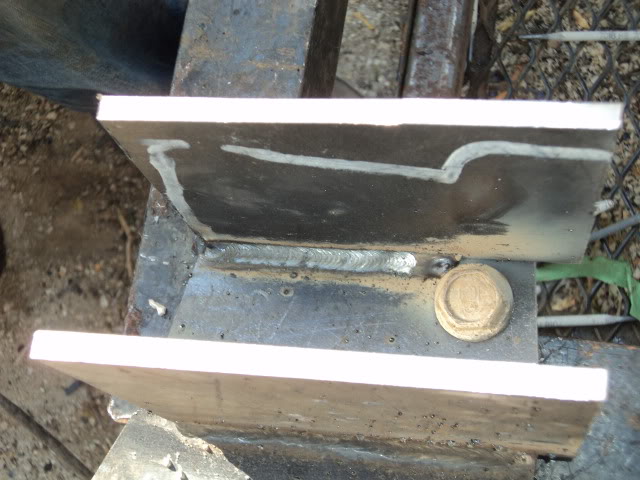
We got my hitch raised up to eliminate the gap caused by the body lift. Paul also built up the receiver where it had been ground away from dragging on the rocks, then added a 3/8" slider onto the bottom.
We aslo made up one of the Idler arm adapters and got it installed on the Blazer.
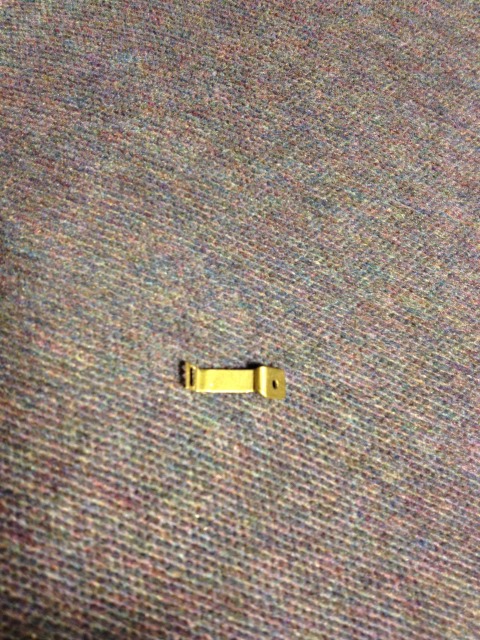
So I've been having some problems with my locker engaging, my best bet is it's the less than desirable connections Auburn supplied with the locker that weren't letting the locker get the power it requires to work properly.
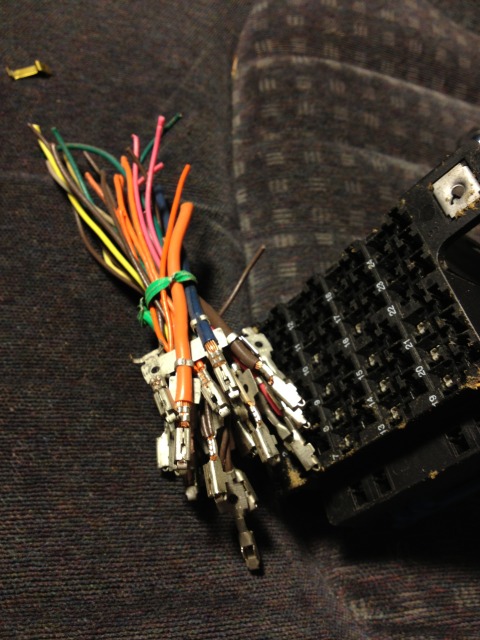
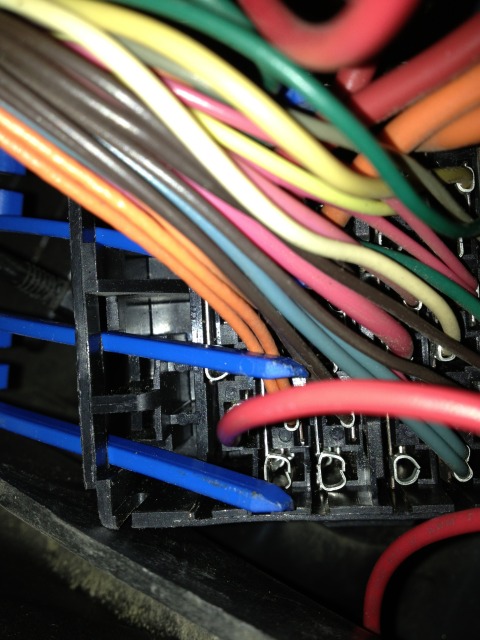
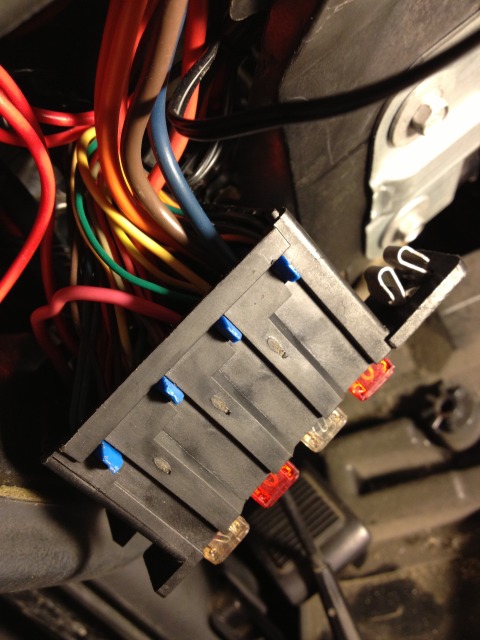
This is what they provide and how I've been running it till now.
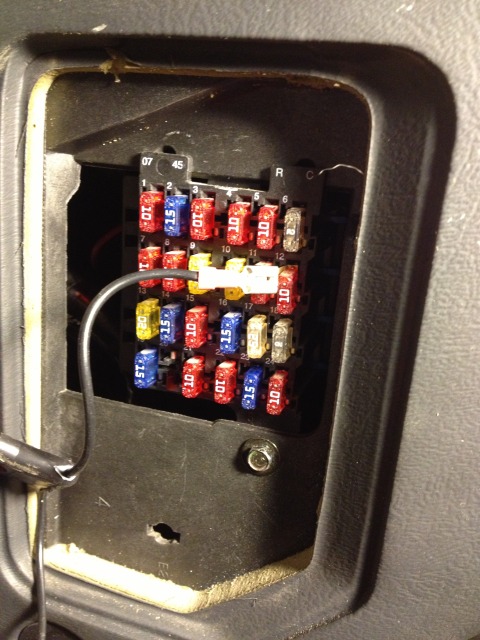
So obviously I needed a better way of doing the wiring, I noticed theres one blank spot in the dash fuse block. I figured this would be a good spot to put the locker fuse to make it look as factory as possible. I got another fuse block from the wrecker and scavanged the connections from it.
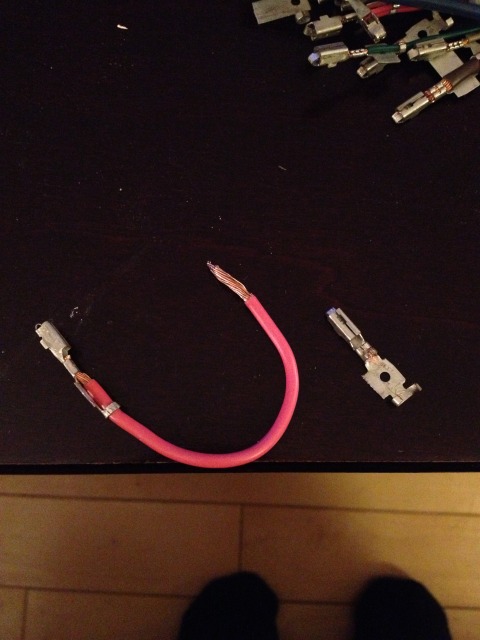
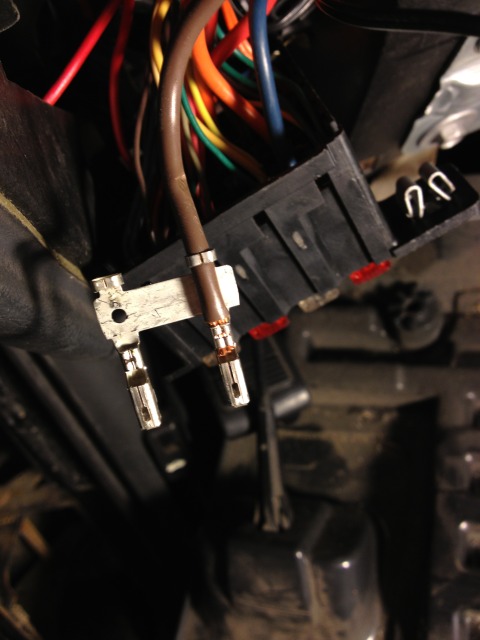
These are the two pieces I needed to wire in the locker. The one connector is for the locker power wire, and the one with the wire is to jump power from a power supply already in the fuse block to the blank spot I'm using for the locker.
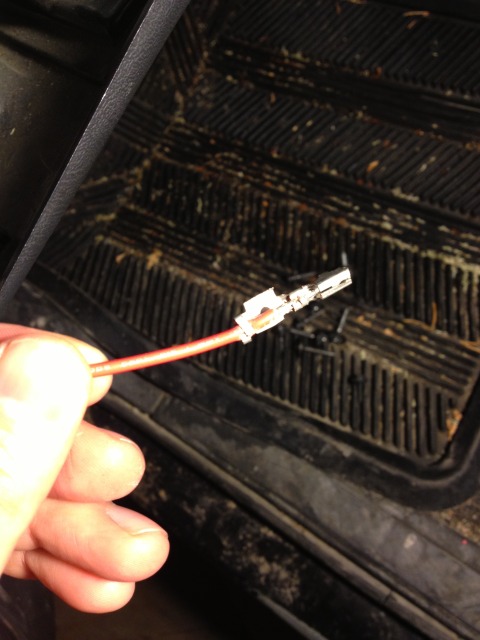
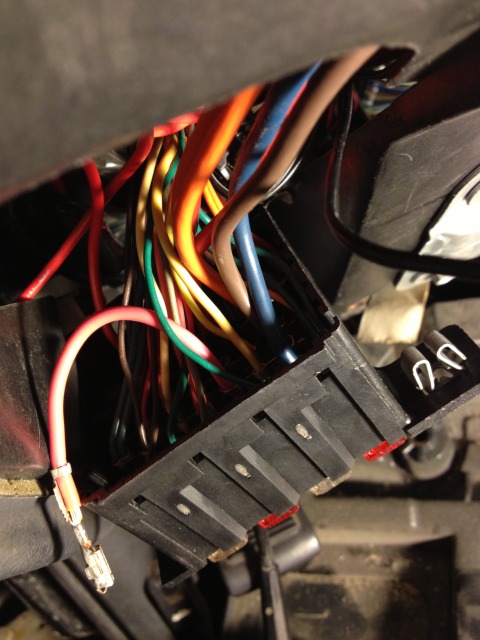
Here is the connector installed on the locker wire
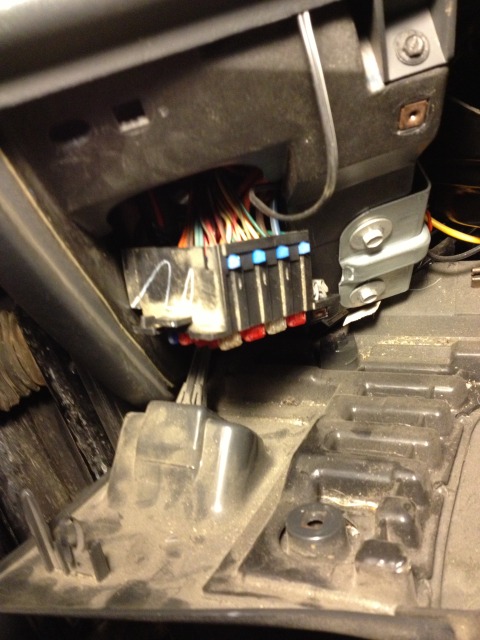
I pulled the fuse block down to get better access to it and remove the blue retaining clip
And installed the locker wire into the fuse block
I then removed the power supply for the front and rear wipers
And installed the jumper wire

Then re-installed it into the fuse block and the other end into the blank spot.

Re-installed the blue clip

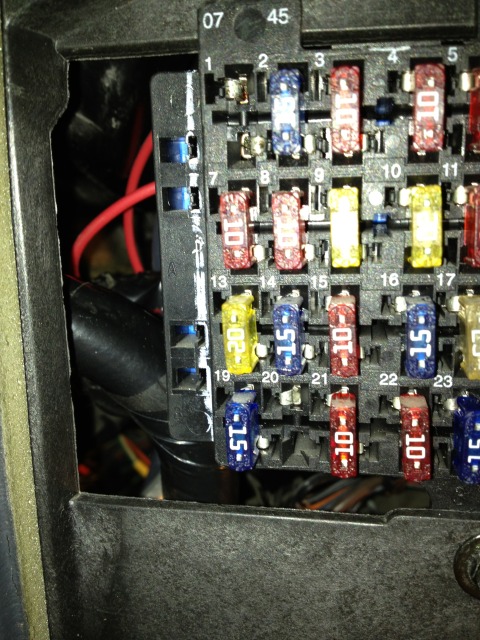
And installed the fuse block back where it belongs. The spot marked "1" is the new connections, you can see them in the picture, and then install the fuse.
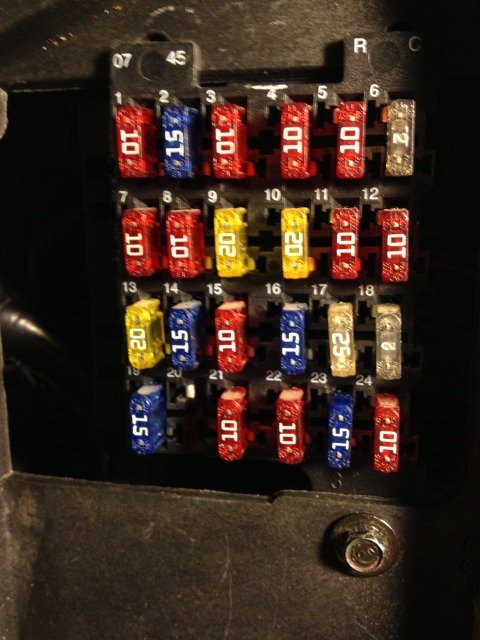
I also made a sticker for the fuse diagram.

I tested it out the best I can at the moment and seems to be working fine so far, will have to wait until the next outing to know for sure.
This is what they provide and how I've been running it till now.
So obviously I needed a better way of doing the wiring, I noticed theres one blank spot in the dash fuse block. I figured this would be a good spot to put the locker fuse to make it look as factory as possible. I got another fuse block from the wrecker and scavanged the connections from it.
These are the two pieces I needed to wire in the locker. The one connector is for the locker power wire, and the one with the wire is to jump power from a power supply already in the fuse block to the blank spot I'm using for the locker.
Here is the connector installed on the locker wire
I pulled the fuse block down to get better access to it and remove the blue retaining clip
And installed the locker wire into the fuse block
I then removed the power supply for the front and rear wipers
And installed the jumper wire
Then re-installed it into the fuse block and the other end into the blank spot.
Re-installed the blue clip
And installed the fuse block back where it belongs. The spot marked "1" is the new connections, you can see them in the picture, and then install the fuse.
I also made a sticker for the fuse diagram.
I tested it out the best I can at the moment and seems to be working fine so far, will have to wait until the next outing to know for sure.
Last edited by Jamaroon; Dec 20, 2012 at 07:57 AM.
