
my light bar add on

my light bar add on.....by way of kiwi's how to...(no elec. yet)
about 1 to 1-1/2 hour total invested so far.
tools used:
drill / drill press (dia. based on mounting hardware)
if using drill press (wd40 -spray lube) to help the bit along.
socket set
measuring tools
cel phone (for low quality, but quick pics)
extras:
two additional washers per mount. exterior face / interior face
(to add some strength)
spare roof rack cross member
and:
lights of course.
first pic.
top side drilled to fit mounting stud from light base (dia. varies by mount)
bottom drilled to fit nut and socket.
measured out mounting space per "x" number of lights.
pretty straight forward.
second pic.
mounting brackets installed.
slide bracket / bolt thru hole. and attach washers and nut.
repeat "x" number of times.
bracket - washer - rack - washer - lock washer - nut.
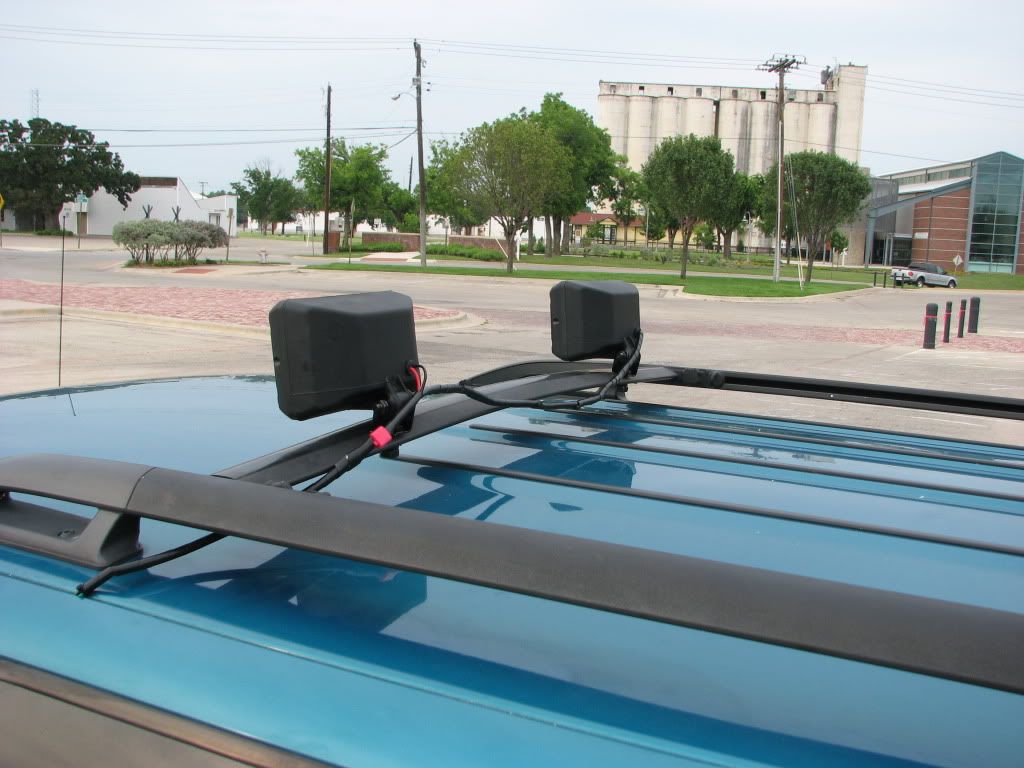
third pic.
lights mounted on roof crossmember.
(not adjusted)
fourth pic.
ready for action.
with minimal hardware visible on bottom.
now i need cooperating weather for big wiring finish.
again thanks to kiwi, for original roof rack mount up thread...best way on the cheap.
about 1 to 1-1/2 hour total invested so far.
tools used:
drill / drill press (dia. based on mounting hardware)
if using drill press (wd40 -spray lube) to help the bit along.
socket set
measuring tools
cel phone (for low quality, but quick pics)
extras:
two additional washers per mount. exterior face / interior face
(to add some strength)
spare roof rack cross member
and:
lights of course.
first pic.
top side drilled to fit mounting stud from light base (dia. varies by mount)
bottom drilled to fit nut and socket.
measured out mounting space per "x" number of lights.
pretty straight forward.
second pic.
mounting brackets installed.
slide bracket / bolt thru hole. and attach washers and nut.
repeat "x" number of times.
bracket - washer - rack - washer - lock washer - nut.
third pic.
lights mounted on roof crossmember.
(not adjusted)
fourth pic.
ready for action.
with minimal hardware visible on bottom.
now i need cooperating weather for big wiring finish.
again thanks to kiwi, for original roof rack mount up thread...best way on the cheap.
blazinator, nice rack. (first time i have ever said that to a dude)
you happy with the autozone lights? (yes i saw were you work)
i like using the points to buy stuff i don't need, these seemed like an easy choice.
you happy with the autozone lights? (yes i saw were you work)
i like using the points to buy stuff i don't need, these seemed like an easy choice.
Senior Member
Joined: Sep 2009
Posts: 524
From: Brownwood, TX

Haha...the points are such a rip-off now. Anyhow, I do like the lights. They are pretty durable, and illuminate in a pretty wide area. My younger brother went and got some lights from Northern Tool. They were only $15 for a set and are waaaay brighter. Albeit very focused. I think I am going to hook some of them up as reverse lights. They come is round and square:
Round:

He has the square ones facing backwards on the headache rack.
Round:
He has the square ones facing backwards on the headache rack.


Starting Member
Joined: Mar 2010
Posts: 1
blazinator im curious as to why you didnt put the wiring under the roof rack mount there. and drilled next to it. i actually have 4 of those same lights ill have pictures posted soon. i swapped out the stock 55watt bulbs with 100watt visionx bulbs
Senior Member
Joined: Sep 2009
Posts: 524
From: Brownwood, TX
I have changed to some newer, brighter....rounder...cheaper lights from northern tool now. Behold:
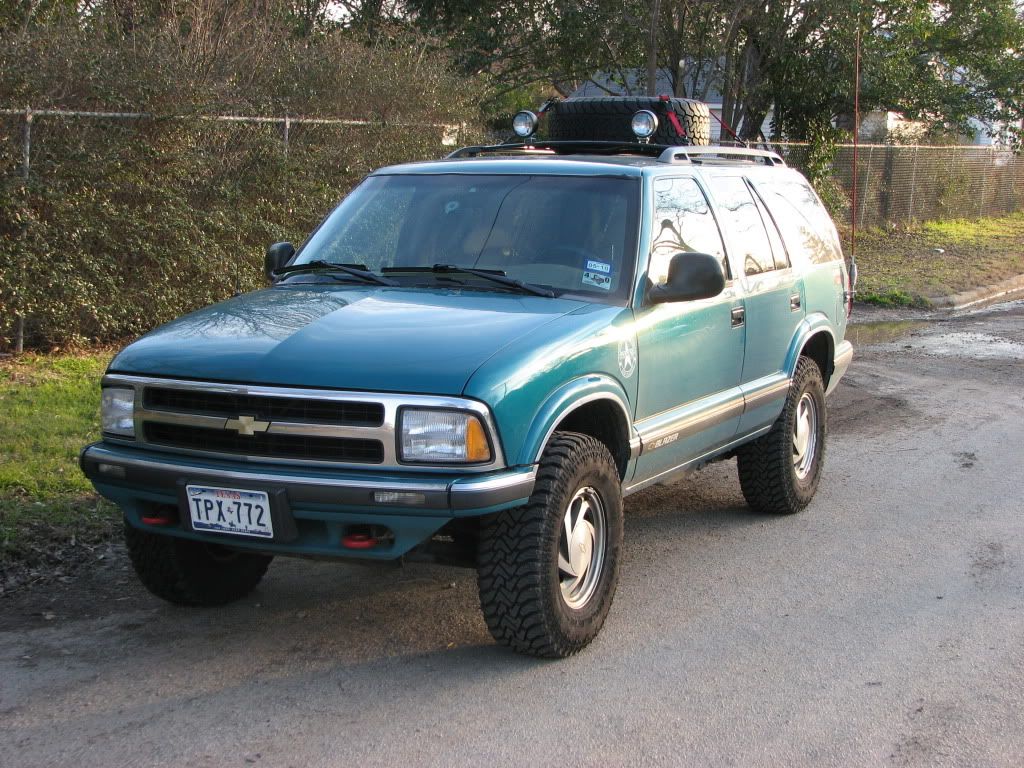
I also re-wrapped the wires in a more esthetically pleasing protector. I didn't want to drill into my roof, mainly because I didn't want to accidentally make the head liner sag. I will have to get some updated pics of my mount...I'm thinking of getting larger and more focused lights up top...maybe 4 of them. And moving the ones I have on the roof to my bumper. I'm envious of my wife:
I also re-wrapped the wires in a more esthetically pleasing protector. I didn't want to drill into my roof, mainly because I didn't want to accidentally make the head liner sag. I will have to get some updated pics of my mount...I'm thinking of getting larger and more focused lights up top...maybe 4 of them. And moving the ones I have on the roof to my bumper. I'm envious of my wife:

Thread
Thread Starter
Forum
Replies
Last Post
95blazerlt
Sights N Sounds
15
Sep 21, 2013 10:44 PM
Suncrest Sniper
Full Size K5 (1969-1991) GMT415 (1992-1994) Tech
0
Mar 24, 2012 07:57 PM
texas rebal
Lighting & Electrical
2
Dec 6, 2011 11:01 PM
PaulO2288
Steering, Suspension & Drivetrain
2
Apr 21, 2011 12:25 AM