
Stepson Build


Thread Starter
|
Beginning Member
Joined: Apr 2014
Posts: 20

Hello all.
Been lurking about for a few months now gathering some information. Thanks to all that have gone before and lent their experiences.
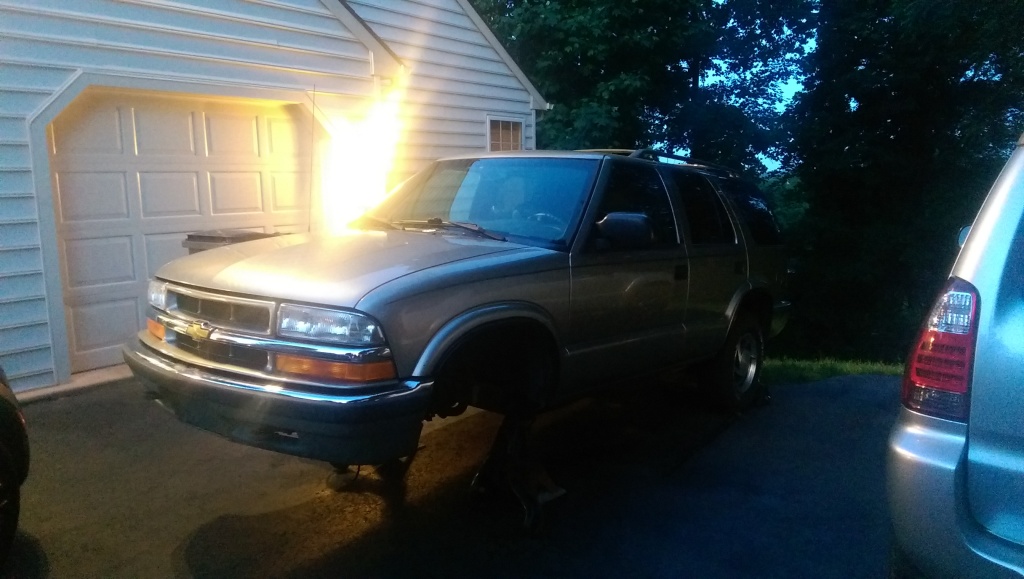
My stepson (Andrew) got his first vehicle this year. A 2001 Blazer LT 4x4. 65,000 miles, leather, some nice options. It came from North Jersey with a check engine light. Scanner read lean condition. They didn't know what to do about it, we used the opportunity to get a pretty good deal. We had thought it could be intake manifold gaskets and were prepared to do the repair at the house. Turned out to be a loose intake hose. 30 seconds with a screwdriver and no more issue!

Andrew had a vision for what he wanted his truck to look like. He had been a little envious of my 2003 Tacoma I sold a few years ago. I bought it new and slowly added mods over years. Full OME suspension, 33's, rock sliders, tube bumper, etc. This would also be an opportunity for him to learn a little about working on vehicles. Something his biological father does not believe in.

We decided to keep the Blazer a little more mild that the Tacoma was. The Chevy still has to get him to school and work and be relatively cost conscious to drive.
After exhaustive research, we settled on the Rough Country 2.5" lift and a set of 31's. Tall enough to help him stand out a little, but still sensible. While we have it apart, the suspension and steering will be freshened. New bushings,tie rod ends,ball joints and a one ton idler arm. The old man wheels will be addressed with a set of black, D-hole steelies to be determined. We will also be blacking out the chrome on the bumper and wheel arch molding.

We also removed the body side molding. Much cleaner.

Been lurking about for a few months now gathering some information. Thanks to all that have gone before and lent their experiences.
My stepson (Andrew) got his first vehicle this year. A 2001 Blazer LT 4x4. 65,000 miles, leather, some nice options. It came from North Jersey with a check engine light. Scanner read lean condition. They didn't know what to do about it, we used the opportunity to get a pretty good deal. We had thought it could be intake manifold gaskets and were prepared to do the repair at the house. Turned out to be a loose intake hose. 30 seconds with a screwdriver and no more issue!

Andrew had a vision for what he wanted his truck to look like. He had been a little envious of my 2003 Tacoma I sold a few years ago. I bought it new and slowly added mods over years. Full OME suspension, 33's, rock sliders, tube bumper, etc. This would also be an opportunity for him to learn a little about working on vehicles. Something his biological father does not believe in.

We decided to keep the Blazer a little more mild that the Tacoma was. The Chevy still has to get him to school and work and be relatively cost conscious to drive.
After exhaustive research, we settled on the Rough Country 2.5" lift and a set of 31's. Tall enough to help him stand out a little, but still sensible. While we have it apart, the suspension and steering will be freshened. New bushings,tie rod ends,ball joints and a one ton idler arm. The old man wheels will be addressed with a set of black, D-hole steelies to be determined. We will also be blacking out the chrome on the bumper and wheel arch molding.

We also removed the body side molding. Much cleaner.

Last edited by JDMcQ; Jun 15, 2014 at 08:23 PM.
Thread Starter
|
Beginning Member
Joined: Apr 2014
Posts: 20
Tear down began yesterday morning. He go dirtier than I did. Lot's of grease and rust under there.
The driver side torsion bar was stuck in the key. Removal was not pretty , it involved a cutting wheel an air chisel and a MIG welder.
We found the drivers side CV boot to be slinging grease. New axles were added to the list of parts to be replaced along with new bump stops as one was missing and the other so soft as to be useless.
I took the opportunity to pressure was the frame while it was apart. We will throw some paint at it later this week and hopefully start hanging new parts next Saturday.


Thread Starter
|
Beginning Member
Joined: Apr 2014
Posts: 20
Been looking at these wheels:
Black Rock Wheels Steel Type D Window Black | 4WheelOnline.com
They are 16x8, with an available 5" backspacing.
We are trying to keep the width in the front under control while still clearing the frame on turns. With a 265/70/16 tire, they would tick out 2" wider than stock. Reasonable for sure.
Anyone have any thoughts?
Thread Starter
|
Beginning Member
Joined: Apr 2014
Posts: 20
Sorry, been crushed at work lately.
The front end is back together and sitting on the wheels. Tackling the rear this weekend.
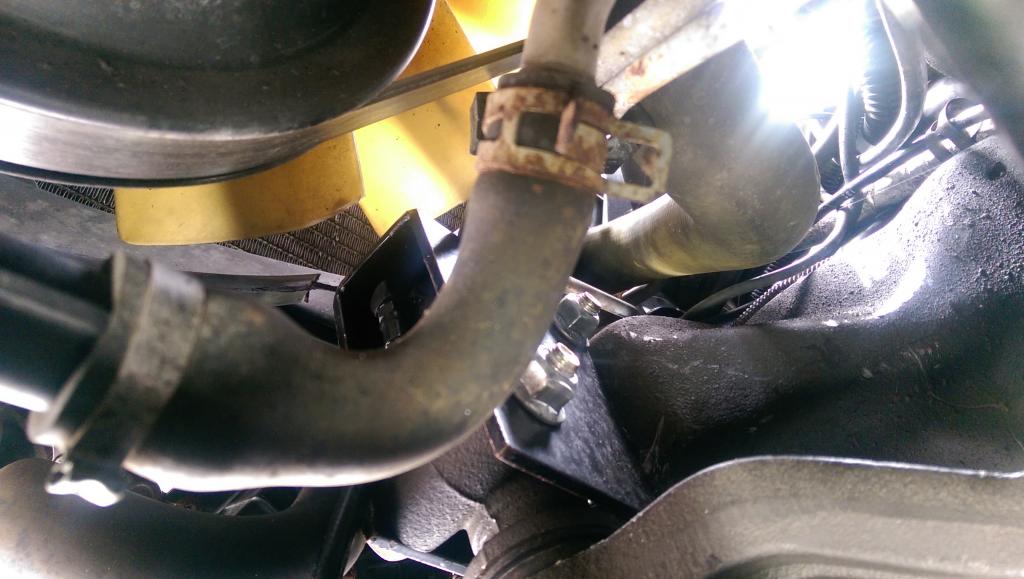
One observation is that the one ton idler arm bracket from Synergy Offroad interferes with the fan. First we had to trim the shroud to get it in there, then when we started it and put it in gear, the engine rocked a little and the fan brushes the bracket. Synergy swears it should fit, but clearly they are incorrect. Perhaps it is meant for ZR2s only?
Still working on a wheel/tire package. The 16x8, 5" backspacing wheels are special order from the manufacturer and are 7-8 weeks out.
We removed the grille and bumper to black out the bumper and trim. It will go back on this weekend.

The front end is back together and sitting on the wheels. Tackling the rear this weekend.
One observation is that the one ton idler arm bracket from Synergy Offroad interferes with the fan. First we had to trim the shroud to get it in there, then when we started it and put it in gear, the engine rocked a little and the fan brushes the bracket. Synergy swears it should fit, but clearly they are incorrect. Perhaps it is meant for ZR2s only?
Still working on a wheel/tire package. The 16x8, 5" backspacing wheels are special order from the manufacturer and are 7-8 weeks out.
We removed the grille and bumper to black out the bumper and trim. It will go back on this weekend.


Thread Starter
|
Beginning Member
Joined: Apr 2014
Posts: 20
As you might imagine, it is a little tight getting a camera in there. I did the best I could, removed the upper fan shroud to help with the view. As per the instructions, the bracket bolts to the bottom idler arm hole, then is slid to the top of the hole. The center link is parallel to the crossmember left to right and top to bottom. there is also no binding or noticeable drag (aside from the tighter feeling of the new parts and steering stabilizer).
Any advice is certainly welcome.


Any advice is certainly welcome.


