
Tagzor


Thread Starter
|
Beginning Member
Joined: Feb 2013
Posts: 29
From: Wisconsin

So it turns out it didn't matter which way they were facing nor did I have to solder anything. But once I allowed myself to wake up a bit and look at things more clearly a light bulb came on (yes yes terrible pun intended  ). I was twisting the sockets too far which was making the contact posts not touch where they needed to be, twisted them back a bit and voila we have light!

Guess I should've started the truck so the warning lights wouldn't be on, would make for a better pic. Maybe I'll replace it later haha
Guess I should've started the truck so the warning lights wouldn't be on, would make for a better pic. Maybe I'll replace it later haha
Last edited by Jrbiem; Mar 10, 2013 at 02:42 PM.
Thread Starter
|
Beginning Member
Joined: Feb 2013
Posts: 29
From: Wisconsin
Made some more progress today:

- Removed fake scoops from hood
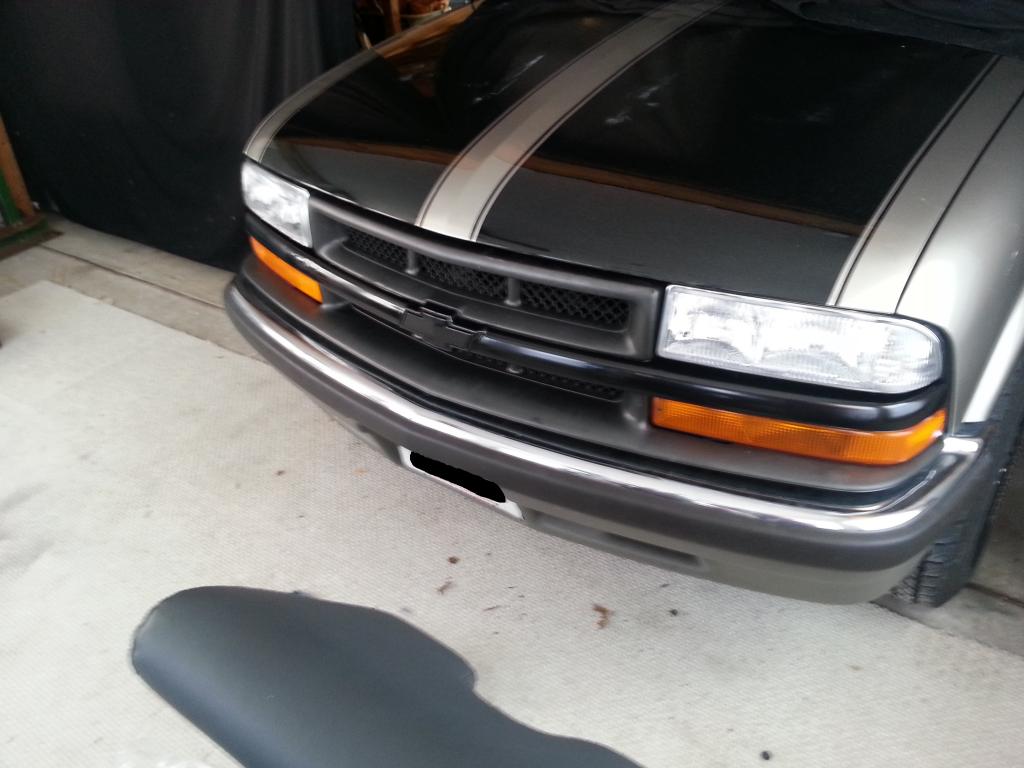
- Painted bowtie black
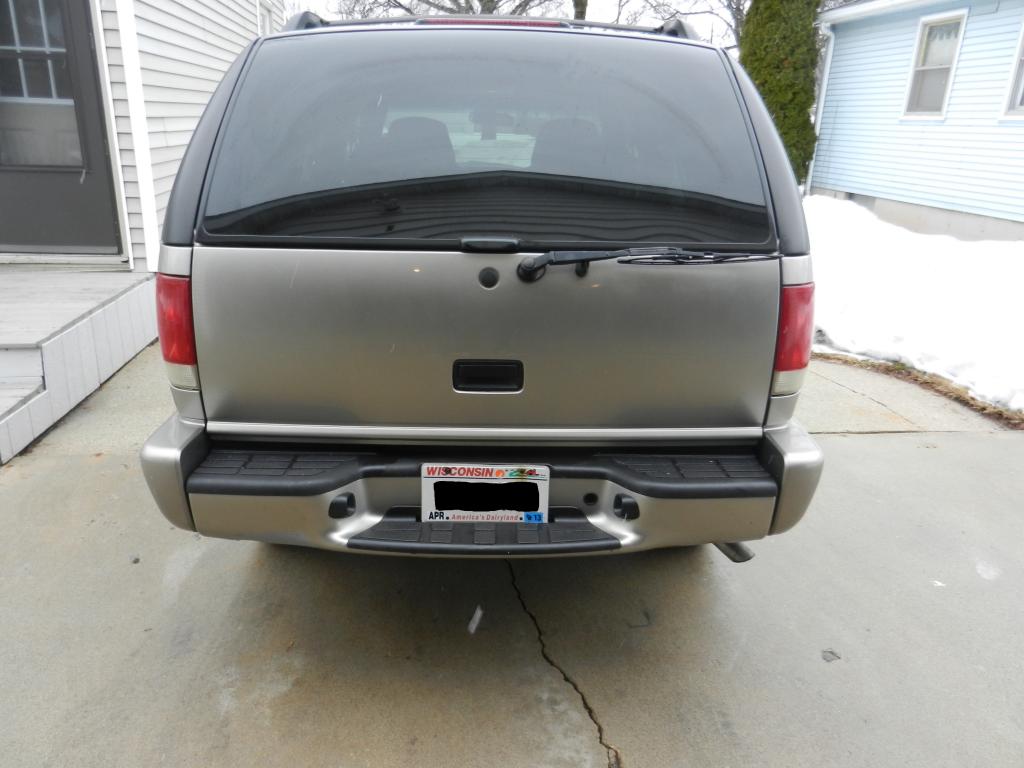
- Debadged Rear
- Removed clear rectangle adhesive from below the rear lift glass - looked like the remnants of a bumper sticker
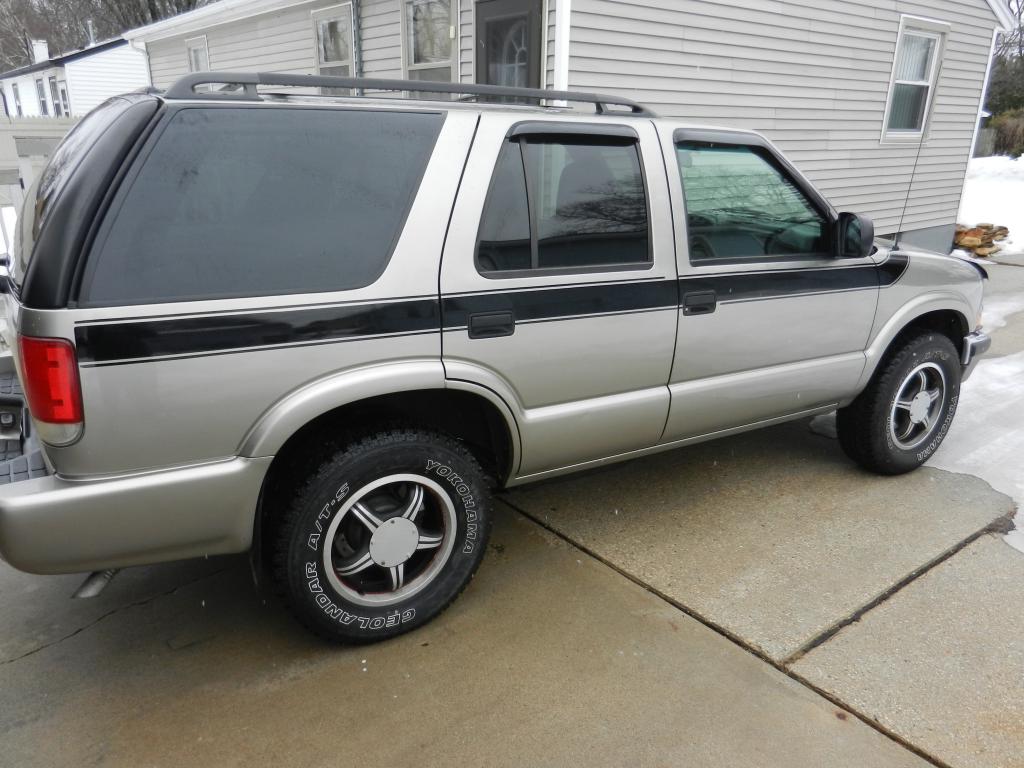
- Debadged Sides (Including LS stickers by windows)
Thread Starter
|
Beginning Member
Joined: Feb 2013
Posts: 29
From: Wisconsin
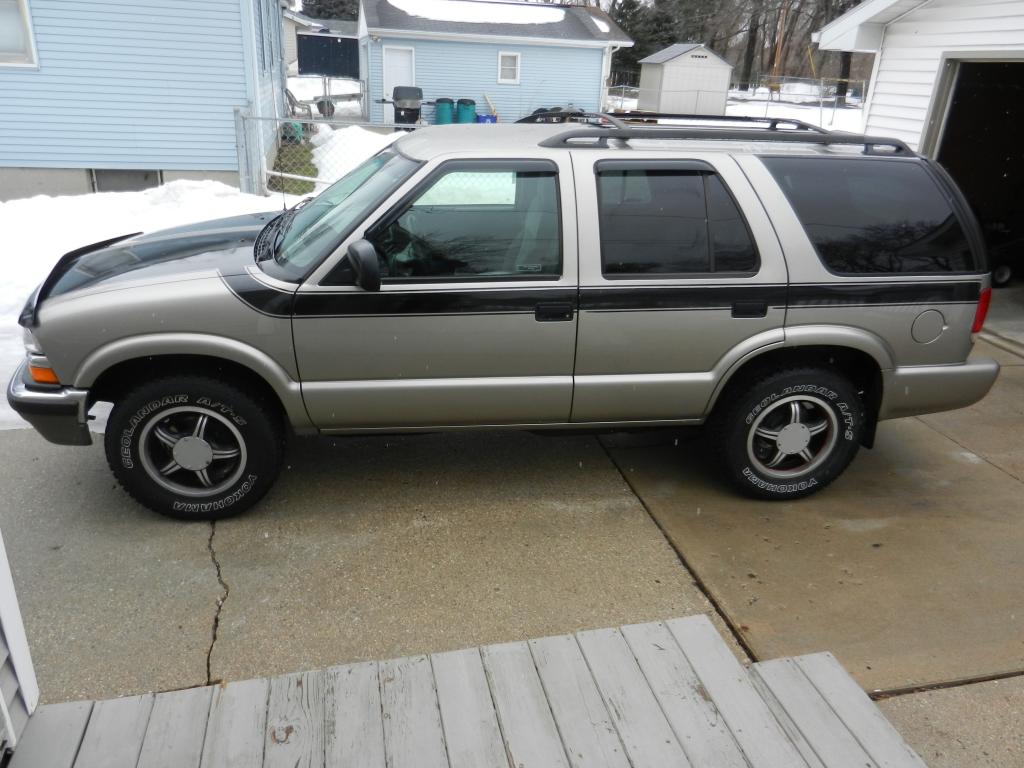
While I was previewing my last update it occurred to me that the bug shield was cramping my style, so I went out quick and pulled it off. Much better!
Here's a GS3 pic since I didn't bring the camera back out with me.

Here's a GS3 pic since I didn't bring the camera back out with me.
Thread Starter
|
Beginning Member
Joined: Feb 2013
Posts: 29
From: Wisconsin
Didn't get much accomplished today. Tried at a bit of stripe removal without luck. The wife's hair dryer proved ineffective, as well as Turtle Wax Sticker Remover that I picked up from Autozone. So I threw in the towel on that venture for today. I'm trying to decide between buying a heat gun or an eraser wheel 
According to the tracking info my headlights/bumper lights should arrive Friday. I also placed another LED order from superbright tonight. Got some new #74s for the HVAC since the ones I got previously didn't work out, as well as 3mm and 4mm neo-wedge bulbs for window buttons and headlight switch (a couple extra 3mm hoping to solder into the 4x4 and rear hatch switches). If all goes well the green will be done and the next batch will be cool white footwells, dome, cargo, map lights, glove box, ash tray and lic plate.
I think tomorrow's plan consists of a little more black paint work on the front end, run and grab some black Duplicolor wheel paint to start painting those, and maybe remove the valance and relocate the front lic plate.
What's everyone think so far? And any opinions on which route to take for stripe removal?
Last edited by Jrbiem; Mar 12, 2013 at 10:58 PM.
Thread Starter
|
Beginning Member
Joined: Feb 2013
Posts: 29
From: Wisconsin
Things I Bought Today
Accomplished Today
- Heat gun (to attempt decals)
- 2 Receivers + Grade 8 hardware
- Duplicolor wheel paint
Accomplished Today
- Painted the rest of the chrome part on the grille (Thinking I should spray the whole thing so it's all the same black)
- Removed the stock tow hooks
- Broke the skid plate bolts loose so they are easier to remove when I'm ready to mount the receivers in there
- Attempted to remove valance, but all the further I got was cutting through the rubber 'bolts' on the corners and breaking the corners off. That stubborn thing doesn't wanna come off!
Thread Starter
|
Beginning Member
Joined: Feb 2013
Posts: 29
From: Wisconsin
Woke up to feed my baby girl a bottle and I couldn't get back to sleep, so I went out to the garage to have another go at the valance.
Neither pliers or a flat head were doing anything to the stubborn clips holding that thing on and boy are they a bear to get to under there. So I stuck a flat head between the black trim piece and the gray valance at one end creating a gap, and then used the claw of a hammer to pop the black trim away. I broke a few of the clips in the process but most of them stayed intact.
There are plenty of 'before' shots with the valance in the thread already, so here's the after without it. Lic plate needs to be screwed into the bumper yet, need to pick up some self tapping screws. For now it is just wedged between the trim and the bumper.
Super Moderator
Joined: Sep 2011
Posts: 4,459
From: Northern VA
Looking good so far bud!! Its way easier to remove the entire bumper to remove the valance than to try and fight with it still on the truck! You need to paint the whole grill for sure it looks akward right now lol!