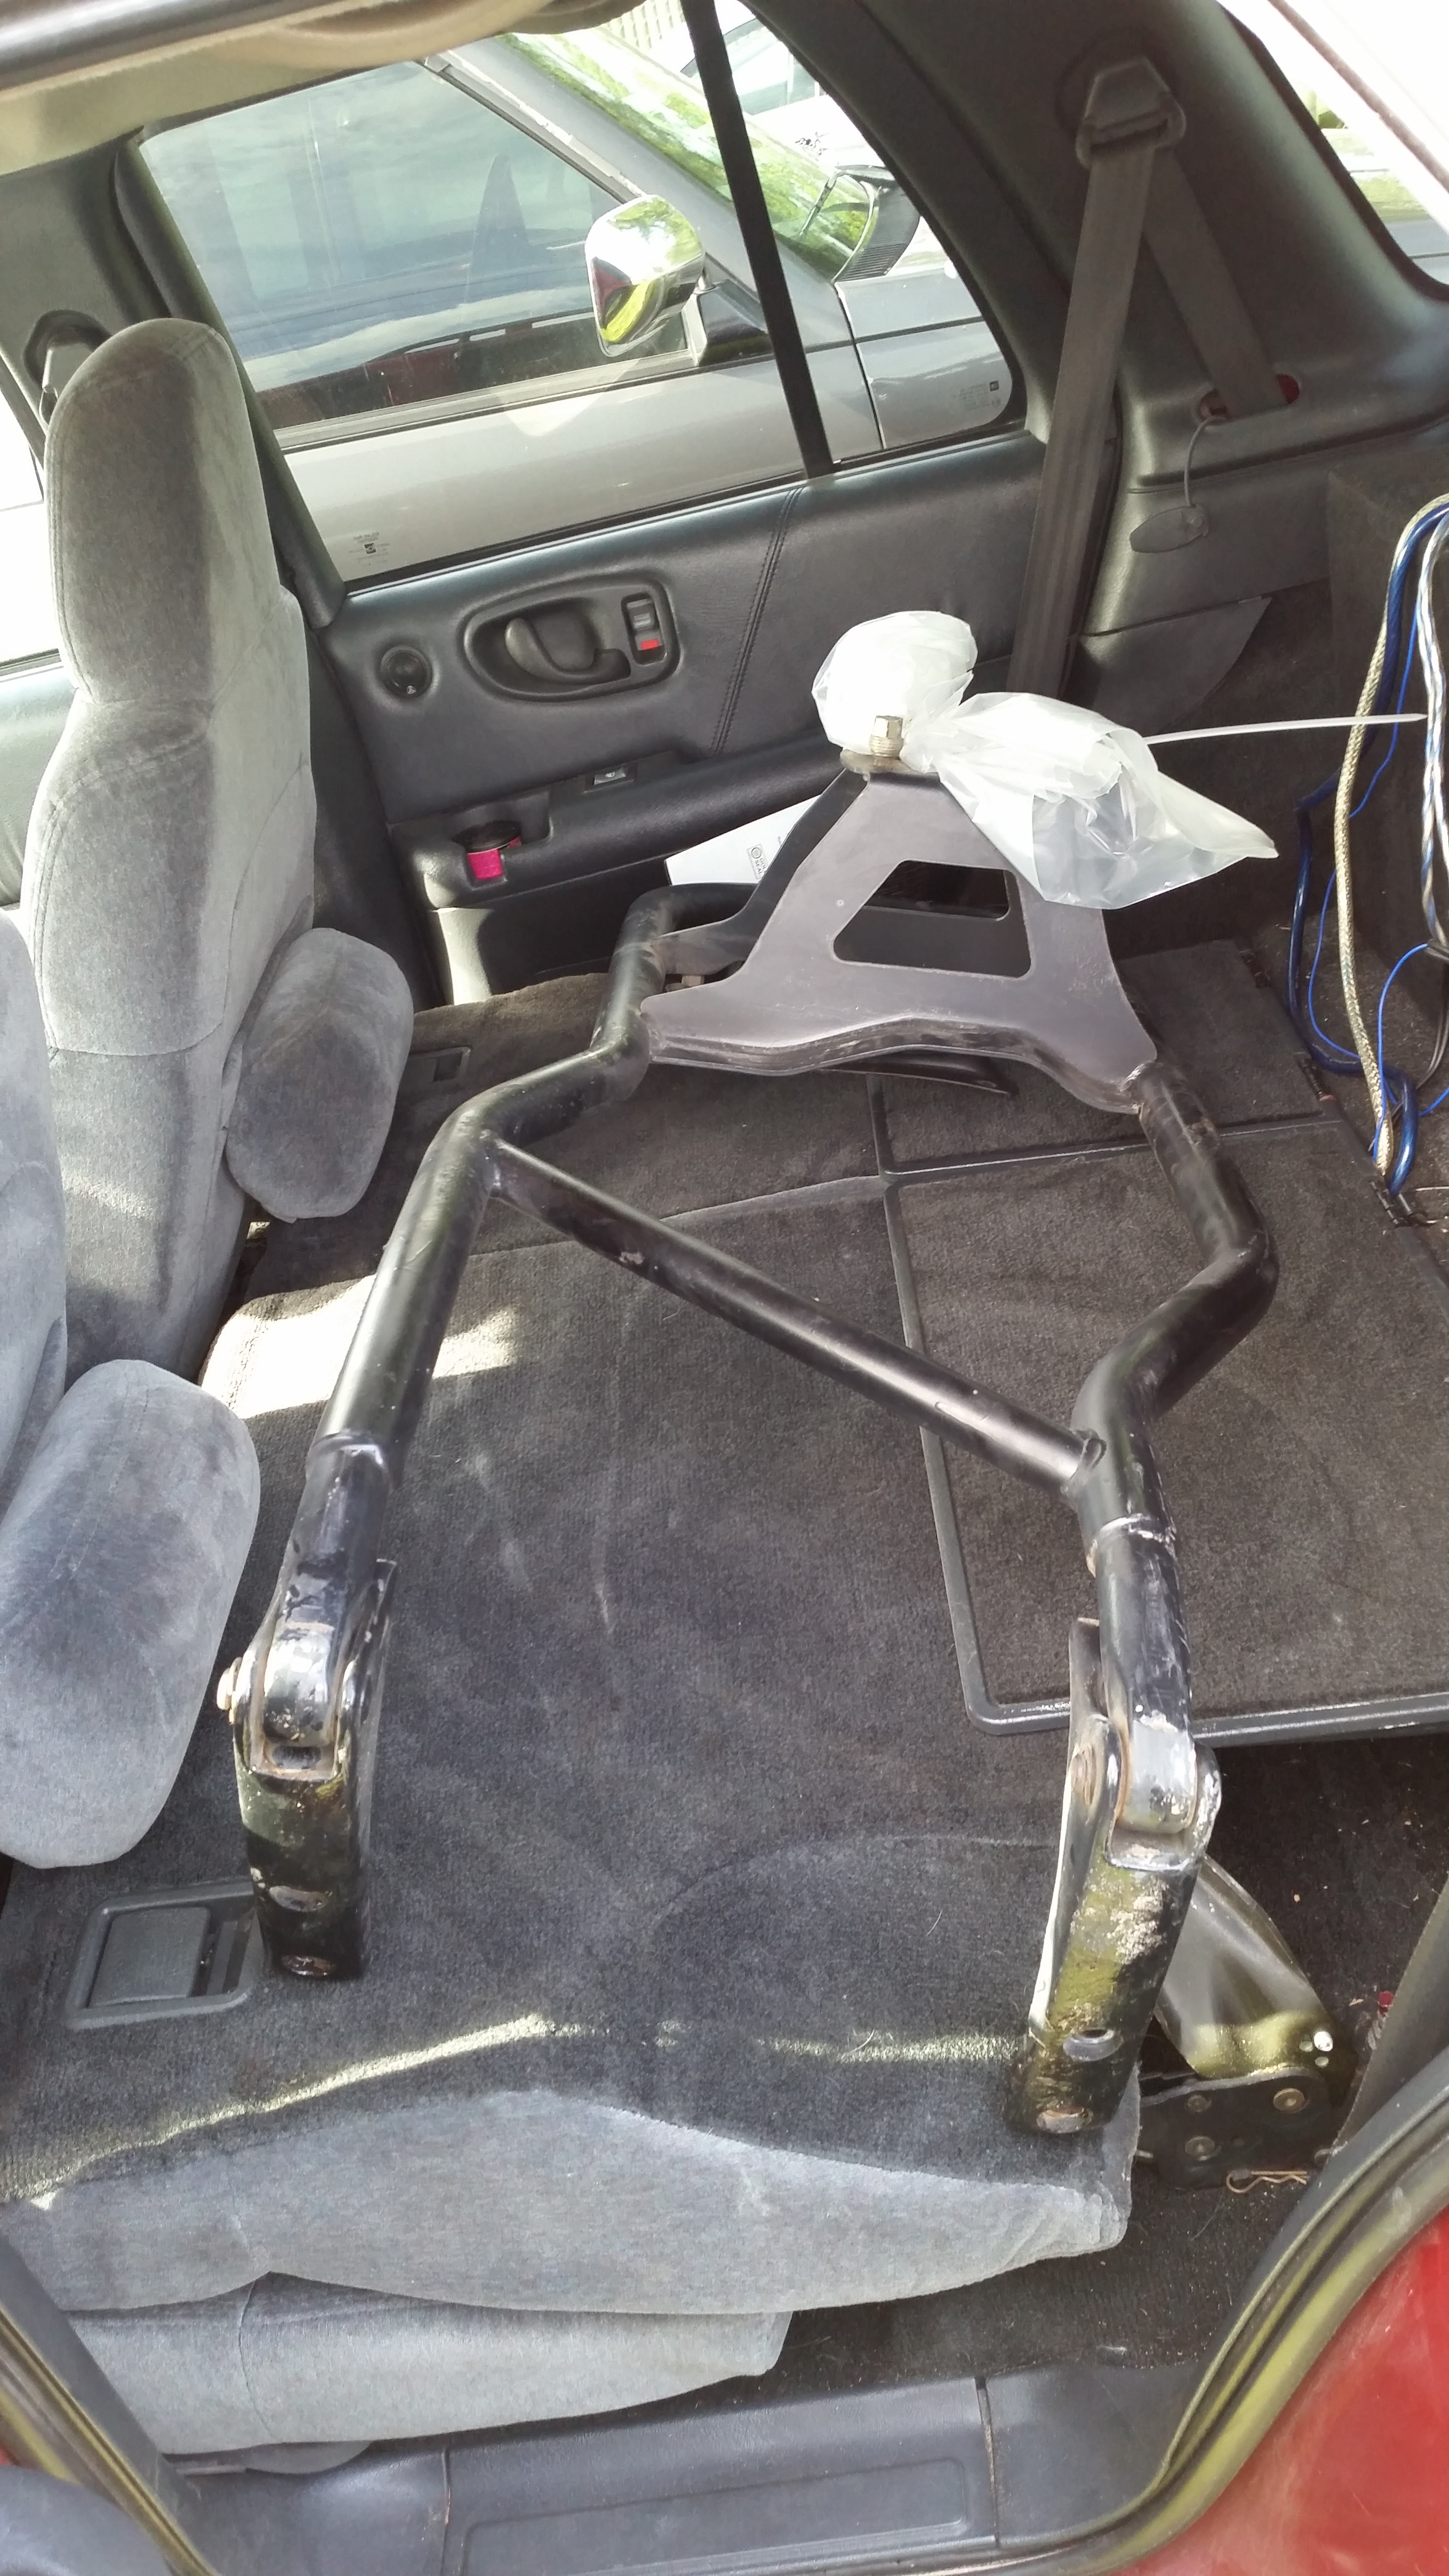
what have you gotten done on your blazer today?


Ok, so because of the knock that developed the night my son drove the blue beast [an 85 S10 4x4 Blazer with 2.8] too hard (could be coincidental timing and/or something caused it to be oil starved) we've pulled the engine and have it on a stand. I didn't think the crank looked bad and after getting a second opinion we're going to put bearings in it. I'm attempting to plastigauge the bearings to check to see which ones we need.
First off, I'm not an expert and have only helped do it many moons ago. I'm not sure if I should go off of what the majority of the strip looks like or the widest spot of the strip. (after re-torqueing and taking the cap back off) For example, the first one I did seemed like the majority of it was .051 mm / .002 in but one spot seemed closer to .038 mm / .0015 in. I did it a second time and took pictures but it's hard to get a great shot. I'll try to add those. The second and third ones seemed about the same. The fourth, fifth, and sixth ones seemed like the majority was closer to .038 mm / .0015 in.
I'm also planning on doing the main bearings while we're in there. However, the book (and what I've found online) says to torque the main bearing cap bolts to 70 ft. lbs. (in three steps) but doesn't specify the steps. I'm not sure if there is a pattern that is required or if they are indicating to torque to a lower spec twice and Then torque to 70 ft. lbs. So far I've not found anything more specific. Does anyone know what is recommended? Any and all help/advice would be appreciated as always.
http://s788.photobucket.com/user/Bri...tml?sort=3&o=0
http://s788.photobucket.com/user/Bri...tml?sort=3&o=1
Last edited by Brian K. Balzer; May 26, 2017 at 06:47 PM. Reason: Still Trying (and failing) to add images.

Senior Member
Joined: Mar 2015
Posts: 811
From: waterford, mich.

When you torque a bolt in steps you divide the foot pounds by the number of steps. 70 foot pounds in 3 steps means torque all the bolts in the pattern to 23 foot pounds. Then re-torque them in pattern to 46 foot pounds. Finally, torque them to 70 foot pounds in pattern. There is a correct torque pattern for your 60 degree v-6 crankshaft bearing cap bolts. It's been too long since I built my fiero to remember.
When you torque a bolt in steps you divide the foot pounds by the number of steps. 70 foot pounds in 3 steps means torque all the bolts in the pattern to 23 foot pounds. Then re-torque them in pattern to 46 foot pounds. Finally, torque them to 70 foot pounds in pattern. There is a correct torque pattern for your 60 degree v-6 crankshaft bearing cap bolts. It's been too long since I built my fiero to remember.
Super Member
Joined: Apr 2014
Posts: 1,968
From: Lake City, Florida
Changed my water pump AGAIN... Jut put a new one in literally last weekend. Damn thing was leaking from where the bypass hose presses into the top of the pump... So far so good, seems to be all sealed up! Fingers crossed.
At least with changing my water pump twice in a week, I got my pre-summer antifreeze flush done that I wanted to do lol
At least with changing my water pump twice in a week, I got my pre-summer antifreeze flush done that I wanted to do lol
Senior Member
Joined: Oct 2010
Posts: 647
From: West-Central MA
Ok, so because of the knock that developed the night my son drove the blue beast [an 85 S10 4x4 Blazer with 2.8] too hard (could be coincidental timing and/or something caused it to be oil starved) we've pulled the engine and have it on a stand. I didn't think the crank looked bad and after getting a second opinion we're going to put bearings in it. I'm attempting to plastigauge the bearings to check to see which ones we need.
First off, I'm not an expert and have only helped do it many moons ago. I'm not sure if I should go off of what the majority of the strip looks like or the widest spot of the strip. (after re-torqueing and taking the cap back off) For example, the first one I did seemed like the majority of it was .051 mm / .002 in but one spot seemed closer to .038 mm / .0015 in. I did it a second time and took pictures but it's hard to get a great shot. I'll try to add those. The second and third ones seemed about the same. The fourth, fifth, and sixth ones seemed like the majority was closer to .038 mm / .0015 in.
I'm also planning on doing the main bearings while we're in there. However, the book (and what I've found online) says to torque the main bearing cap bolts to 70 ft. lbs. (in three steps) but doesn't specify the steps. I'm not sure if there is a pattern that is required or if they are indicating to torque to a lower spec twice and Then torque to 70 ft. lbs. So far I've not found anything more specific. Does anyone know what is recommended? Any and all help/advice would be appreciated as always.
IMG_9992.jpg Photo by Brian-Balzer | Photobucket
IMG_9987.jpg Photo by Brian-Balzer | Photobucket
Very time consuming, but this isn't a job you want to do twice - trust me on that one.

Super Member
Joined: Apr 2008
Posts: 1,346
I am slowly converting over to rear disc brakes on my 89 S15 Jimmy. I blasted the rotors of all rust and masked the rotor braking surfaces (E-Brake) and primed and painted all other surfaces inside and out. I used Rustoleum primer and professional enamel gloss black.
Super Member
Joined: Apr 2014
Posts: 1,968
From: Lake City, Florida
Ordered a 2dr spare tire carrier arm finally! I work in a salvage yard, have waited 3 years for one to come to our location and nothing, so I ordered one in from another site 
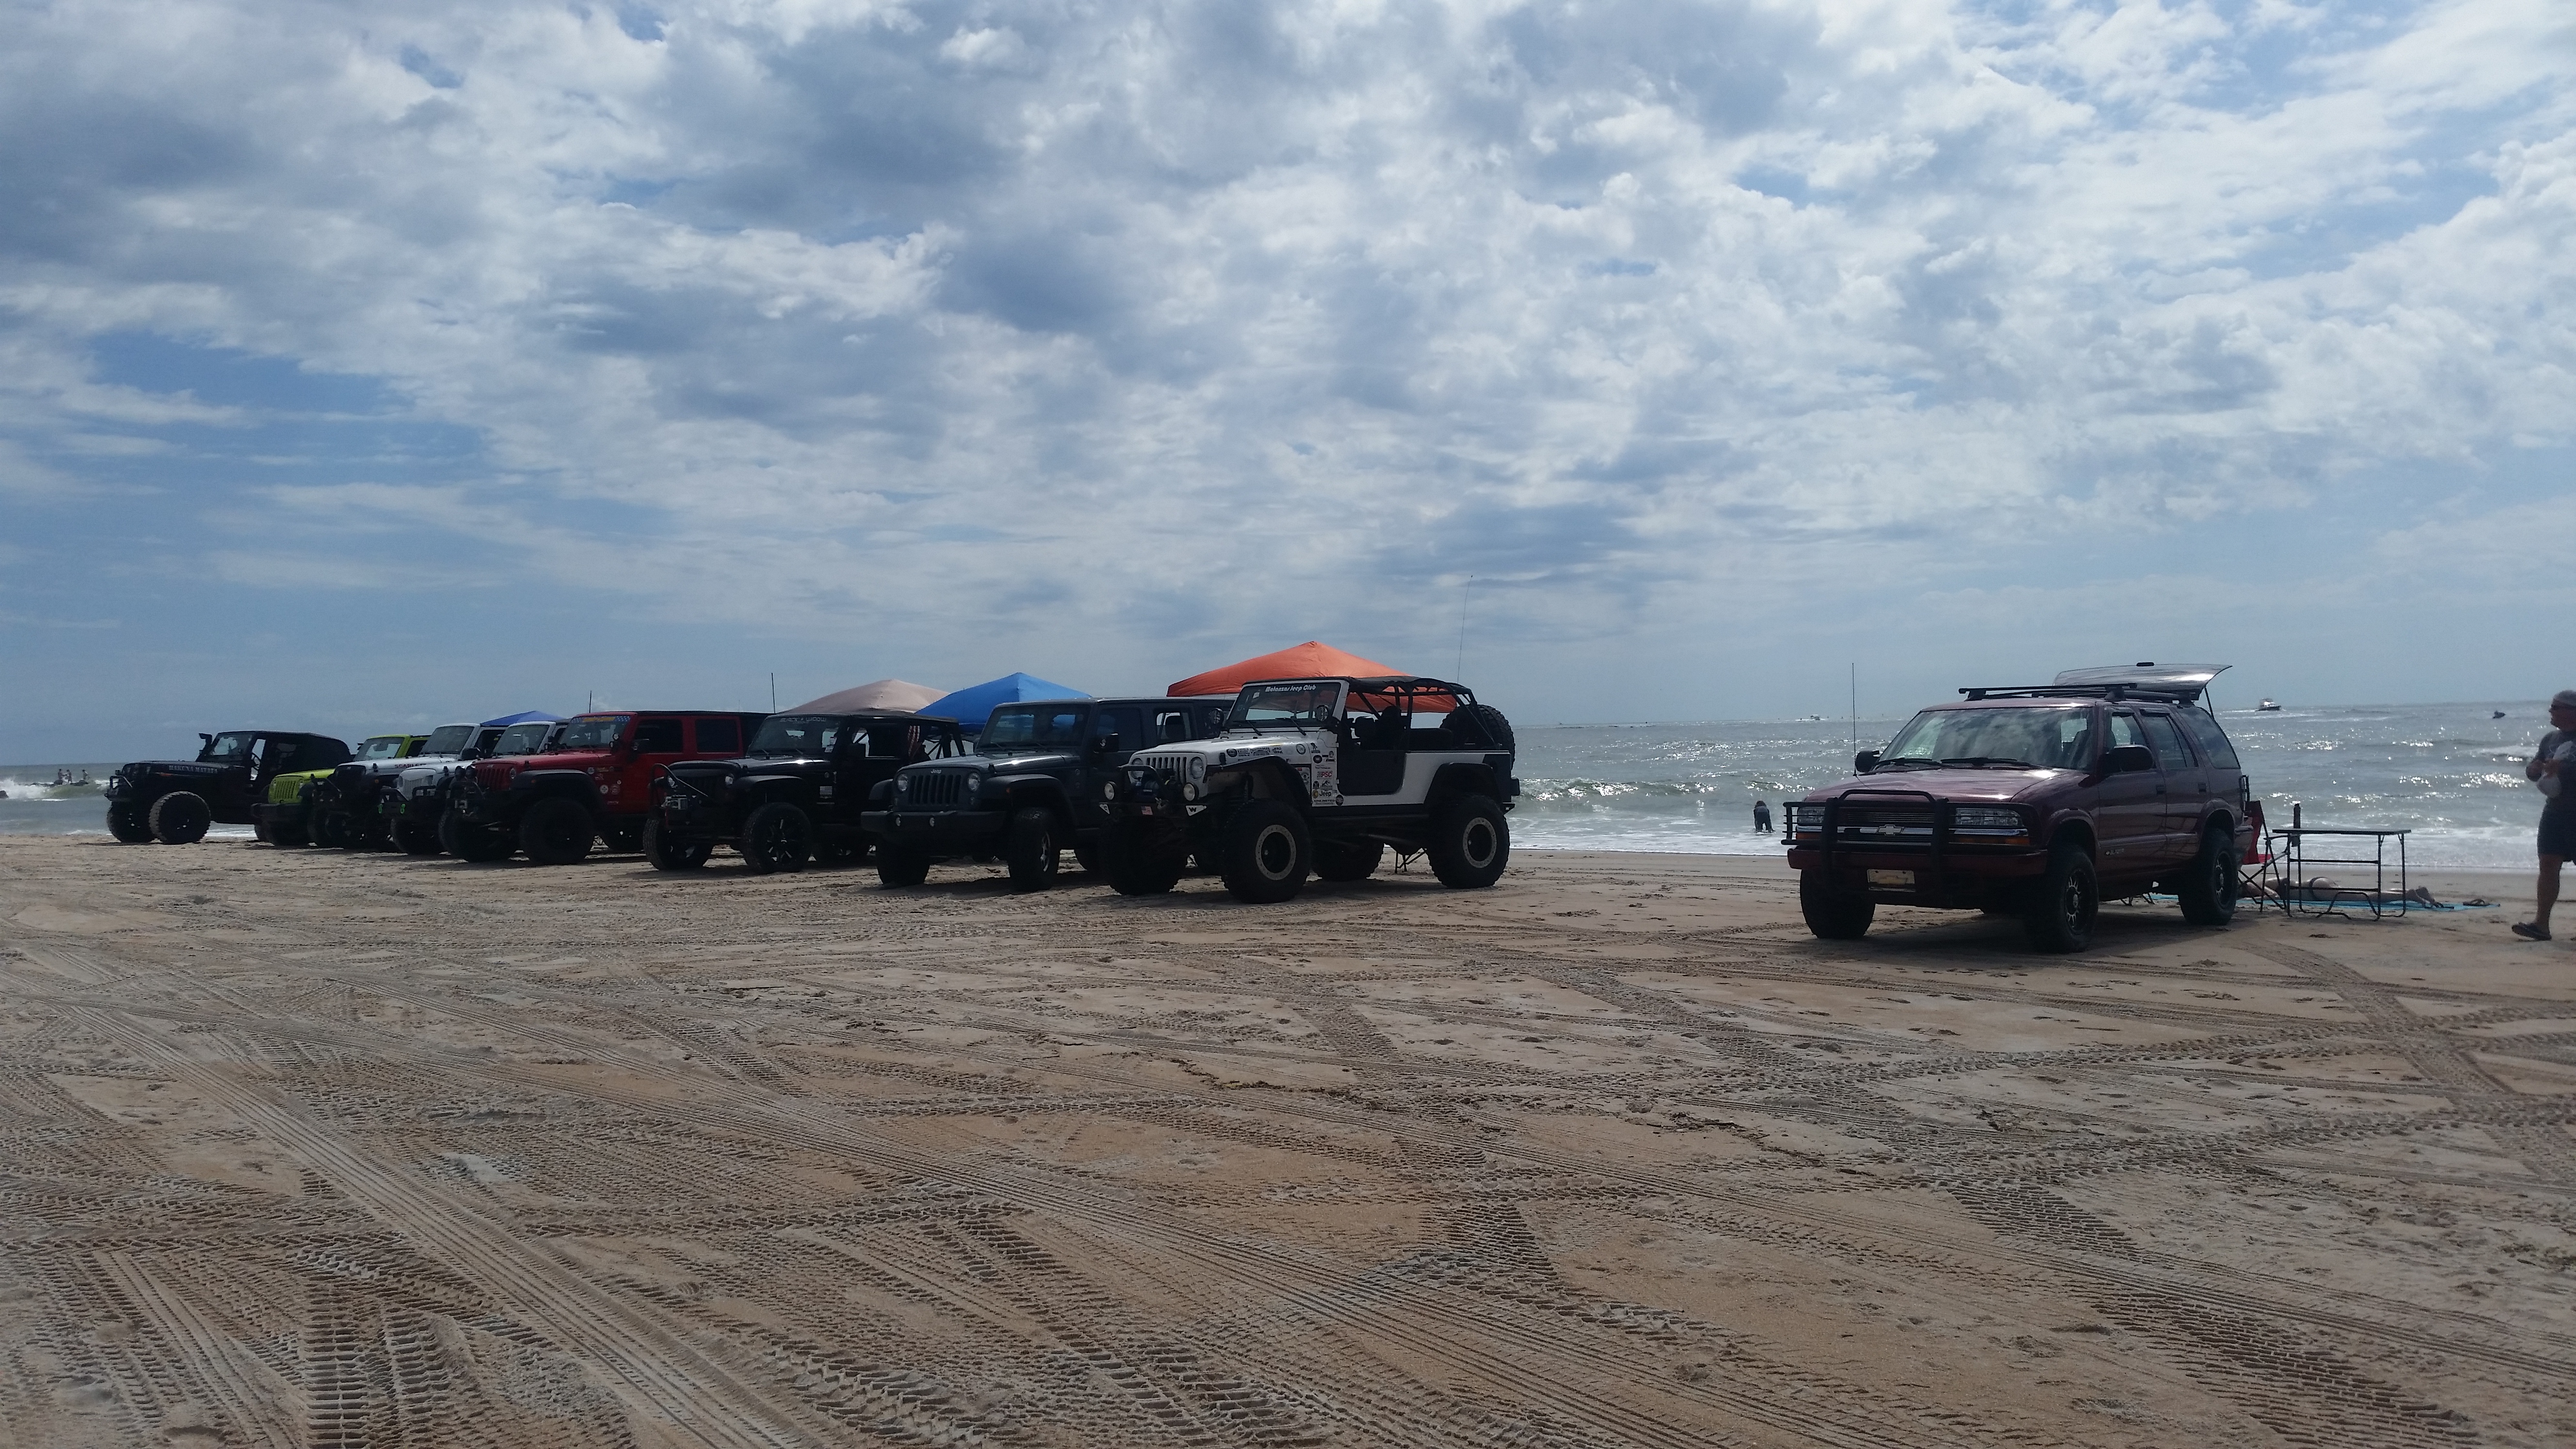
Oh and this :P
Oh and this :P