
1999 Steering Wheel Radio Control LEDs


Thread Starter
|
BF Guru
Joined: Dec 2016
Posts: 5,646
From: Moscow, ID

I've attached the schematics for the system from my 1999.
If there is an unused wire harness behind the airbag, with 4 small wires (0.5 mm^2 = 20 awg) (YEL, GRY, GRN, BLK) then you might be good to go. Note that the switches are surrounded by a cover for the far side of the wheel closest to the front of the vehicle that is specific to those wheels with the remote controls, at least on mine.
From the common connector (C201) for the remote controls, the wires are split into ones for both sides (C1, right and C2, left) where two more wire colors (LT GRN and WHT) are used.
It looks like the signals to the radio from the controls are delivered on a single wire. It appears that the type of command is determined by the voltage on that wire which is determined by the resistor put into series with the 12V.

The connector indicated by the green line is the main connector for the remote radio controls. The connector surrounded blue is for the right hand side controls. There is a similar one on the left. The plastic piece indicated by the brown line is the part of the far-side steering wheel cover that encloses the side of the switches.

Forgive my poor quality picture. I did not realize the poor quality until I went to find one to post.
Left side
Last edited by christine_208; Feb 13, 2018 at 11:27 AM. Reason: add title
Super Member
Joined: Apr 2014
Posts: 1,968
From: Lake City, Florida
My 04 didn't originally come with the controls, I retrofitted them into it from a steering wheel that I found in a full size Yukon Denali that I found in a junk yard. I moved the wheel with the controls over and the clock spring, and grabbed some of the harness in the column for it too so I had some wire to work with. I hooked mine up to an aftermarket adapter for a Pioneer deck from the start though, so I couldn't begin to tell you how to hook it up to a factory radio though lol.
Thread Starter
|
BF Guru
Joined: Dec 2016
Posts: 5,646
From: Moscow, ID
My 04 didn't originally come with the controls, I retrofitted them into it from a steering wheel that I found in a full size Yukon Denali that I found in a junk yard. I moved the wheel with the controls over and the clock spring, and grabbed some of the harness in the column for it too so I had some wire to work with. I hooked mine up to an aftermarket adapter for a Pioneer deck from the start though, so I couldn't begin to tell you how to hook it up to a factory radio though lol.
Super Member
Joined: Apr 2014
Posts: 1,968
From: Lake City, Florida
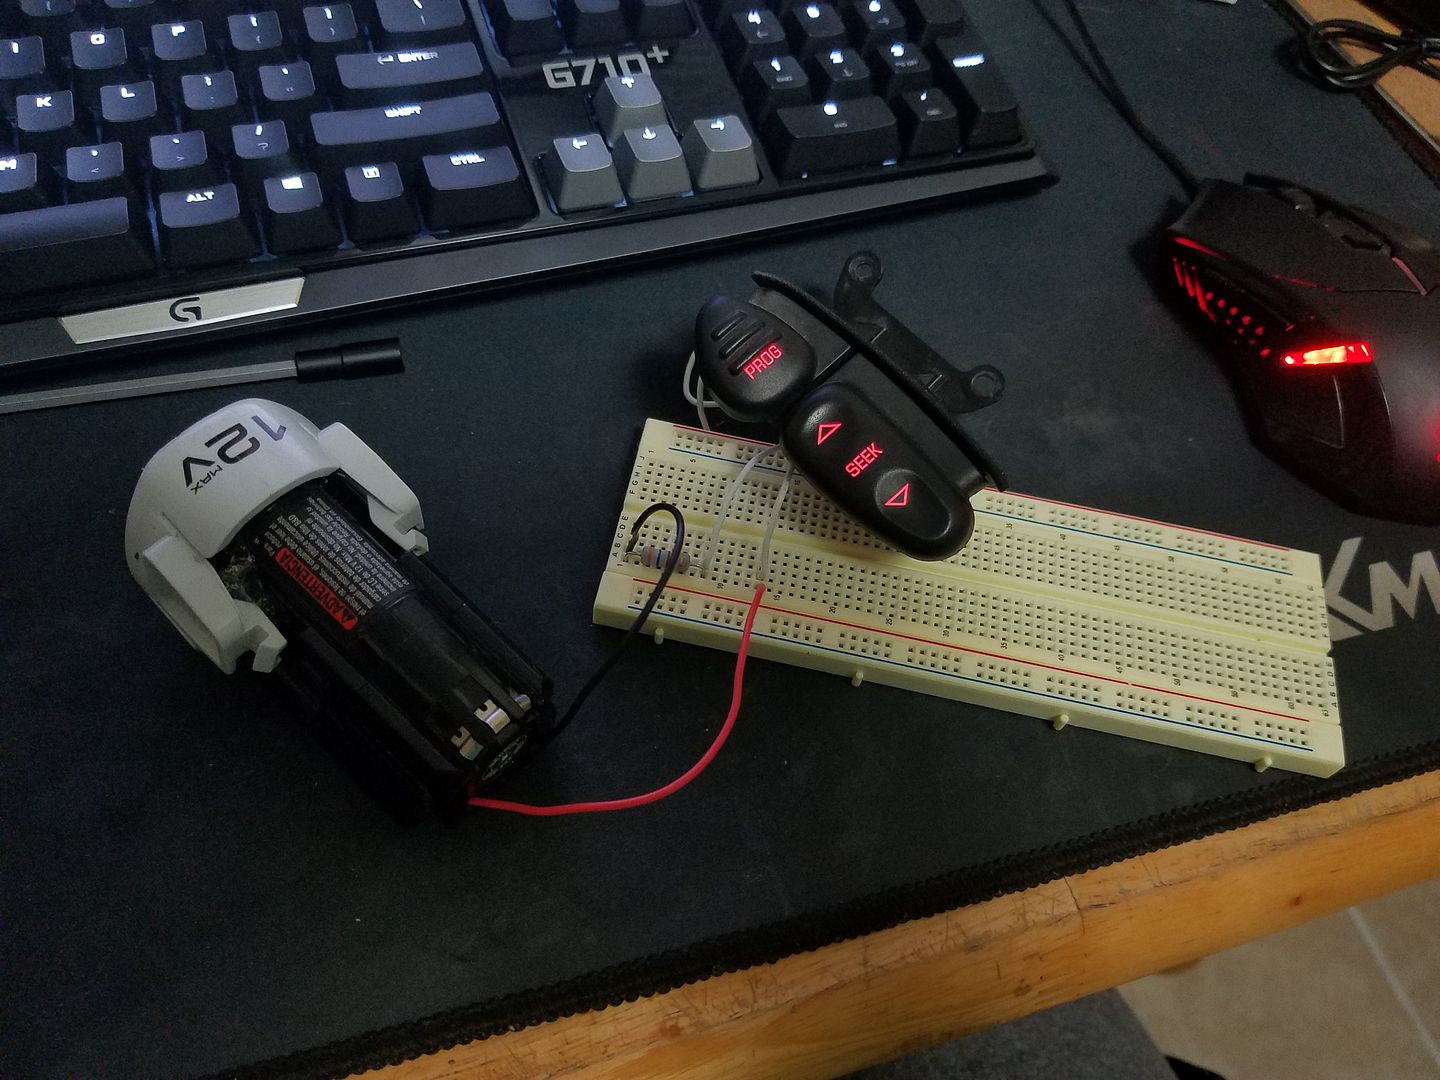
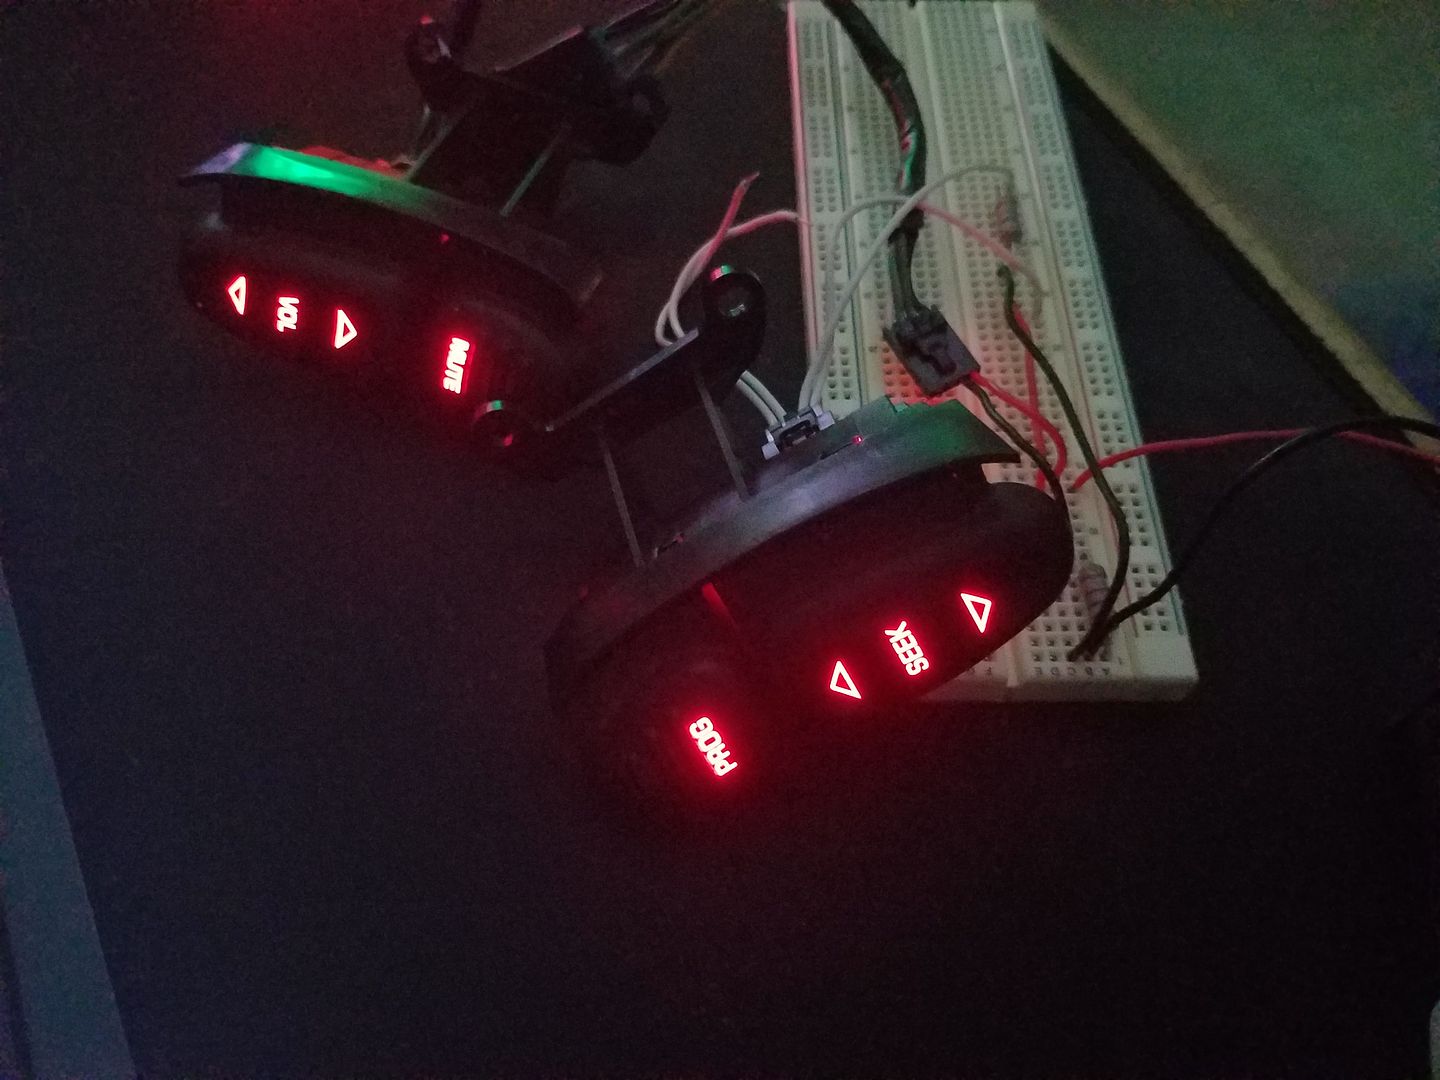
Been expanding on this idea for a couple days now in some spare time in the afternoons. I removed some SMD LED's from some busted tail lights in the junk yard and repurposed them  I'm changing my interior lighting to RED so these LED's should be easy to find lol.
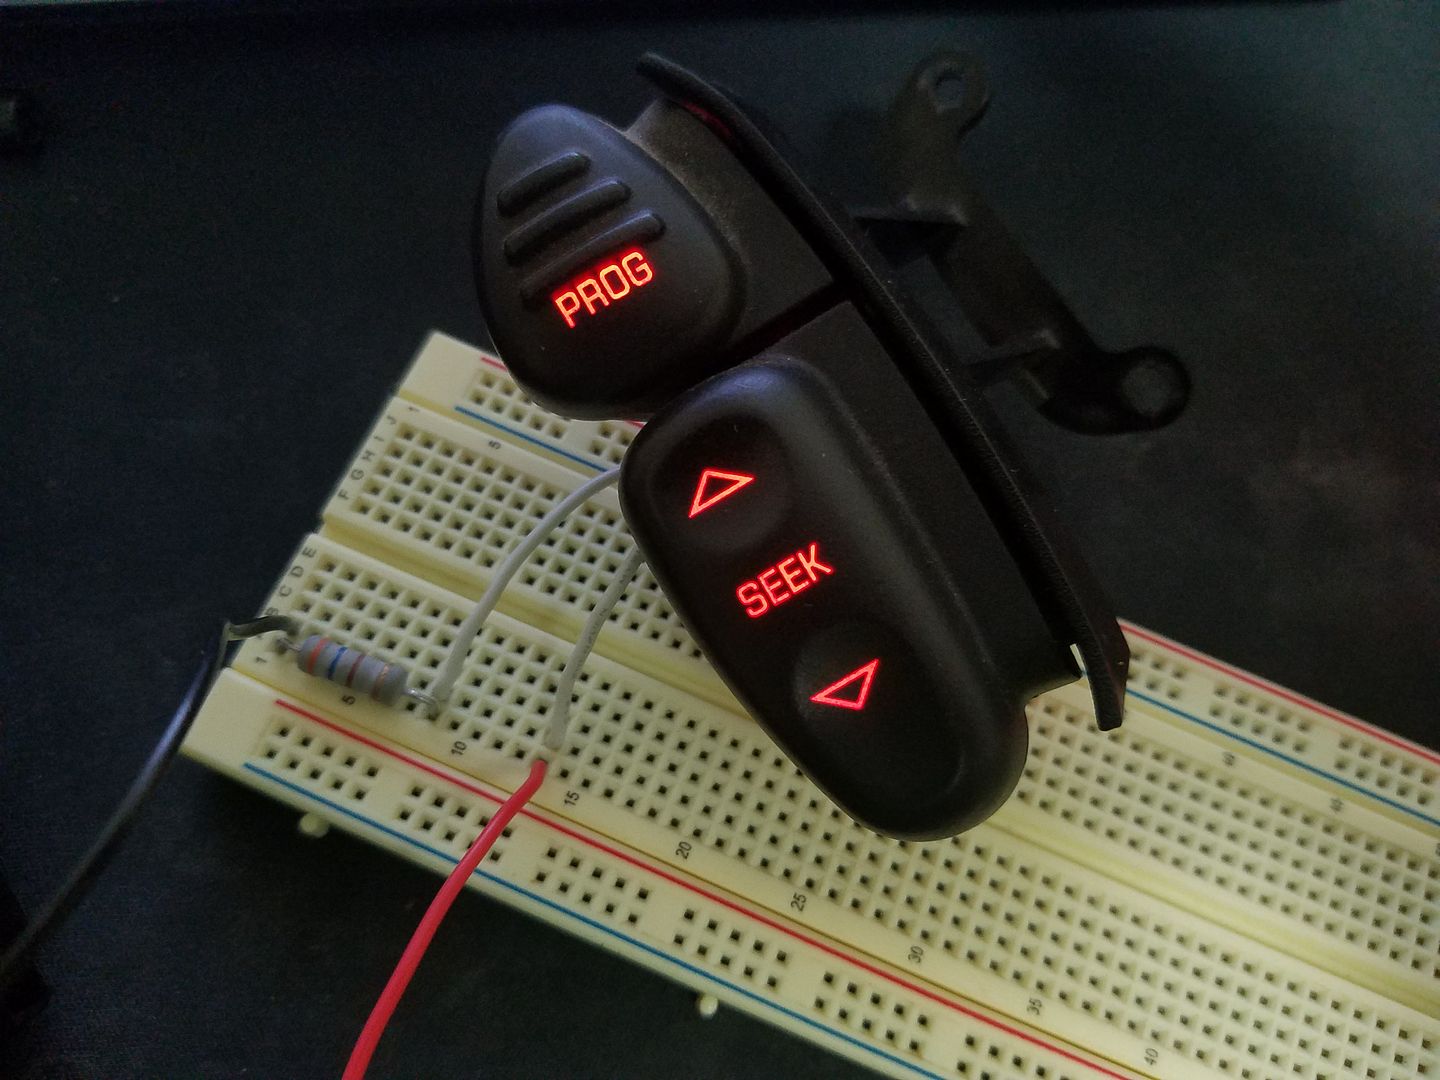
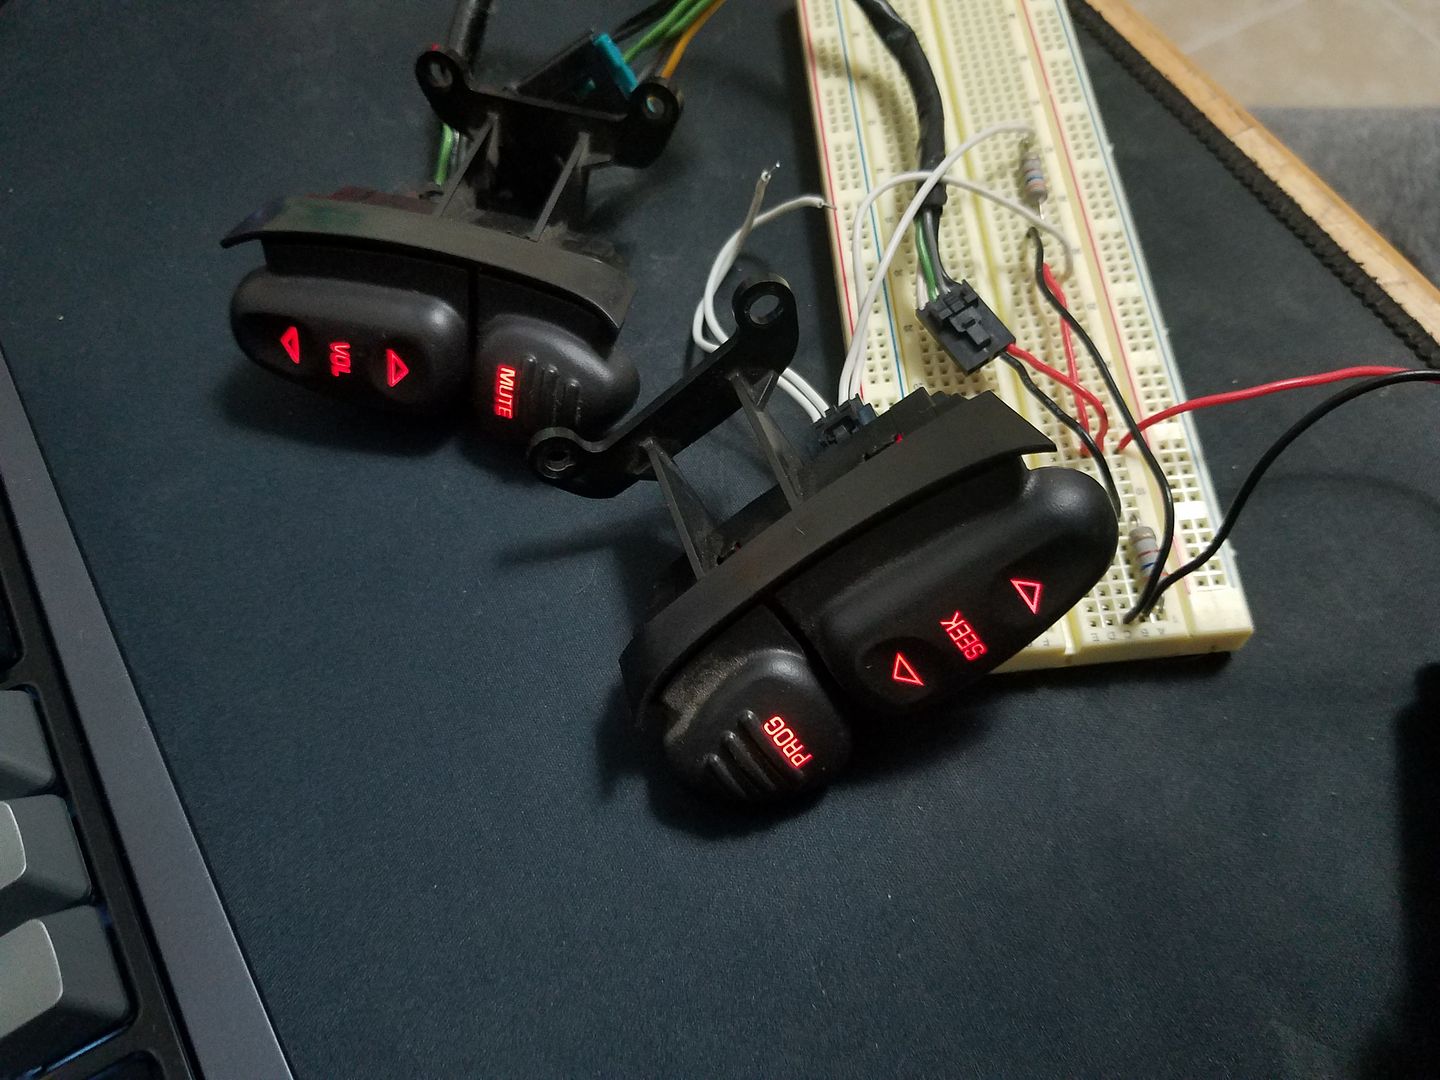
Not a lot of extra room in the switch assembly itself, so I'm just going to put a resistor in line in the harness in the wheel to step the voltage down for the LED's. All I need to do is modify the harness with the resistors and then these babies are ready to drop in.
Be working on the window and dash switches next.
I'm changing my interior lighting to RED so these LED's should be easy to find lol.Not a lot of extra room in the switch assembly itself, so I'm just going to put a resistor in line in the harness in the wheel to step the voltage down for the LED's. All I need to do is modify the harness with the resistors and then these babies are ready to drop in.
Be working on the window and dash switches next.
Thread Starter
|
BF Guru
Joined: Dec 2016
Posts: 5,646
From: Moscow, ID
Been expanding on this idea for a couple days now in some spare time in the afternoons. I removed some SMD LED's from some busted tail lights in the junk yard and repurposed them I'm changing my interior lighting to RED so these LED's should be easy to find lol.
Not a lot of extra room in the switch assembly itself, so I'm just going to put a resistor in line in the harness in the wheel to step the voltage down for the LED's. All I need to do is modify the harness with the resistors and then these babies are ready to drop in.
Be working on the window and dash switches next.
I'm changing my interior lighting to RED so these LED's should be easy to find lol.Not a lot of extra room in the switch assembly itself, so I'm just going to put a resistor in line in the harness in the wheel to step the voltage down for the LED's. All I need to do is modify the harness with the resistors and then these babies are ready to drop in.
Be working on the window and dash switches next.
Have you tested if the dimming control works for your combination of LED and resistor?