When you click on links to various merchants on this site and make a purchase, this can result in this site earning a commission. Affiliate programs and affiliations include, but are not limited to, the eBay Partner Network.
I've seen this pop up from time to time. Mostly a northern problem, as salty roads eat through the thin backing plates pretty quick... Being that my Blazer was originally from Tennessee, it's seen a few salty roads, so when I acquired it in Florida, there was a few things a had to take care of right away.
I shot some video of this process and plan on compiling a video for YouTube, so that'll be the end result of all this.
I've known about the rusty backing plates on my 04 4x4 for a while now. Last time I did the rear brakes, I chipped away what was left of the backing plates, and threw everything back together. The parking/emergency brake hasn't worked since, hasn't been a real issue since it's an automatic, but I still prefer to have it... That was I don't know how many years ago now, and recently a braking sound (grinding) has surfaced. So I figured being on lock-down, not going to work right now, was as good a time as any to get this done for good.
Replacing in this process:
-Backing plates
-Parking brake shoes and hardware
-Brake pads and hardware
-Rotors
-Calipers (if needed)
-Caliper slide pins and bolts
-Rear diff cover
-Diff fluid
-Axle shaft outer seals
It's not a hard job by any means, but it's pretty extensive. When replacing the backing plates, you have to go by the "onion" law of removing parts, as I like to call it. You have to pull off parts in layers. Gotta pull one thing off in order to get the next part off. And I think that's why a lot of people shy away from replacing the plates themselves. Either don't want to do the work, or are scared to dig into the rear diff of their vehicle.
Well, there's really no reason to be scared. If you can change a thermostat, do a basic brake job, and oil change, there's nothing to fear. It's as straight forward as unbolting parts and bolting on replacements.
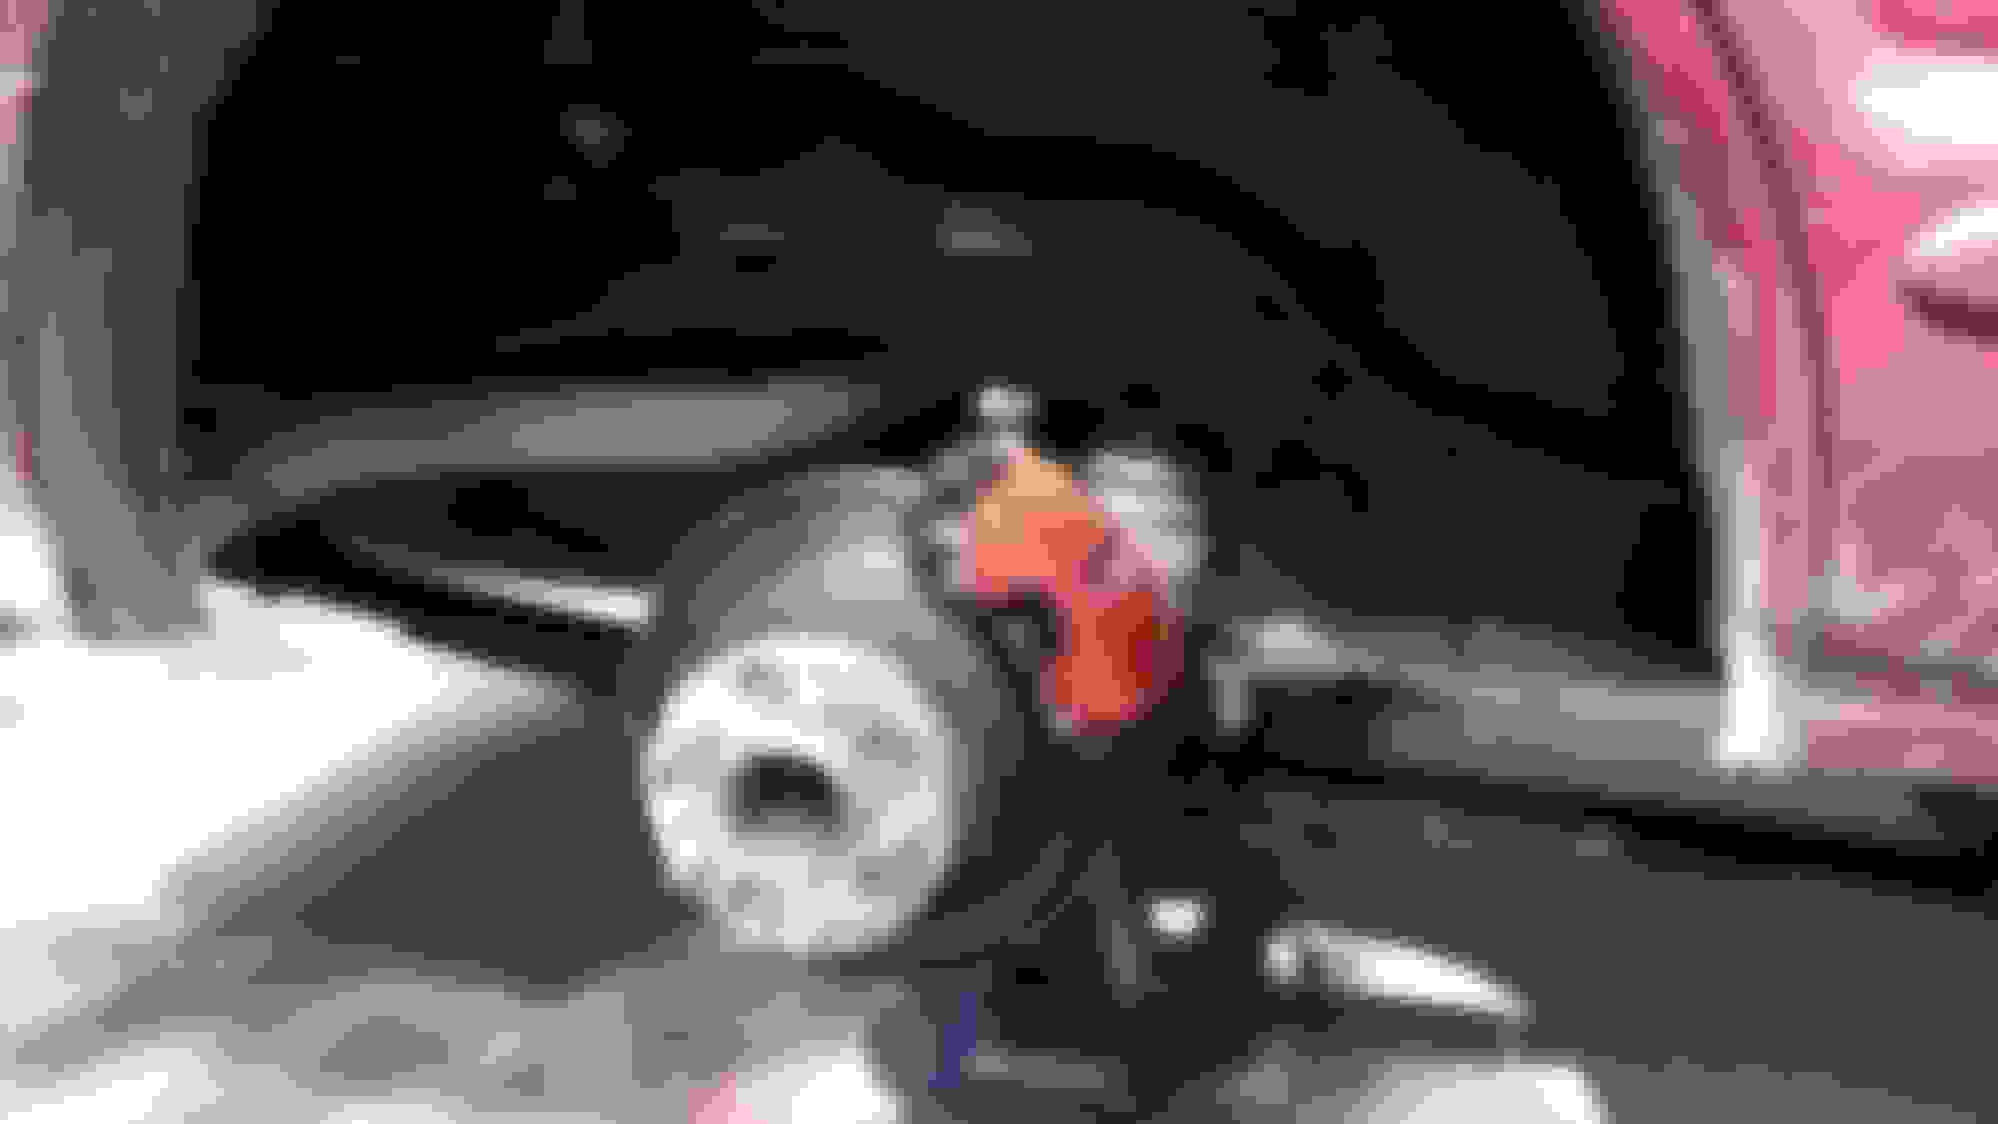
So for starts, here's what I was dealing with the last time I was in the rear brakes. Notice the pile of rusty remains on the ground that USE to be the rear backing plates.
I patched things back together at that time, put some lipstick on that pig, and it's been that way up until today.
Go ahead and get your spare tire out of the way if you have it hanging there under the rear of your 4 door. It'll give you SO much more room to work.
As with wrenching on almost anything under a rusty vehicle, it wouldn't hurt to hit all the bolts you'll be working on with some PB Blaster a day or two in advance.
The first thing to do is get the wheels off. Put the rear axle on jack stands. Pull the wheels off, then pull the rear brakes apart.
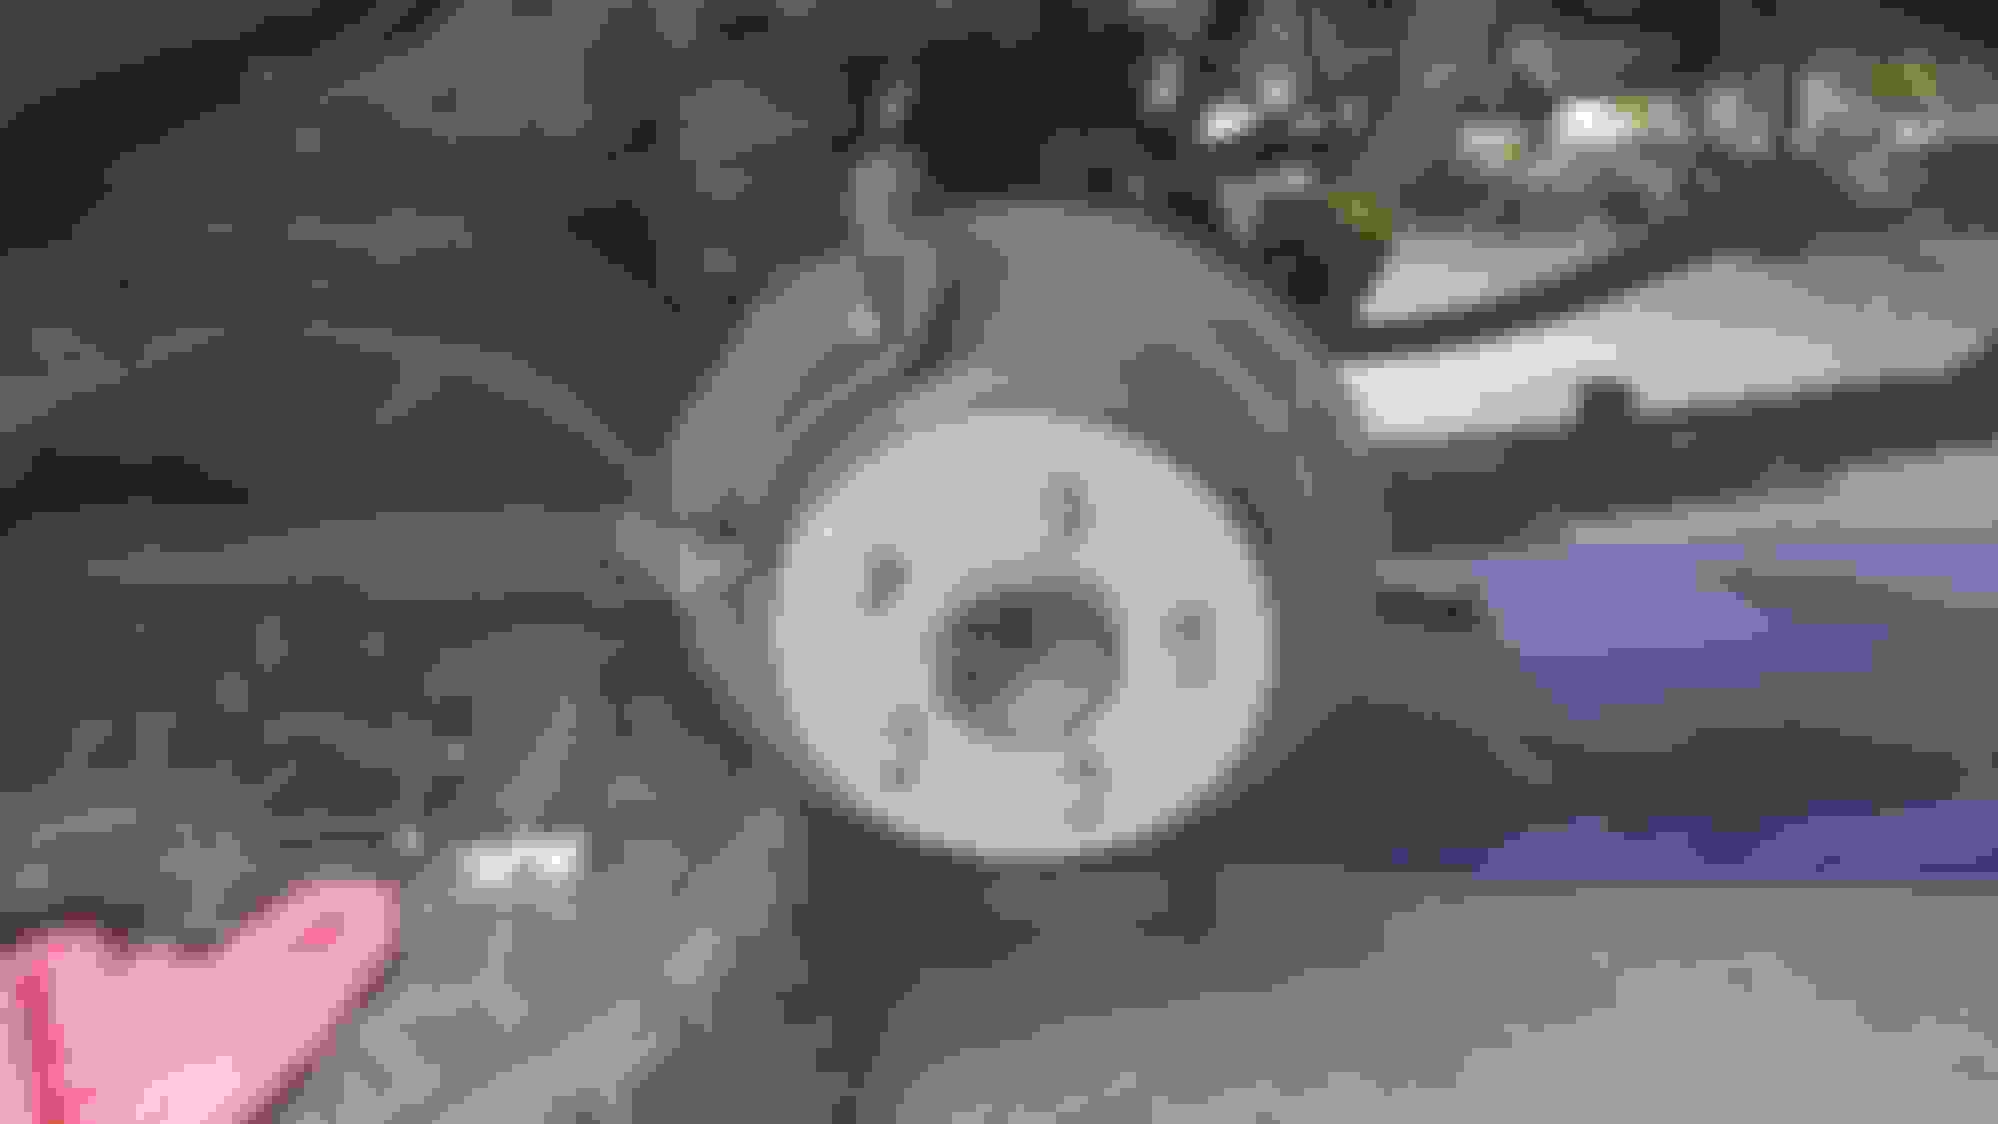
Pull off the calipers (two 13mm bolts that thread into the slider pins), caliper brackets (two 15mm bolts hold it to the axle bracket), and pull off the rotors (can be stubborn to come off sometimes; a couple good whacks with a rubber mallet (if you plan to reuse the rotors) will usually dislodge them. If you're replacing them, feel free to use a regular hammer)
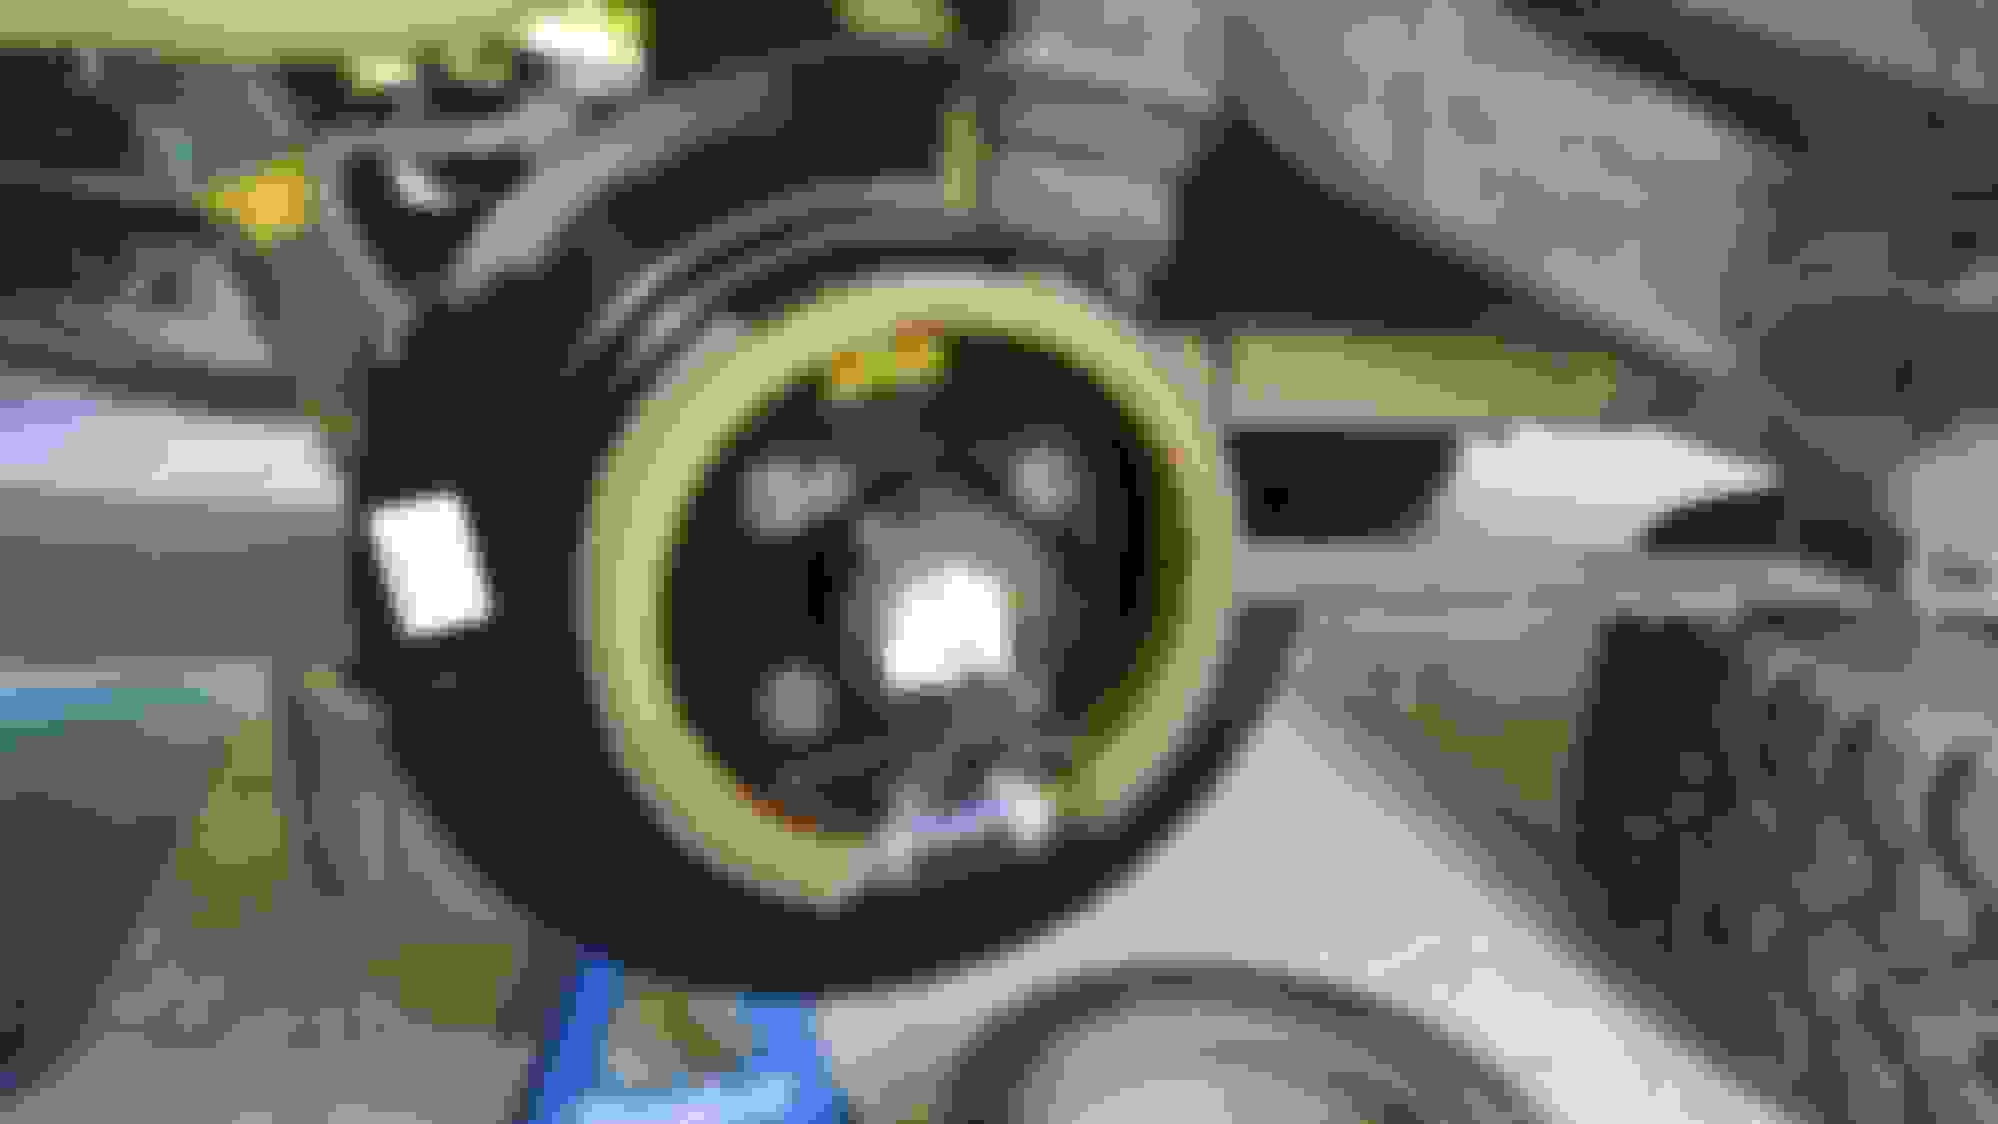
It was a this point that I found my braking noise... these were WELL overdue...
Once you've gotten this far, the only thing keeping you from replacing the backing plates is the axle shafts being in the way. This is where most people shy away, but is not a difficult job at all.
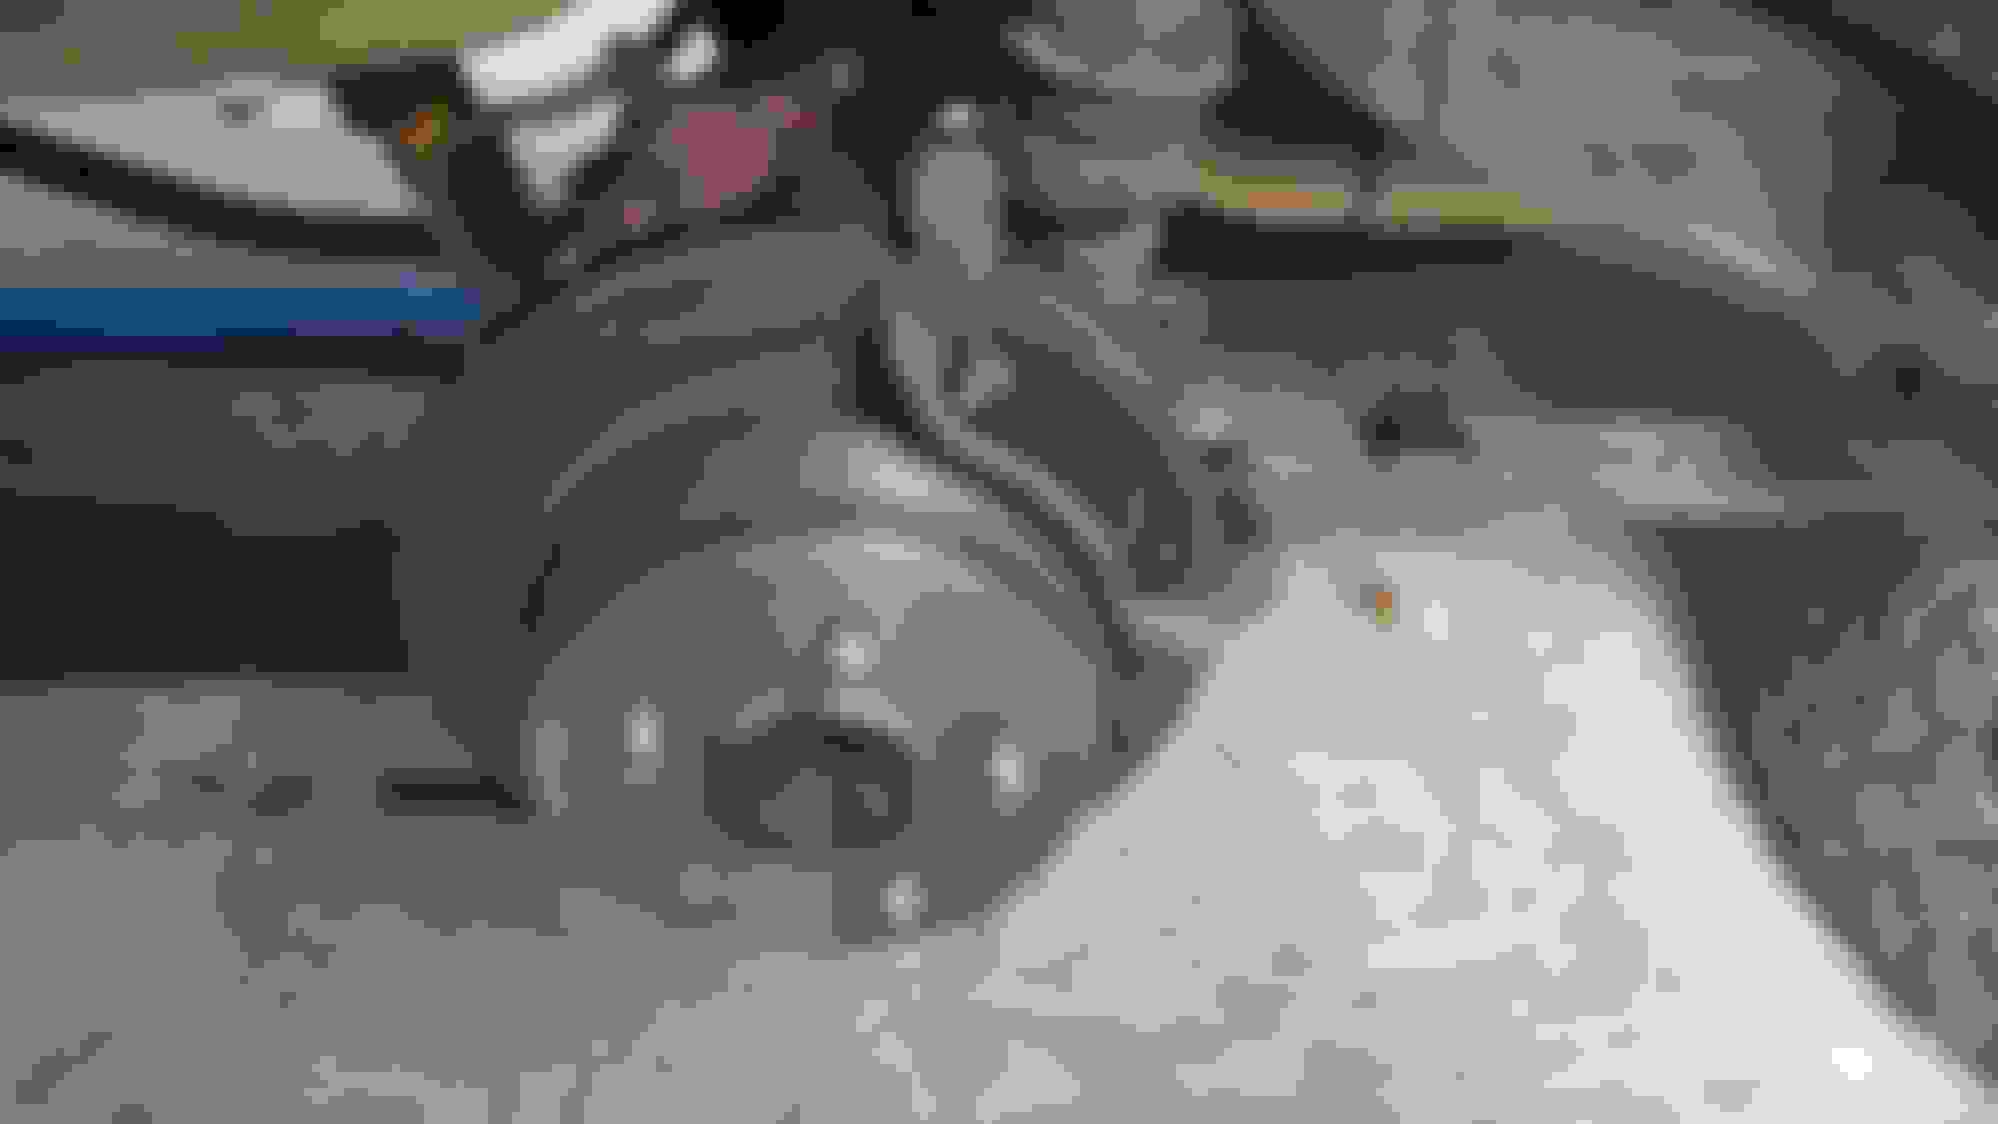
Start by pulling off the diff cover, something you should be familiar with if you ever changed the diff fluid.
- Pro tip - put a ratchet on the fill plug first and make sure you can get it out! Would really put you in a hard place if you drained the fluid and couldn't fill it back up when all is done!
I had a suspicion that the fluid in my 04 with 210k miles on it had never been changed. I know that I have never changed it in the 5 years that I've owned it (and yes, I fell bad about that...), so this was just a good time to knock out a fluid change as well.
The fluid didn't look too terribly bad actually. I mean don't get me wrong it was OLD, but I was expecting much worse.
Everything cleaned up really nice with some brake cleaner.
Now to get those axle shafts out, you have to remove the spider gear pin that runs through the center of the diff. In order to get that out, you have to remove a small bolt that locks it into place. If it isn't facing you already, put the truck in neutral and rotate the drive shaft until it is. Then put the truck back into park (or just into a gear if it's a manual) and put a 5/16 wrench on the bolt to remove it. It shouldn't be too terribly tight, but you may need to double wrench it to break it free.
If you have a G80 locking diff like this one in mine, that bolt will not come all the way out (it hits the bearing cap), but it WILL come out far enough to get the pin out. On the diffs that are open without the G80, this bolt should be able to come all the way out. Either way, once it's out enough, you can reach around to the other side of the center chunk and push the pin through with your hand. There might be a little resistance, and once it's out a little you might have to pinch onto it and give it a little wiggle while pulling on it to get it out. But RESIST THE URGE to use pliers or vice grips on it. You do NO want to mess up the surface of it. It's smooth all the way around for the spider gears to rotate on, and if that smooth surface gets roughed up, it's going to cause issues down the road later on...
I of course didn't get any photos of this, but I'll just steal some from Google for this purpose lol
Once that center pin is out of the way, you can gently push the axle shafts inwards from the wheel stud flange. This will expose the C clips that hold the axles in place.
Using a small magnet, fish the C clips out, and then the axle shafts will slide right out! Be ready to catch a mess, as pulling the axle shaft out usually brings a handful of diff fluid with it.
Wipe the axle shafts down and set them aside somewhere safe. You don't want to bump them and knock them over and mess up the splines or the channel that the C clip slides into.
Now's a good time to stuff a rag or paper towel into the open hole on the axle tube. You don't want dirt and debris falling down into the axle tube as you're working on the rusty back plate.
Pull off the parking brake shoe by removing the single 8mm bolt at the top that holds on a bracket that keeps the shoe in place. Then you can rotate the shoe out and down and give it a tug to pop it off.
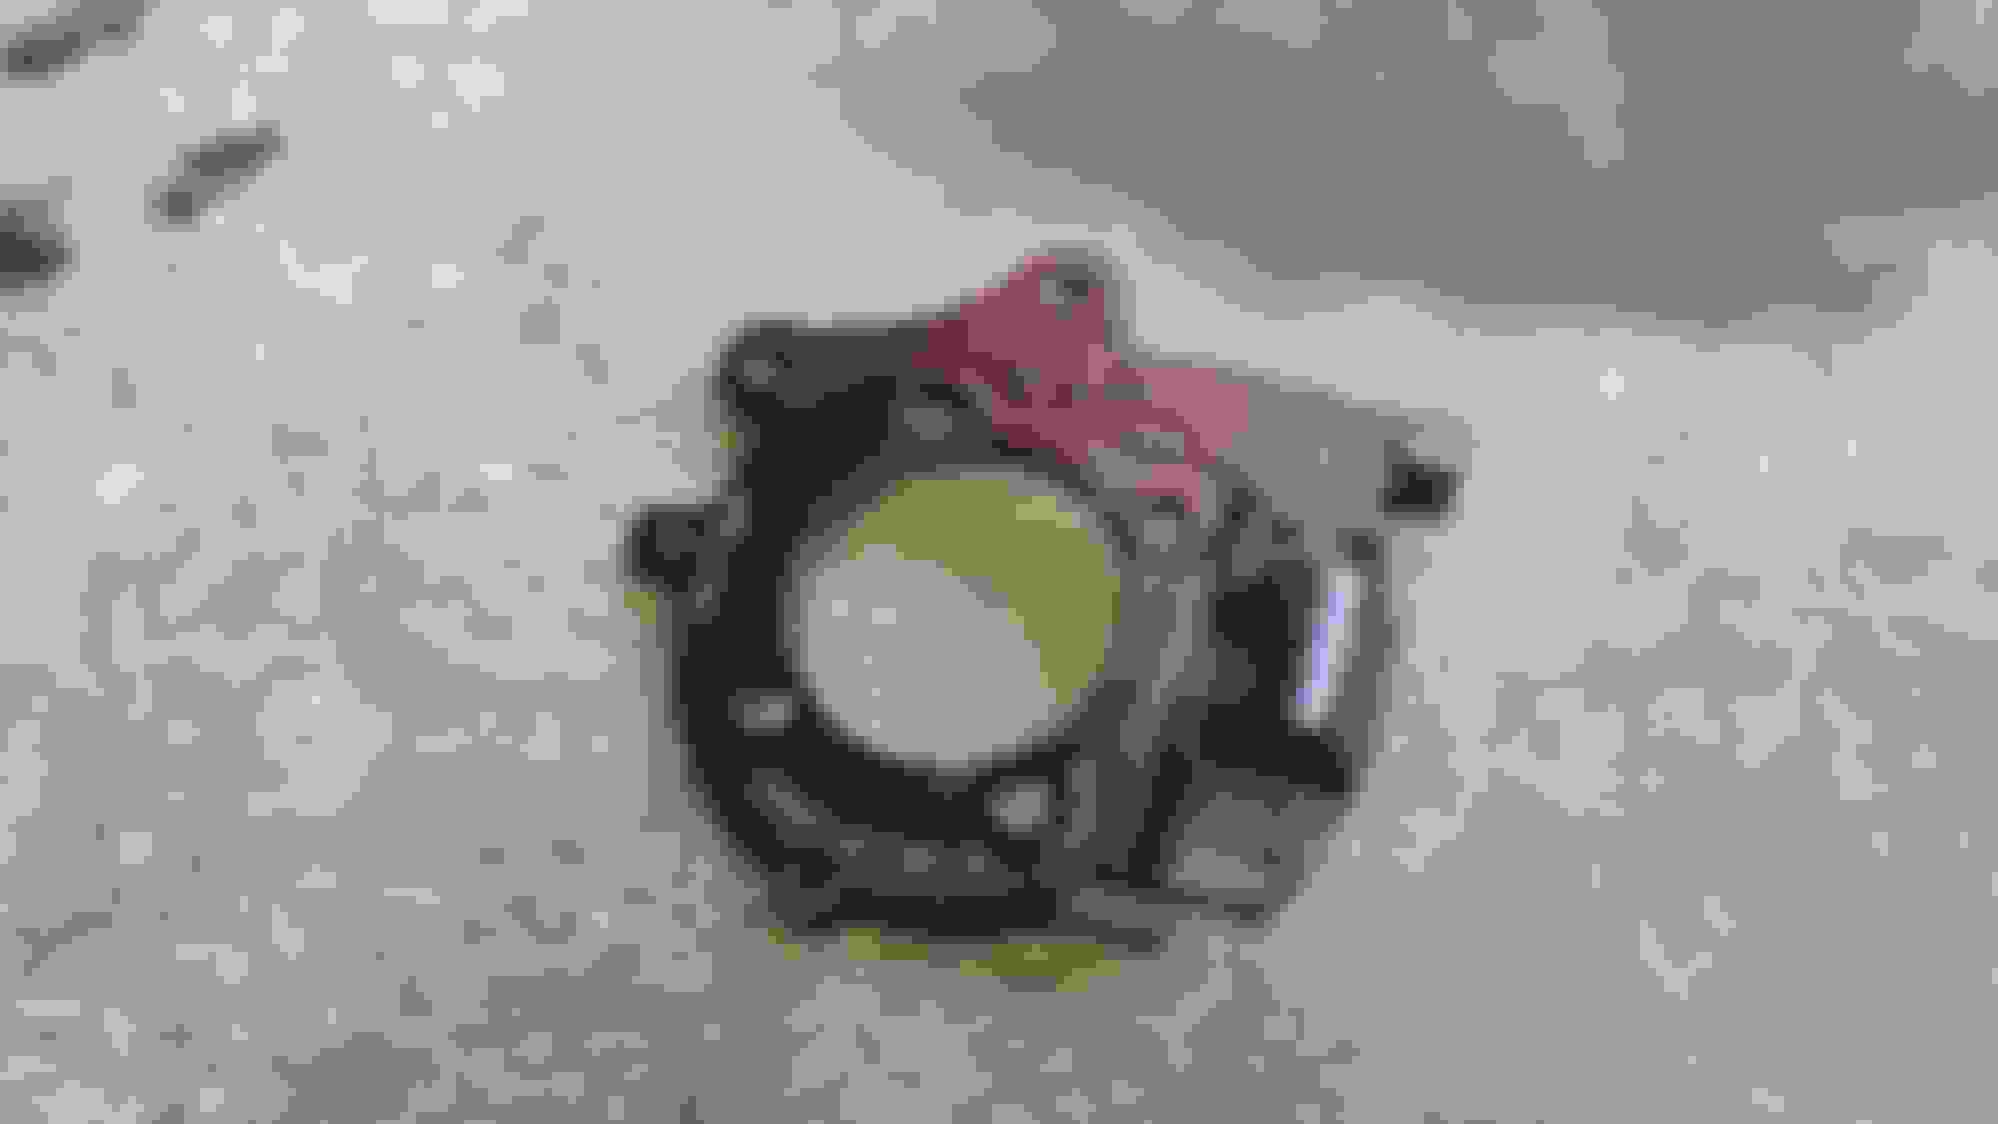
Once that's out of the way, all that's left is to remove the four 15mm bolts and nuts that hold the backing plate and caliper bracket onto the axle. There's a 15mm nut on the backside and a 15mm bolt on the side facing out, so you'll want to put a wrench on the backside to hold the nut still as you loosen up the bolt on the front. There's thread-lock on them from the factory, so be prepared for them to fight you all the way out!
Once that's all loose, you can pull off the rusty backing plate (what's left of it), and if you wanted too, it's a good time to pull the caliper bracket off and give everything a good cleaning, maybe even a quick shot of paint to help protect it into the future.
Again, totally not necessary, but I like working with clean and painted parts
Once you'r happy with that, then it's just a matter of bolting on the new backing plate and throwing some new parking shoes if needed.
New parking shoes were needed in my case, as one side had completely lost its shoe material... Guess that would explain why the parking brake wasn't working at all lol
That's the progress so far. My 2nd Rock Auto shipment should arrive tomorrow with my seals, caliper slider pins, and diff cover gasket. So tomorrow all that is left is to pop in the new seals, slide the axles back in, reassemble, and add diff fluid!
Some more photos.
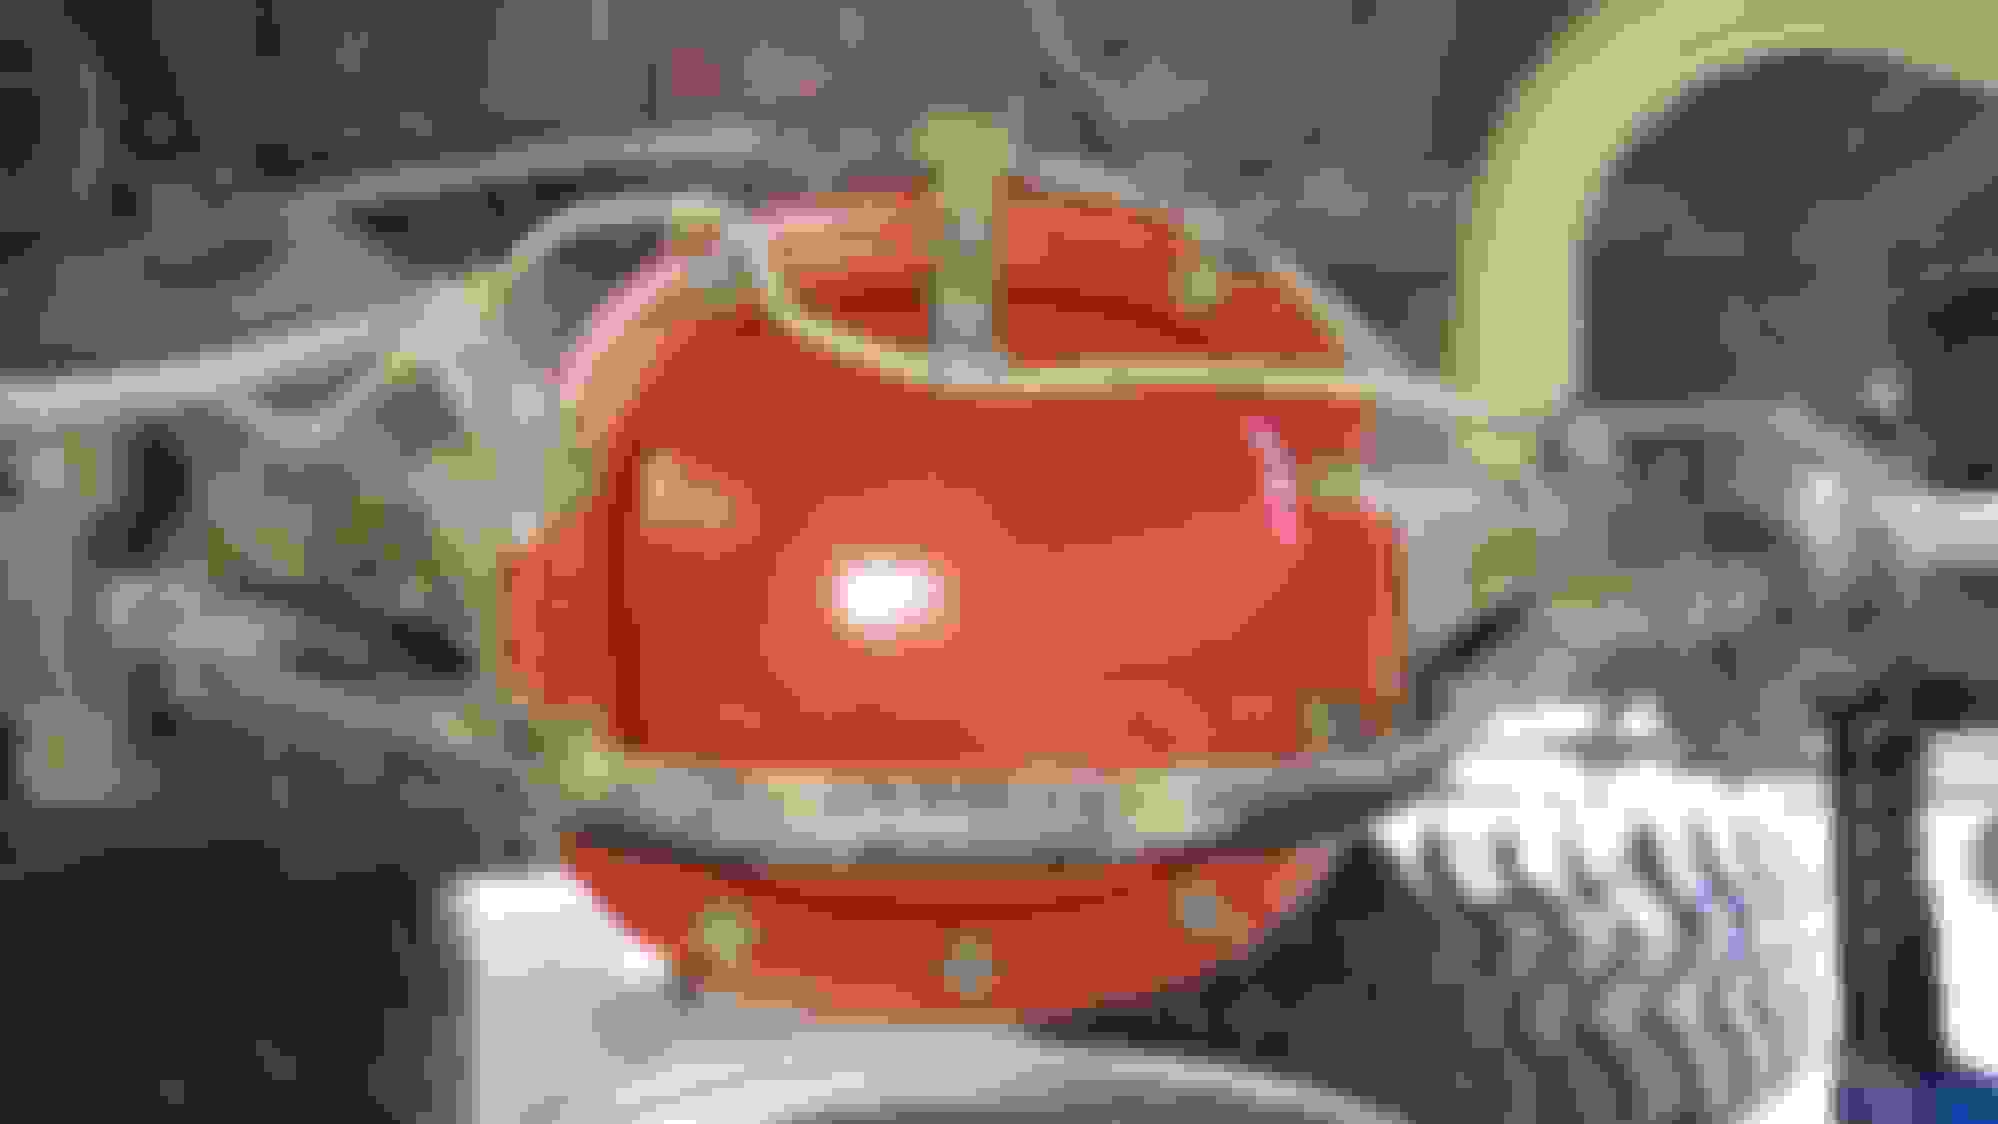
I'm replacing the rusty diff cover with a brand new one. AC Delco brand comes in bare steel. Figured I'd give it some "pop" Mainly just because I had some left over primer and red engine paint laying around.
It's always good practice to throw your wheels and tires you removed under the vehicle when you're working underneath it. Even though I gave the truck a good hard shake once it was up on the jack stands, I would HATE to have this thing come down on me... Sure it would gouge up my aftermarket wheels, but I'd rather mess up a wheel than get pinned under the truck and injured...
The wheel seals gave a bit of a fight. My seal puller tool just ripped through them... Had to get a pry bar on them and managed to pop them out. After that the new ones popped right into place.
Then I was able to slide the axle shafts back in, followed by the cross pin in the diff, and the bolt to lock that in.
Then gave the diff cover sealing surface and the inside of the diff one last good cleaning before covering it up.
While that was drying up, I went ahead and started reassembling the brakes. Got the rotors slid on, followed by the caliper brackets, new guide pins all greased up and installed.
Then I started on the calipers. Tried to install the driver's side (the same side that pad had destroyed itself on), and I was able to compress the piston in about 1/4 of an inch before it seized up...
So, luckily I had some calipers already on stand-by... Tossed them on, got the wife to help me bleed the brakes, and all was well. Although the driver's side still seemed to stick a little, seemed to be dragging when rotating the rotor by hand... more on that later...
At that point I went ahead and tossed on the new diff cover. I know that some people use just the paper gasket, some use just a bead of RTV. Personally, I'm a fan of the paper gasket with a thin layer of RTV on both sides of it. Has never given me an issue, so that's the route I took.
Tossed the tires back on next. Let it sit for a couple hours for the RTV to set up some, then filled it back up with some fresh gear oil.
And man was that gear oil overdue for a change... Almost certain that it was the original fluid from 2004 with over 200k miles on it...
So then it was just time for a test drive! Took the truck a couple miles down a back road by my house, bedding in the new brakes along the way out, then on the way back just cruised home.
Got home and I could smell the brakes. Which isn't uncommon with newly installed pads, especially if you're bedding them in aggressively, but not normally from the rears...
I grabbed my thermometer real quick and took some readings.
Passenger side:
Driver's side:
The fact that the driver's side is 100 degree hotter tells me that it's definitely dragging... Remember, this is the same side I said felt tight after reassembly too...
So the next step is going to be to replace the rear brake line(s). I already have a set of lines that go to the calipers, so I will be starting there.
Last edited by blazen_red_4x4; 05-15-2020 at 05:12 PM.
 05-13-2020, 09:09 PM